Reports
Table of Contents
View and manage Sales Summary
Learn how to get a Sales Summary report on the Merchant Portal.
The Sales Summary shows a report of all transactions and sales over a selected period of time.
In this article, you’ll learn about Sales Summary and how to generate a Sales Summary report on the Merchant Portal.
The Sales Summary includes the following information:
- Net Sales
- Number of customers
- Average Daily Net Sales
- Average Daily customers
- Average spending per customer
- Discount amount
View Sales Summary
To view your Sales Summary, follow the steps below:
Merchant Portal (Classic Theme)
- Log in to the Merchant Portal.
- On the left panel, click on Reporting.
- Select Sales Summary.
- Select the date range that you wish to include in the report.
- (Optional) Click on Advanced Filtering. Then, configure the following filter options:
- Time period
- Service Type
- Patron Size
- Click on Submit to retrieve the records.
By default, the Sales Summary shows a Chart View and a Table View of the report. You can customize the Table View to show additional information in the Sales Summary.
Customize Table View
To add more information to the Table View, scroll down to the Table View. Then, next to the Sales Summary (Table View) header, click on Settings  . Click on the checkbox of the information that you want to add. You can add the following information to the Table View:
- Date
- Sales
- Service Charge
- Delivery Fee
- Discount Amount
- Refund
- Net Sales
- Tax
- Tips
- Gift Card
- Discount Coupon
- Membership Credit
- Octopus Top-up
- Liability Item Discount
- Liability Item Refund
- Rounding Differences
- Total Tendered
- Customers
- Avg. Spending
Merchant Portal 2.0
- Log in to the Merchant Portal.
- On the left panel, click on Reporting.
- Select Sales Summary.
- Select the date range that you wish to include in the report.
- Set the time period of the report that you wish to generate.
- Filter the report by selecting the Service Type or adding the Party Size.
- Click on Submit to retrieve the records.
Customize Report Result
To add more information to the Report Result, next to Report Result, click on More  . Click on the checkbox of the information that you want to add. You can add the following information to the Table View:
- Date
- Sales
- Service Charge
- Delivery Fee
- Discount Amount
- Refund
- Net Sales
- Tax
- Tips
- Gift Card
- Discount Coupon
- Membership Credit
- Octopus Top-up
- Liability Item Discount
- Liability Item Refund
- Rounding Differences
- Total Tendered
- Customers
- Avg. Spending
Print Sales Summary
Merchant Portal (Classic Theme)
To print a Sales Summary, from the Report Result, click on Print. Then, select the printer where you want to print the report. Click on Save to confirm.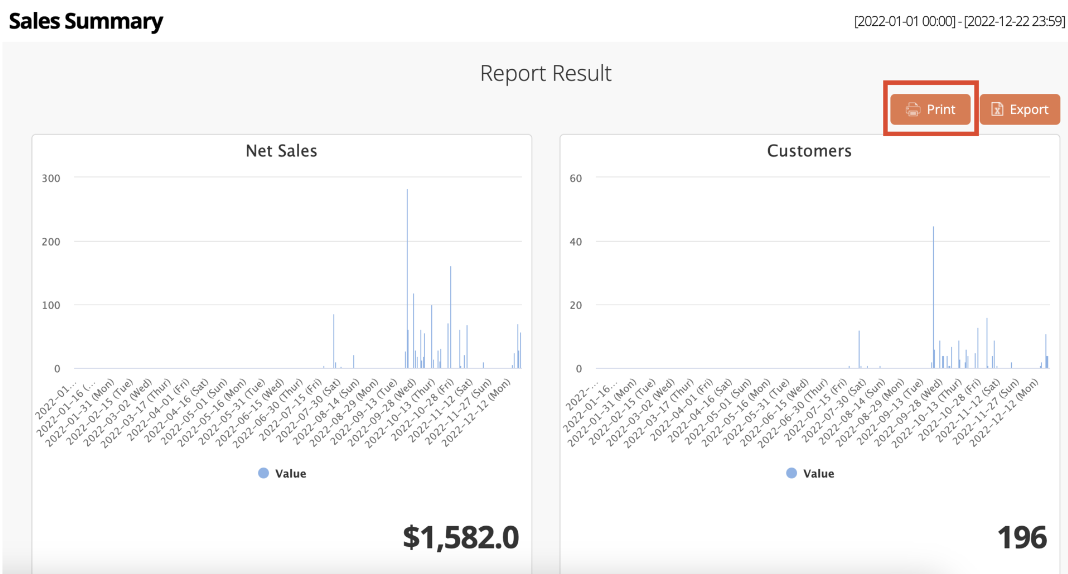
Merchant Portal 2.0
To print a Sales Summary, at the top right, click on Print. Then, select the printer where you want to print the report. Click on Save to confirm.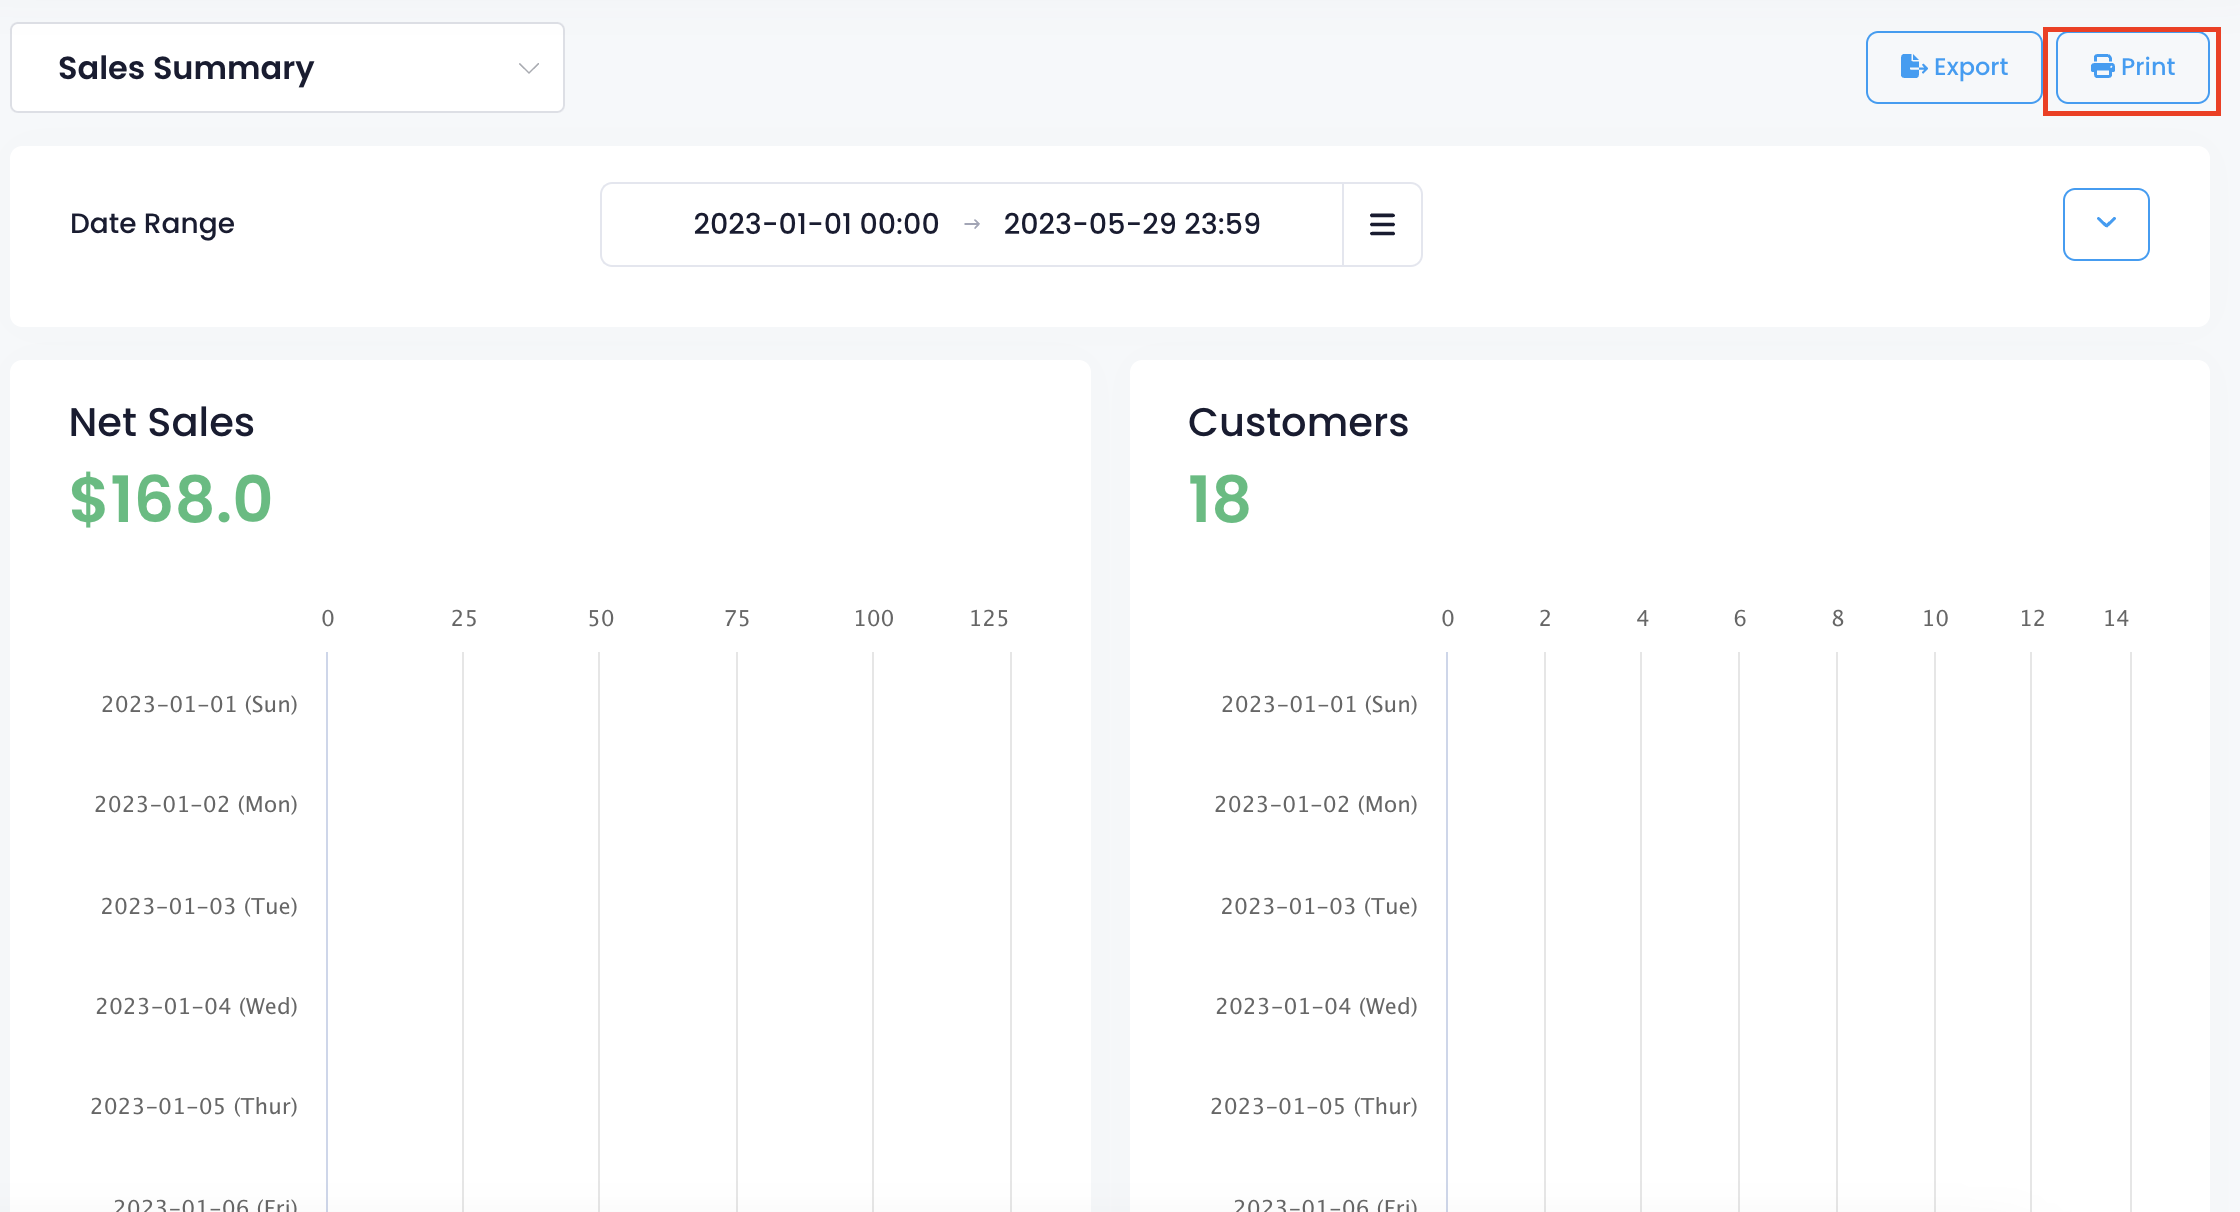
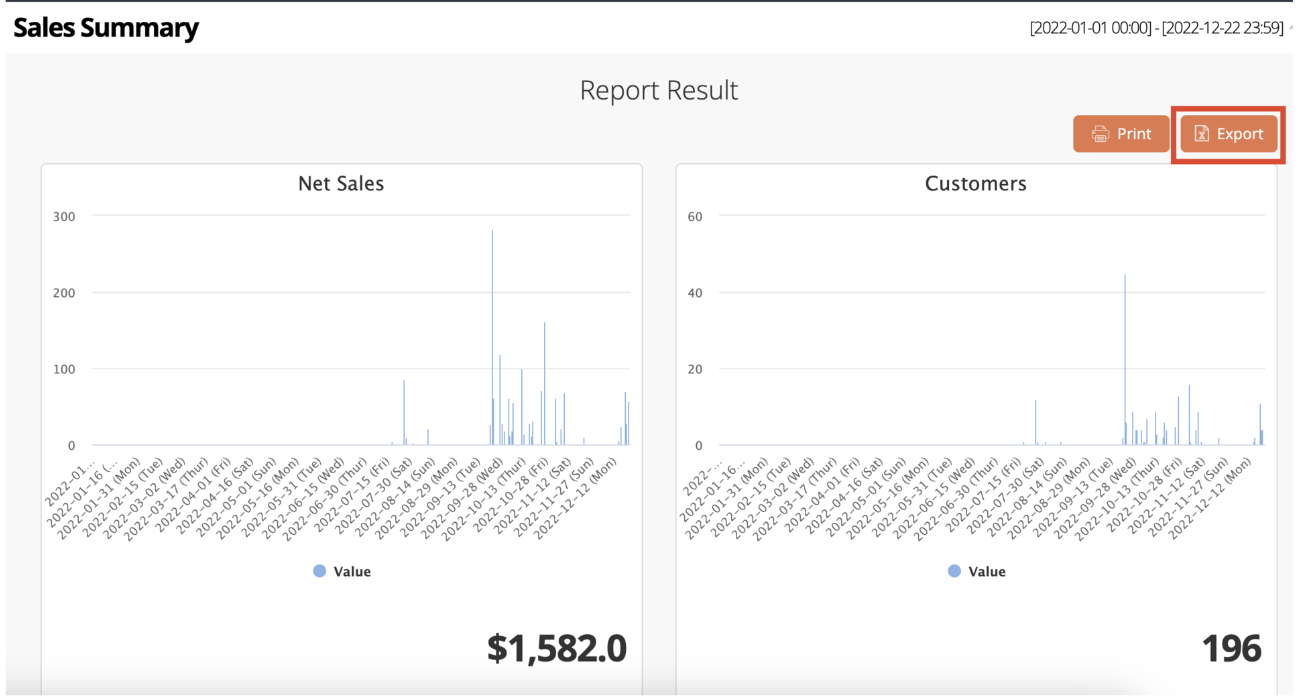
Export Sales Summary
Merchant Portal (Classic Theme)
To export a Sales Summary, from the Report Result, click on Export. An Excel file of the report gets downloaded on your computer. Open the file to view your exported Sales Summary.