Reports
Table of Contents
View and manage Daily Closing Report
Learn how to get a Daily Closing Report on the Eats365 POS or on the Merchant Portal.
The Daily Closing Report is generated after performing the End of Day. The report includes a breakdown of all transactions and sales processed in all POS terminals, Modules, and third-party integrations by the end of the day. The Daily Closing report includes a detailed view of the following information:
- Net Sales
- Non Sales Summary
- Tender
- Tips
- Audit Trail
- Dine-In Sales
- Takeout Sales
- Gratuity and Fees
- Sales By Revenue Center
- Sales By Category
- Sales By Menu Item
- Combo Items Sales
- Sales By Single Item
- Sales By Product Type
- Coupons
View Daily Closing Report
To view your Daily Closing Report, follow the steps below:
Eats365 POS
- Log in to the Eats365 POS.
- At the top left, tap Settings
 .
. - Under Business Operations, tap Daily Closing Report. The screen shows a breakdown of all transactions and sales made at the time of checking.
- To check a report for a different day, tap the date range at the top. Then, select the date range of the report that you want to check.
Note: If you haven’t performed the End of Day yet, the date range shows up as Current.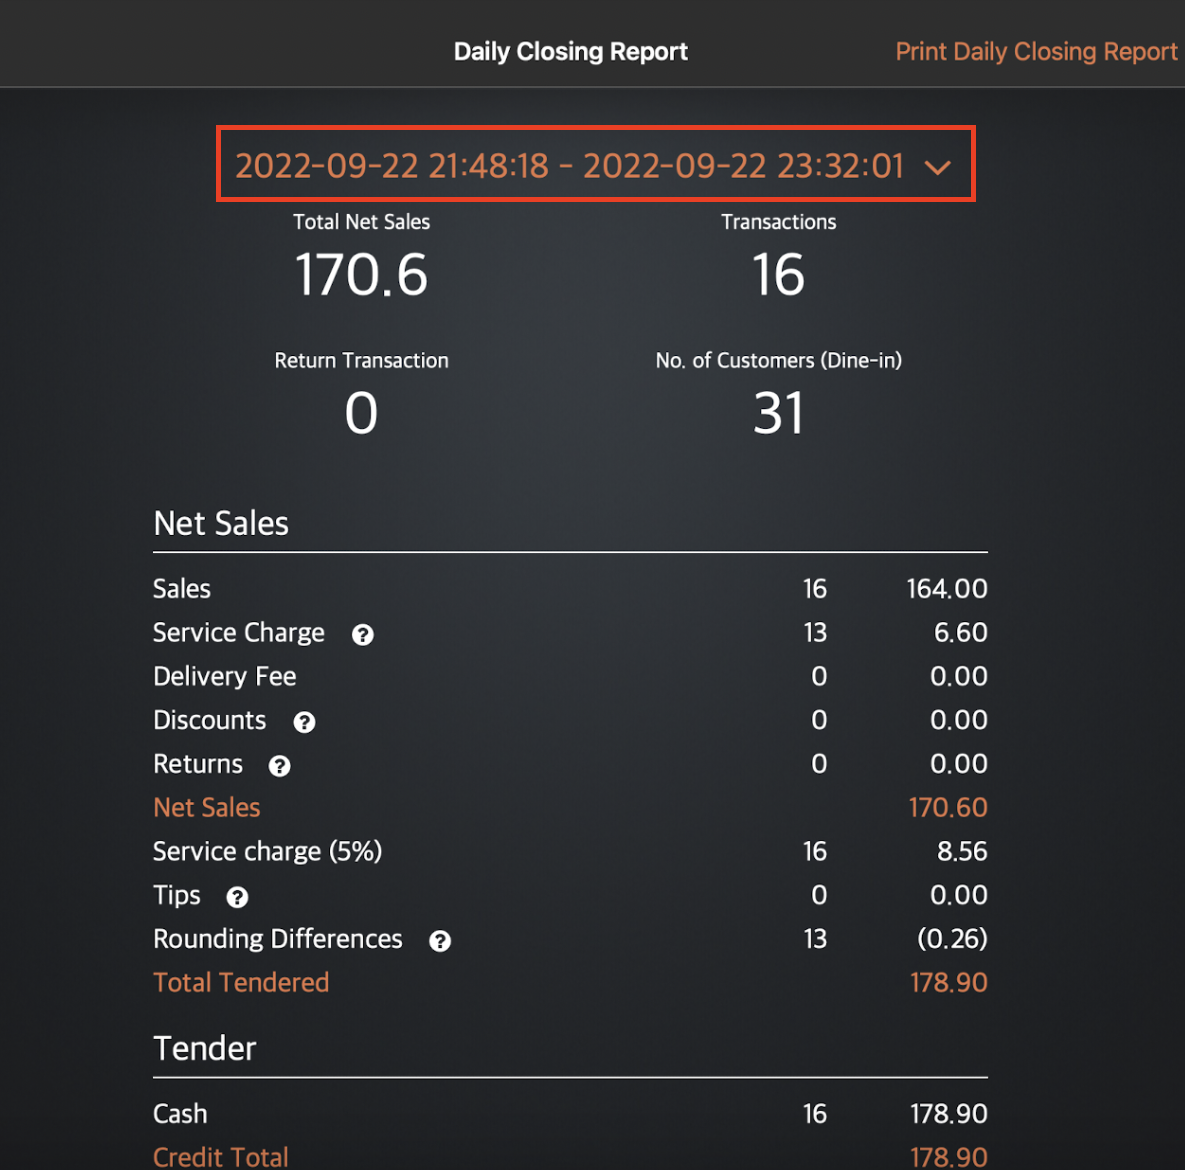
Merchant Portal (Classic Theme)
- Log in to the Merchant Portal.
- On the left panel, click on Reporting.
- Select Daily Closing Report.
- Select the date range that you wish to include in the report.
Tip: You may also choose from the previous daily closing reports available on the Report List. - To retrieve the records, click on Submit.
Merchant Portal 2.0
- Log in to the Merchant Portal.
- On the left panel, click on Reporting.
- Select Daily Closing Report.
- Under Time Period, select the date range that you wish to include in the report. If you chose custom, specify the Date Range.
Tip: You may also choose from the previous daily closing reports available on the Report List. - If you have a Specific Period set up and would like to include just that period in the report, select the Specific Period you’d like to include.
- To retrieve the records, click on Submit.
Print Daily Closing Report
To print a Daily Closing Report, follow the steps below:
Eats365 POS
- Log in to the Eats365 POS.
- At the top left, tap Settings .
- Under Business Operations, tap Daily Closing Report. The screen shows a breakdown of all transactions and sales made at the time of checking.
- To check a report for a different day, tap the date range at the top. Then, select the date range of the report that you want to check.
Note: If you haven’t performed the End of Day yet, the date range shows up as Current. - At the top right, tap Print Daily Closing Report.
Merchant Portal (Classic Theme)
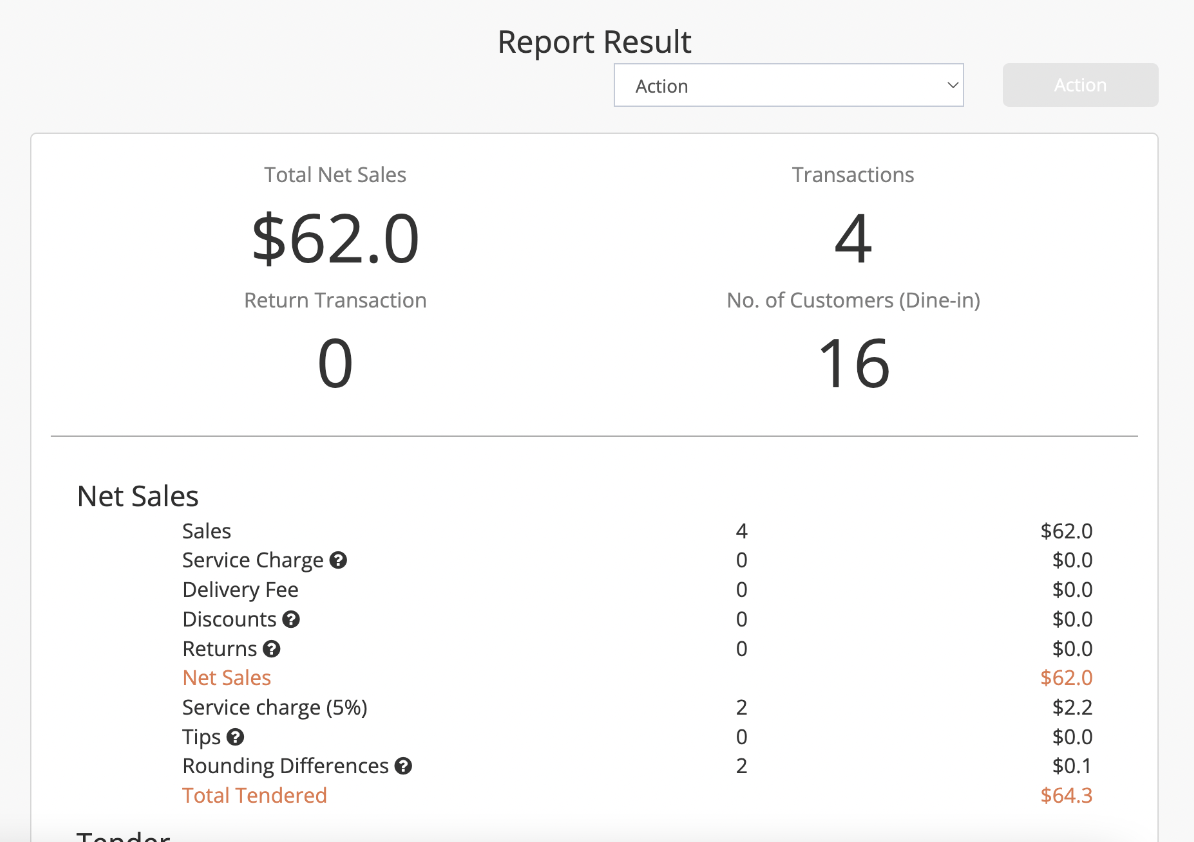
To print a Daily Closing Report, from the Report Result, click on the Action drop-down button. Then, select Print. Click on Action to confirm.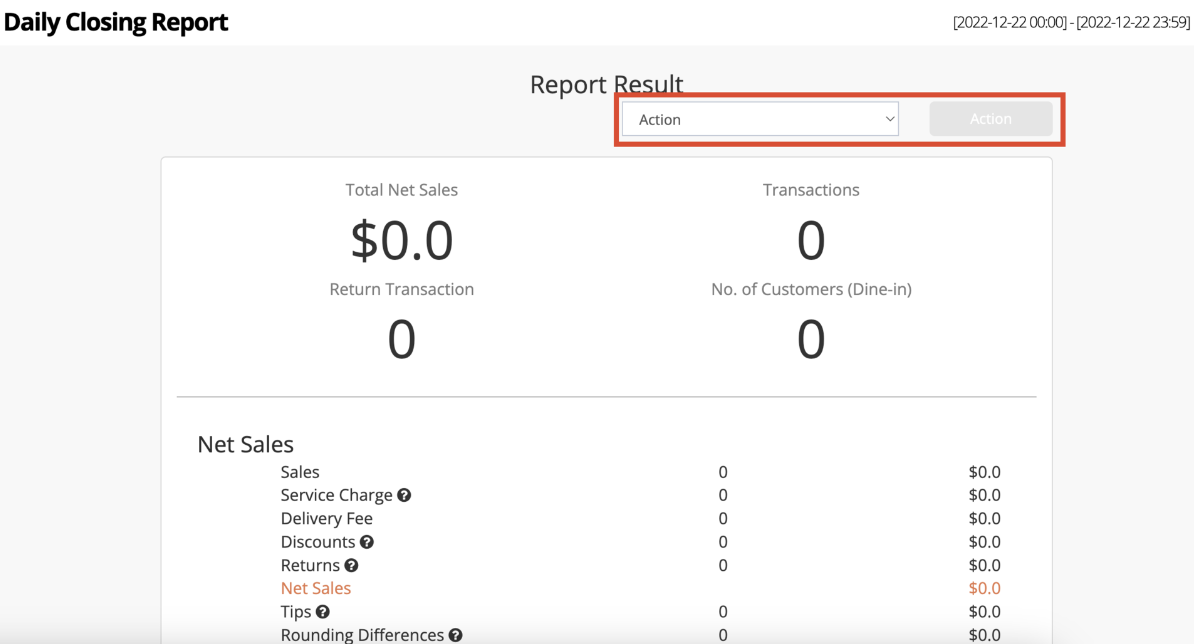
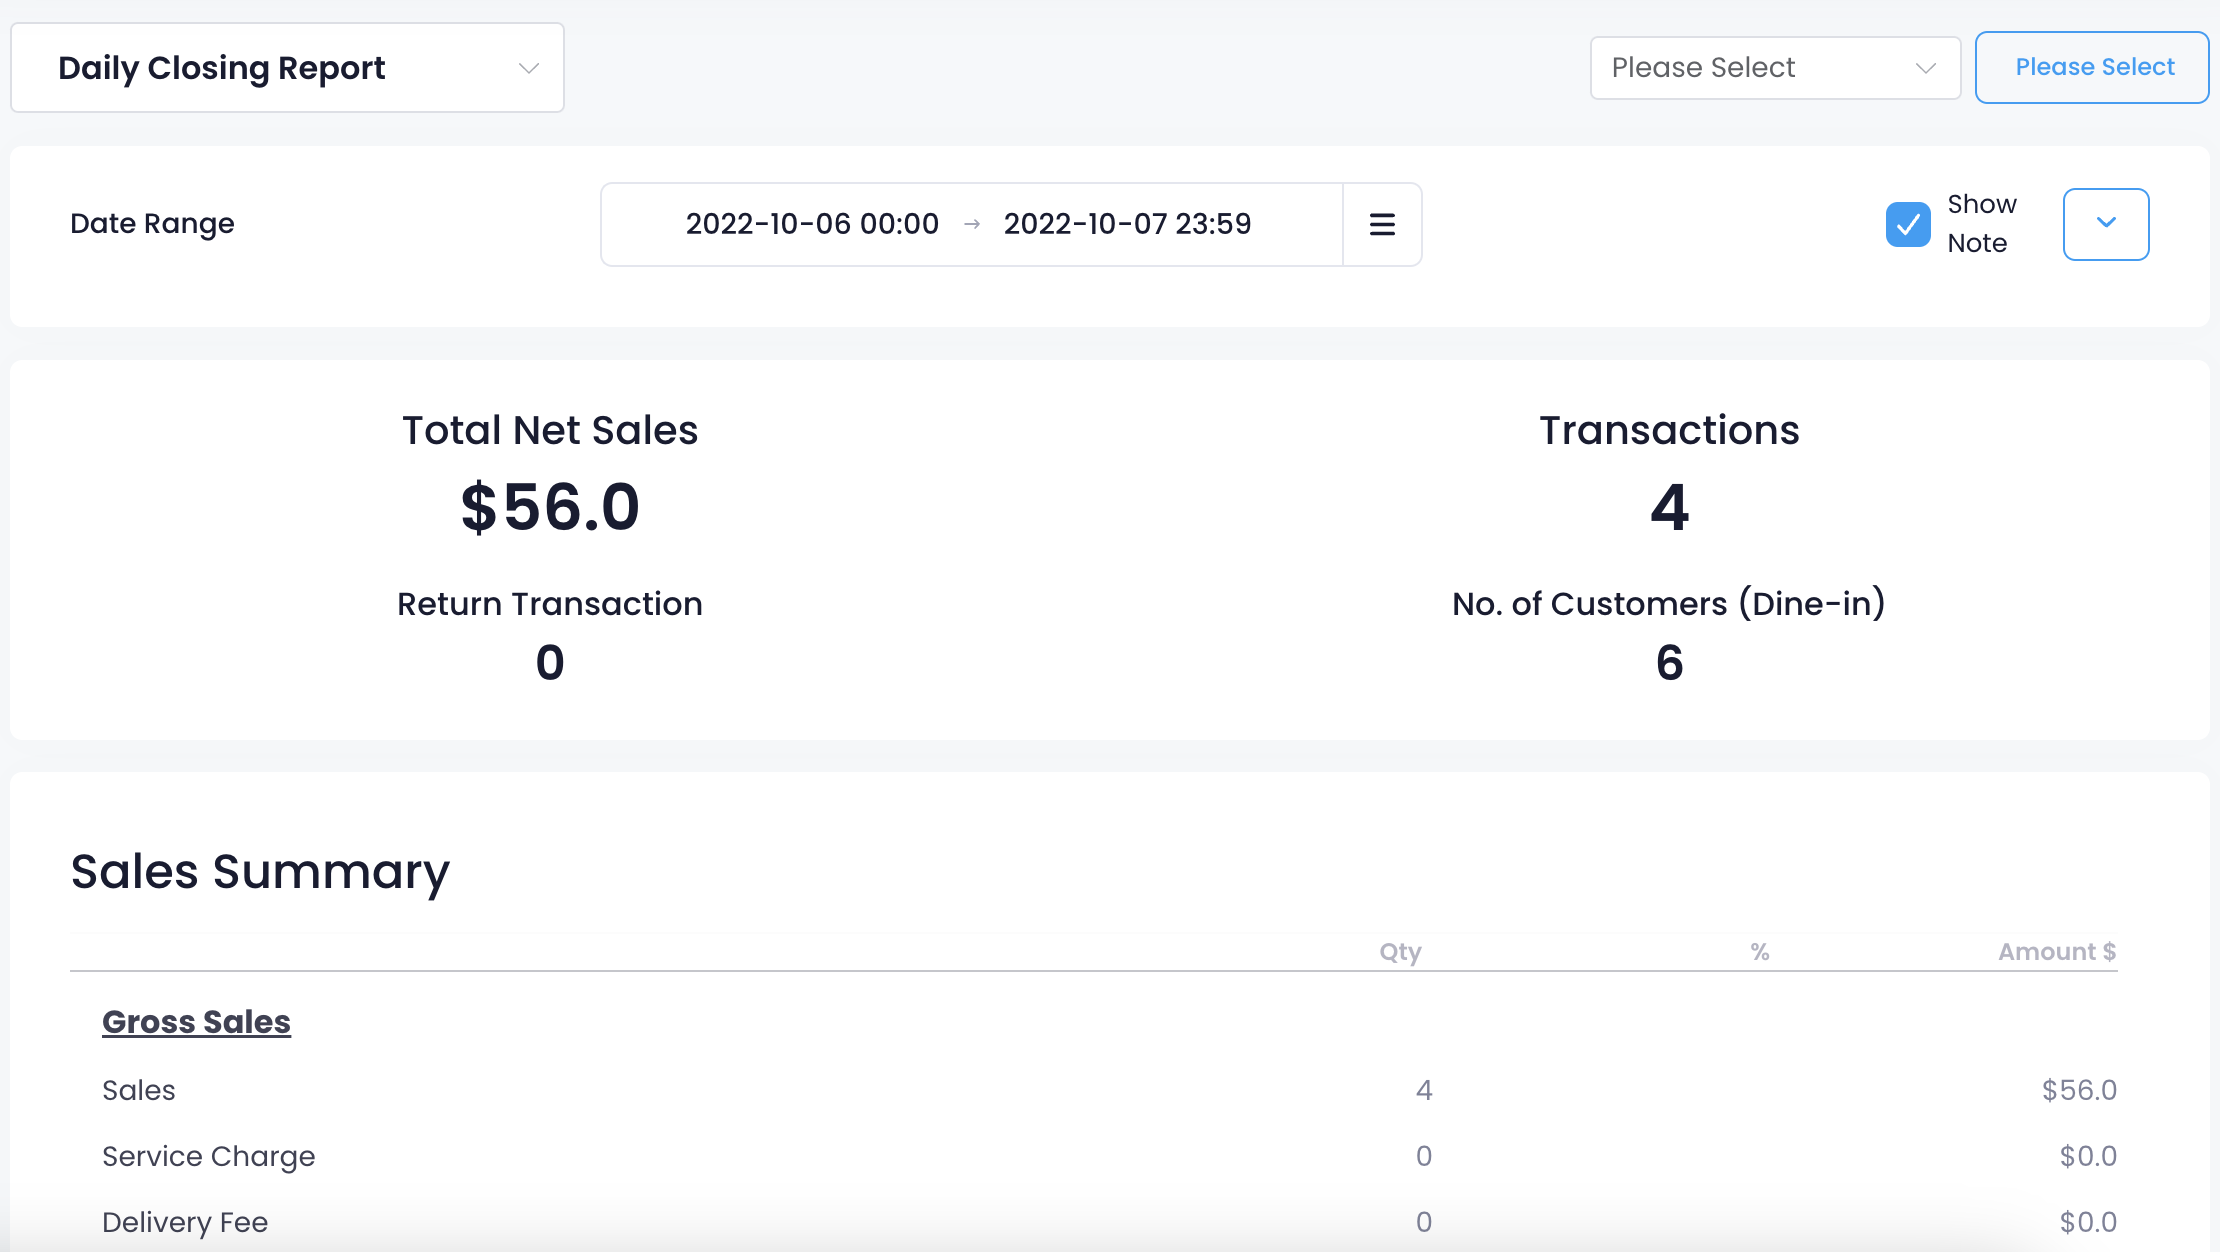
Merchant Portal 2.0
To print a Daily Closing Report, from the report result, click on the Please Select drop-down button. Then, select Print. Click on Please Select to confirm.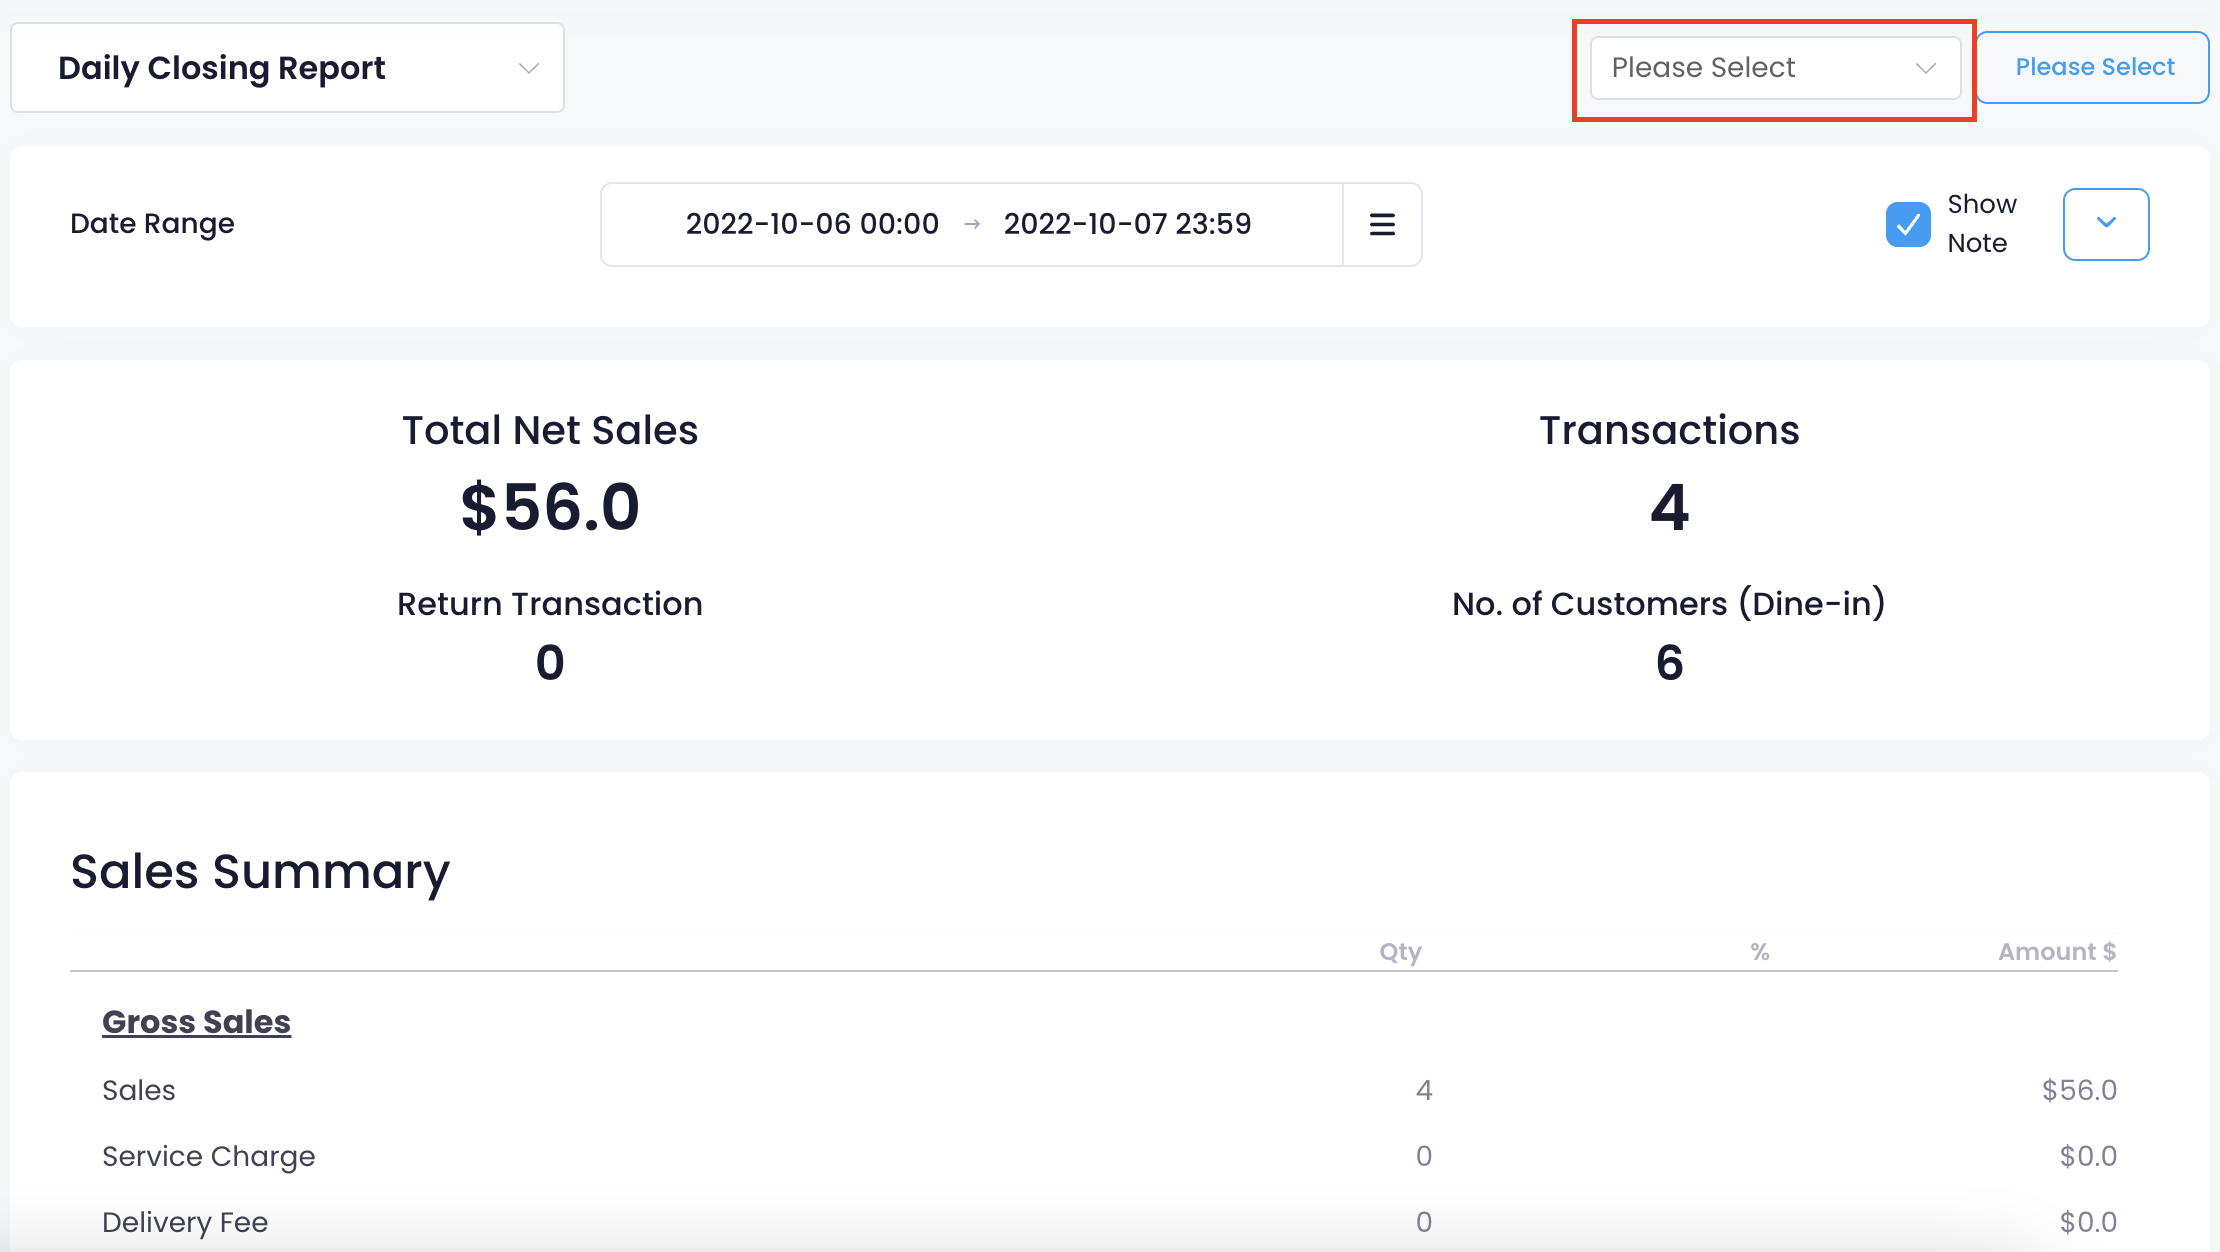
Export Daily Closing Report
Merchant Portal (Classic Theme)
To export a Daily Closing Report, from the Report Result, click on the Action drop-down button. Then, select Export Excel. Click on Action to confirm. An Excel file of the report gets downloaded on your computer. Open the file to view your exported Daily Closing Report.
Delete
Merchant Portal 2.0
To export a Daily Closing Report, from the report result, click on the Please Select drop-down button. Then, select Export Excel. Click on Please Select to confirm.
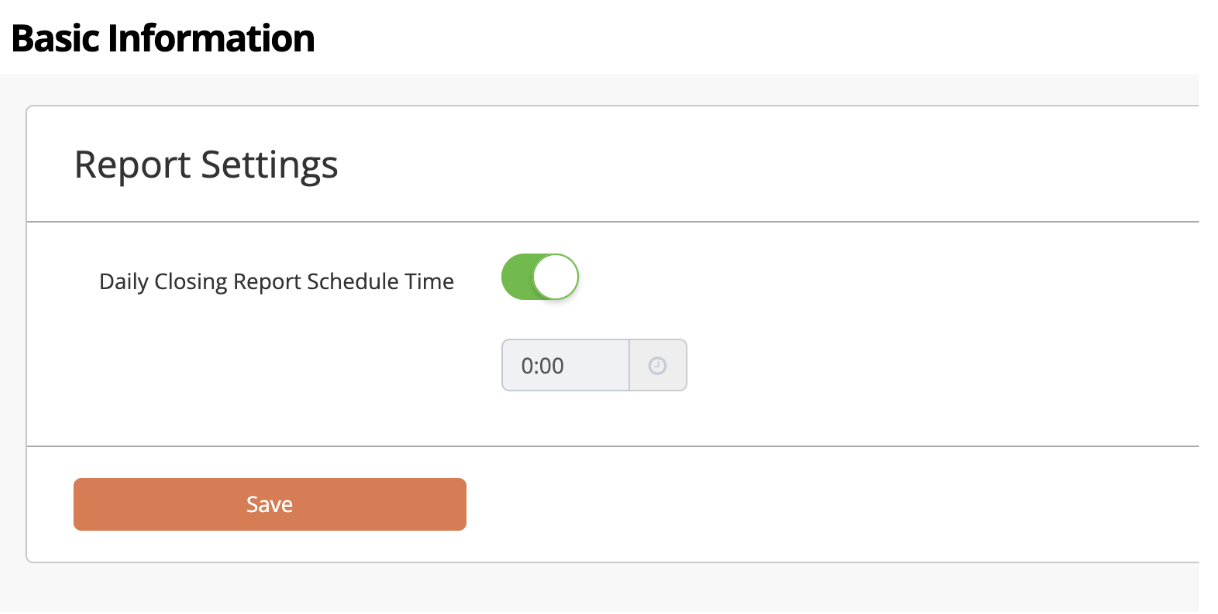
Daily Closing Report Schedule Time
The Daily Closing Report Schedule Time allows you to receive a notification when the report is generated. You can set the schedule once this setting is turned on.
To set a Daily Closing Report Schedule Time, follow the steps below:
Merchant Portal (Classic Theme)
- Log in to the Merchant Portal.
- On the left panel, click on Report Settings. Then, select General Settings.
- Turn on Daily Closing Report Schedule Time
 .
. - Set the time when you want to receive a notification about the Daily Closing Report.
Merchant Portal 2.0
- Log in to the Merchant Portal.
- On the left panel, click on Report Settings. Then, select Export Settings.
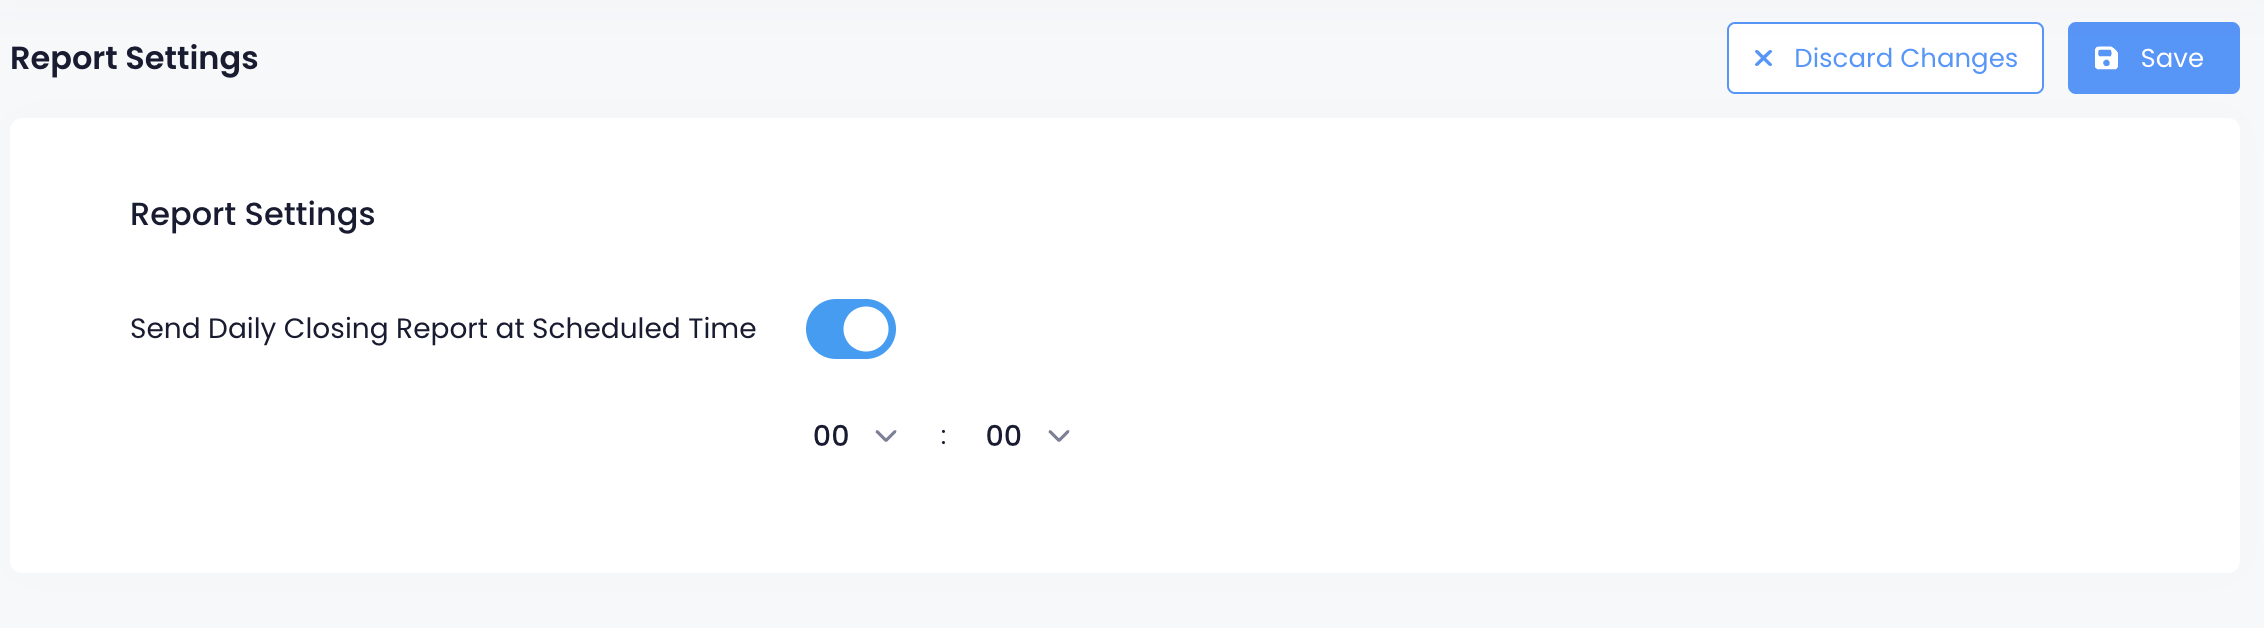
- Turn on Send Daily Closing Report at Scheduled Time
 .
. - Set the time when you want to receive a notification about the Daily Closing Report.
- At the top right, click on Save.