 Eats365 Products
 Merchant Guide
 Modules
 Membership
 Integrations
 Hardware
 Staff Operations
 Roles & Permissions
 Payments
 Reports
 What’s New
 Release Notes
 Troubleshooting
 Simulators
 Glossary
 Troubleshooter
 System Status
Membership
Table of Contents
Set up and manage a Top-up Credit Item
Learn how to create and manage Top-up Credit Item options on the Merchant Portal, and how to process a top-up on the Eats365 POS.
Top-up Credit Item is a CRM feature that allows members of your loyalty program to purchase virtual credit to spend at your restaurant. The store credit is added to a member’s account and can be used to pay for their bill.
In this article, you’ll learn how to create, modify, and delete Top-up Credit Item options.
Create a Top-up Credit Item
To add a Top-up Credit Item option for the Eats365 POS, follow the steps below:
Merchant Portal (Classic Theme)
- Log in to the Merchant Portal.
- At the top left, change the view to the restaurant group you’d like to configure.
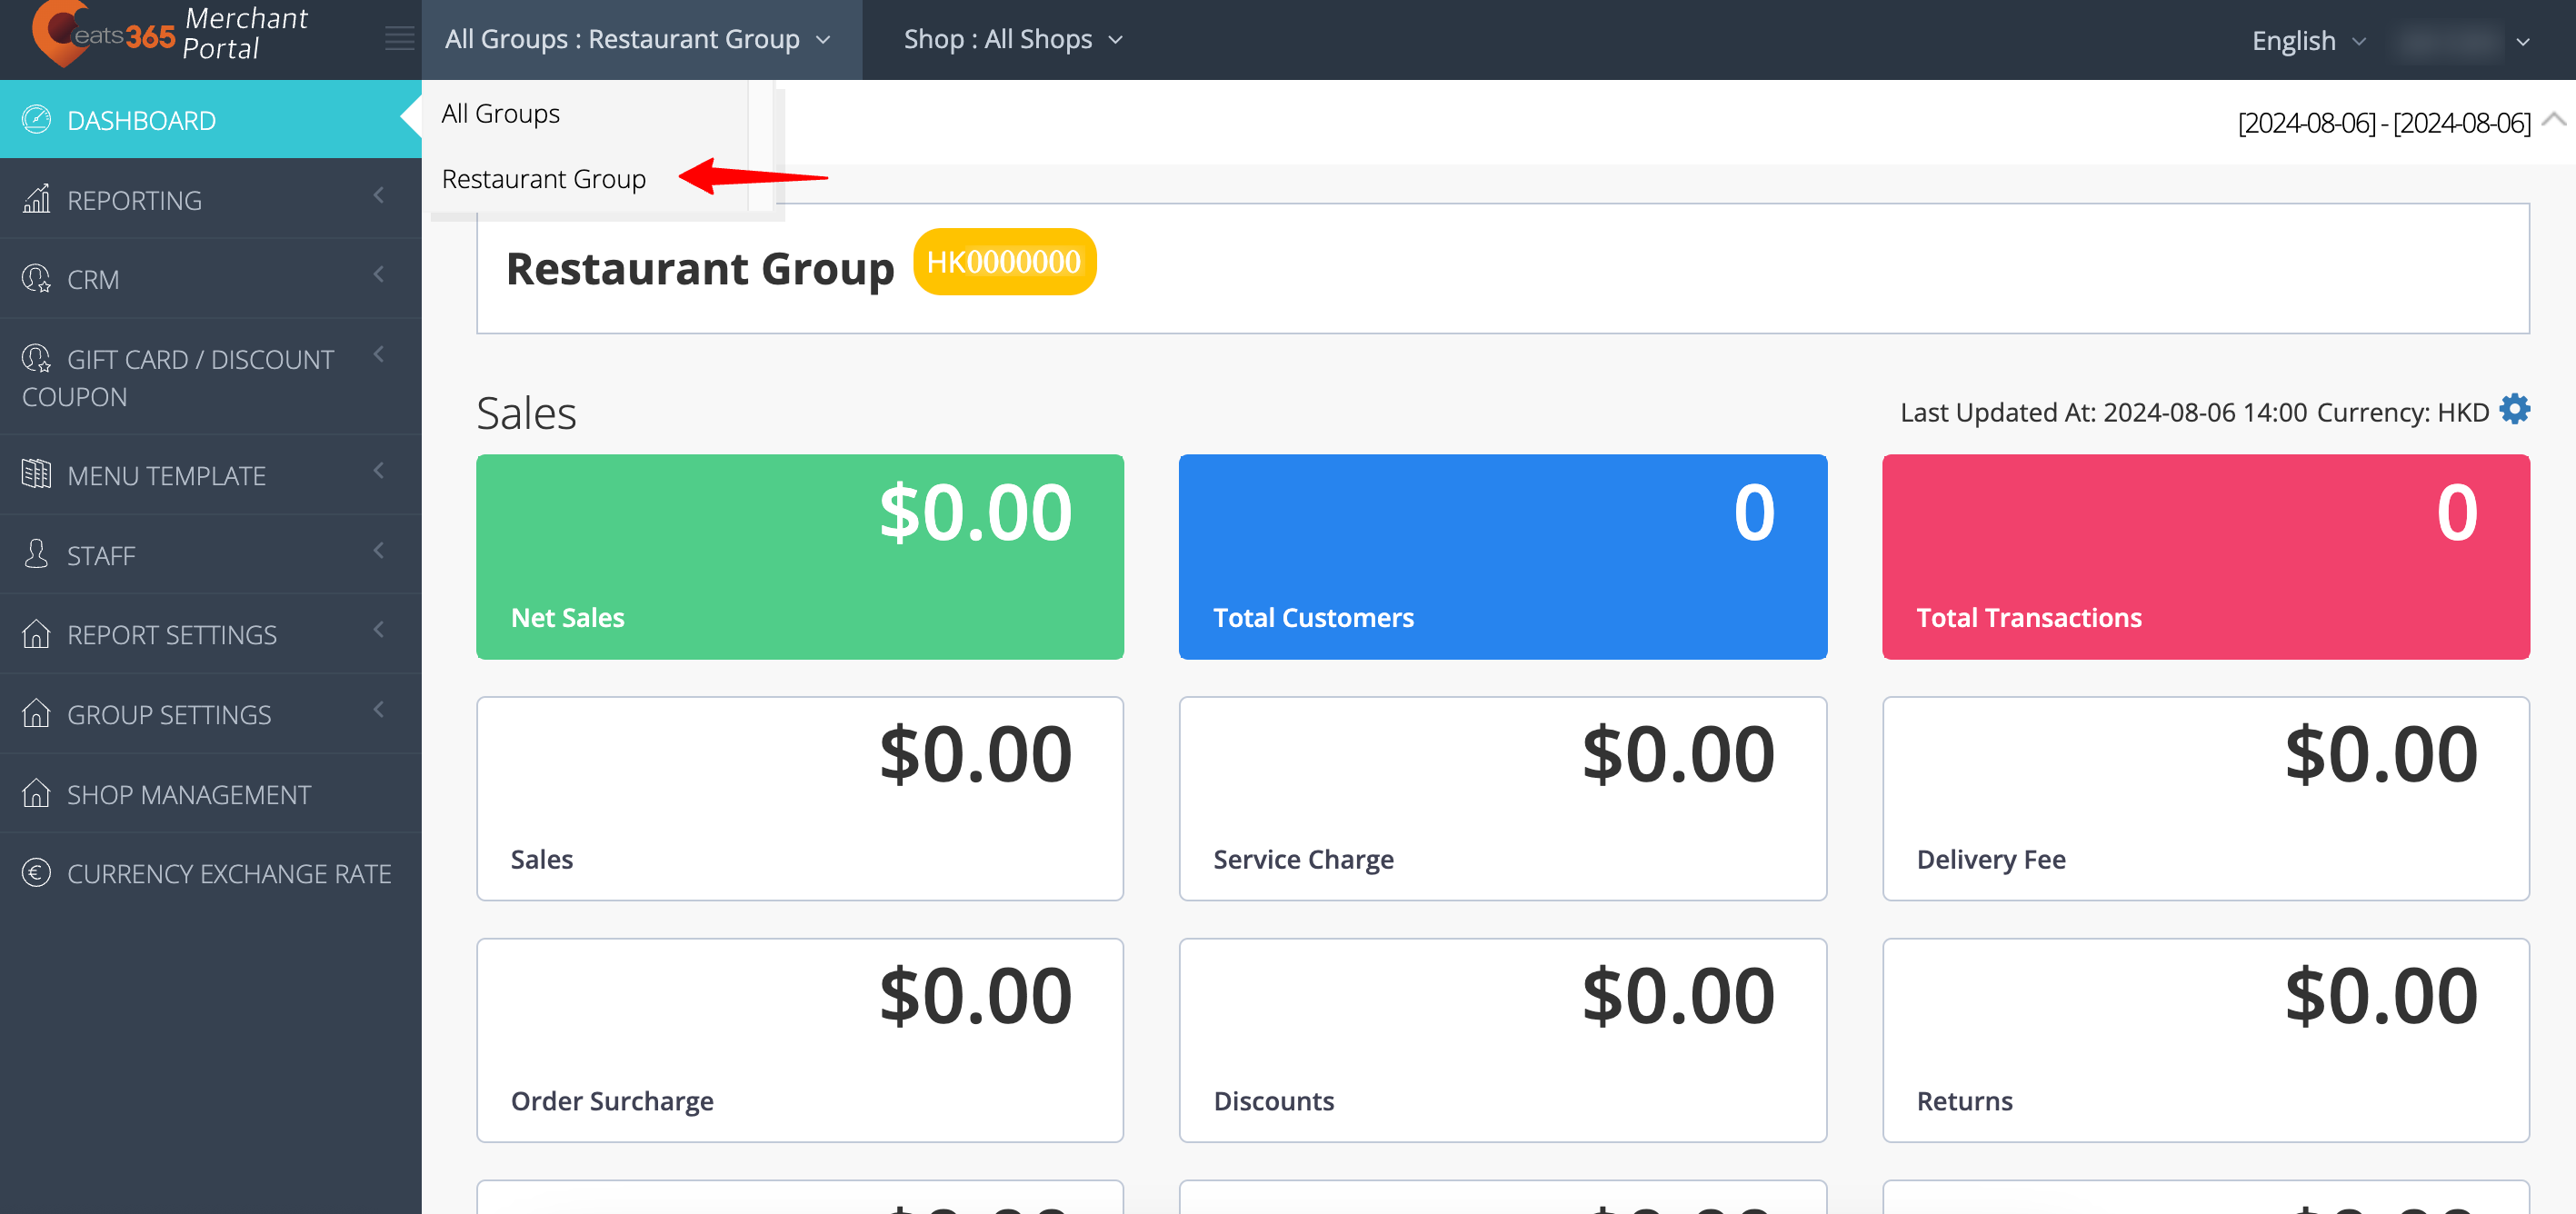 Tip: Restaurant Groups are represented by the color yellow.
- On the left panel, click on CRM, then click on Liability Item.
- At the top right, click on + Add.
- Upload an image for the Liability Item you’re creating. This image will appear on the top-up credit selection page on the POS.
- Enter the following basic information:
- Name
- Description
- Simplified Name
- Product Code (SKU)
- Available Date
- Liability Type
Note: By default, this can only be set to "Membership Credit."
- Under "Liability Amount," enter the following information:
- Priced
Note: By default, this can only be set to "In Backoffice." - Liability Amount: The monetary value that will be added to the member’s account.
- Purchase Discount: The discount that will be deducted from the Liability Amount. You can select from the following Purchase Discount options:
- Percentage discount - Deduct a percentage from the Liability Amount.
- Amount discount - Deduct a fixed value from the Liability Amount.
- Priced
- At the top, click on the Additional Details tab and turn on
 permissions for all platforms and restaurants under your organization that can use this Liability Item.
 - Once done, at the top right, click on Save.
Merchant Portal 2.0
- Log in to the Merchant Portal.
- At the top, from the "Group" drop-down list, select the restaurant group you’d like to configure.
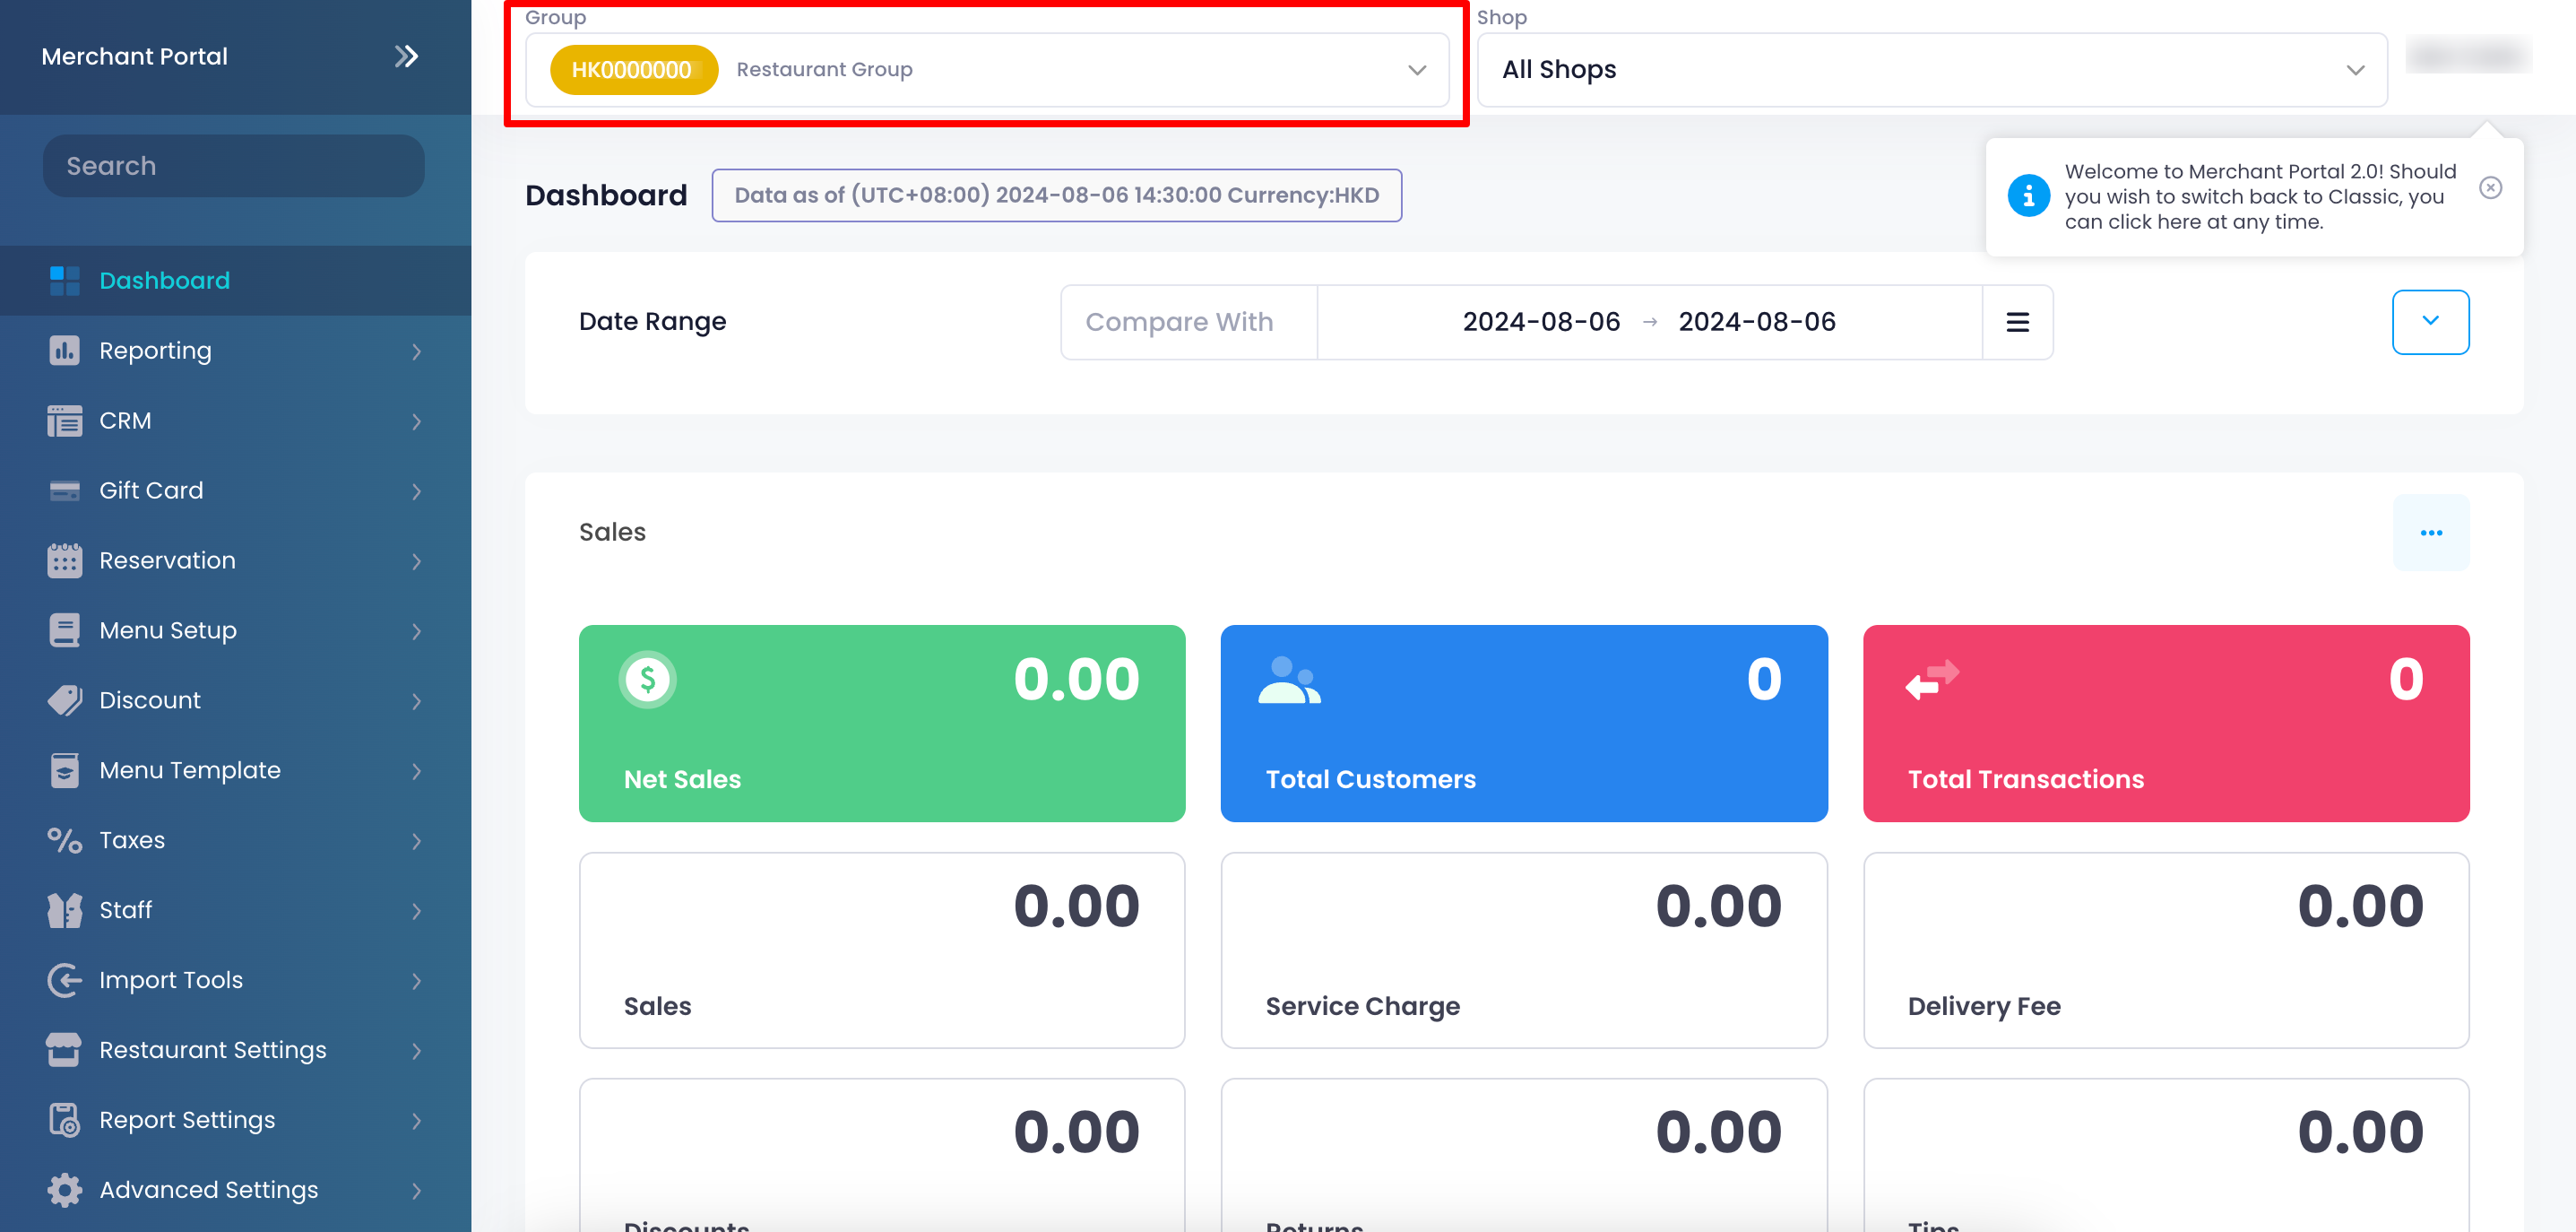 Tip: Restaurant Groups are represented by the color yellow.
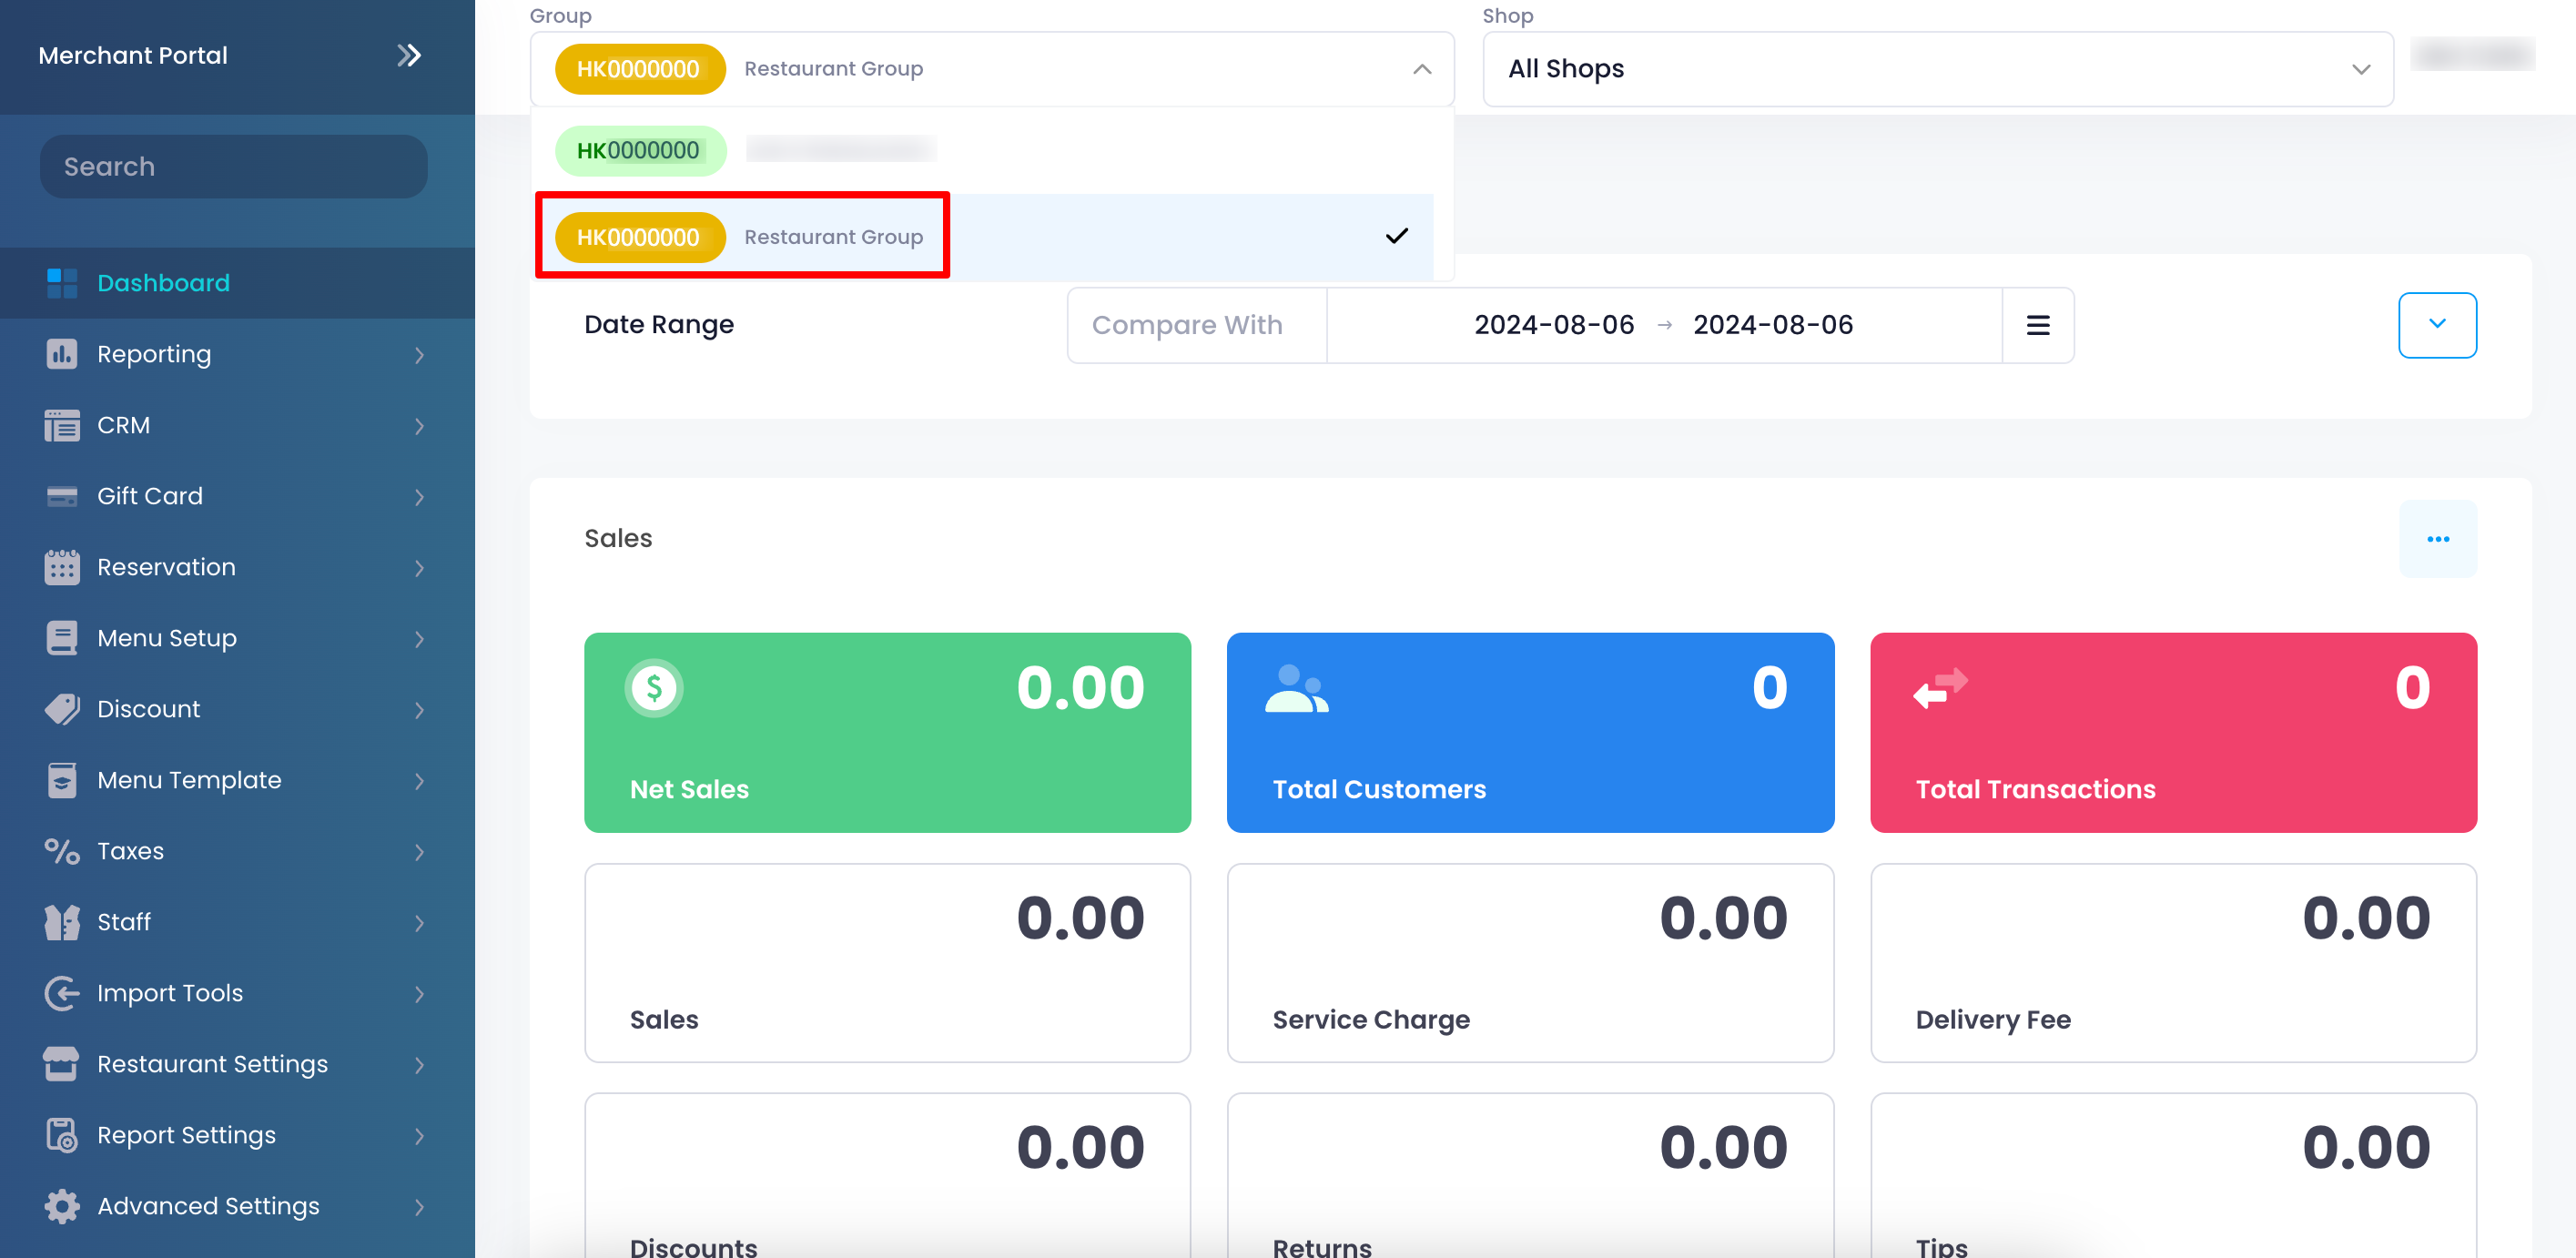
- On the left panel, click on CRM. Then, click on Loyalty and select Top-up Credit Item.
- At the top right, click on + Add Top-up Credit Item.

- Upload an image for the Top-up Credit Item option you’re creating. This image will appear on the top-up credit selection page on the POS.

- Enter the following basic information:

- Name
- Description
- Simplified Name
- Product Code (SKU)
- Available Date
- Top-up to
Note: By default, this can only be set to "Membership Credit."
- Under "Top-up Amount," enter the following information:

- Priced
Note: By default, this can only be set to "In Backoffice." - Top-up Amount: The monetary value that will be added to the member’s account.
- Purchase Discount: The discount that will be deducted from the Top-up Amount. You can select from the following Purchase Discount options:
- Percentage discount - Deduct a percentage from the Top-up Amount.
- Amount discount - Deduct a fixed value from the Top-up Amount.
- Priced
- At the top, click on the Additional Details tab and turn on
 permissions for all platforms and restaurants under your organization that can use this Top-up Credit Item.
- Once done, at the top right, click on Save.
Manage Top-up Credit Items
Modify a Top-up Credit Item
To edit a Top-up Credit Item, follow the steps below:
Merchant Portal (Classic Theme)
- Log in to the Merchant Portal.
- At the top left, change the view to the restaurant group you’d like to configure.Tip: Restaurant Groups are represented by the color yellow.
- On the left panel, click on CRM, then click on Liability Item.
- Click on the name of the Liability Item option you’d like to edit.
- Update the Liability Item option.
- At the top right, click on Save.
Merchant Portal 2.0
- Log in to the Merchant Portal.
- At the top, from the "Group" drop-down list, select the restaurant group you’d like to configure.Tip: Restaurant Groups are represented by the color yellow.
- On the left panel, click on CRM. Then, click on Loyalty and select Top-up Credit Item.
- On the Top-up Credit Item option you’d like to edit, click on the name of the credit. Alternatively, you can click on Edit
 .
.
- Update the Top-up Credit Item option.
- At the top right, click on Save.
Delete a Top-up Credit Item
For reporting purposes, once a Top-up Credit Item has been created, it can no longer be deleted. However, you can deactivate a Top-up Credit Item to make it unavailable.
To deactivate a Top-up Credit Item, follow the steps below:
Merchant Portal (Classic Theme)
- Log in to the Merchant Portal.
- At the top left, change the view to the restaurant group you’d like to configure.Tip: Restaurant Groups are represented by the color yellow.
- On the left panel, click on CRM, then click on Liability Item.
- On the Liability Item you’d like to remove, click on Deactivate
 .
. - The Liability Item is now removed from the list of available Top-up Credit Item options. To re-add it, click on Reactivate
 .
.
Merchant Portal 2.0
- Log in to the Merchant Portal.
- At the top, from the "Group" drop-down list, select the restaurant group you’d like to configure.Tip: Restaurant Groups are represented by the color yellow.
- On the left panel, click on CRM. Then, click on Loyalty and select Top-up Credit Item.
- On the Top-up Credit Item you’d like to remove, click on Deactivate


 .
.