 Eats365 Products
 Merchant Guide
 Modules
 Membership
 Integrations
 Hardware
 Staff Operations
 Roles & Permissions
 Payments
 Reports
 What’s New
 Release Notes
 Troubleshooting
 Simulators
 Glossary
 Troubleshooter
 System Status
Branded Online Store
All Product
Set up SMS Notification
Learn how to set up SMS Notifications so customers receive messages on their mobile devices about changes to their order status.
By default, when a customer places an order on your branded online store, they receive automated confirmation and status updates through their registered email address. To provide a faster, more convenient guest experience, you can also send real-time text alerts directly to their mobile devices by enabling SMS Notifications.
In this article, you’ll learn how to set up SMS Notification so customers can get notified of their order status through their mobile devices.
Enable SMS Notification
To set up SMS Notification, follow the steps below:
Merchant Portal (Classic Theme)
- Log in to the Merchant Portal.
- On the left panel, click on Integration. Then, select SMS Notification.
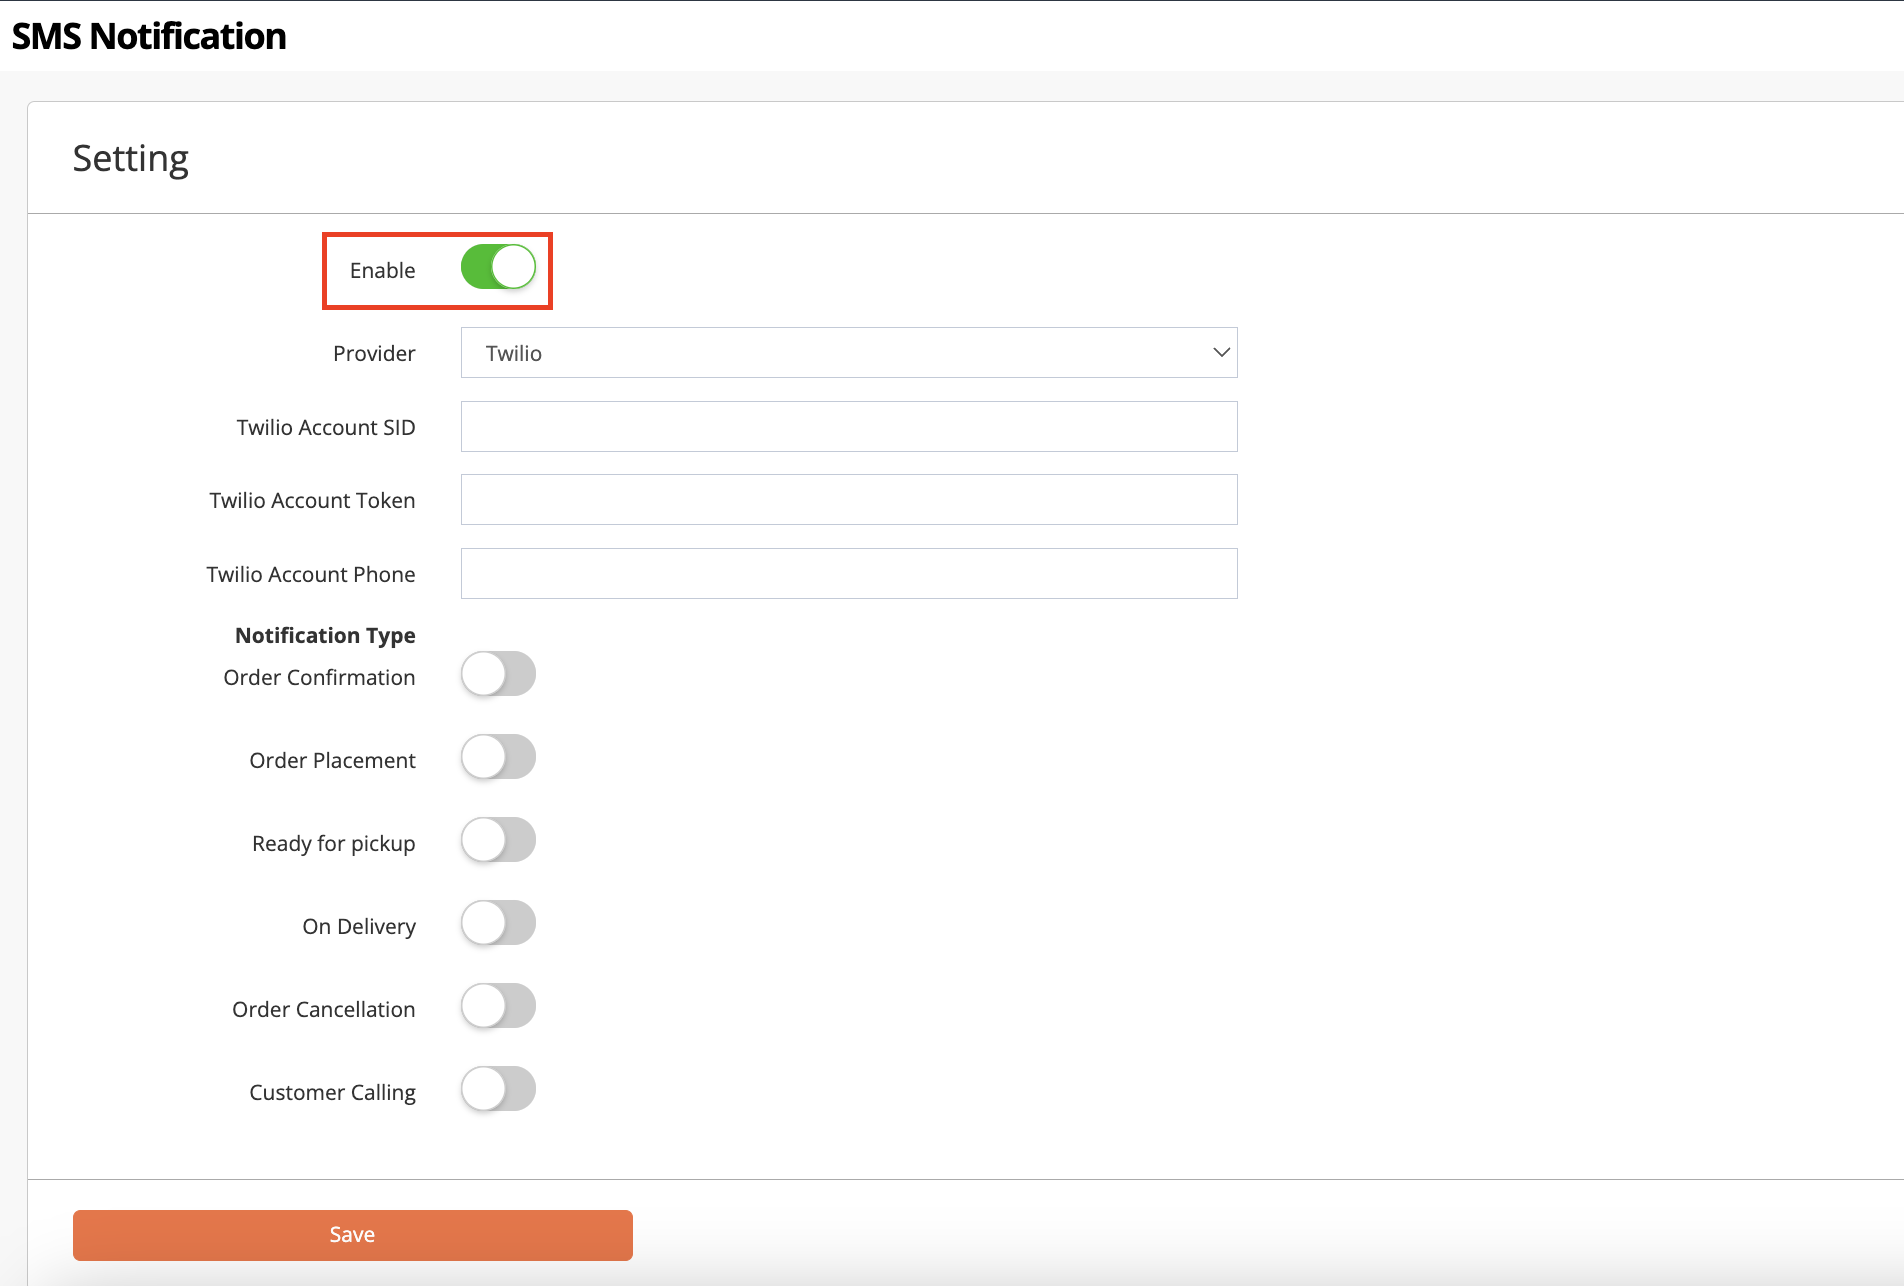
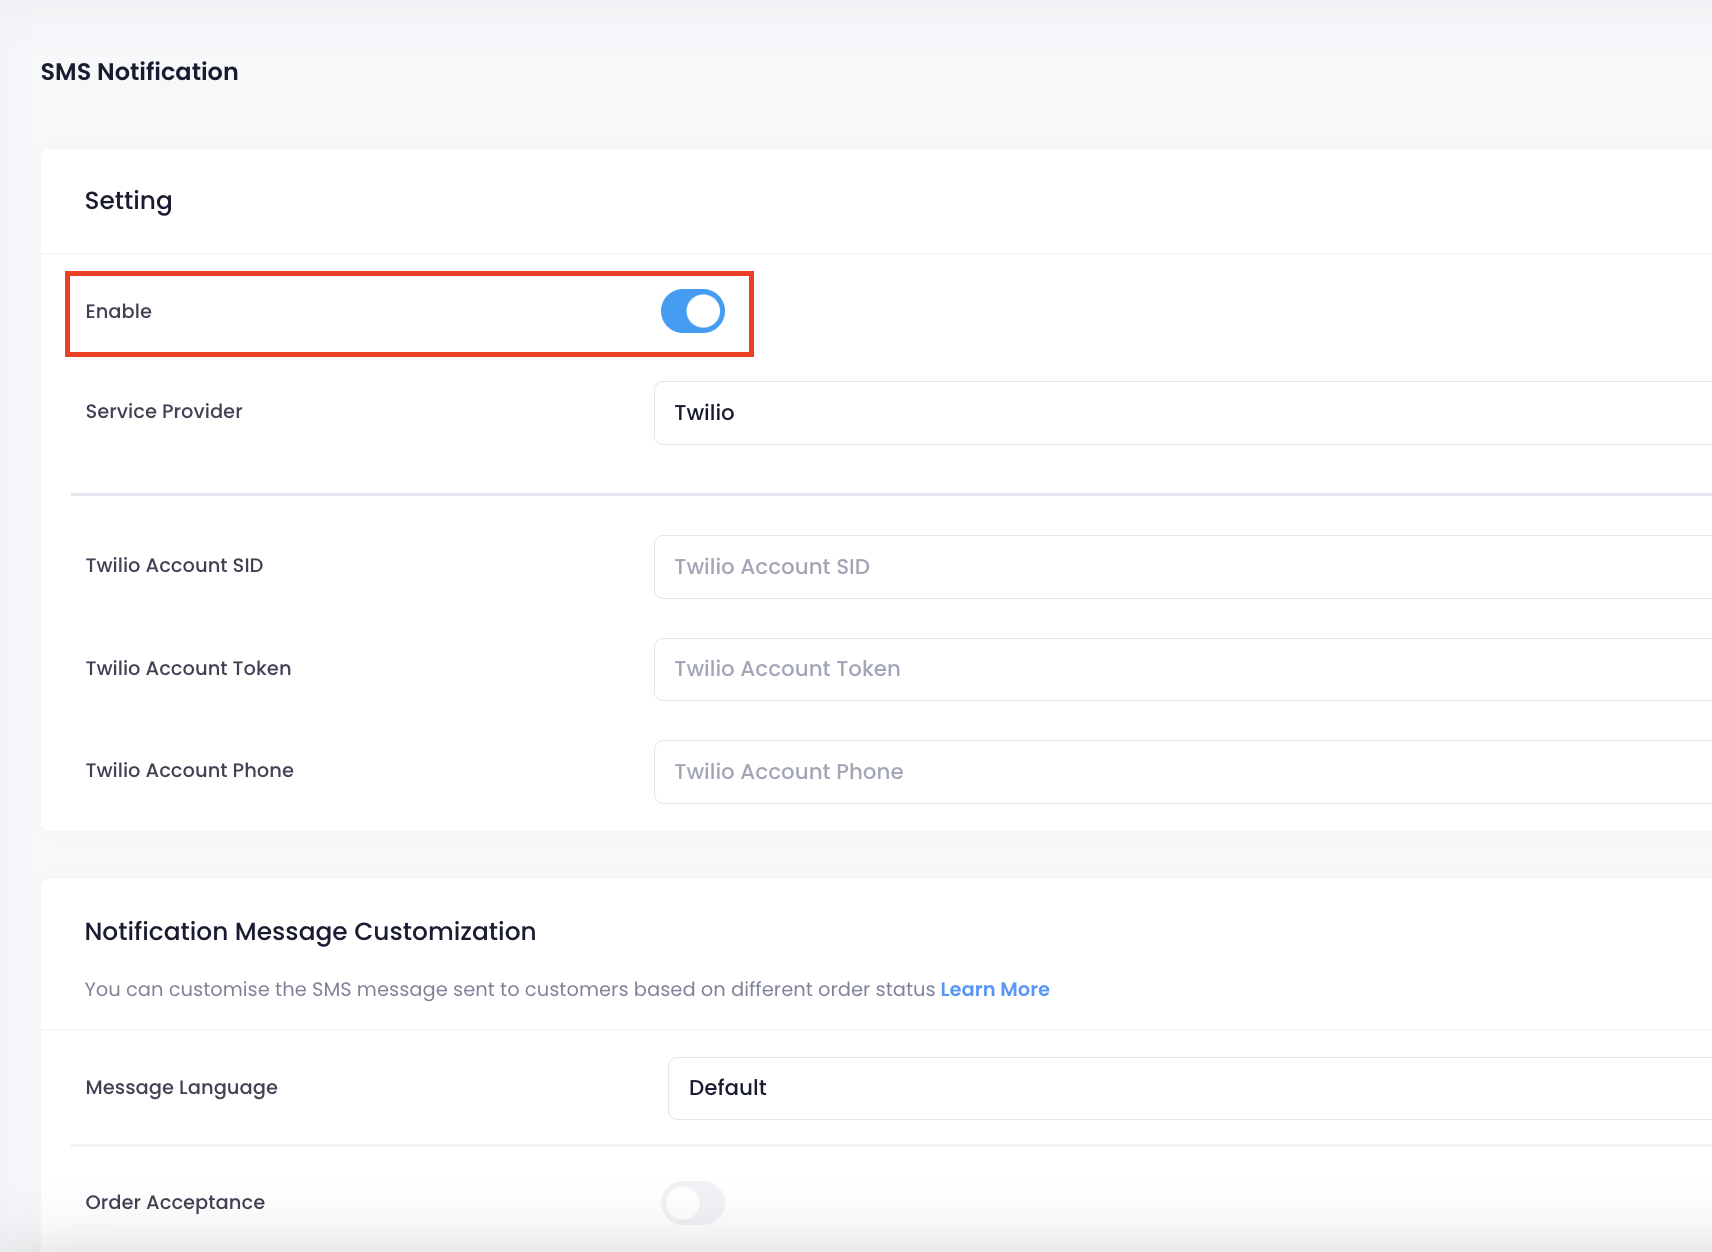
- To activate SMS Notification, turn on Enable
 .
.
- Select the SMS service provider that you want to use.
- Enter your account details.
Note: You can get the Account SID, Account Token, and Account Phone from your SMS service provider.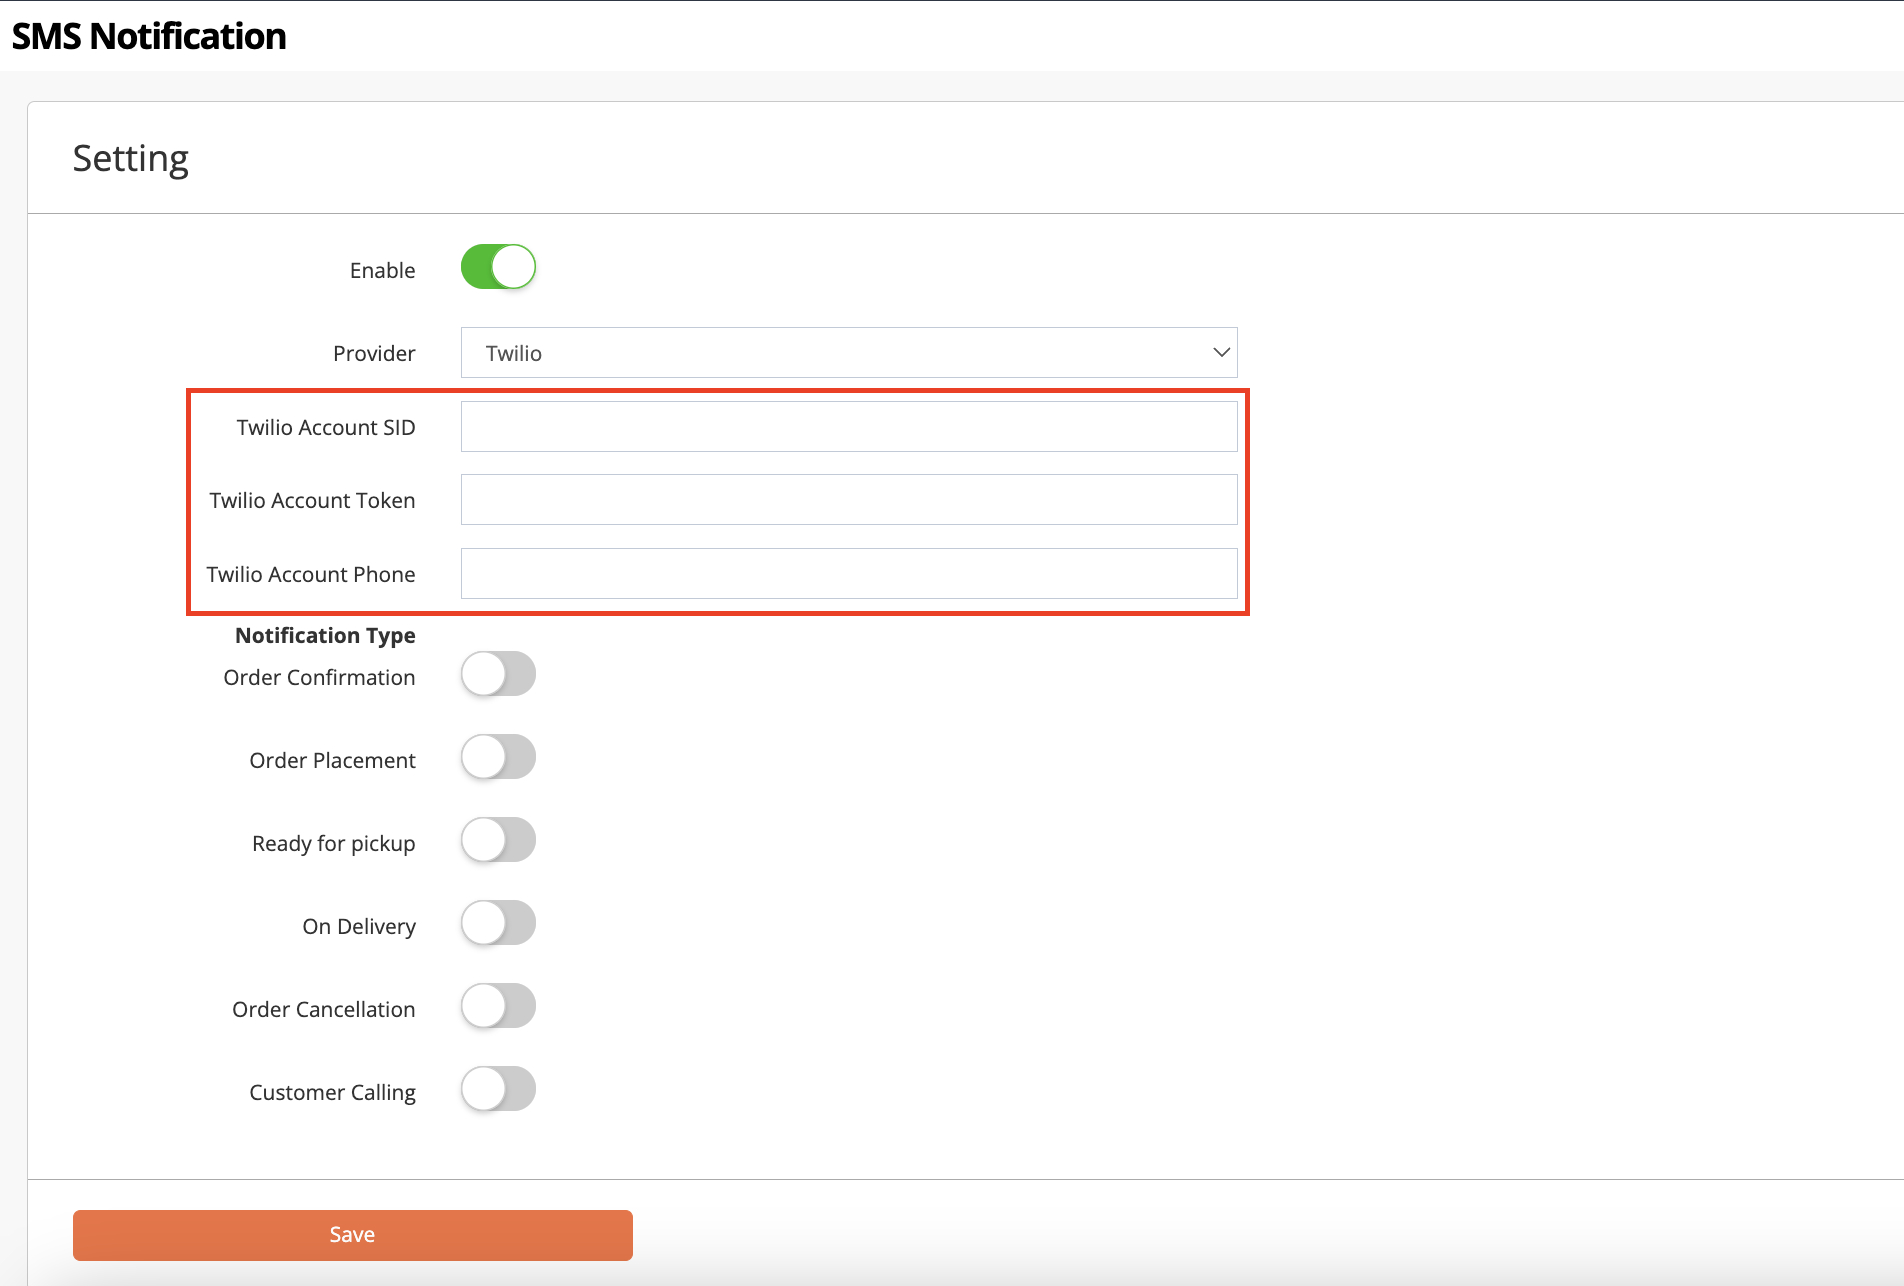
- Under Notification Type, select the type of notification that you want customers to receive. You can choose from the following notifications:
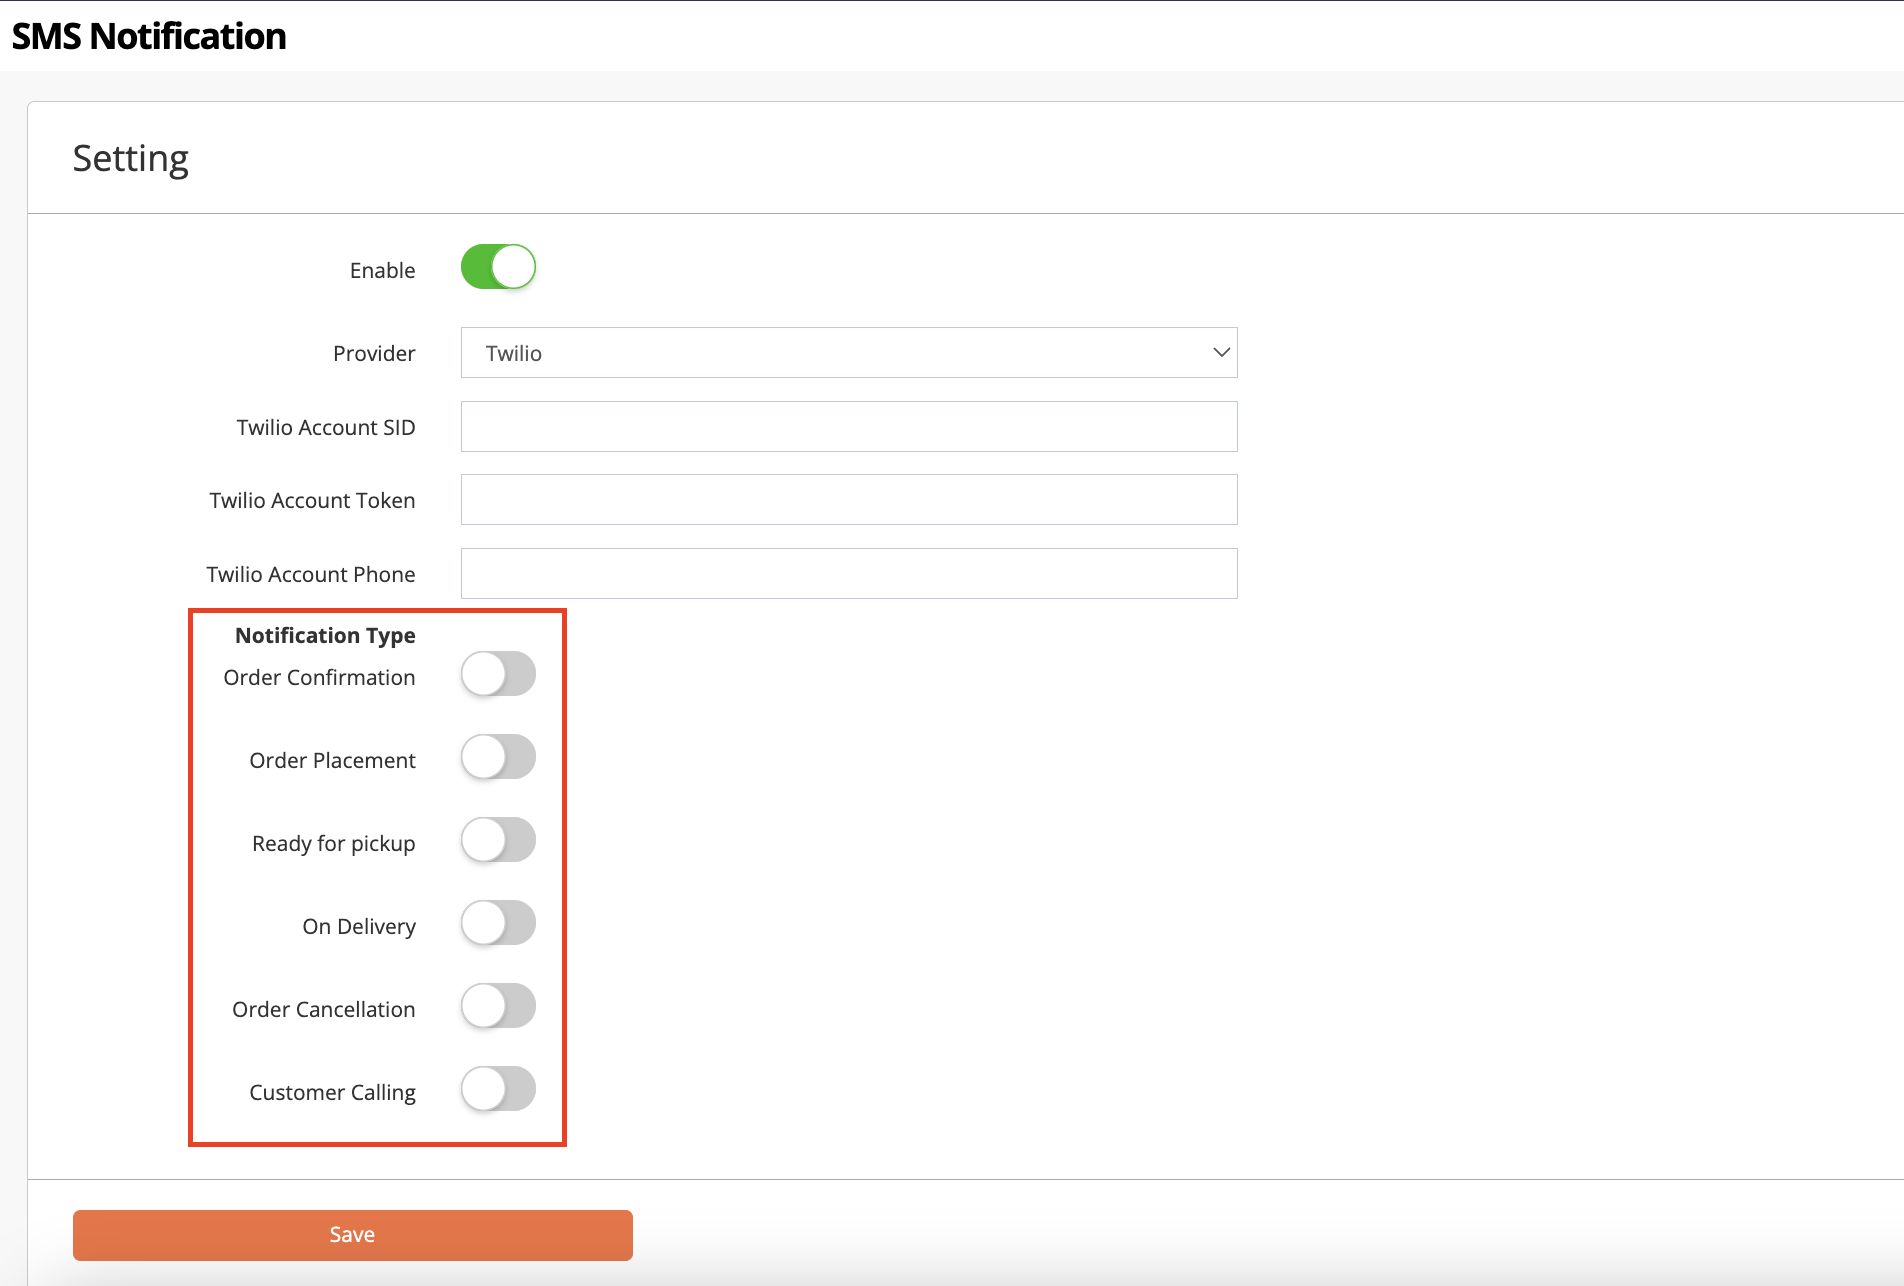
- Order Confirmation - The customer will be notified when their order is confirmed on the Eats365 POS.
- Order Placement - The customer will be notified if their order is successfully placed on the website.
- Ready for Pickup - The customer will be notified when their order is ready for pickup.
- On Delivery - The customer will be notified when their order is already being delivered.
- Order Cancellation - The customer will be notified when their order is cancelled.
- Customer Calling - The customer will be notified when their order number is called from the Expedite Display.
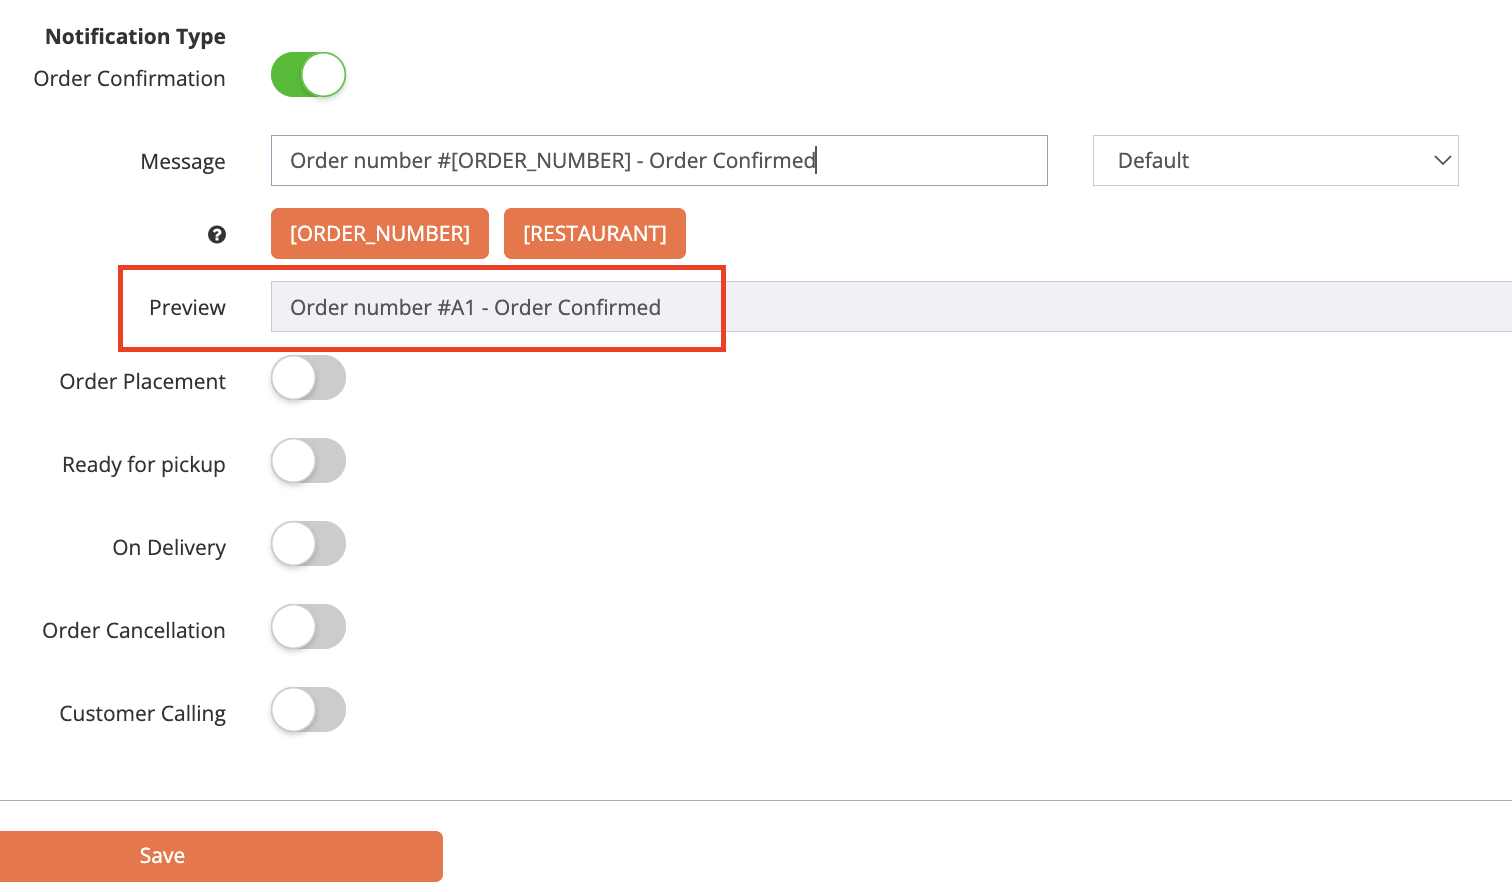
- Add a custom message to the SMS notification per language.
- You must add a custom message in the default language. To add a custom message in a different language, click on the language drop-down list and select another language.
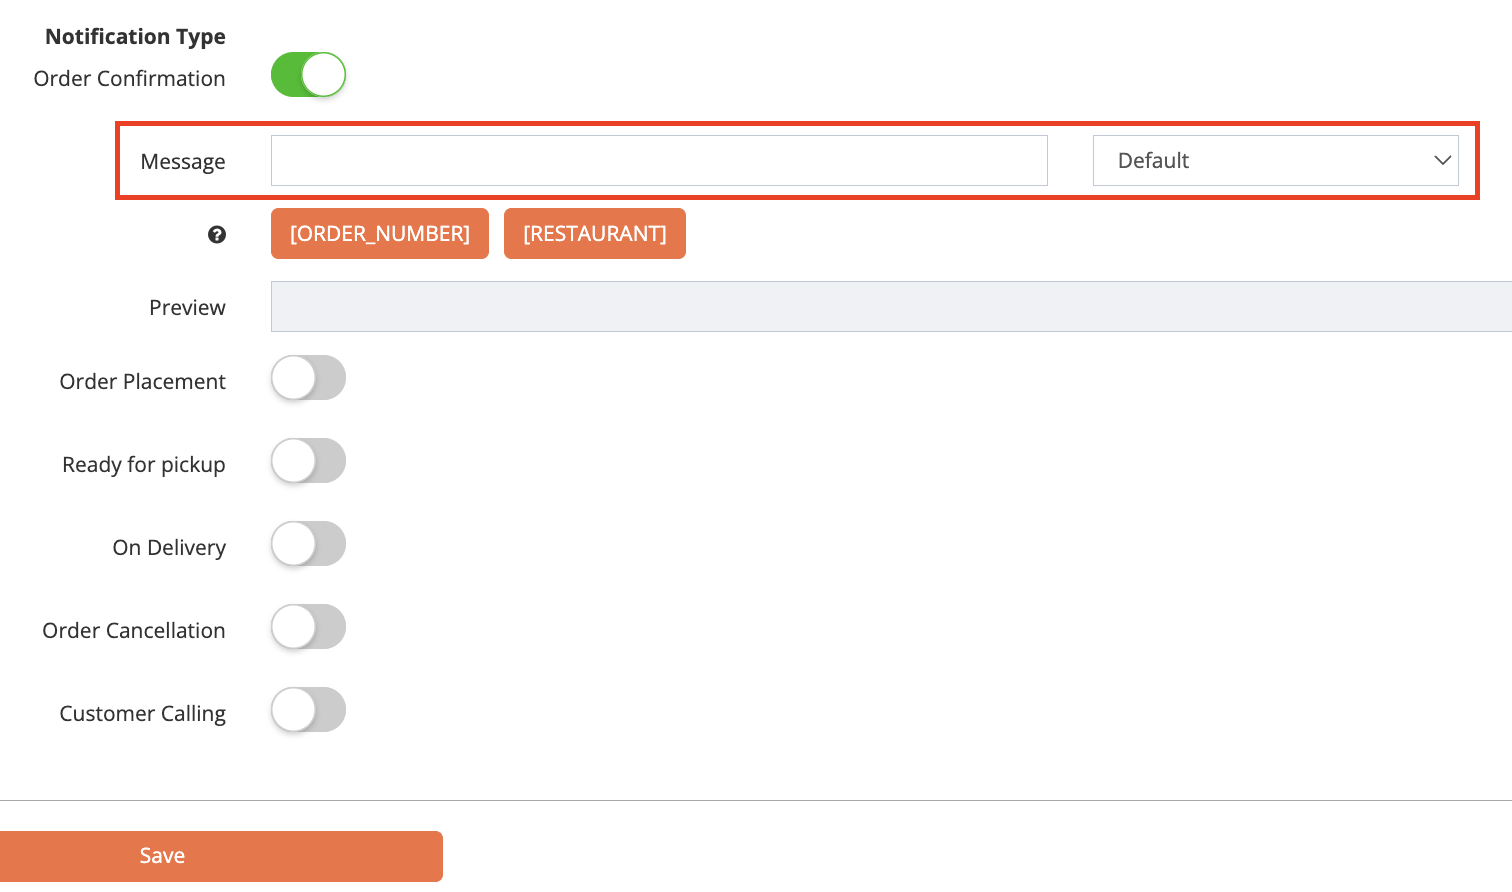
- If you want to add your restaurant’s name and the customer’s order number on the notification, click on the Variable(s).
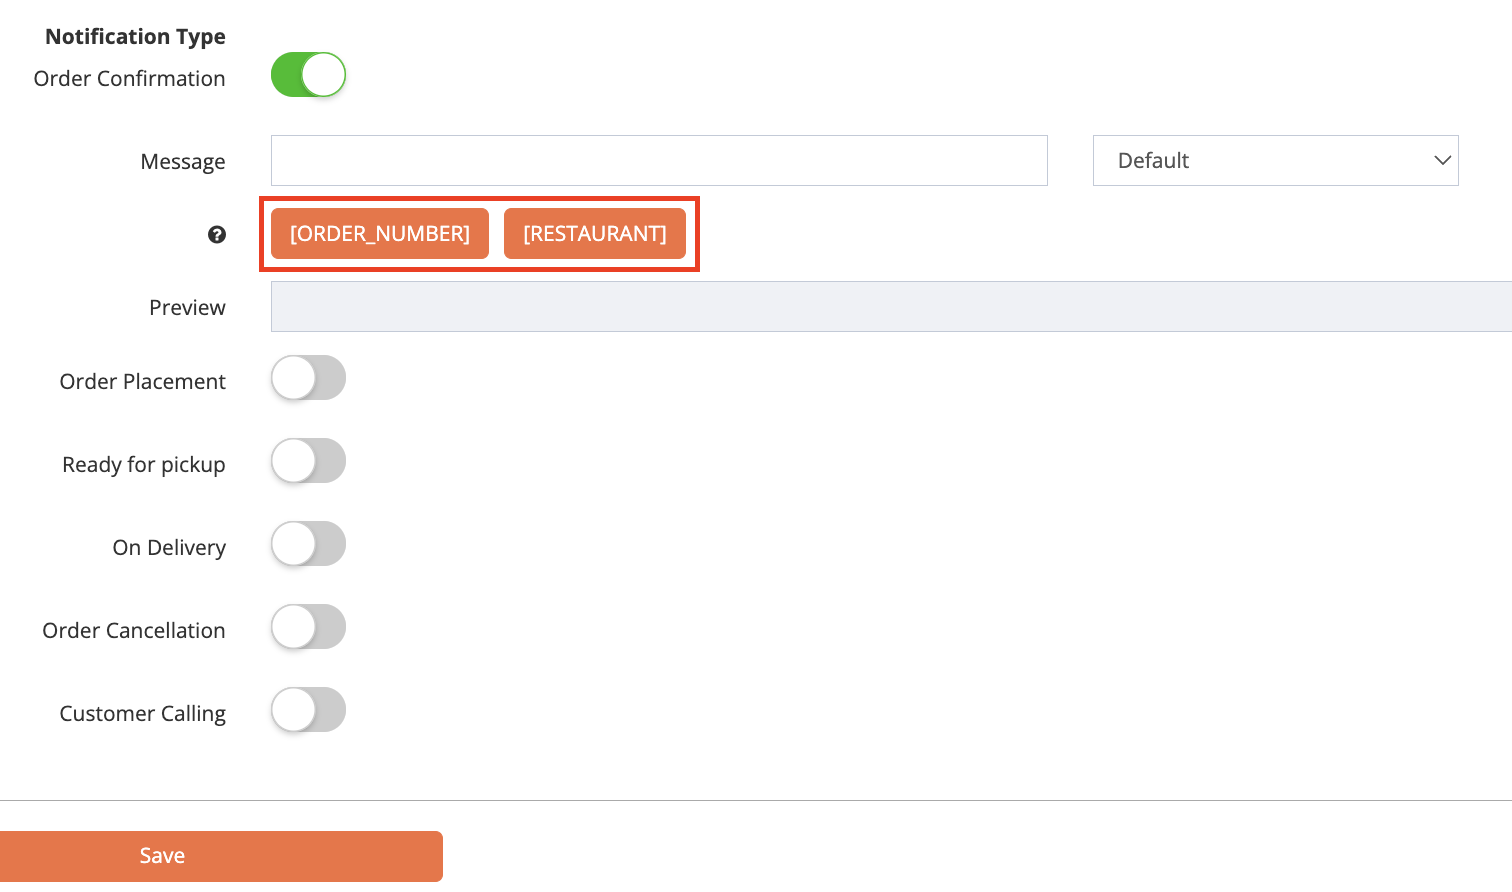
- Next to Preview, you’ll find a sample of the custom message you’re creating.
- Click on Save to confirm.
Merchant Portal 2.0
- Log in to the Merchant Portal.
-
On the left panel, click on Modules
 Branded Online StoreSMS Integration.
 - To activate SMS Notification, turn on Enable
 .
.
- Select the SMS service provider that you want to use.
- Enter your account details.
Note: You can get the Account SID, Account Token, and Account Phone from your SMS provider.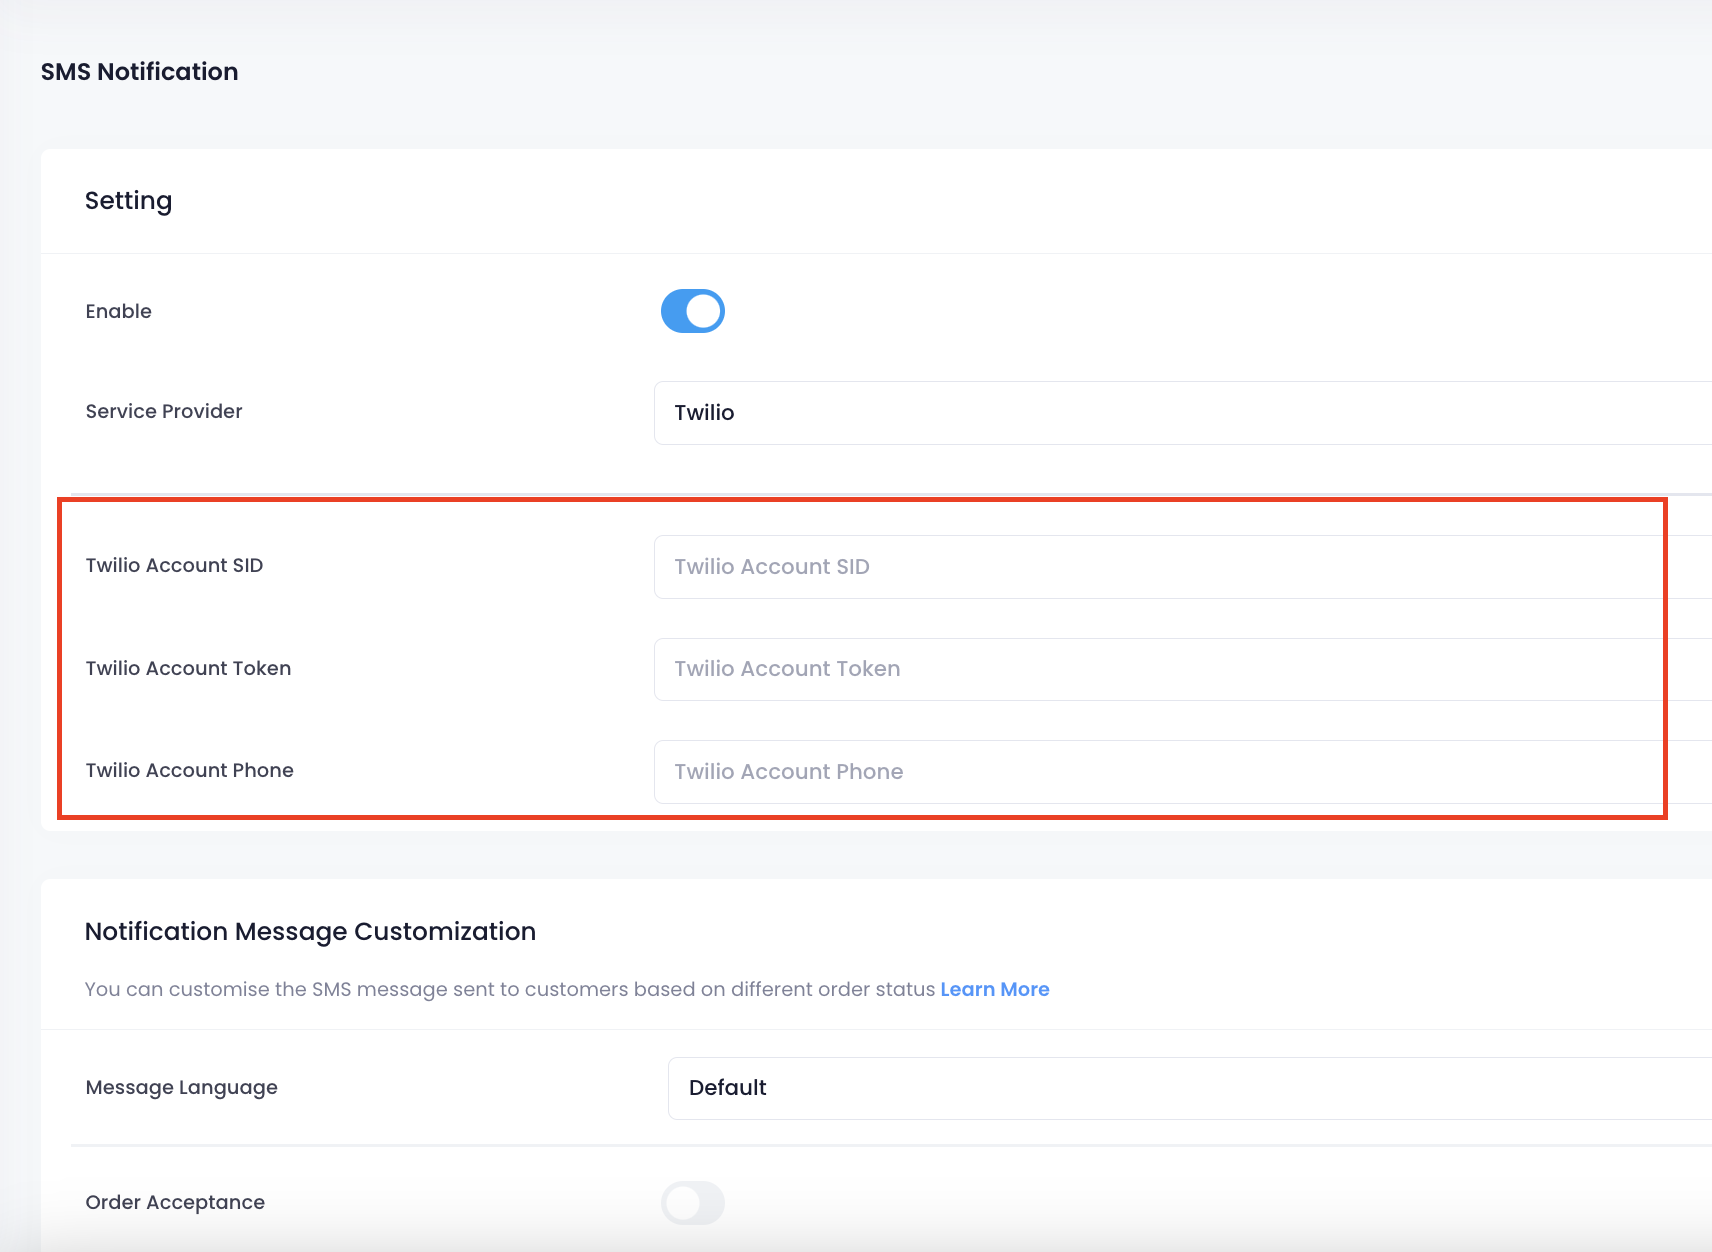
-
Under "Phone Country Code Settings," click on the Available Phone Country Code drop-down menu and select your preferred phone country code list setup. This phone country code list preference applies to the Guest Checkout section on the Branded Online Store. When a customer orders as a guest on your website, the system sends real-time SMS updates about their order status. You can explicitly define which country dial codes are authorized to receive automated messages to ensure delivery accuracy and manage SMS text routing costs.

- Default Country Code: The list follows your restaurant's system-wide preferences and displays all phone country codes included in the configuration.
- Specific Country: You select the phone country codes you want to include in the list.
- Under "Notification Message Customization," select the type of notification that you want customers to receive. You can choose from the following notifications:
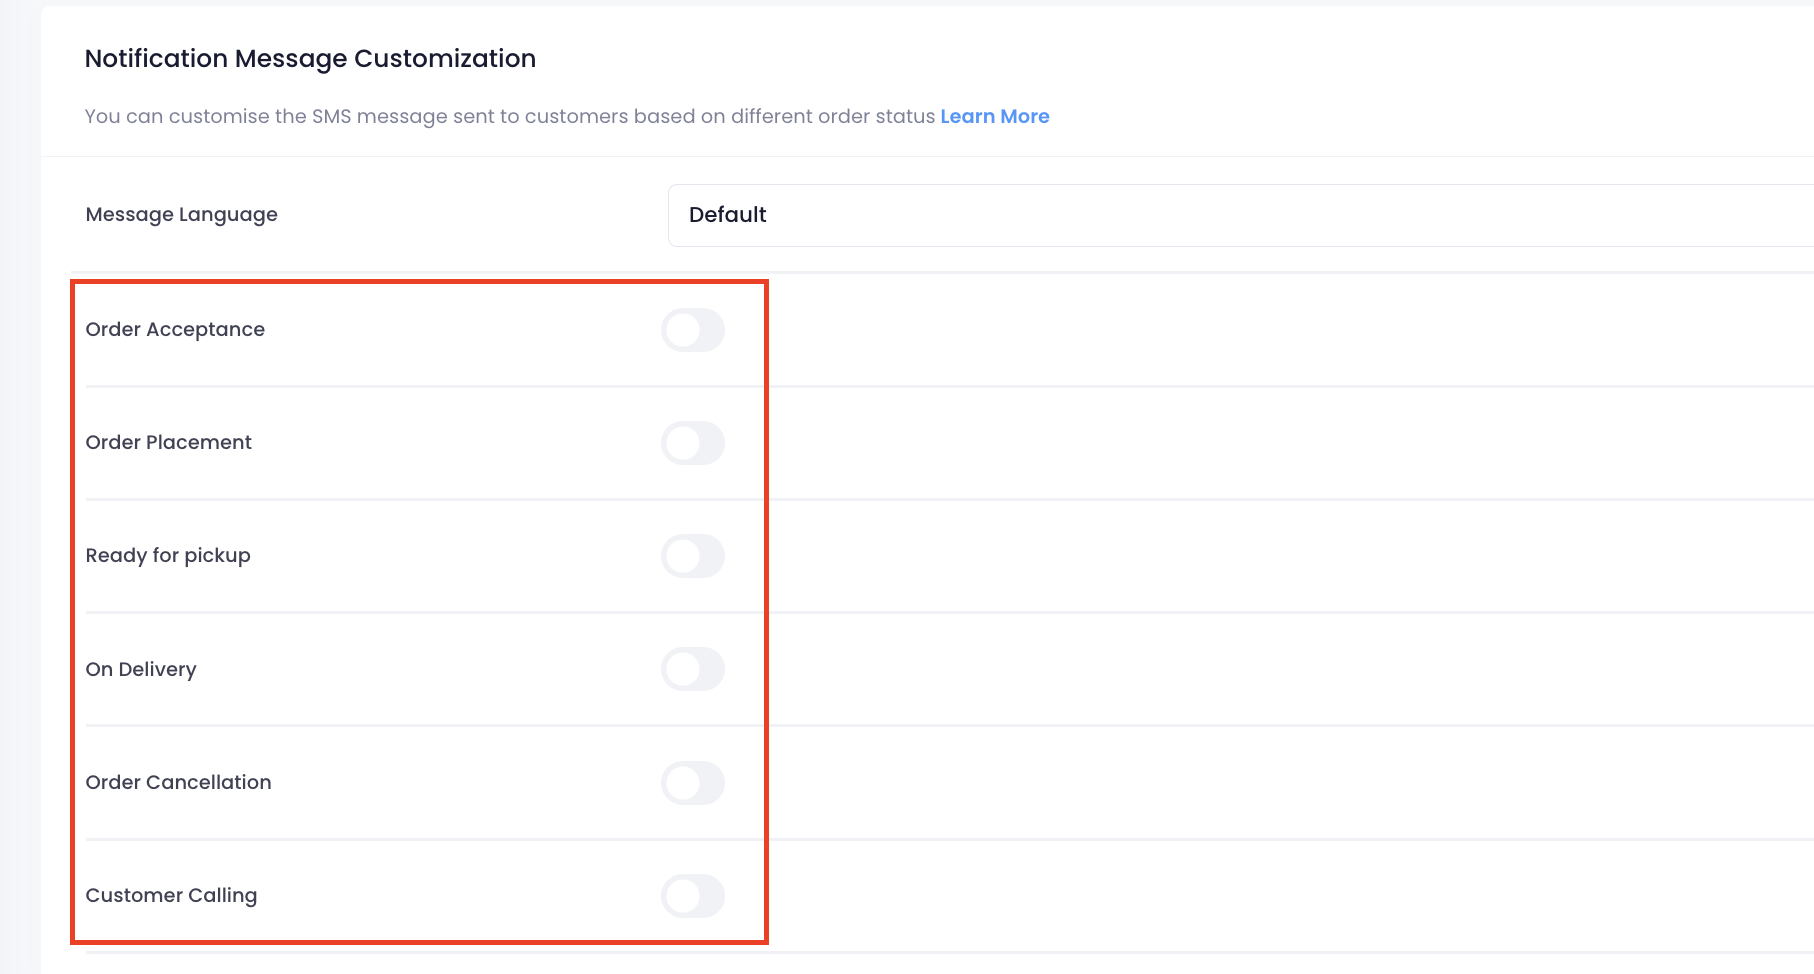
- Order Acceptance: The customer will be notified when their order is confirmed on the Eats365 POS.
- Order Placement: The customer will be notified if their order is successfully placed on the website.
- Ready for Pickup: The customer will be notified when their order is ready for pickup.
- On Delivery: The customer will be notified when their order is being delivered.
- Order Cancellation: The customer will be notified when their order is cancelled.
- Customer Calling: The customer will be notified when their order number is called from the Expedite Display.
- Add a custom message to the SMS notification per language.
- You must add a custom message in the default language. To add a custom message in a different language, click on the language drop-down list and select another language.
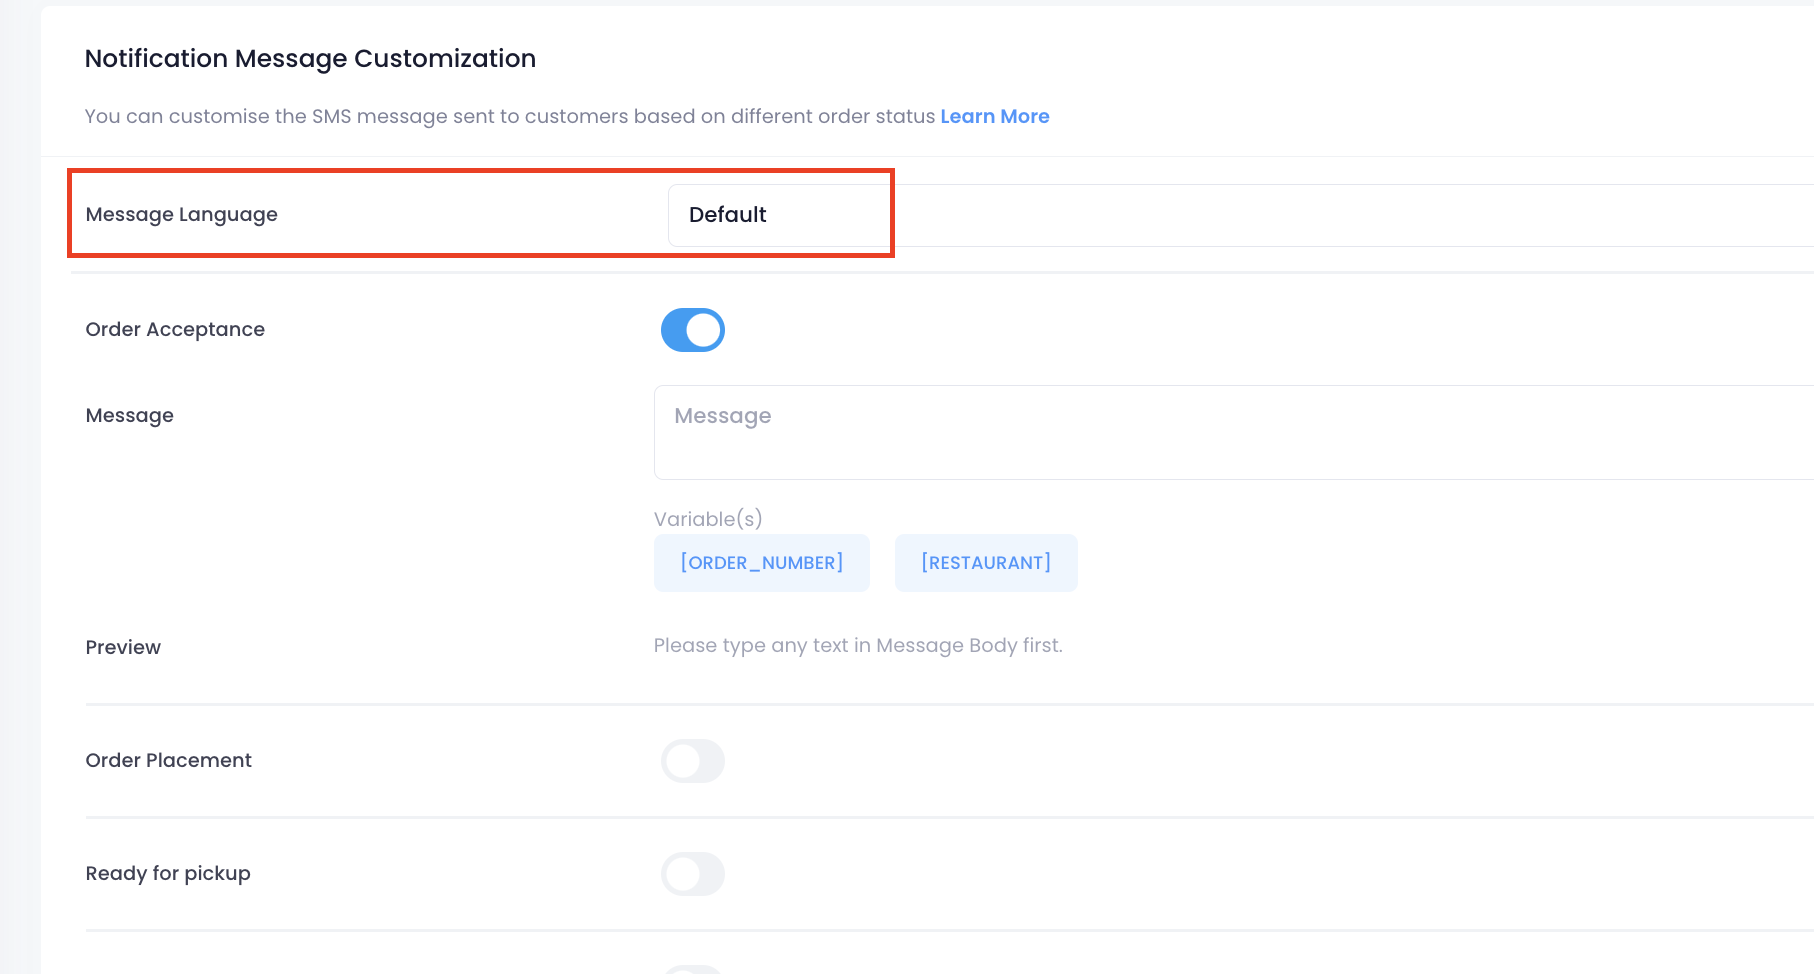
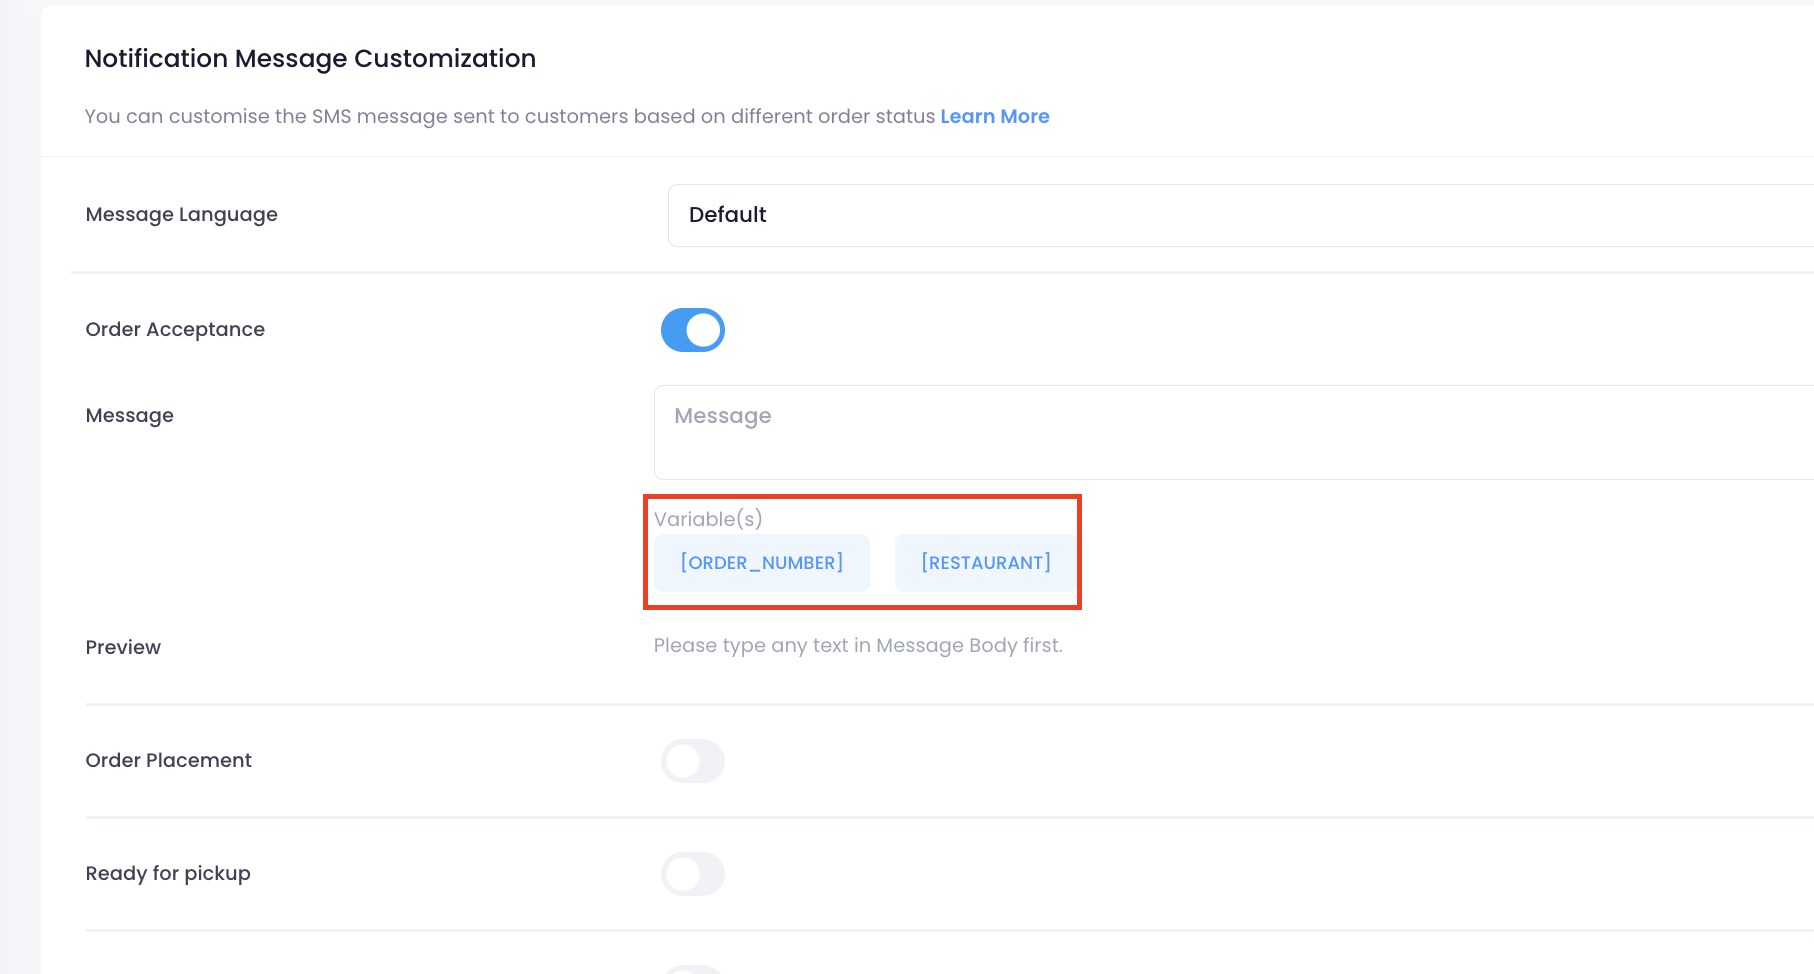
- If you want to add your restaurant’s name and the customer’s order number on the notification, click on the Variable(s).
- Next to "Preview," you’ll find a sample of the custom message you’re creating.

- Click on Save to confirm.