 Eats365 Products
 Merchant Guide
 Modules
 Membership
 Integrations
 Hardware
 Staff Operations
 Roles & Permissions
 Payments
 Reports
 What’s New
 Release Notes
 Troubleshooting
 Simulators
 Glossary
 Troubleshooter
 System Status
Menu Template
Table of Contents
Set up and manage a Location Group
Learn how create a Location Group to simultaneously apply pricing changes to shops located in specific areas.
You can create a Location Group to categorize restaurants with same priced menus into the same group. A Location Group is useful when customizing menu pricing for different branches of your restaurants and applying changes simultaneously to those locations. For example, you can group together shops in prime locations and adjust the menu to feature higher-priced items compared to other locations.
In this article, you’ll learn how to create and manage a Location Group, and apply pricing changes to shops in a Location Group.
Create a Location Group
To create a location group, follow the steps below:
- Log in to the Merchant Portal.
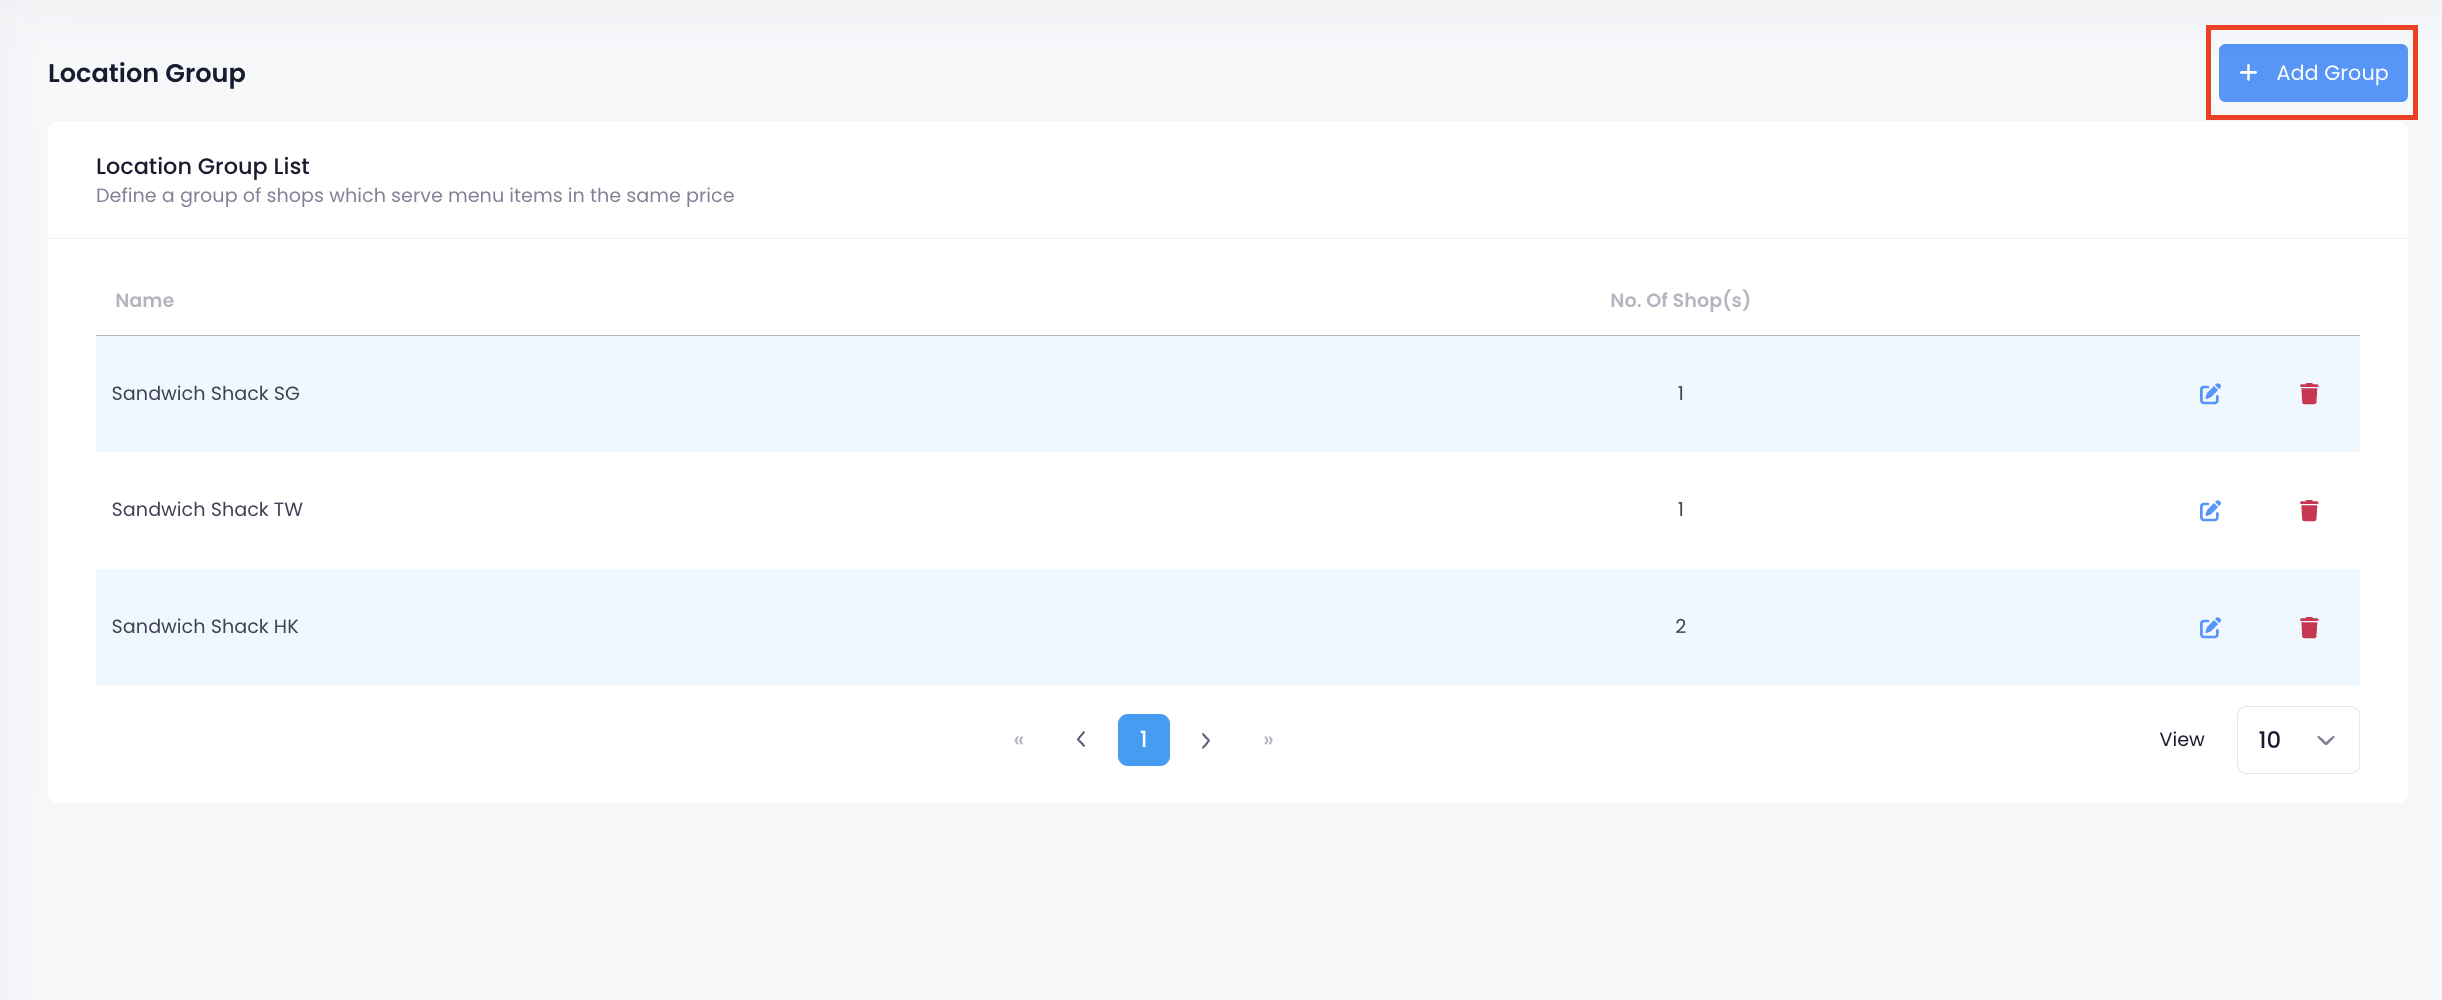
- On the left panel, click on Menu Template, then click on Location Group.
- At the top right, click on Add Group.
- Enter the Location Group Name.
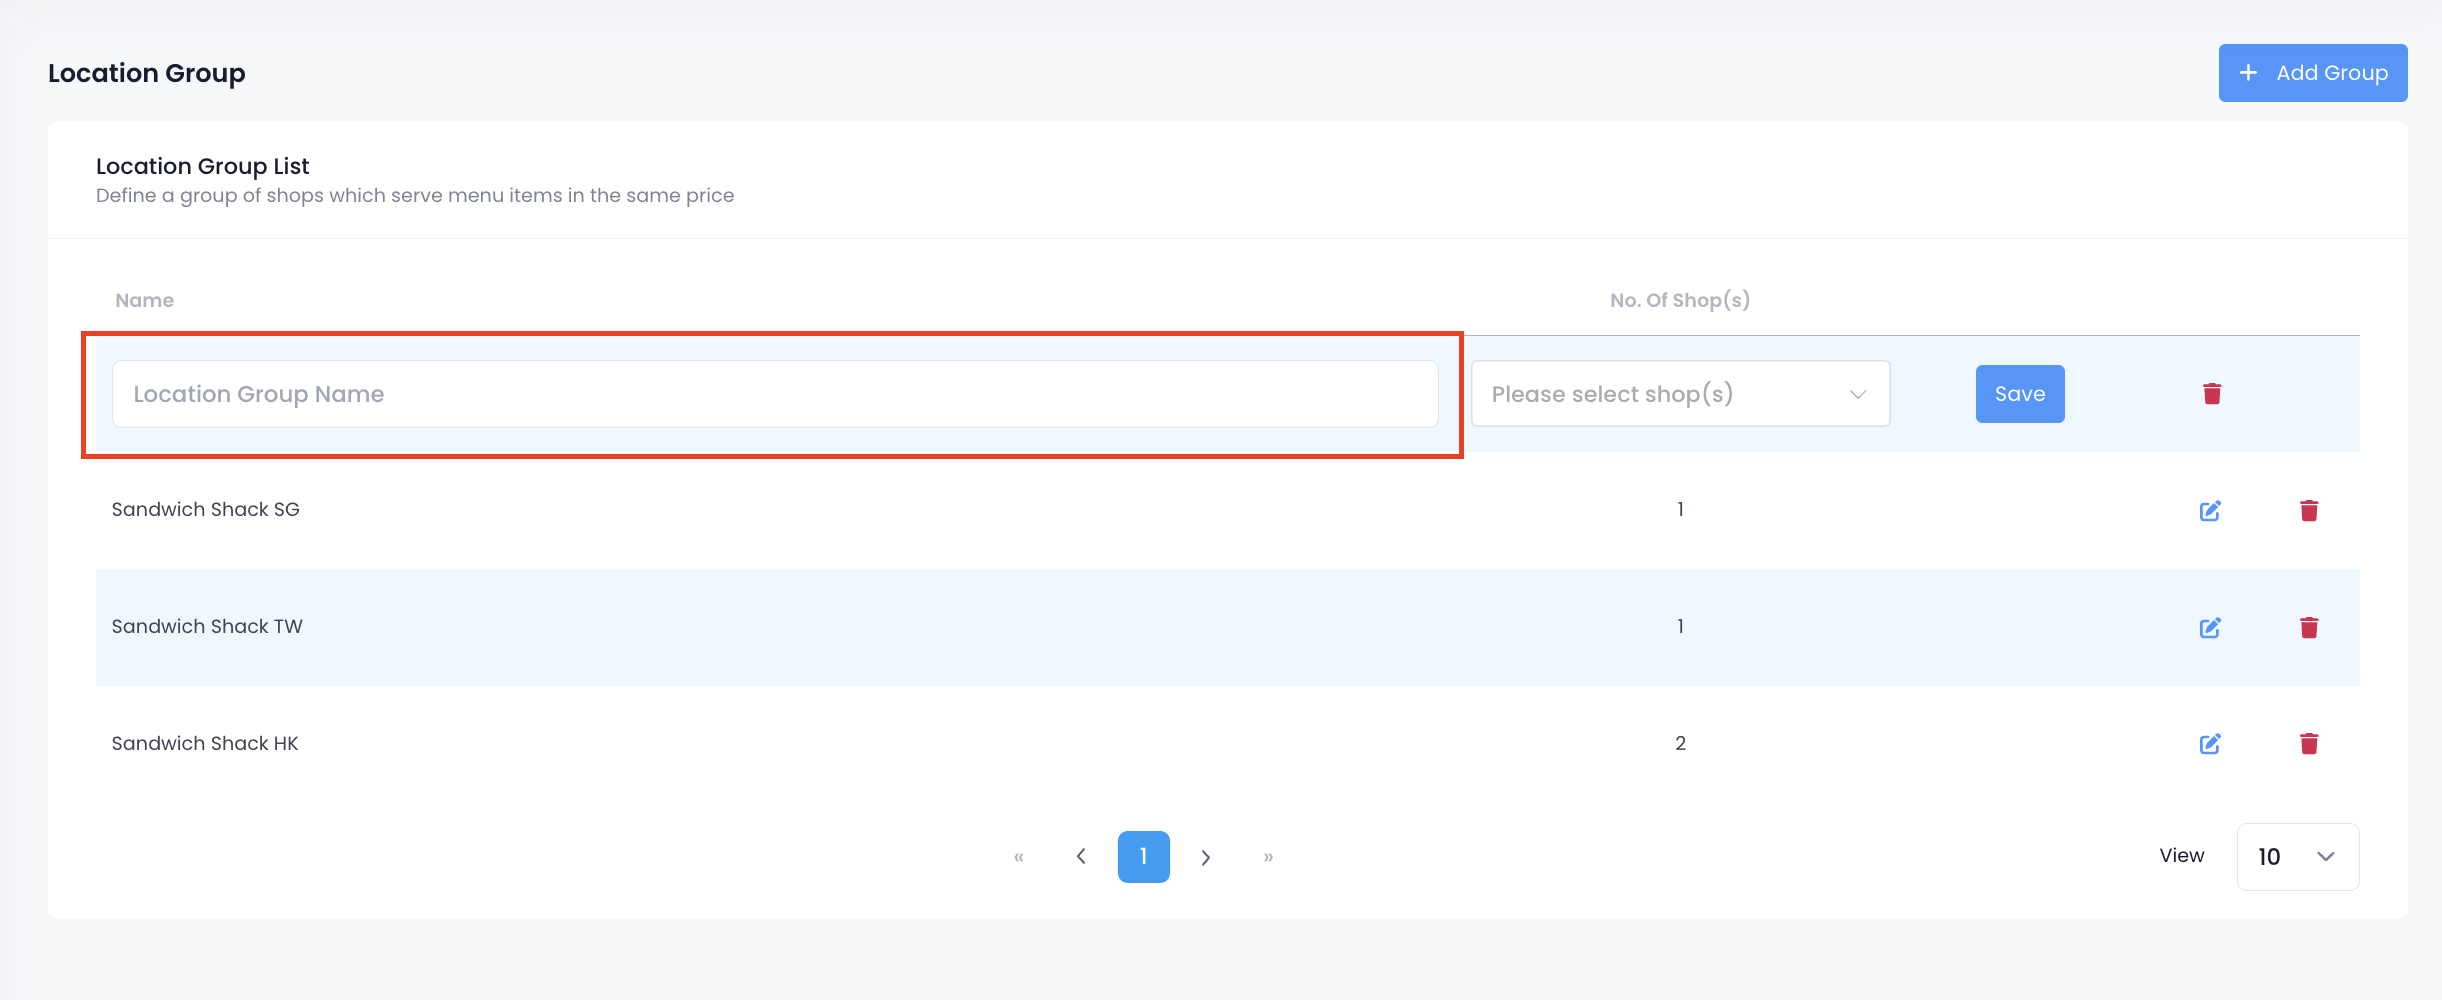
- Select the shop(s) that you want to include in the location group.
Note: A shop can only be added to a location group once. - Click on Save to confirm.
Manage a Location Group
Edit a Location Group
To modify a location group, follow the steps below:
- Log in to the Merchant Portal.
- On the left panel, click on Menu Template, then click on Location Group.
- Next to the location group that you want to update, click on Edit
 .
. - Update the Location Group.
- At the top right, click on Save to confirm.
Delete a Location Group
To remove a Location Group, follow the steps below:
- Log in to the Merchant Portal.
- On the left panel, click on Menu Template, then click on Location Group.
- Next to the location group that you want to delete, click on Delete
 . A prompt appears to confirm that you want to proceed.
 - Click on Confirm to delete.
Set different pricing for items depending on location
When a Menu Template is applied to a Location Group, the system recognizes the prices included in the menu and applies them to all shops included within the group. However, you can customize the items in a Menu Template to have different pricing for each Location Group. For example, if the original price of a drink item is listed as $10, upon applying the Menu Template to a location group and setting the price to $15, the drink item will be priced as $15.
To set different pricing for an item depending on the item’s location, follow the steps below:
- Log in to the Merchant Portal.
- On the left panel, click on Menu Template, then click on Menu Template.
- Next to the menu template with the menu item that you want to modify, click on Edit.
- Next to the item that you want to modify, click on Edit.
- From the General tab, scroll down to Availability & Price.
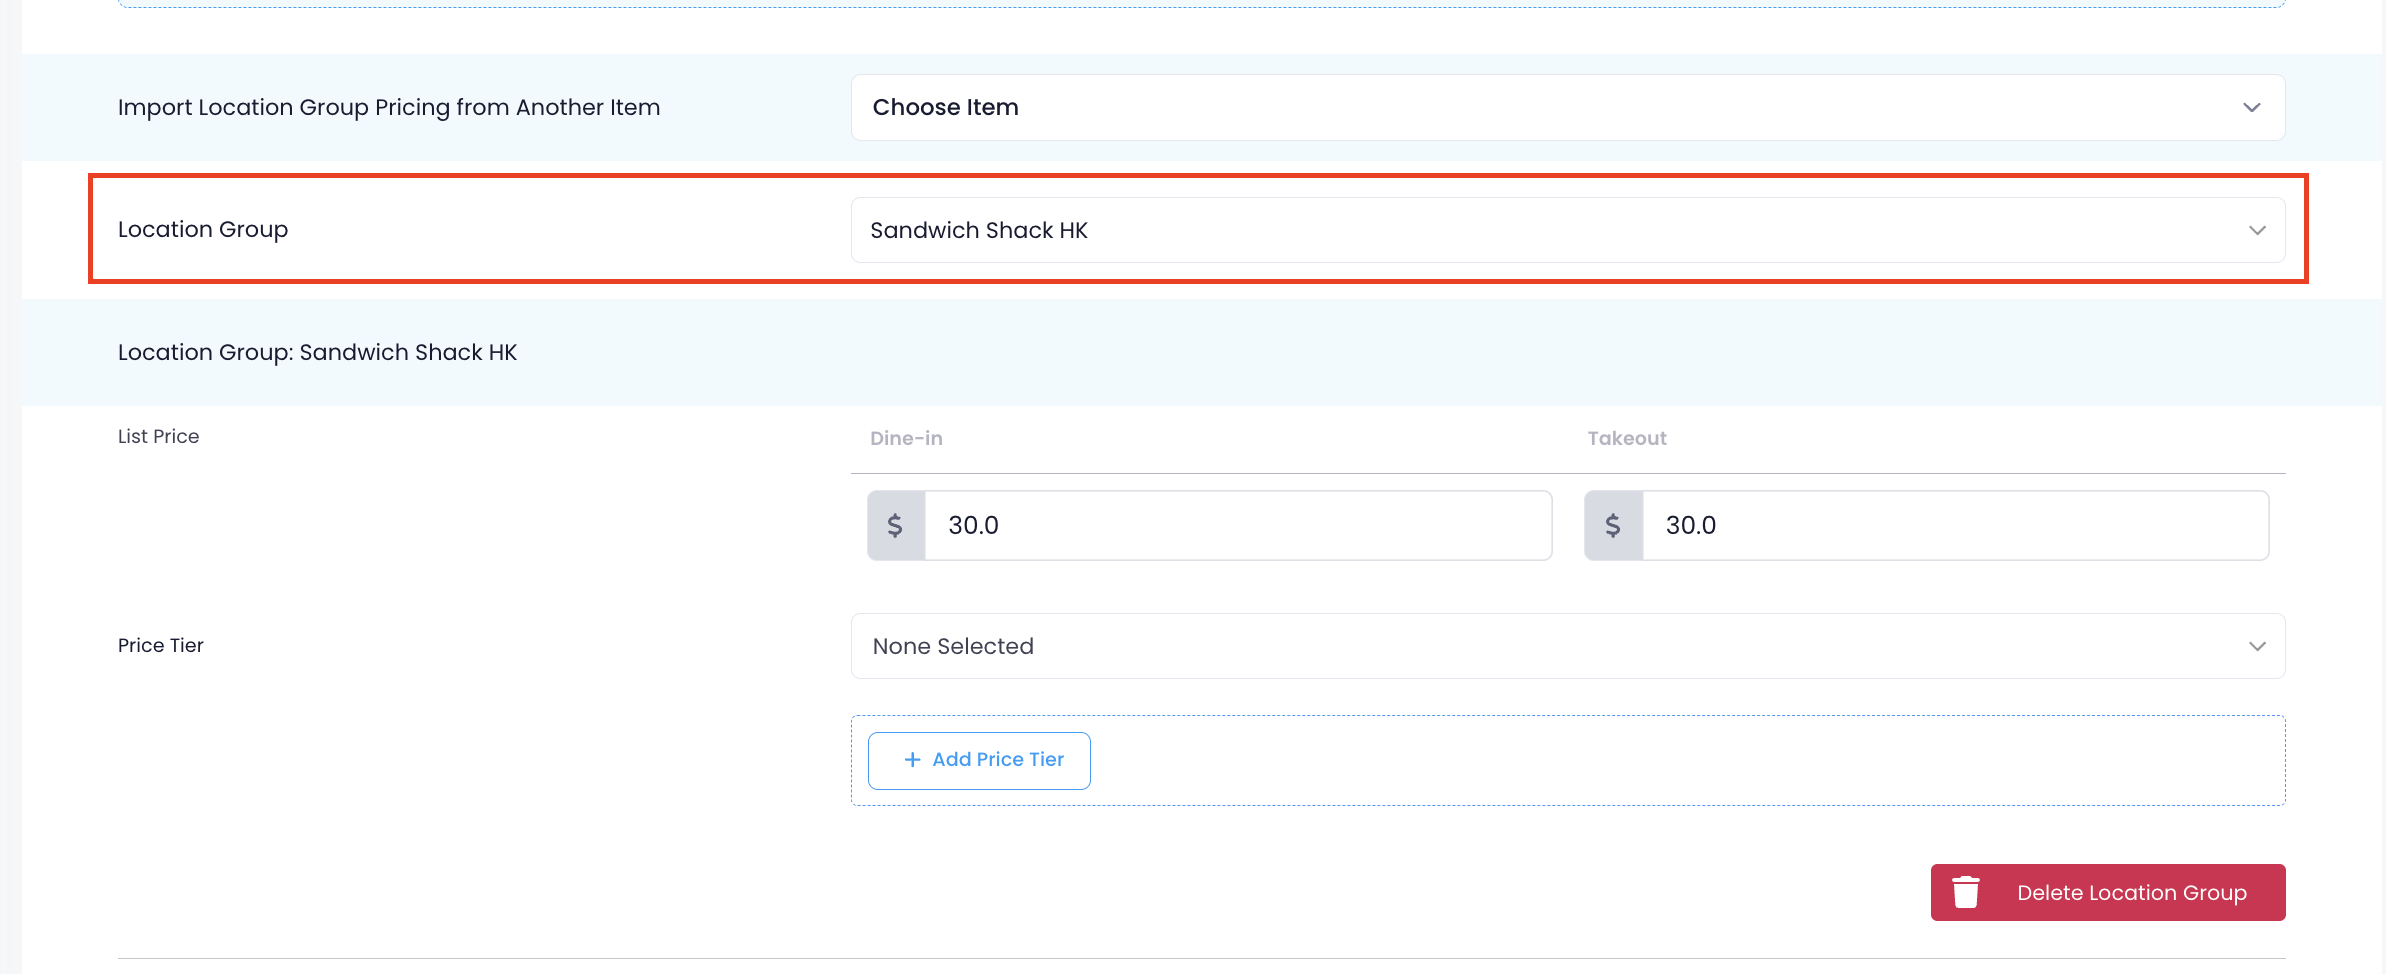
- Next to Location Group, select the location group that you want to create a different price for the item.
- Enter the new List Price for the item.
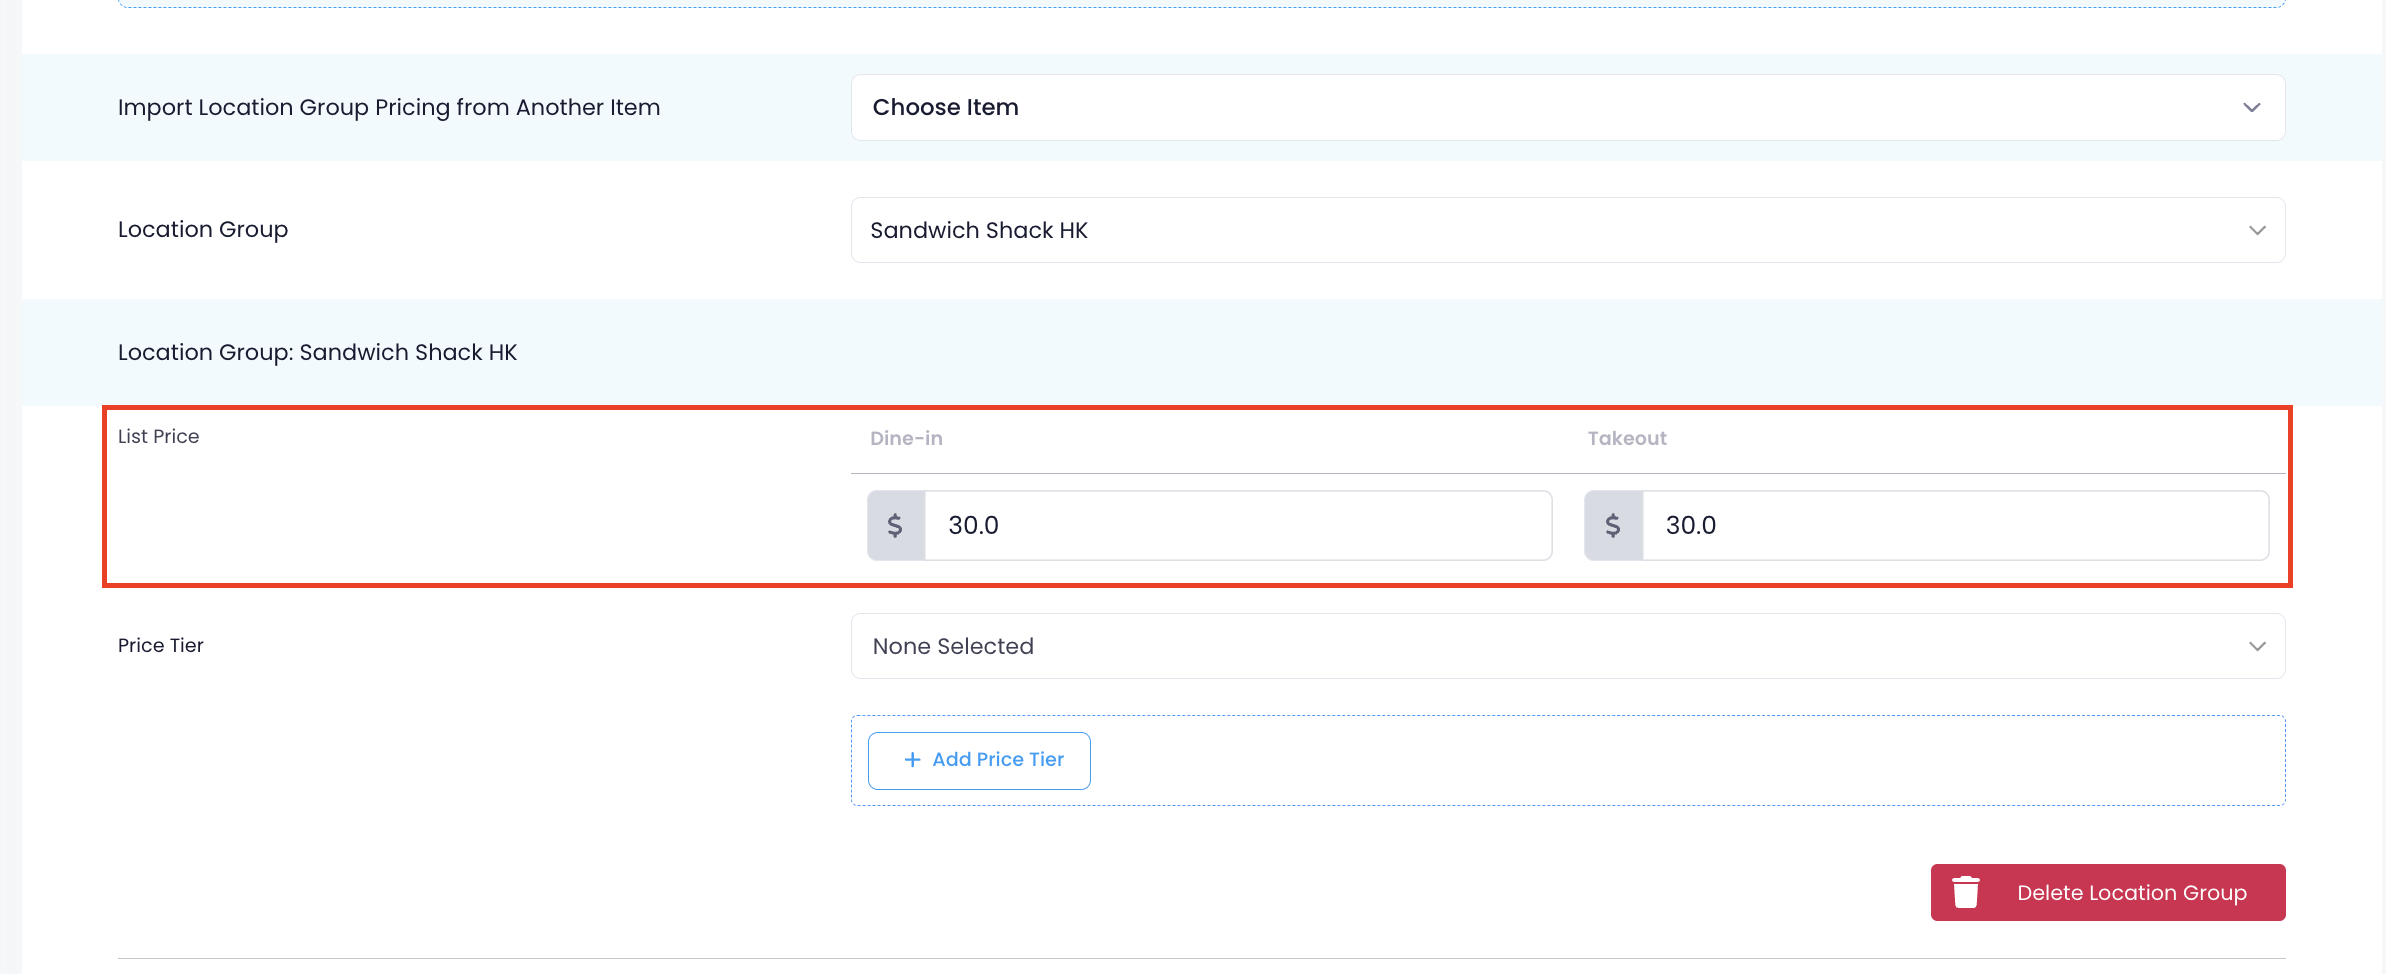
- Enter the new Price Tier for the item.
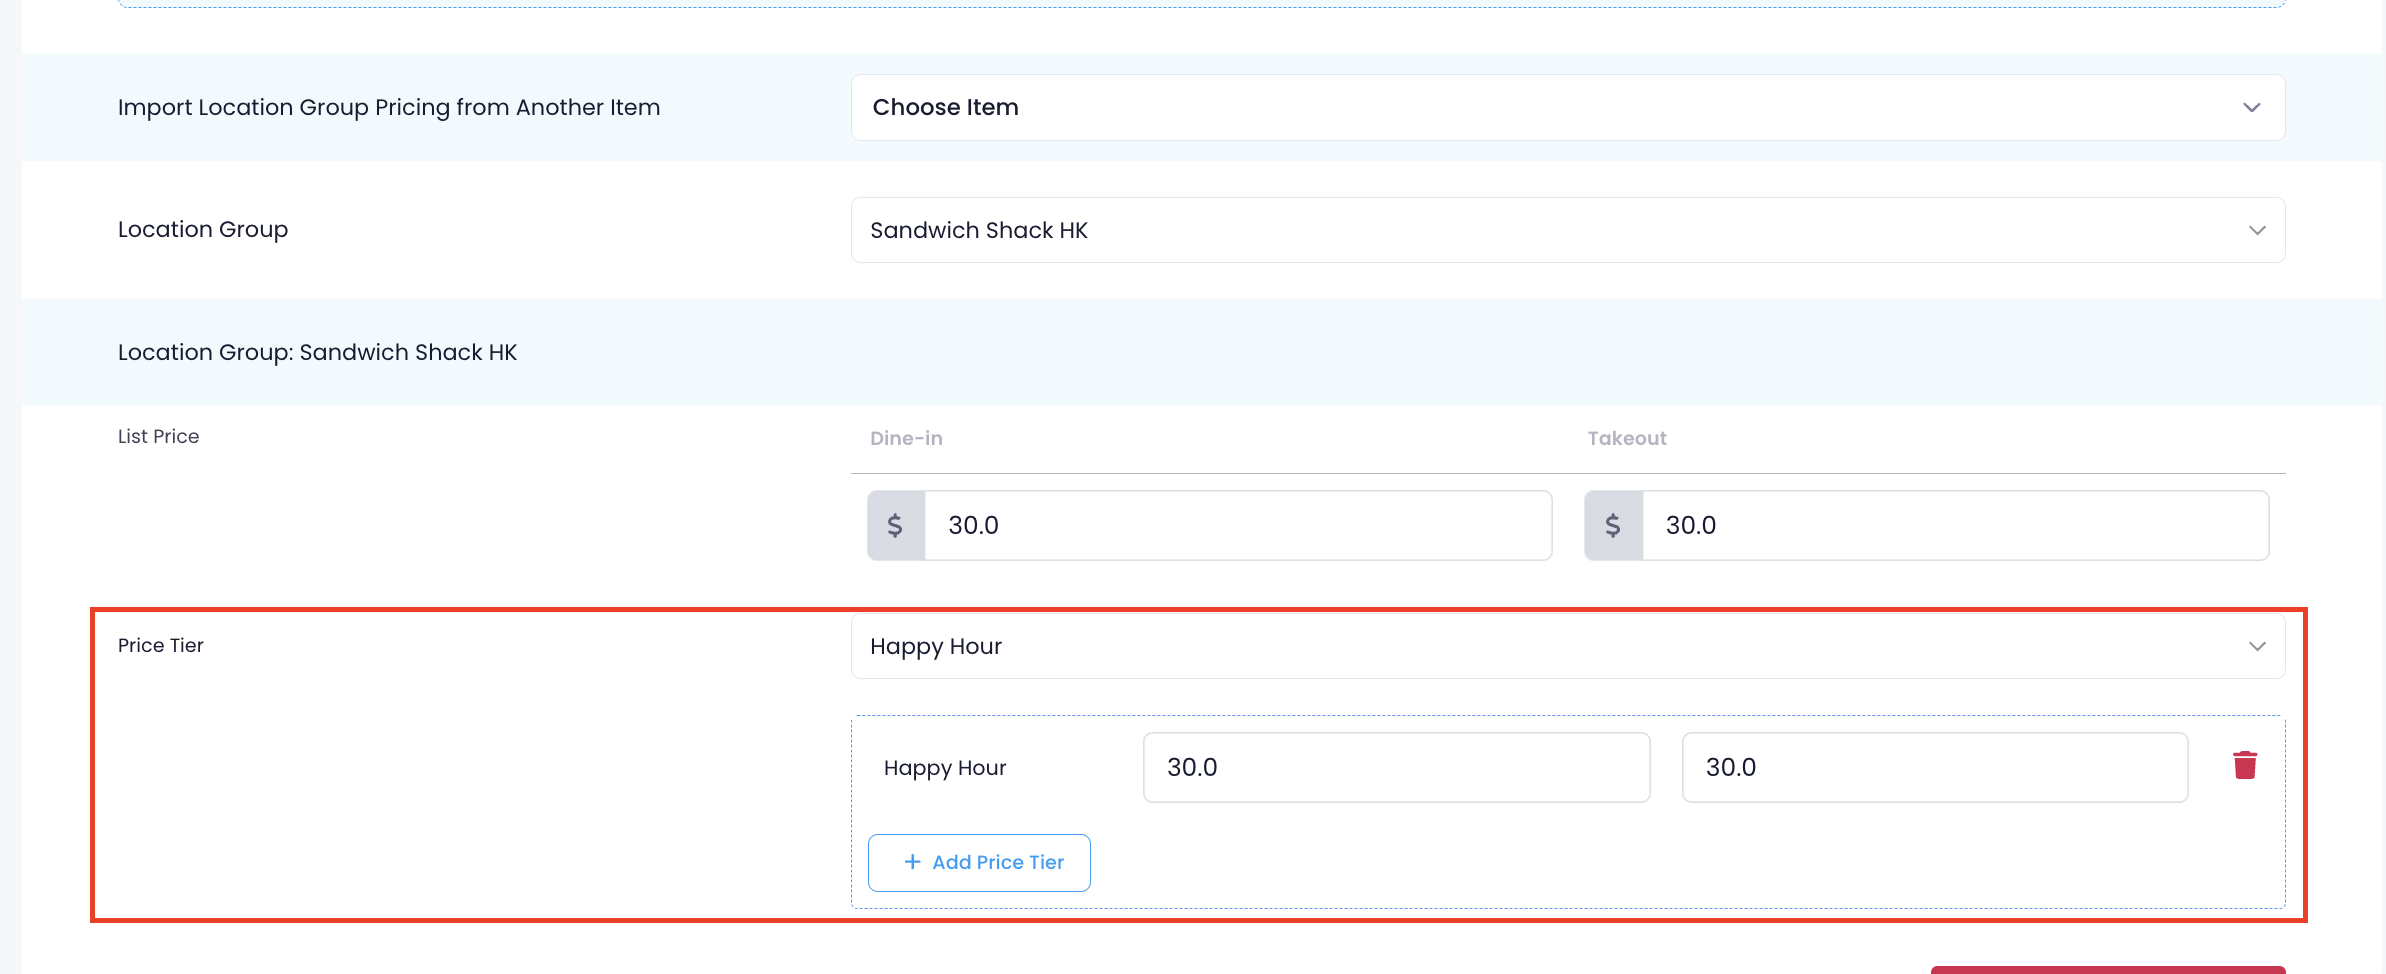
- Click on Save to confirm.
- Repeat the same steps for other items in the menu.
Once the price has been changed, the modified price will be automatically reflected in the Item’s settings.
To learn how to apply pricing changes in bulk to shops in a Location Group, refer to Apply pricing changes to shops in a Location Group.