 Eats365 Products
 Merchant Guide
 Modules
 Membership
 Integrations
 Hardware
 Staff Operations
 Roles & Permissions
 Payments
 Reports
 What’s New
 Release Notes
 Troubleshooting
 Simulators
 Glossary
 Troubleshooter
 System Status
Device Management
Table of Contents
Configure POS login preferences
Learn how to configure the POS login process for your staff.
To enhance security, the Eats365 POS system requires staff members to log in using their registered passcode or PIN before they can access the POS and its features, including clocking in and out.
In this article, you’ll learn how to set up your POS login preferences on the Merchant Portal.
Set default login method
Staff members can log in to the POS by selecting their user account and then entering their password or by entering their PIN. You can set the default login method according to your restaurant’s preferences. To do this, follow the steps below:
- Log in to the Merchant Portal.
- On the left panel, click on Advanced Settings, then System Preferences.
- Under “Sign In and Clock In/Out Method,” click on the POS Default Sign In and Clock In/Out Method drop-down menu.
- Select your preferred default login method:
- Account and Password:
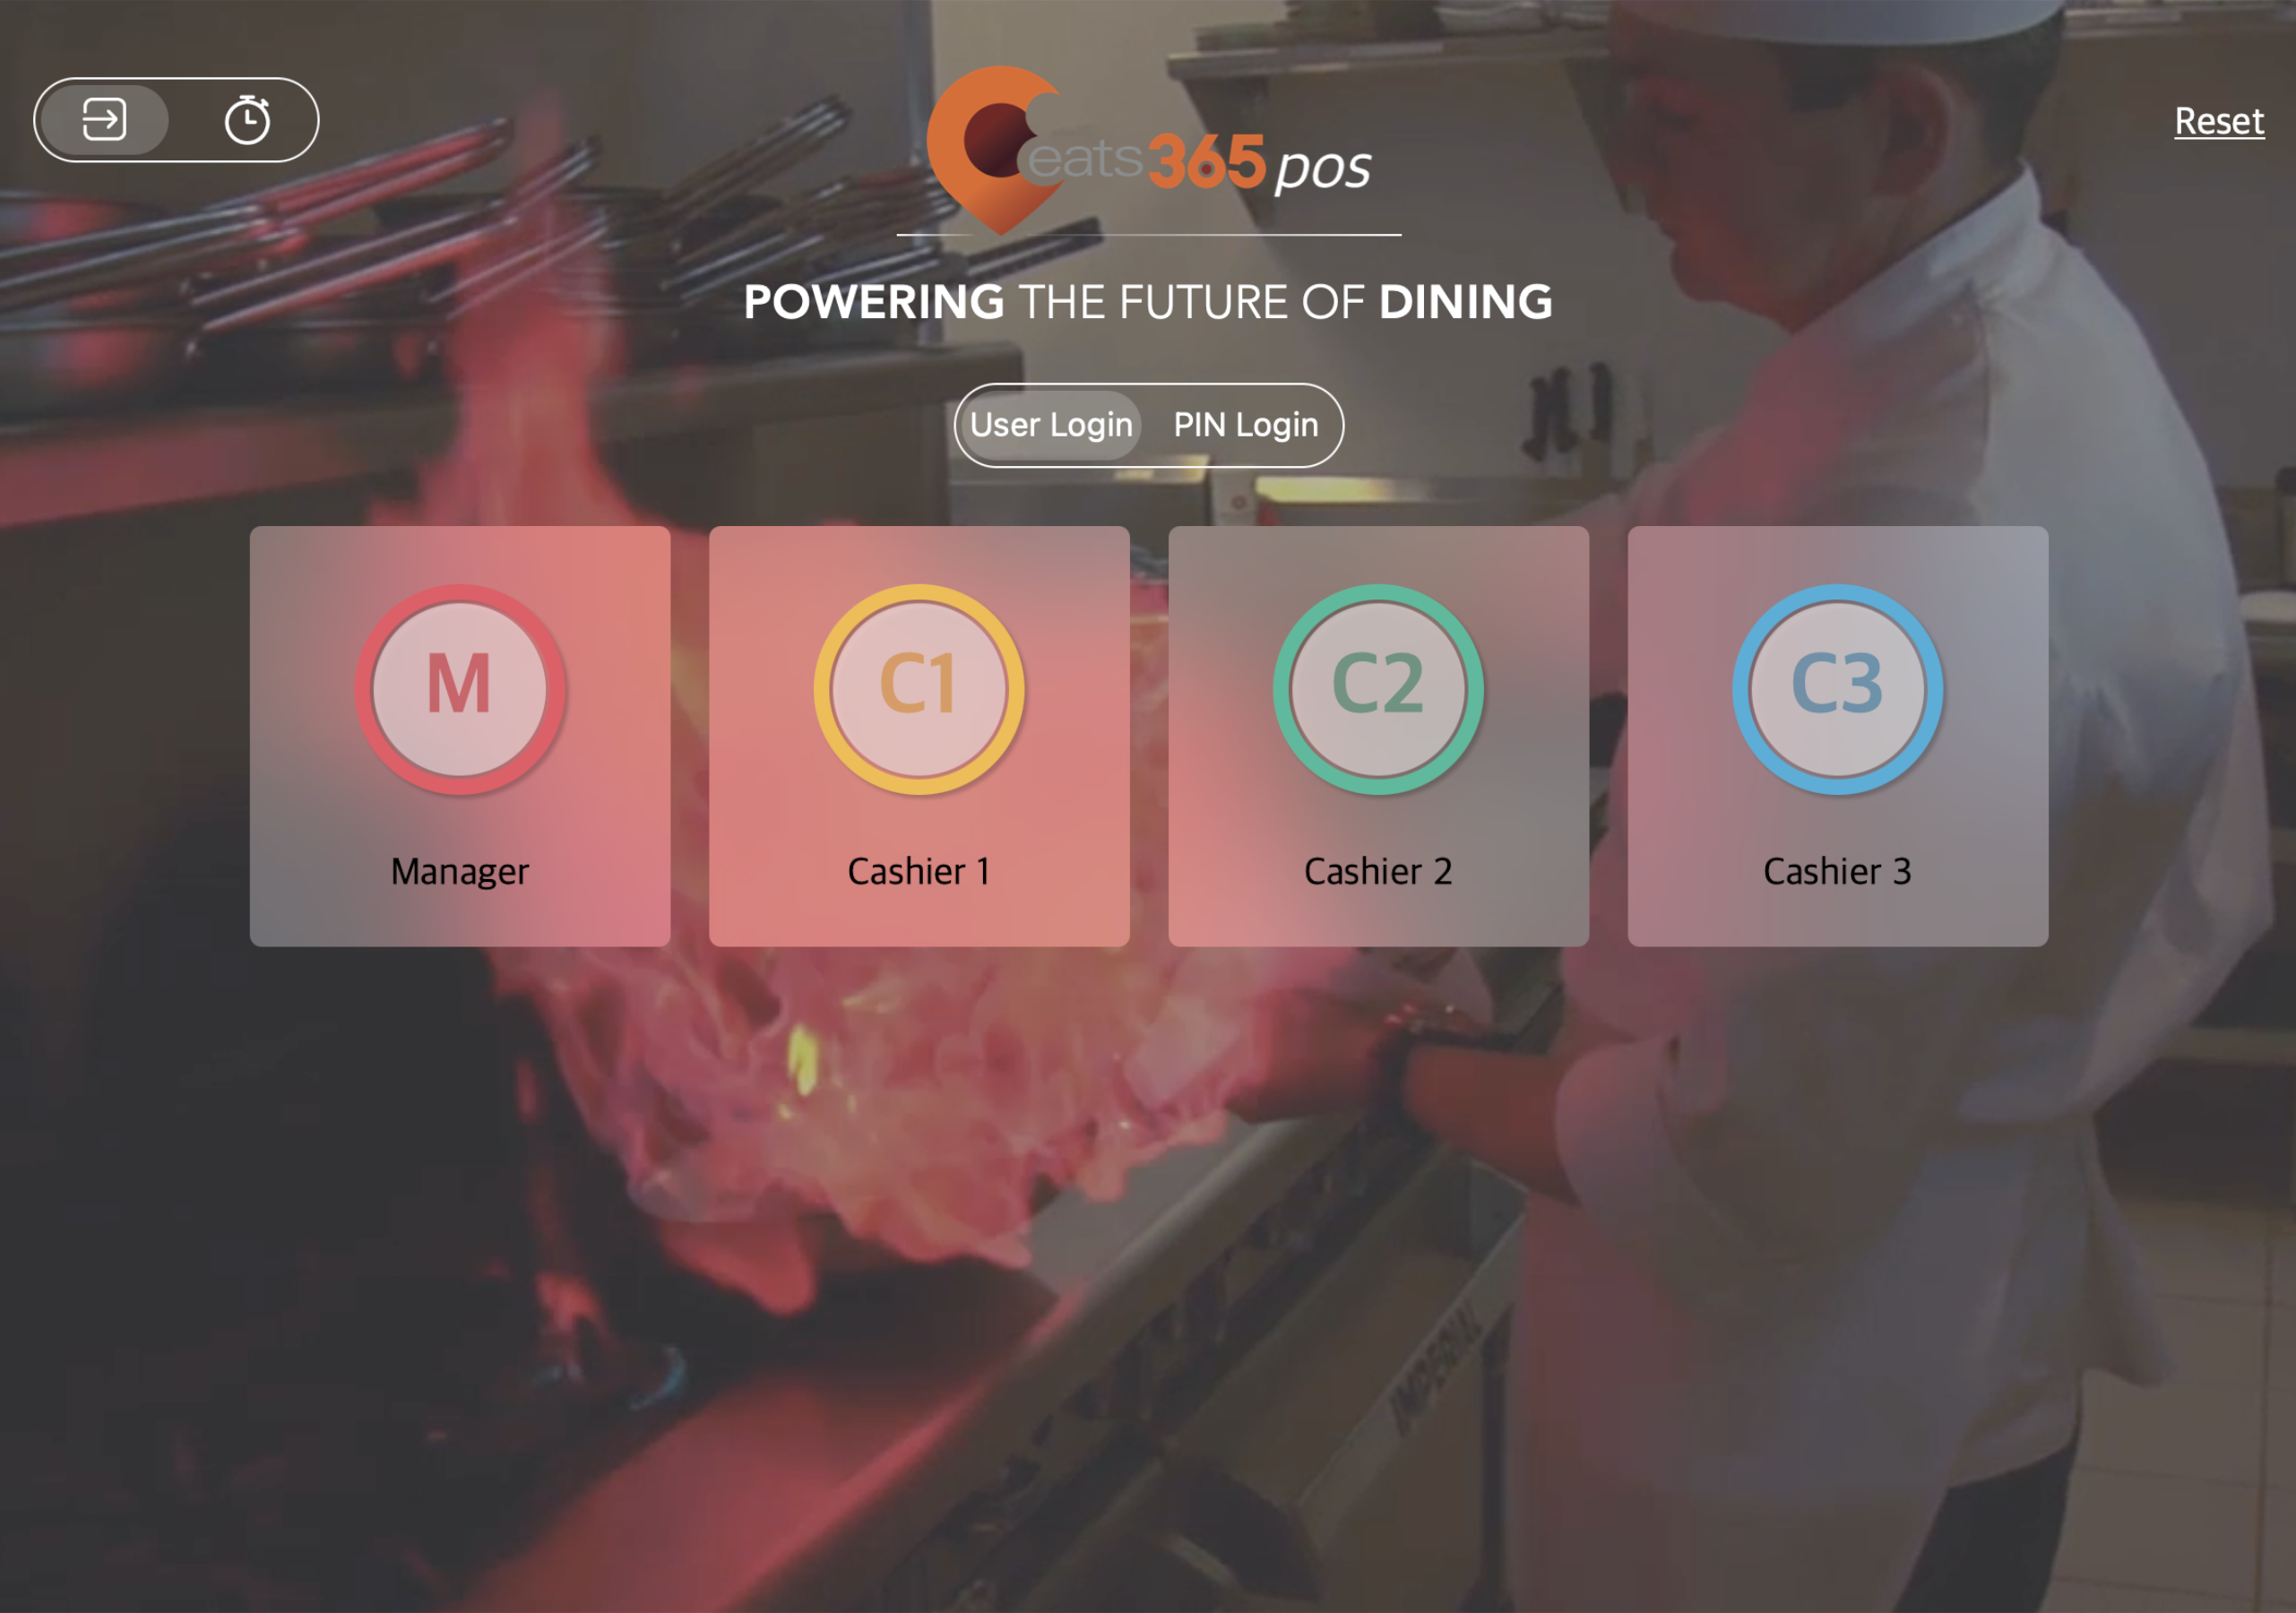
Note: The user list includes the profiles of all active employees. - PIN code:
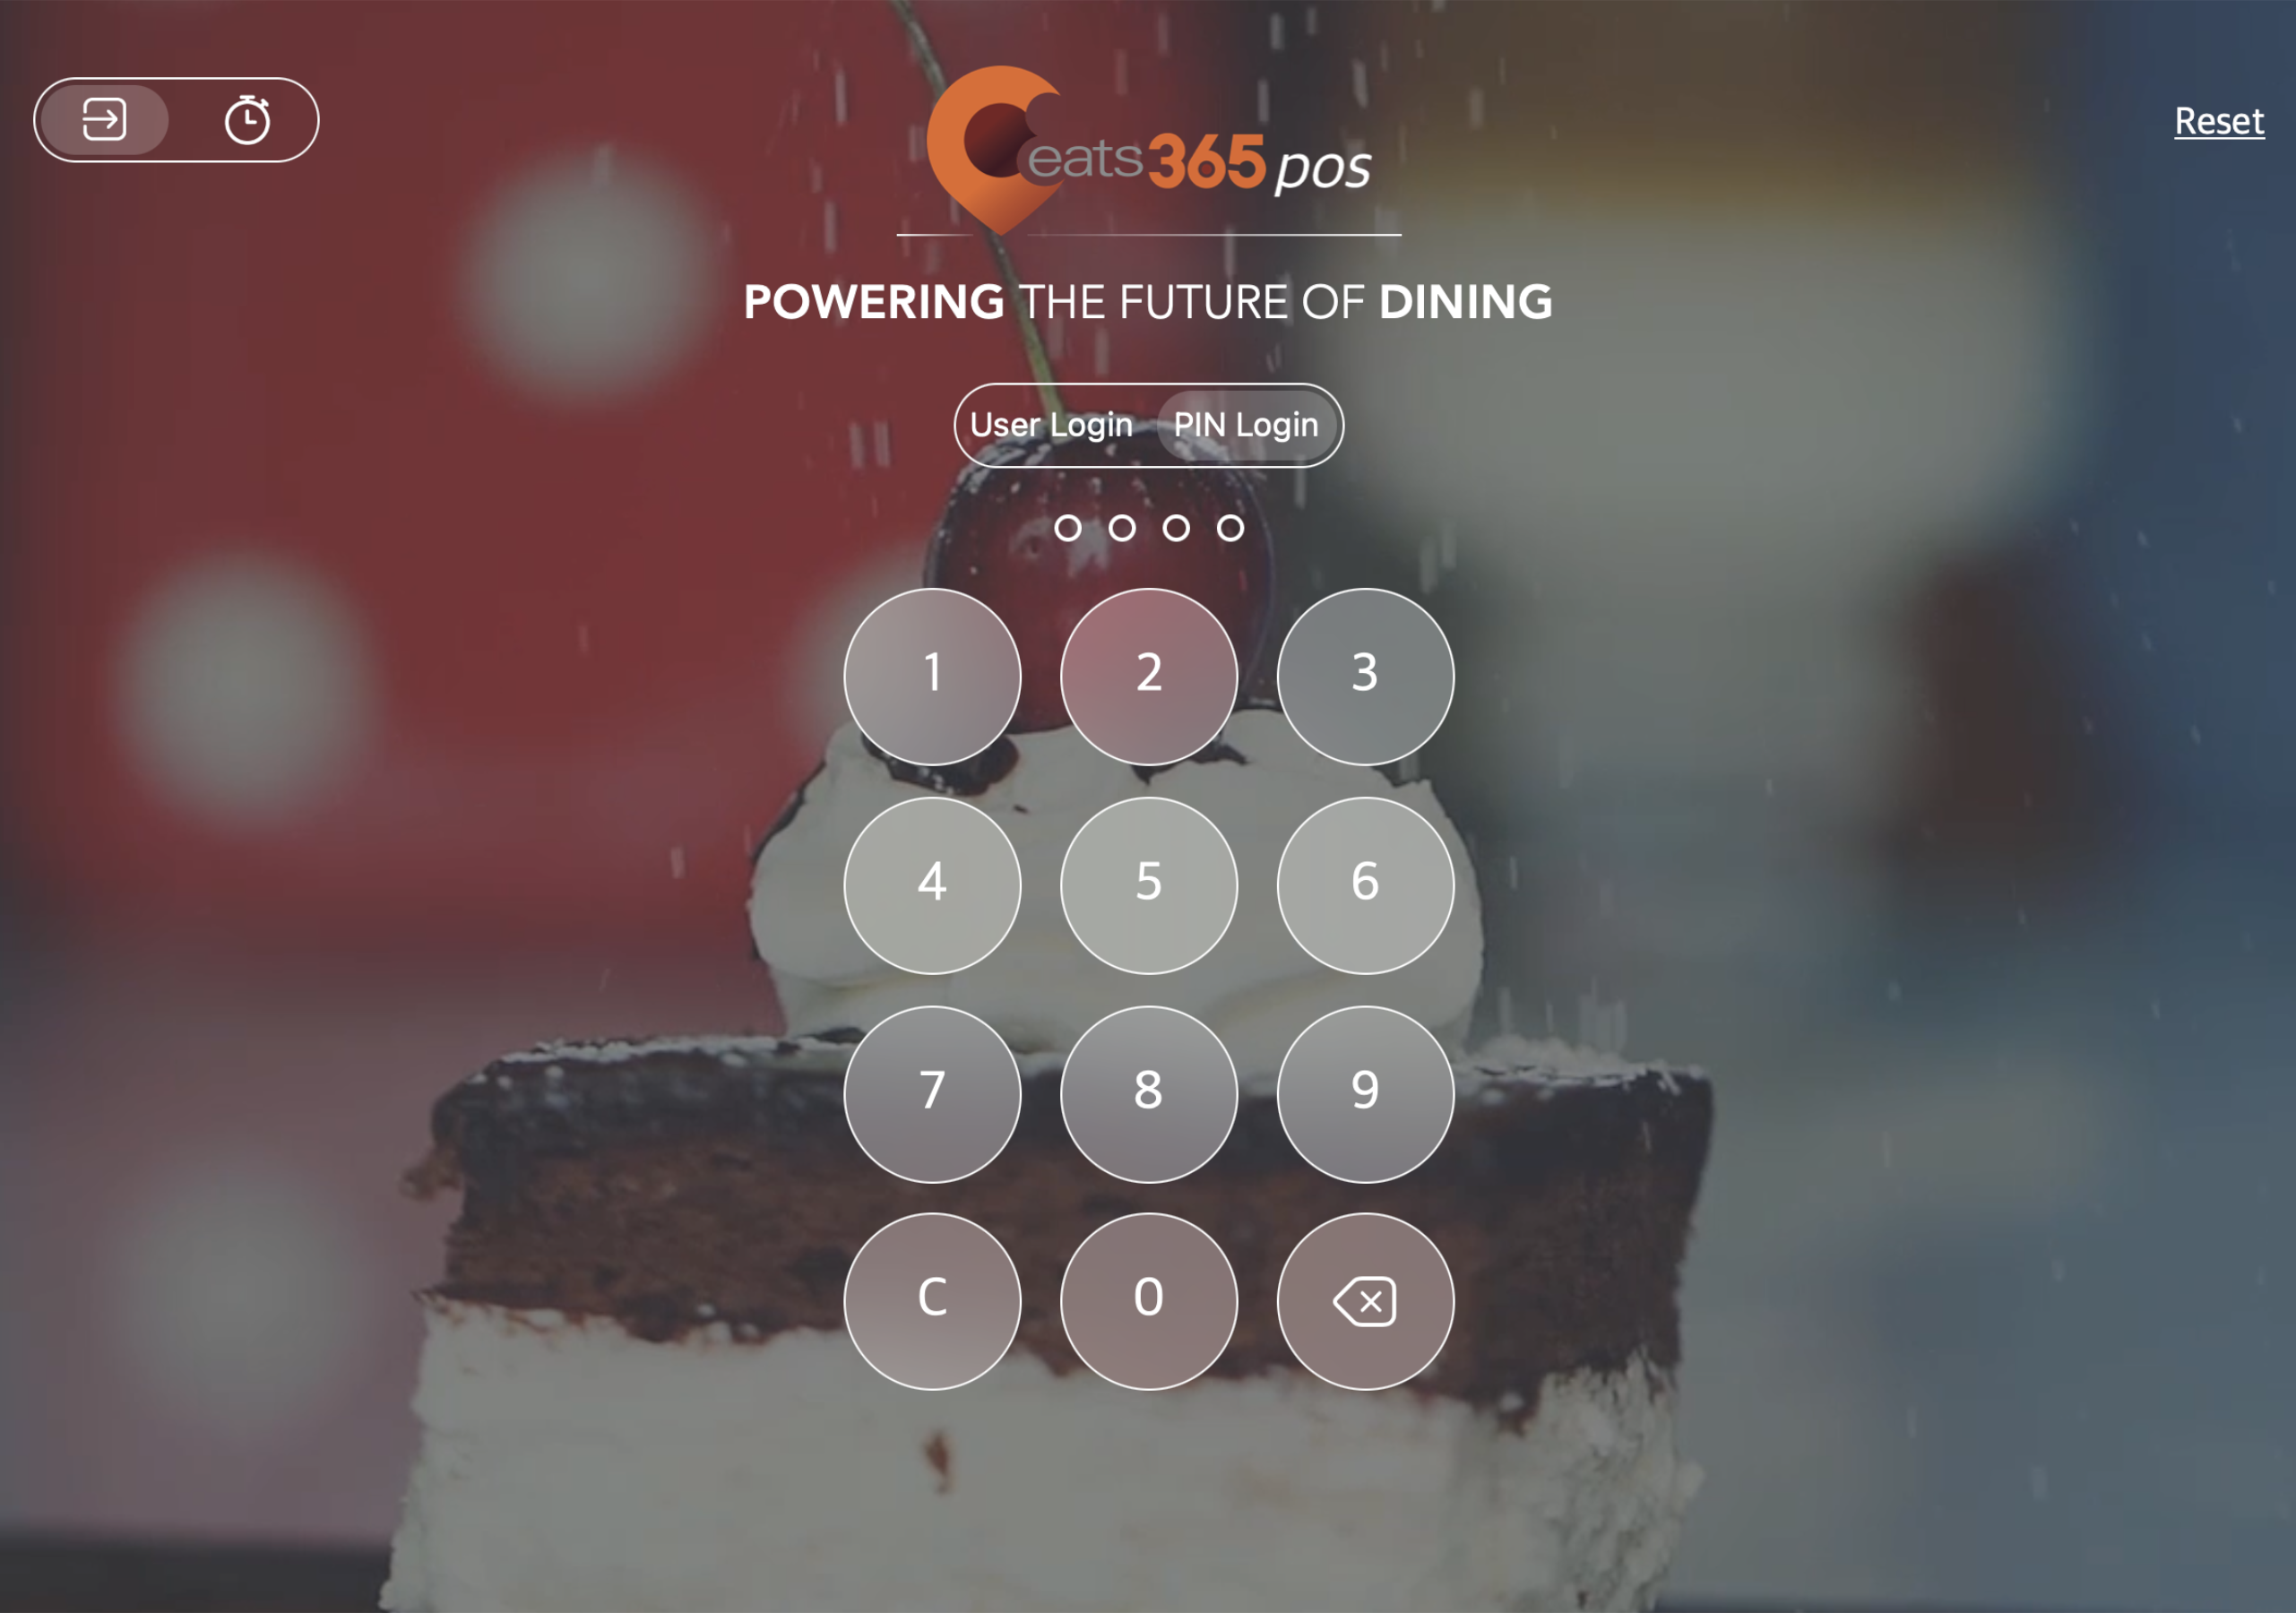
Note: To set PIN as the default login method, you must enable the PIN login function first. Refer to the “Enable PIN login” section below to learn how.
- Account and Password:
- At the top right, click on Save to confirm.
Enable PIN login
By default, users must select their user account on the POS login page and then enter their PIN. By enabling PIN login, you’re allowing staff members to directly enter their PIN without having to select their user account.
To set up the PIN login method for your restaurant, follow the steps below:
- Log in to the Merchant Portal.
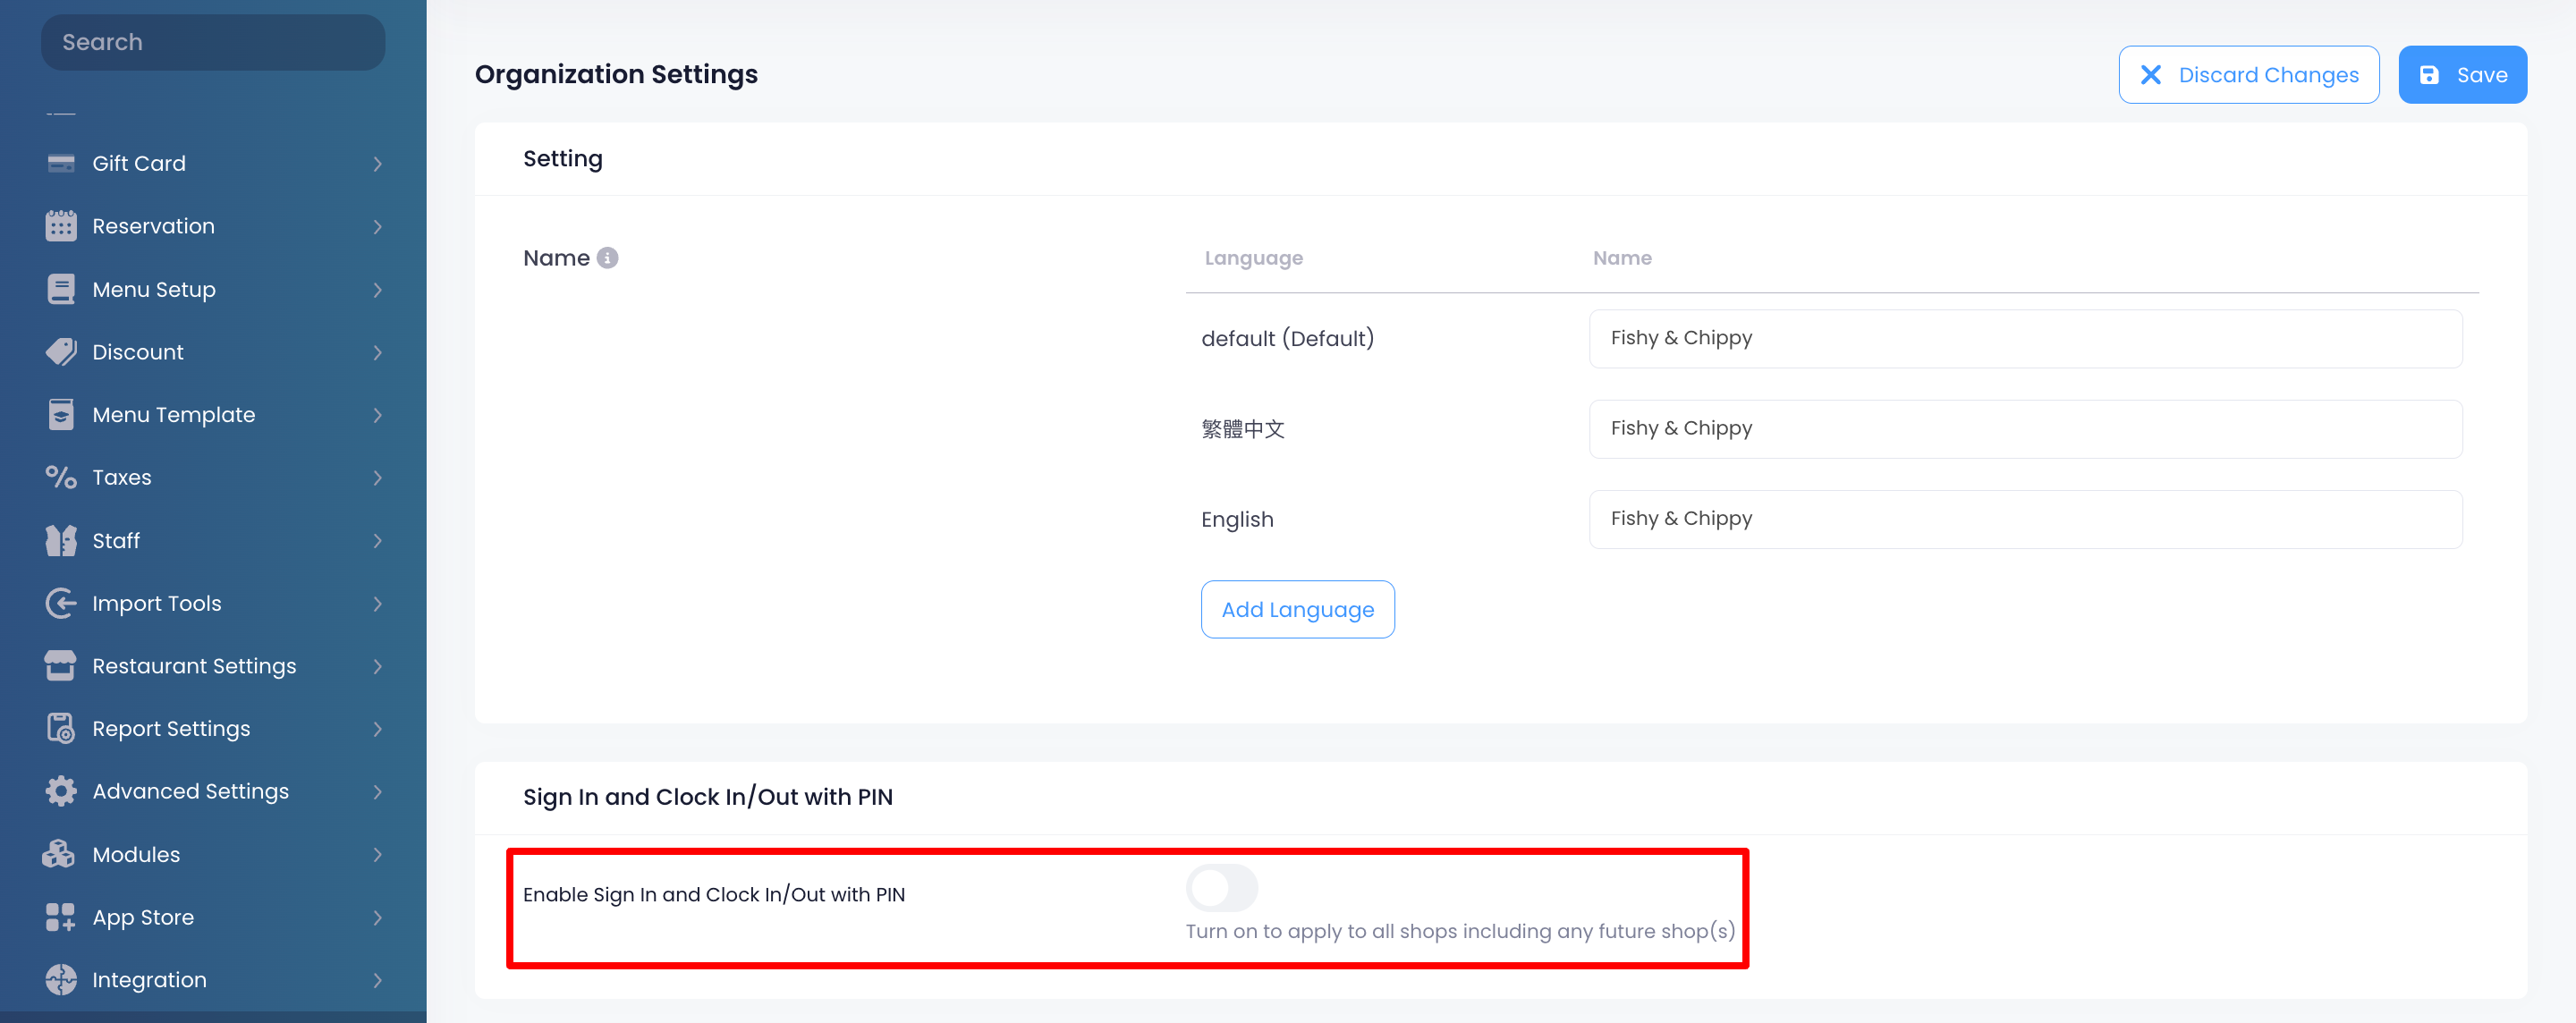
- On the left panel, click on Organization Settings.
- Under “Sign In and Clock In/Out With PIN,” turn on Enable Sign In and Clock In/Out with Pin
 .
.
- Next to “PIN Digits,” click on the drop-down and select the number of digits required for login PIN codes.
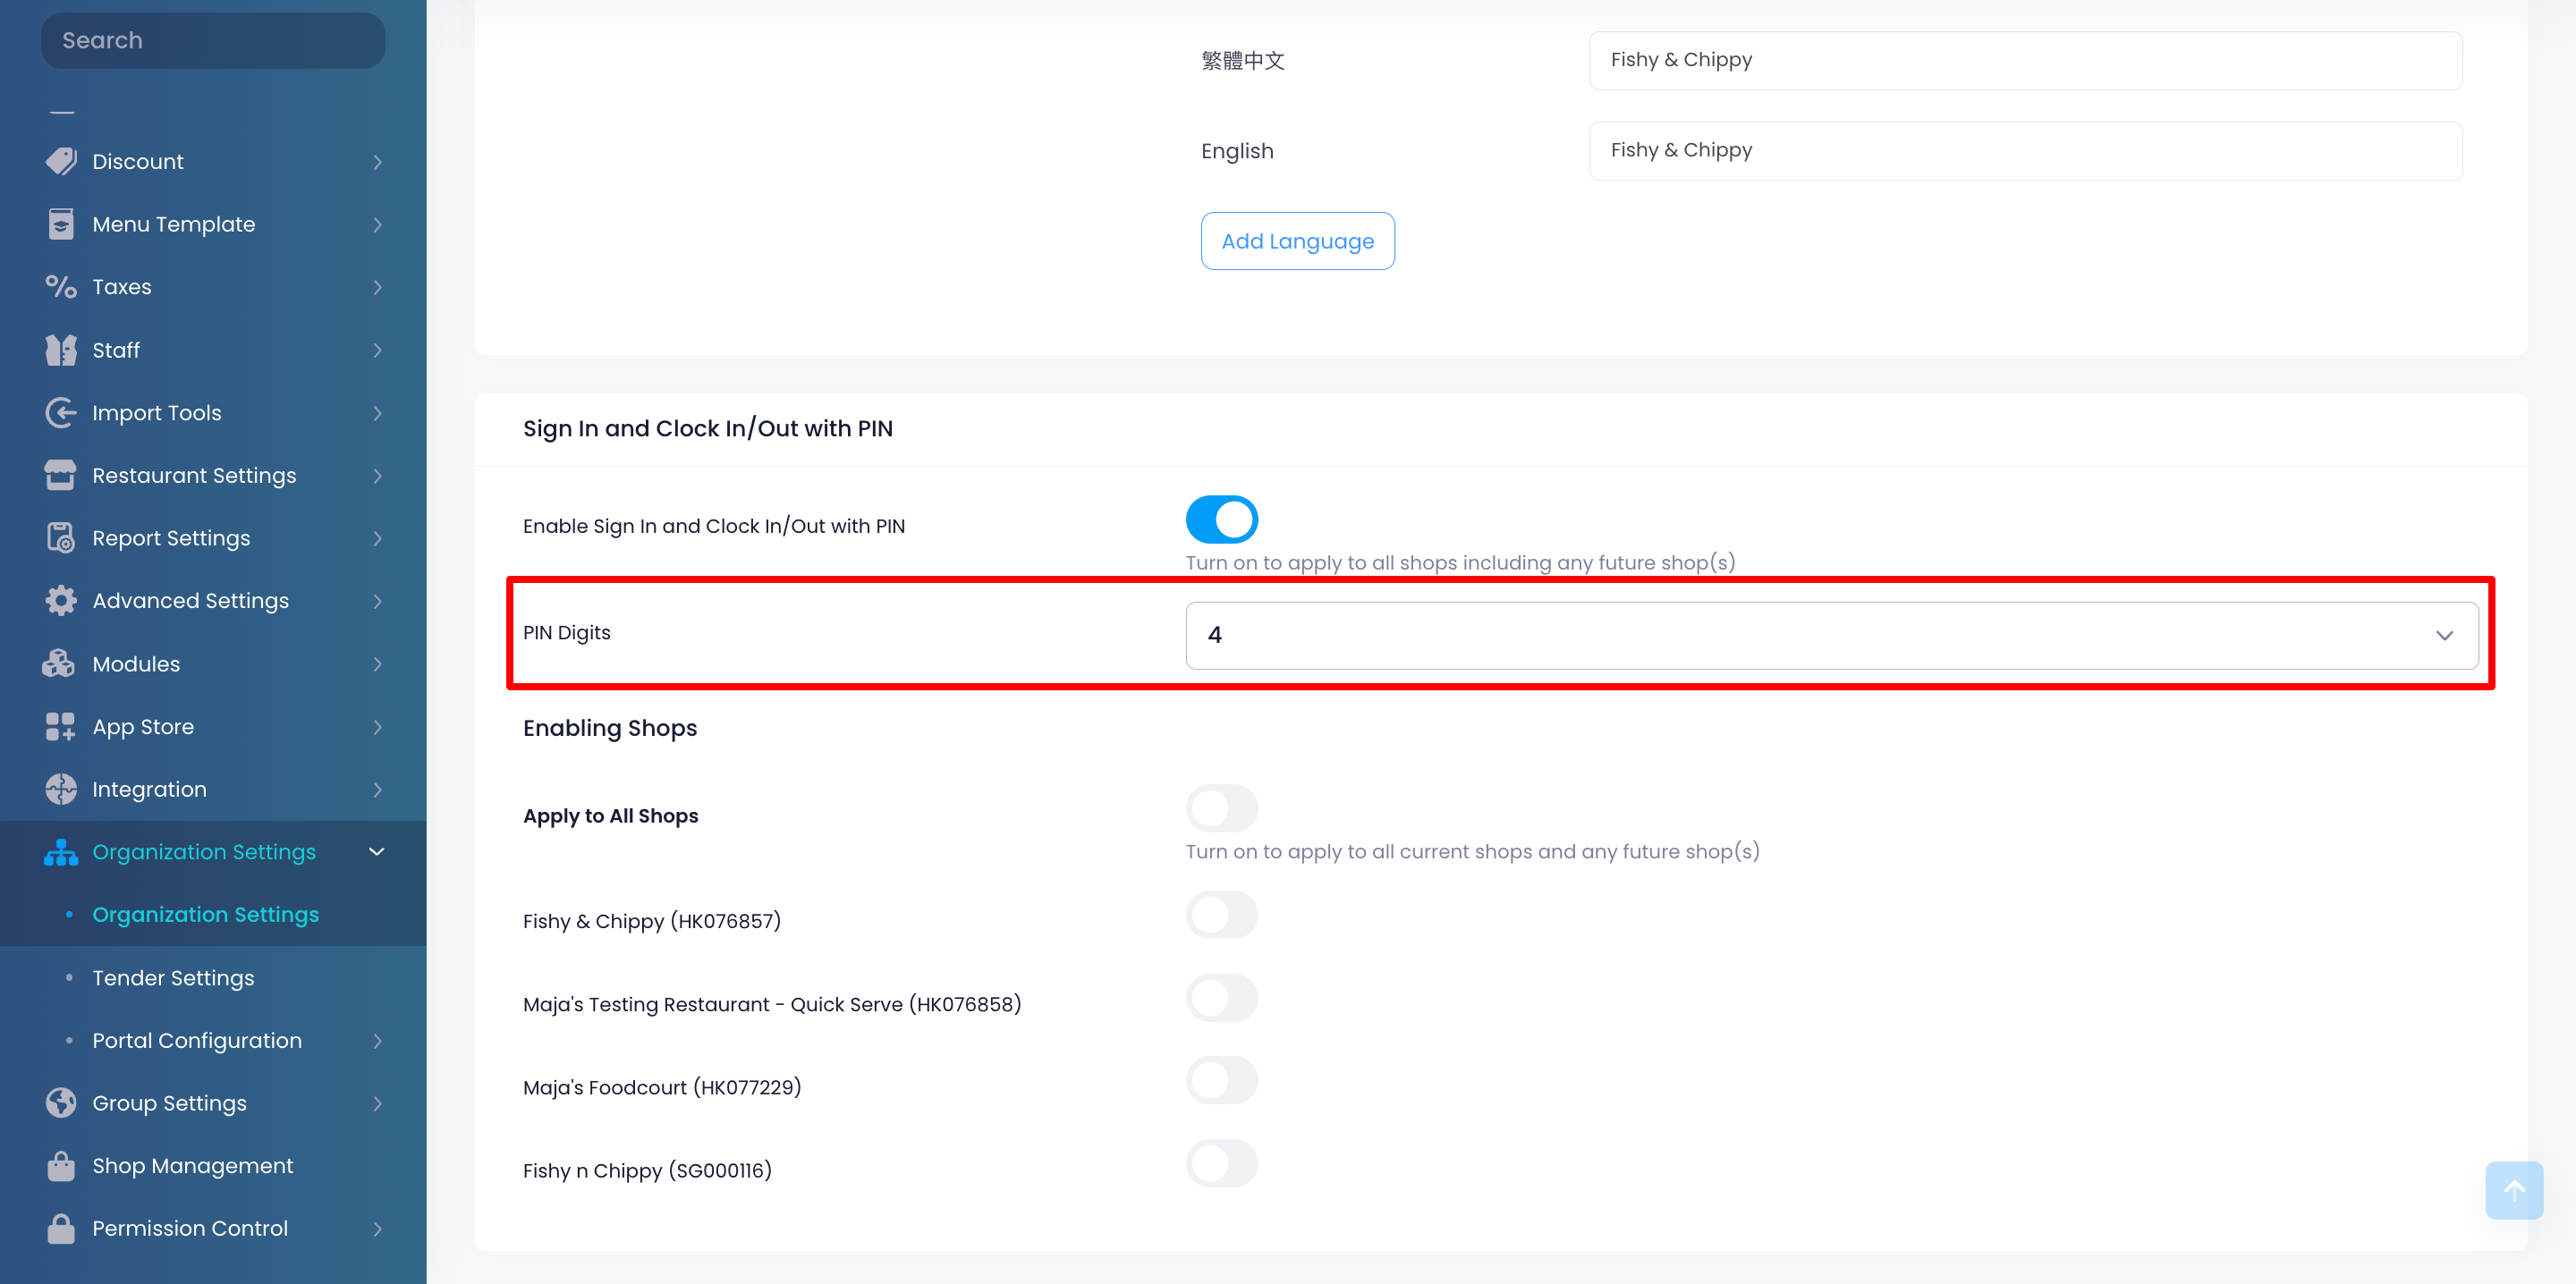
- Under “Enabling Shops,” select the restaurants you want to allow logging in directly by entering a valid PIN. If you want to apply PIN login to all your restaurants, turn on Apply to All Shops .
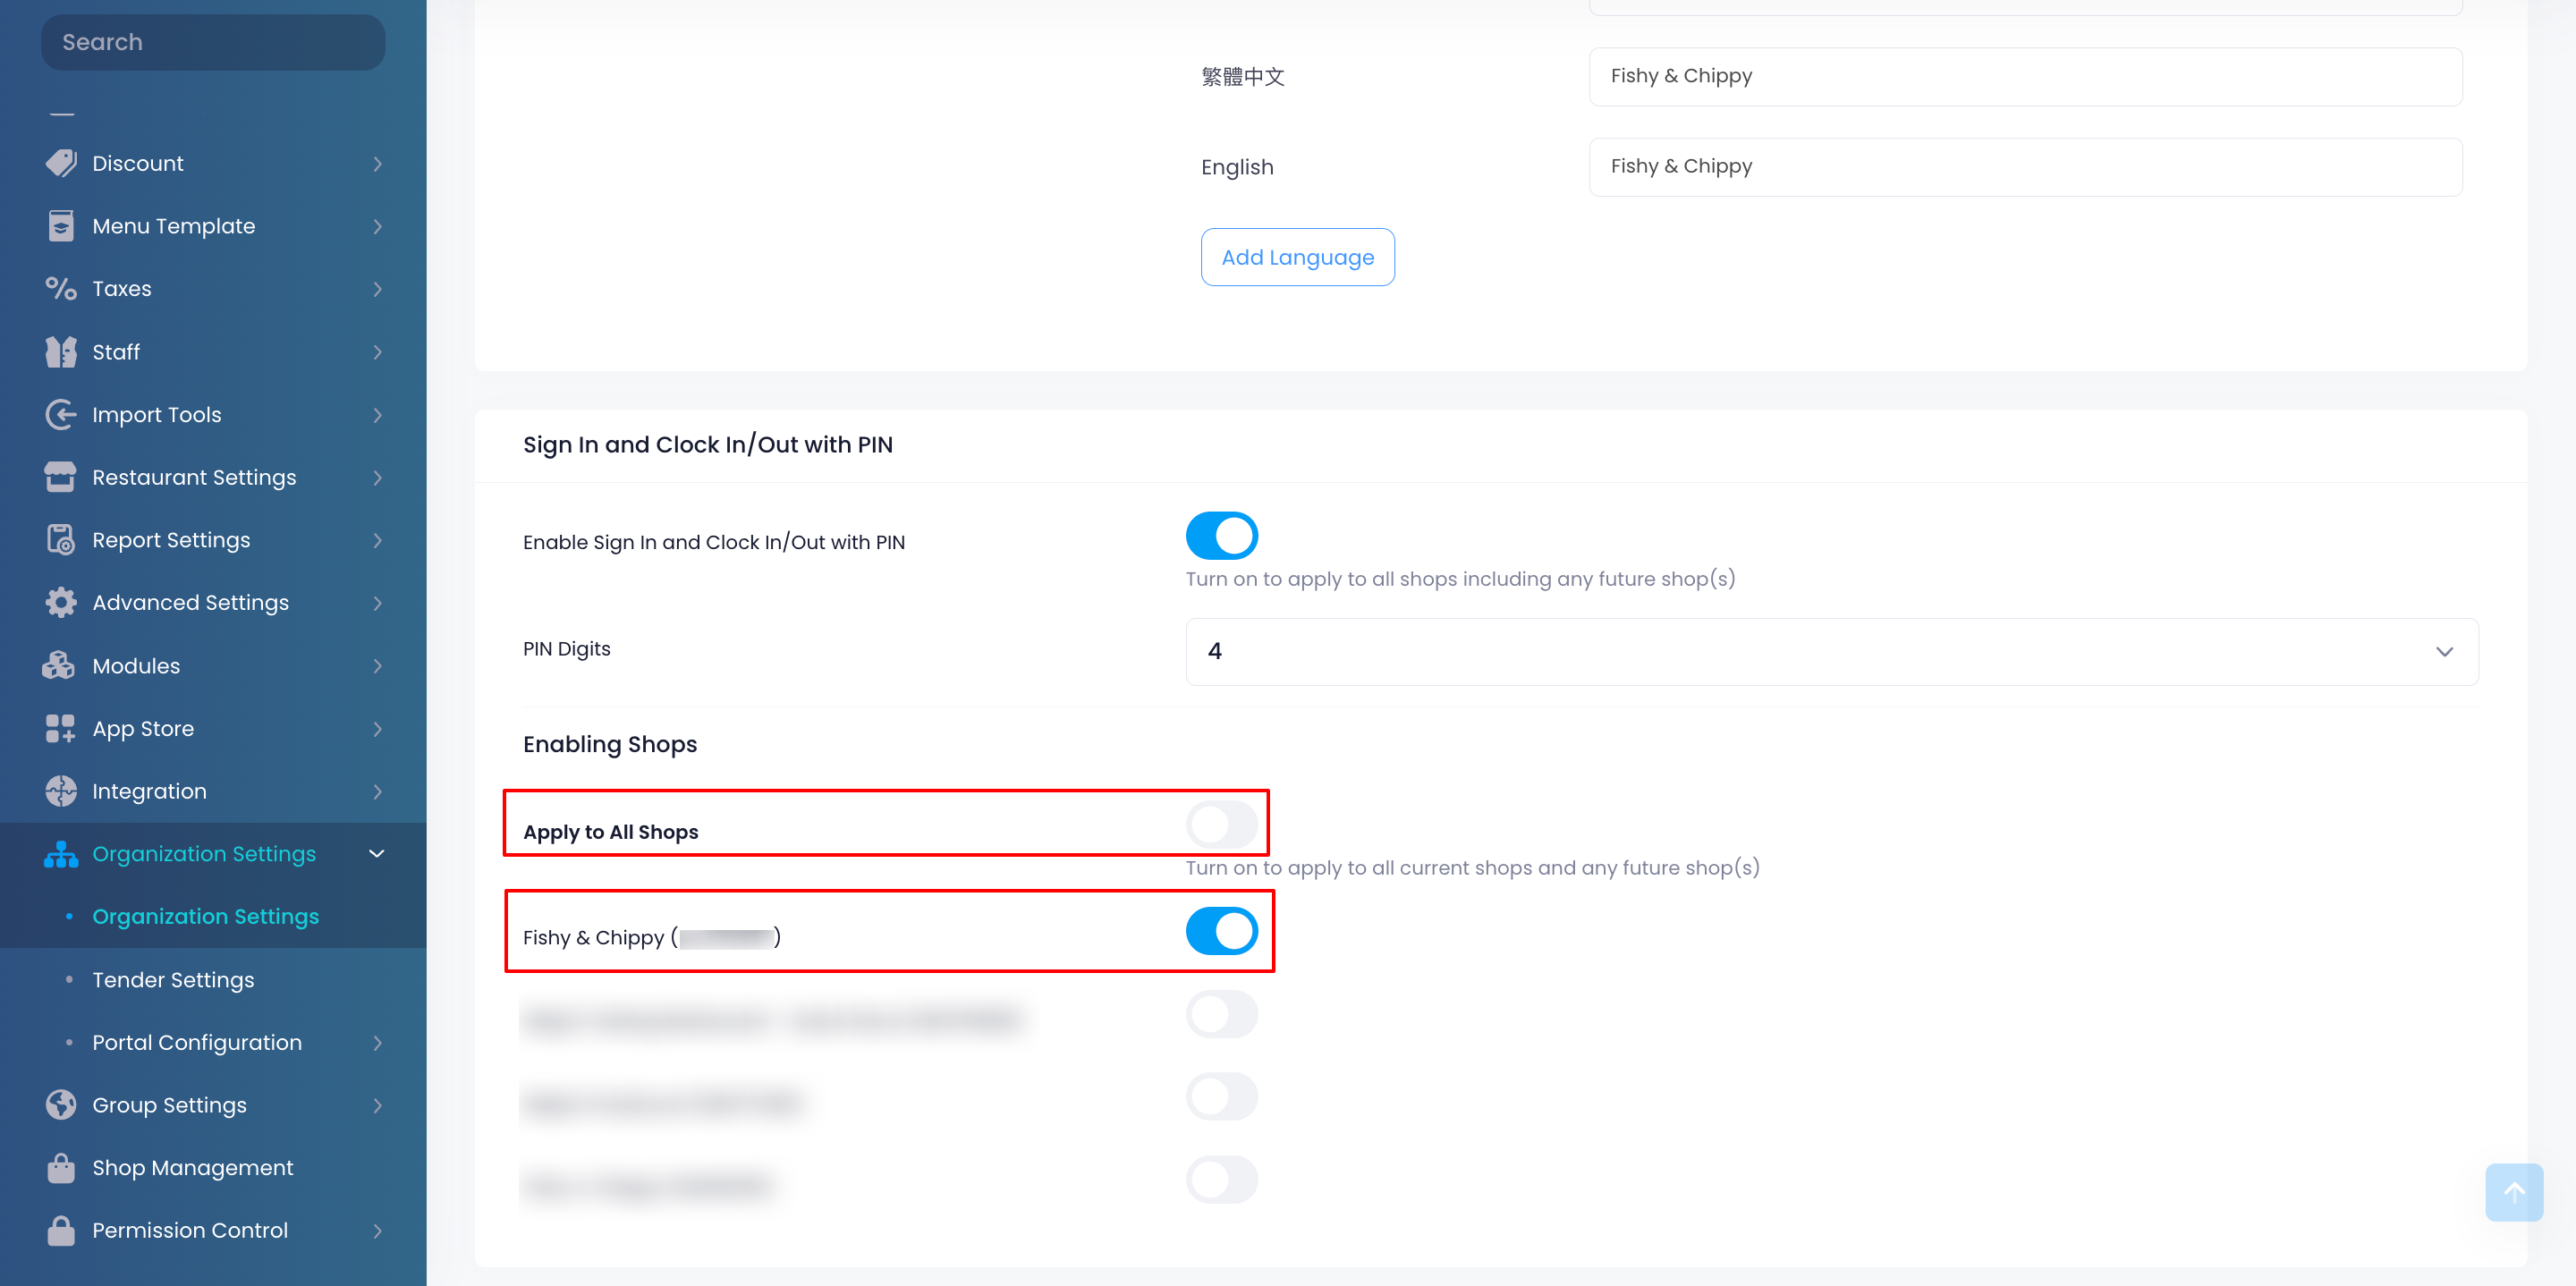
- At the top right, click on Save to confirm.