All

Contact Us

If you still have questions or prefer to get help directly from an agent, please submit a request.
We’ll get back to you as soon as possible.

Please fill out the contact form below and we will reply as soon as possible.

    Login
English (US)
English (US)
Mandarin
Cantonese
  • Home
  • Merchant Guide

Dine-In Settings

All Product

Contact Us

If you still have questions or prefer to get help directly from an agent, please submit a request.
We’ll get back to you as soon as possible.

Please fill out the contact form below and we will reply as soon as possible.

    • Explore Eats365 products
        • Explore the Eats365 POS screens
        • Restaurant service modes
      • Guides by restaurant type
          • Use Eats365 in a fine dining setup
          • Use Eats365 in a fast food setup
          • Use Eats365 in a casual dining setup
          • Use Eats365 in a specialty restaurant setup
          • Use Eats365 in an all-you-can-eat setup
    • Set up and Installation
        • Set up and install the Eats365 POS app
        • List of compatible devices
        • Connect an iPad to a network
        • Log in to the Eats365 Merchant Portal
        • Hardware Setup
    • Menu Setup
        • Set up and manage a Category (Full Service)
        • Set up and manage a Category (Quick Serve)
        • Set up and manage a Category (Food Court)
        • Set up and manage Product and Sub Product Type
        • Set up and manage a Single Item (Full Service)
        • Set up and manage a Single Item (Quick Serve)
        • Set up and manage a Single Item (Food Court)
        • Set up and manage a Combo Item (Full Service)
        • Set up and manage a Combo Item (Quick Serve)
        • Set up and manage a Combo Item (Food Court)
        • Set up and manage Catering Items
        • Set up and manage a Custom Menu
        • Set up a tax-inclusive menu
        • Set up and manage Modifiers
        • Set up and manage Modifier Masters
        • Set up and manage Modifier Presets
        • Set up and manage Tier Pricing Rules
        • Allocate item sales to different sales categories
        • Set up and manage a Kitchen Station
        • Set up a Pickup Station
        • Set up a Pickup Station (Food Court)
        • Customize the menu layout
        • Set up and manage Special Request Quick Keys
        • Set up and manage Menu Tags
        • View and manage Inventory
    • Table Map Setup
        • Set up and manage Areas and Tables
    • Restaurant Settings
        • Set up restaurant information
        • Restaurant Codes
        • Set up and manage Media Group
        • Set up and manage a Reporting Period
    • Dine-In Settings
        • Set up Dine-In settings (Full Service)
        • Set up Dine-In settings (Quick Serve)
        • Set up Dine-In settings (Food Court)
        • Configure Dining Time settings
        • Set up Self Checkout for Dine-in orders
    • Takeout Settings
        • Set up Takeout settings
        • Set up Takeout settings (Food Court)
    • Catering settings
        • Set up Catering settings
    • Queuing Settings
        • Set up Queuing
        • Set up VIP Queuing
        • Set up Online Queuing
    • System Preferences
        • Manage General Preferences
        • Manage System Preferences (Full Service)
        • Manage System Preferences (Quick Serve)
        • Manage System Preferences (Food Court)
        • Set up and manage Ordering Quantity Limit
        • Modify Action Button options
        • Set up a Revenue Center
        • Enable Sequential Order Number
        • Configure Audit Log settings
    • Device Management
        • Set a primary POS
        • Reset the Eats365 POS
        • Update the Eats365 POS
        • Change POS device name
        • Configure POS to sign out automatically
        • Maintain restaurant operations using Offline Mode
        • Configure POS login preferences
        • Available features when in Offline Mode
    • Account Management
        • Change POS password
        • Change the Merchant Portal password
        • Change activation email or phone number
        • Switch between Merchant Portal themes
    • Reservation
        • Set up Reservation
    • Import Tools
        • How to use Import Tools
    • Time Sheets
        • Manage staff time sheet
    • Menu Template
        • Create and manage a Menu Template
        • Set up and manage a Location Group
        • Apply pricing changes to shops in a Location Group
    • Scan to Order
        • Set up Static QR Code
        • Set up Dynamic QR Code
        • Configure Scan to Order settings (Full Service)
        • Configure Scan to Order settings (Quick Serve)
        • Configure Scan to Order settings (Food Court)
    • All You Can Eat Menu
        • Create an All You Can Eat Menu
        • Configure general All You Can Eat Menu settings
        • Enable All You Can Eat mode on the Eats365 POS
        • Set up a Menu Tier for All You Can Eat Menu
    • Food Court Settings
        • Add a vendor to a food court restaurant
        • Assign a vendor to a POS terminal (Food Court)
        • Set up unique menus for each food court vendor (Food Court)
        • Set up a centralized cashier (Food Court)

Table of Contents

Set up Dine-In settings (Food Court)

Learn how to configure your food court restaurant’s dine-In workflow and settings on the Eats365 POS app or on the Merchant Portal.

“Dine-In” settings contain useful settings that you can configure to tailor various aspects of your dine-in operations, such as order processing and payment workflows, to align with your specific preferences and operational needs. 

In this article, you’ll learn how to manage your restaurant’s Dine-In workflow and settings on the Eats365 POS and the Merchant Portal.

Set up Dine-In settings

To configure your Dine-In settings, follow the steps below: 

Eats365 POS

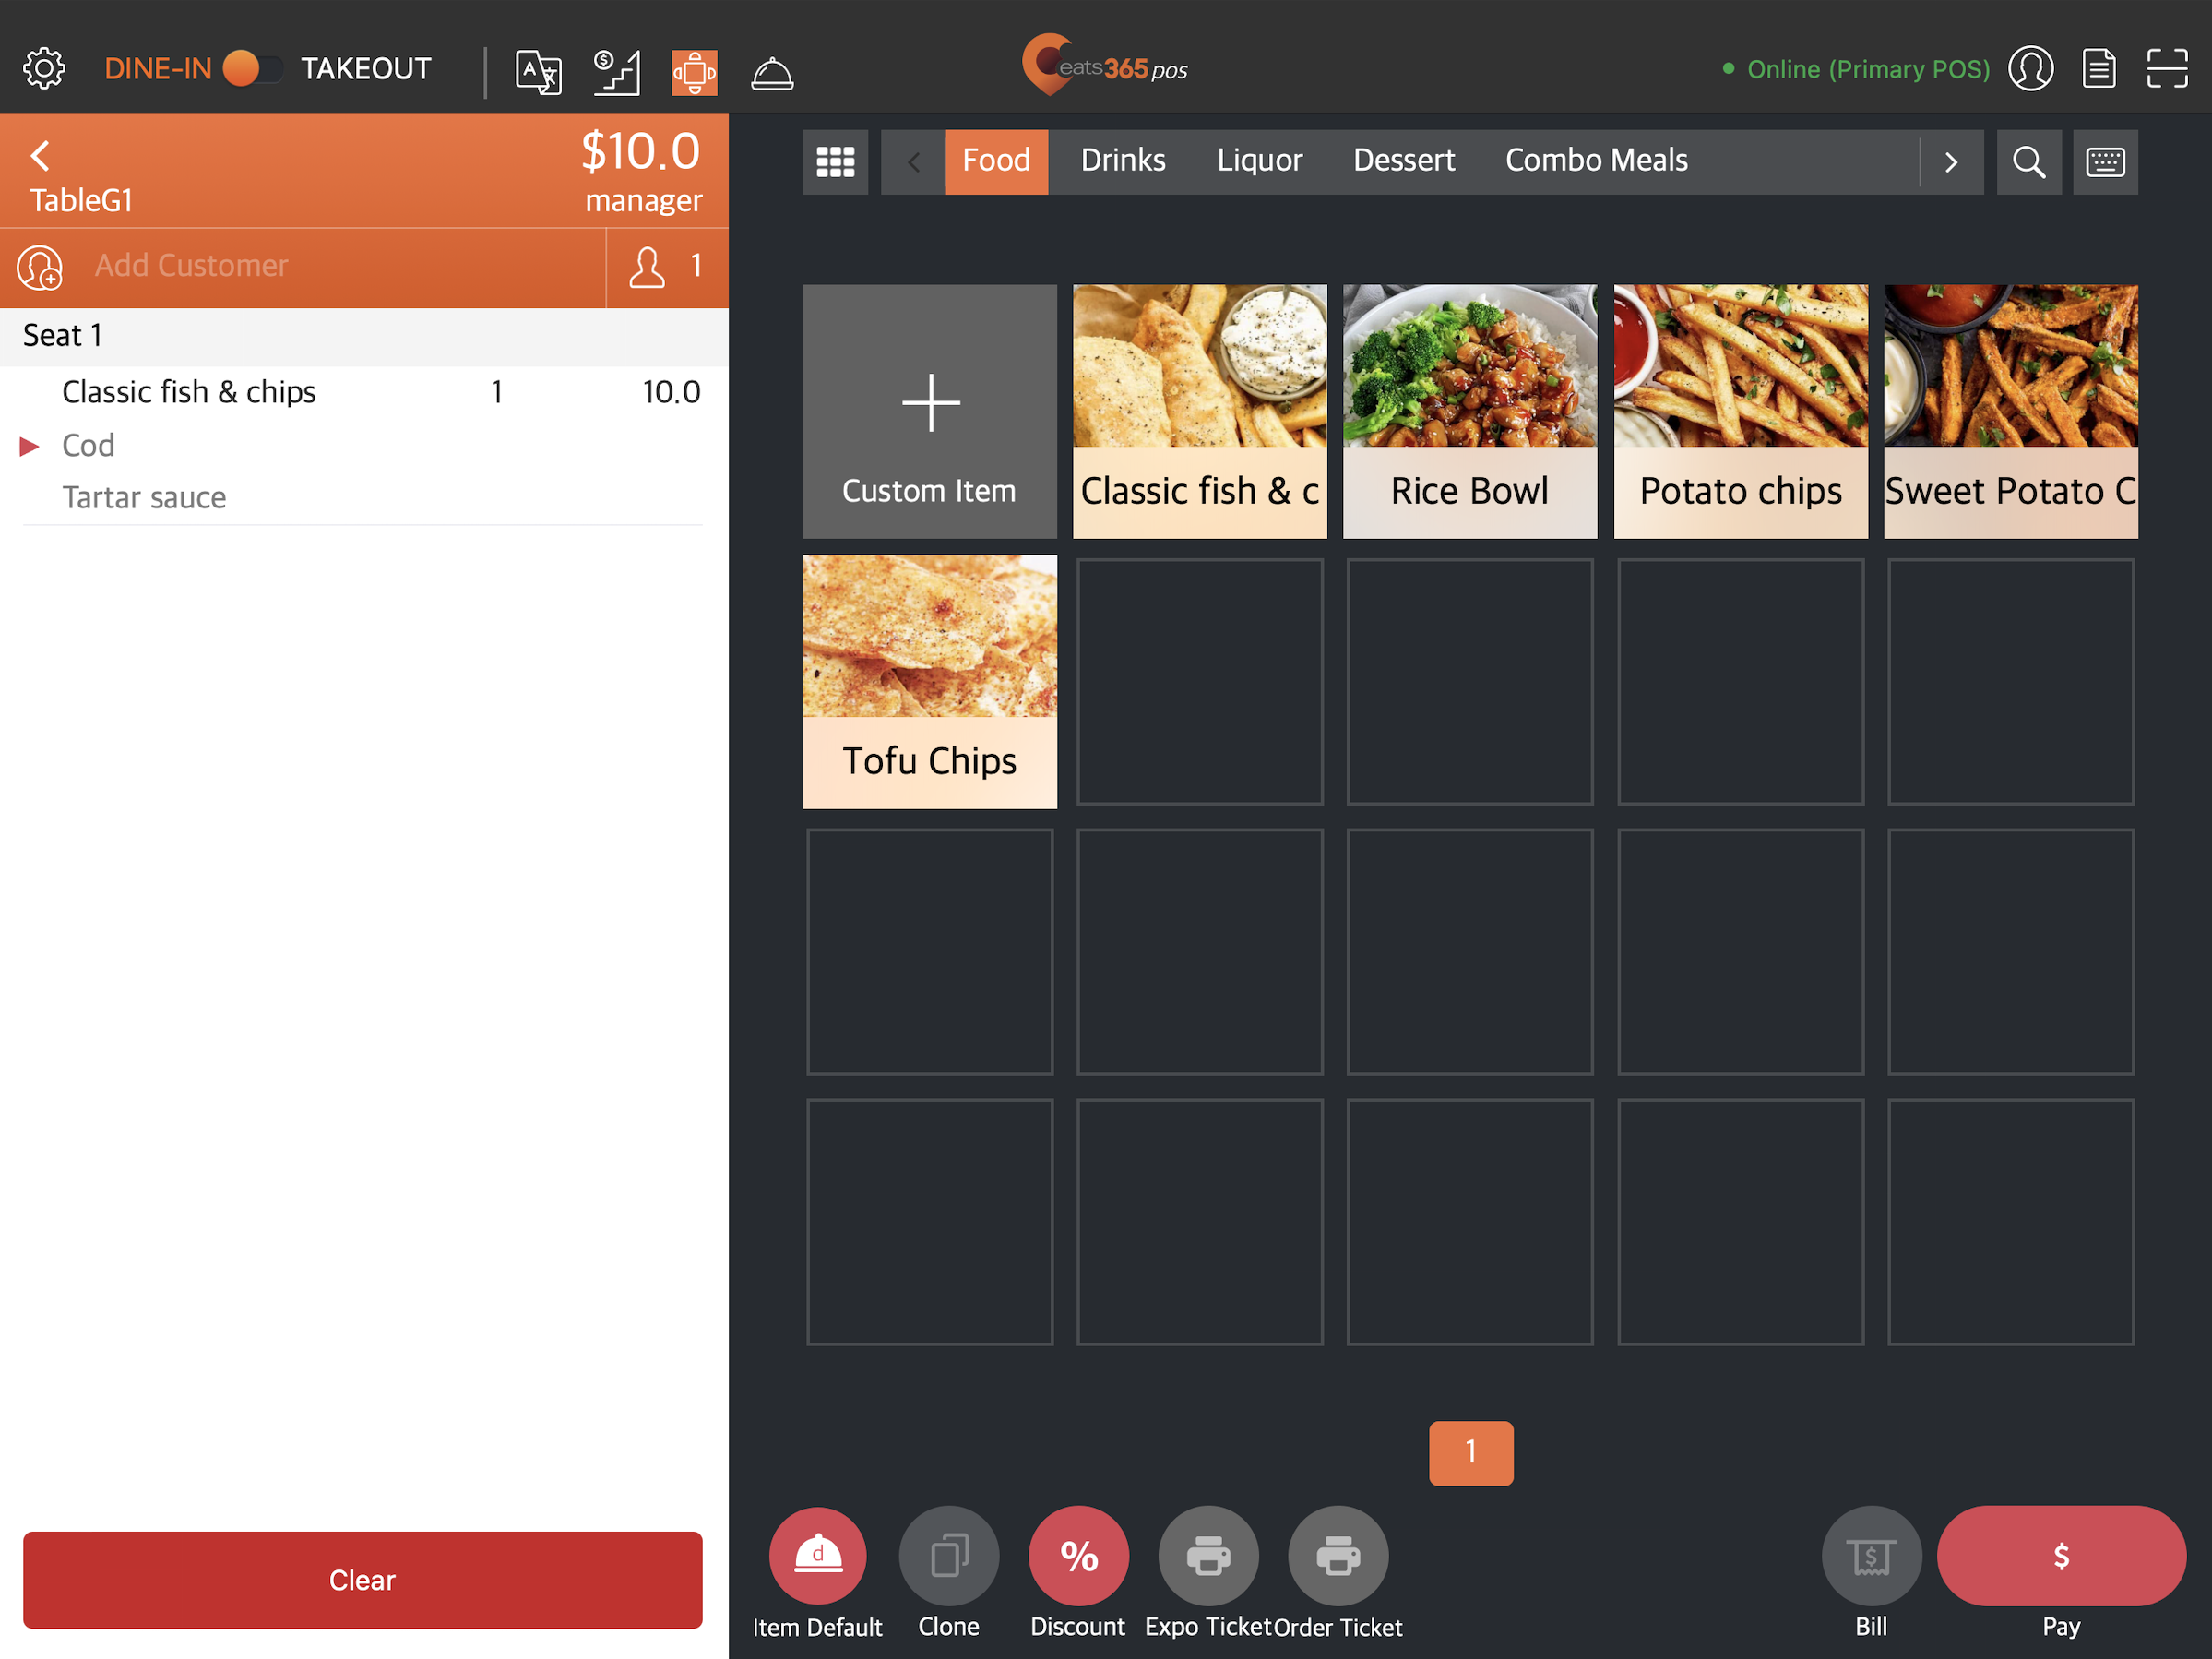
  1. Log in to the Eats365 POS. 
  2. At the top left, tap Settings .
  3. Under "Settings," tap Dine-In.
  4. Set up your preferred Dine-In settings.
  5. At the top right, tap Save to confirm.

Below is the list of settings that you can set up and manage on the POS: 

General

Suggested Tip

Set a suggested tip amount. 

Delete

Tip: If you want to print tips on the receipt, you can do this in the Printing settings.

Delete

Workflow Settings

Scheduled Order Processing

Defer Ticket Printing for Scheduled Orders

Configure the time kitchen tickets will be printed before the customer’s dine-in time for scheduled orders.

Complete Order

Auto Complete Order when Paid

This setting controls whether the dine-in order becomes “Completed” or remains as “Paid” after the check is paid. Turn this setting on if you want to auto-complete the order after payment.

Delete

Tip: It’s recommended to turn off this setting if you are using the Eats365 Expedite app, online ordering, or if your restaurant is integrated with a food delivery platform.

Return Home

Return Home after Payment Processing

When enabled, the POS automatically returns to the order-taking screen after payment. If you turn this setting off, the POS stays at the payment screen so you can perform other actions, like making a tip and printing a receipt.

Order Payment

Require Payment when Placing Order

When enabled, all orders automatically require payment. This setting disables the Confirm button on the POS.

Order

Force Enter Party Size

When enabled, you are required to enter a party size in the POS before taking an order.

Auto Add Item

Delete

Note: This setting is only available when "Force Enter Party Size" is turned on.

Auto Add Items when enter party size

When enabled, you can set which items will be automatically added to every open check. For example, in a fast food setting, you might want to automatically add sauce packs to every order.

Delete

User App Settings

Allow User App to Place Dine-In Order 

When enabled, users can place dine-in orders from the Eats365 User App.

Delete
 Delete 

Merchant Portal

  1. Log in to the Merchant Portal.
  2. On the left panel, click on Restaurant Settings.
  3. Click on Dine-In. Then, select the Dine-In setting that you want to access. 
    Note: A drop-down list shows the three main settings you can configure which include "General," "Workflow," and "Scan to Order."
  4. Set up your preferred Dine-In settings. 
  5. At the top right, click on Save to confirm.

Below is the list of settings that you can set up and manage on the Merchant Portal:

General

Suggested Tip 

Set a suggested tip amount. 

Delete

Tip: If you want to print tips on the receipt, you can do this in the Printing settings.

Delete

Workflow Settings

Scheduled Order Processing

Timed Ticket Printing for Scheduled Orders

Configure the time kitchen tickets will be printed before the customer’s dine-in time for scheduled orders.

Complete Order

Auto Complete Order when Paid

This setting controls whether the dine-in order becomes “Completed” or remains as “Paid” after the check is paid. Turn this setting on if you want to auto-complete the order after payment.

Delete

Tip: It’s recommended to turn off this setting if you are using the Eats365 Expedite app, online ordering, or if your restaurant is integrated with a food delivery platform.

Return Home

Return Home after Payment Processing

When enabled, the POS automatically returns to the order-taking screen after payment. If you turn the setting off, the POS stays at the payment screen so you can perform other actions, like making a tip and printing a receipt.

Order Payment

Require Payment when Placing Order

When enabled, all orders automatically require payment. This setting disables the Confirm button on the POS.

Others

Prompt for Party Size Input

When enabled, you are required to enter a party size in the POS before taking an order.

Auto Add Item

Delete

Note: This setting is only available when "Prompt for Party Size Input" is turned on.

Auto Add Items when Open Check

When enabled, you can set which items will be automatically added to every open check. For example, in a fast food setting, you might want to automatically add sauce packs to every order.

Delete

Scan to Order

Delete

Note: Scan to Order settings are available if you have a BYOD license.

For information on how to configure scan to order settings, refer to Configure Scan to Order settings (Food Court).

Delete
 Delete 
dine-in food court dine in settings configure dine in settings

Was this article helpful?

Yes
No
Give feedback about this article

Related Articles

  • Set up Dine-In settings (Full Service)
  • Set up Dine-In settings (Quick Serve)
  • Configure Dining Time settings
  • Set up Self Checkout for Dine-in orders
            • Products
              • POS
              • mPOS
              • Eats365 Biz
              • Eats365 Marketplace
              • Branded Online Store
              • Kitchen Display System
              • Expedite Display
              • Scan-to-Order (BYOD)
              • Self-Service Kiosk
              • PhotoMenu
              • Queue Kiosk
              • Dynamic Digital Menu
              • Queue Display
              • Pickup Display
              • Customer Facing Display
            • Solutions
              • Online Ordering
              • Contactless Dining
              • Front of House
              • Guest Retention
              • Back of House
              • Back Office (Store End)
              • Multi-brand/Location Management (Enterprise)
              • Paperless Operation Experience
              • Payment
            • Restaurant Types
              • Quick Service Restaurant
              • Full Service Restaurant
              • Bars
              • Food Court
              • Cloud Kitchen
              • Food Retail
              • Self-service Restaurant
              • Enterprise
              • All-You-Can Eat (Buffet)
            • Resources
              • Eats365 Knowledge Base
              • Blog
              • Supported Hardware
            • Company
              • About Us
              • Success Stories
              • Referrals
            • Get In Touch
            • Contact Us
              • Eats365, Inc.
              • Sales info@eats365.com
              • Support support@eats365.com
        • Contact Us
          • Eats365, Inc.
          • info@eats365.com
          • www.eats365pos.com
        • Get In Touch
          • Apple Mobility Partner
            twitter facebook eats365 linkedin
        • eats365
          © 2023 Eats365 Incorporated. All rights reserved.

Knowledge Base Software powered by Helpjuice

Expand