System Preferences
Table of Contents
Manage General Preferences
Learn how to customize and change general preferences on the Eats365 POS.
General Preferences can be configured to make using the POS app effortless and convenient, based on your personal preferences.
In this article, you’ll learn about General Preferences and how to change them in the Eats365 POS app.
Change General Preferences
To customize General Preferences, follow the steps below:
- Log in to the Eats365 POS.
- At the top left, tap Settings
 .
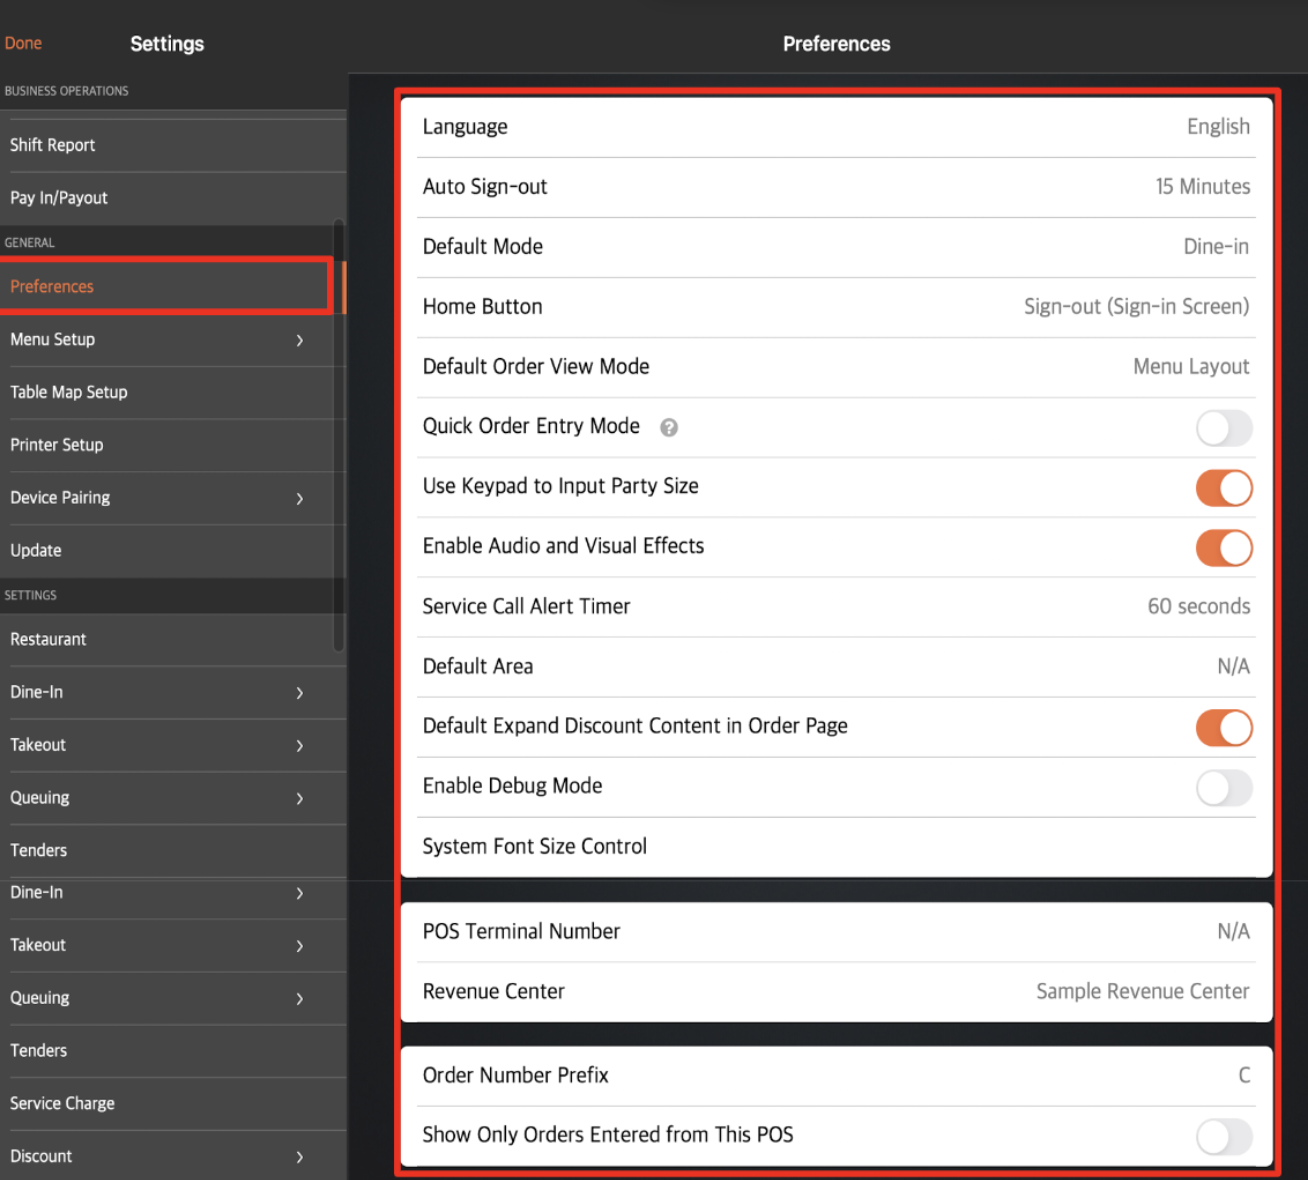
. - Under "General," tap Preferences.
- Choose a setting to customize.
- At the top right, tap Save to confirm.
Preference Options
Language
Changes the POS app language.
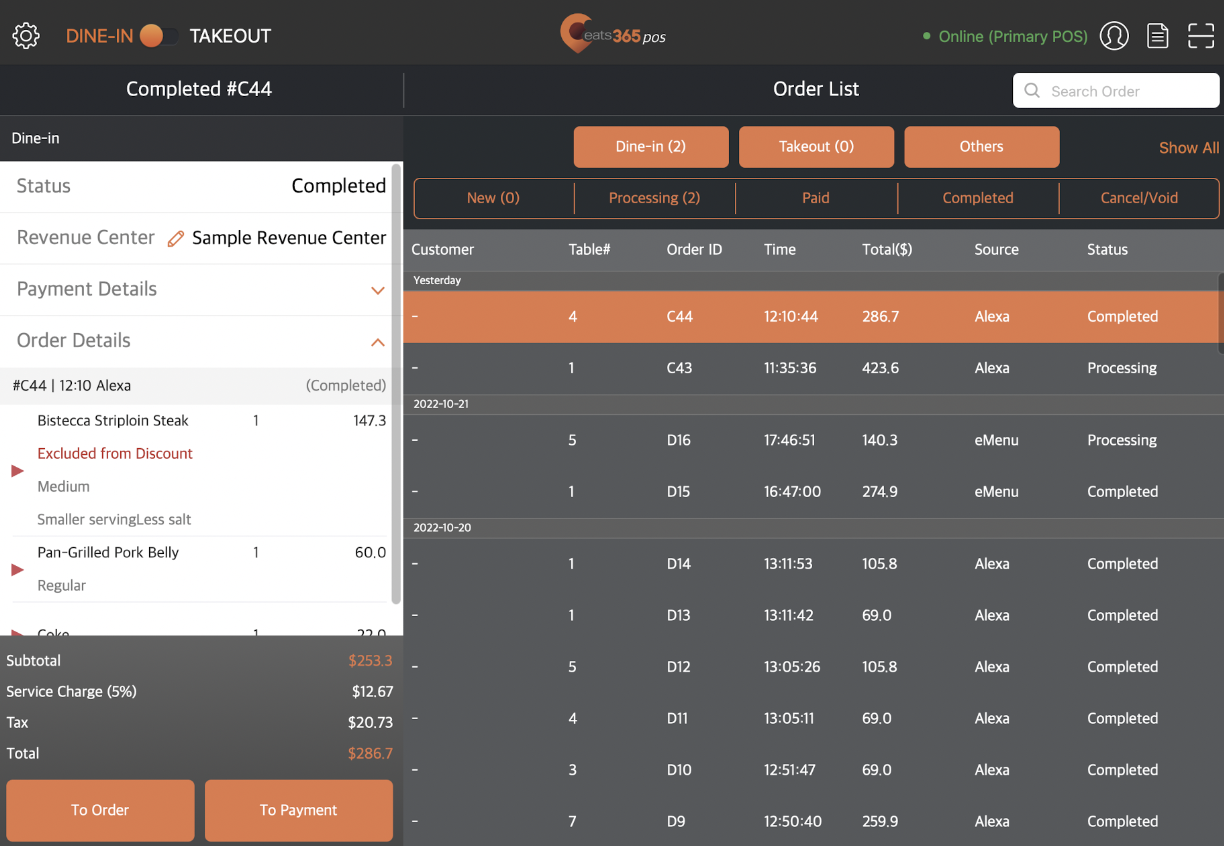
Default Mode
Sets the default POS view. Choose from the following views:
- Dine-In
- Takeout
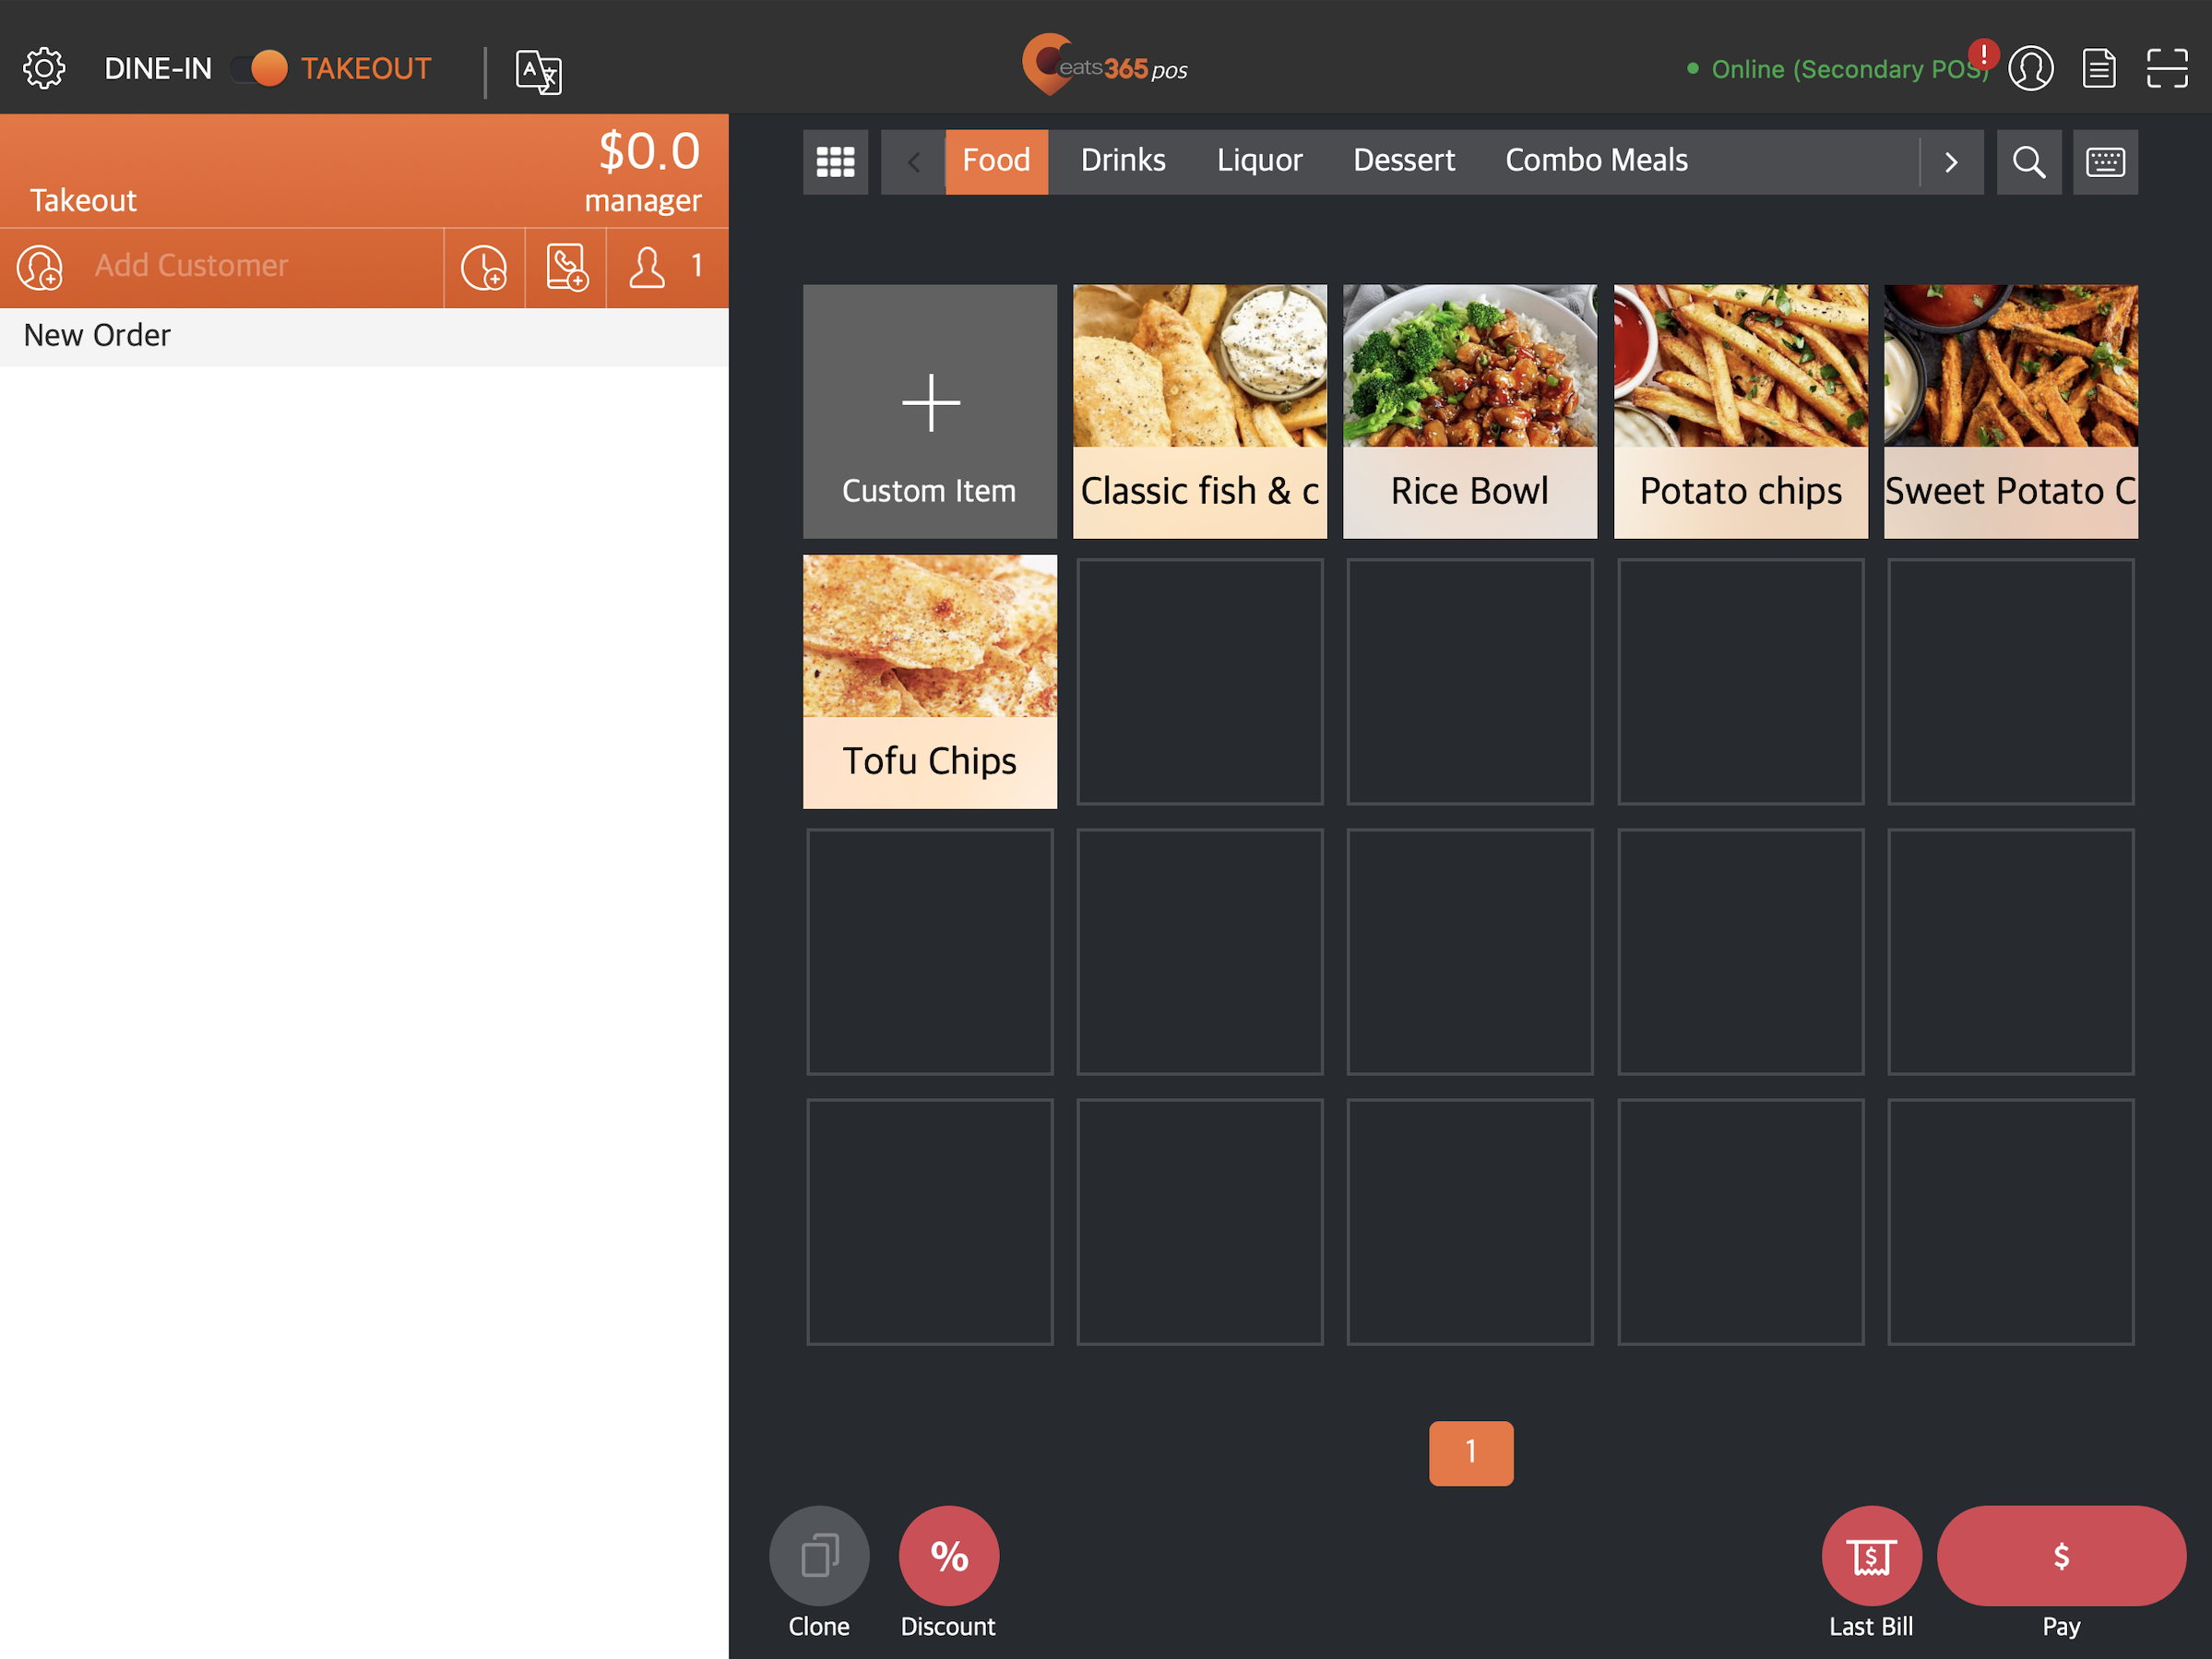
- Order list
Home Button
Sets the behavior when the Eats365 logo home button is pressed. Choose from:
- Default Mode Selected Option
- Sign-out (Sign-in screen)

Default Order View Mode
Sets the default view when taking orders. Choose from:
- Menu Layout
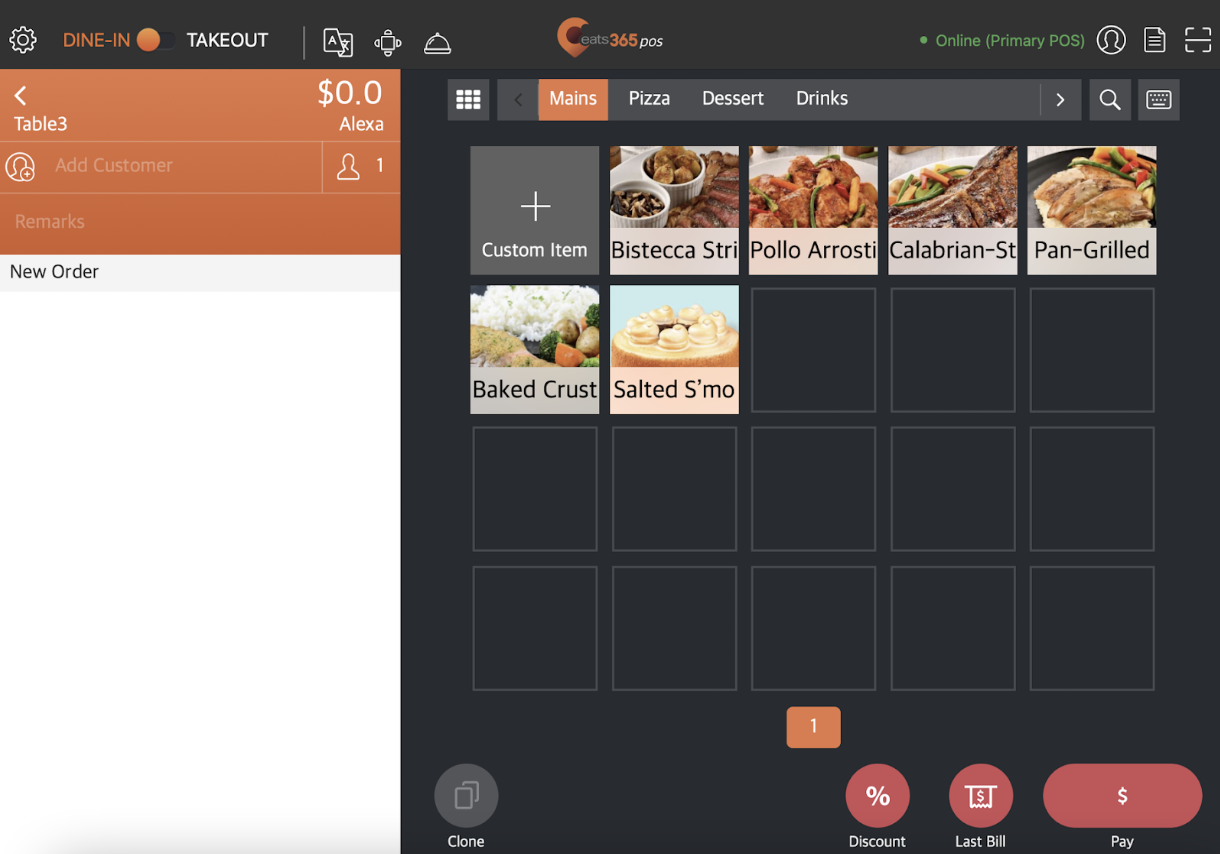
- Product Code Layout
Quick Order Entry Mode
Disables the modifiers page when adding an item. You can then long-press on an item to enter the modifier page.
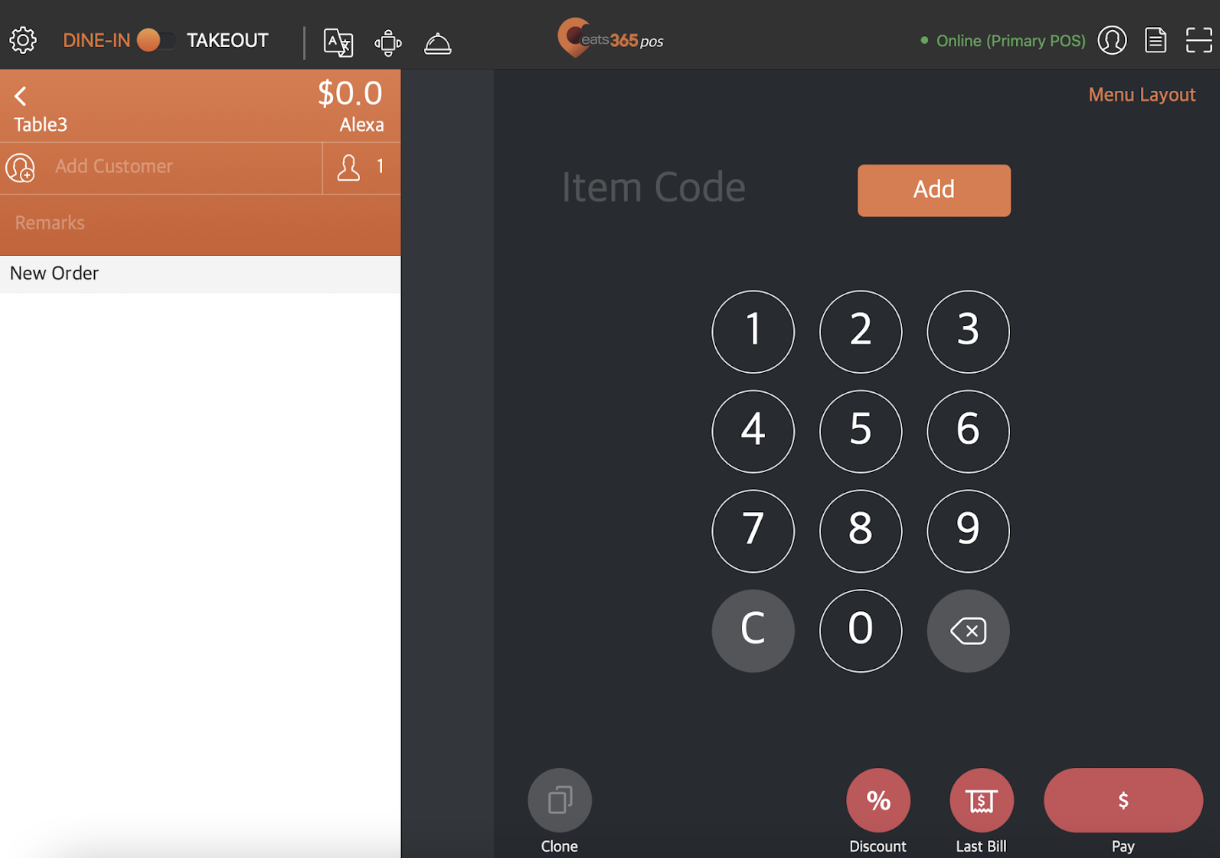
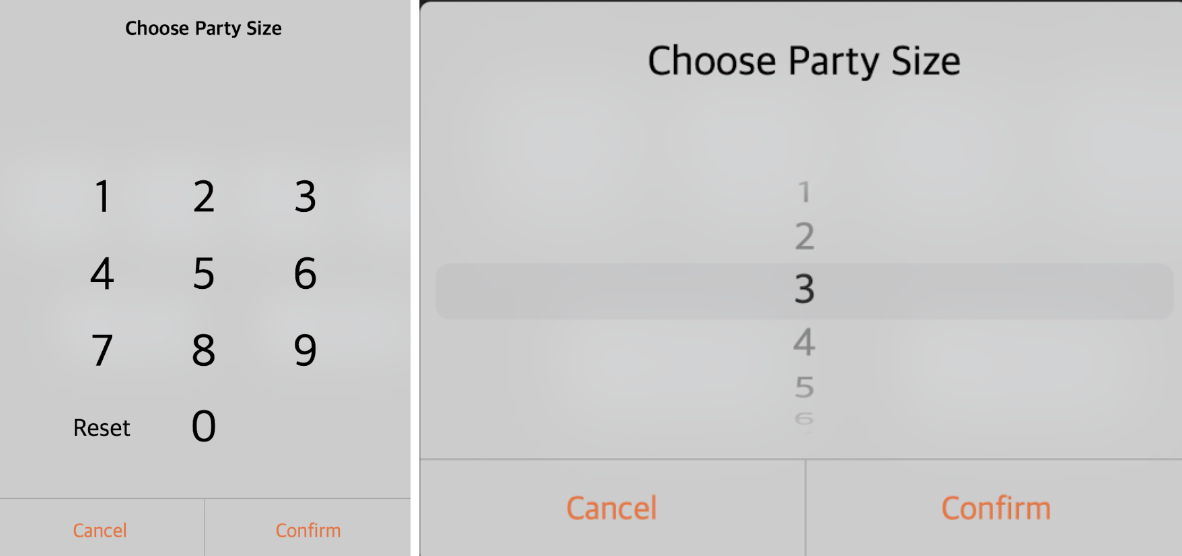
Use Keypad to Input Party Size
Toggles between using a keypad or a number scroll option to input party size.
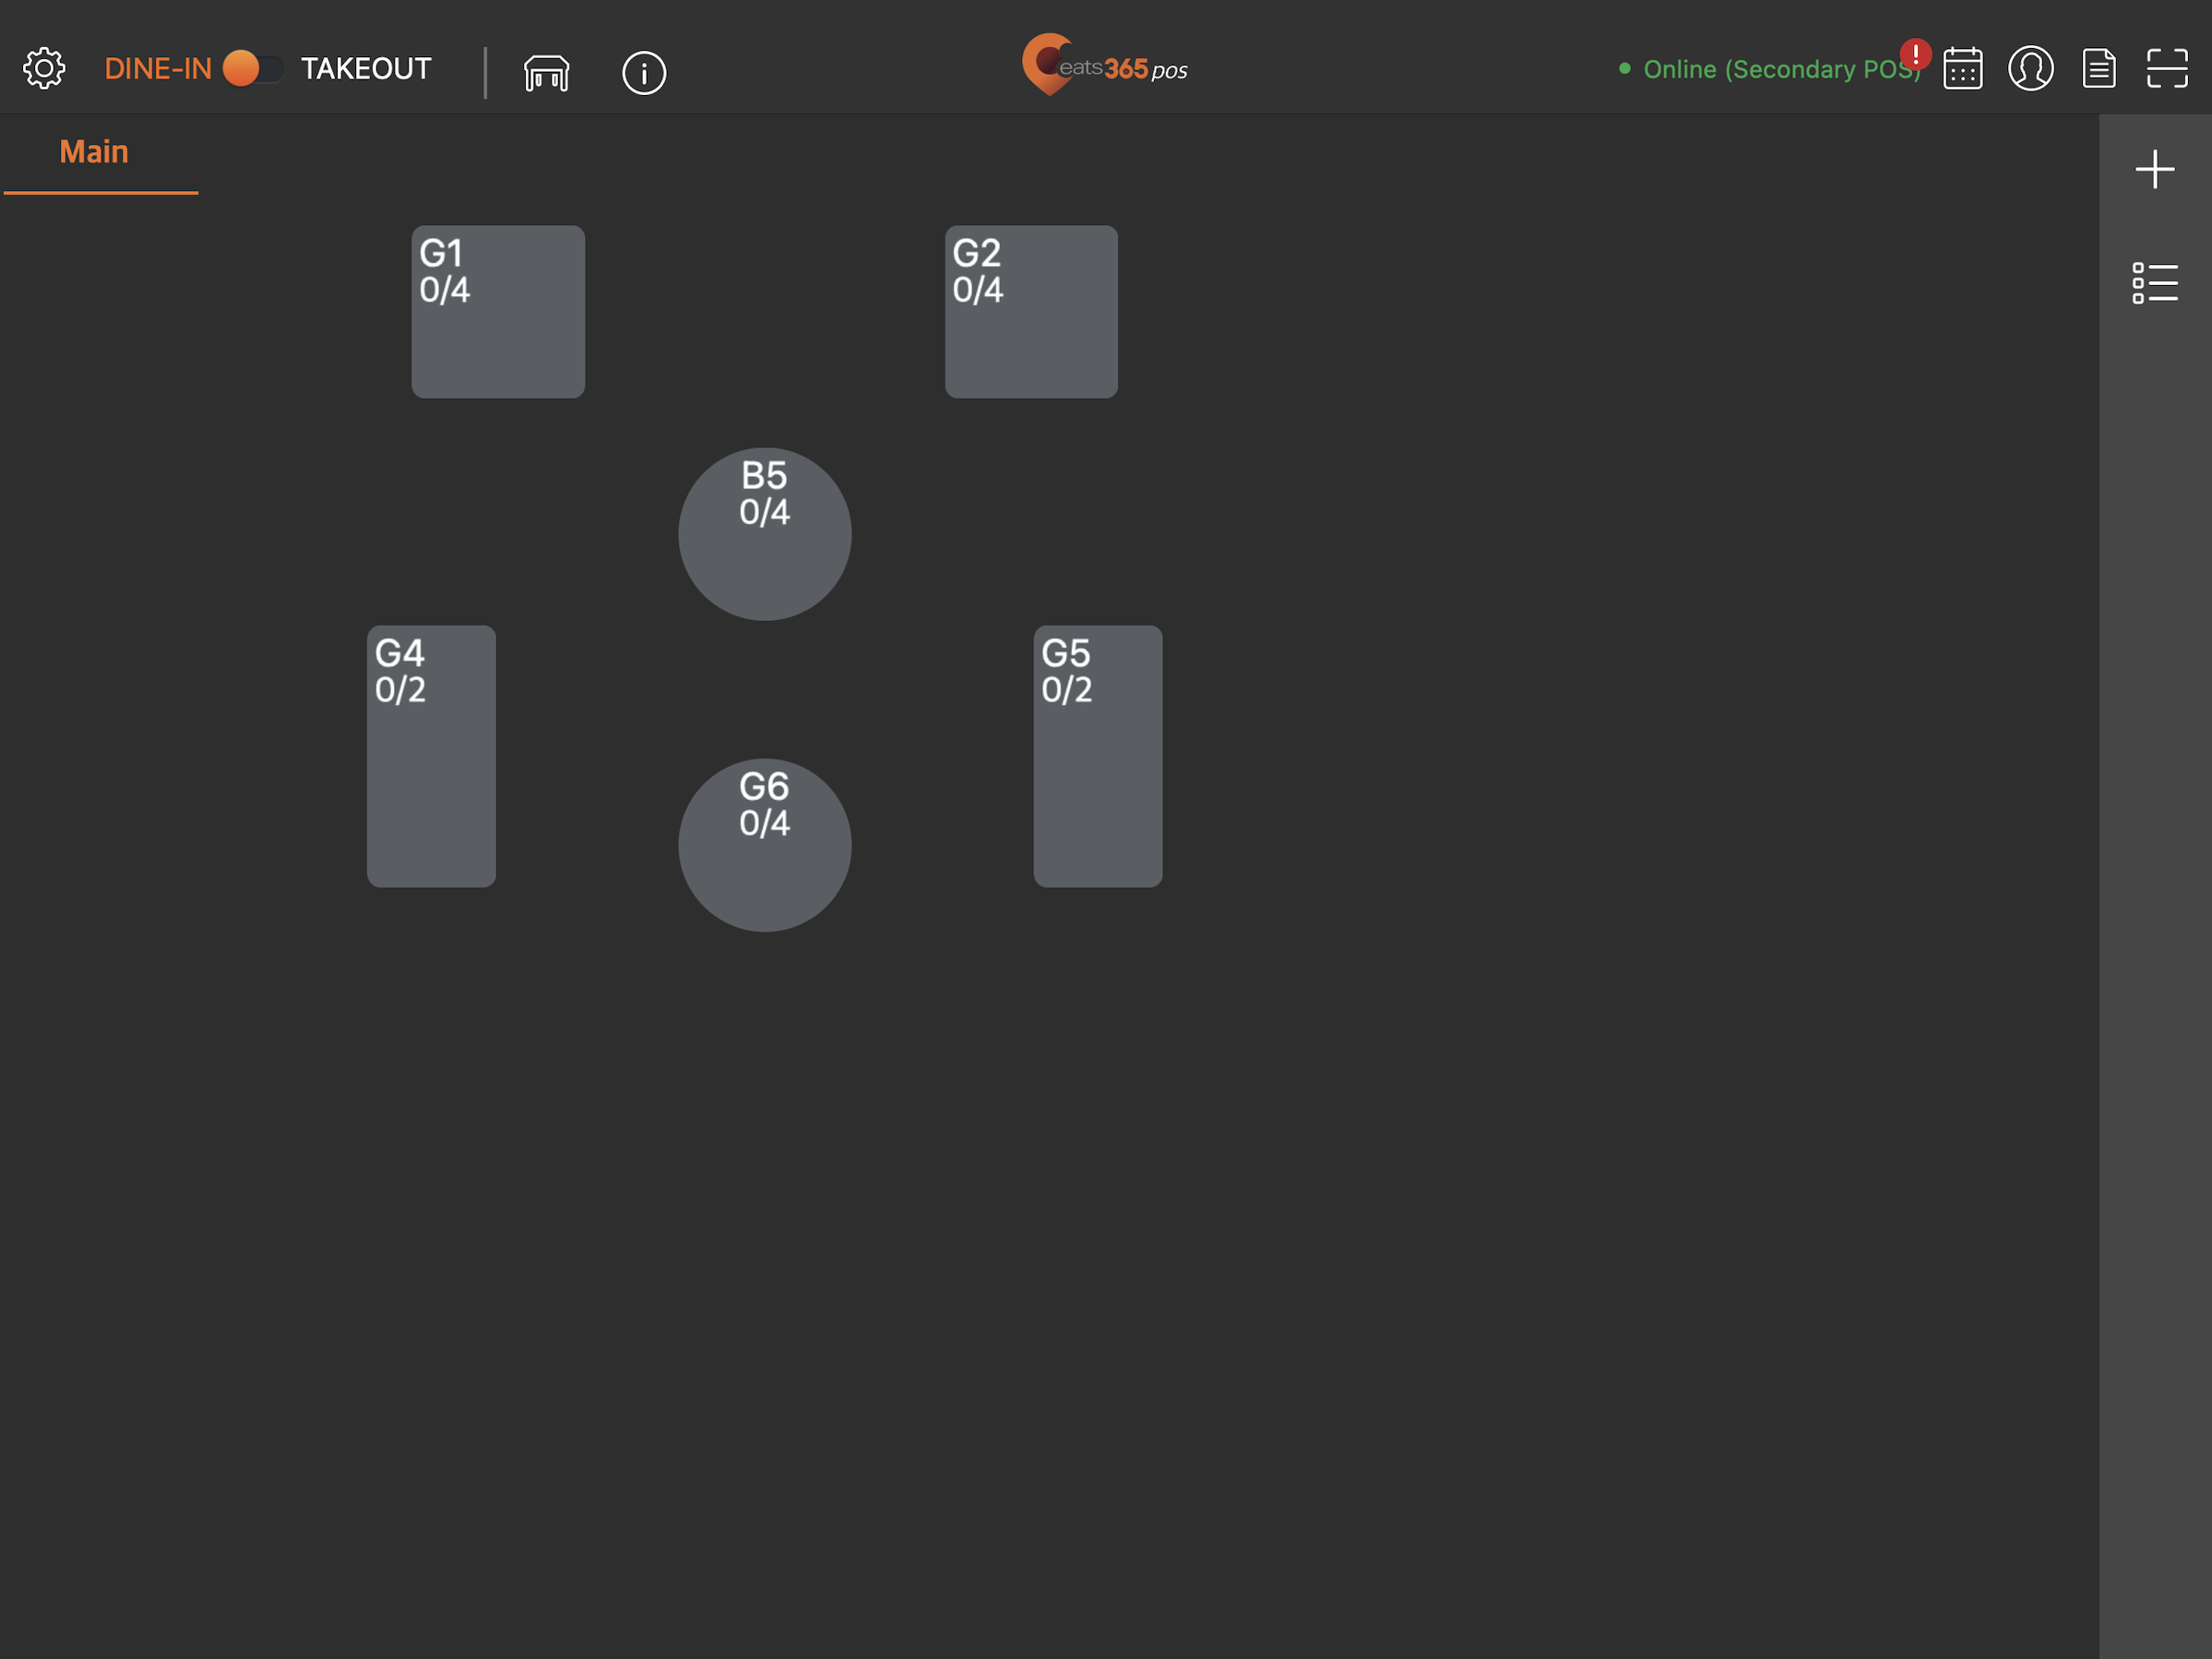
Default Area
Sets the default area or floor. Useful for multi-story establishments.
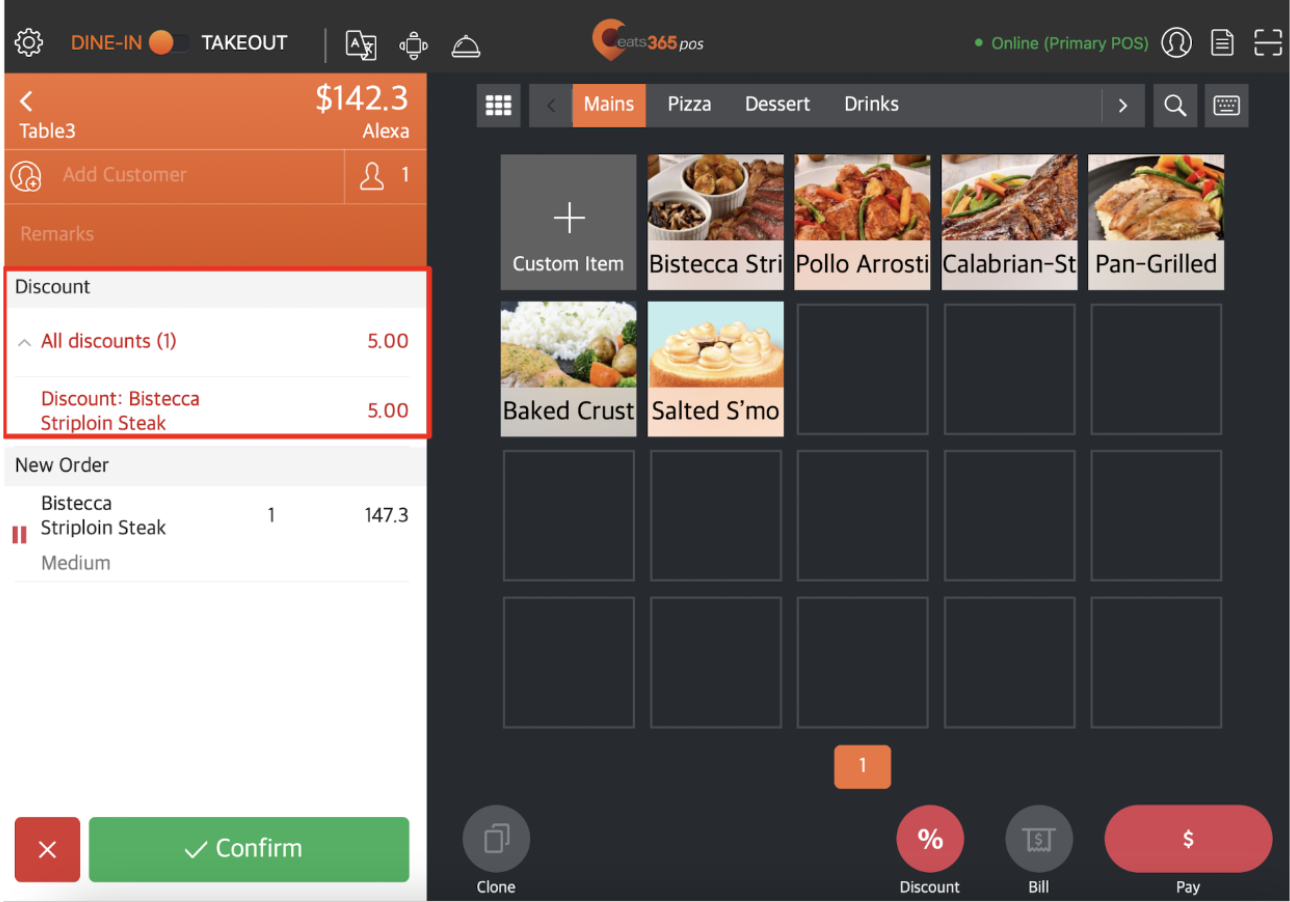
Default Expand Discount Content in Order Page
Toggles the discount drop-down arrow.
Enable Debug Mode
Records usage logs when enabled. Usage logs are used to help identify errors.
System Font Size Control
Sets the default system font size throughout the POS app.
Enable Audio and Visual Effects
Toggles the default video that plays when you launch the app, and toggles the audio whenever you interact with the app.
Audio Effect Repeating Frequency
Sets the duration for audio effect frequency. For example, if you set the Audio Effect Repeating Frequency to 10 seconds, the audio alert for new orders or service call will play every 10 seconds.
Alert Tones
Select the alert tone that you want to use for audio alerts and service calls.
POS Terminal Number
Assigns a terminal number to the POS.
Revenue Center
Sets the default Revenue Center.
Order Number Prefix
Sets the prefix that can be assigned to the POS. The prefix assigned to the POS helps identify which POS processed an order. The POS details are printed on every receipt.
Show Only Orders Entered from this POS
Sets the POS to only process and display orders made on this device.
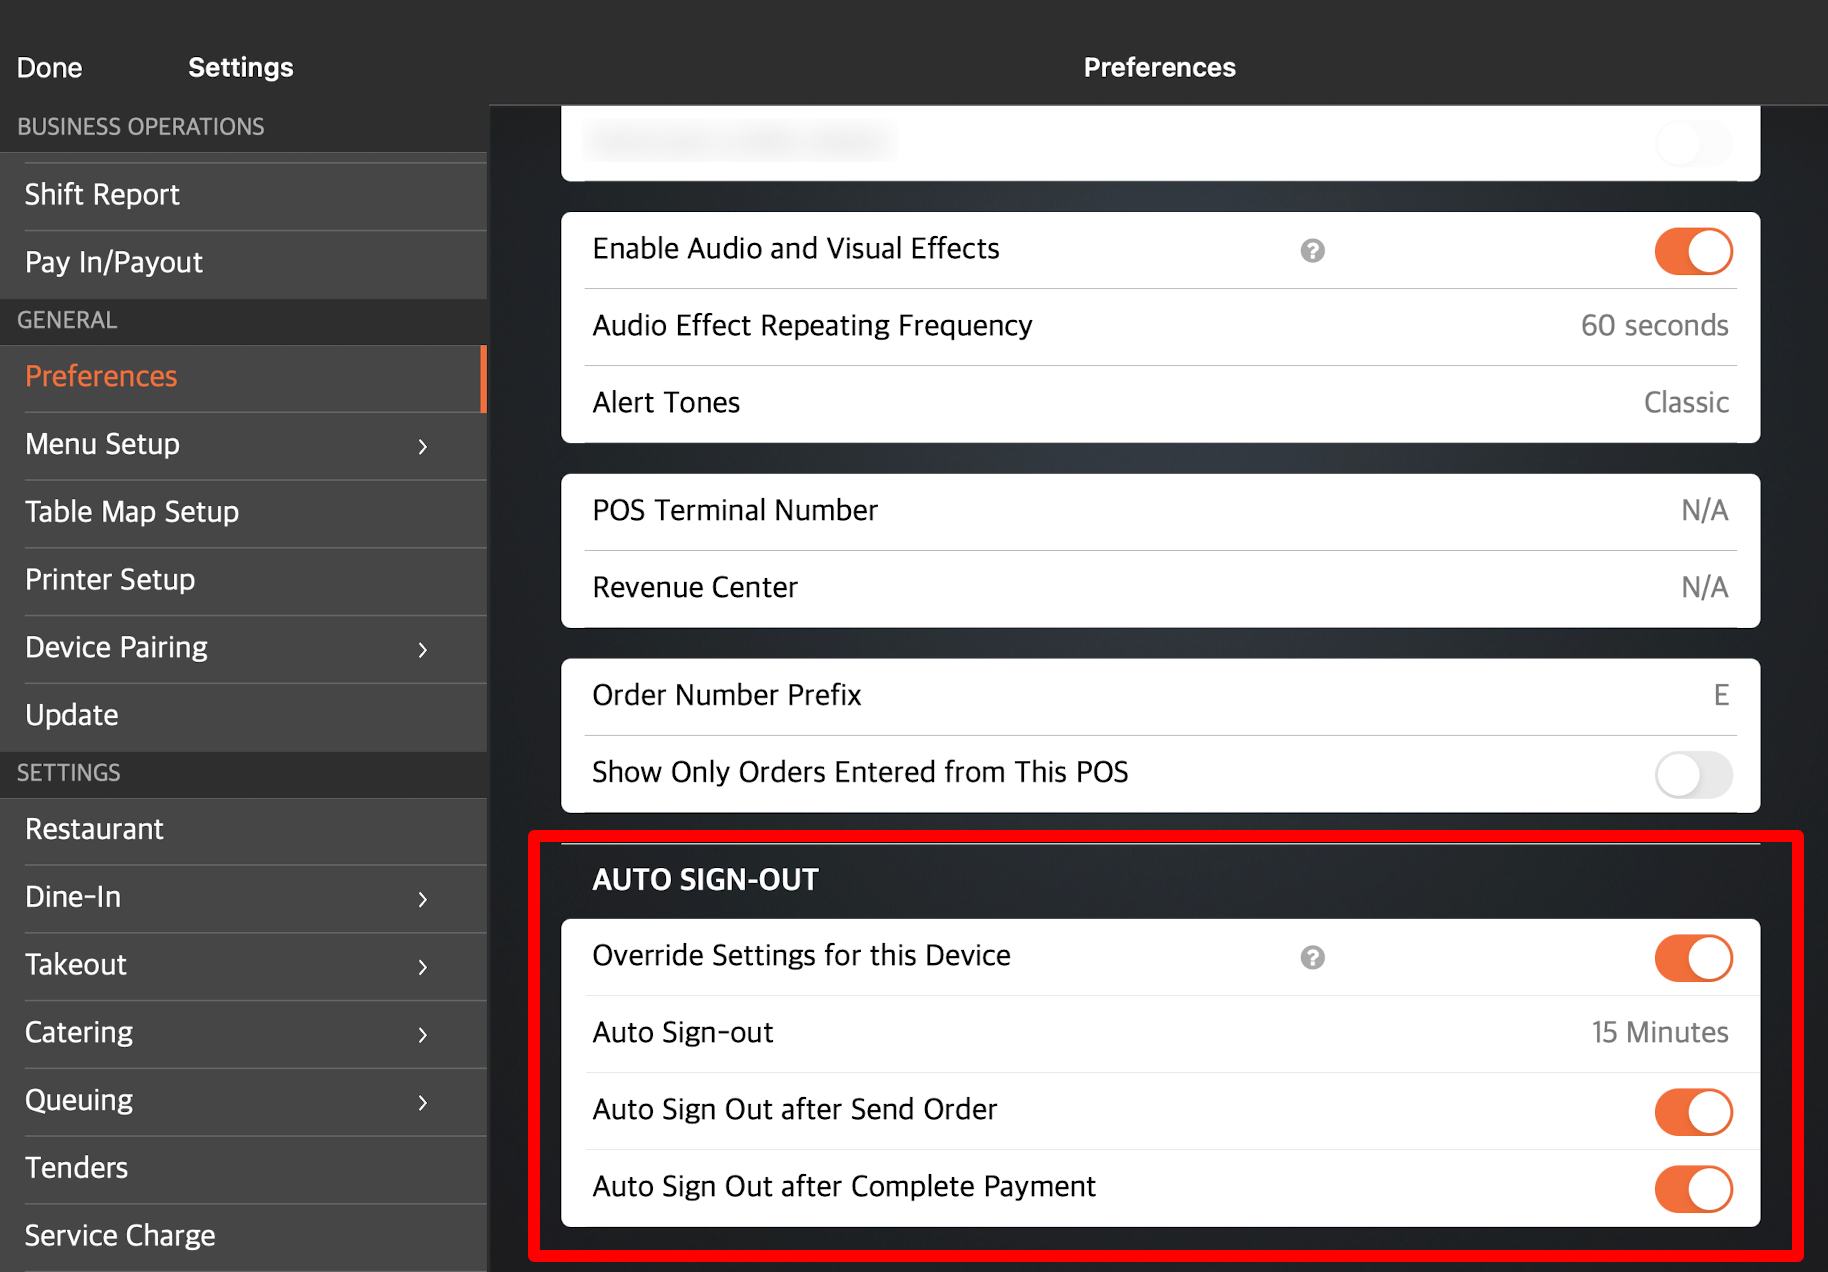
Auto Sign Out
Enable this setting to set the Auto Sign Out settings on the POS you’re currently using. Configuring the Auto Sign Out settings for a particular POS overrides the Auto Sign Out settings that have been configured for all POS terminals in your restaurant.
To learn how to set individual Auto Sign Out preferences, refer to Configure POS to sign out automatically.
License Expiry Reminder
Enable this setting to set the License Expiry Reminder preferences on the POS you’re currently using. Configuring the License Expiry Reminder settings for a particular POS overrides the License Expiry Reminder preferences that have been configured in System Preferences.
To set whether you receive reminders about your POS license expiration, turn on Override Settings for this Device  . Then, tap the Reminder for POS License Expiry drop-down and set your notification preference. If “Never” is selected, the POS will not display the reminder.
Notification
Override Settings for this Device
Enable this setting to configure how notifications appear on the POS system you’re currently using.
Notification Display Style
Select how notifications appear on the POS. You can choose from the following options:
-
Notification Icons

-
Notification Banner
