Eats365 Products
 Merchant Guide
 Modules
 Membership
 Integrations
 Hardware
 Staff Operations
 Roles & Permissions
 Payments
 Reports
 What’s New
 Release Notes
 Troubleshooting
 Simulators
 Glossary
 Troubleshooter
 System Status
Time Sheets
Table of Contents
Manage staff time sheet
Learn how you can review and manage staff time sheets on the Merchant Portal.
With the Merchant Portal, you can track and manage your restaurant staff’s attendance.
In this article, you’ll learn how to add Clock-In and Clock-Out entries and how to edit an entry.
Add a Clock-In and Clock-Out entry
To add an entry, follow the steps below:
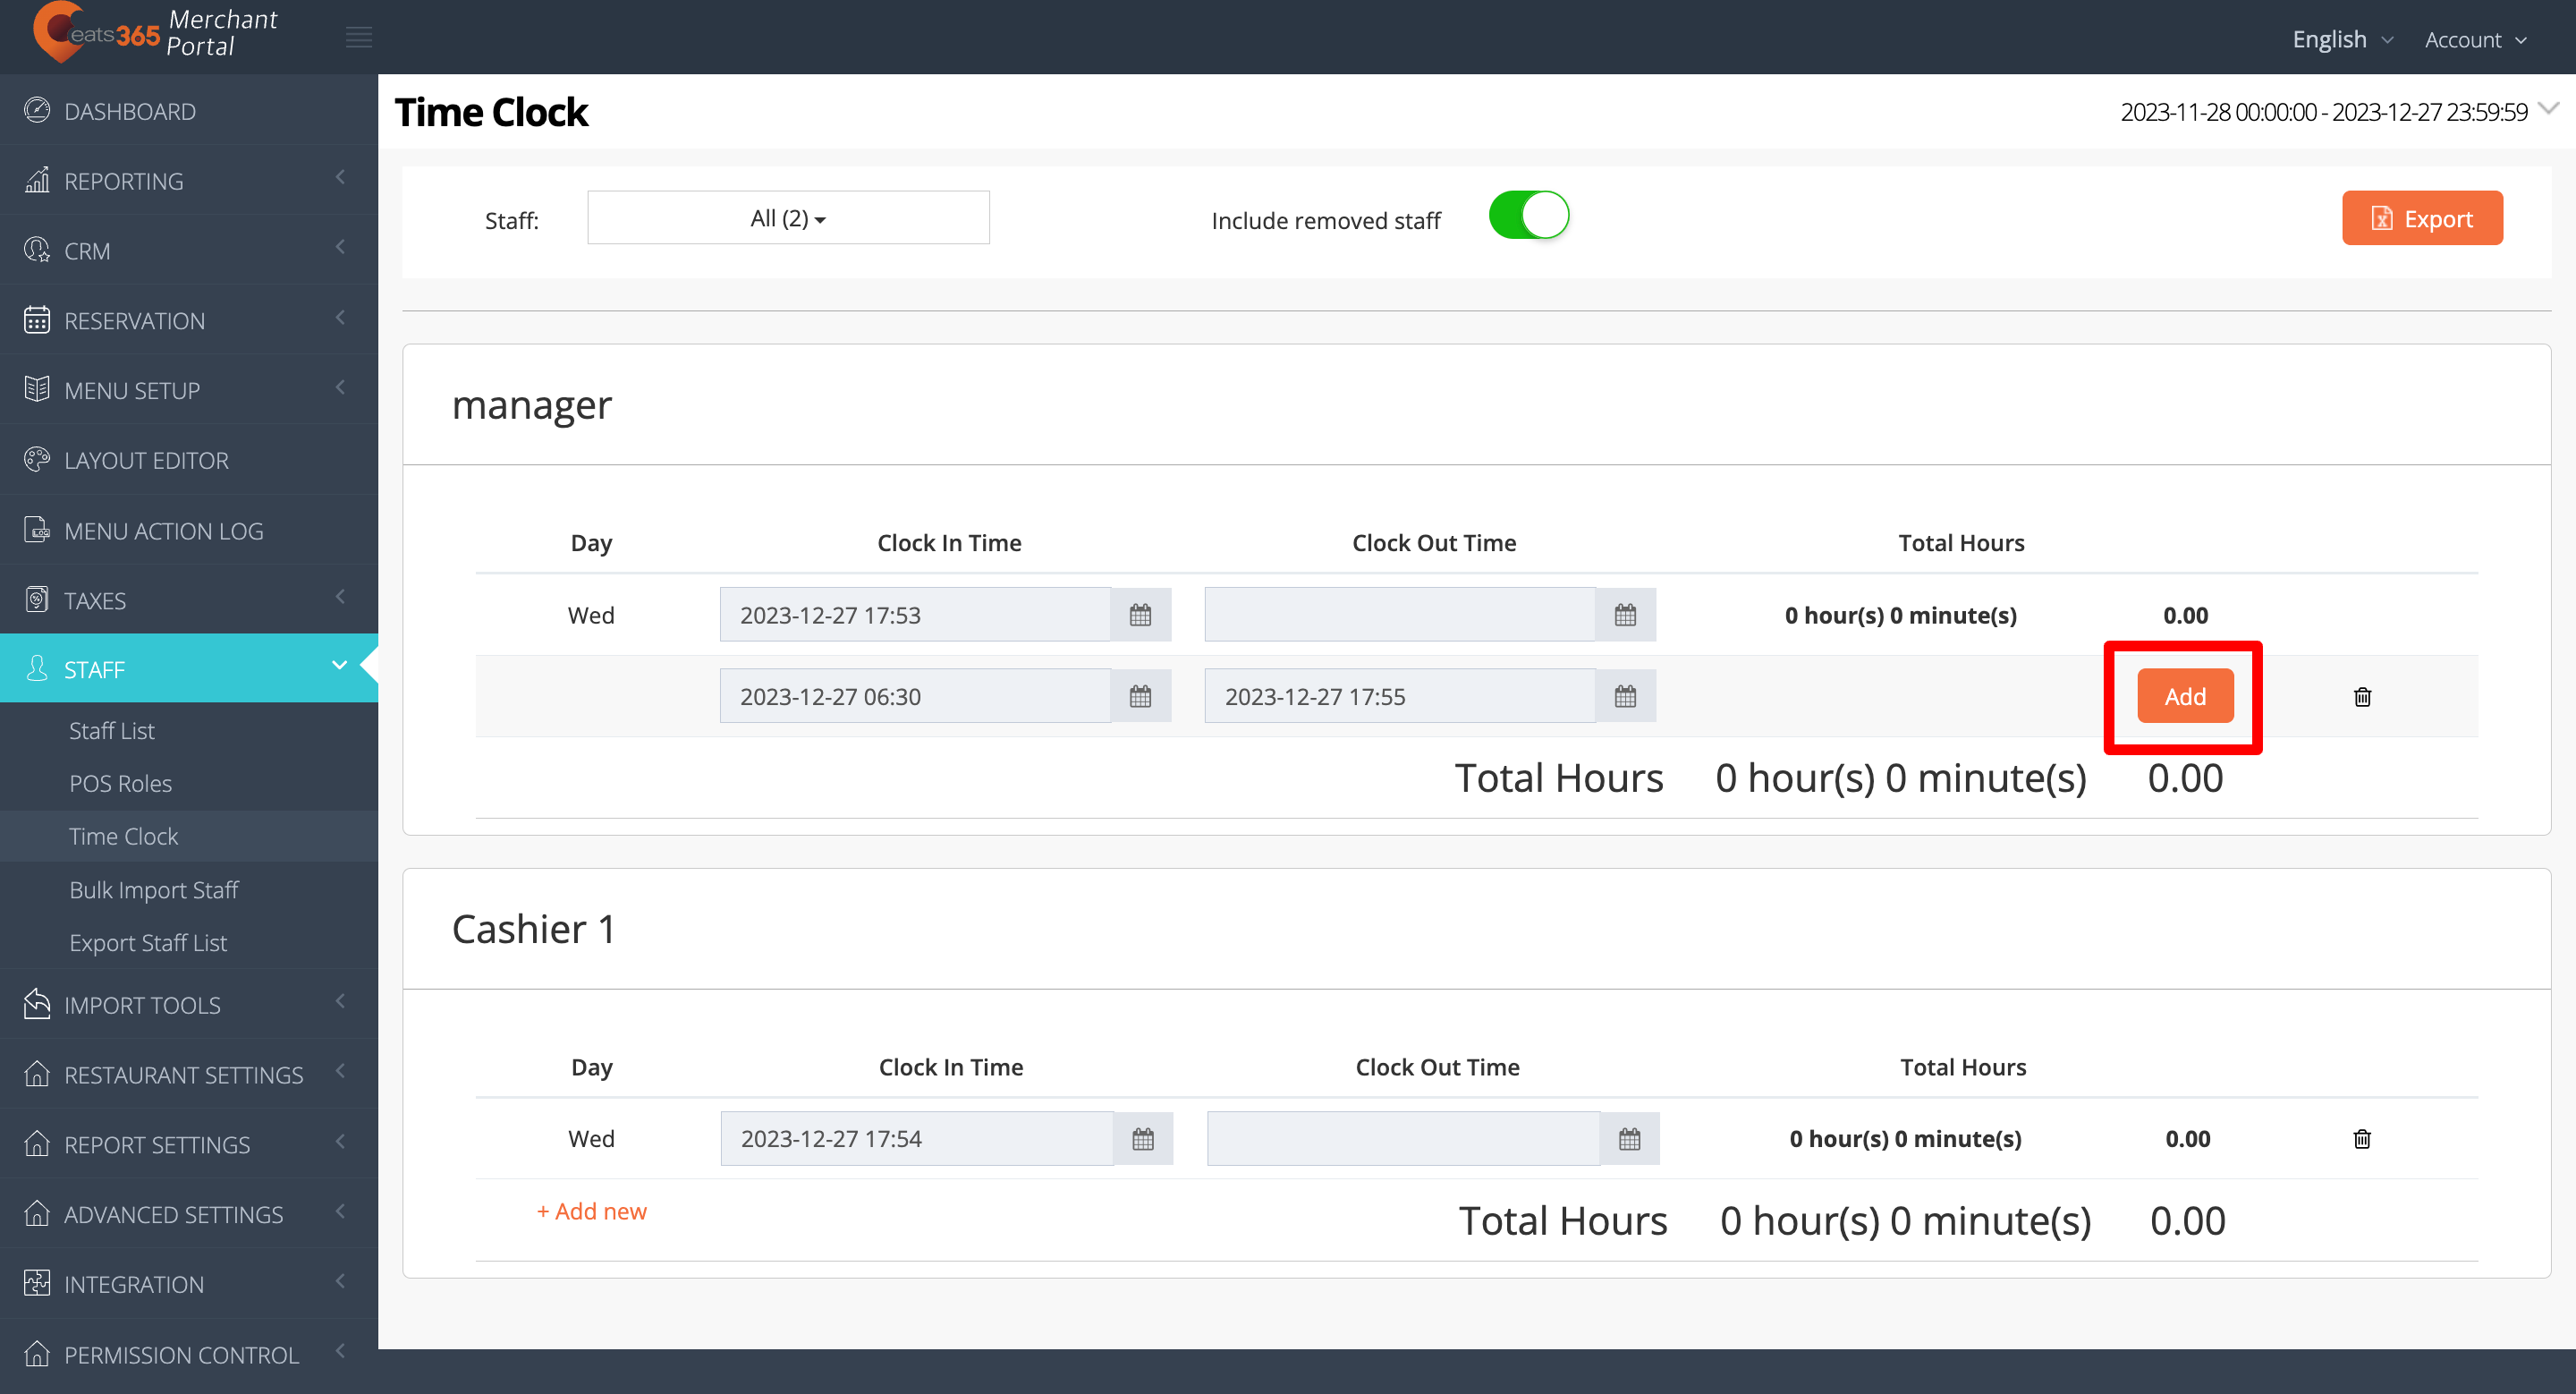
Merchant Portal (Classic Theme)
- Log in to the Merchant Portal.
- On the left panel, click on Staff, then click on Time Clock.
- Click on the Staff drop-down menu to select the staff member to whom you want to add an entry.
 Tip: To include staff who are no longer employed on the list, turn on Include removed staff
  .
.
- Click on +Add new.
- Enter the correct Clock In Time and Clock Out Time, then click on Add.
 Note: You can’t add photos for new manual entries through the Merchant Portal.
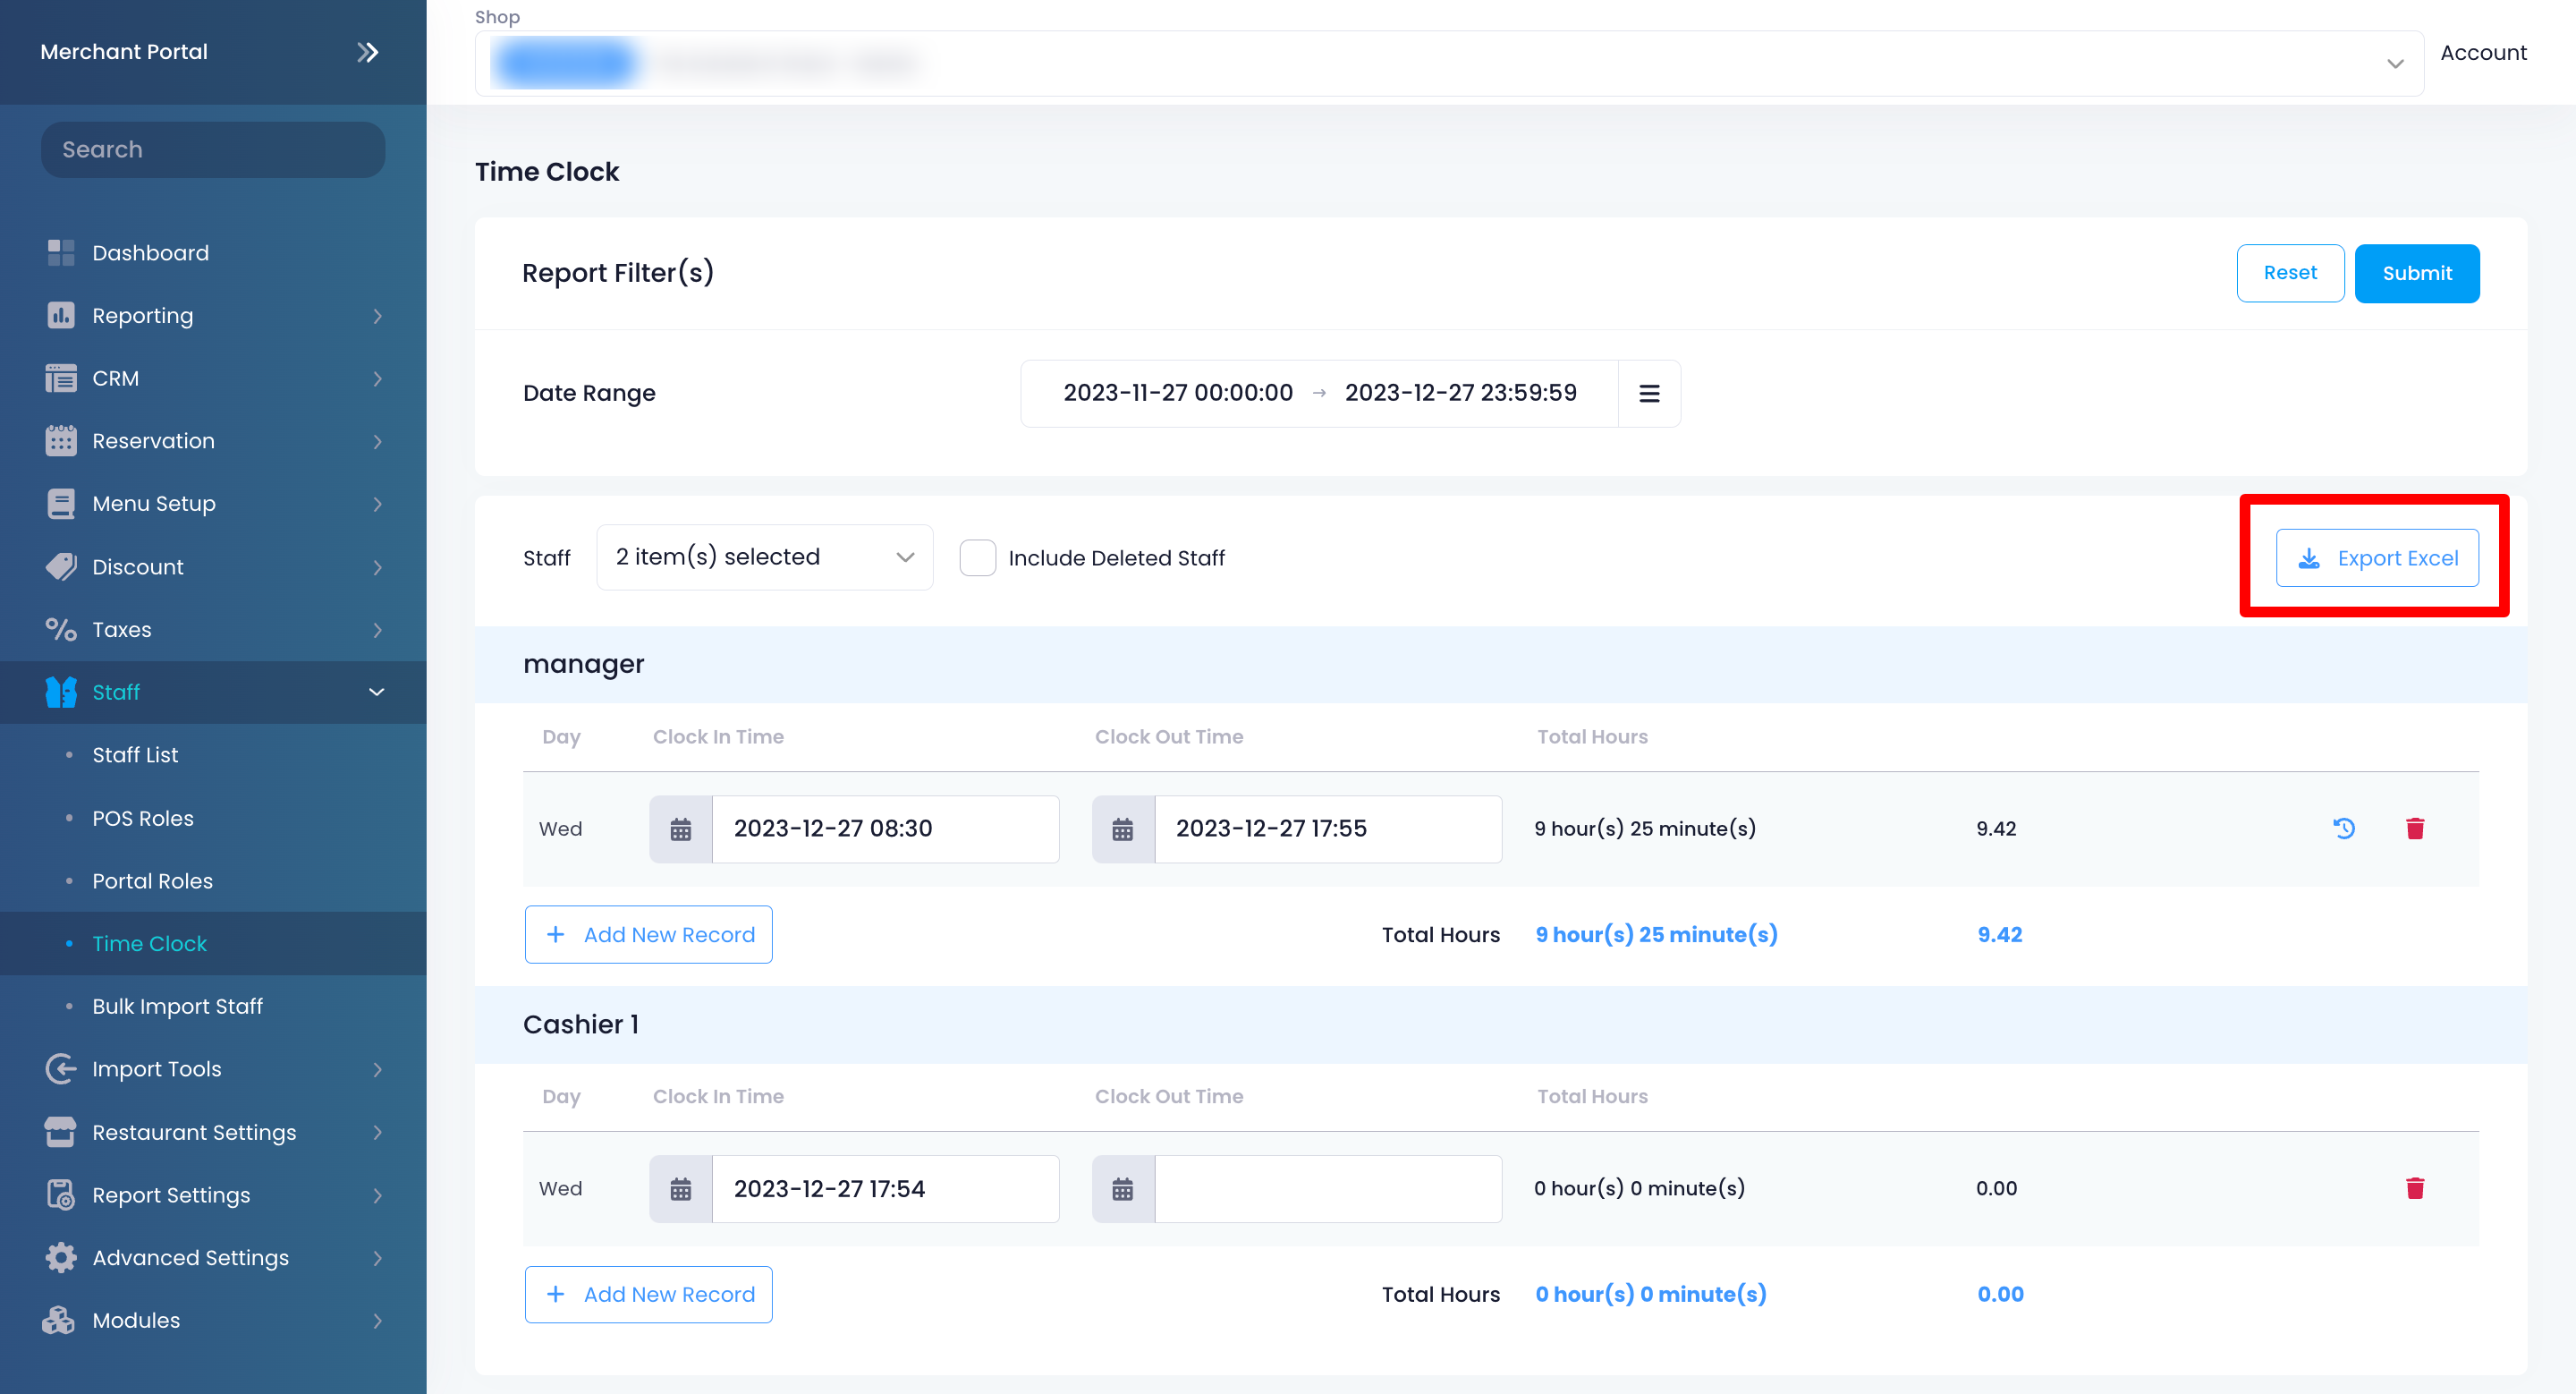
Merchant Portal 2.0
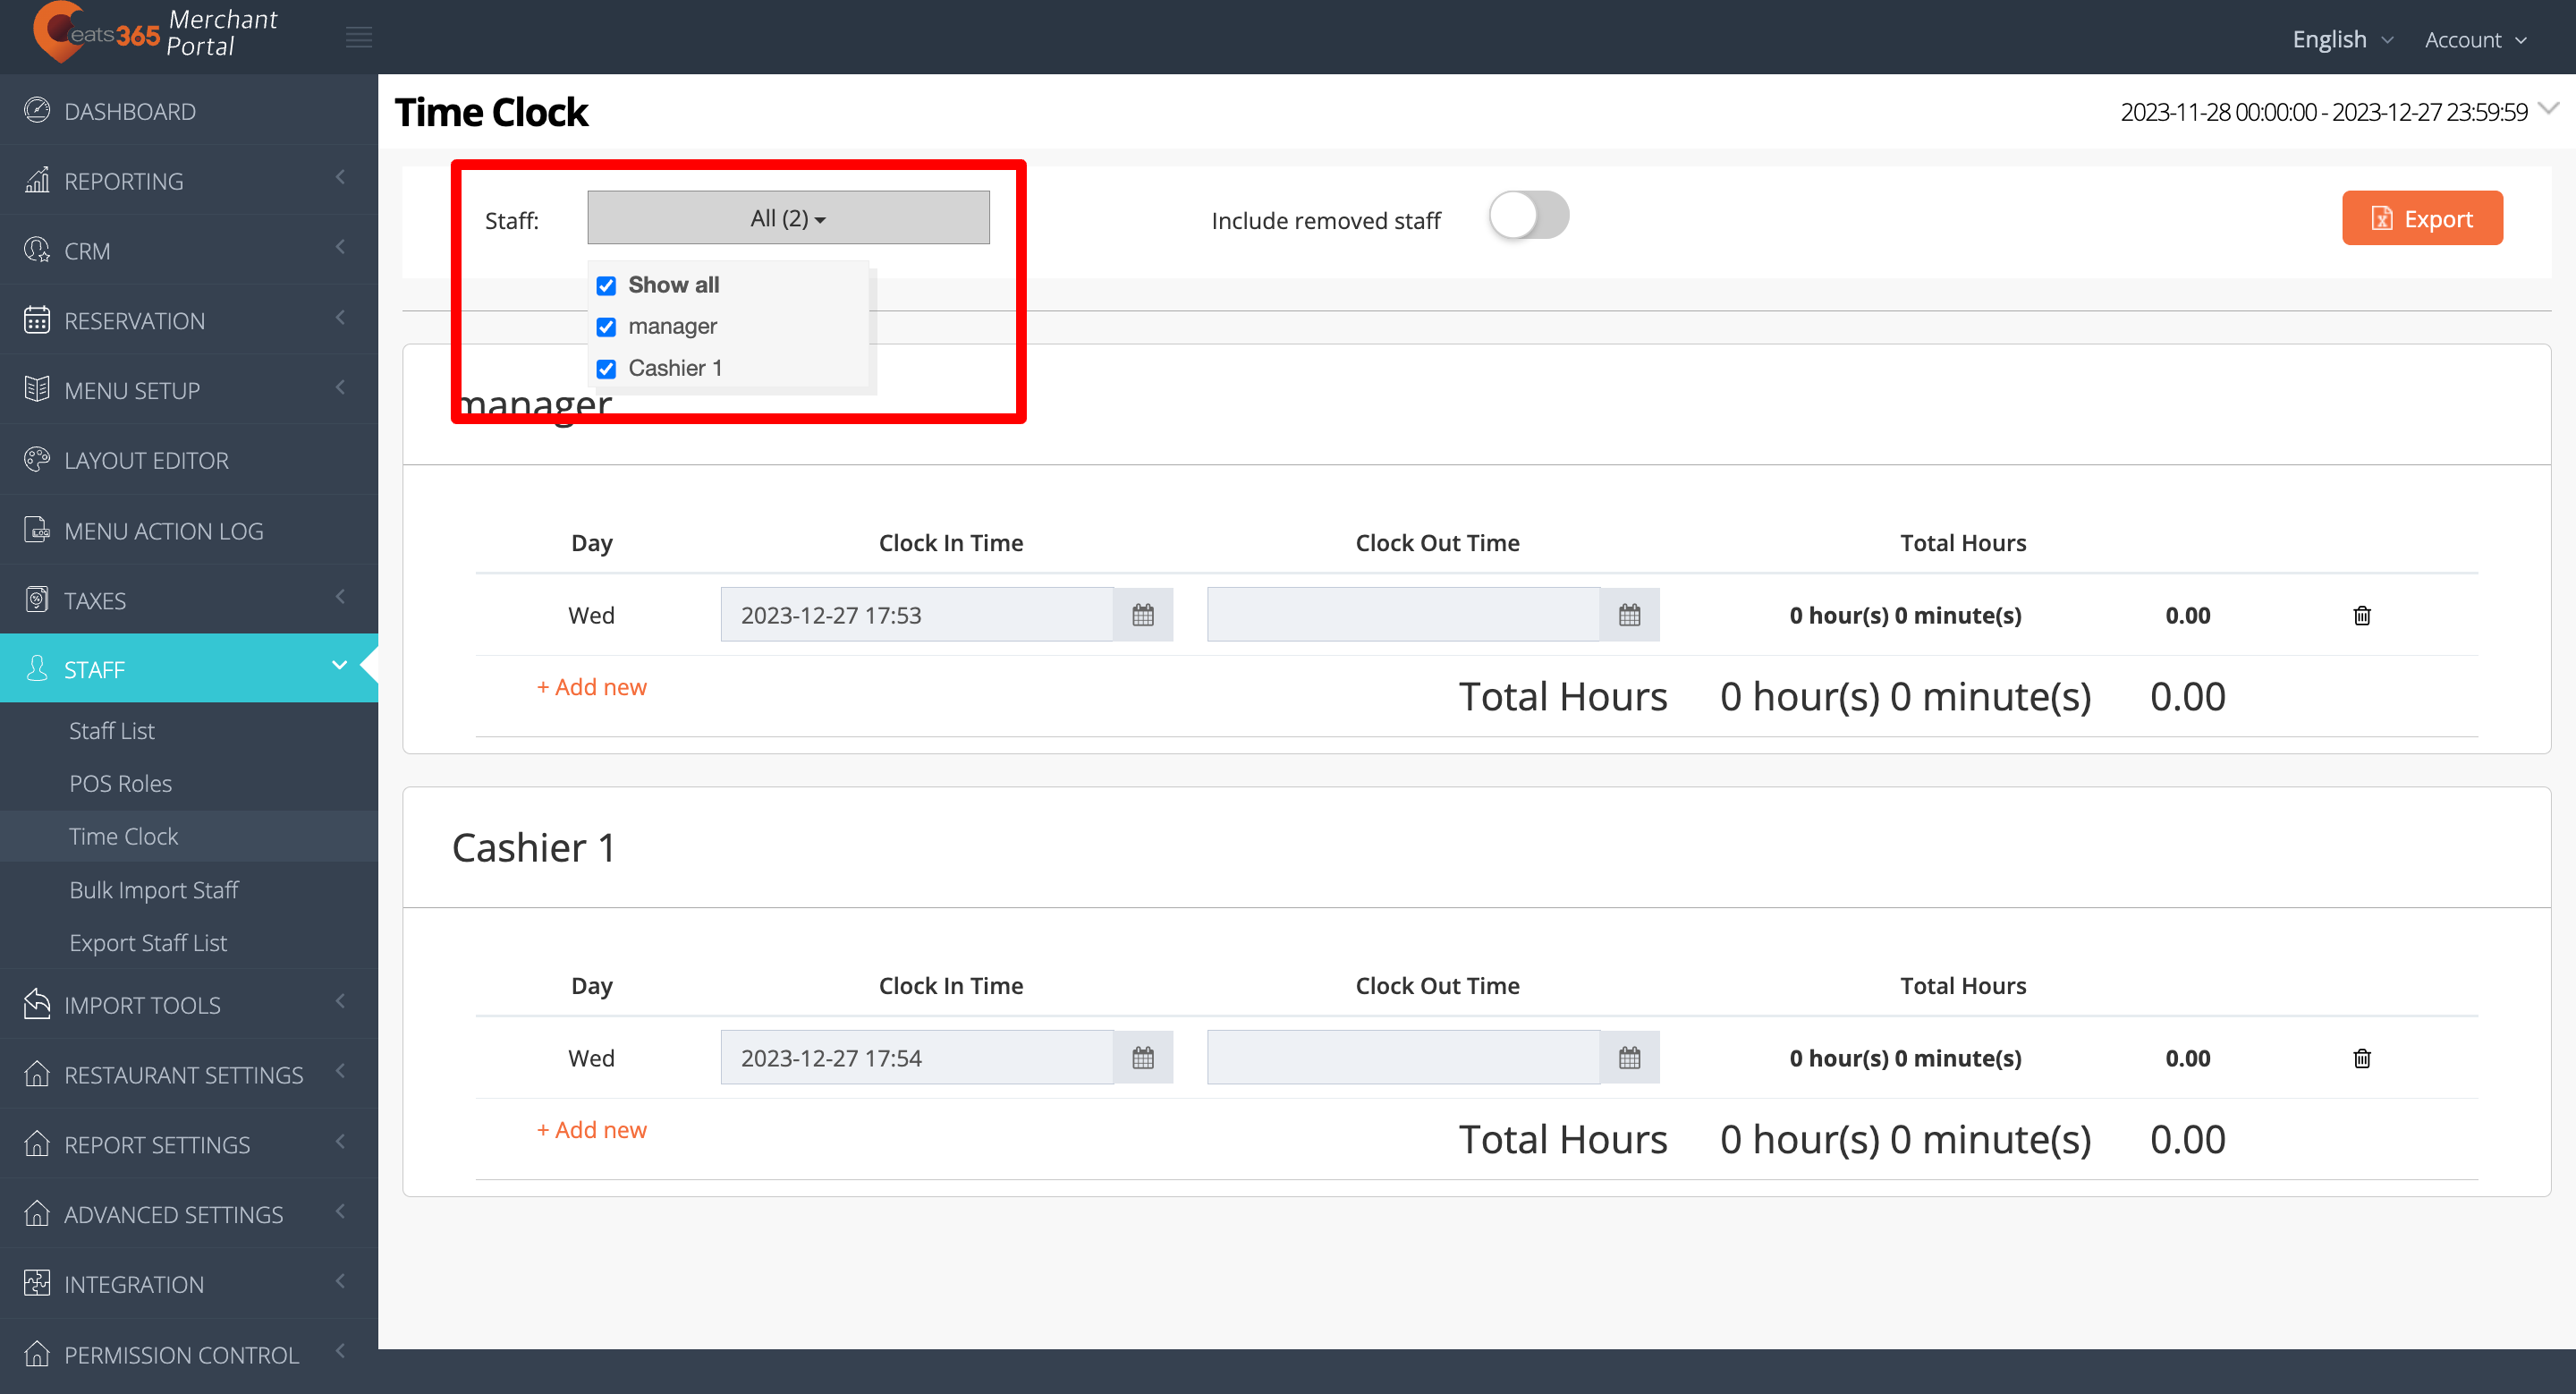
- Log in to the Merchant Portal.
- On the left panel, click on Staff, then click on Time Clock.
- Click on the Staff drop-down menu to select the staff member to whom you want to add an entry.
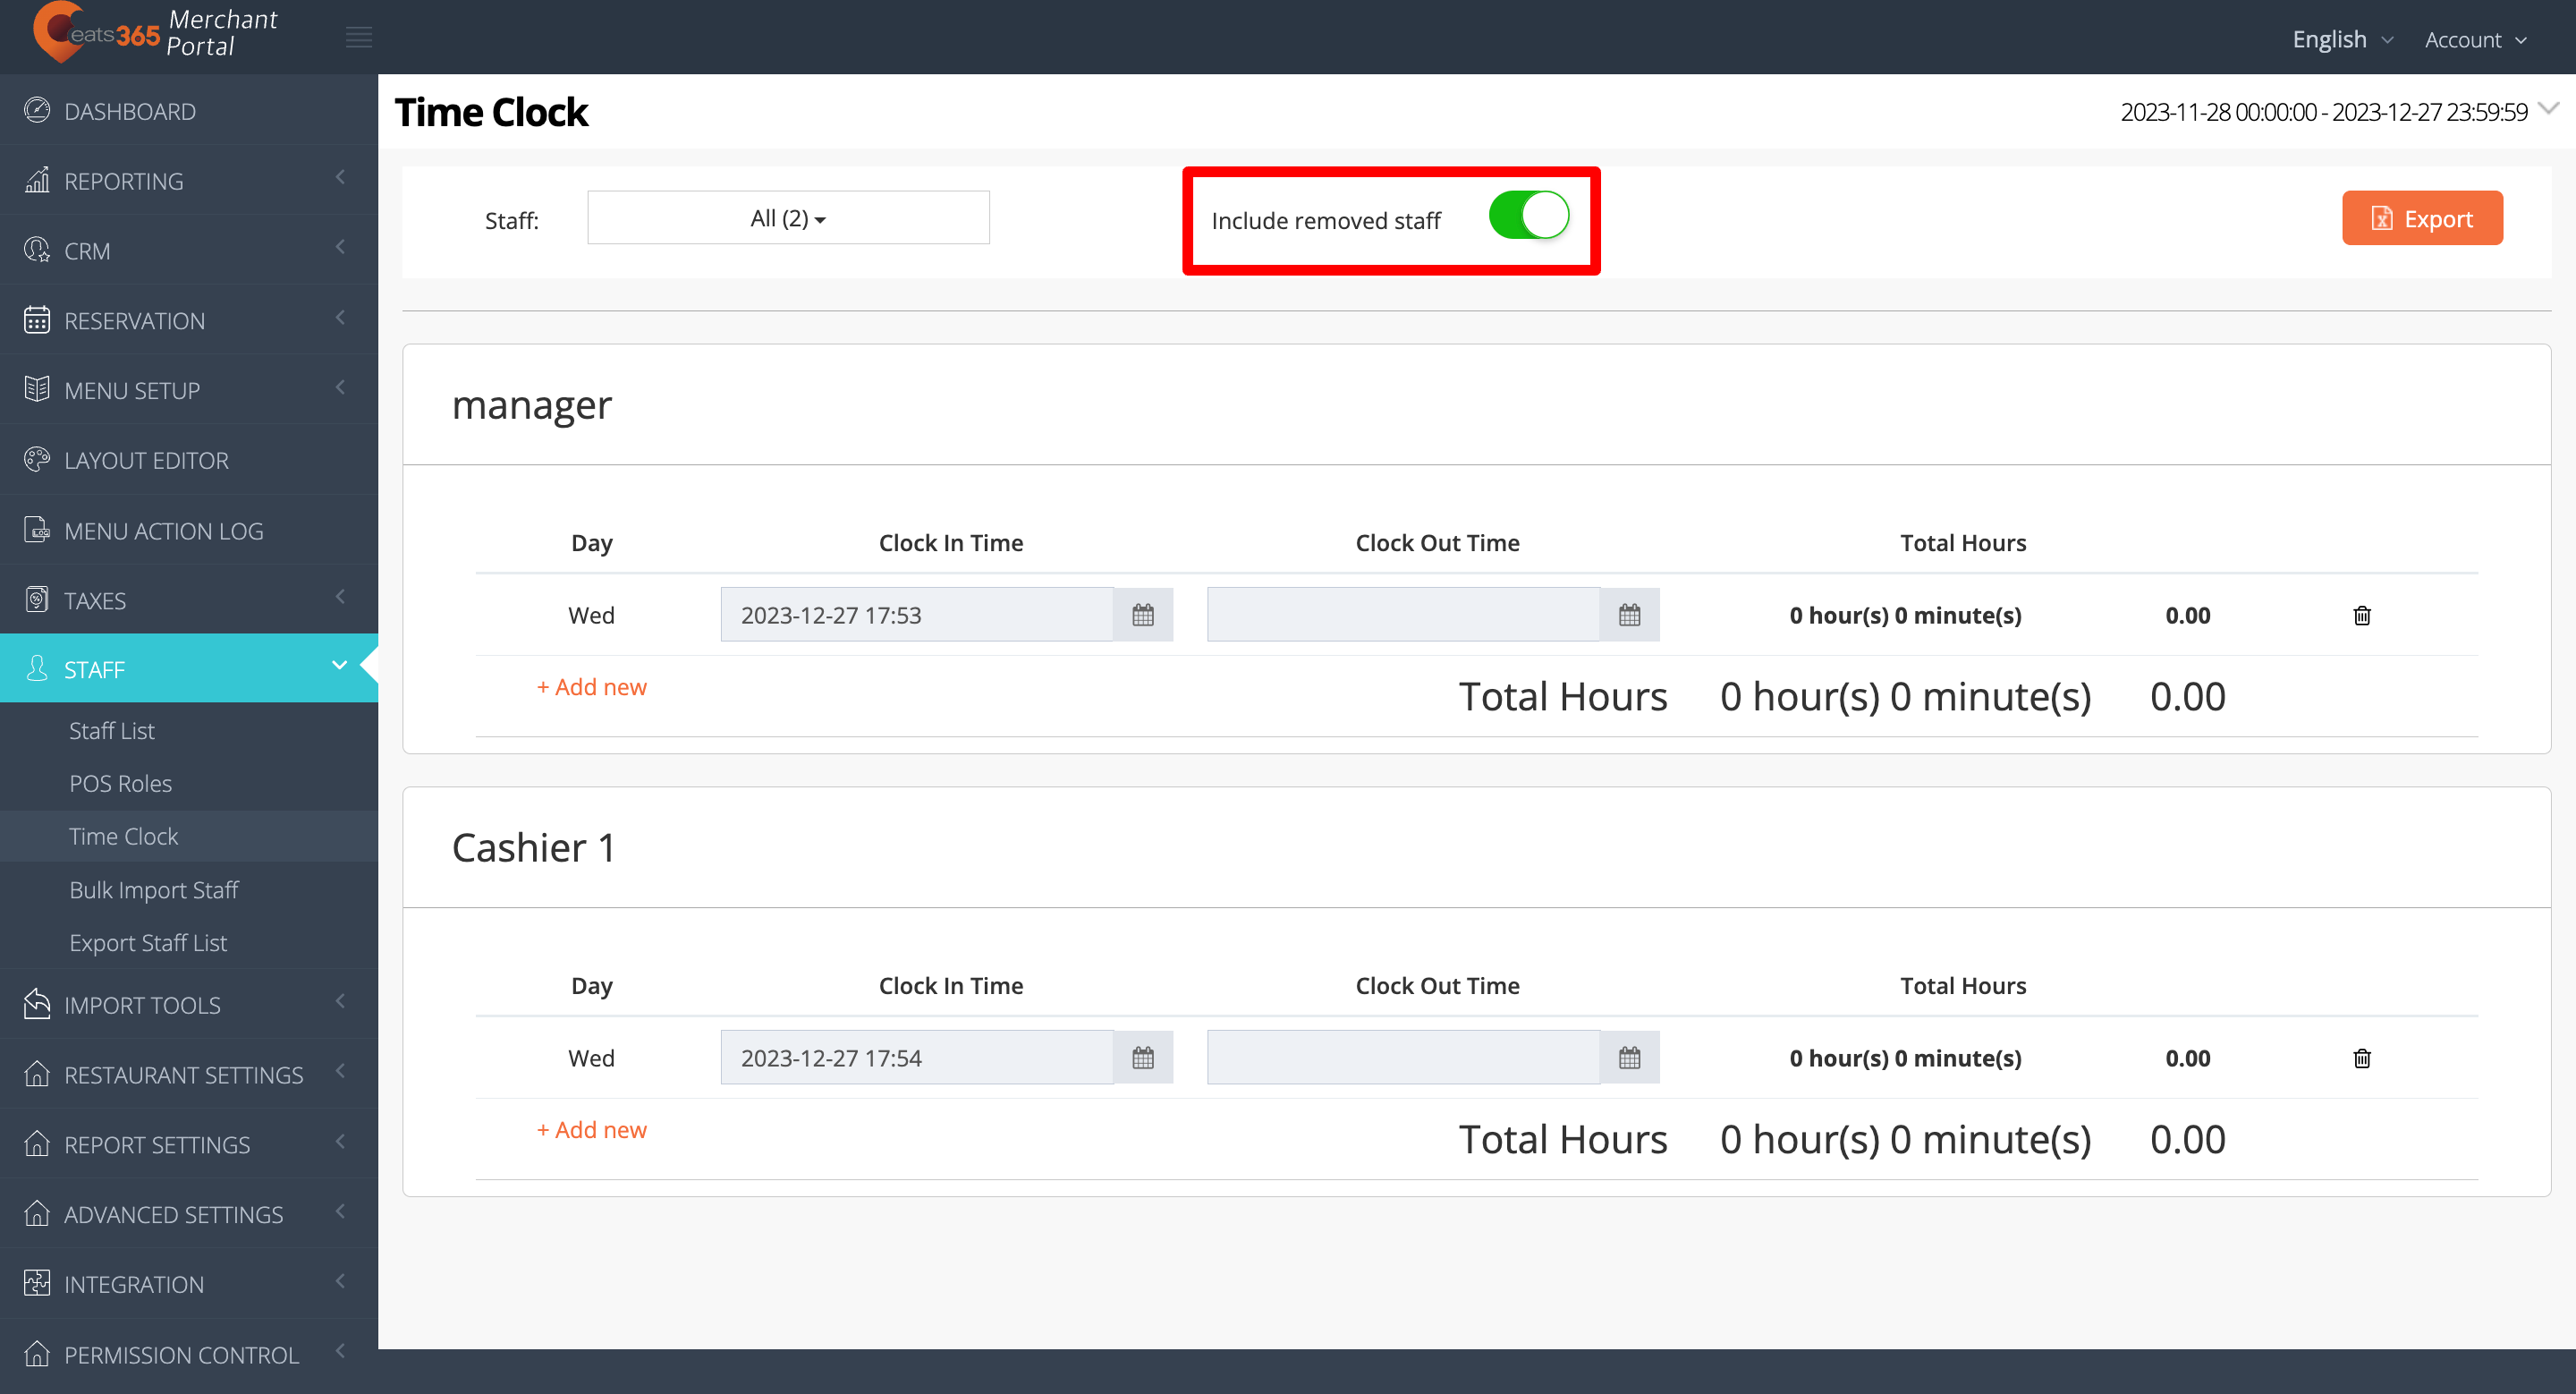
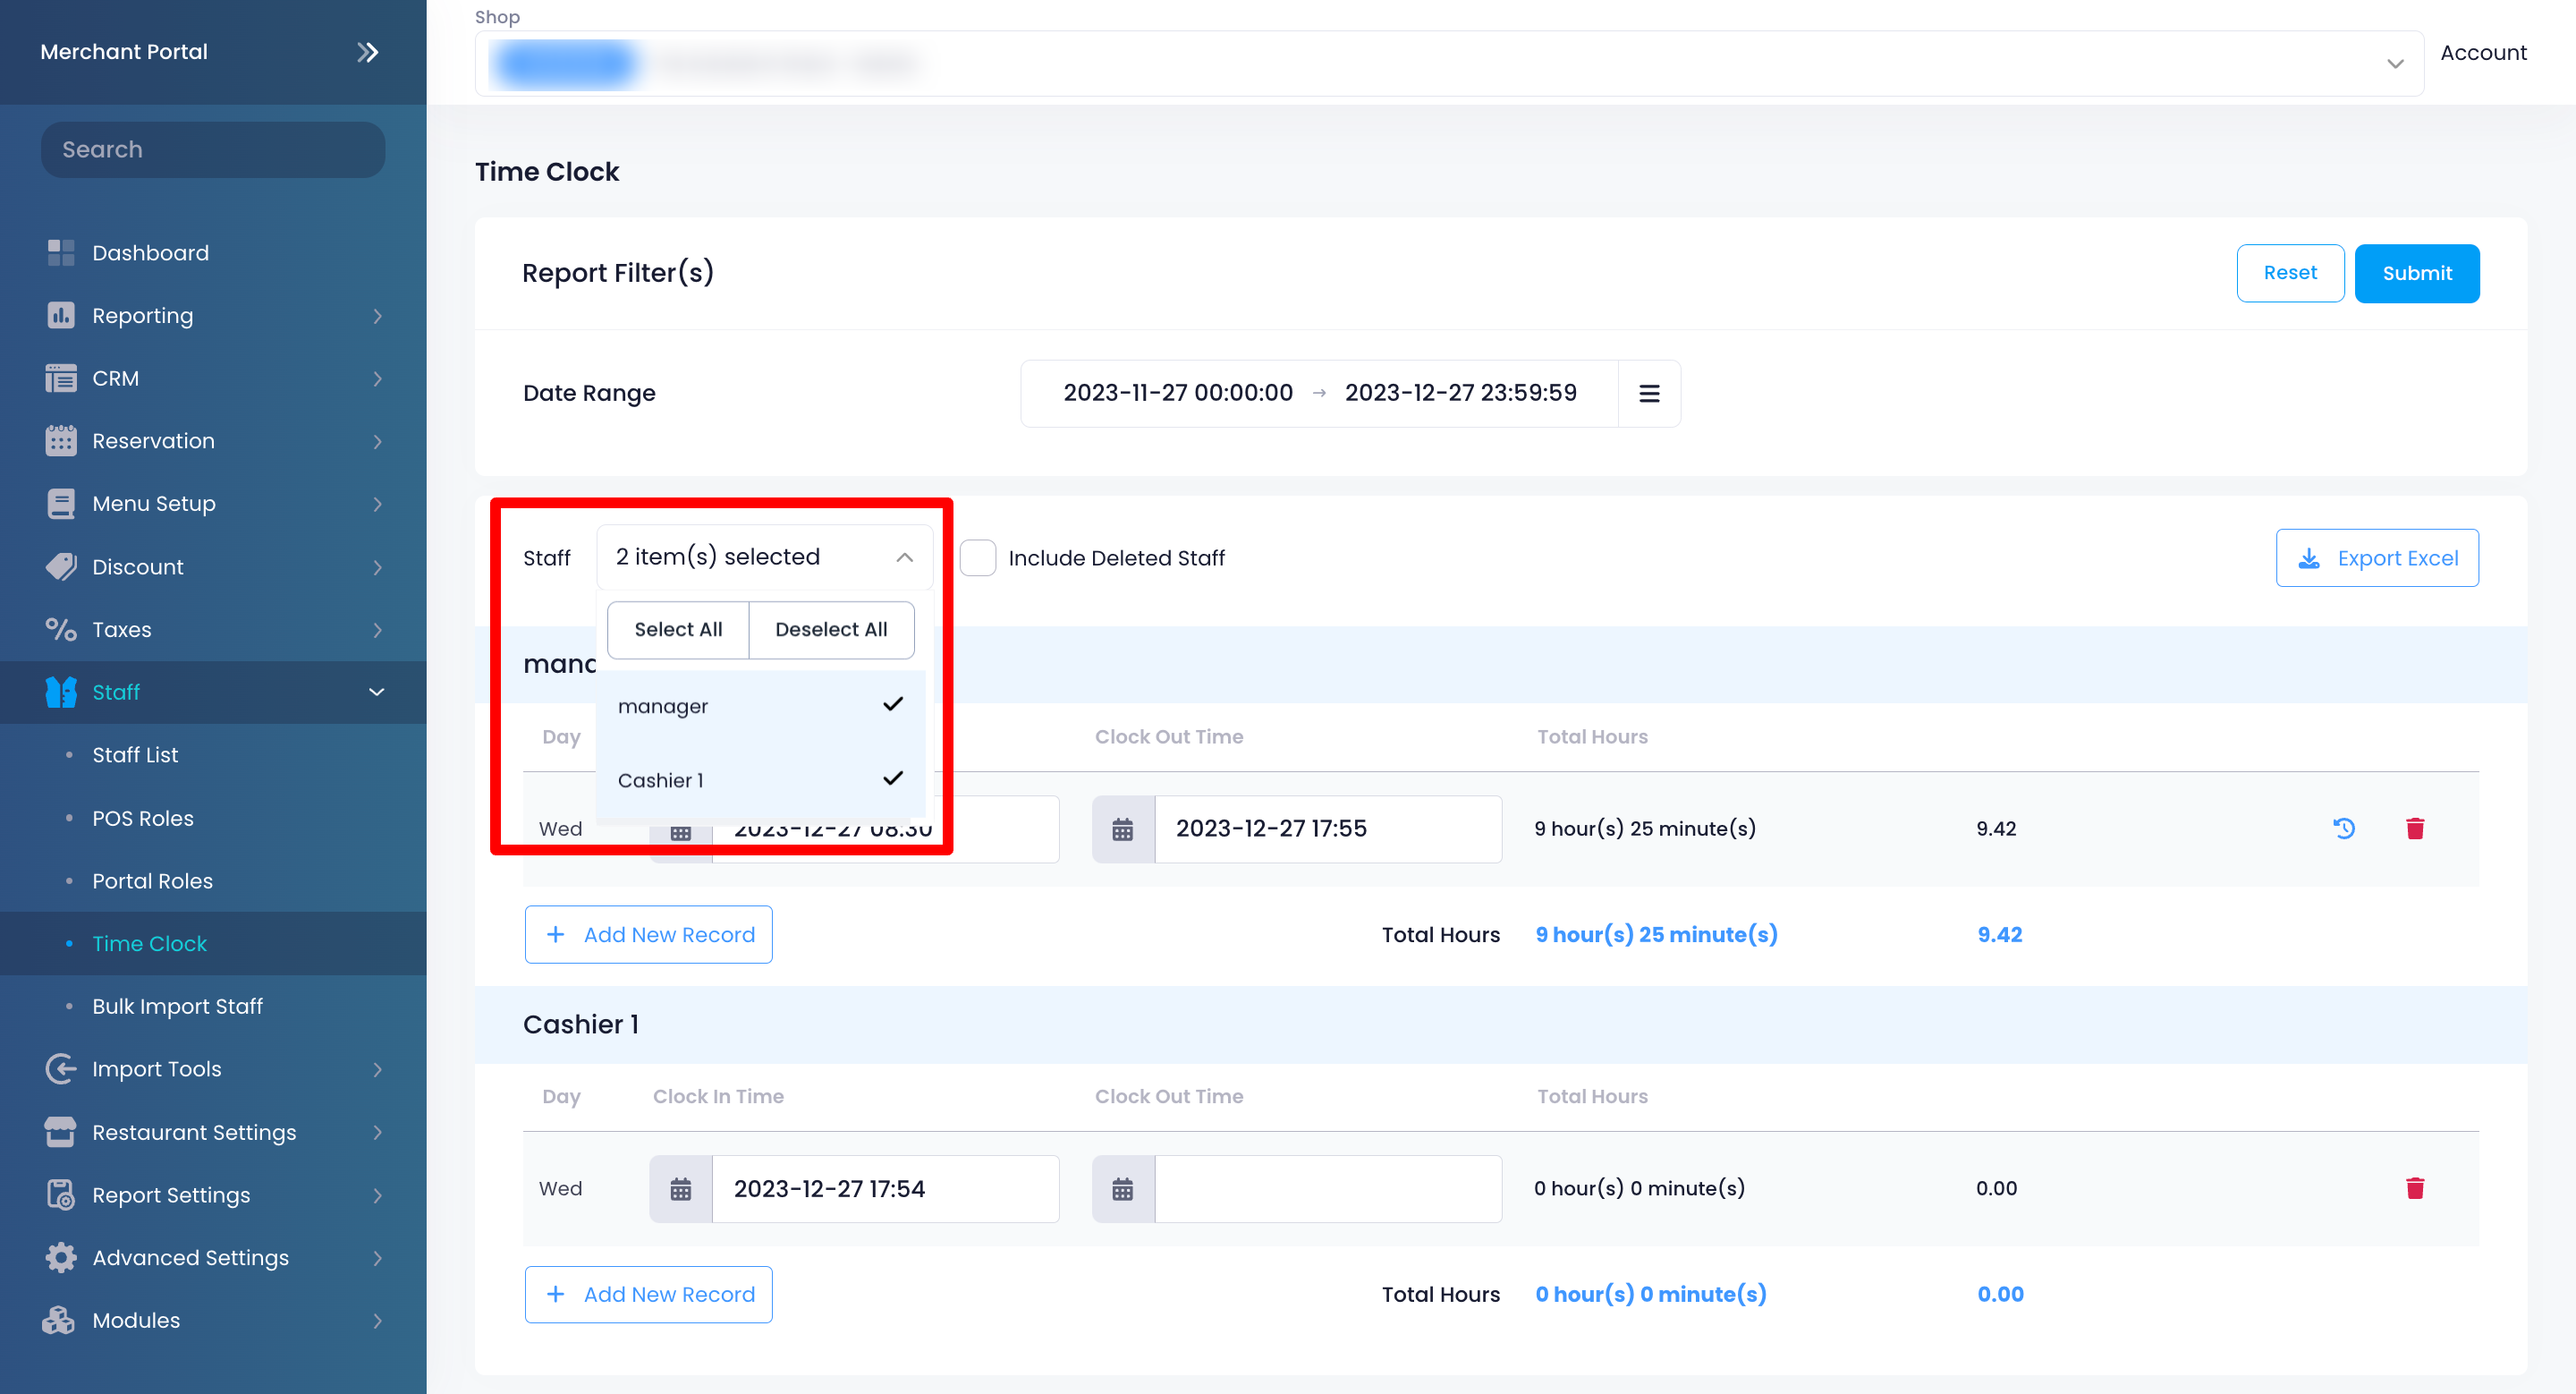 Tip: To include staff who are no longer employed on the list, click on the checkbox next to Include Deleted Staff.
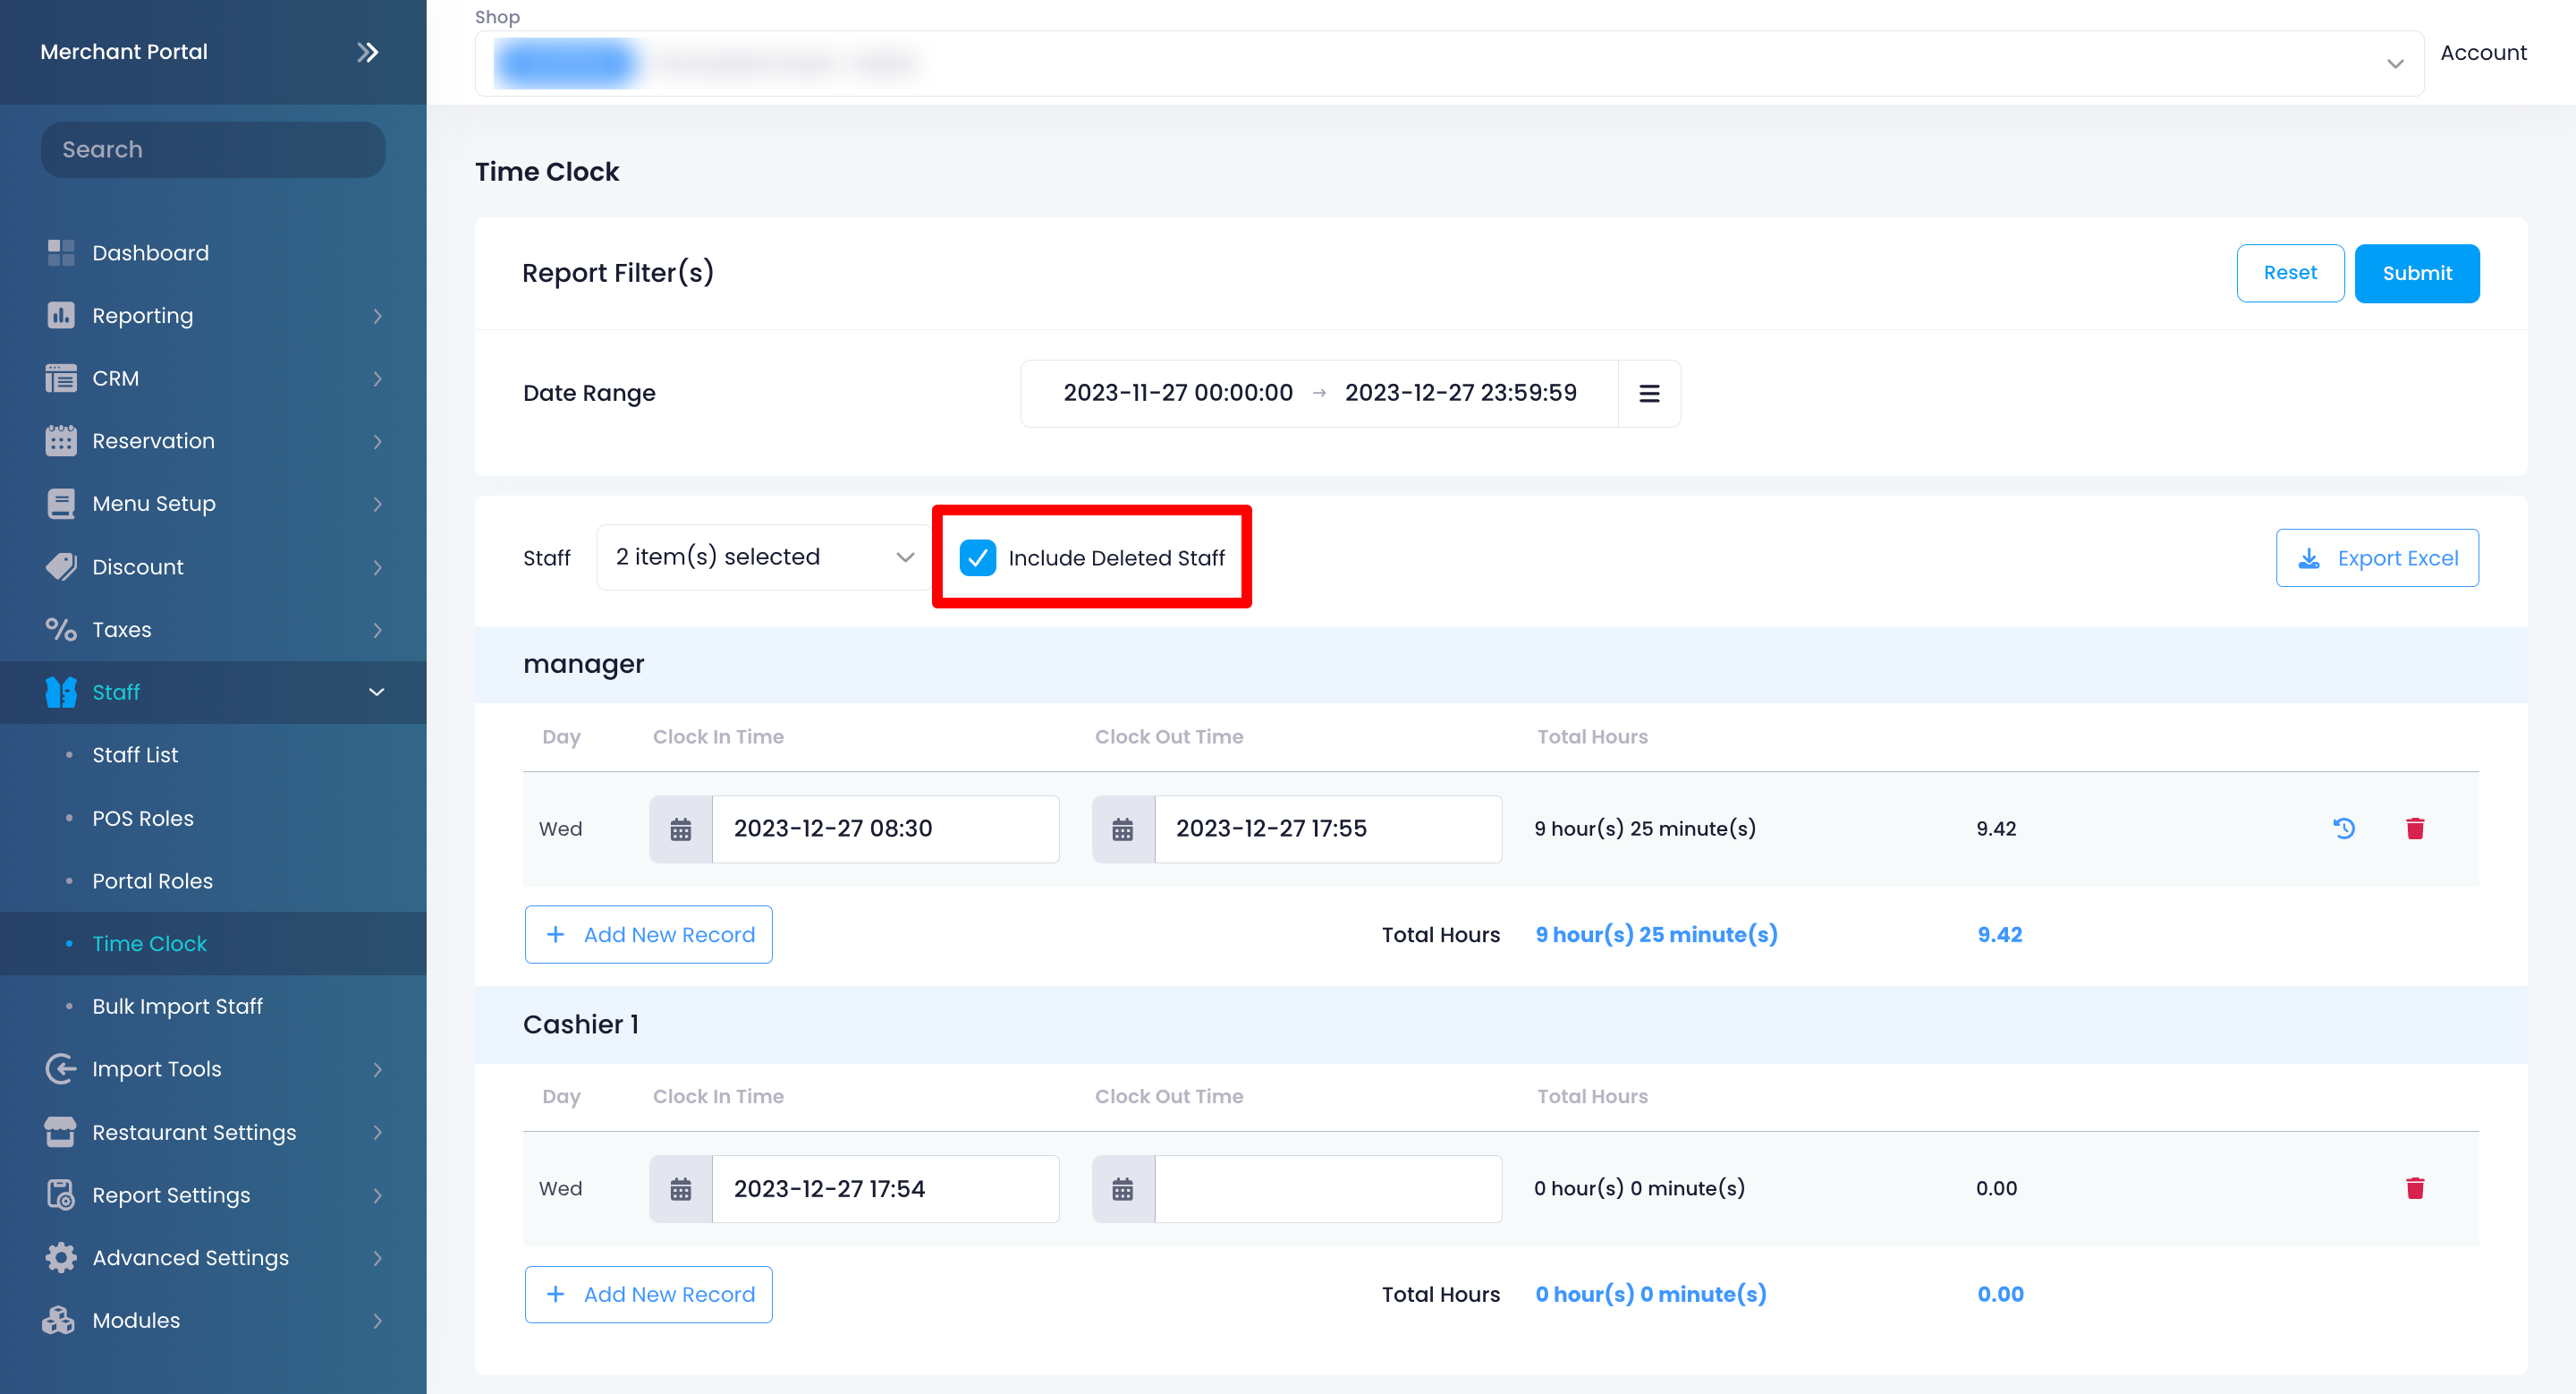
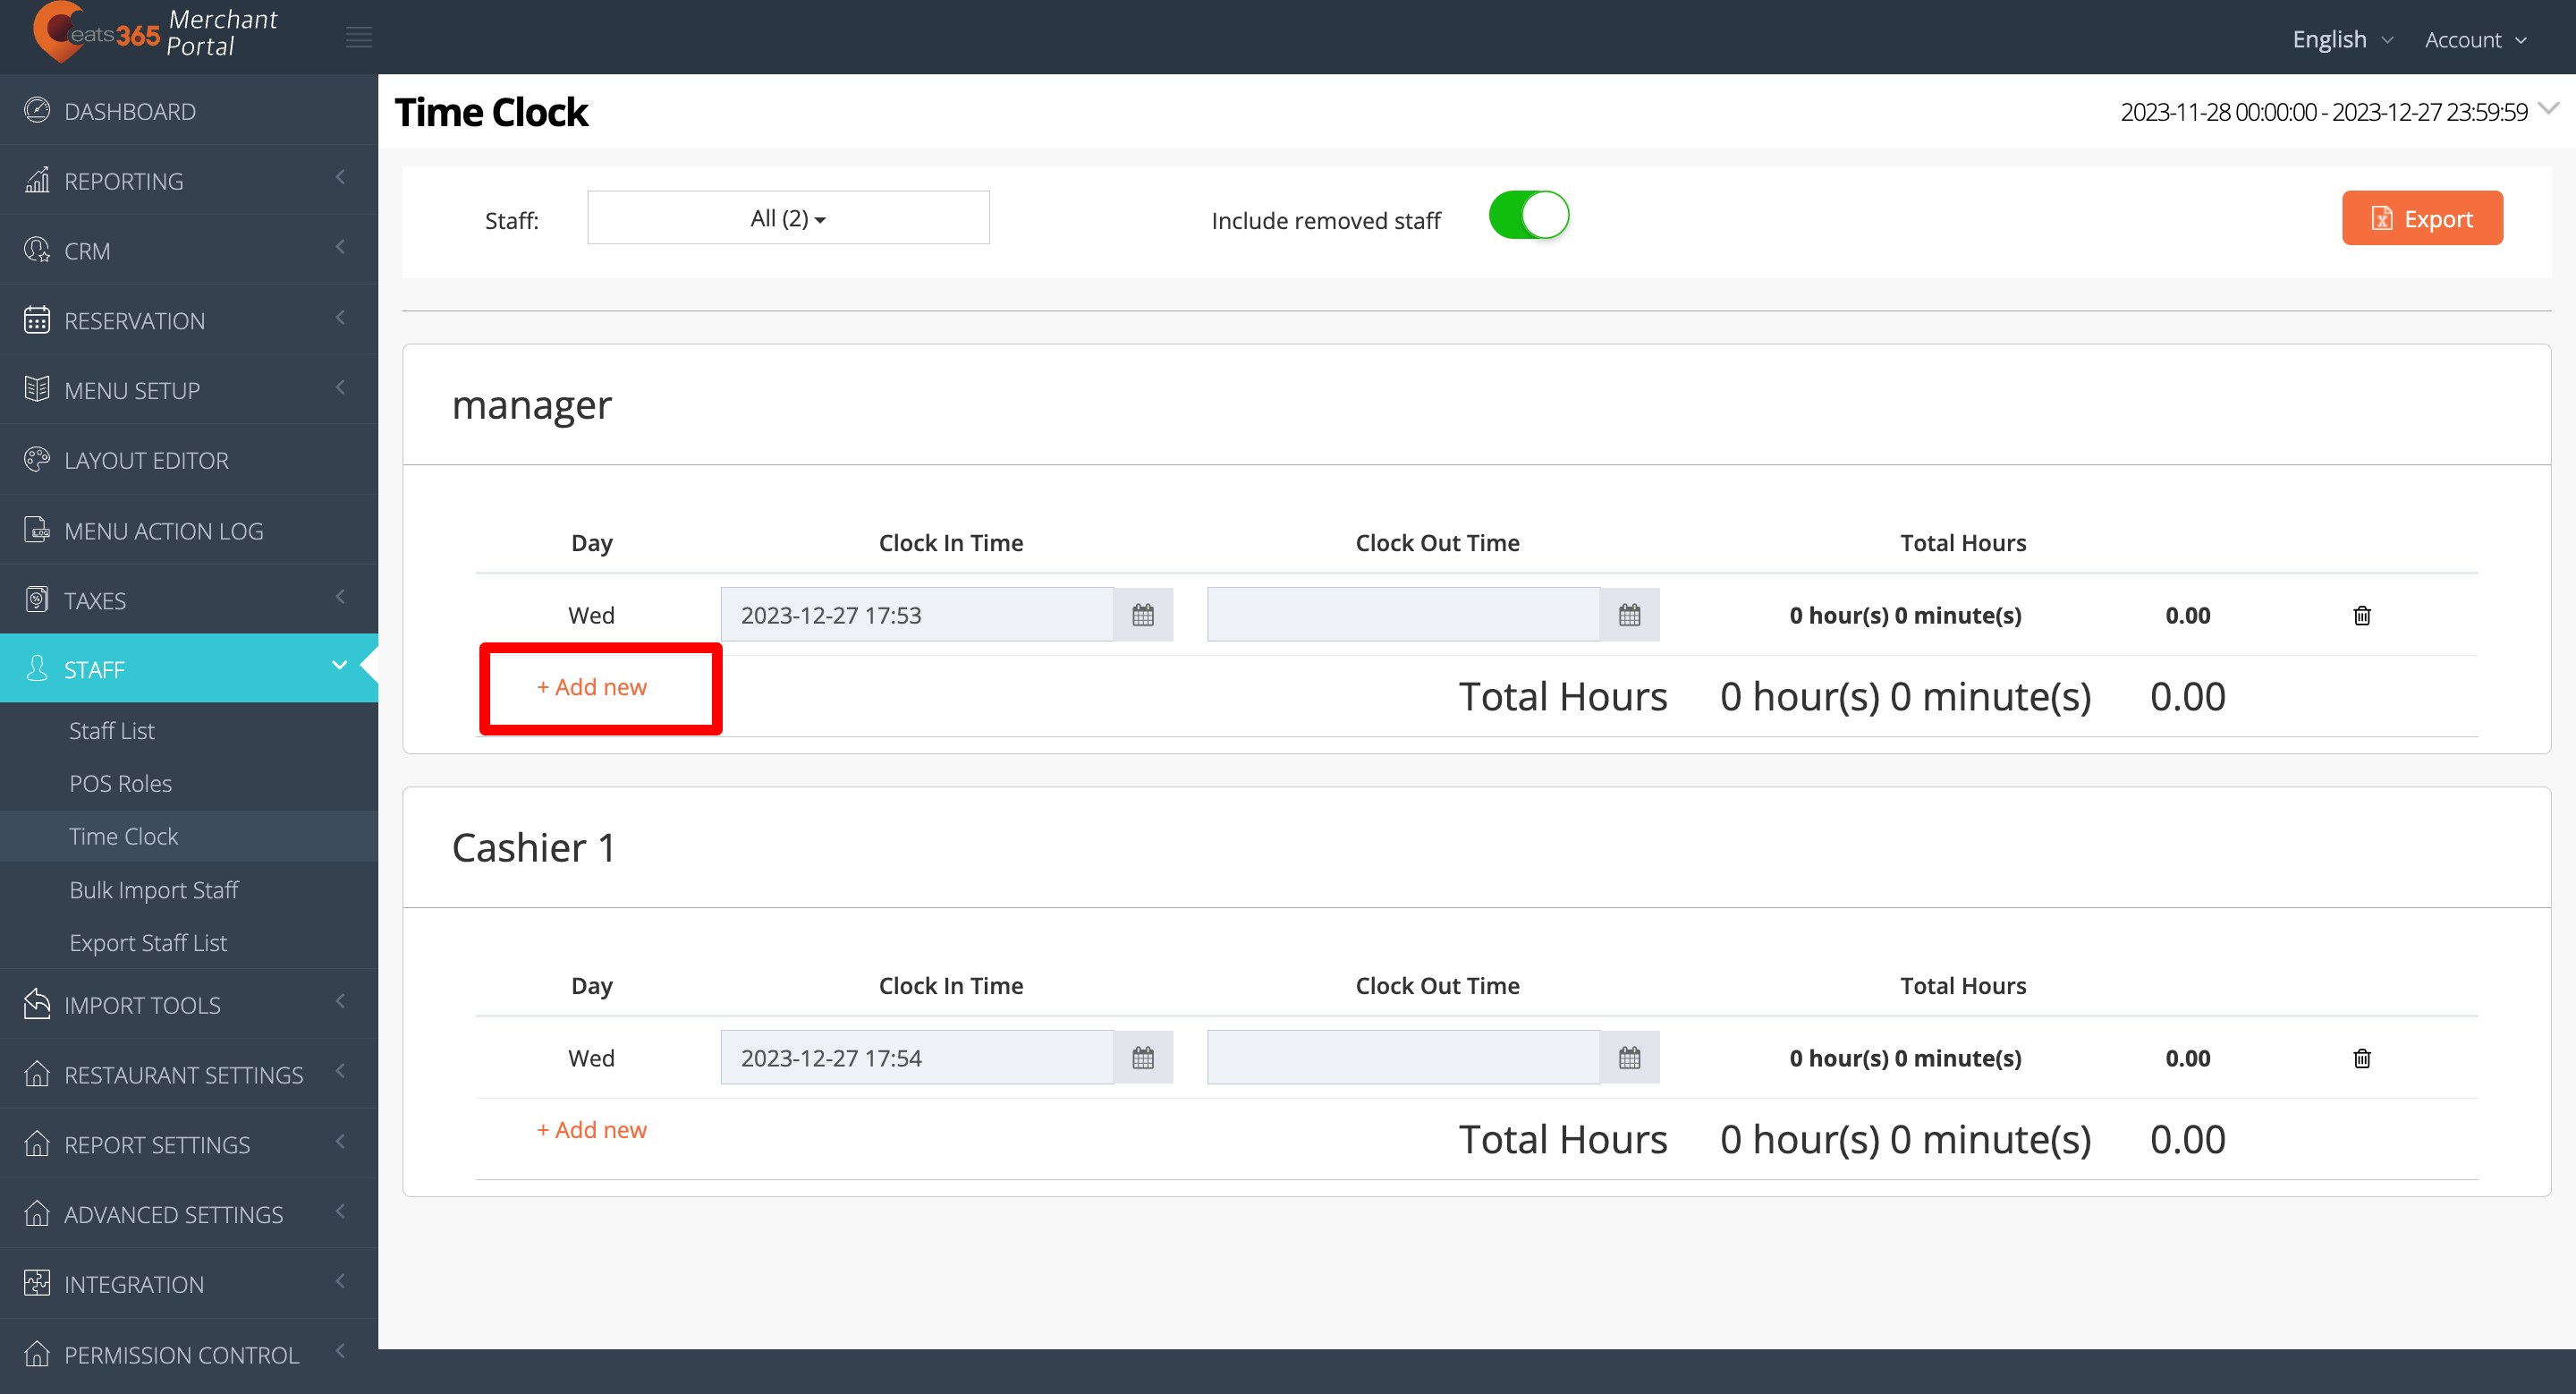
- Click on +Add New Record.
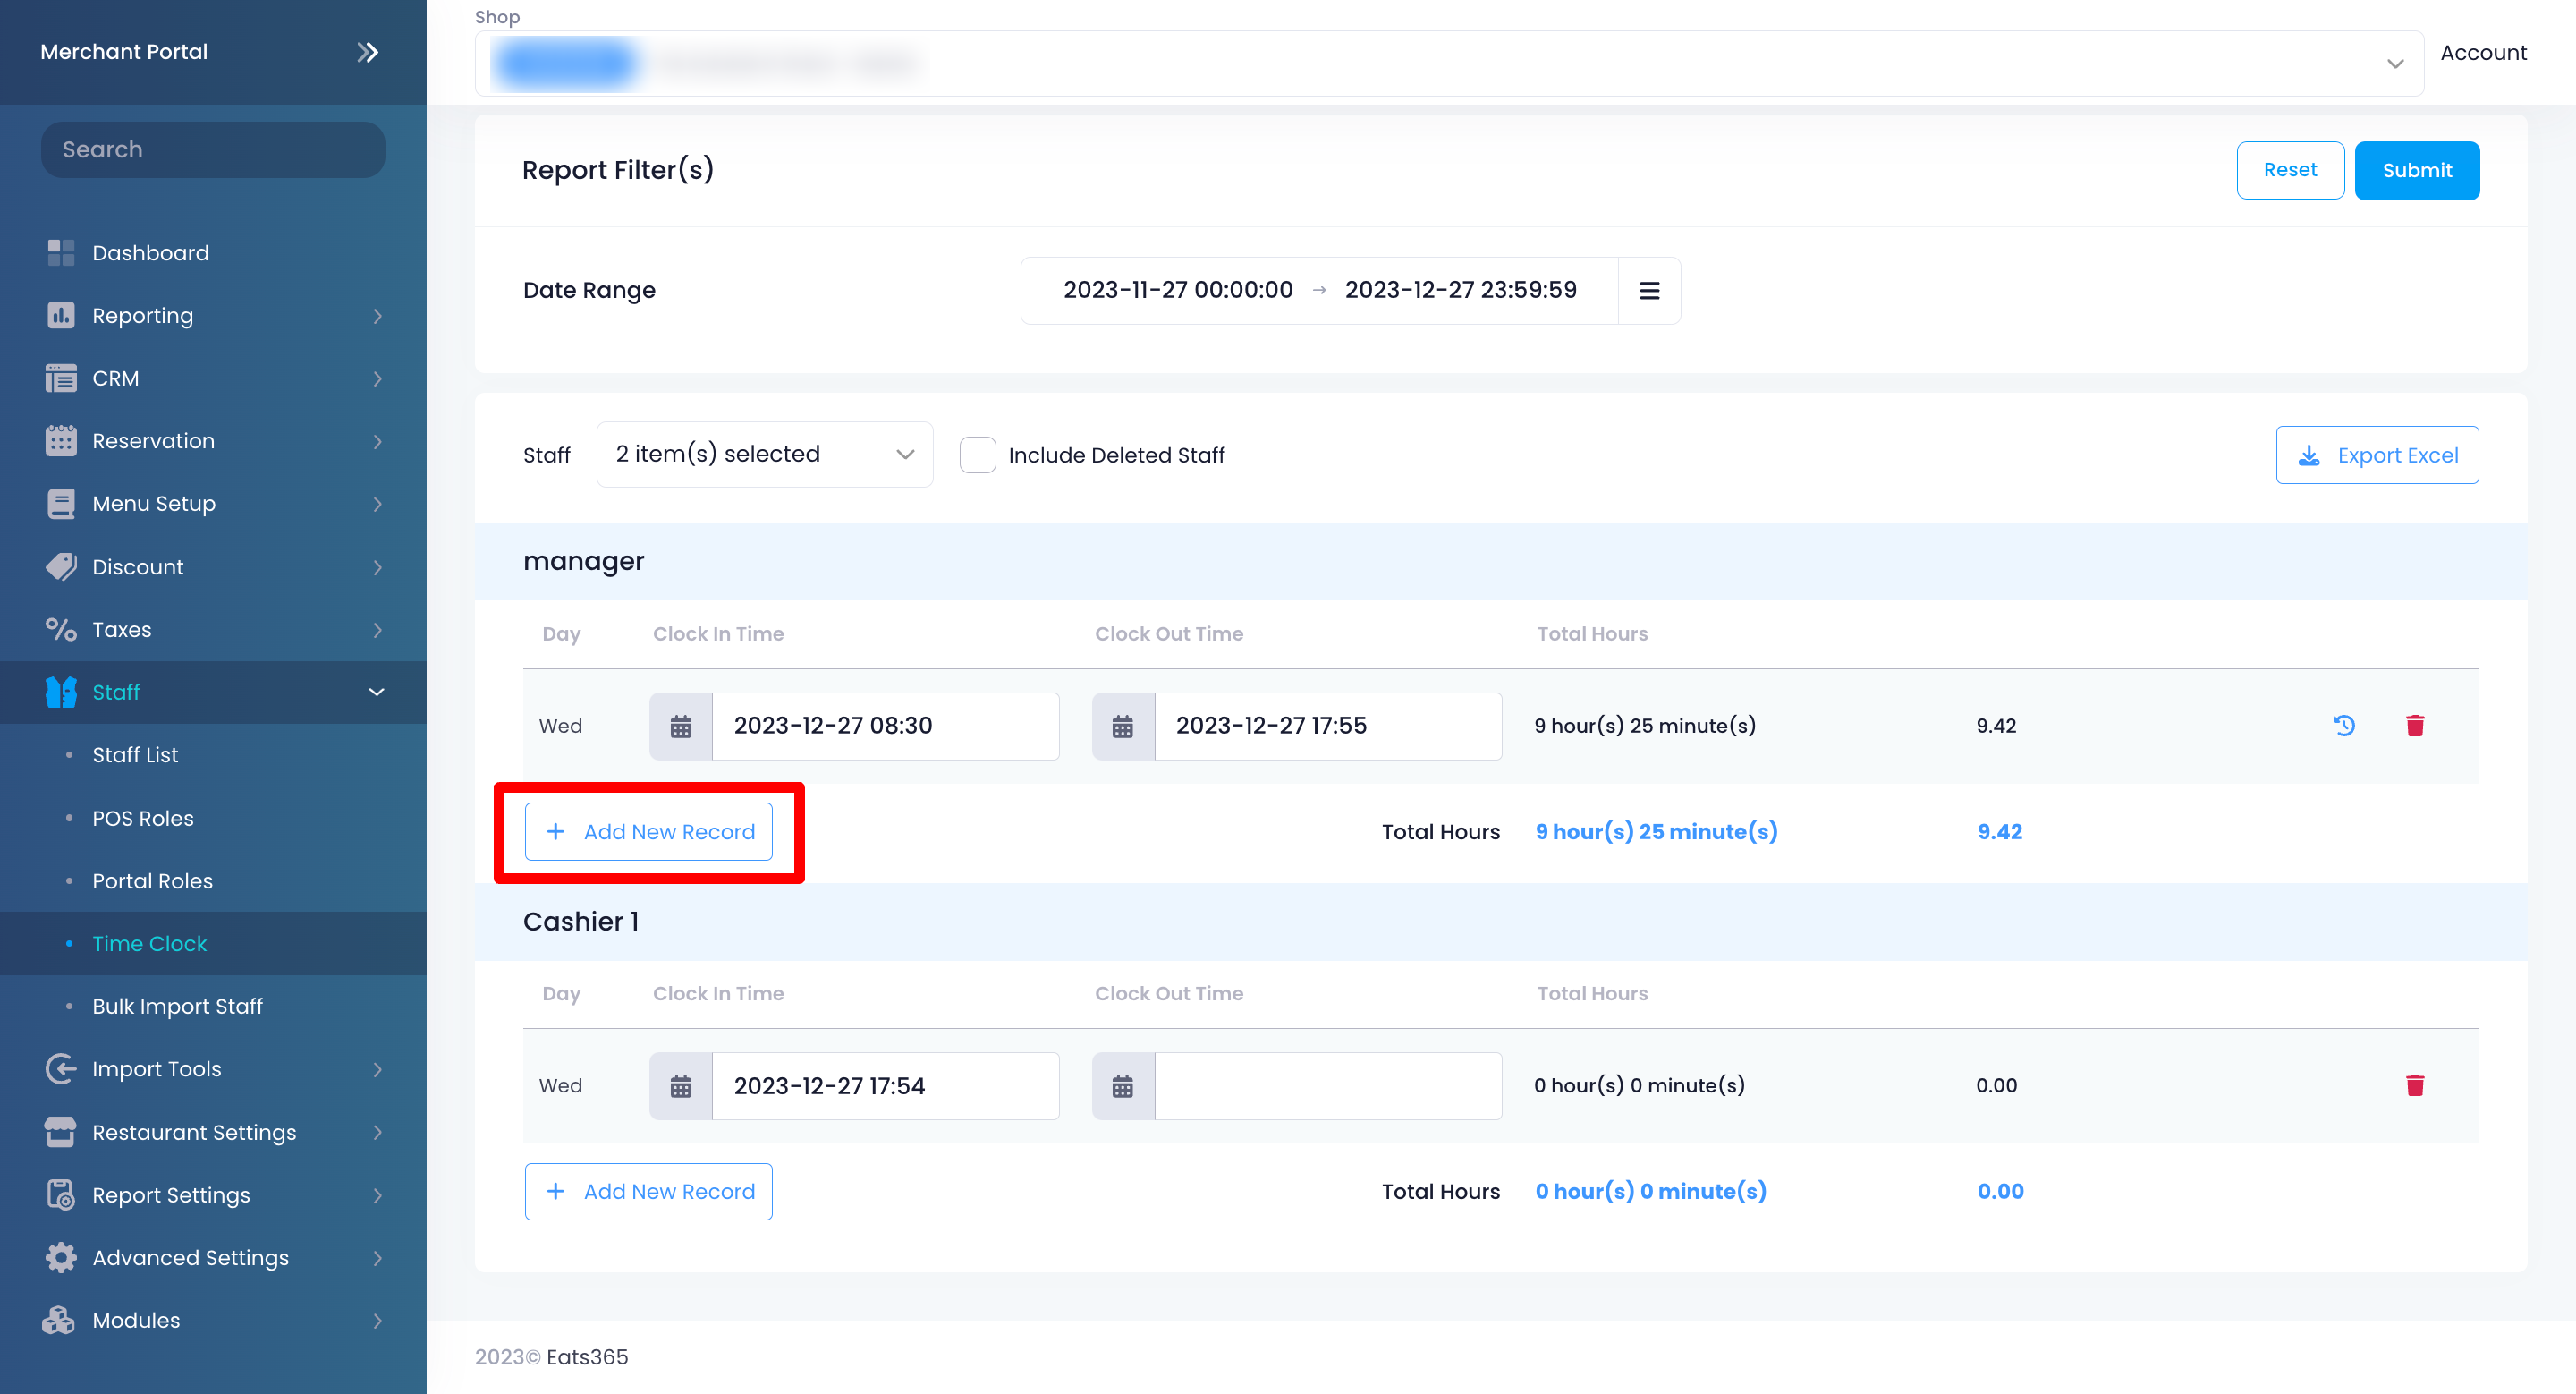
- Enter the correct Clock In Time and Clock Out Time, then click on Calculate Hours.
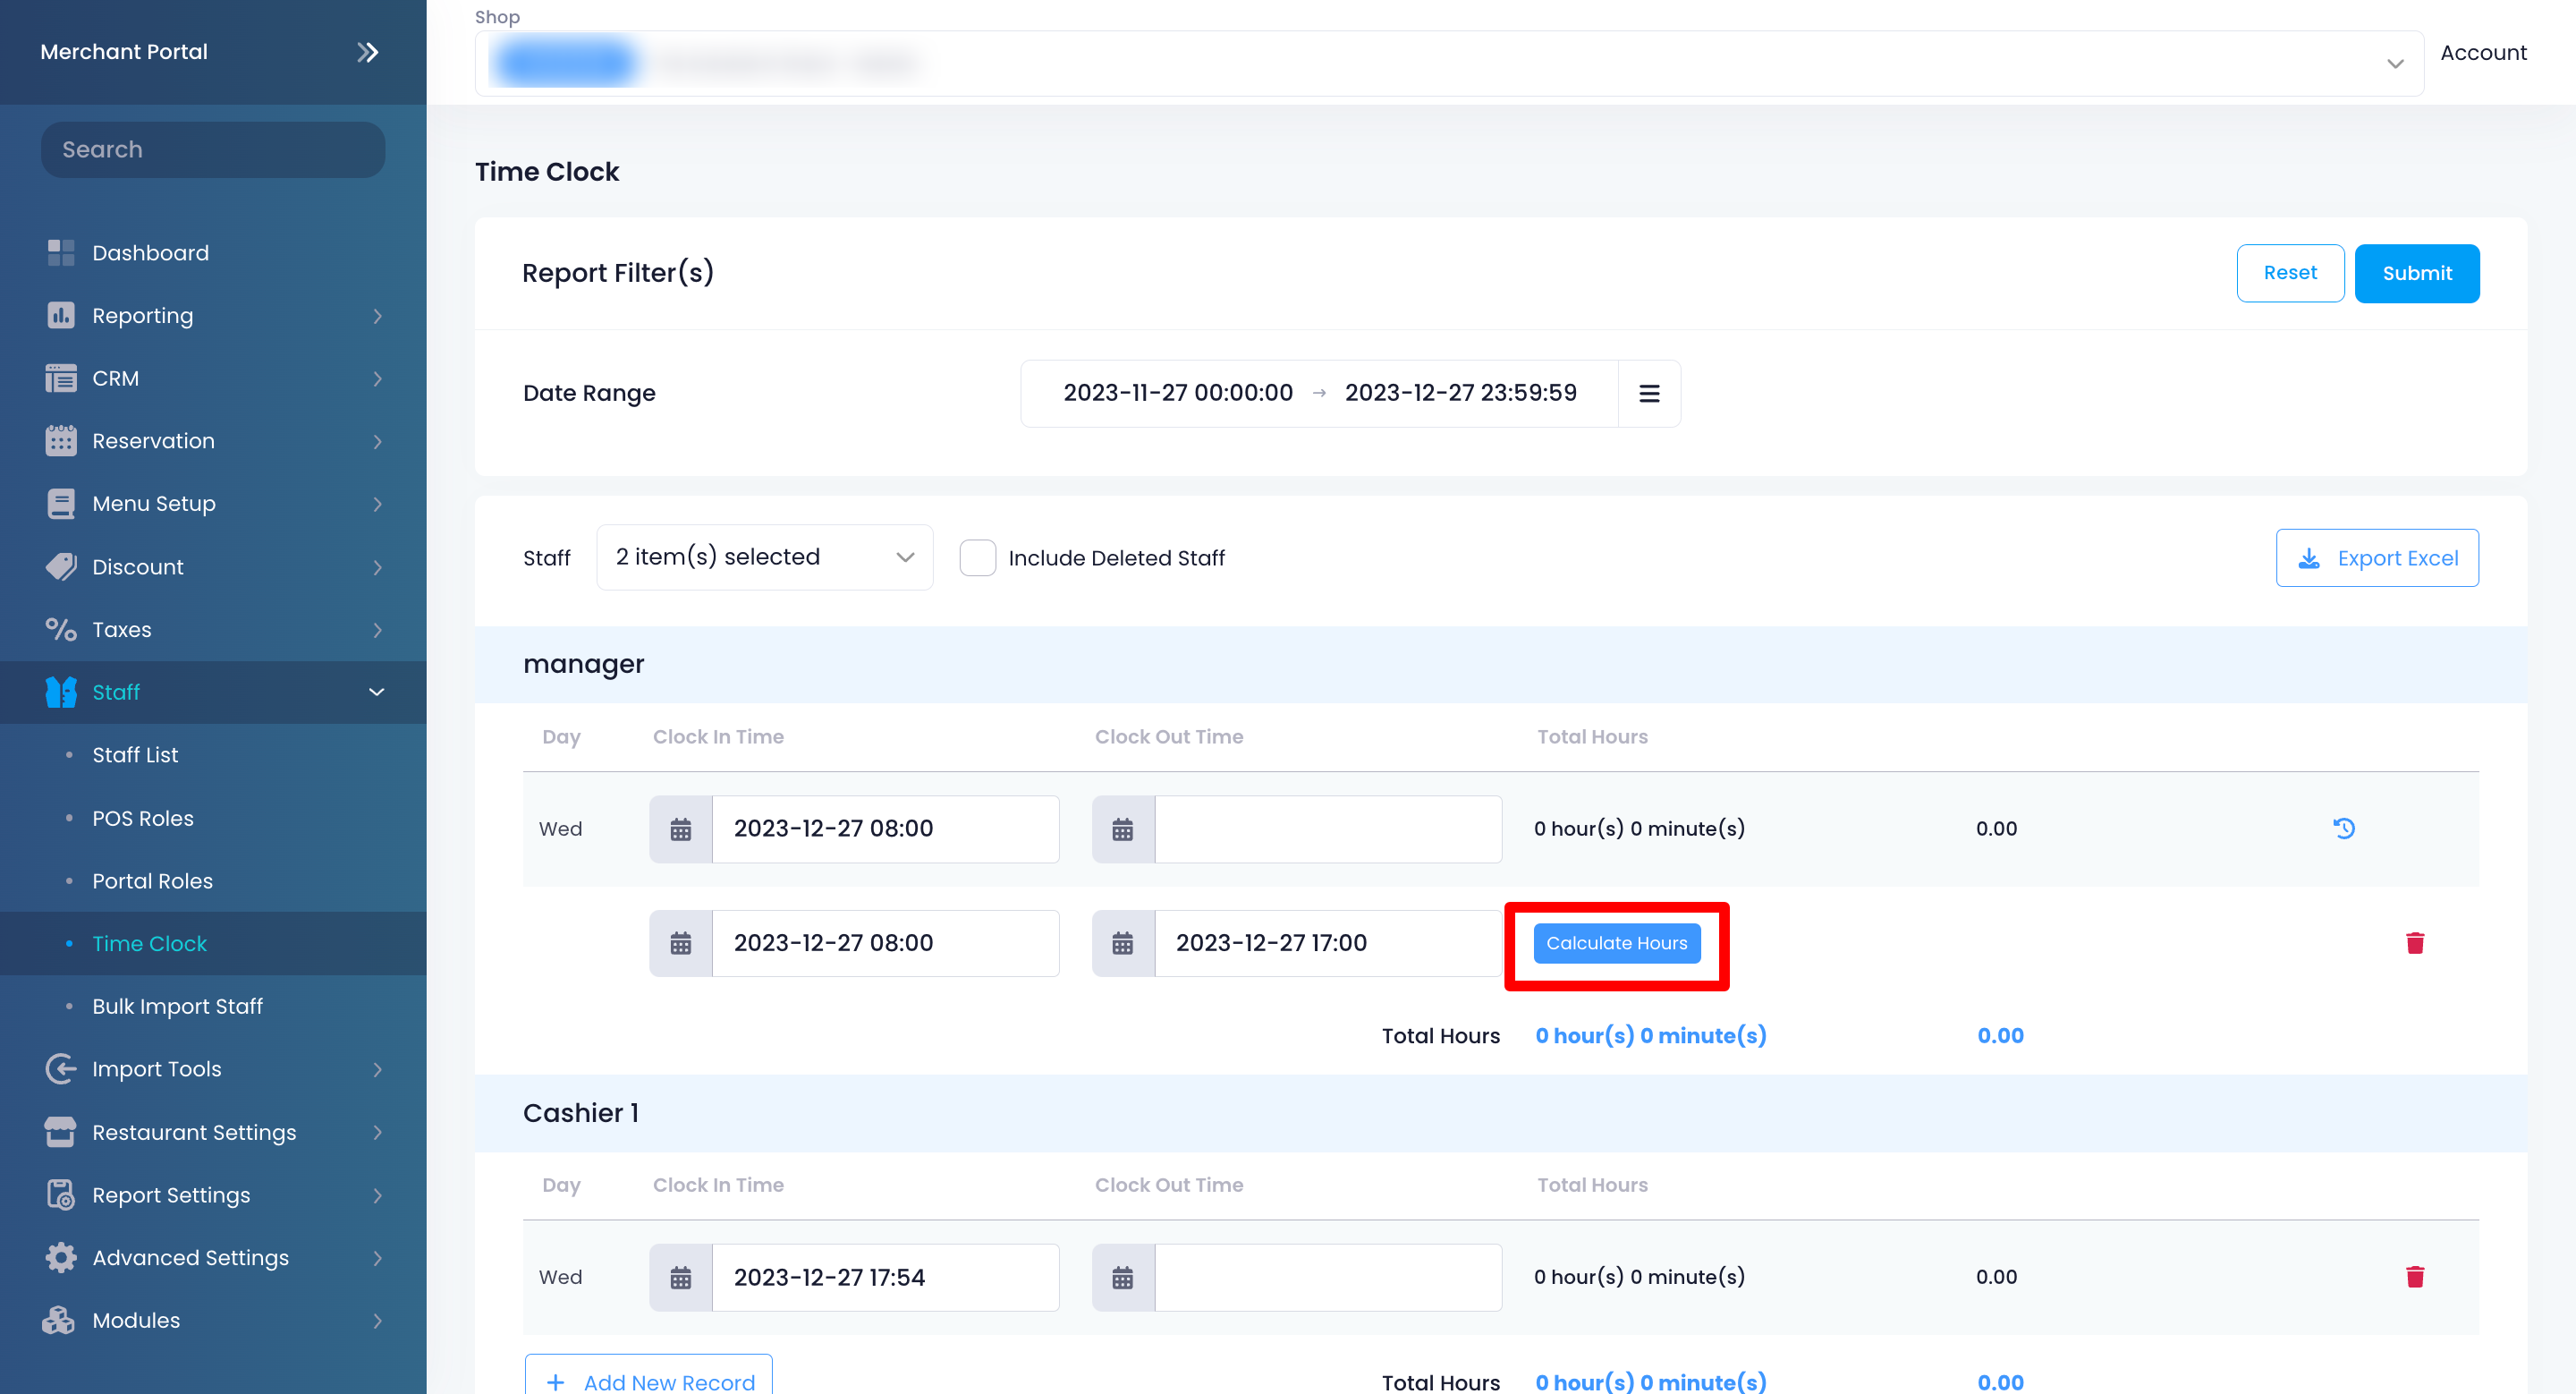
- At the top right, click on Submit.
Note: You can’t add photos for new manual entries through the Merchant Portal.
Edit a Time Sheet entry
You can make corrections to existing time sheet entries on the Merchant Portal.
To modify time sheet entries, follow the steps below:
Merchant Portal (Classic Theme)
- Log in to the Merchant Portal.
- On the left panel, click on Staff, then click on TimeClock.
- Click on the Staff drop-down menu to select the staff member whose time sheet you want to edit. Tip: To include staff who are no longer employed on the list, turn on Include removed staff .
- Update the time sheet.
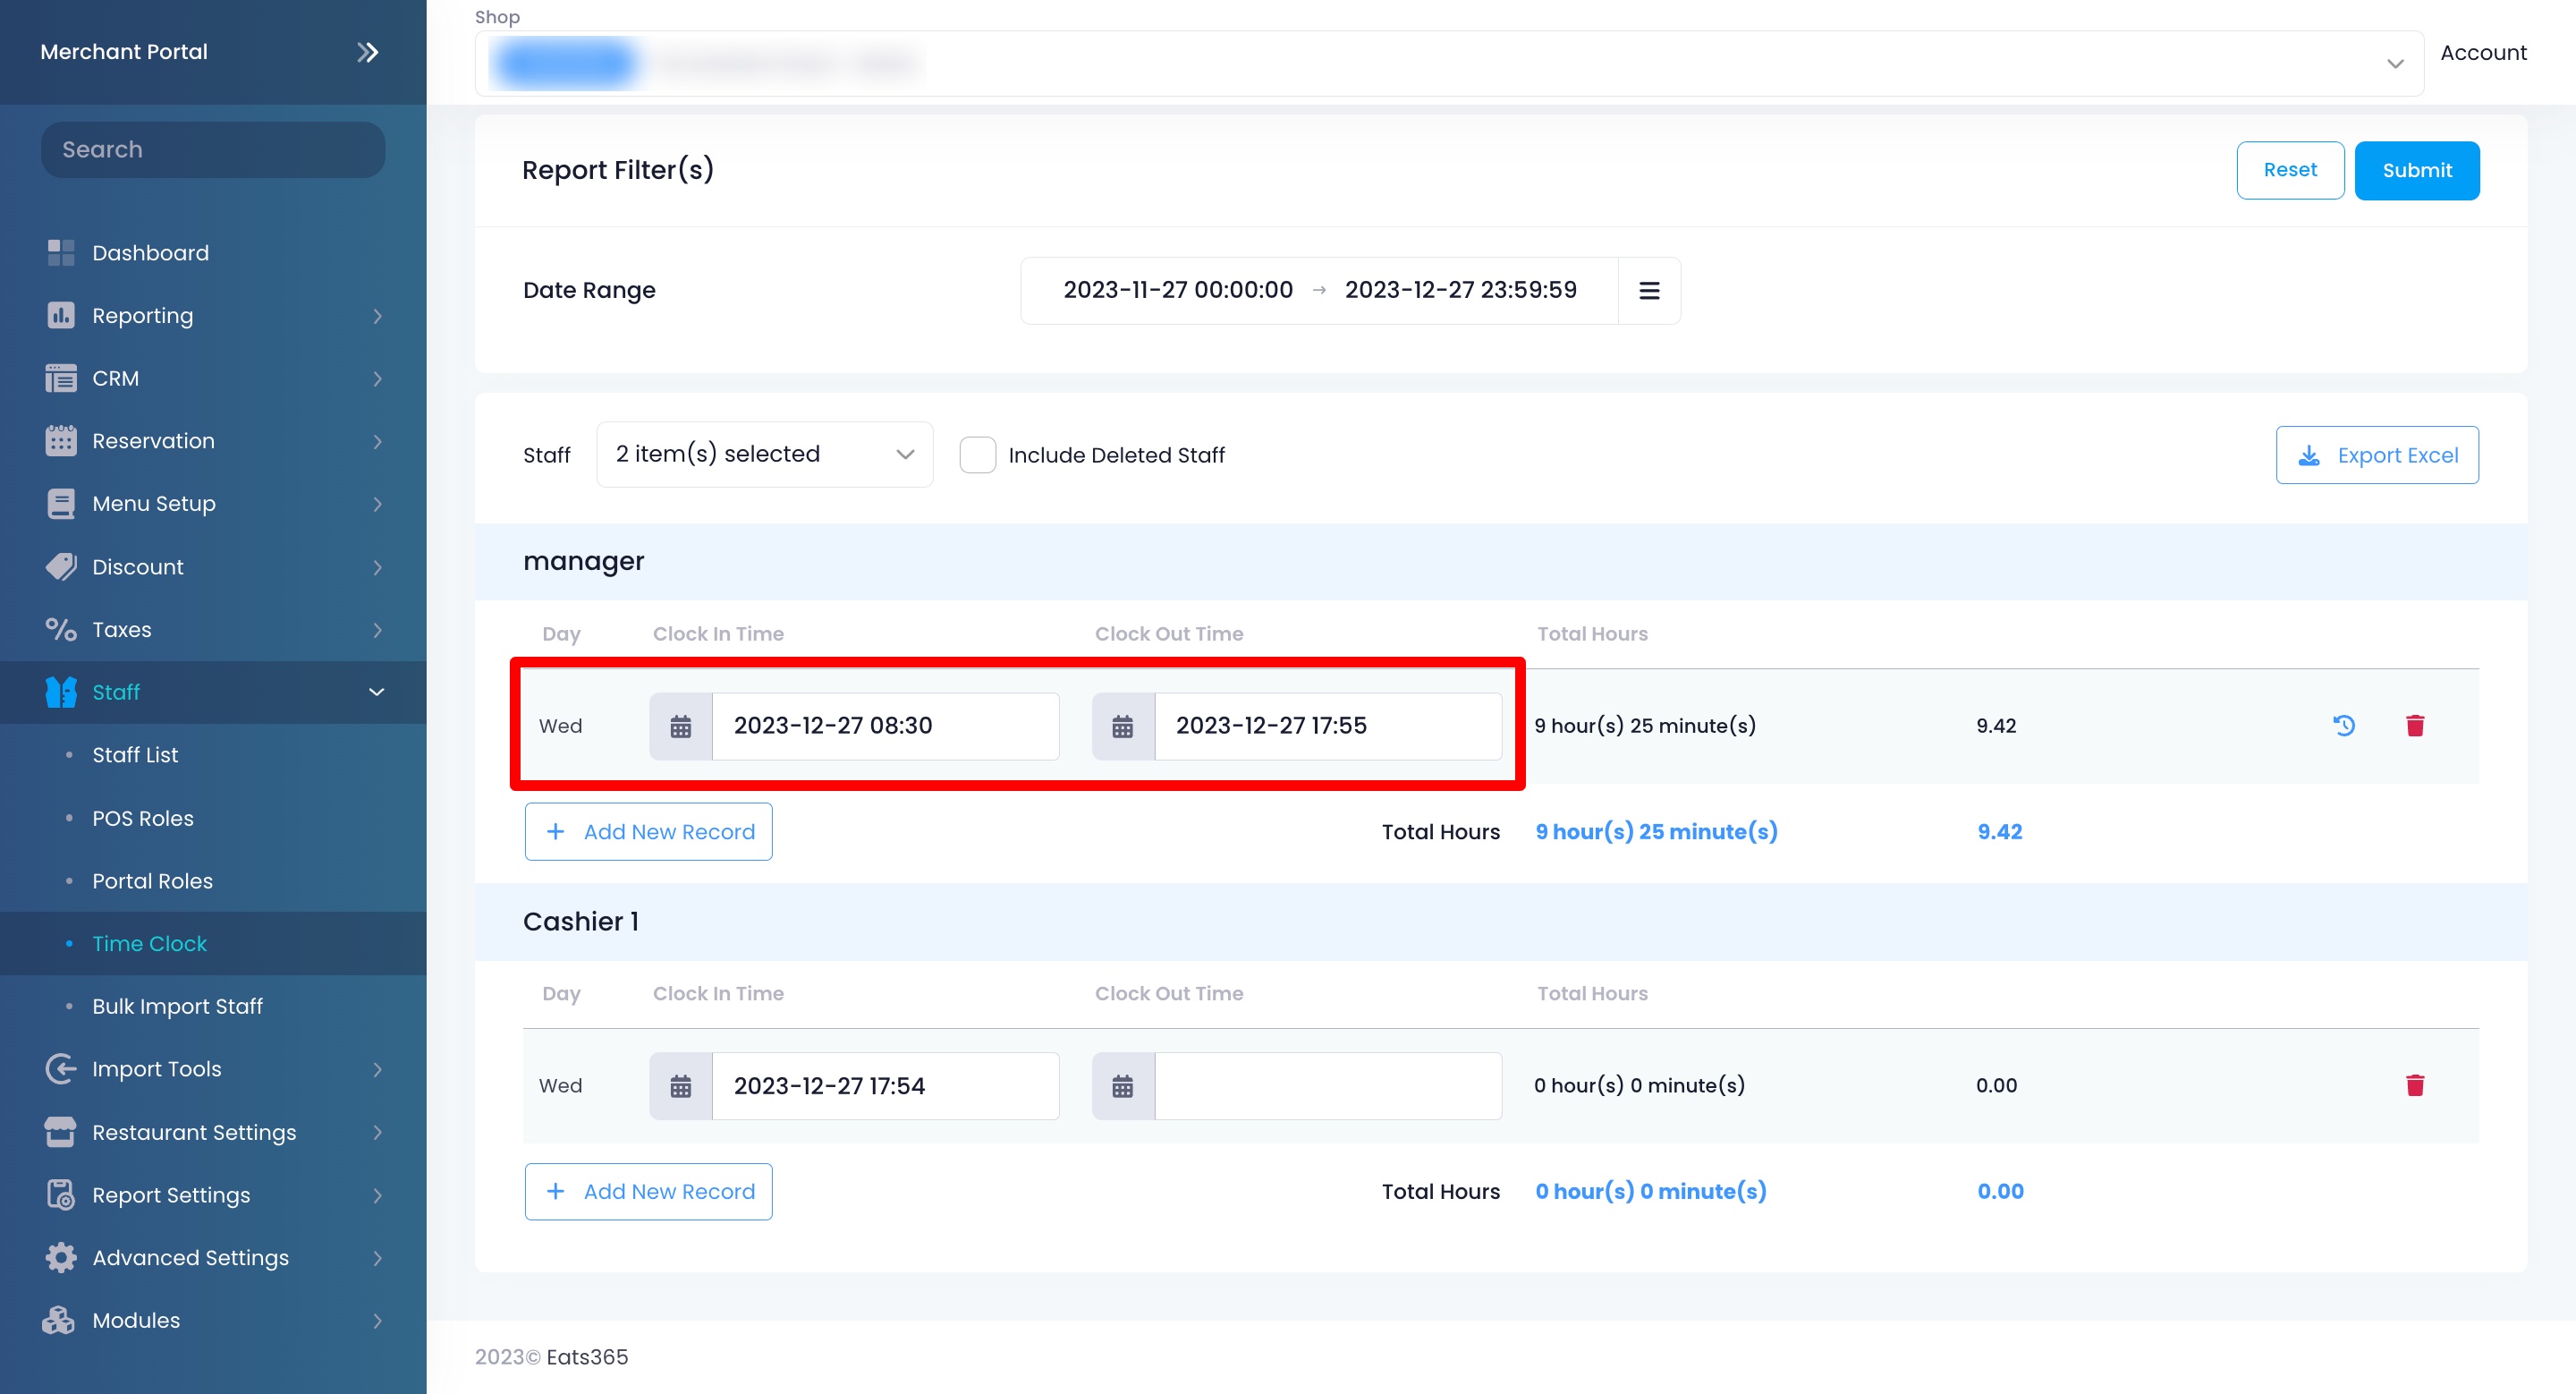
- To change the date or time, click on an existing entry under Clock In Time or Clock Out Time. Then, make your changes.
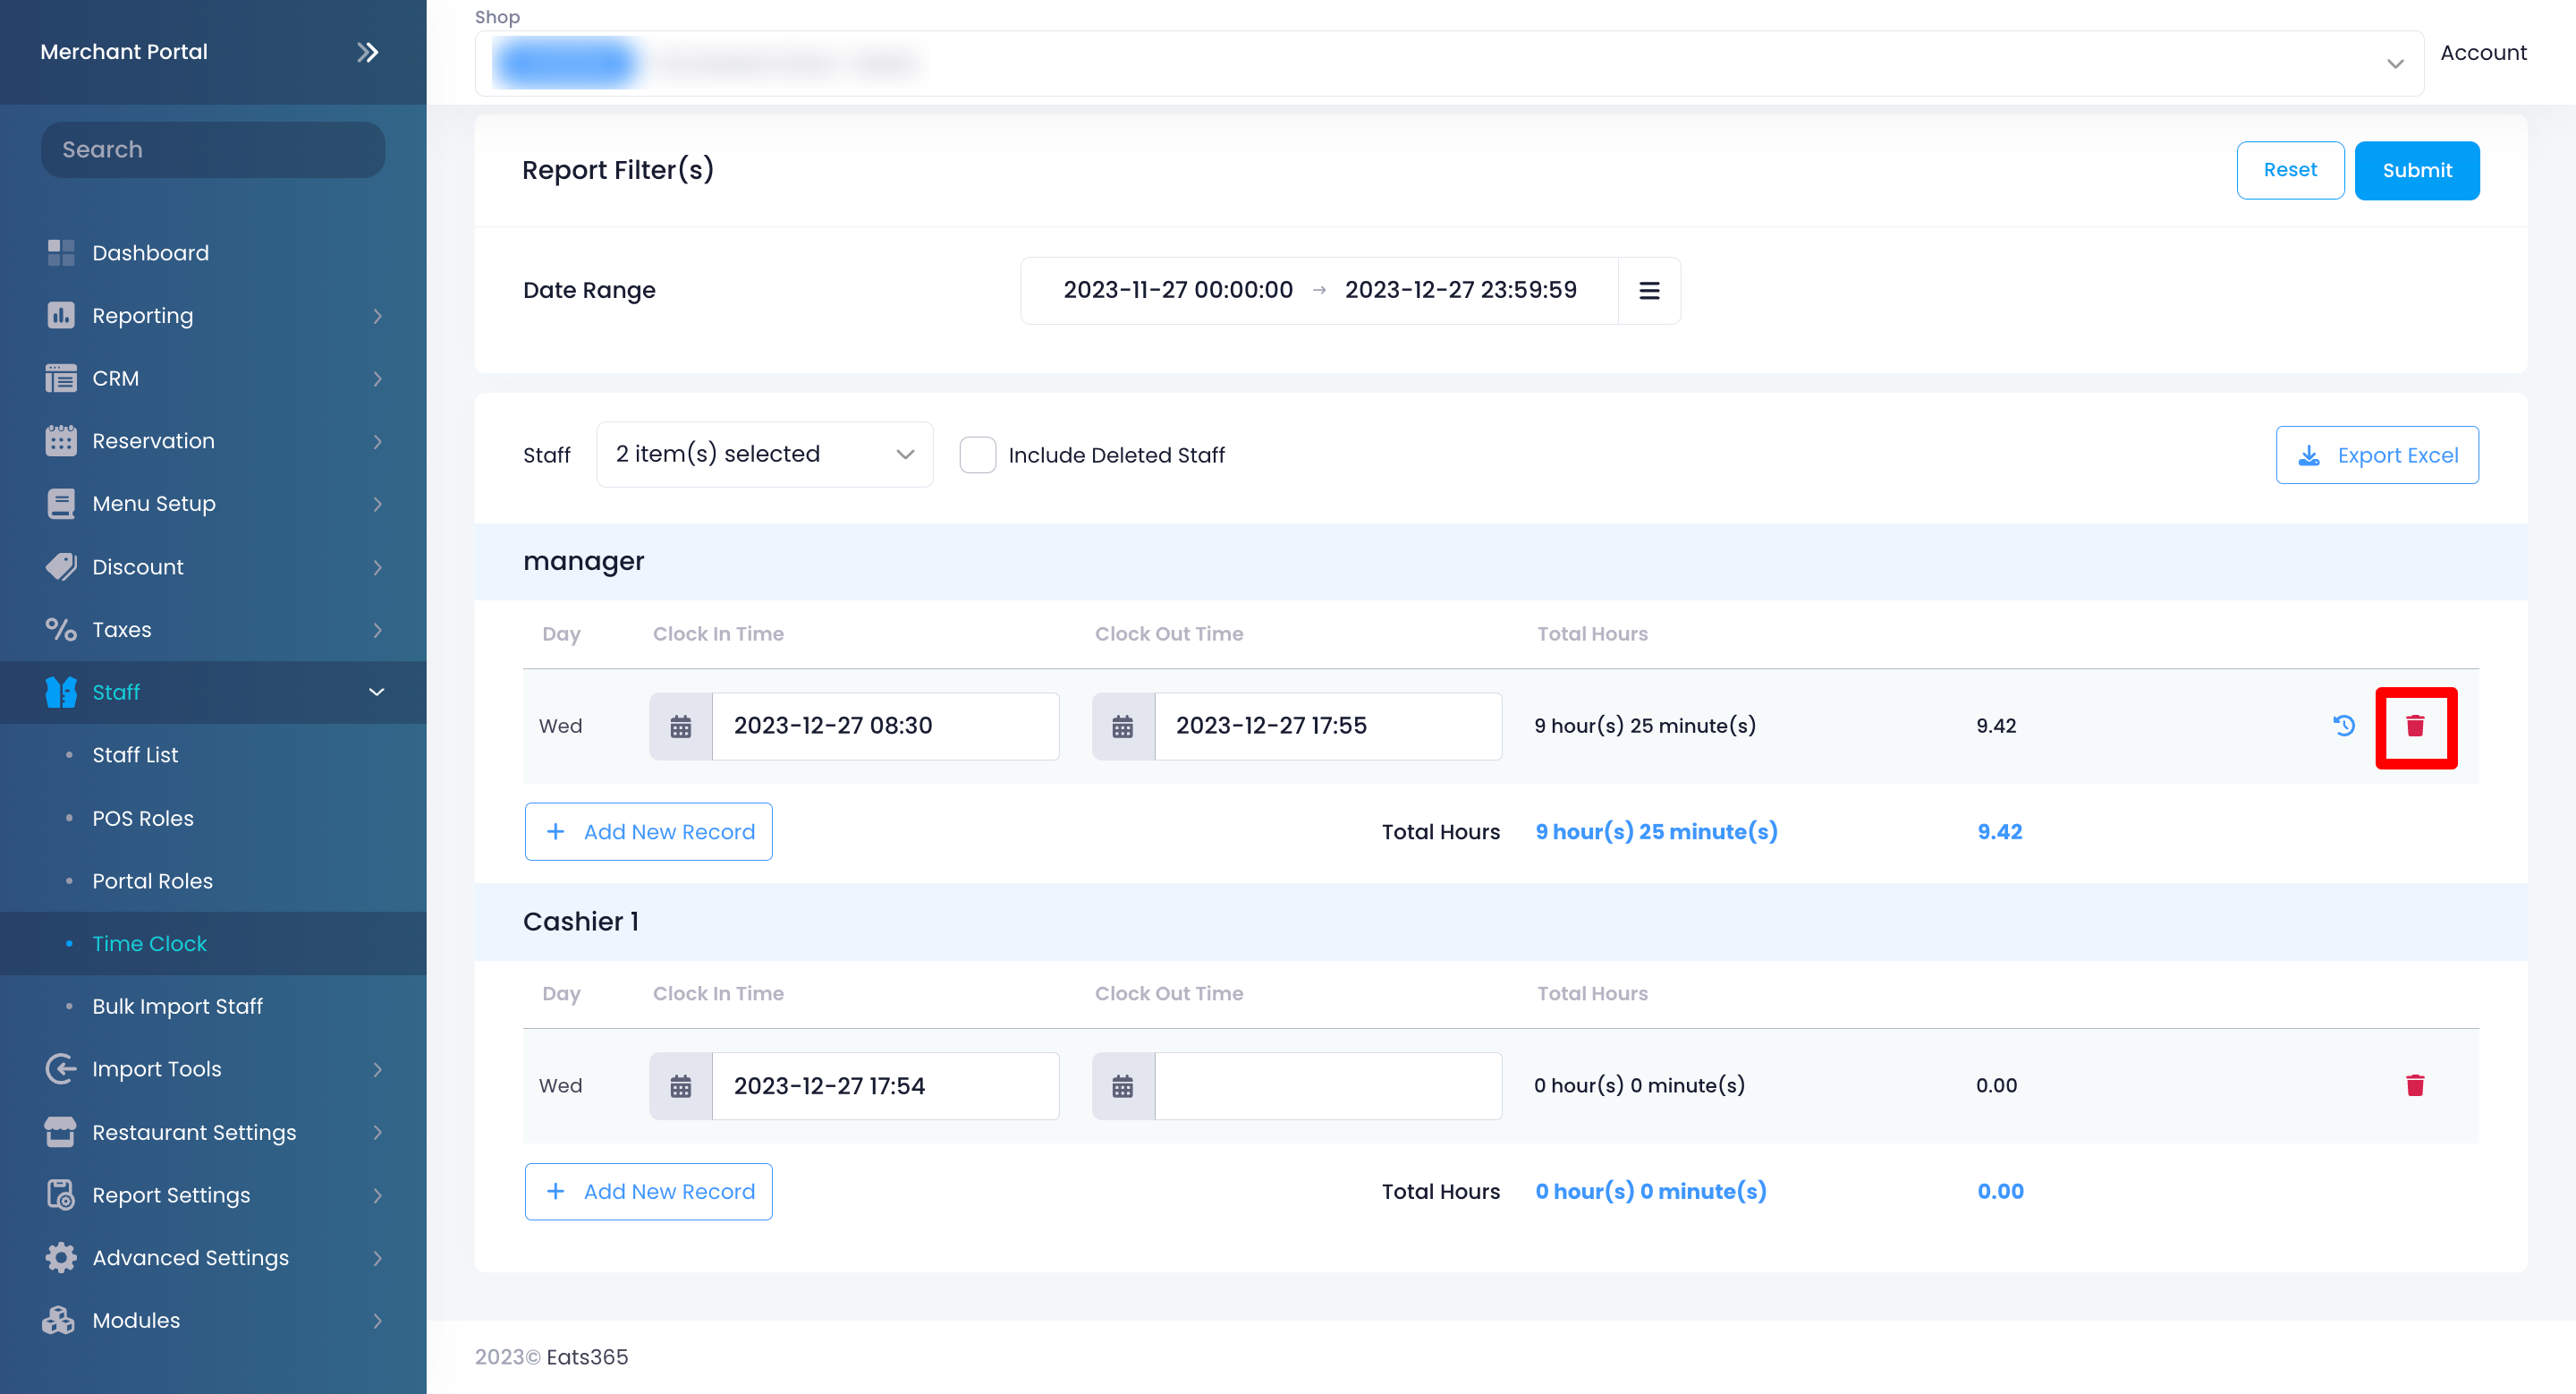
- To remove an existing entry, next to the entry that you'd like to remove, click on Delete
 .
.
- To change the date or time, click on an existing entry under Clock In Time or Clock Out Time. Then, make your changes.
Merchant Portal 2.0
- Log in to the Merchant Portal.
- On the left panel, click on Staff, then click on Time Clock.
- Click on the Staff drop-down menu to select the staff member whose time sheet you want to edit. Tip: To include staff who are no longer employed on the list, click on the checkbox next to Include Deleted Staff.
- Update the time sheet.
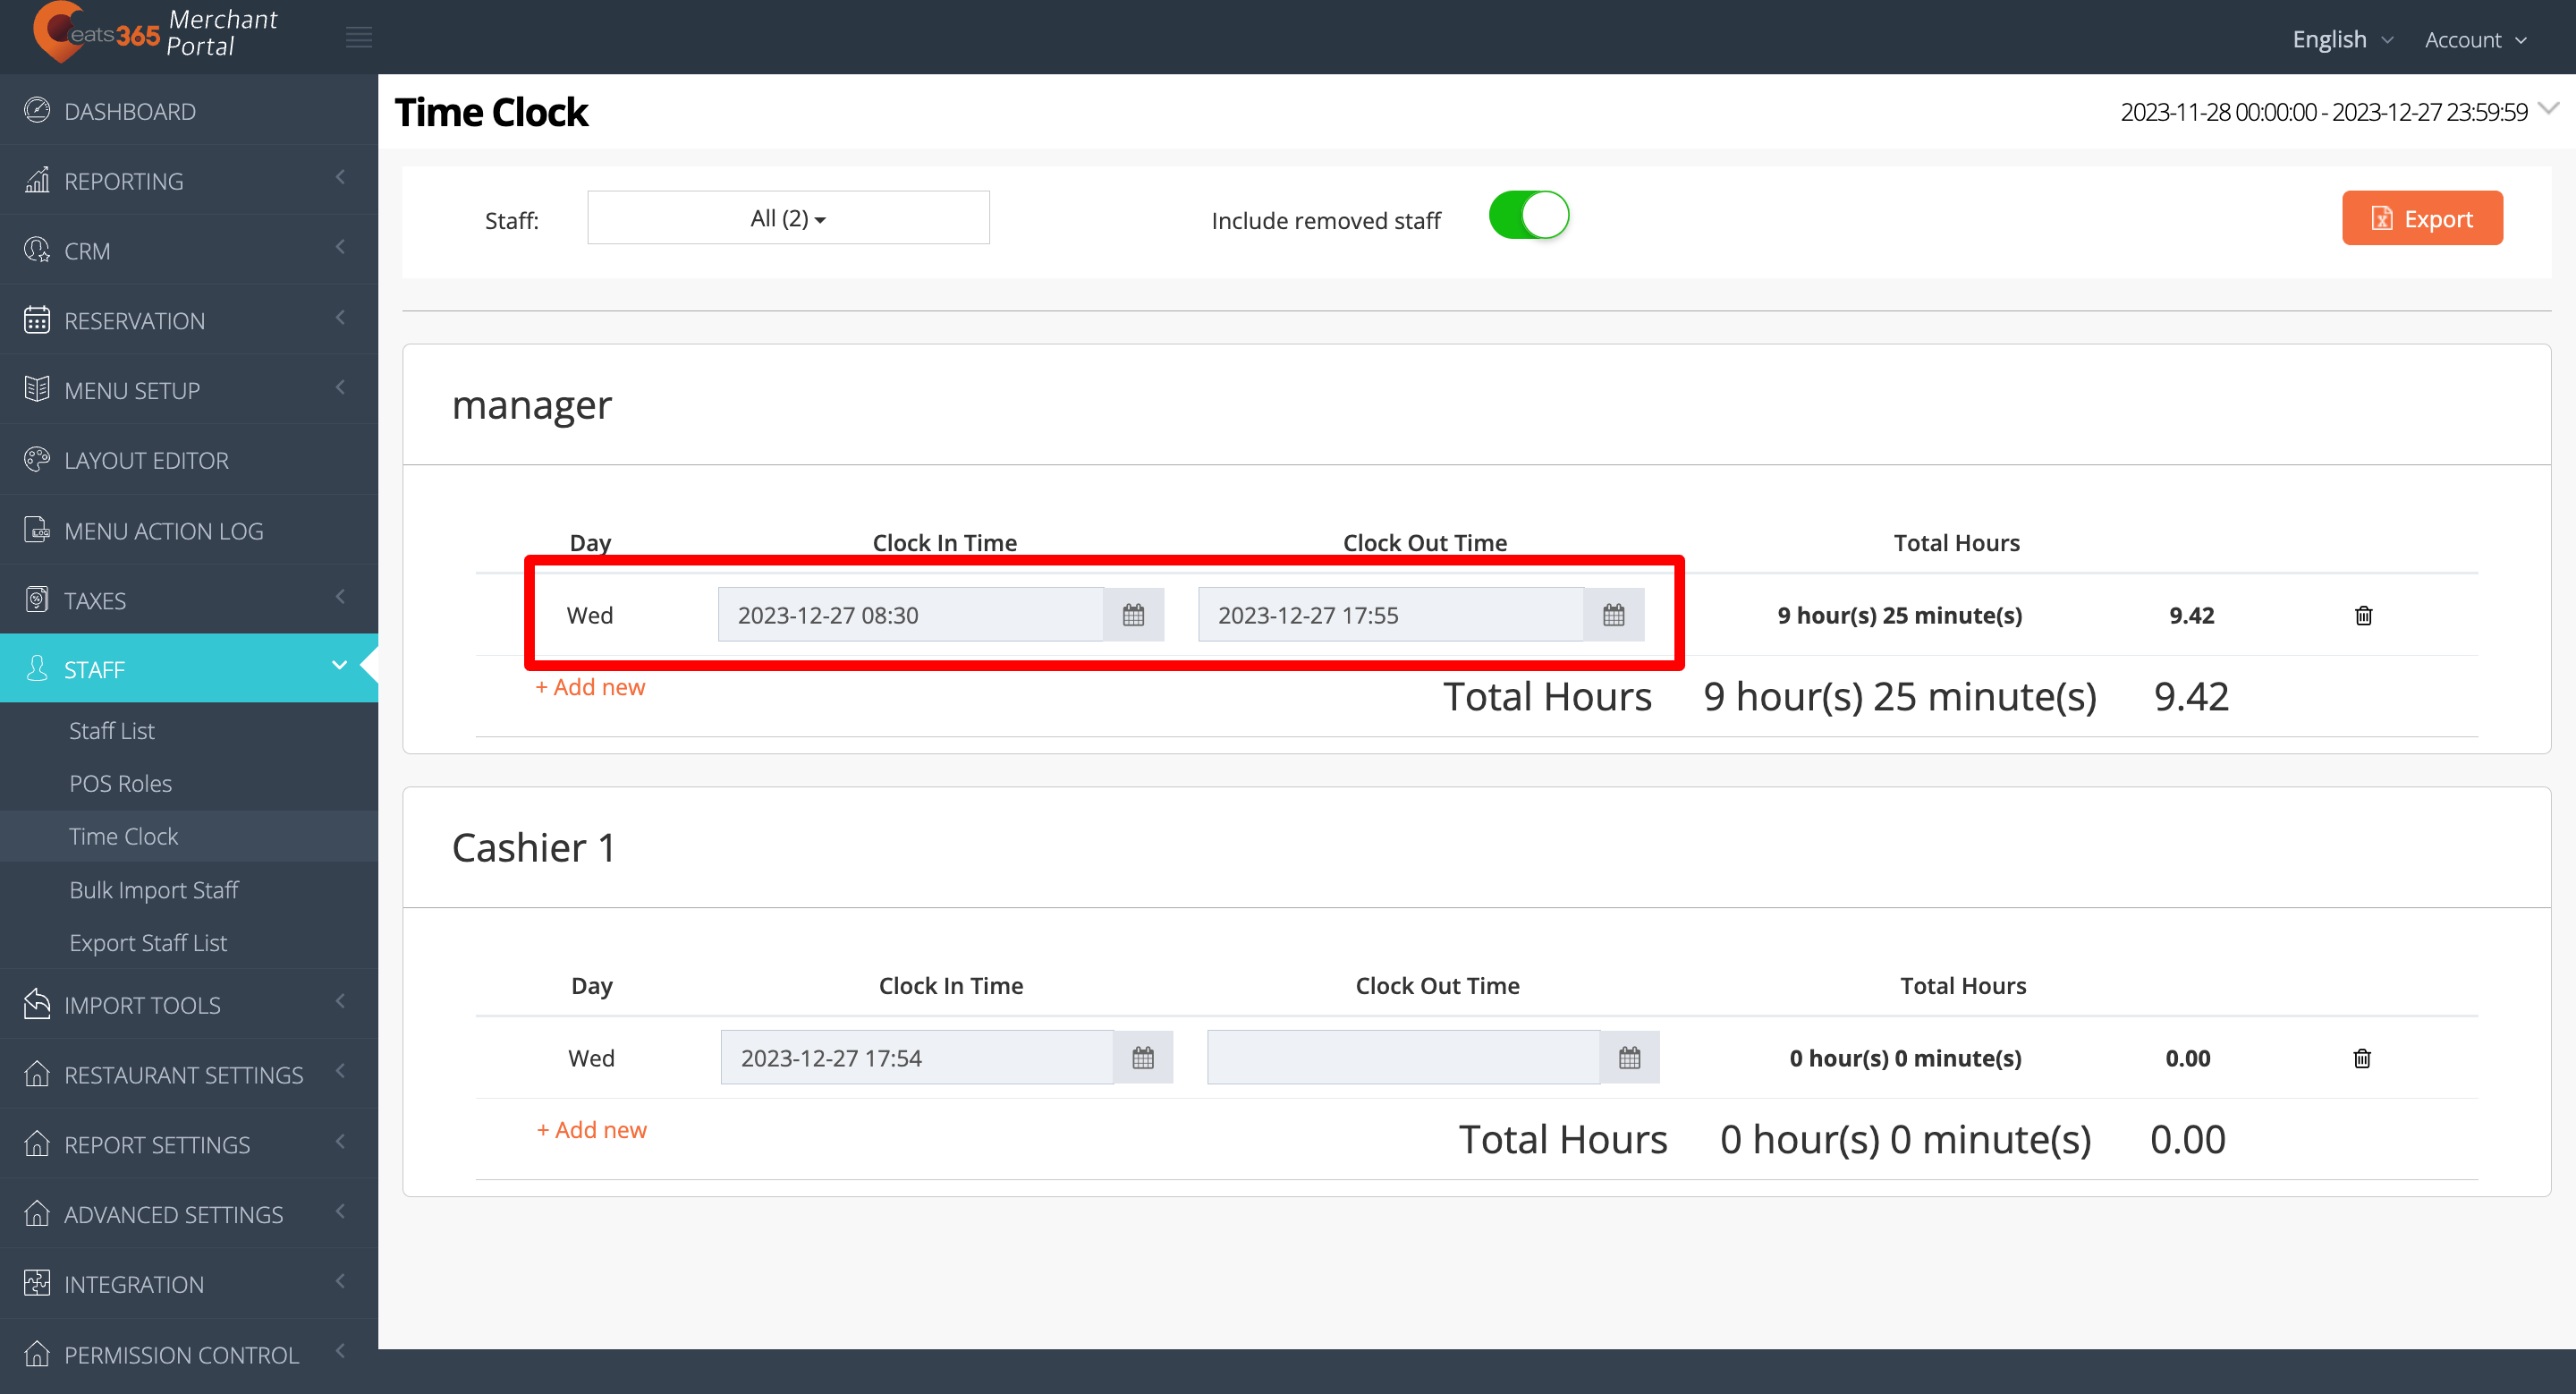
- To change the date or time, click on an existing entry under Clock In Time or Clock Out Time. Then, make your changes.
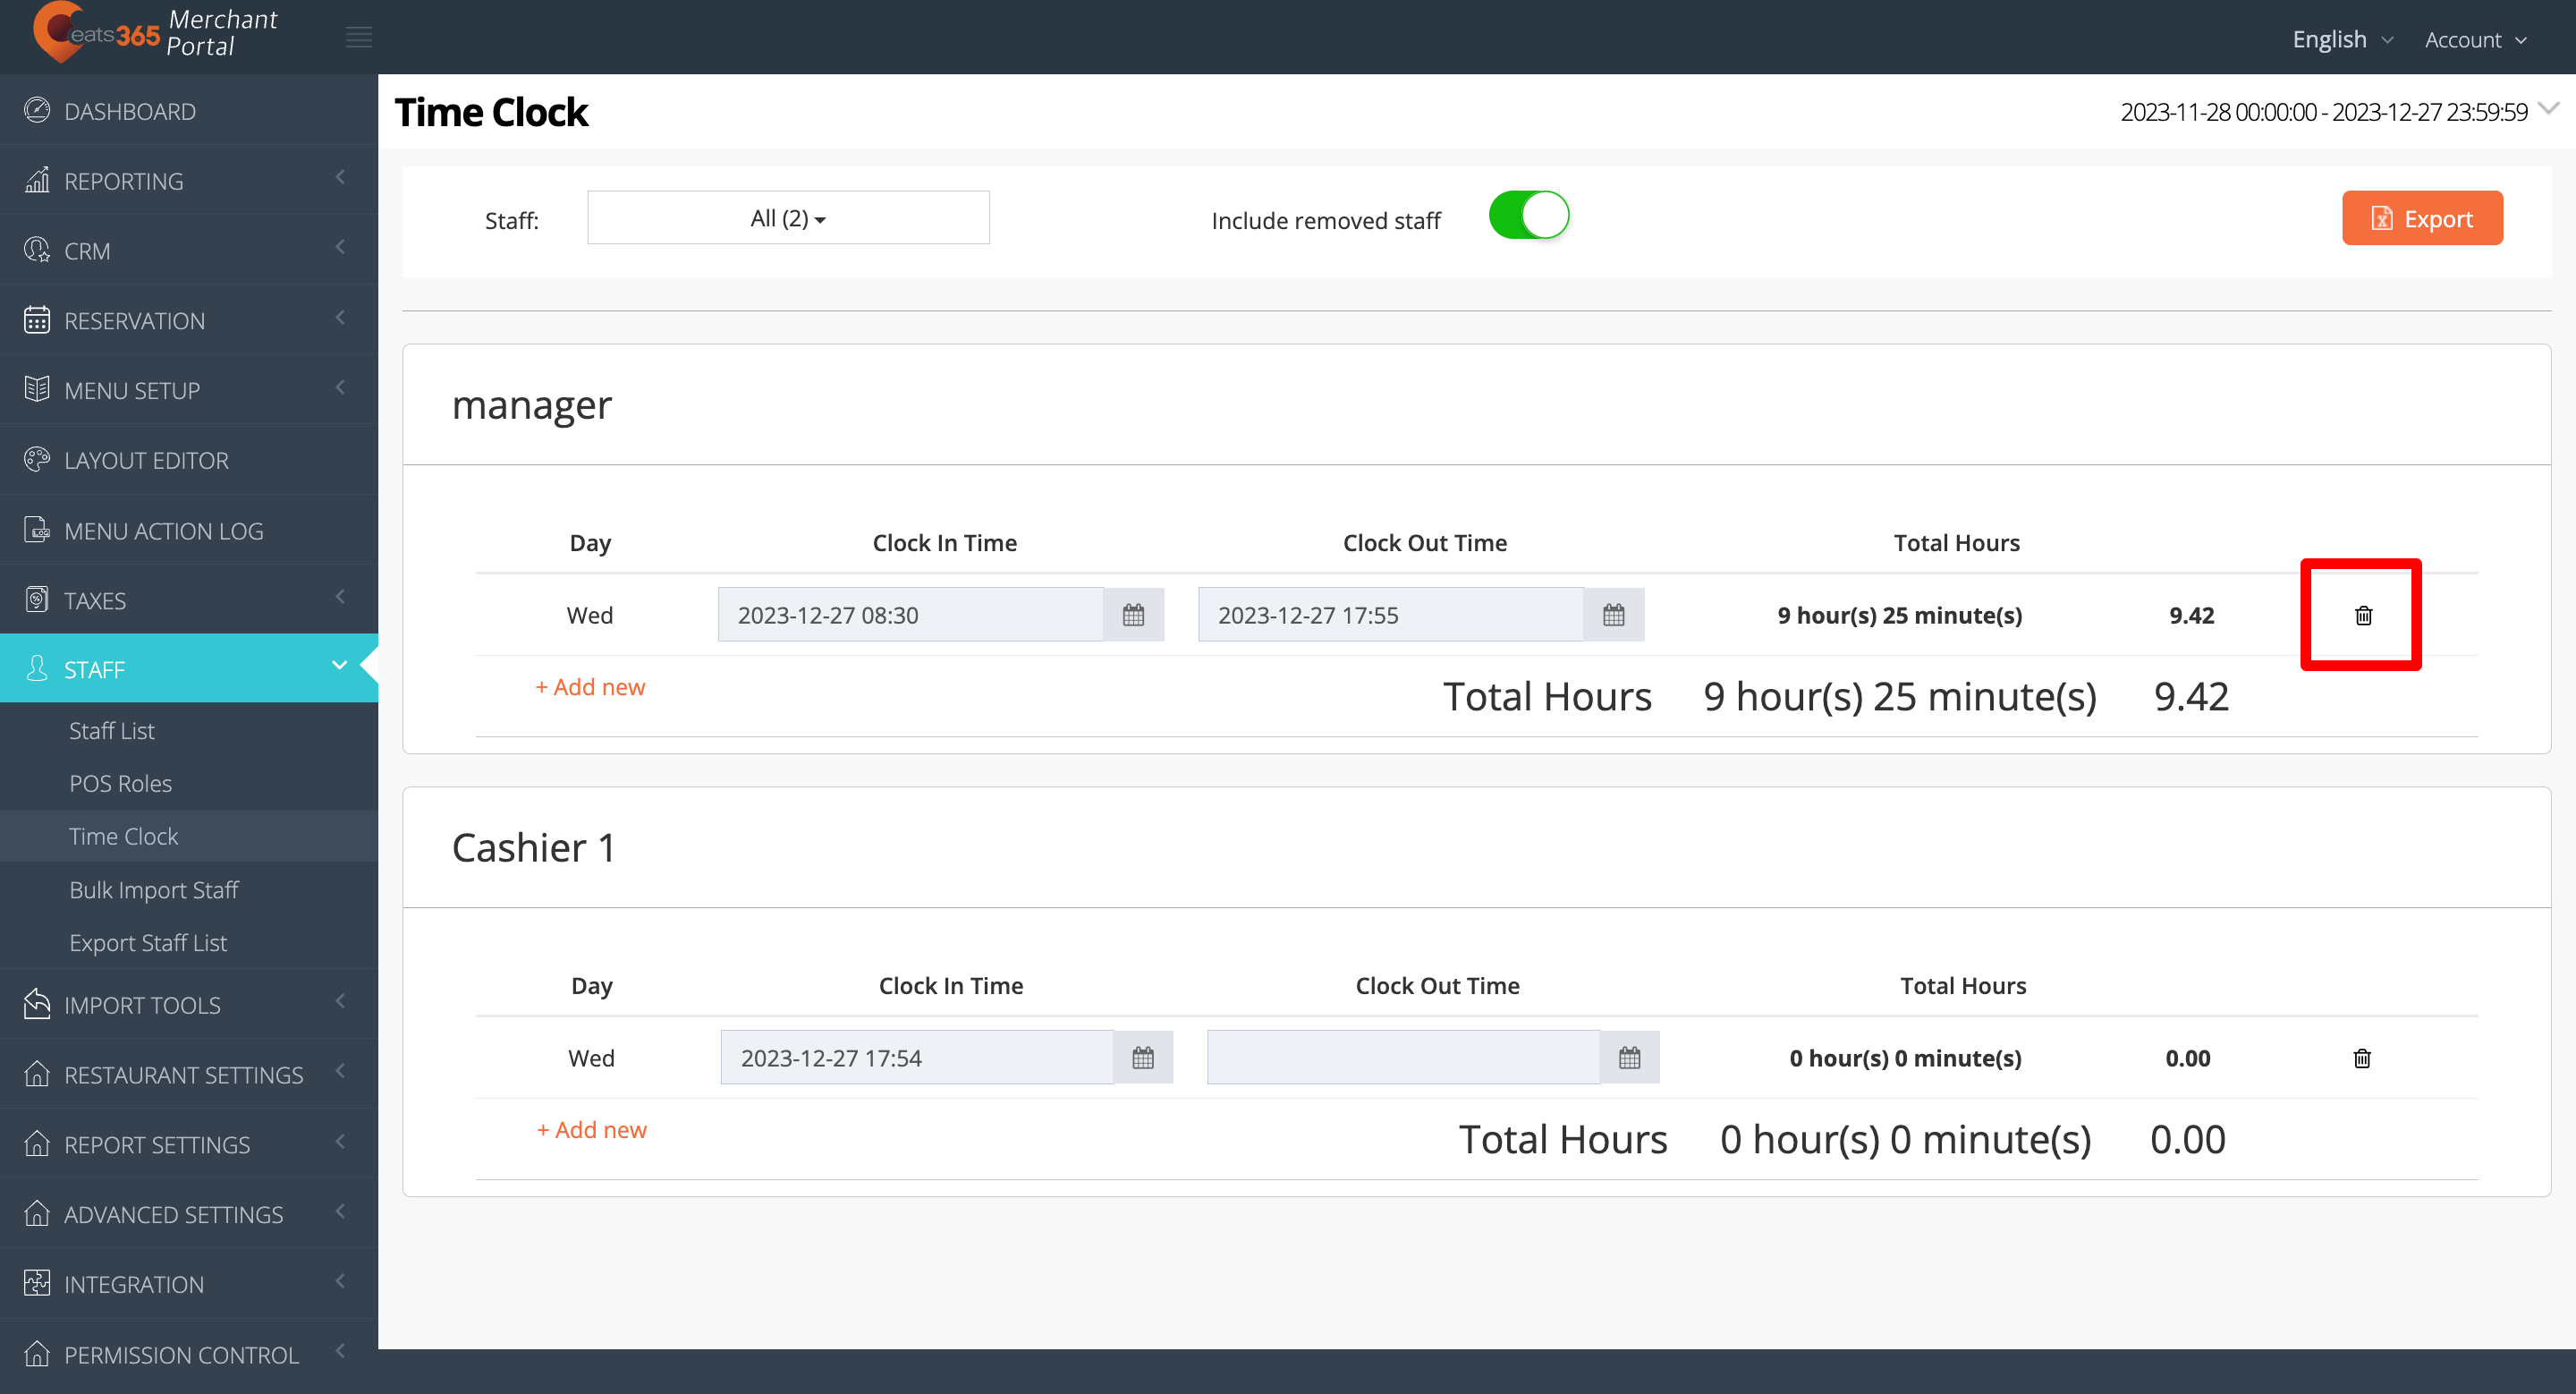
- To remove an existing entry, next to the entry that you'd like to remove, click on Delete
 .
.
- To change the date or time, click on an existing entry under Clock In Time or Clock Out Time. Then, make your changes.
Export time sheet entries
Merchant Portal (Classic Theme)
To export your staff member’s time sheet details, at the top right, click on Export. An Excel file of your staff’s time sheet entries gets downloaded on your computer. Open the file to view your exported time sheet entries.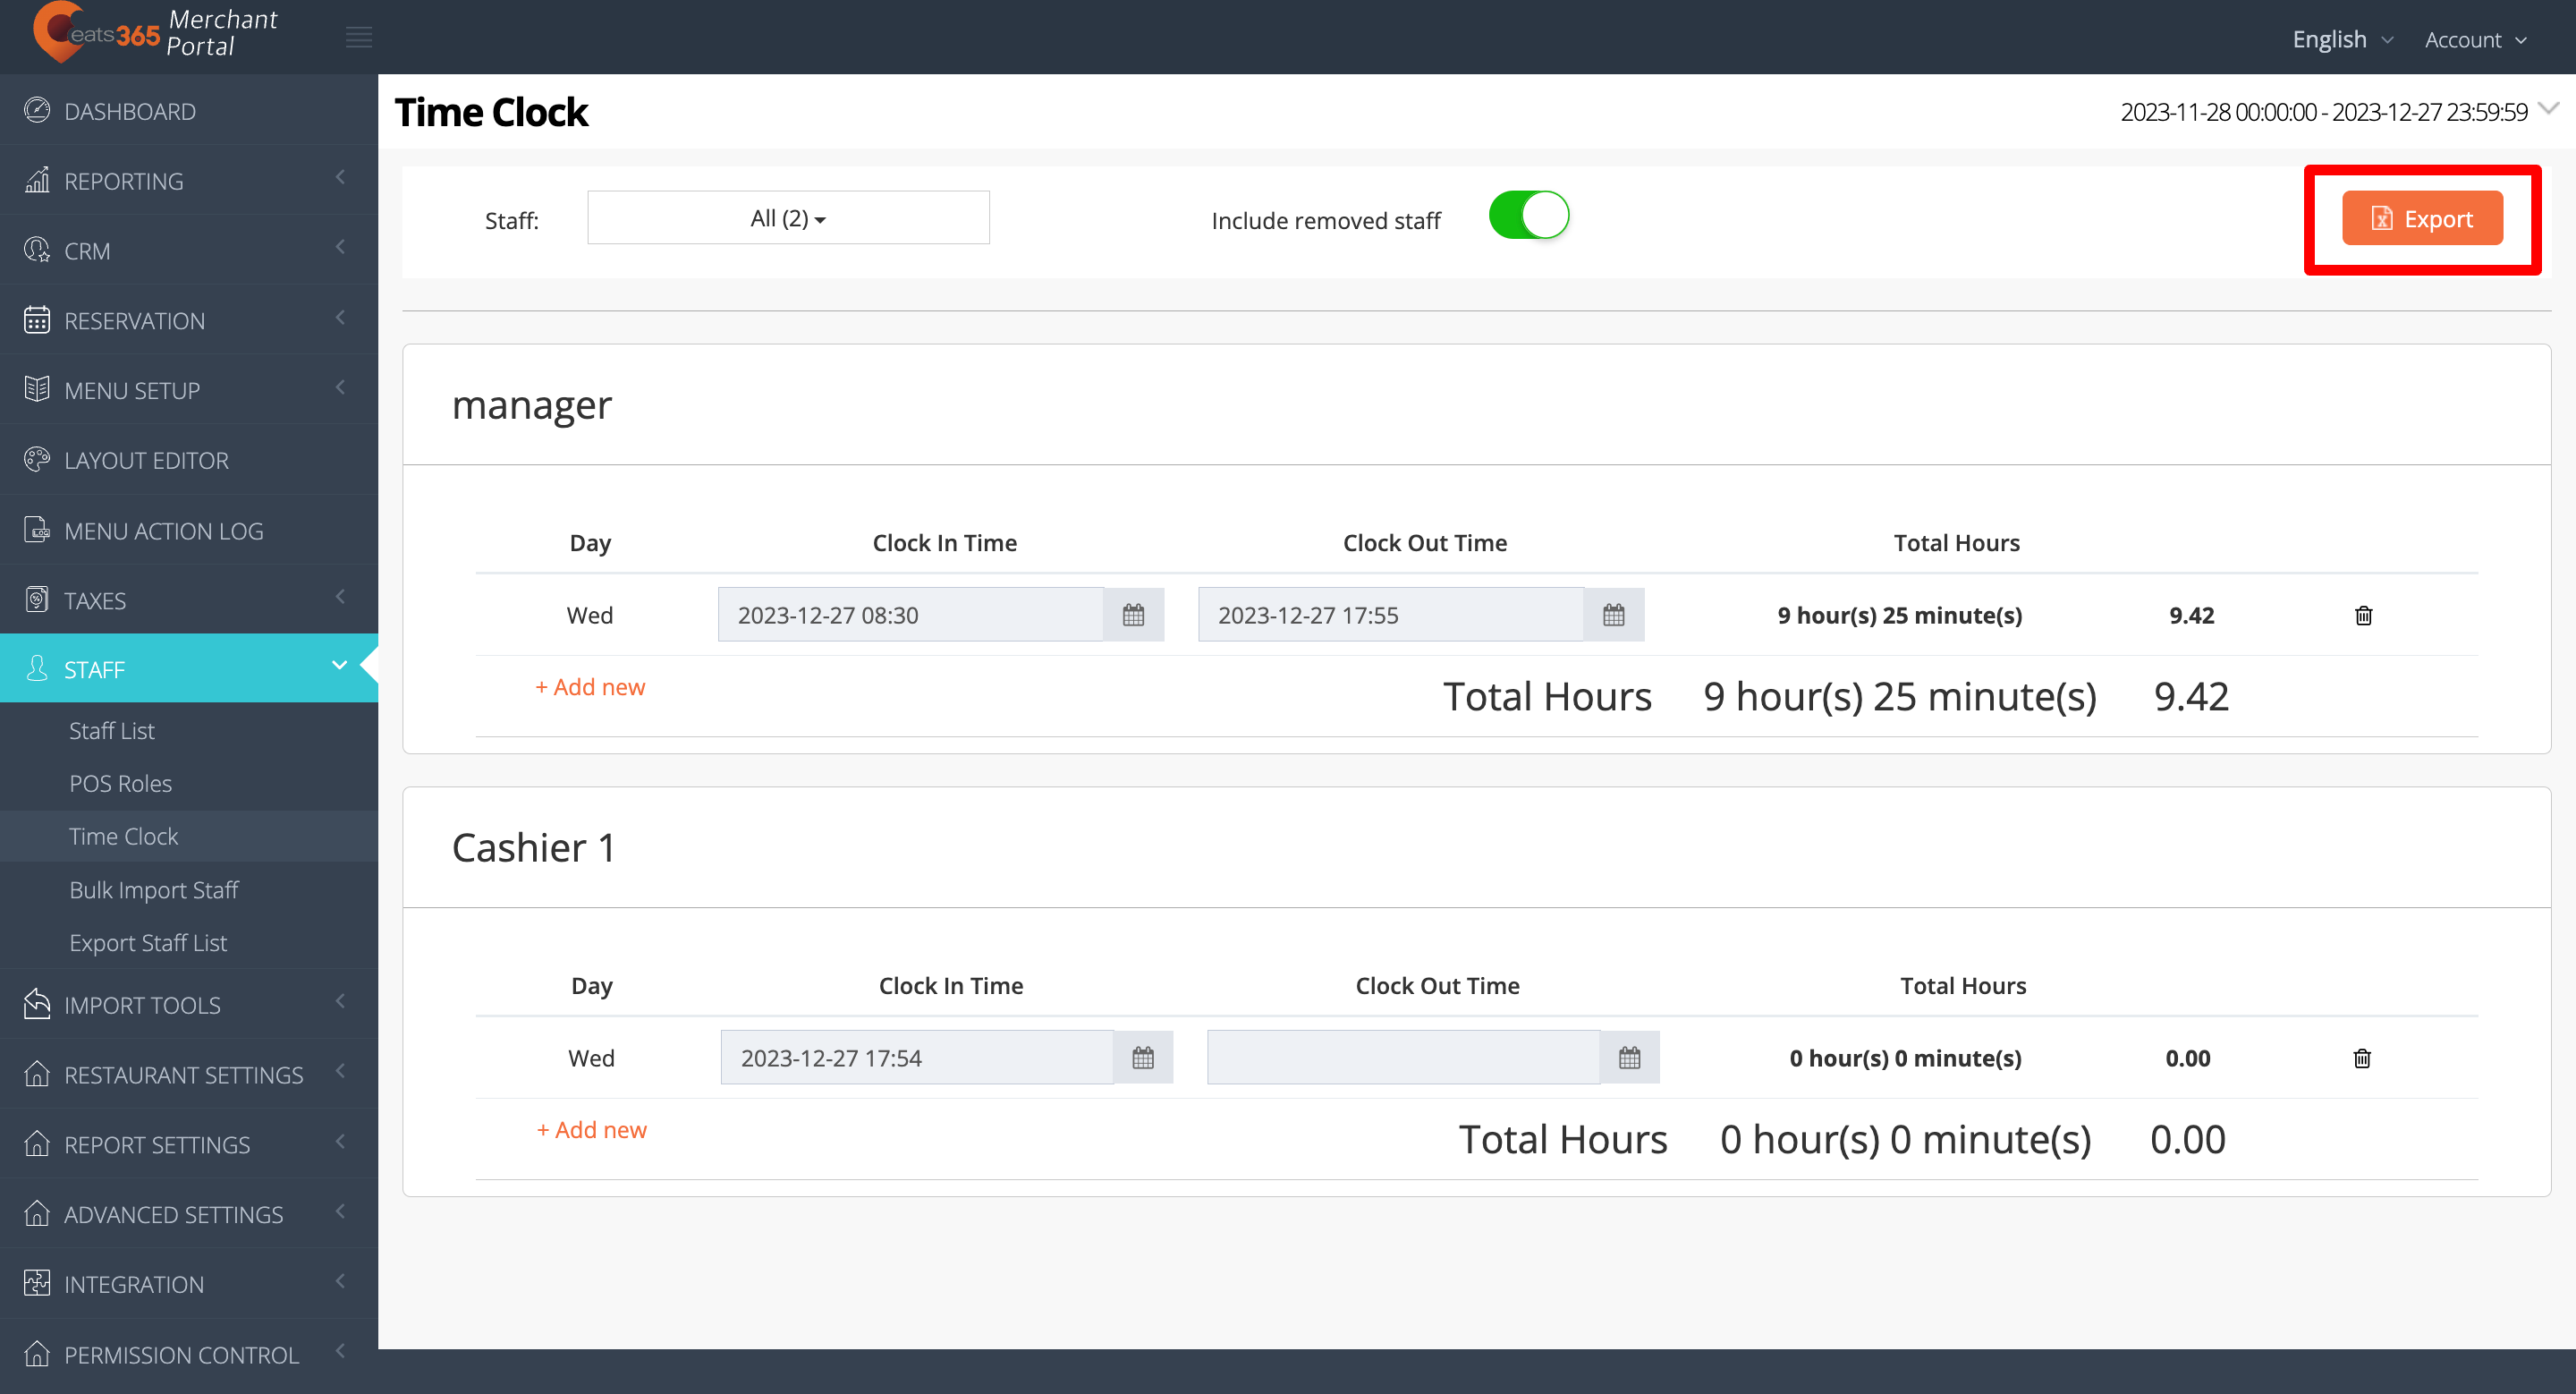
Merchant Portal 2.0
To export your staff member’s time sheet details, click on Export Excel. An Excel file of your staff’s time sheet entries gets downloaded on your computer. Open the file to view your exported time sheet entries.