 Eats365 Products
 Merchant Guide
 Modules
 Membership
 Integrations
 Hardware
 Staff Operations
 Roles & Permissions
 Payments
 Reports
 What’s New
 Release Notes
 Troubleshooting
 Simulators
 Glossary
 Troubleshooter
 System Status
Handling Payments
Table of Contents
Apply surcharge to an order
Learn how you can apply a surcharge to the customer’s total bill.
A Surcharge is a fee that is added to the total bill which can be either applied through items included in the order or the payment method used by the customer.
In this article, you’ll learn how to apply surcharges to a customer’s total bill.
Apply a surcharge to the order total
A surcharge can be applied to the customer’s order total manually or automatically.
When Auto Apply is enabled from the Surcharge settings, the surcharge is automatically applied to the order total once the conditions set in the surcharge are fulfilled. If Auto Apply is disabled, you’ll need to manually apply the surcharge to the order.
Enable Order Surcharge at Checkout
To enable role permissions for applying order surcharge, follow the steps below:
Eats365 POS
- Log in to the Eats365 POS.
- At the top left, tap Settings
 .
. - Under Staff, tap Users and Permissions.
- Select Role Permission.
- Select the role that you want to grant permission to apply surcharge.
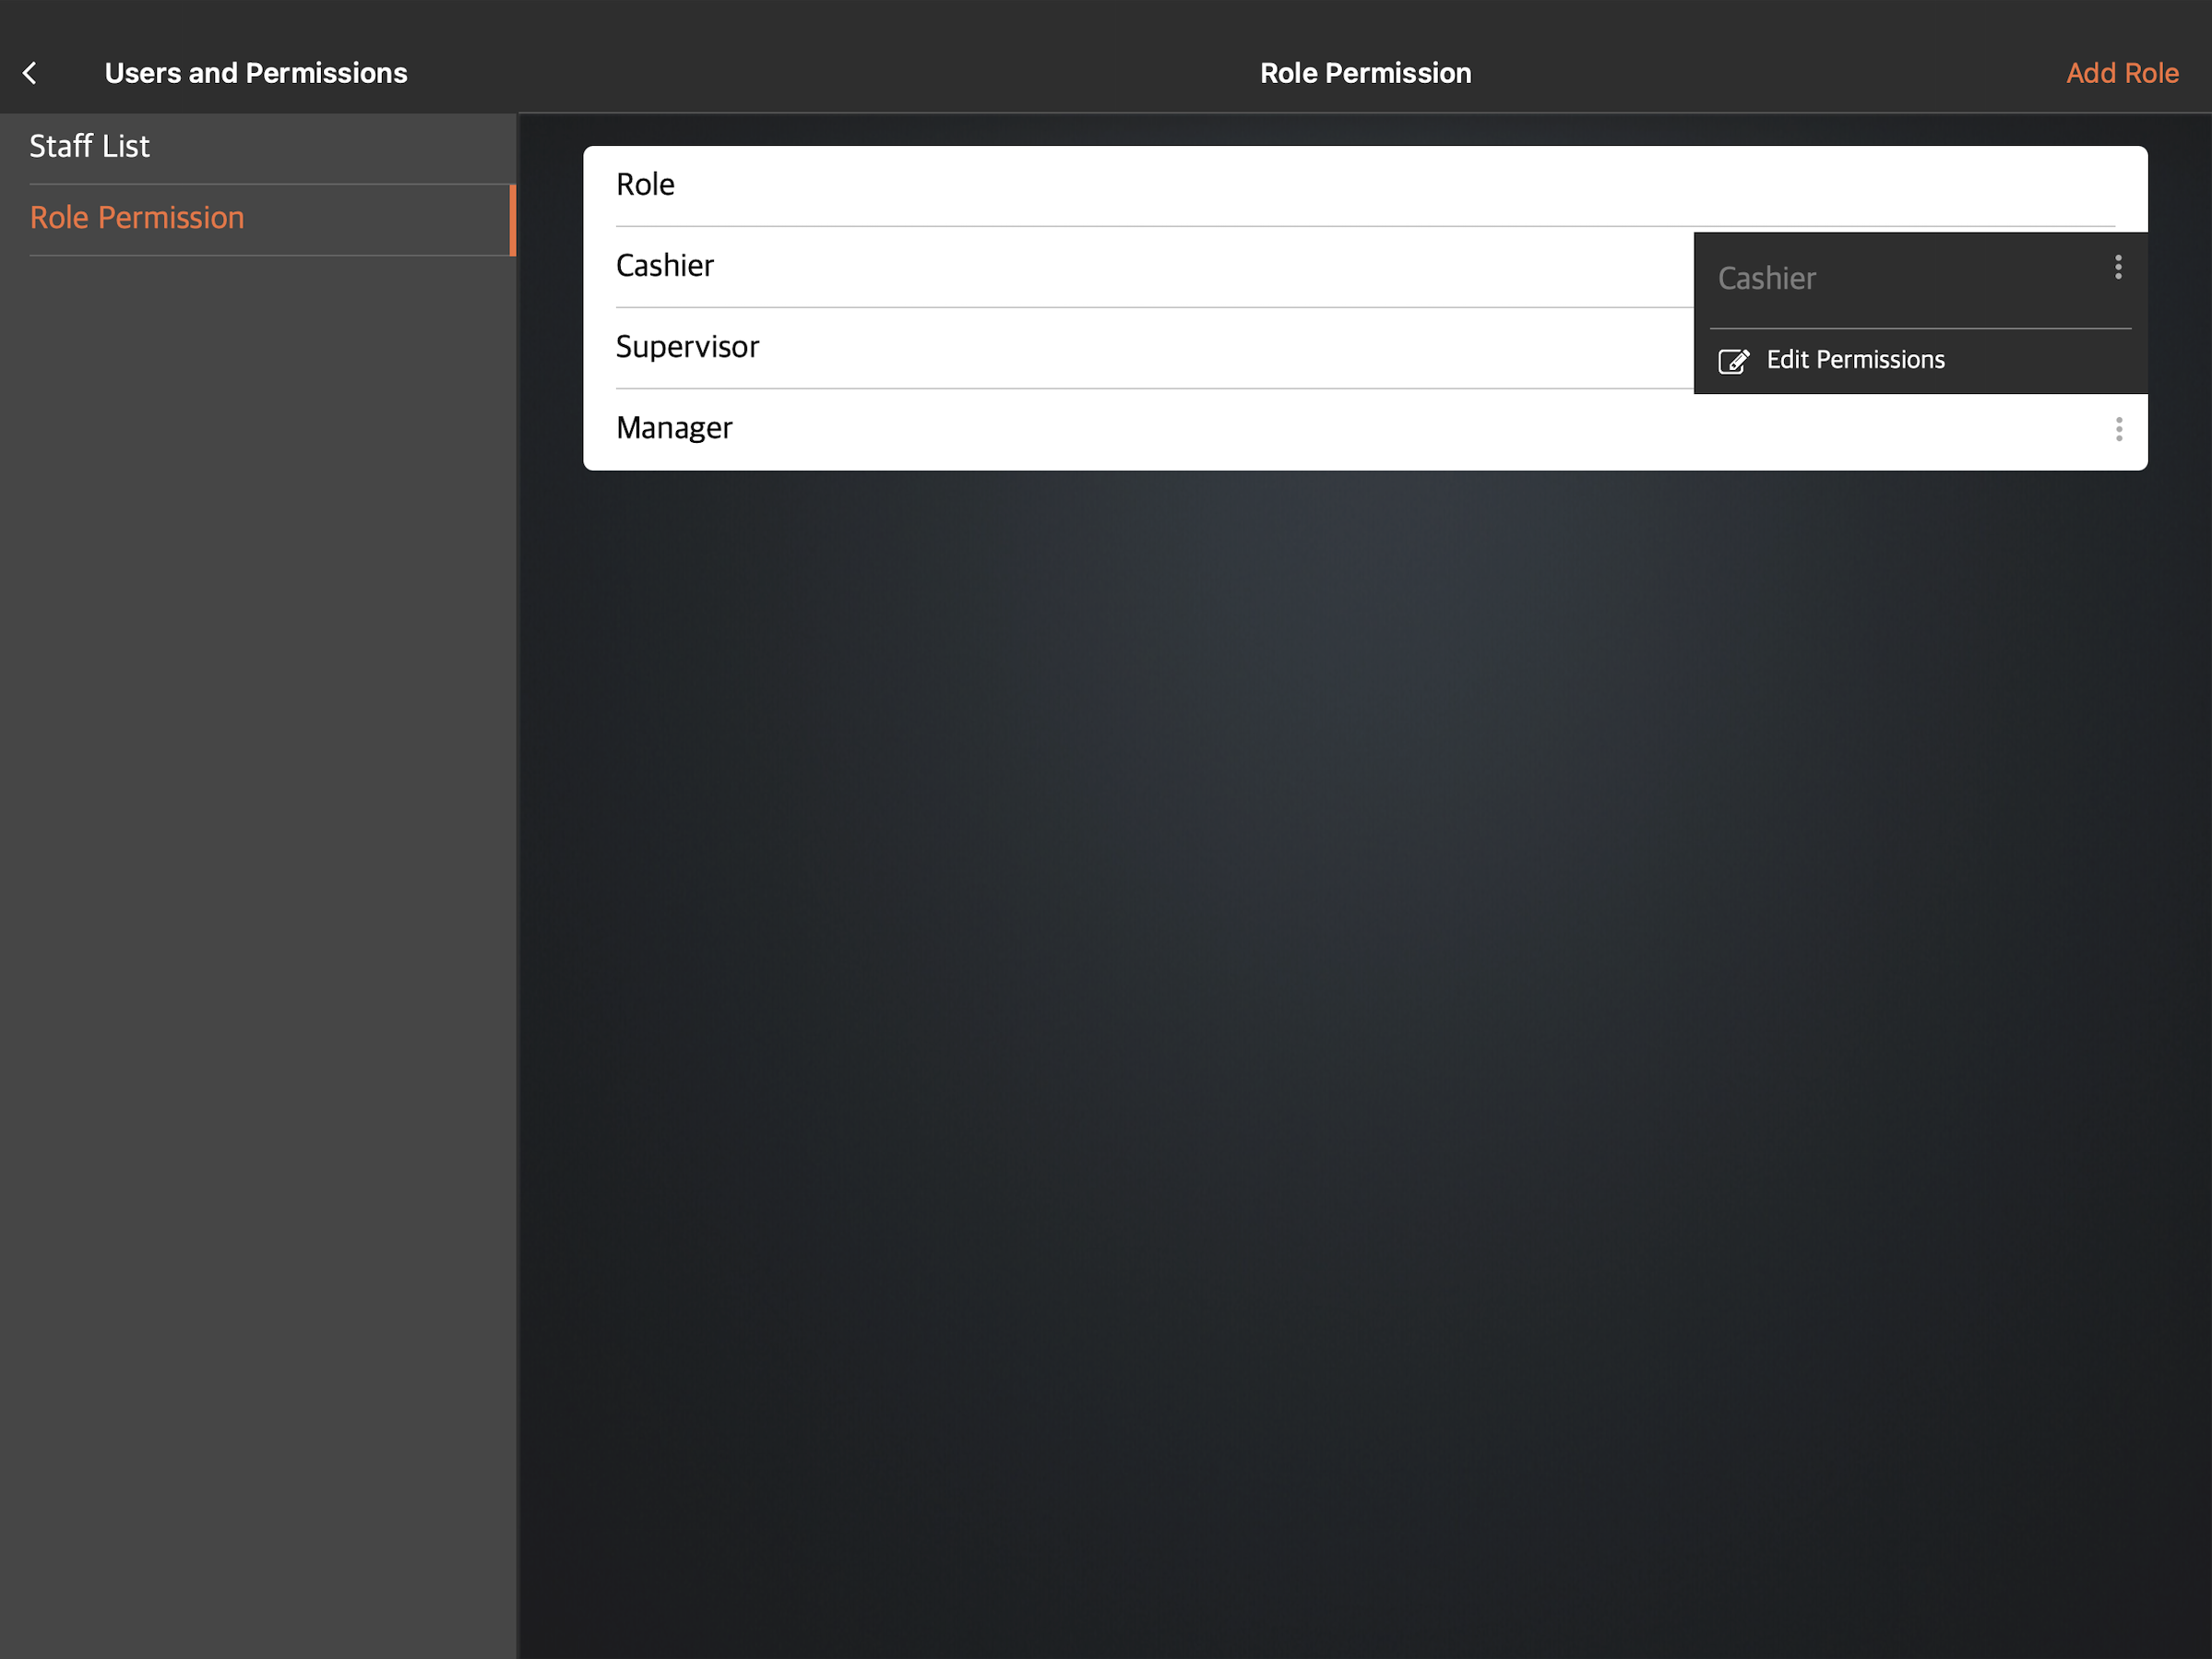
- Under Other Operation Permission, toggle Edit Order Surcharge at Checkout
 .
.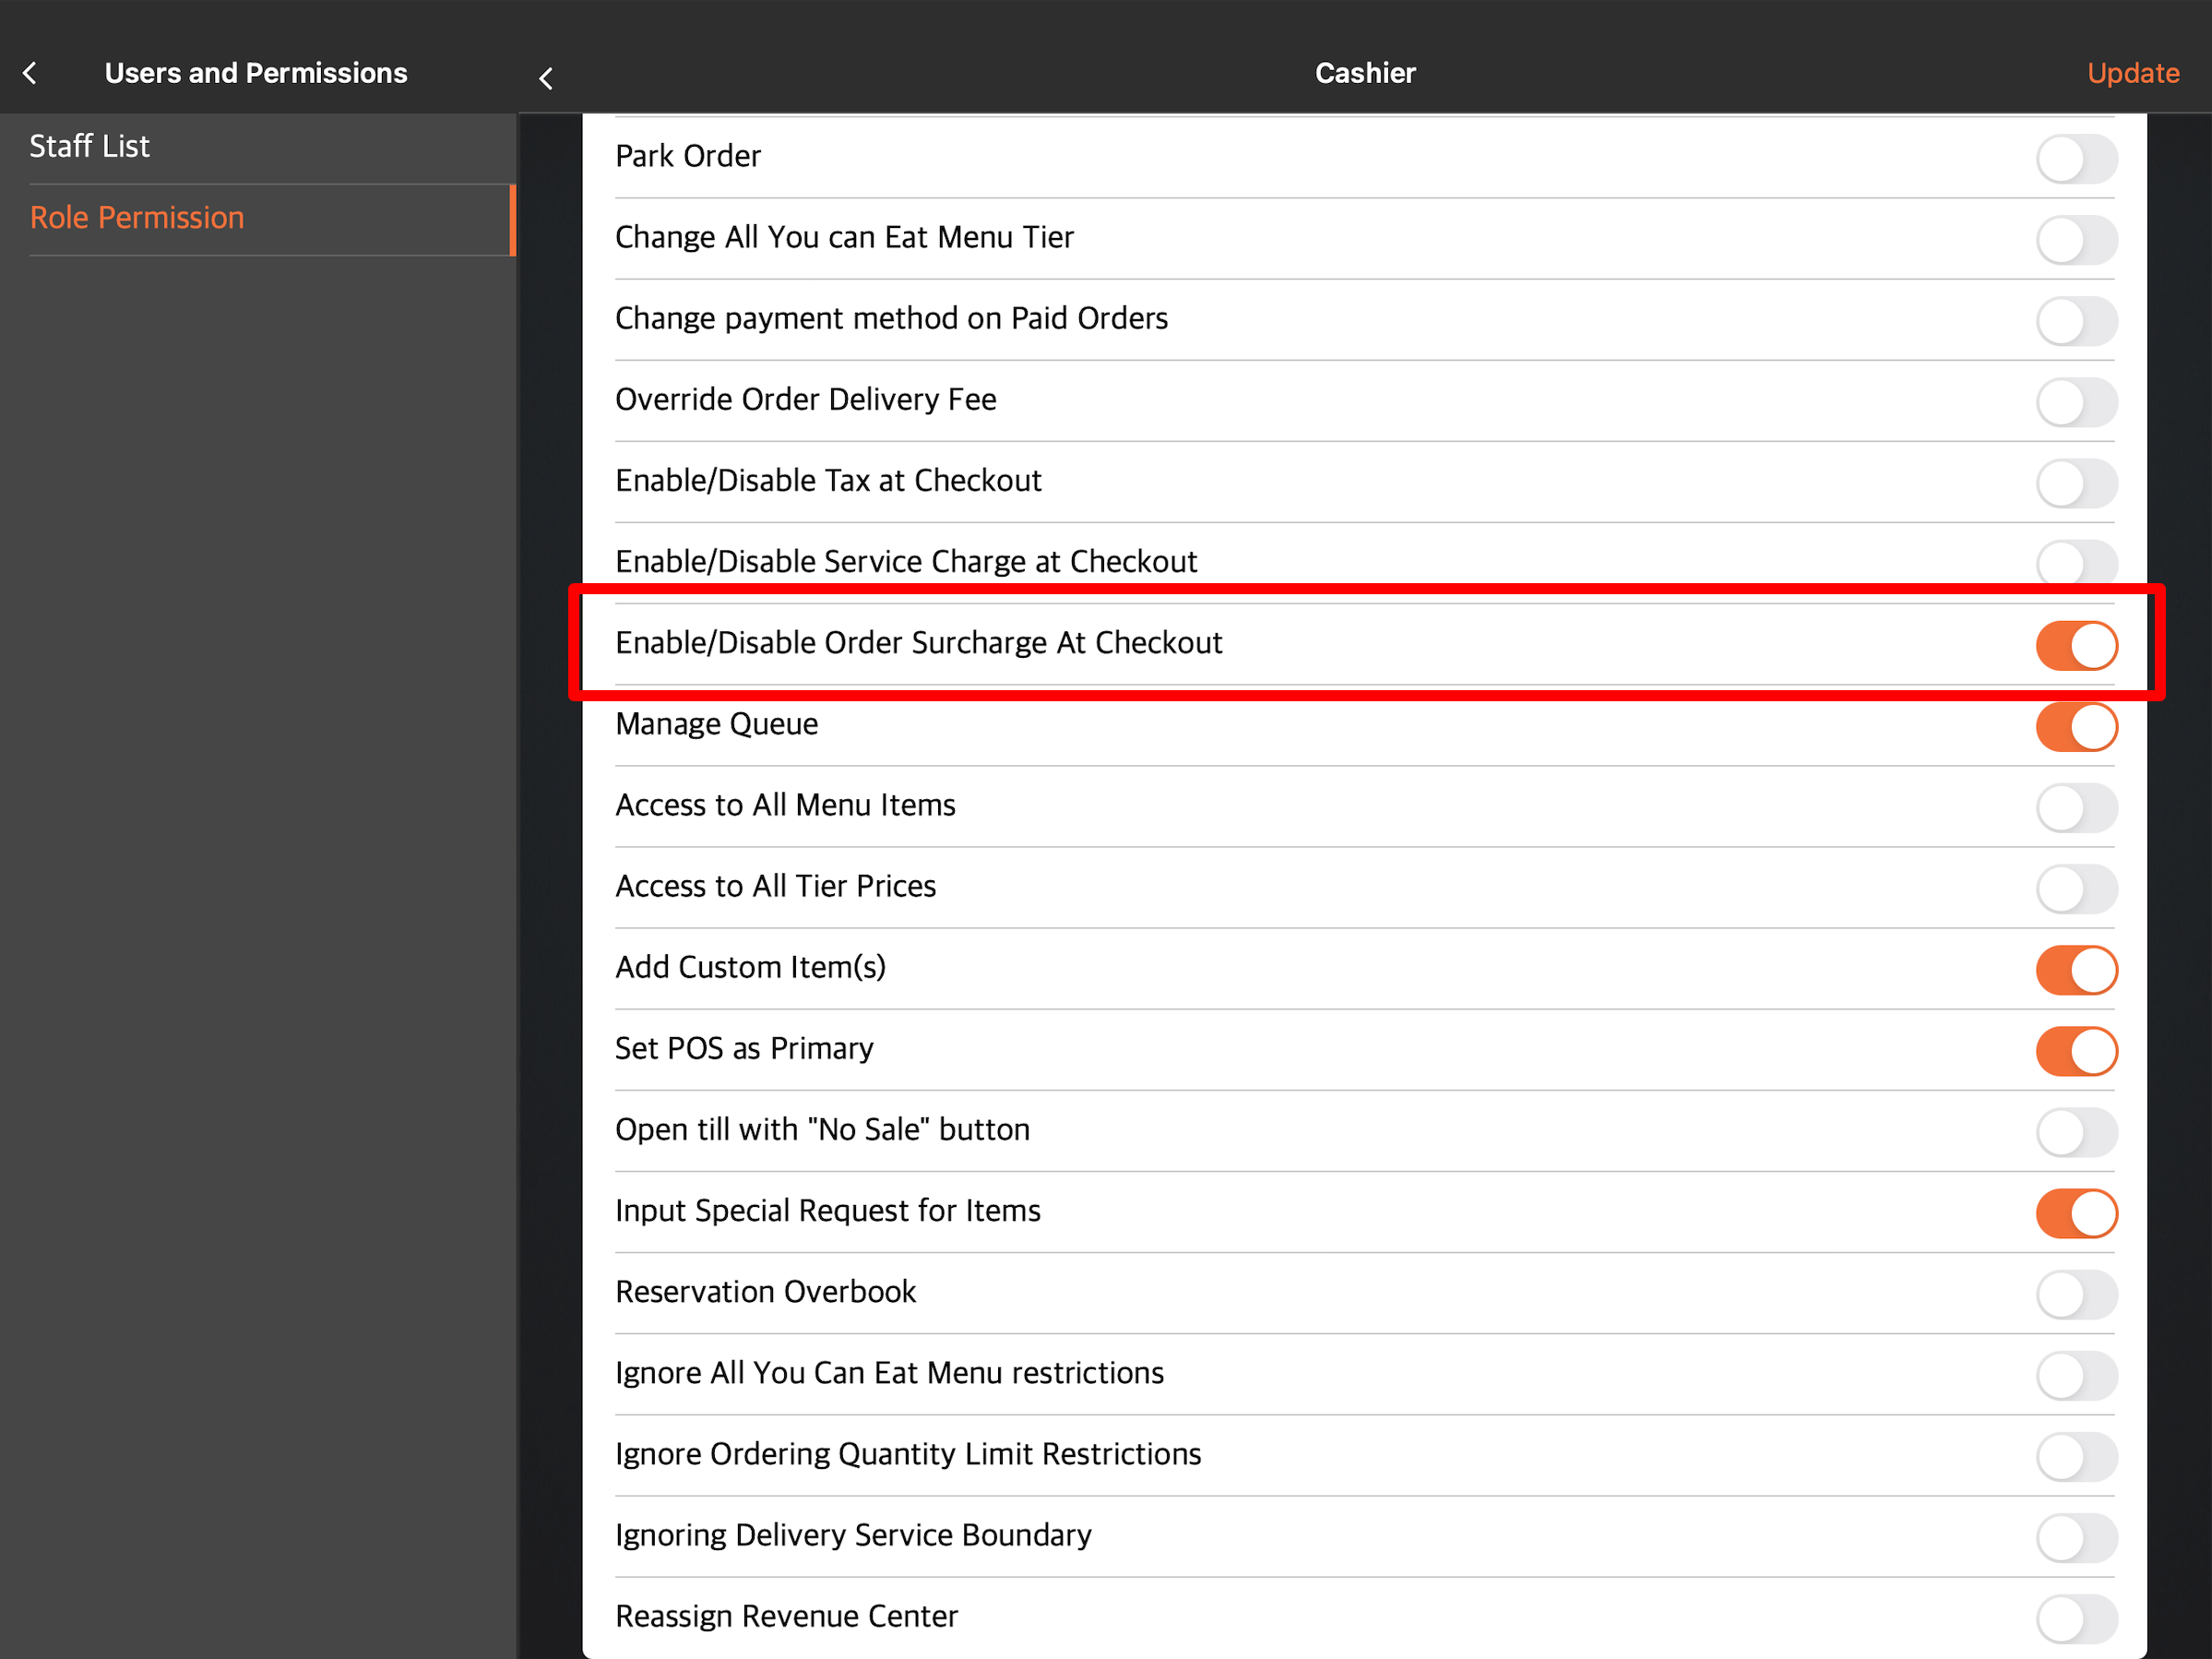
- Tap Update to confirm.
Merchant Portal (Classic Theme)
- Log in to the Merchant Portal.
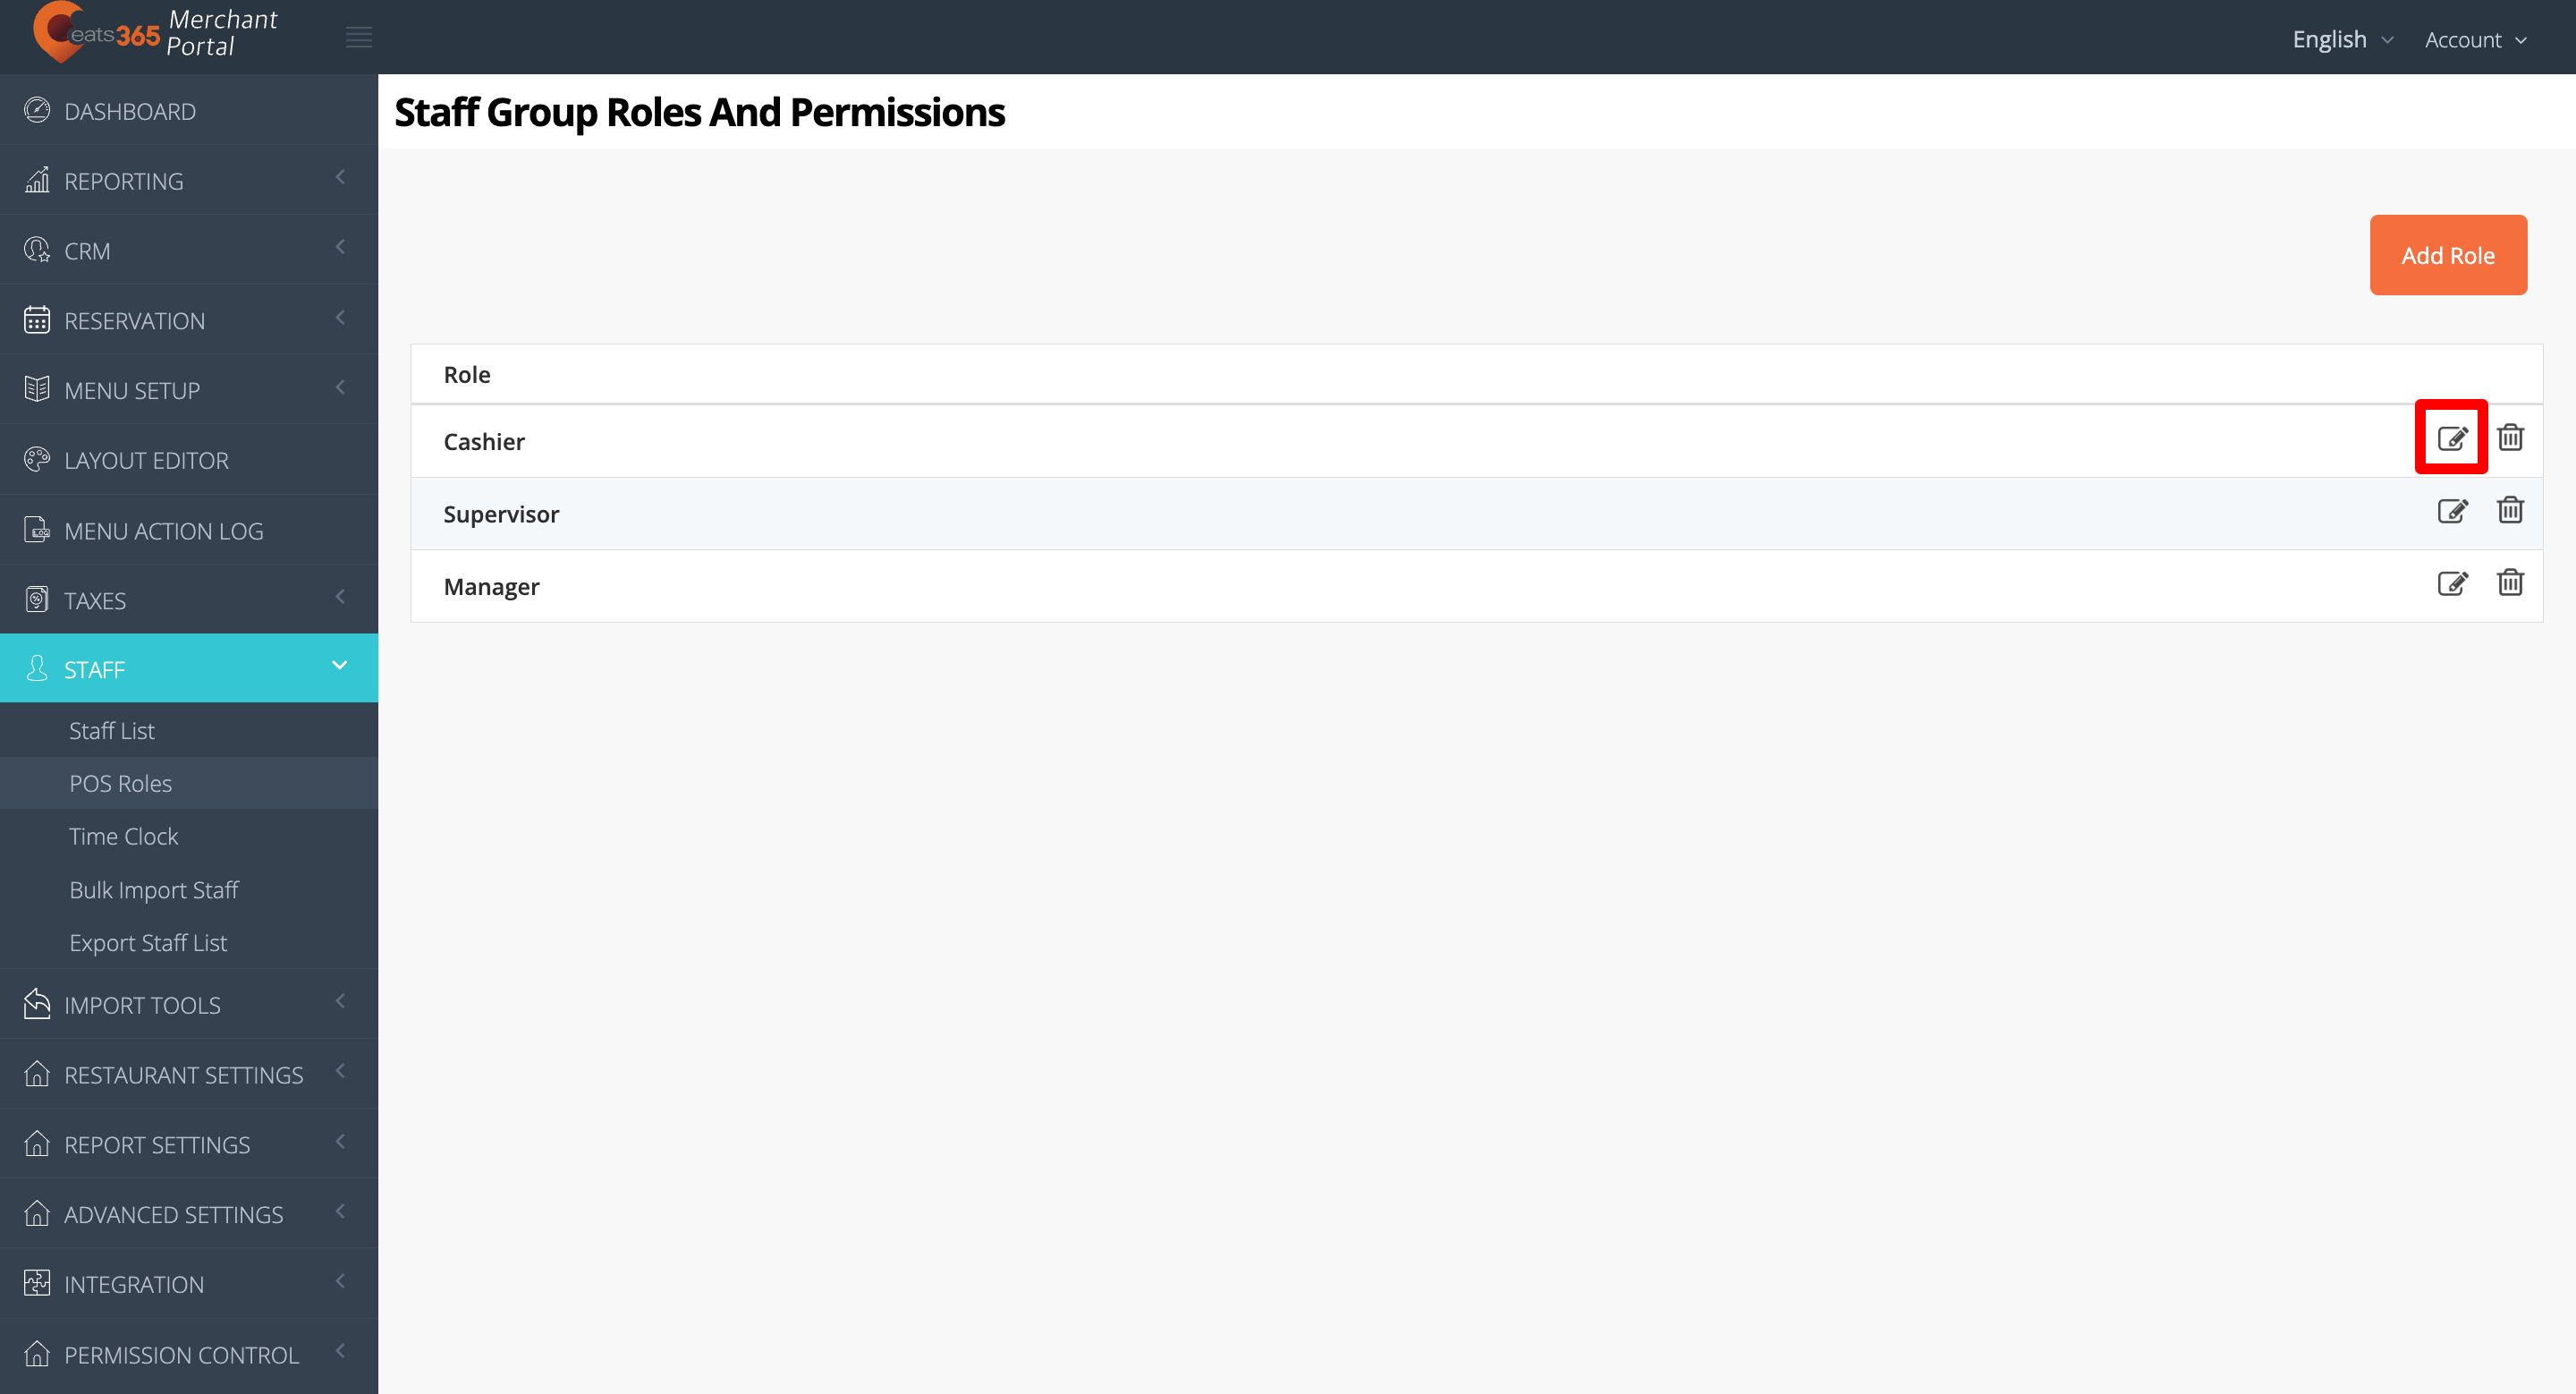
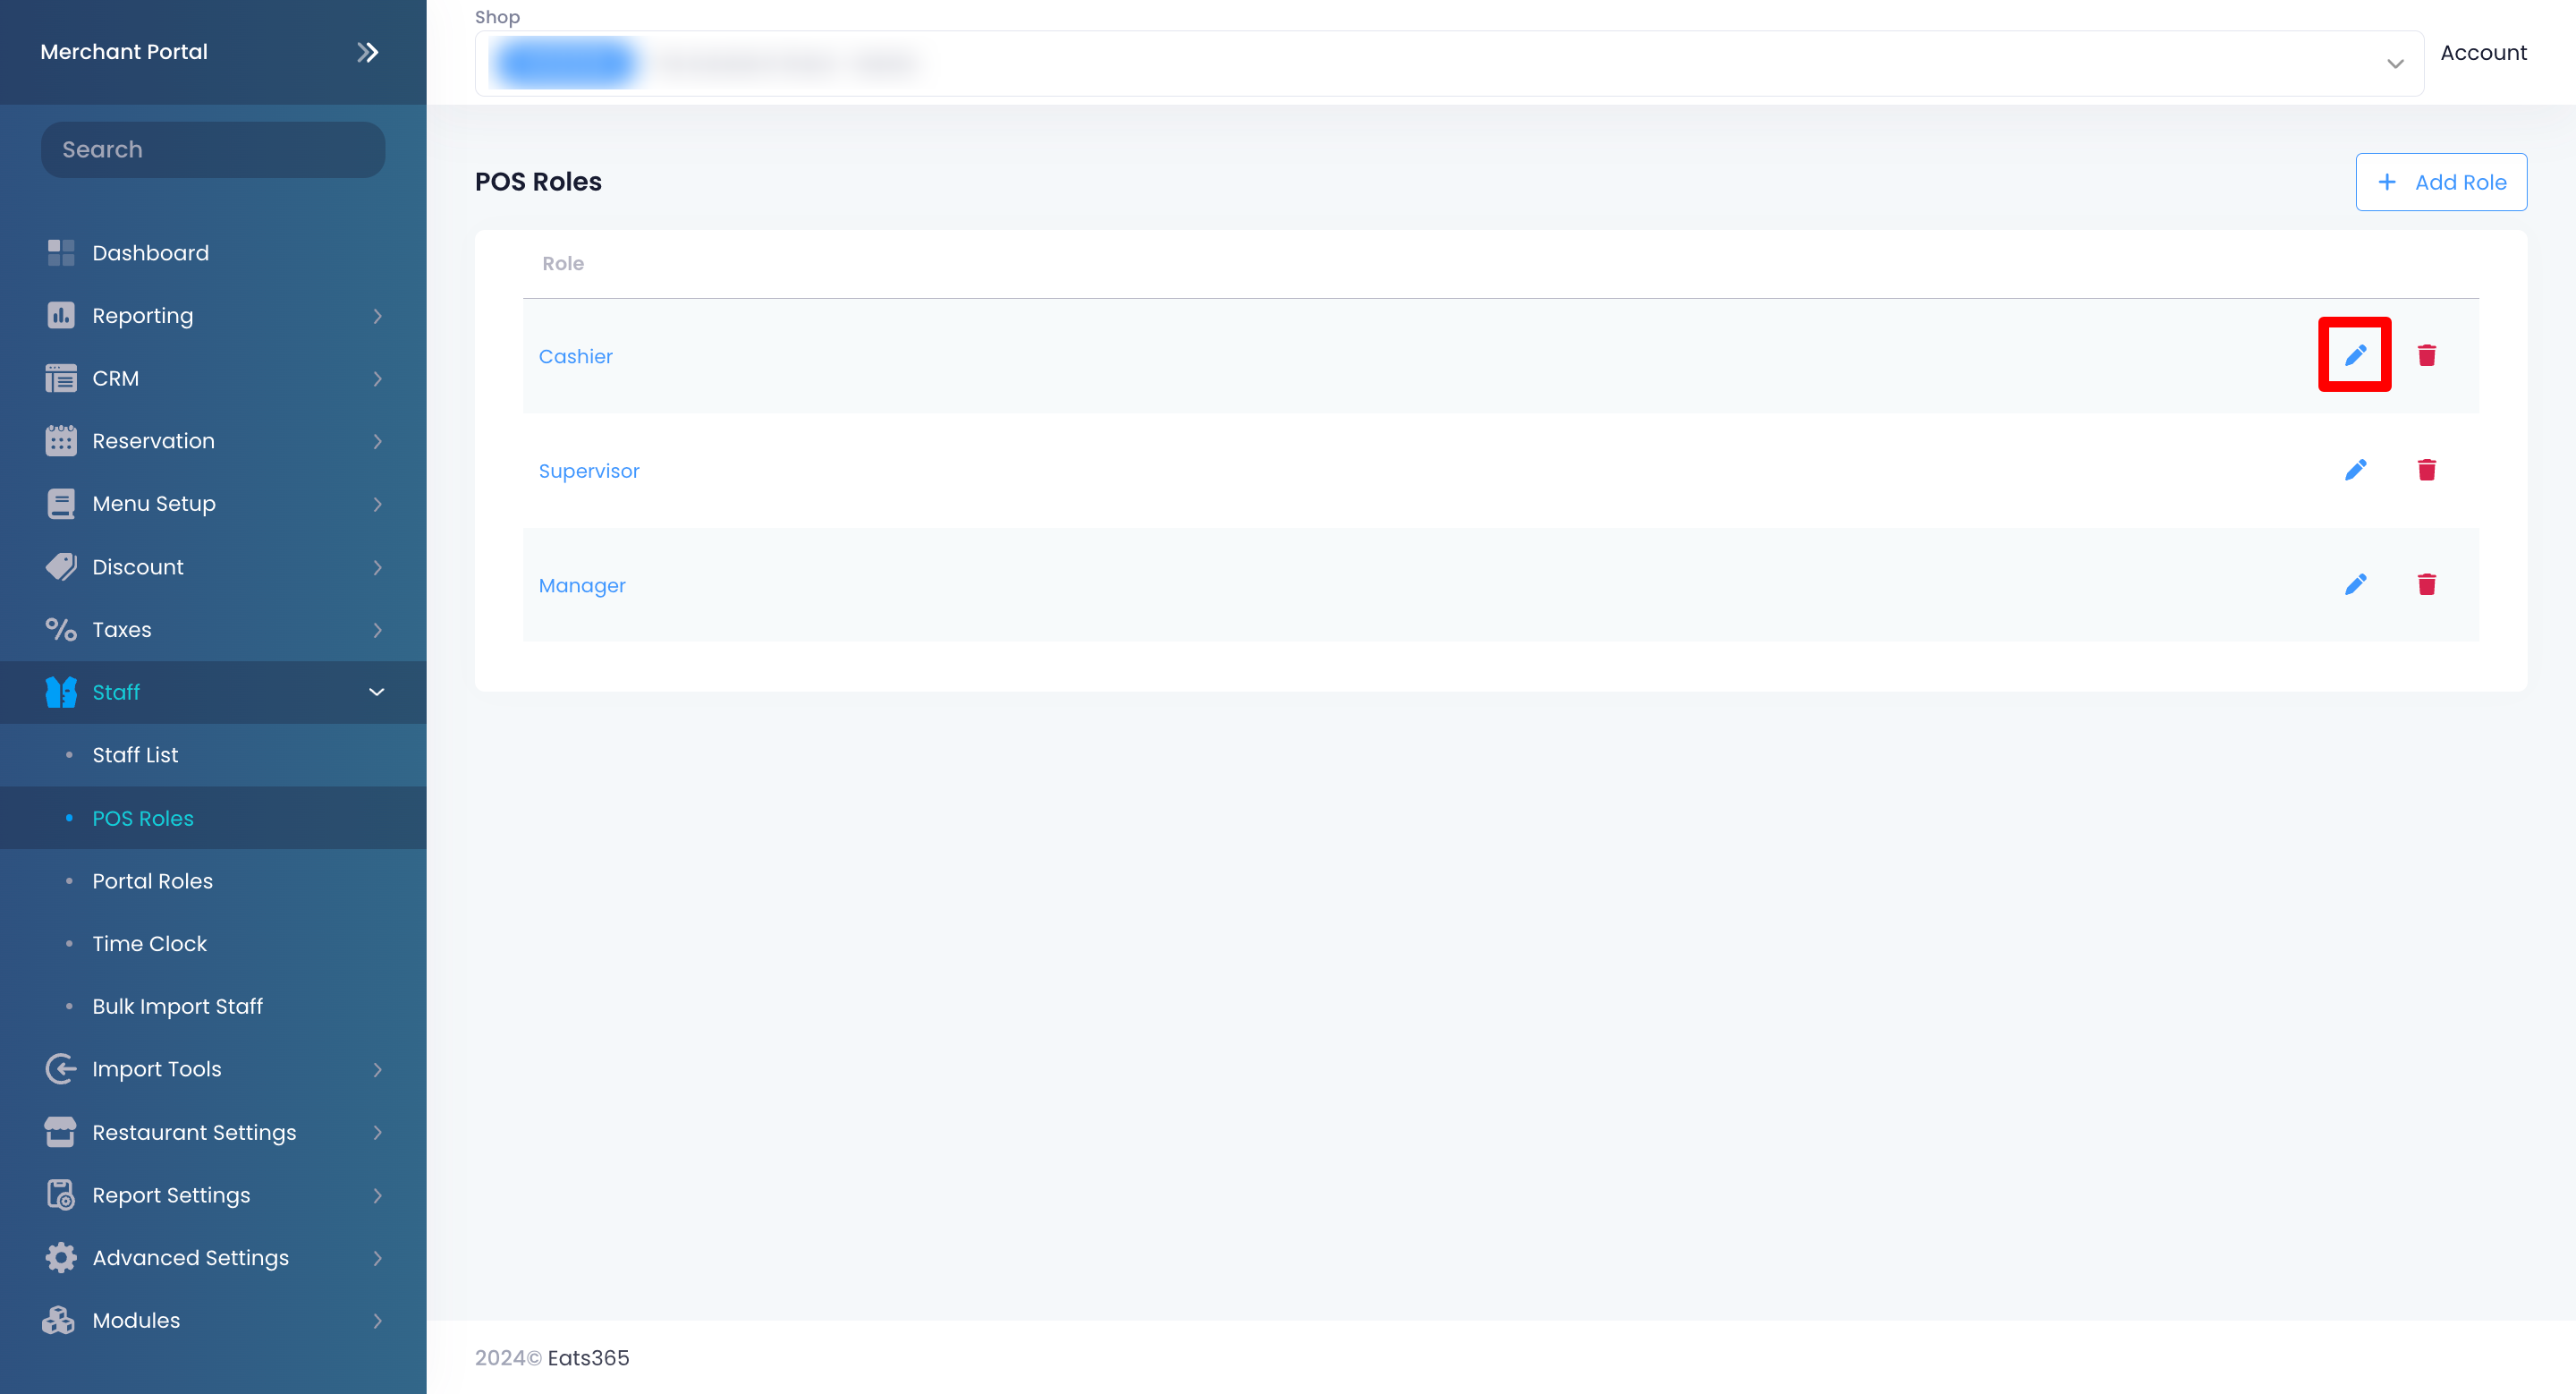
- On the left panel, click on Staff. Then, select POS Roles.
- Next to the role that you want to grant permission to apply surcharge, click on Edit
 .
.
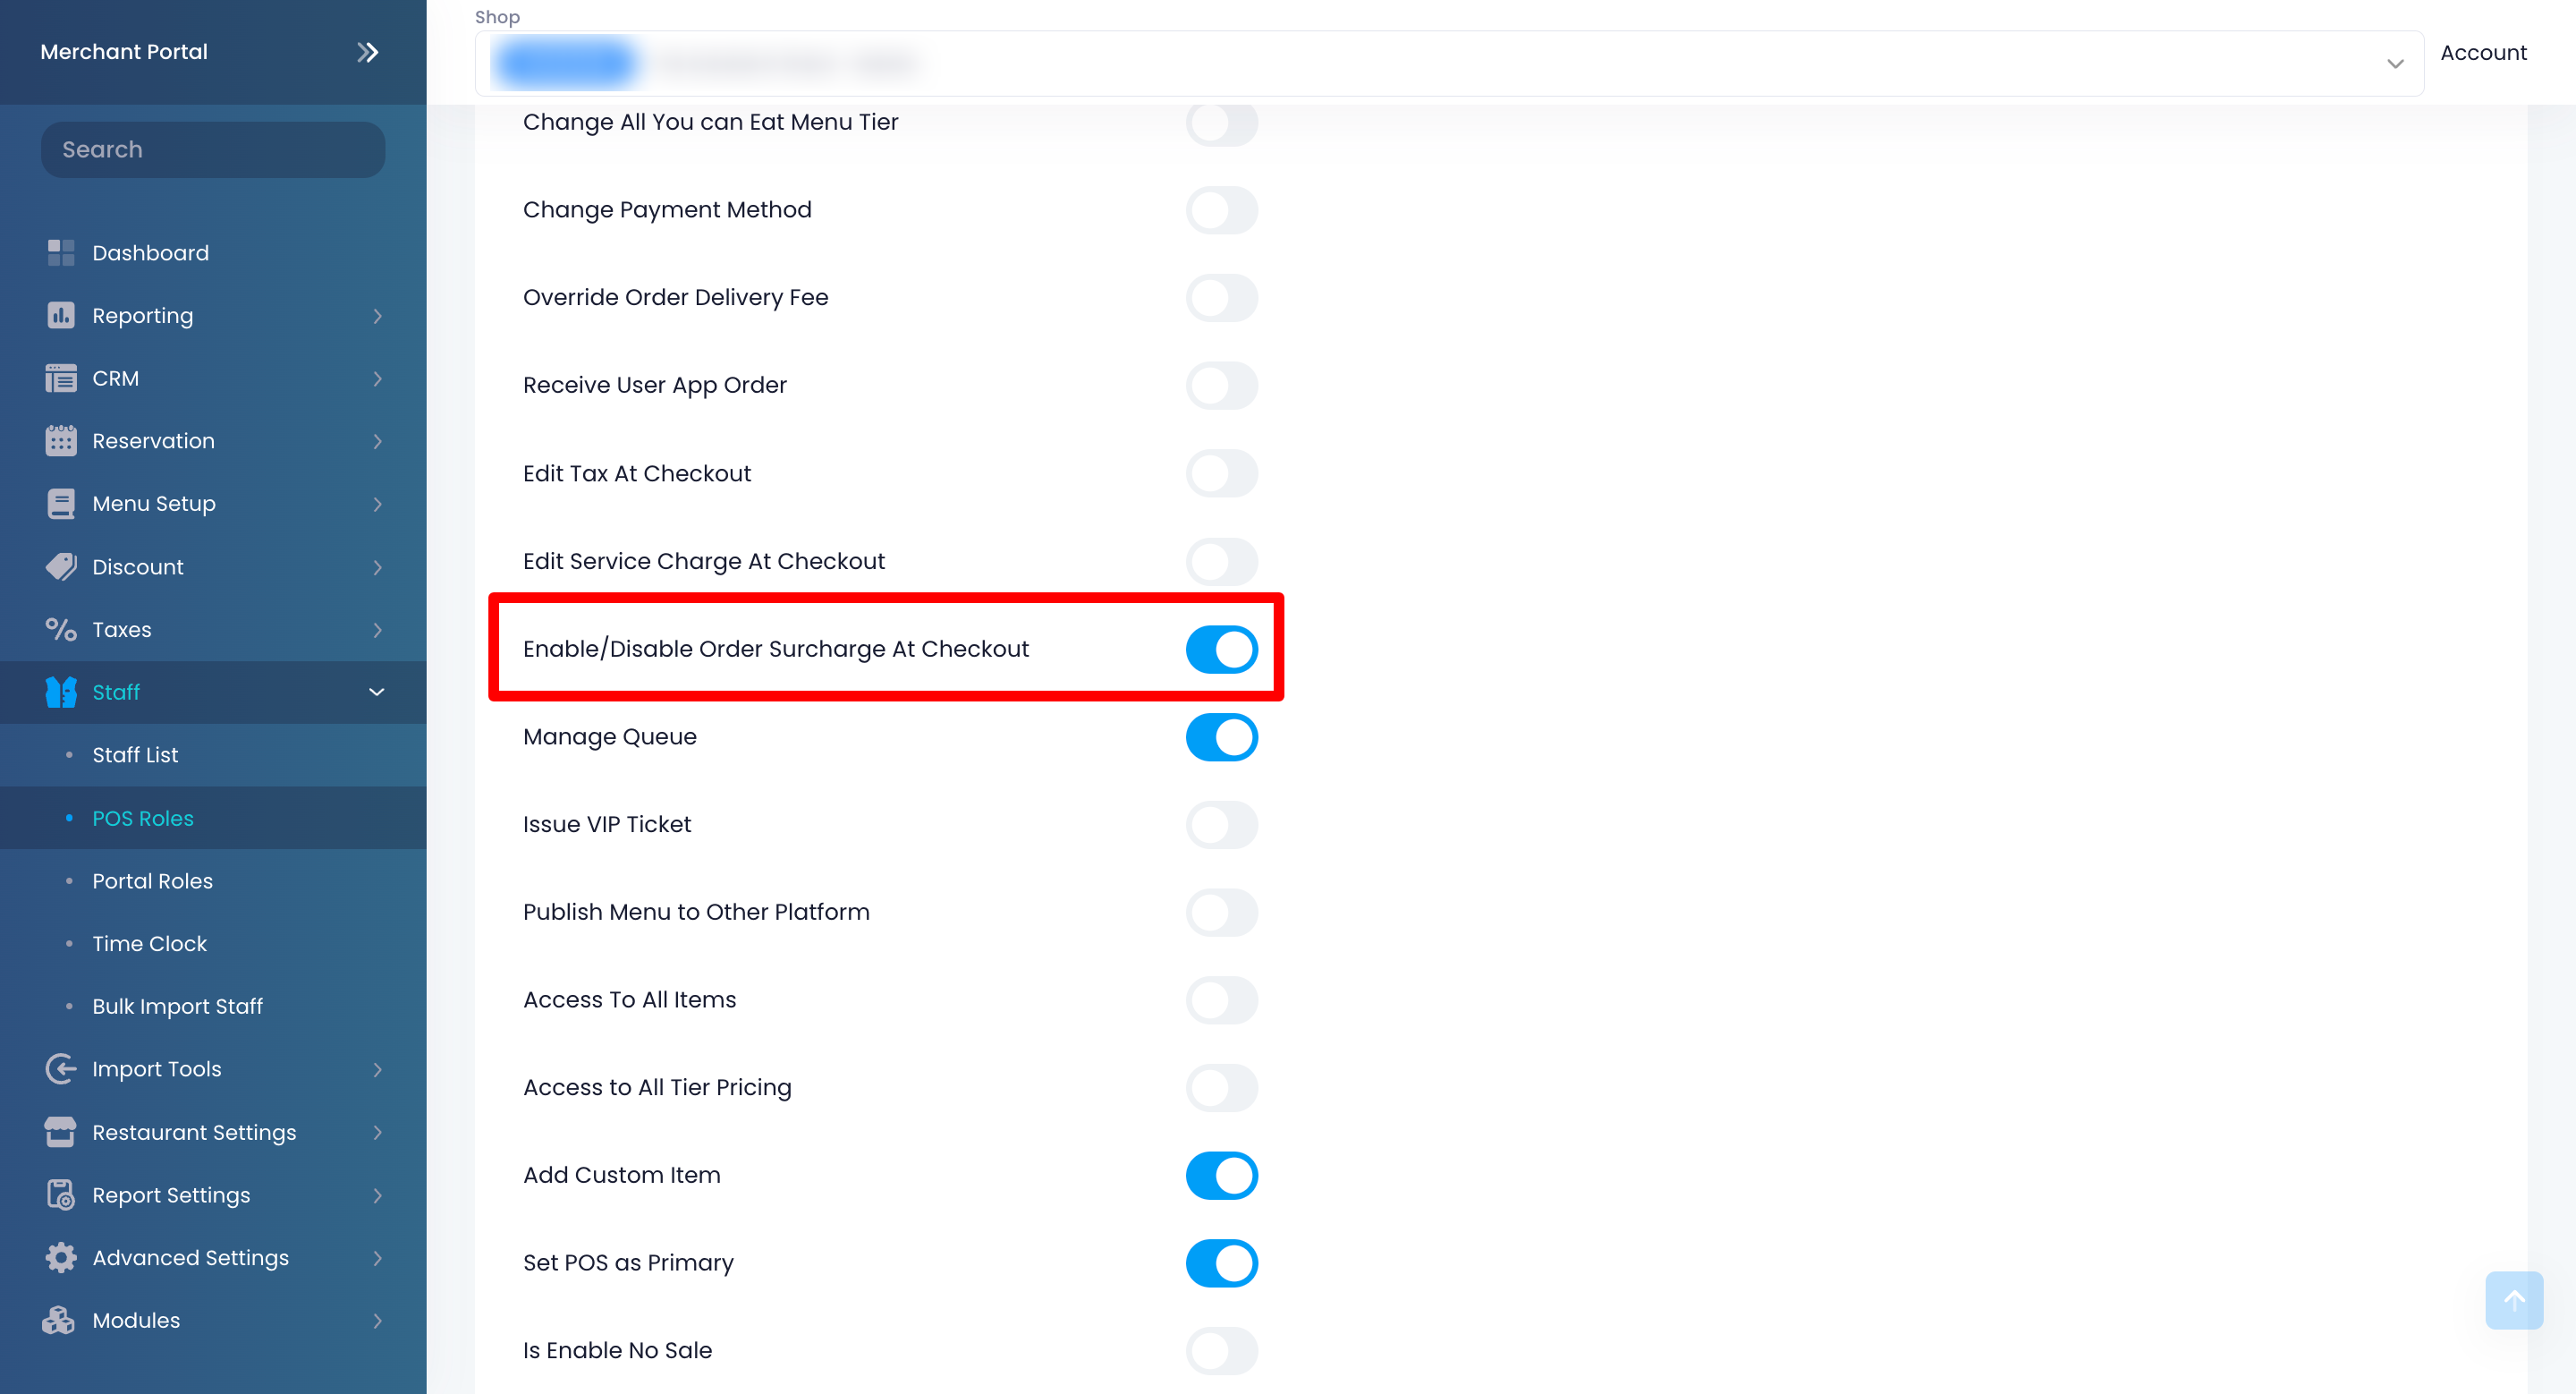
- Under Other Operation Permission, toggle Enable/Disable Order Surcharge At Checkout
 .
.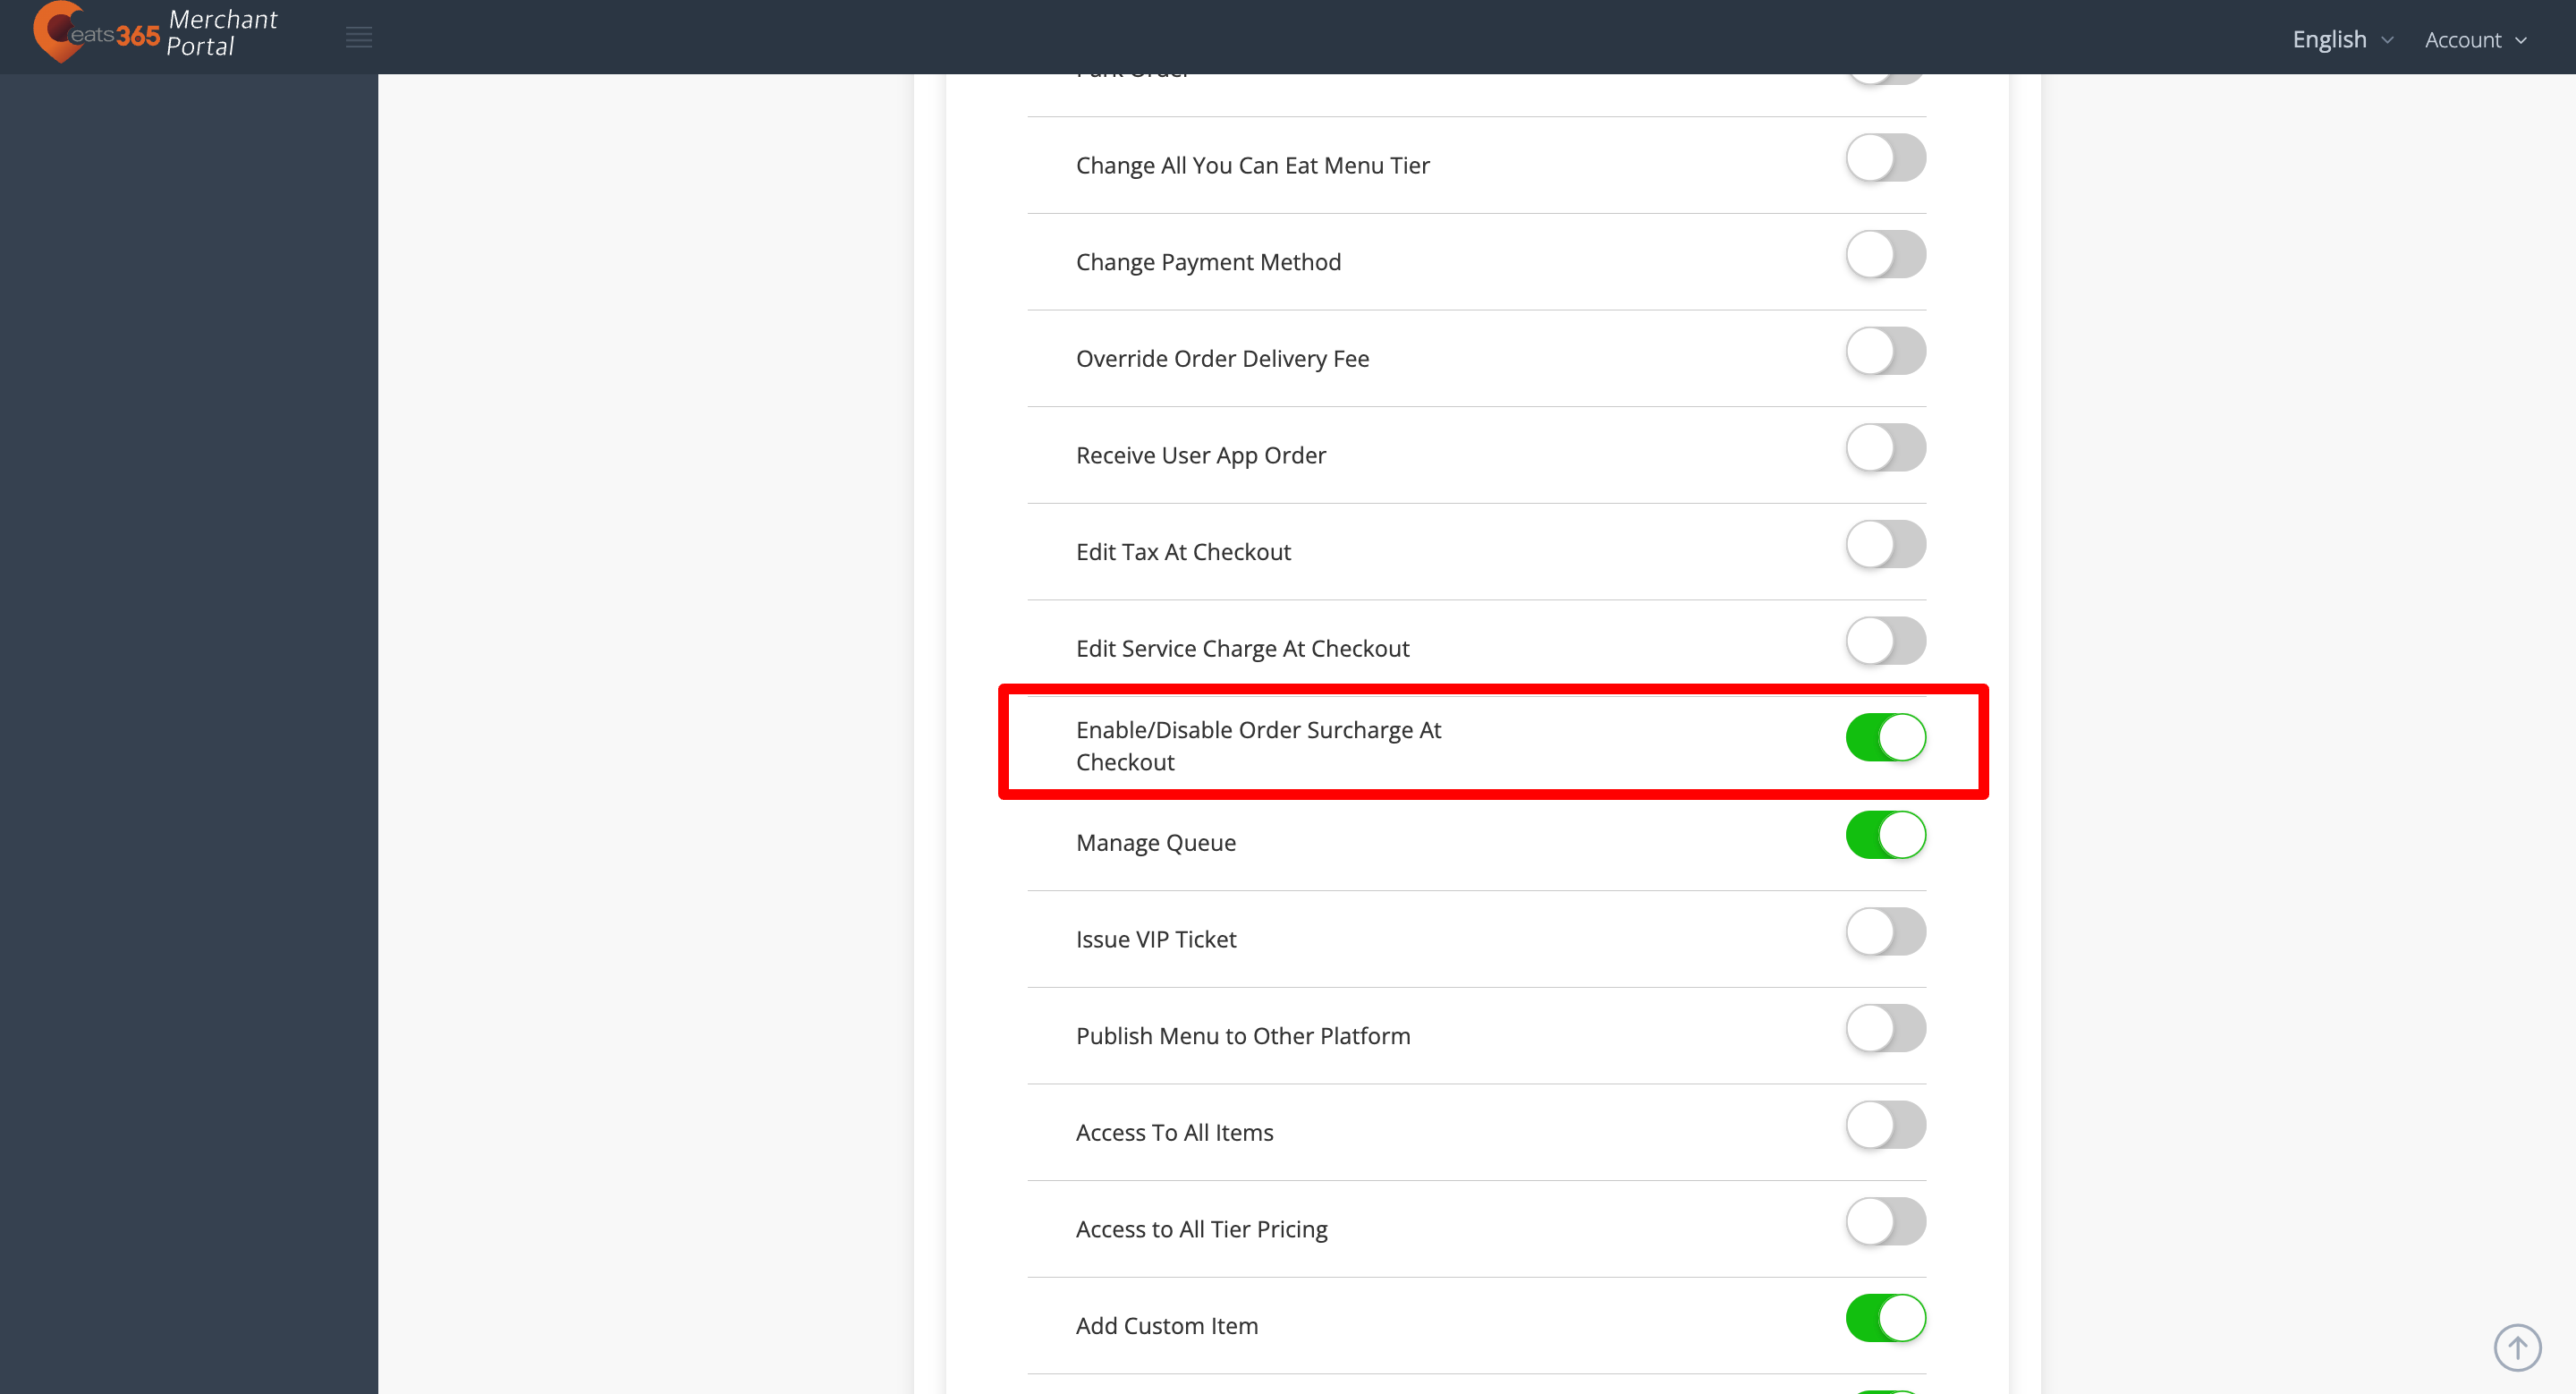
- Click on Save to confirm.
Merchant Portal 2.0
- Log in to the Merchant Portal.
- On the left panel, click on Staff. Then, select POS Roles.
- Next to the role that you want to grant permission to apply surcharge, click on Edit
 .
.
- Under Other Operation Permission, toggle Enable/Disable Order Surcharge At Checkout
 .
. 
- Click on Save to confirm.
Apply order surcharge
To apply a surcharge to the order total manually, follow the steps below:
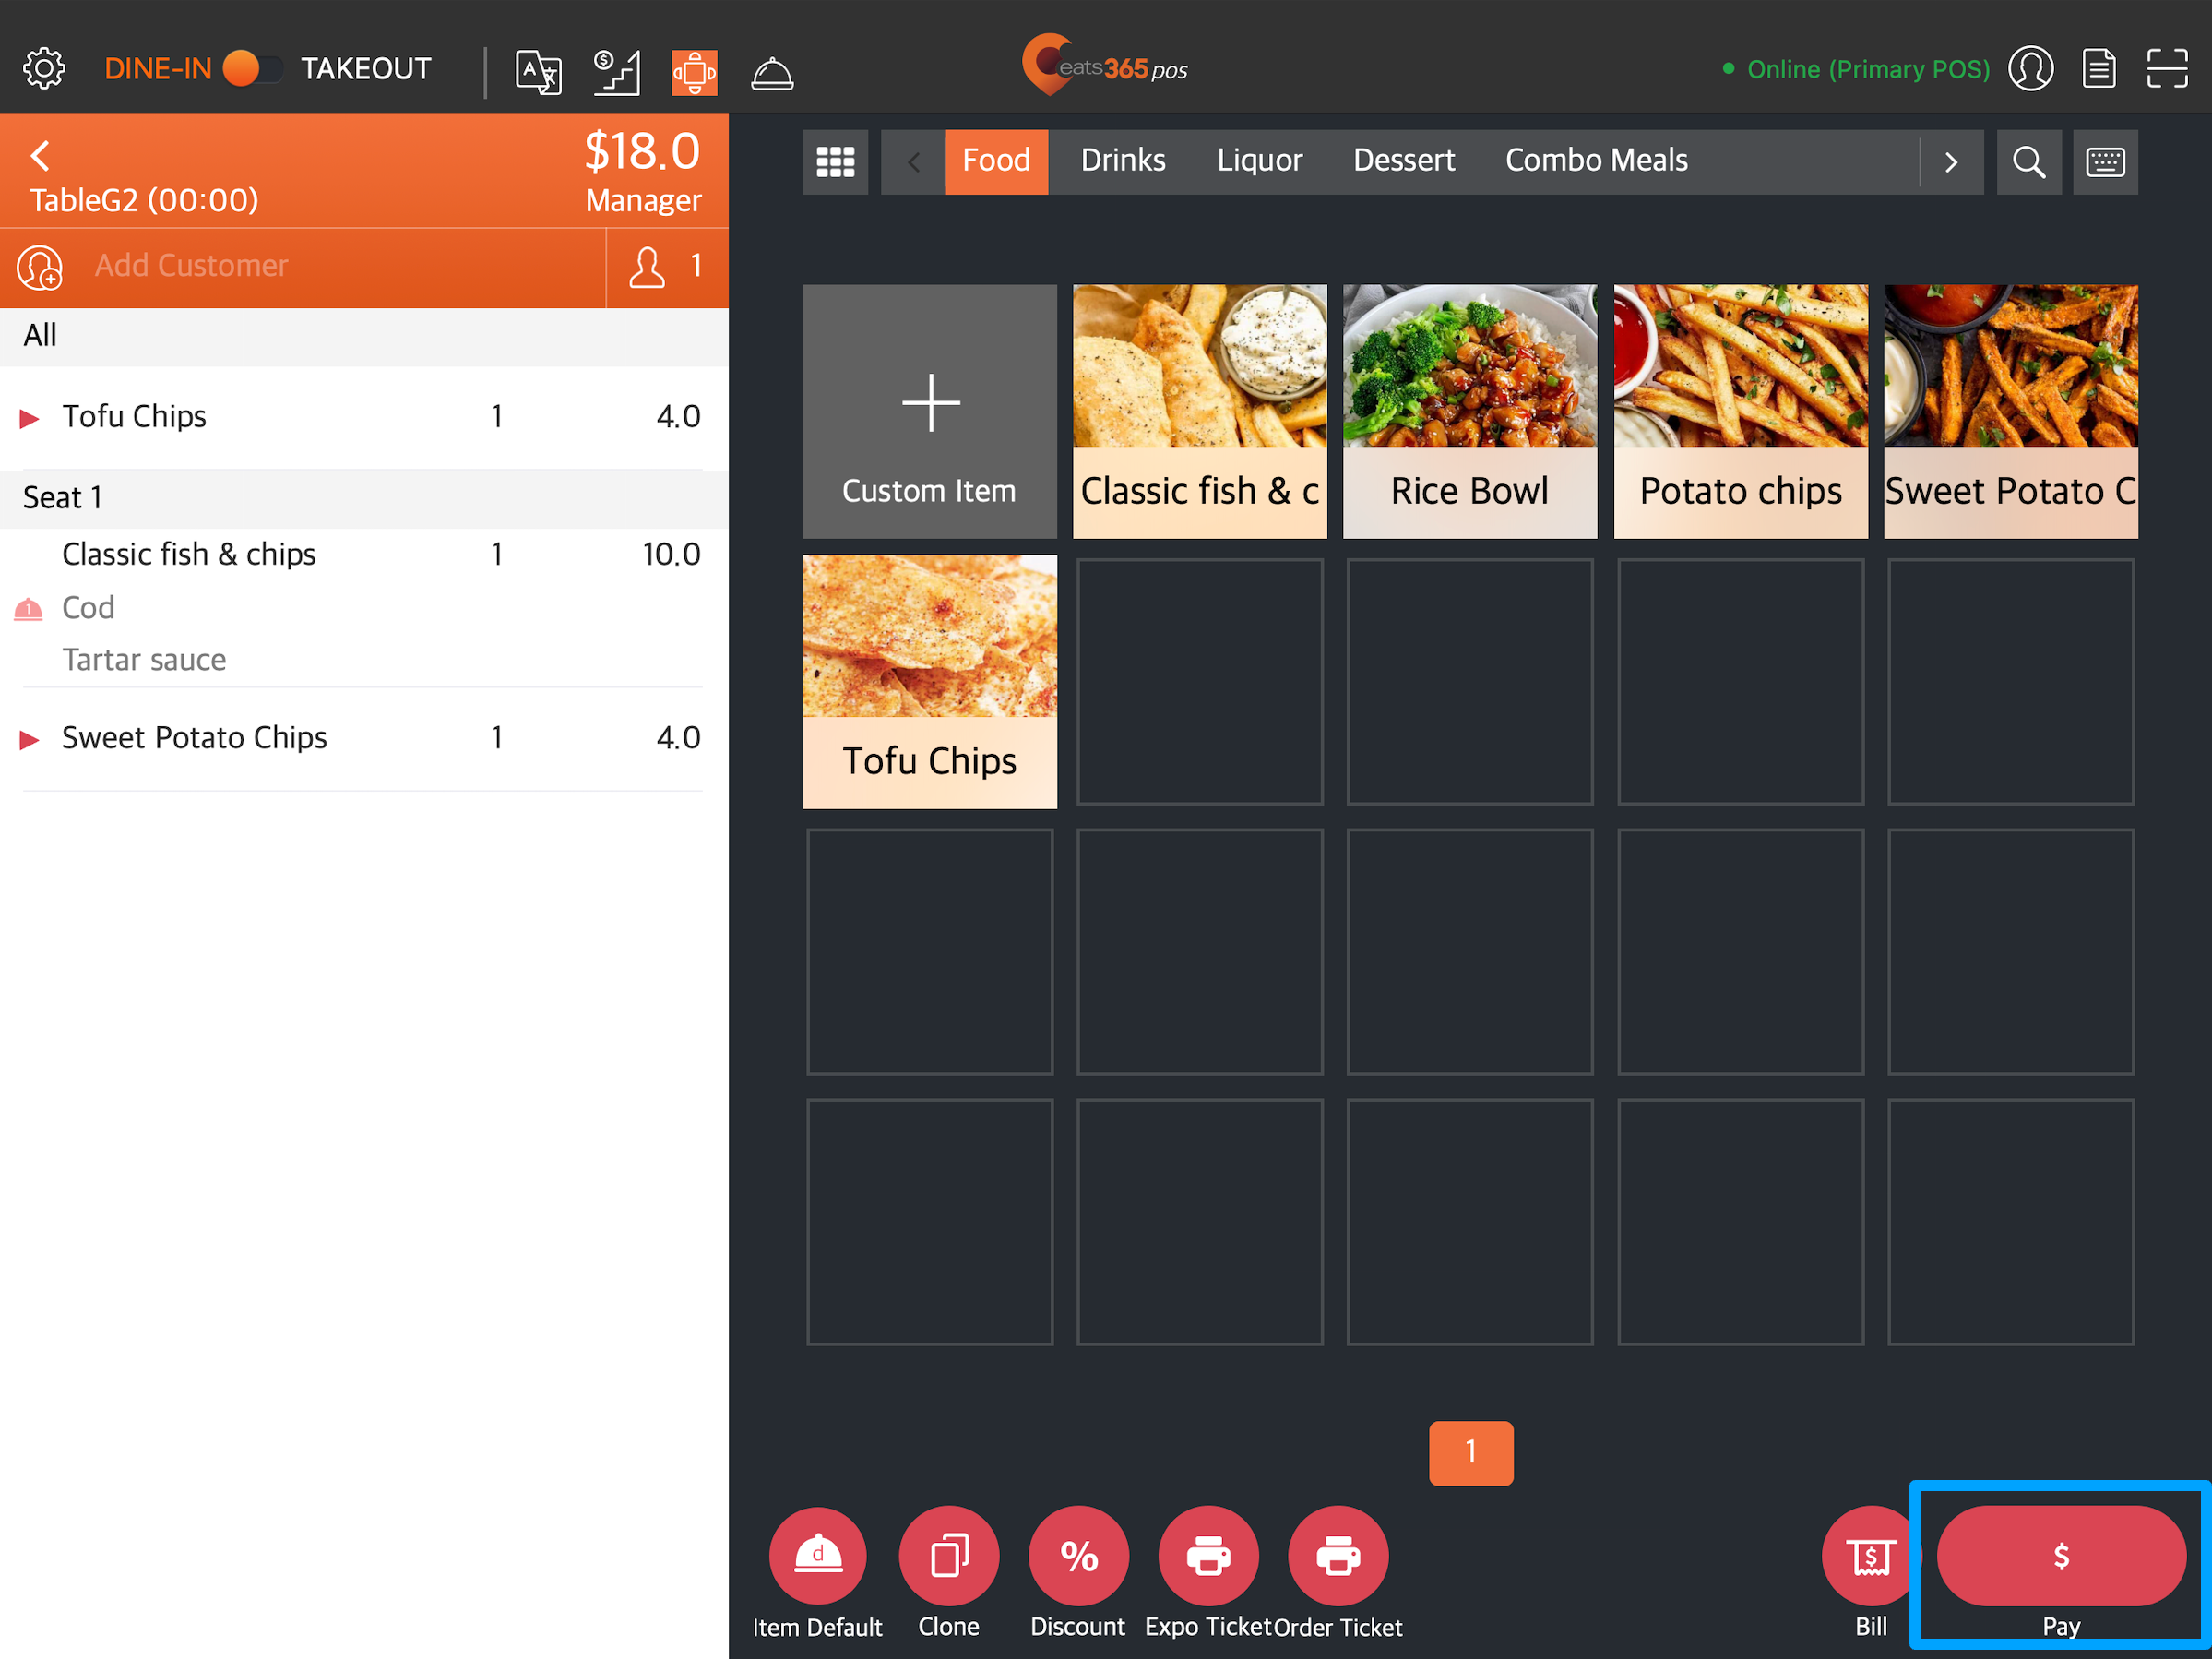
- Go to the payment screen of an existing order. You can do any of the following:
- If you are on the order-taking screen, tap Pay.
- At the top right, tap Order List
 . Select the order that you want to process payment, then tap To Payment.
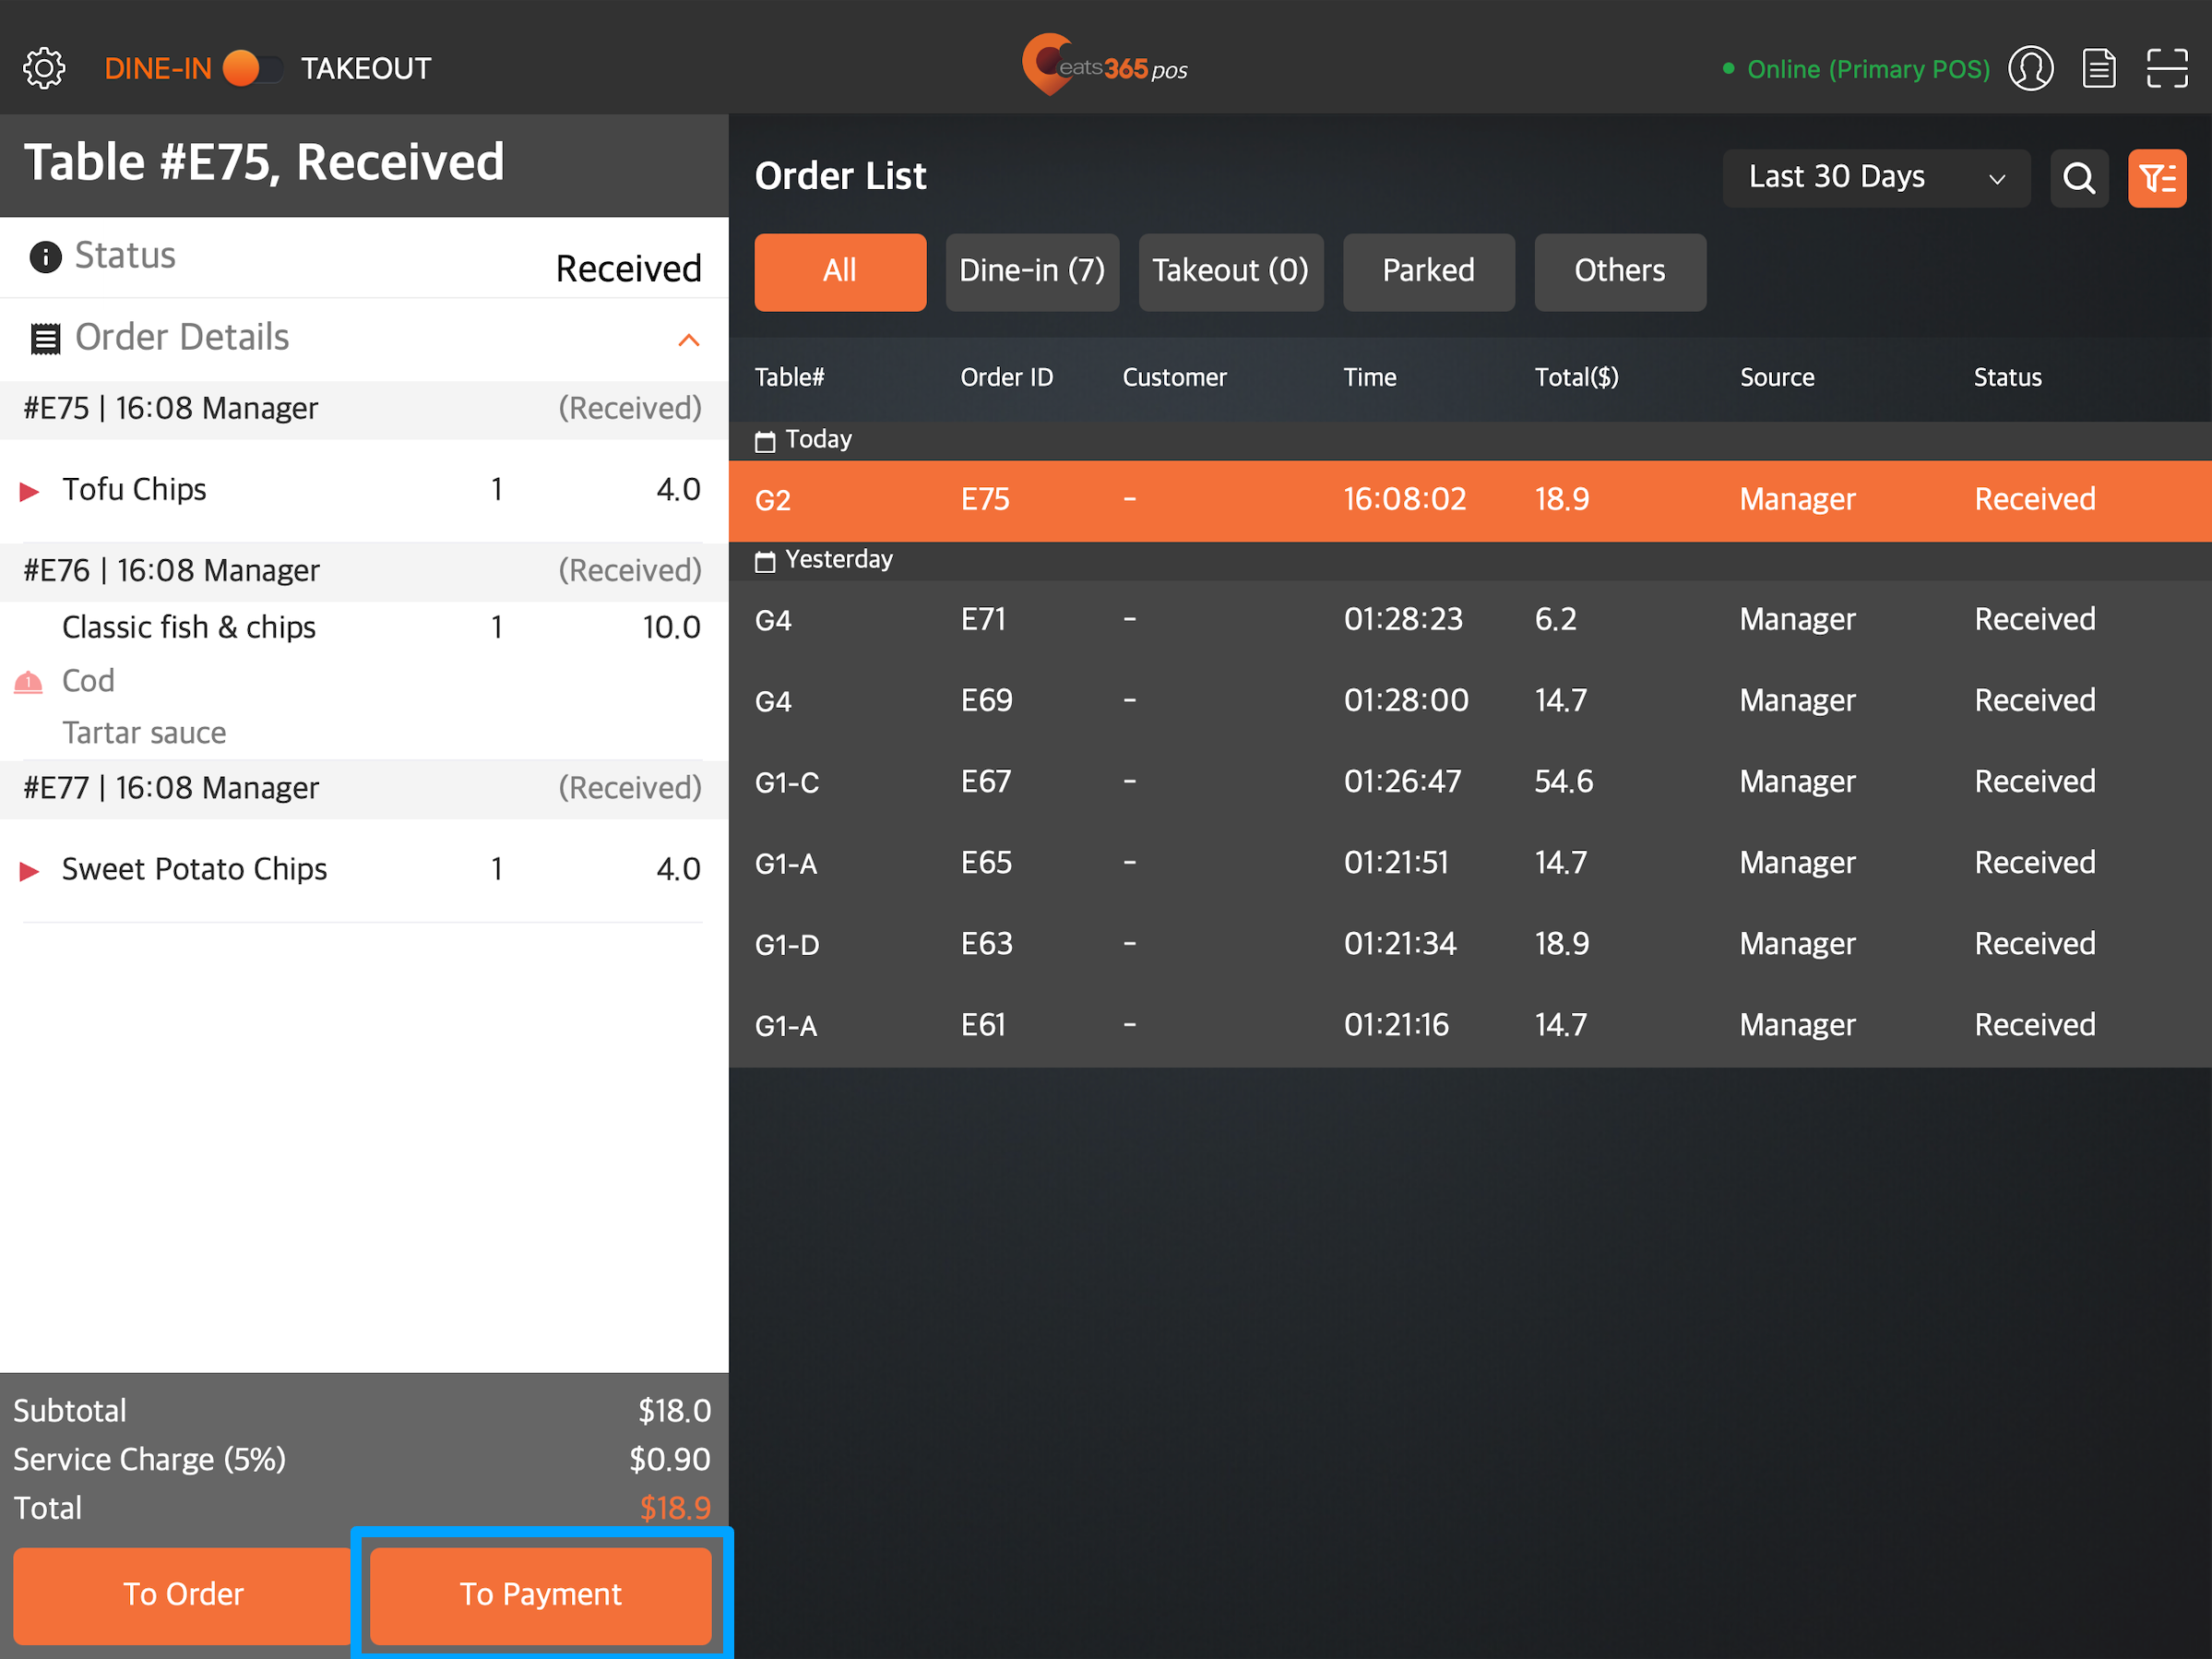
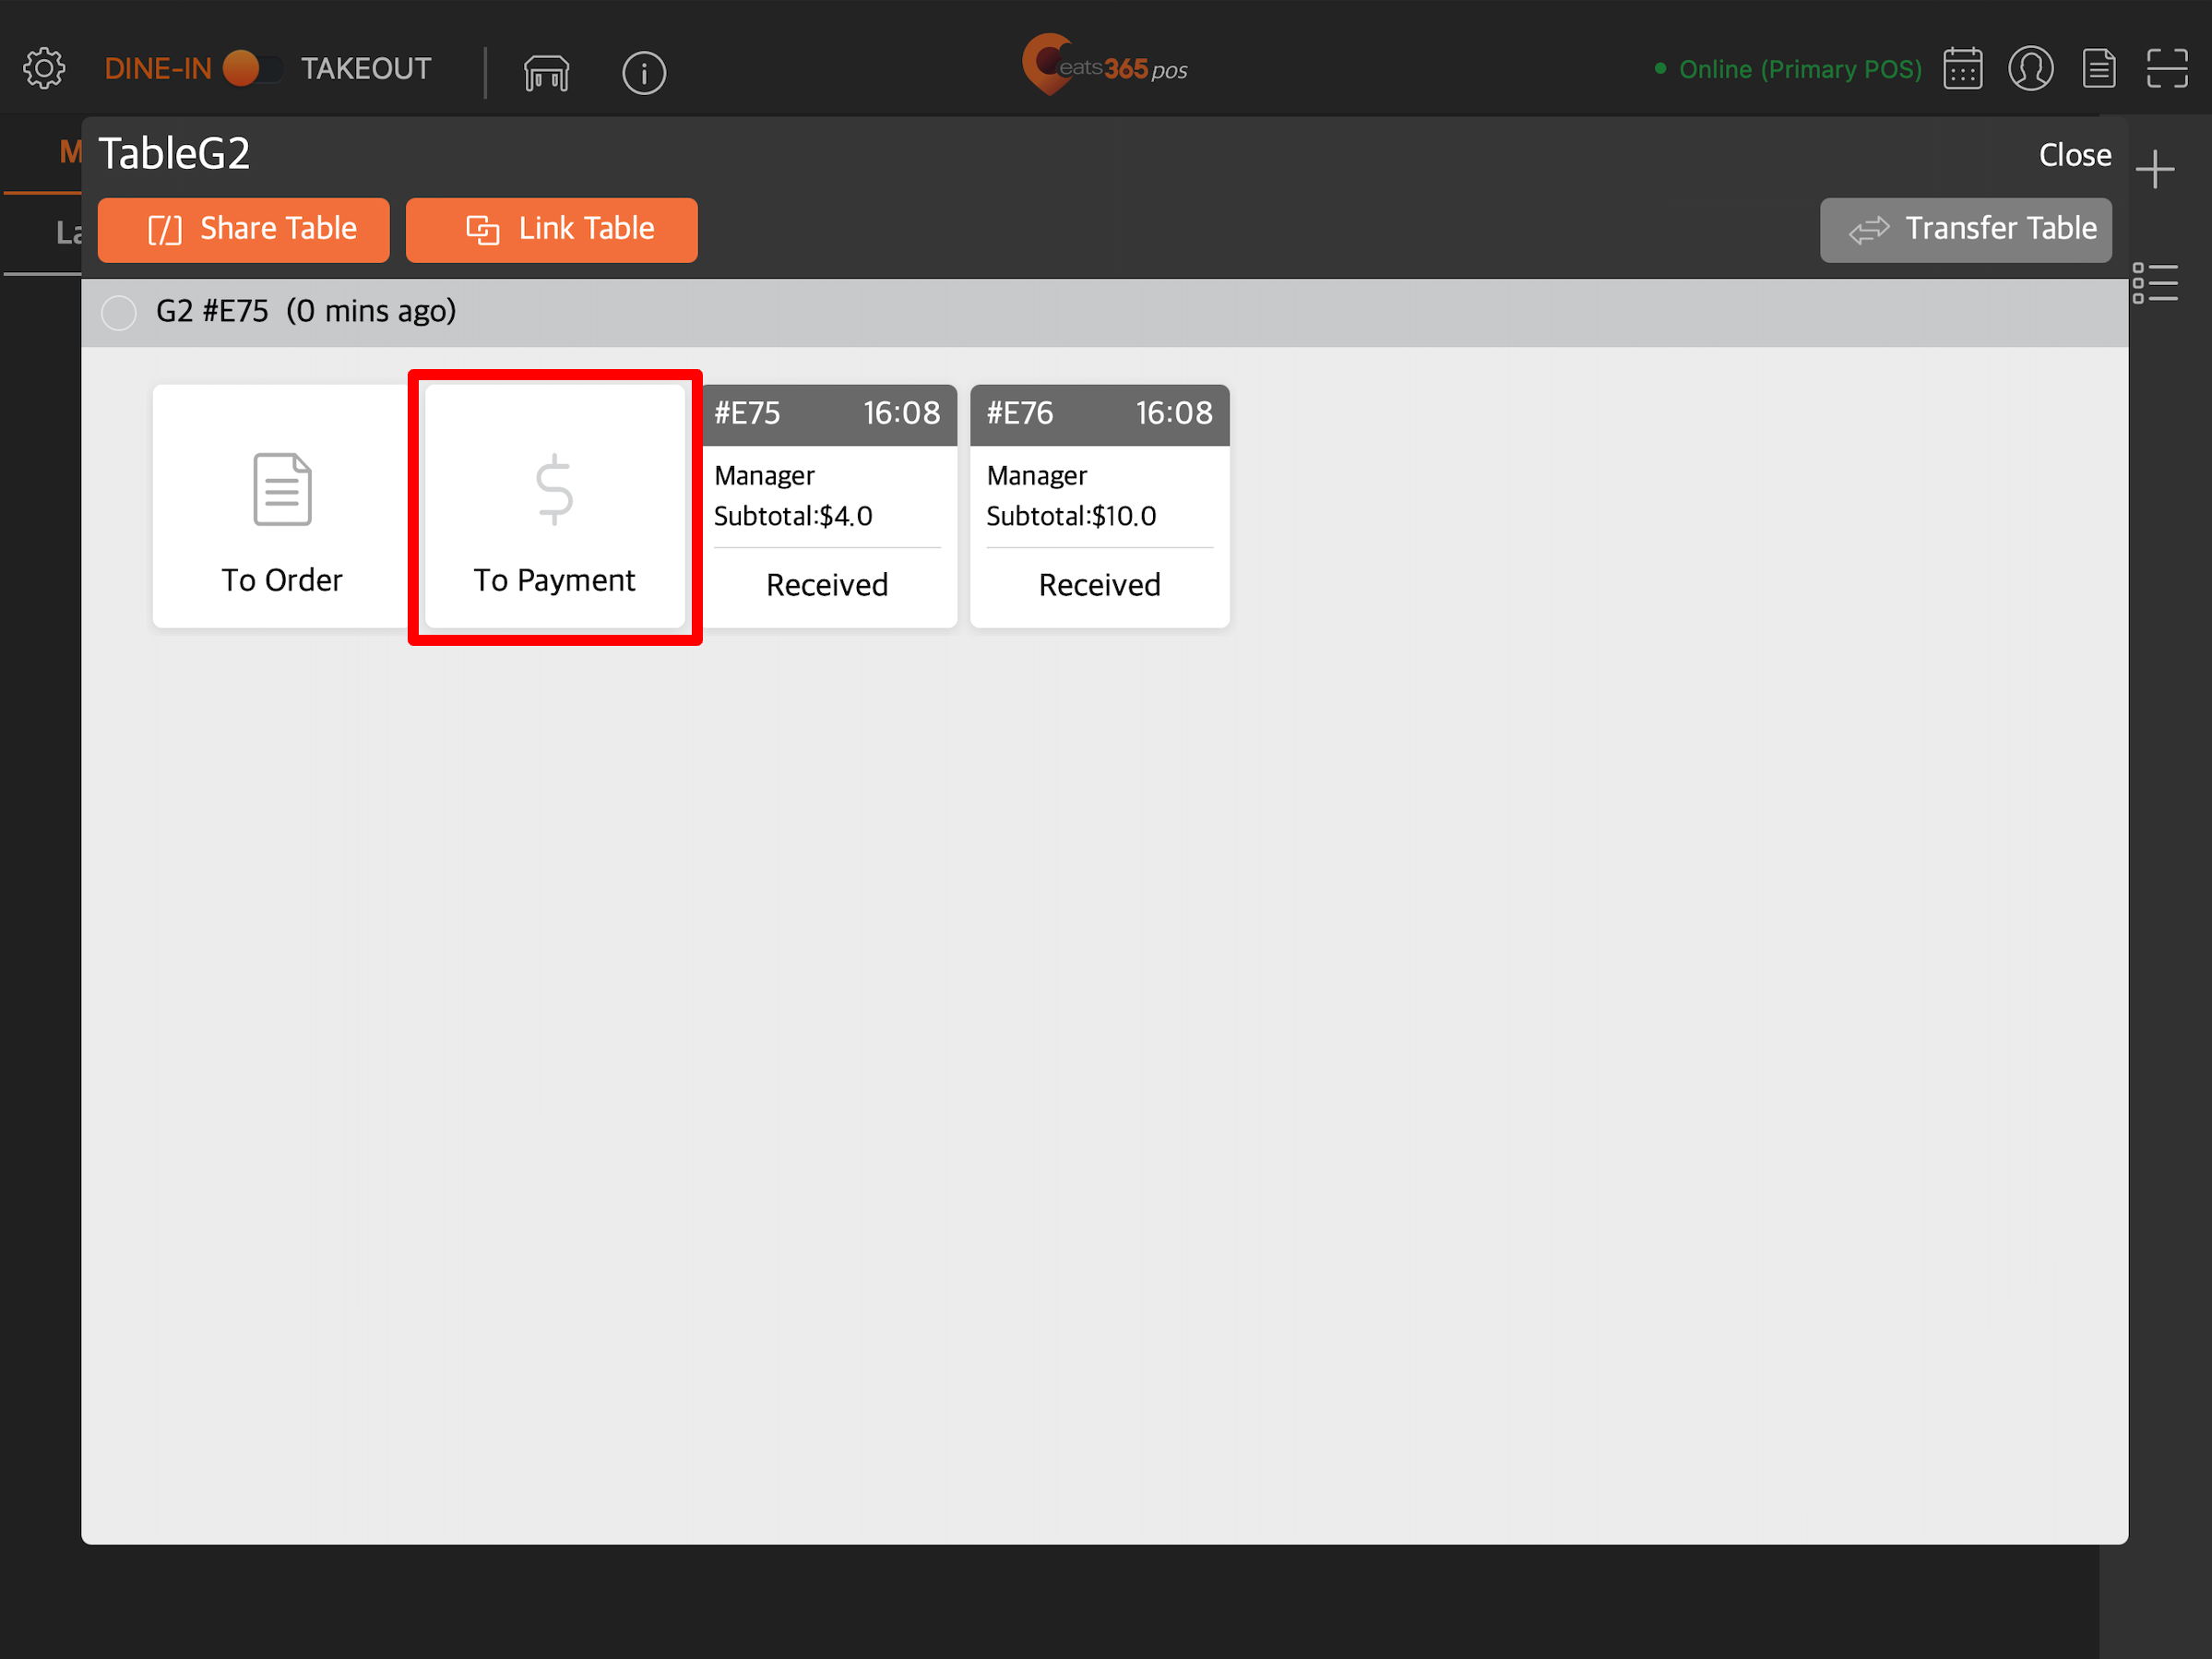
- Tap and hold the table where the order was made. Then, select To Payment from the list of action buttons.
- If you are on the order-taking screen, tap Pay.
- On the left panel of the payment screen, turn on Order Surcharge.
- Toggle the surcharge that you want to apply to the order.
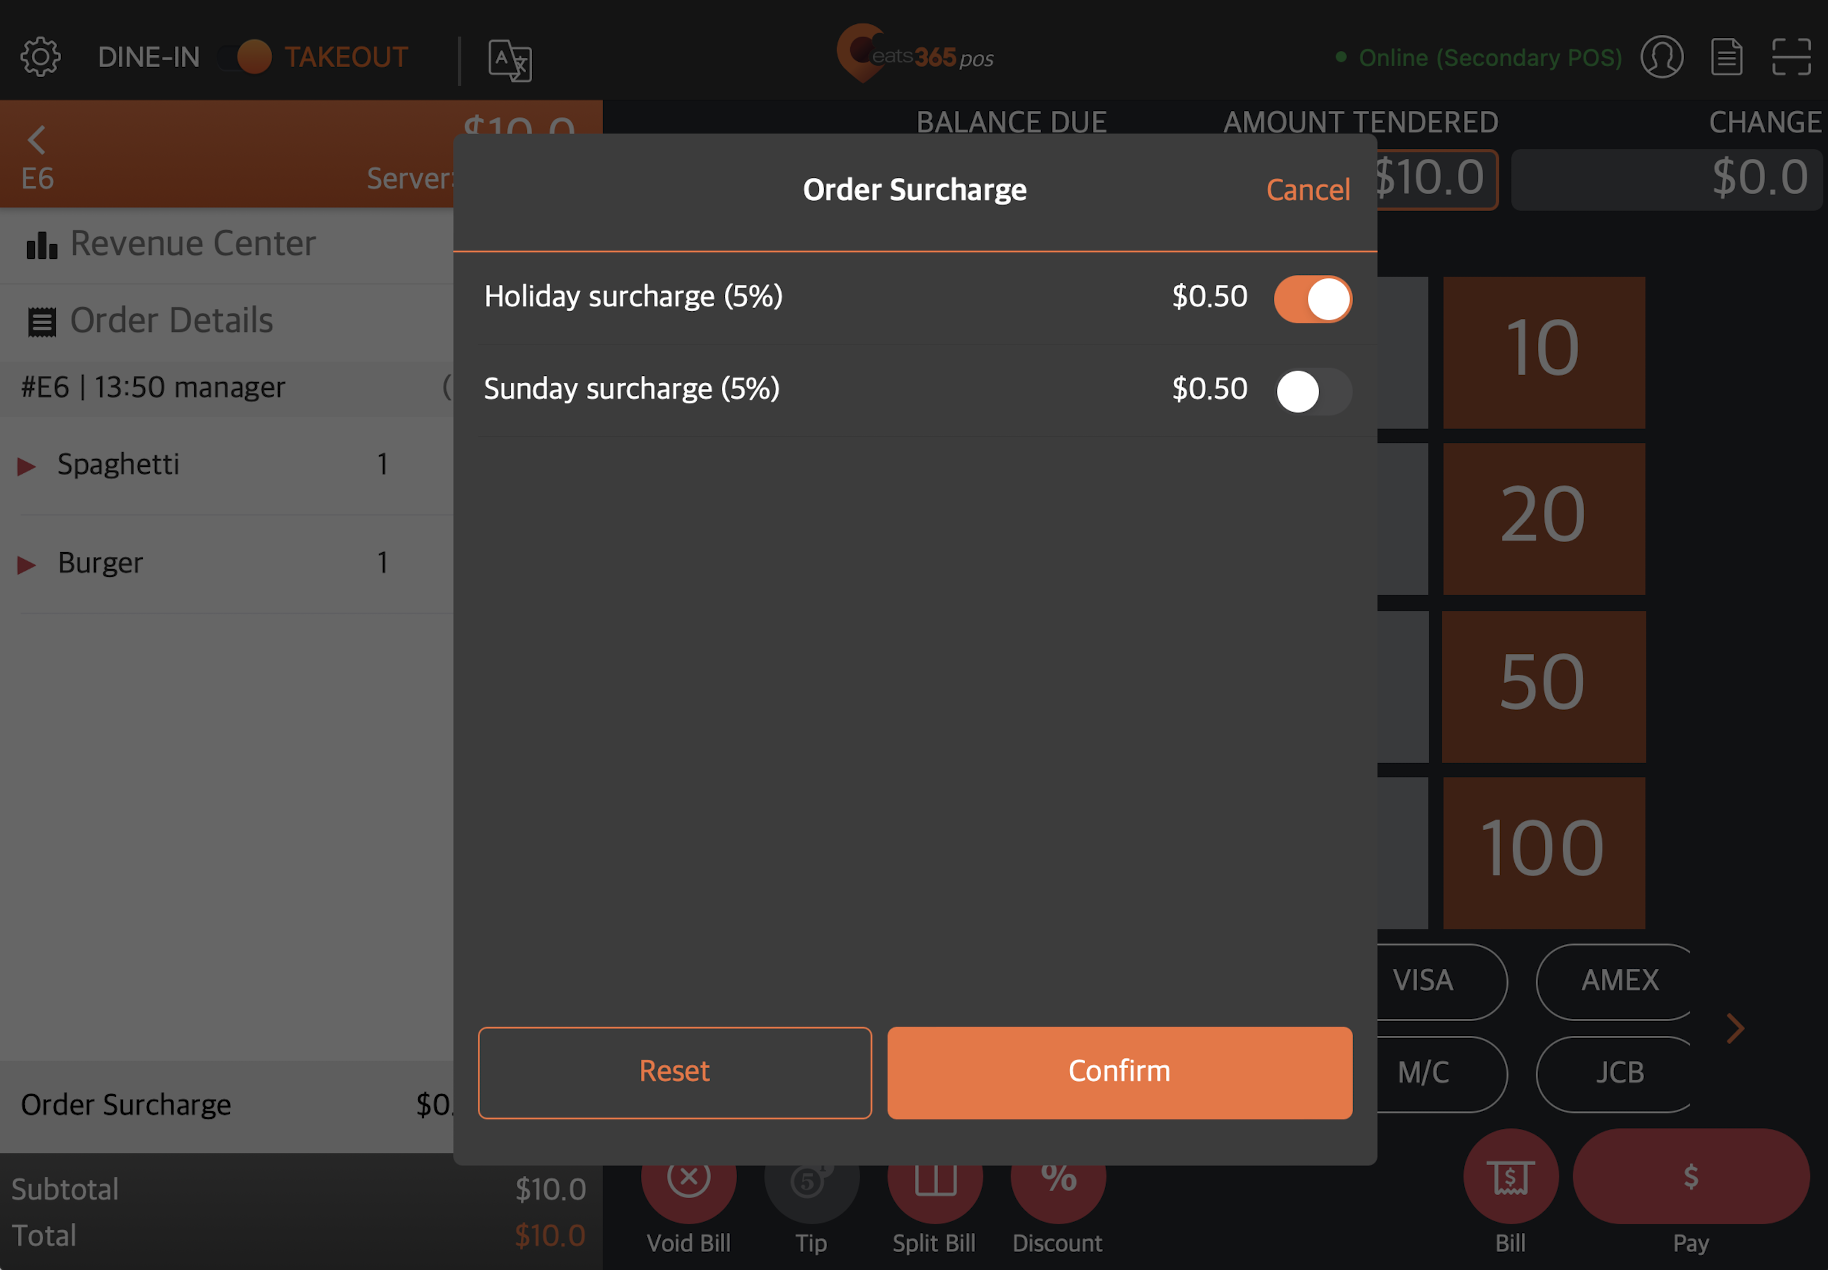
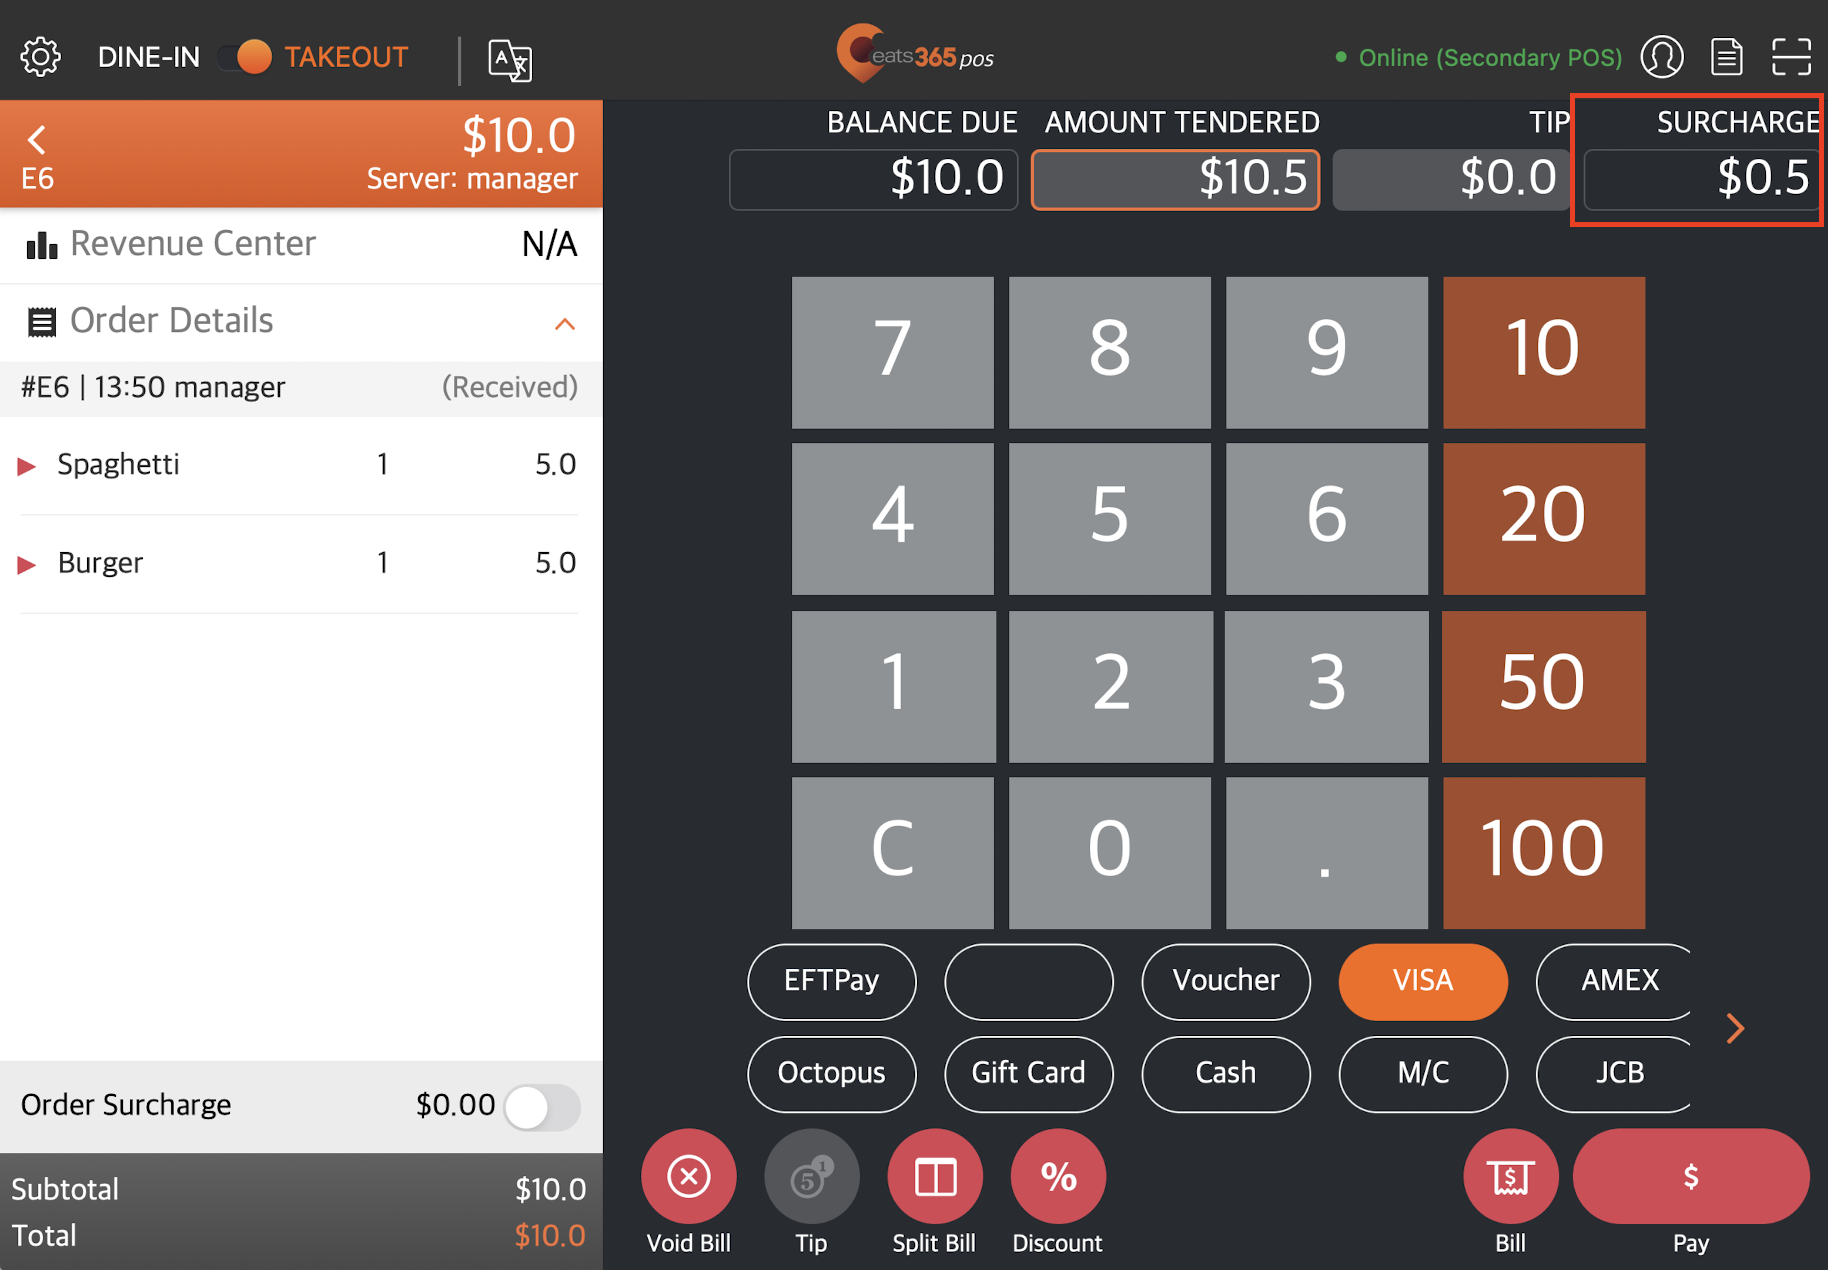
- Tap Confirm.
Remove surcharge
If you need to remove the surcharge, next to Order Surcharge, tap Details. Next to the surcharge that you want to remove, disable surcharge  or tap Reset to remove all surcharges applied. Then, tap Confirm.
Apply a surcharge depending on the payment method
To apply a payment surcharge, follow the steps below:
- Go to the payment screen of an existing order. You can do any of the following:
- If you are on the order-taking screen, tap Pay.
- At the top right, tap Order List . Select the order that you want to process payment, then tap To Payment.
- Tap and hold the table where the order was made. Then, select To Payment from the list of action buttons.
- If you are on the order-taking screen, tap Pay.
- Select the payment method with the existing surcharge from the list of available tenders. The surcharge will automatically apply to the total bill.
- Tap Pay to proceed with payment.