Order Handling
Table of Contents
Search for orders (Full Service)
Learn how to search for current and previous orders on the Eats365 POS.
The "Order List" screen logs all parked and confirmed orders processed through various sources including the Eats365 POS, the PhotoMenu, Branded Online Store, and more. You can easily retrieve past and pending orders manually or use different filter options to view and manage the order, or settle payments.
In this article, you’ll learn about the different ways to search for an order placed on the POS.
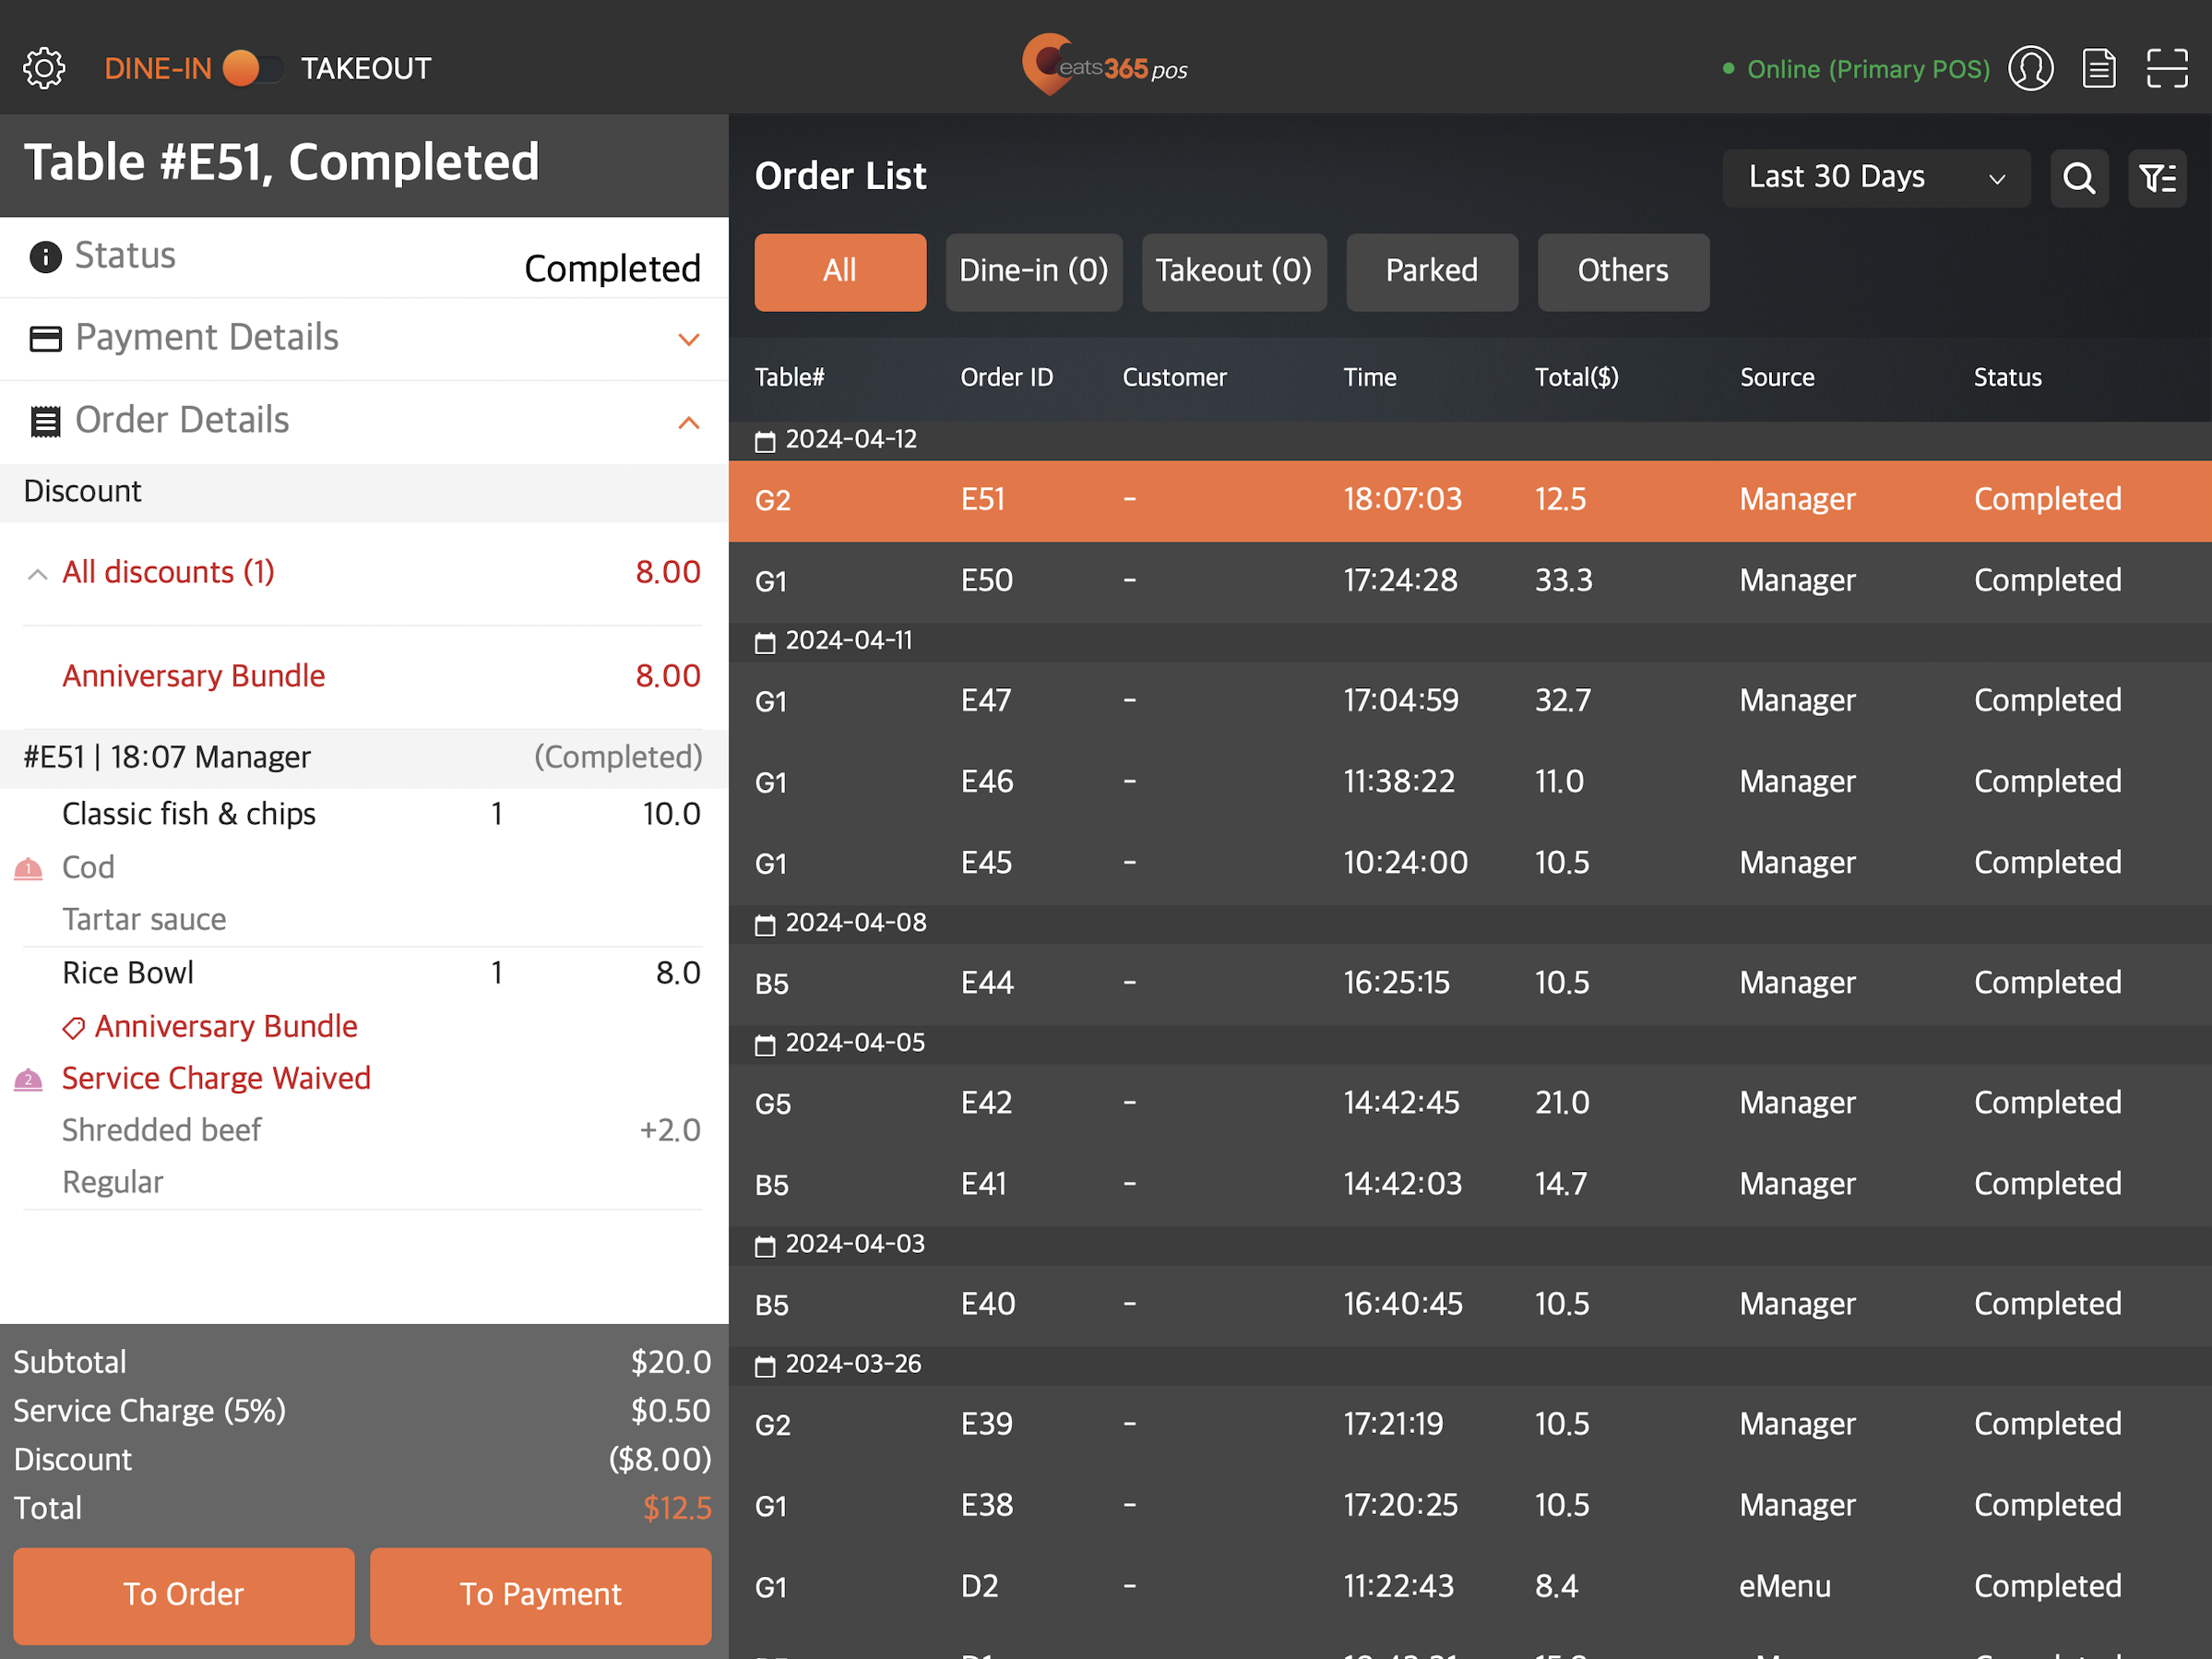
Search for an order by ID
When an order is placed, the POS assigns a unique order ID to the order. The order ID can be found at the top of the order list from the order-taking screen.
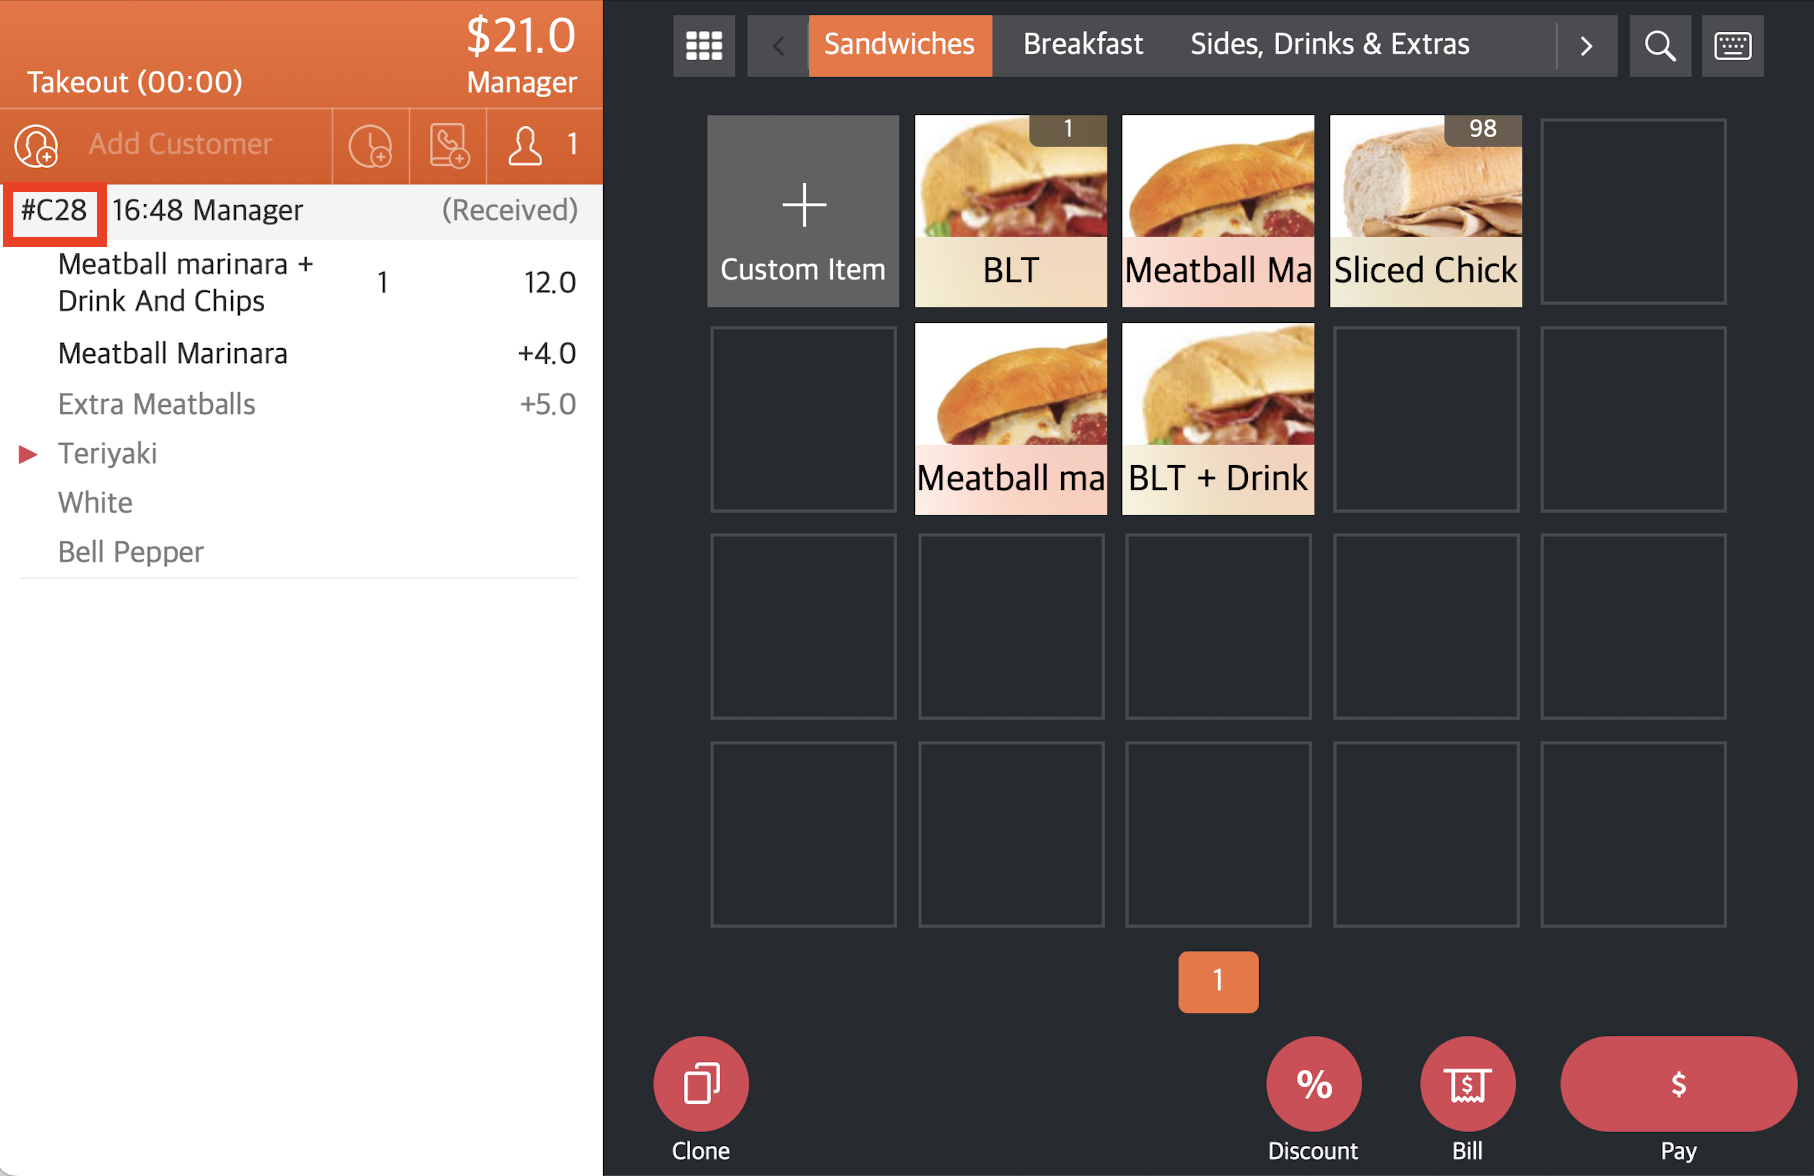
To search for an order by ID, follow the steps below:
- At the top right of the Table Map or the order-taking screen, tap Order List
 . Then, select Find Order.
- Enter the order ID that you want to check.
- To confirm the order ID, tap the "Return" key on the iPad’s virtual keyboard.
The order appears on the Order List screen.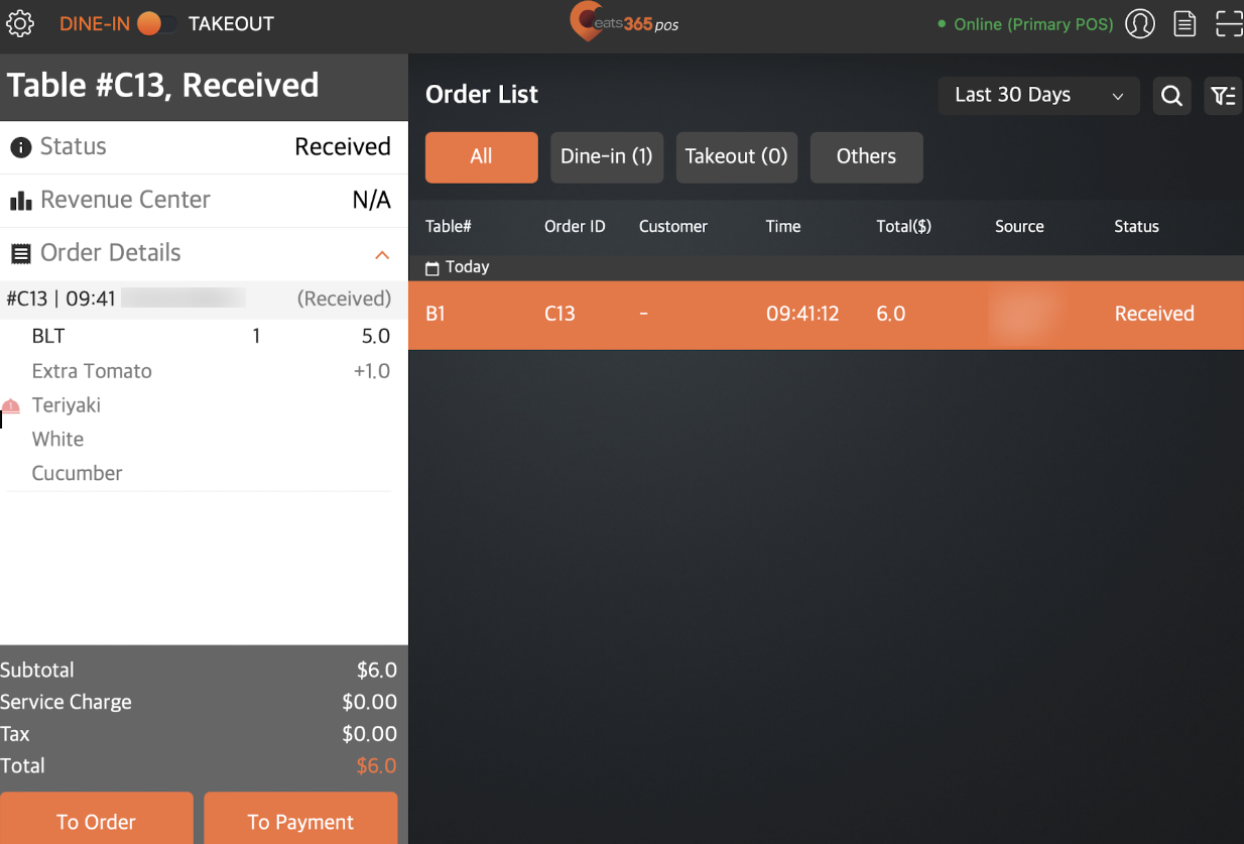
Search for an order by status
If you don’t know the order ID of the order that you’re looking for, you can search for an order by its status.
To search for an order by status, at the top right of the Table Map or the order-taking screen, tap Order List  . Then, select from the list of available options. For more information about the different order statuses, refer to Check order status (Full Service).
Search for an order using a receipt barcode
Scan a receipt barcode using the “Scan” function
To scan a receipt barcode using the scan function, follow the steps below:
- At the top right of the Table Map or order-taking screen, tap Scan
 .
. - Select Order.
- Position the camera to frame the entire barcode area. The POS automatically scans the receipt.
Scan a receipt barcode through the Order List page
To scan a receipt barcode through the Order List page, follow the steps below:
- At the top right, tap Order List
 .
. - Tap Scan Barcode.
- Position the camera to frame the entire barcode area. The POS automatically scans the receipt.
The order automatically appears if the receipt scans successfully. This search method allows you to access orders quickly to settle payments for customers.
Search for an order using the search button
You can also refine your search results by tapping Search  . Then, tap Contains. You can set how the search returns results based on the following criteria:
- Contains - Returns search results based on the entered information in the search box.
- Order ID - Returns search results based on the order ID.
- Pre-Order ID - Returns search results based on the pre-order ID.
- Receipt Number - Returns search results based on the receipt number.
- Table # - Returns search results based on the table number.
- Check Name - Returns search results based on the check’s name.
- Source - Returns search results based on the staff who processed the order.
-
Customer Name - Returns search results by customer name.
Note: If the order you’re looking for doesn’t have a customer name associated with it, the order doesn’t appear in the search results.

Filter search results
To narrow down your search, you can use the available filter options on the Order List screen.
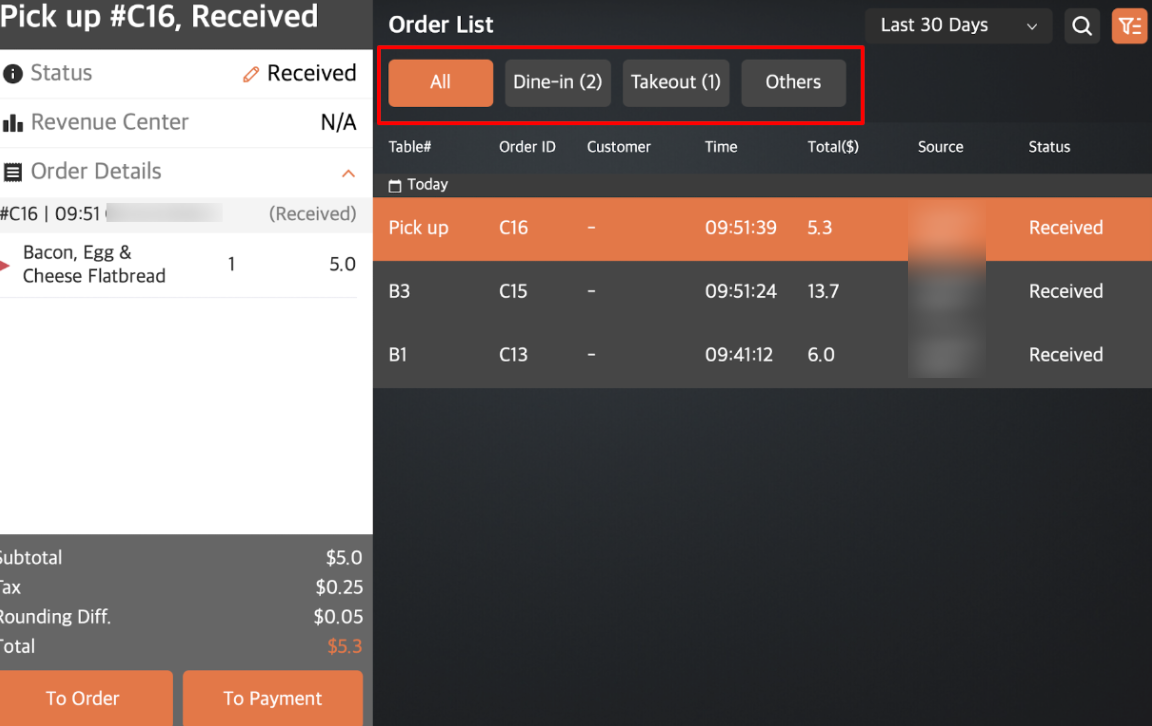
Service type
Select a service type filter to display orders based on the service type. For example, if you want to check all dine-In orders, deselect the "Takeout" tab and all other options except for "Dine-in."
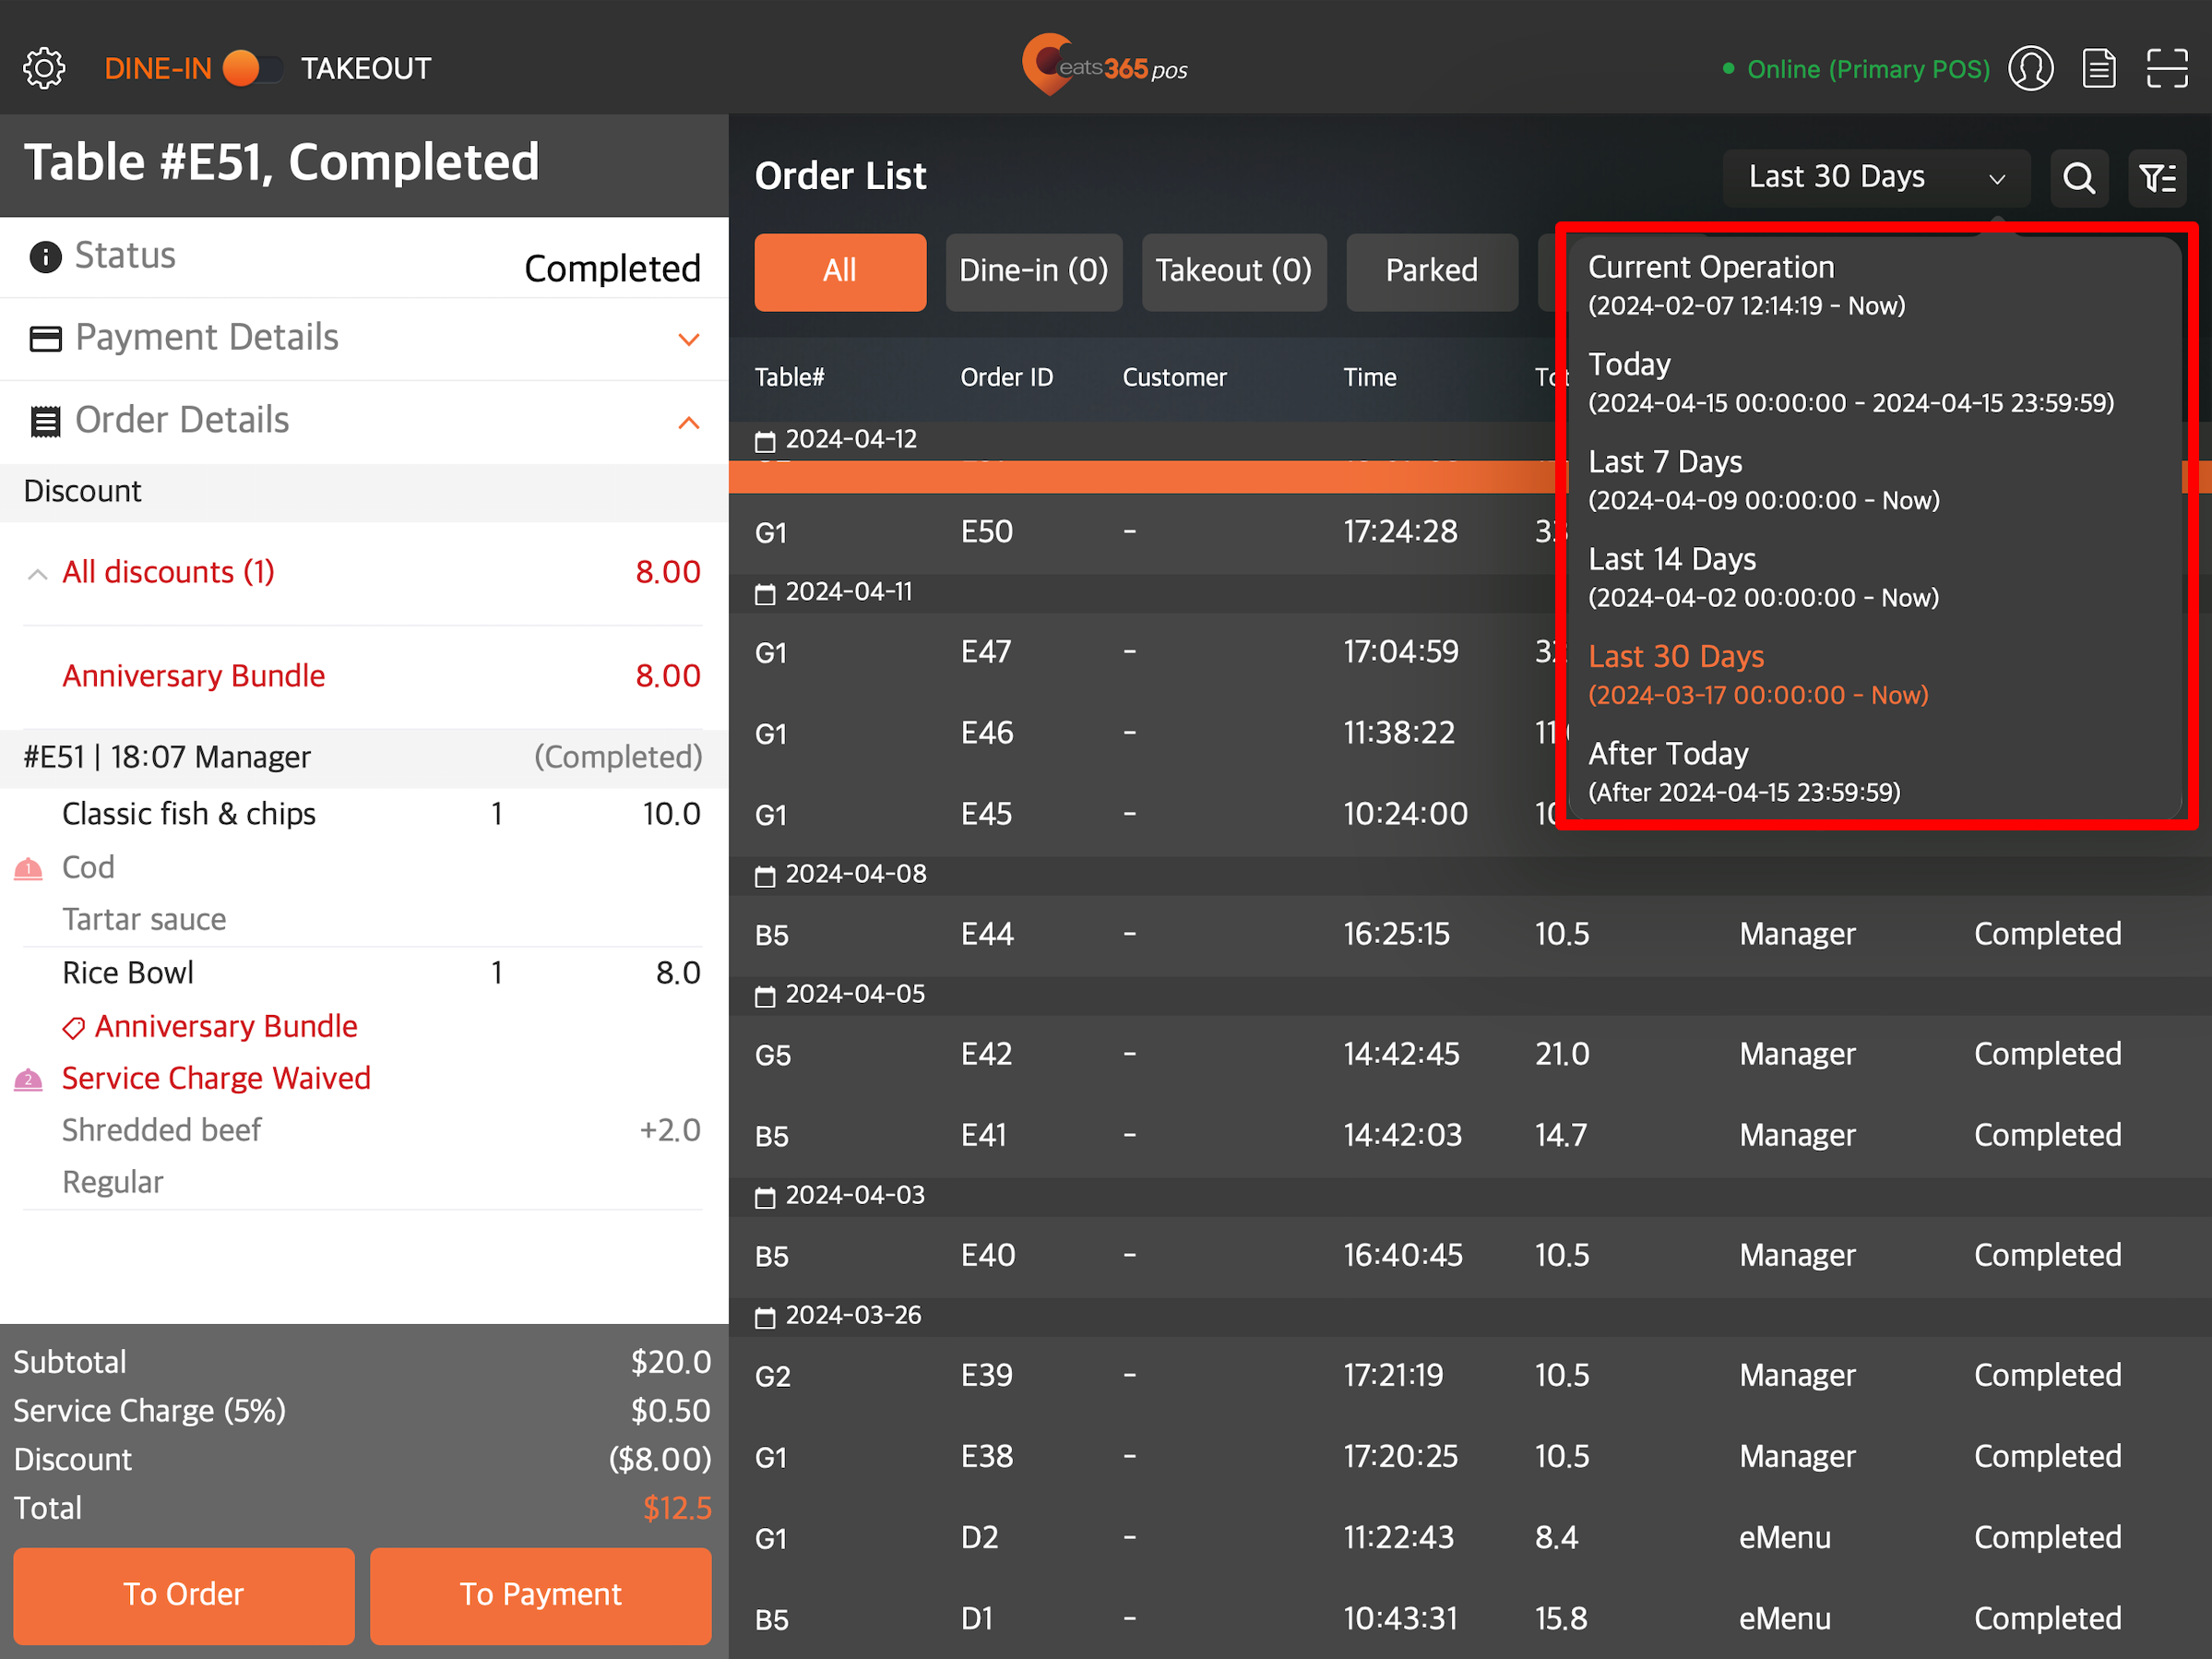
Time range
Display search results from different time ranges.- Current Operation - Displays all orders starting from the time the restaurant has begun operations.
- Today - Displays orders from the day, from 00:00:00 to 23:59:59.
- Yesterday - Displays orders from the previous day.
- Last 7 Days - Displays all orders made for the past 7 days.
- Last 14 Days - Displays all orders made for the past 14 days.
- Last 30 Days - Displays all orders made for the past 30 days.
-
After Today - Displays all pre-orders scheduled after the current date.
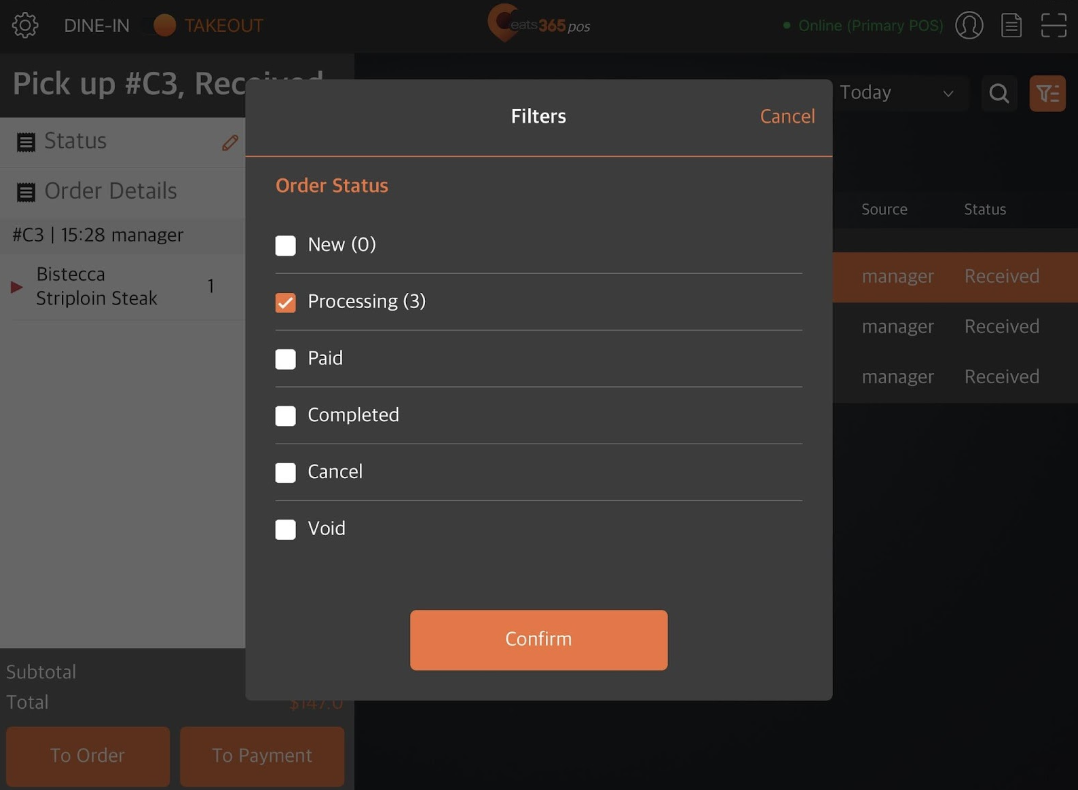
Filter button
The filter button  allows you to narrow down search results by displaying results by “Order Status,” “Takeout Mode,” “Mode,” or “Source.”
Search for an order on the Merchant Portal
If you want to search for all orders placed on the POS, you can do so from the Merchant Portal.
To search for an order on the Merchant Portal, follow the steps below:
Merchant Portal (Classic Theme)
- Log in to the Merchant Portal.
- On the left panel, click on Reporting, then select Transaction Report.
- Select the date range of the orders that you want to check. Then, click on Submit.
Tip: You can filter your search further by clicking on Advanced Filtering. Then, enter the "Order Number" or select the relevant "Service Type."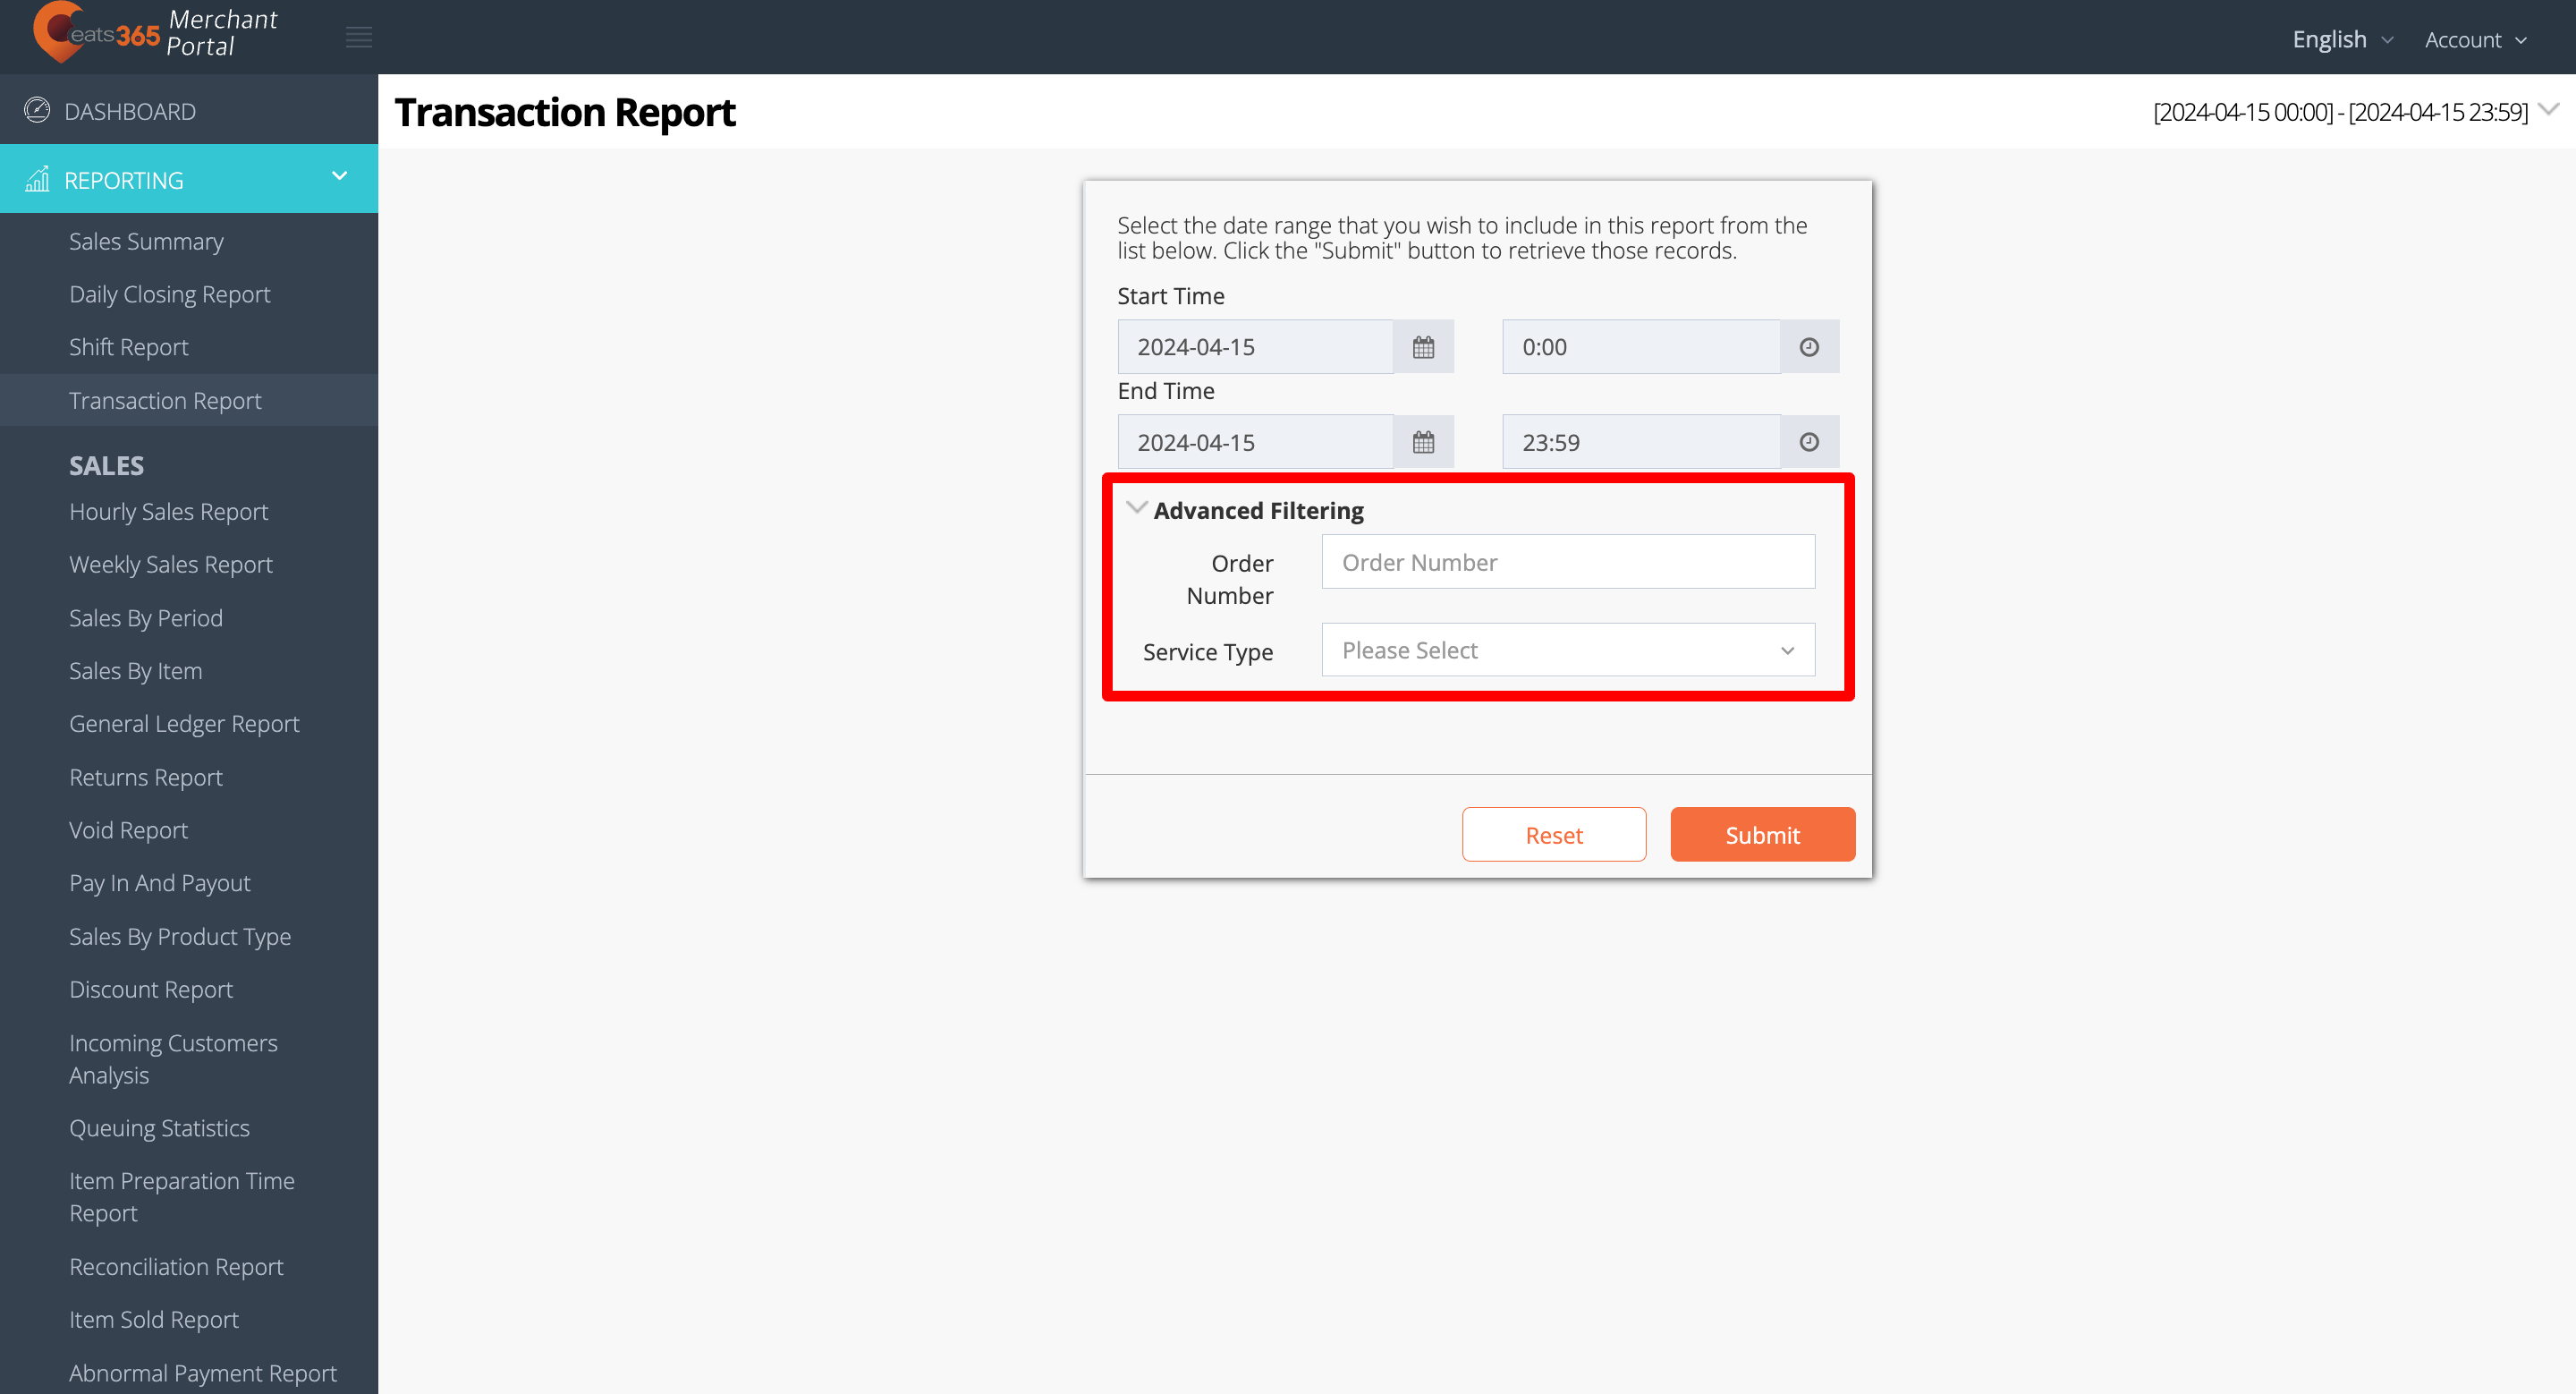
A detailed report of the selected orders appears on the screen. For more information about Transaction Reports, refer to View and manage Transaction Report.
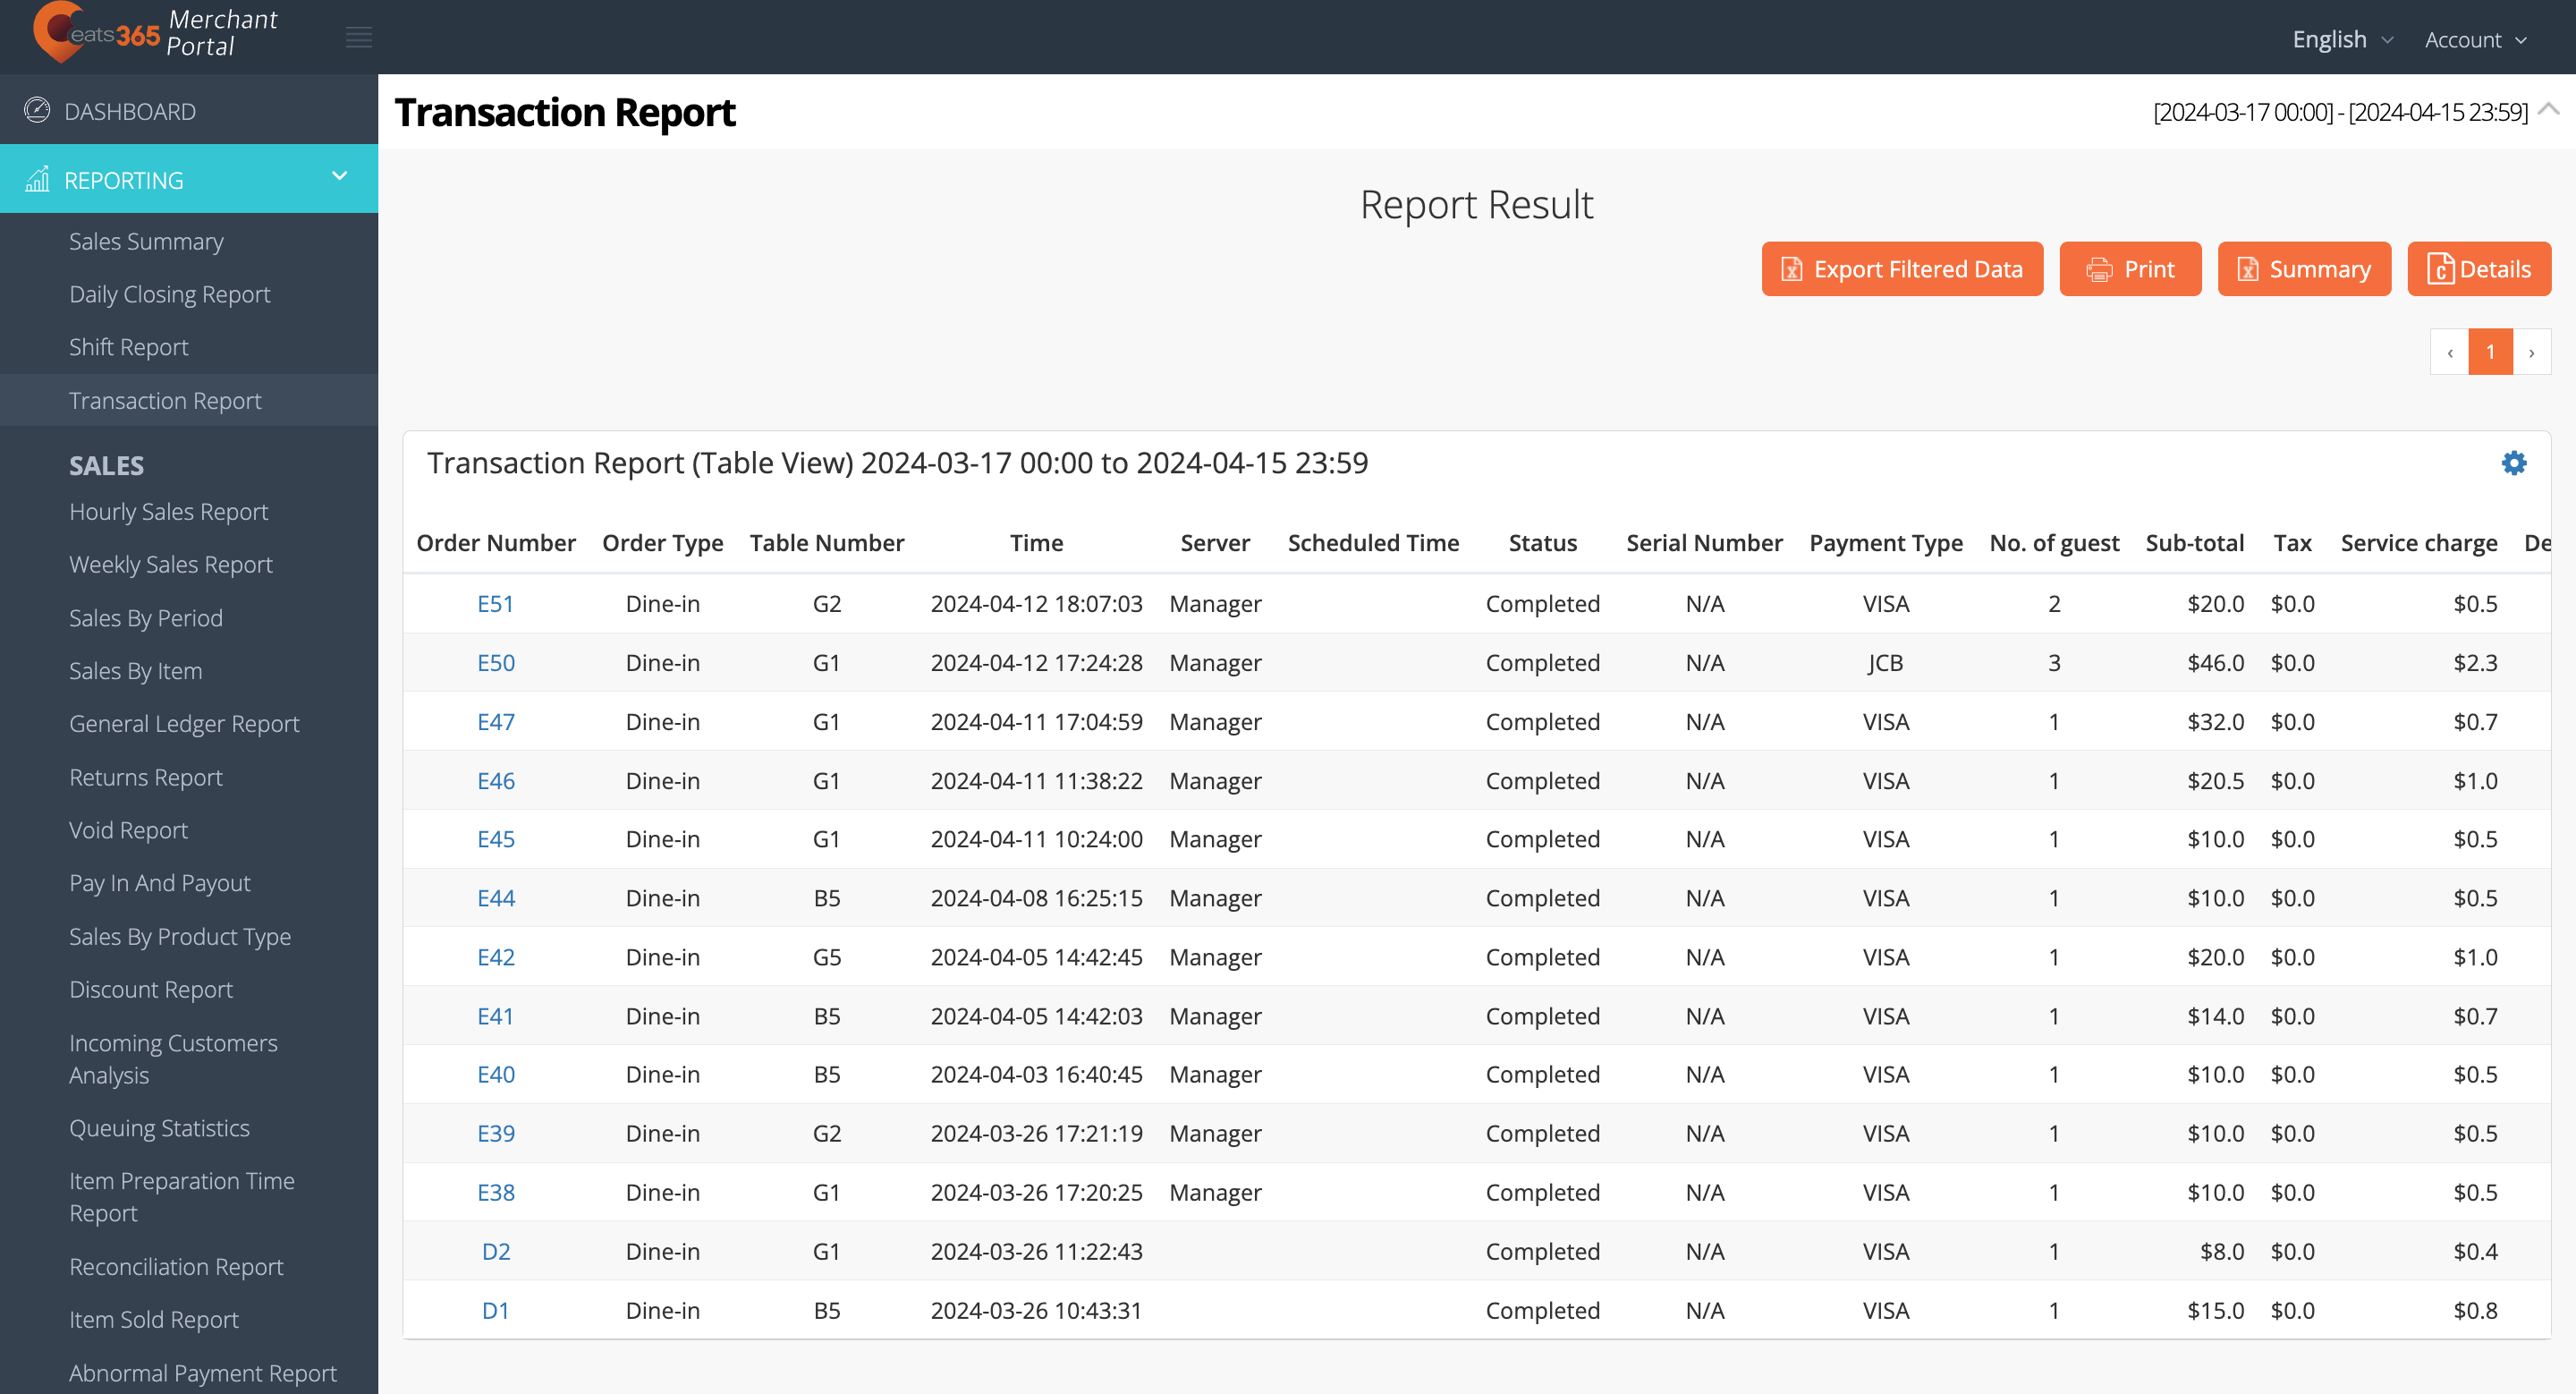
Merchant Portal 2.0
- Log in to the Merchant Portal.
- On the left panel, click on Reporting, then select Transaction Report.
- Select the date range of the orders that you want to check. Then, click on Submit.
Tip: You can filter your search further by entering the "Order Number" or selecting the relevant "Dining Type."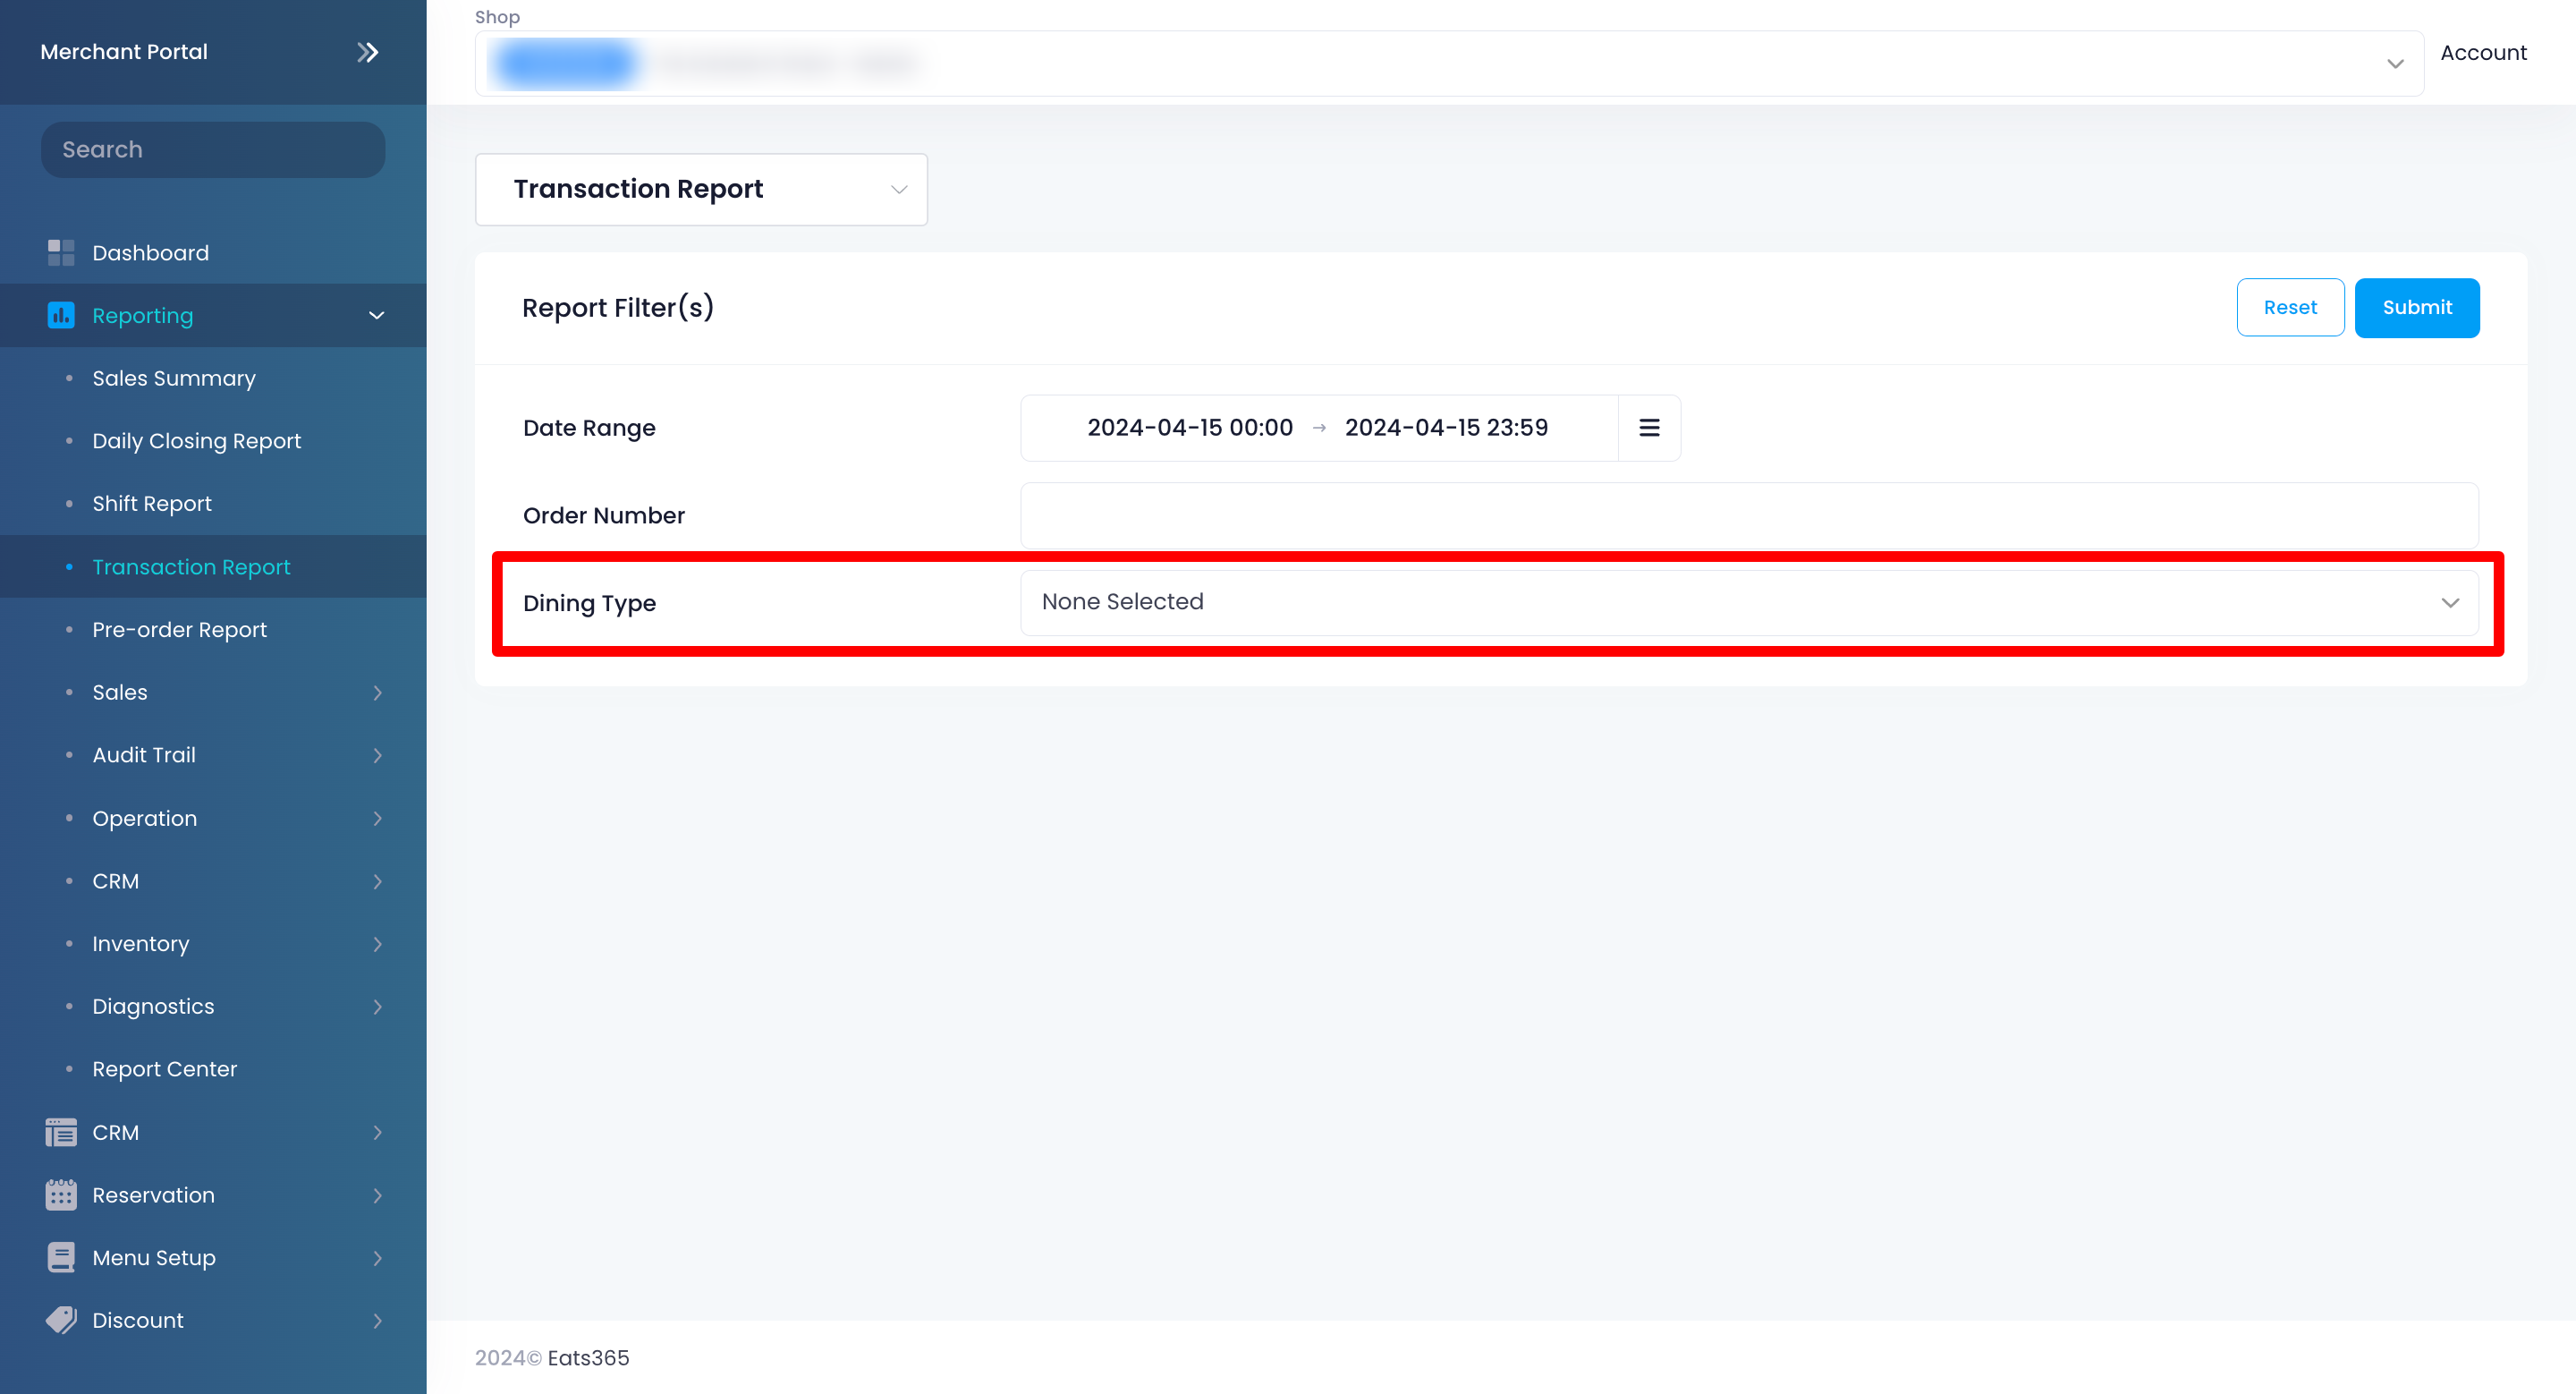
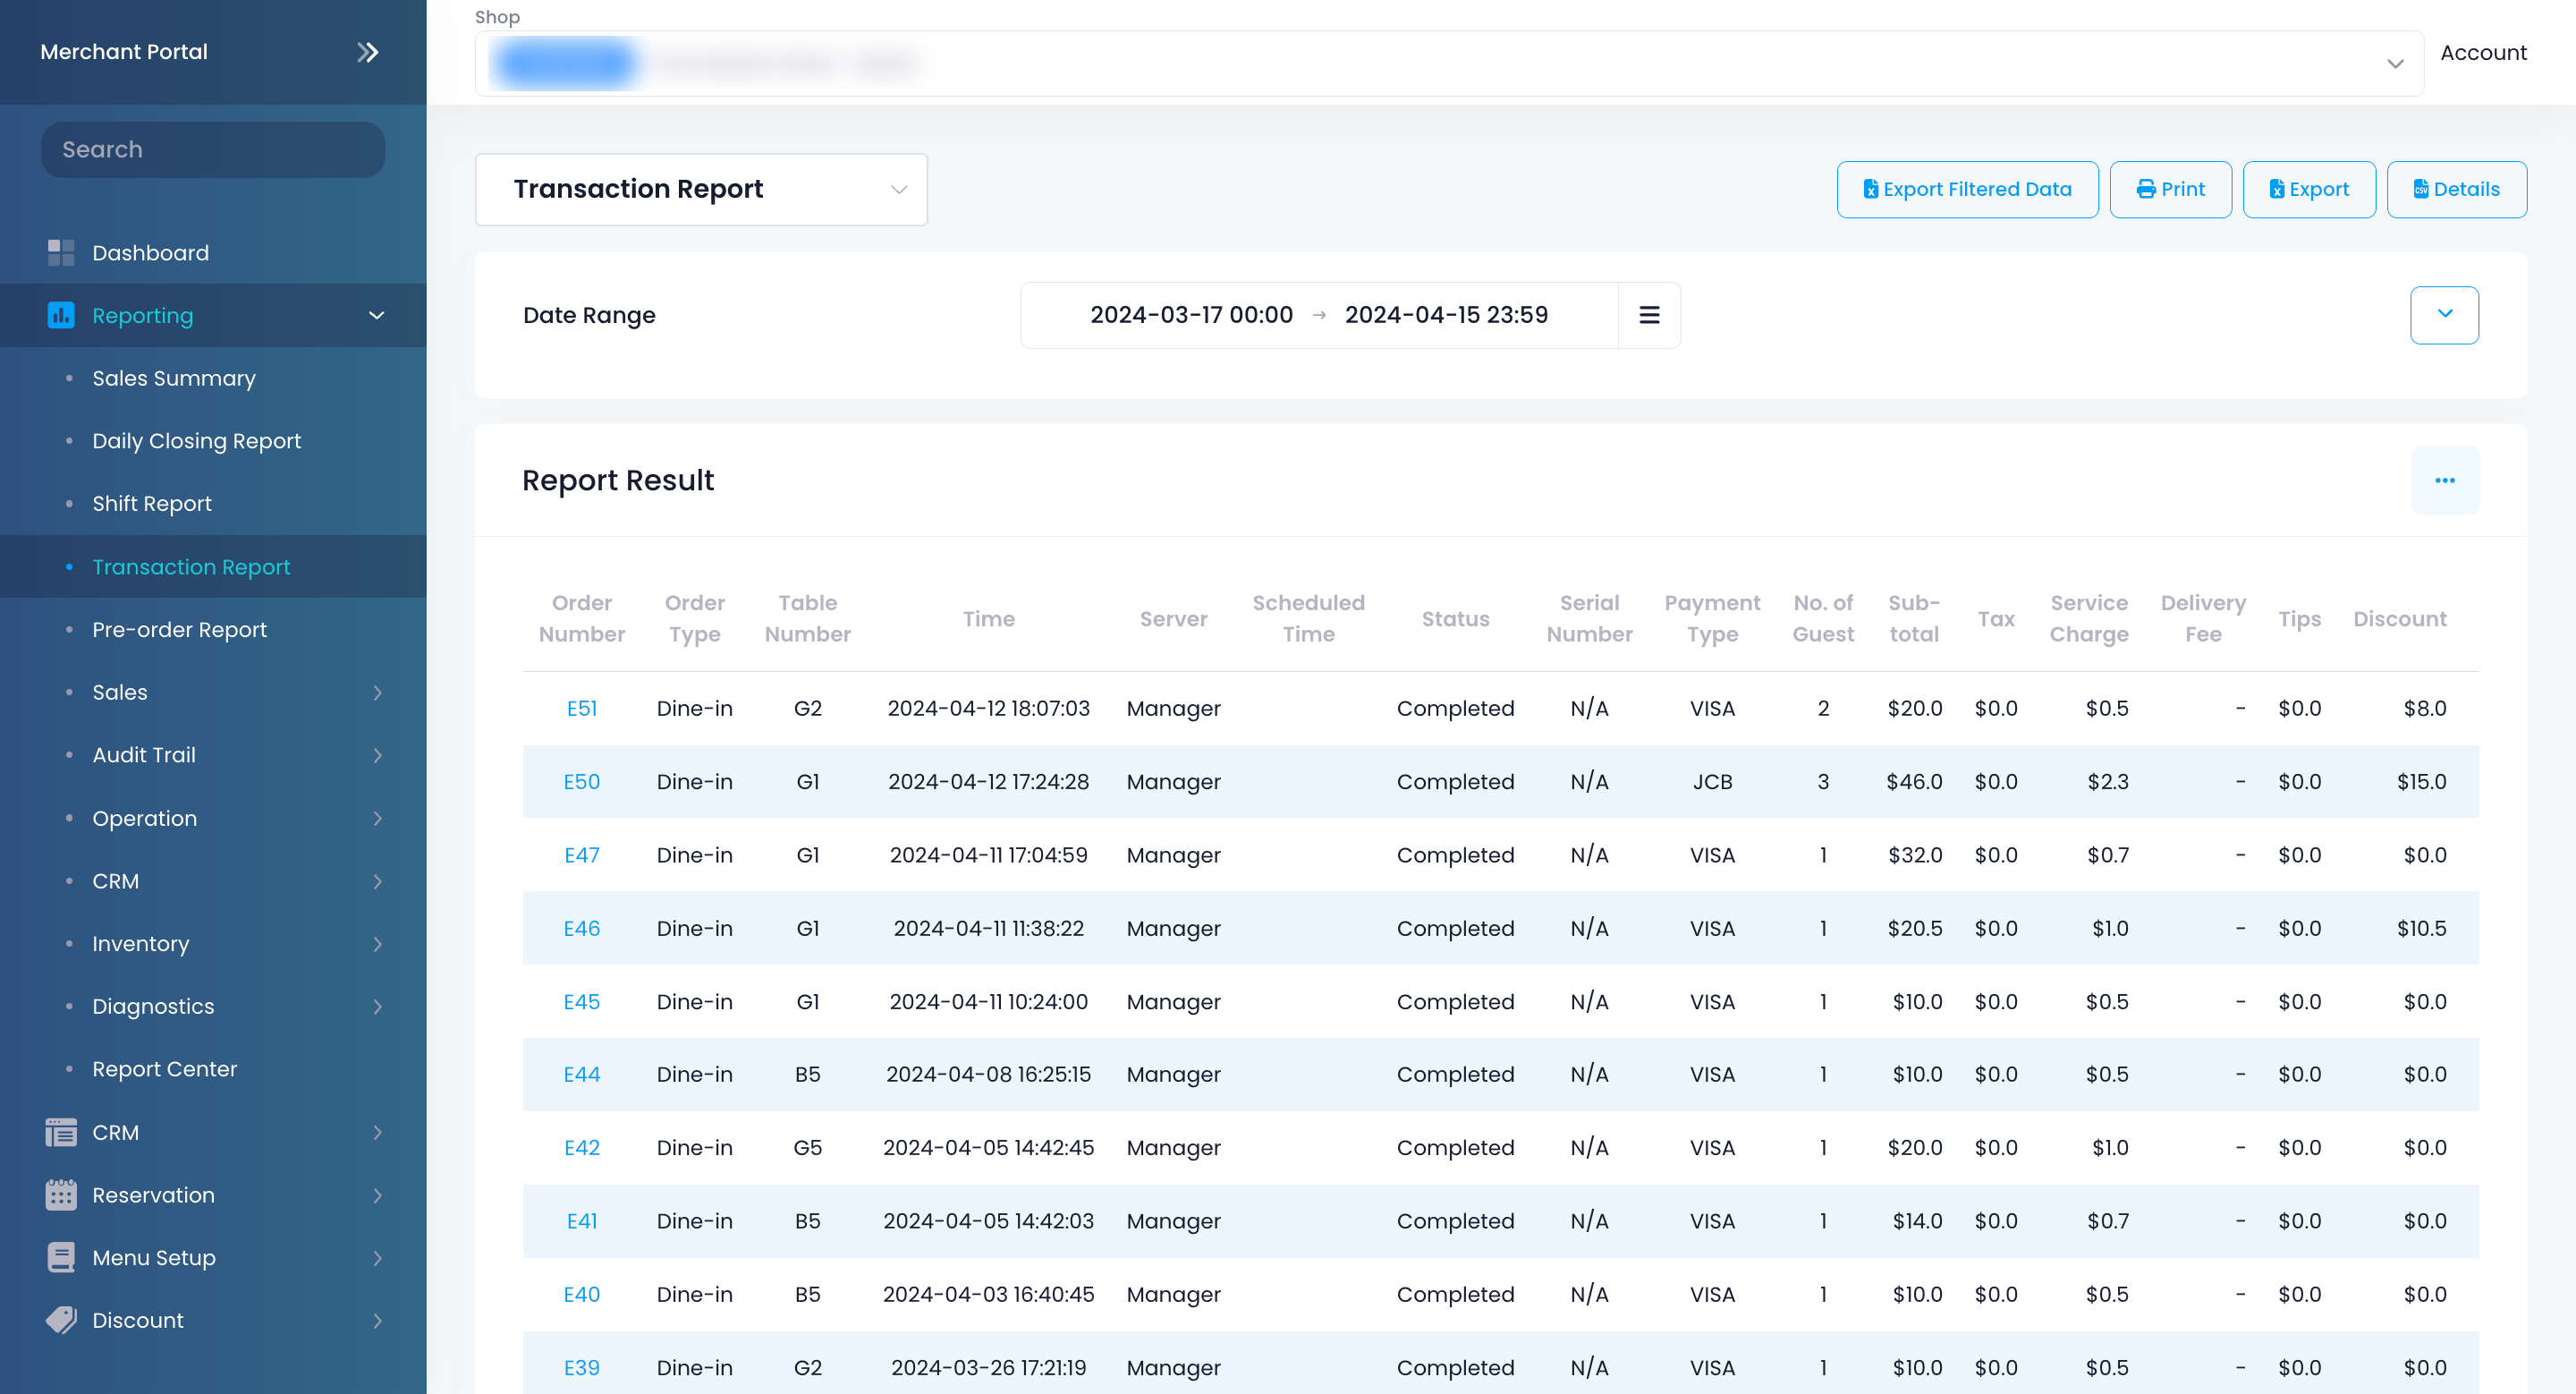
A detailed report of the selected orders appears on the screen. For more information about Transaction Reports, refer to View and manage Transaction Report.
 Eats365 Products
 Merchant Guide
 Modules
 Membership
 Integrations
 Hardware
 Staff Operations
 Roles & Permissions
 Payments
 Reports
 What’s New
 Release Notes
 Troubleshooting
 Simulators
 Glossary
 Troubleshooter
 System Status