 Eats365 Products
 Merchant Guide
 Modules
 Membership
 Integrations
 Hardware
 Staff Operations
 Roles & Permissions
 Payments
 Reports
 What’s New
 Release Notes
 Troubleshooting
 Simulators
 Glossary
 Troubleshooter
 System Status
Order Handling
Table of Contents
Place All You Can Eat orders
Learn how to perform operations for your restaurant’s All You Can Eat service.
Completing the All You Can Eat menu setup opens your restaurant to begin accepting orders. This guide explains how to process All You Can Eat orders on your Eats365 POS system. It covers activating the All You Can Eat menu, taking orders for both dine-in and scan to order customers, and managing orders placed through the PhotoMenu.
Display All You Can Eat items on the menu
To display All You Can Eat menu items on the POS order-taking screen, you must activate the All You Can Eat Menu by adding the representing item combinations you’ve set for the All You Can Eat Menu during setup.
Activate All You Can Eat ordering on the POS
To start processing All You Can Eat orders, follow the steps below:
- Log in to the Eats365 POS and perform seating.
- Enable Same Menu Tier
 to apply the same tier to all customers within a party group. If you don’t have menu tiers set up, proceed to step 4.
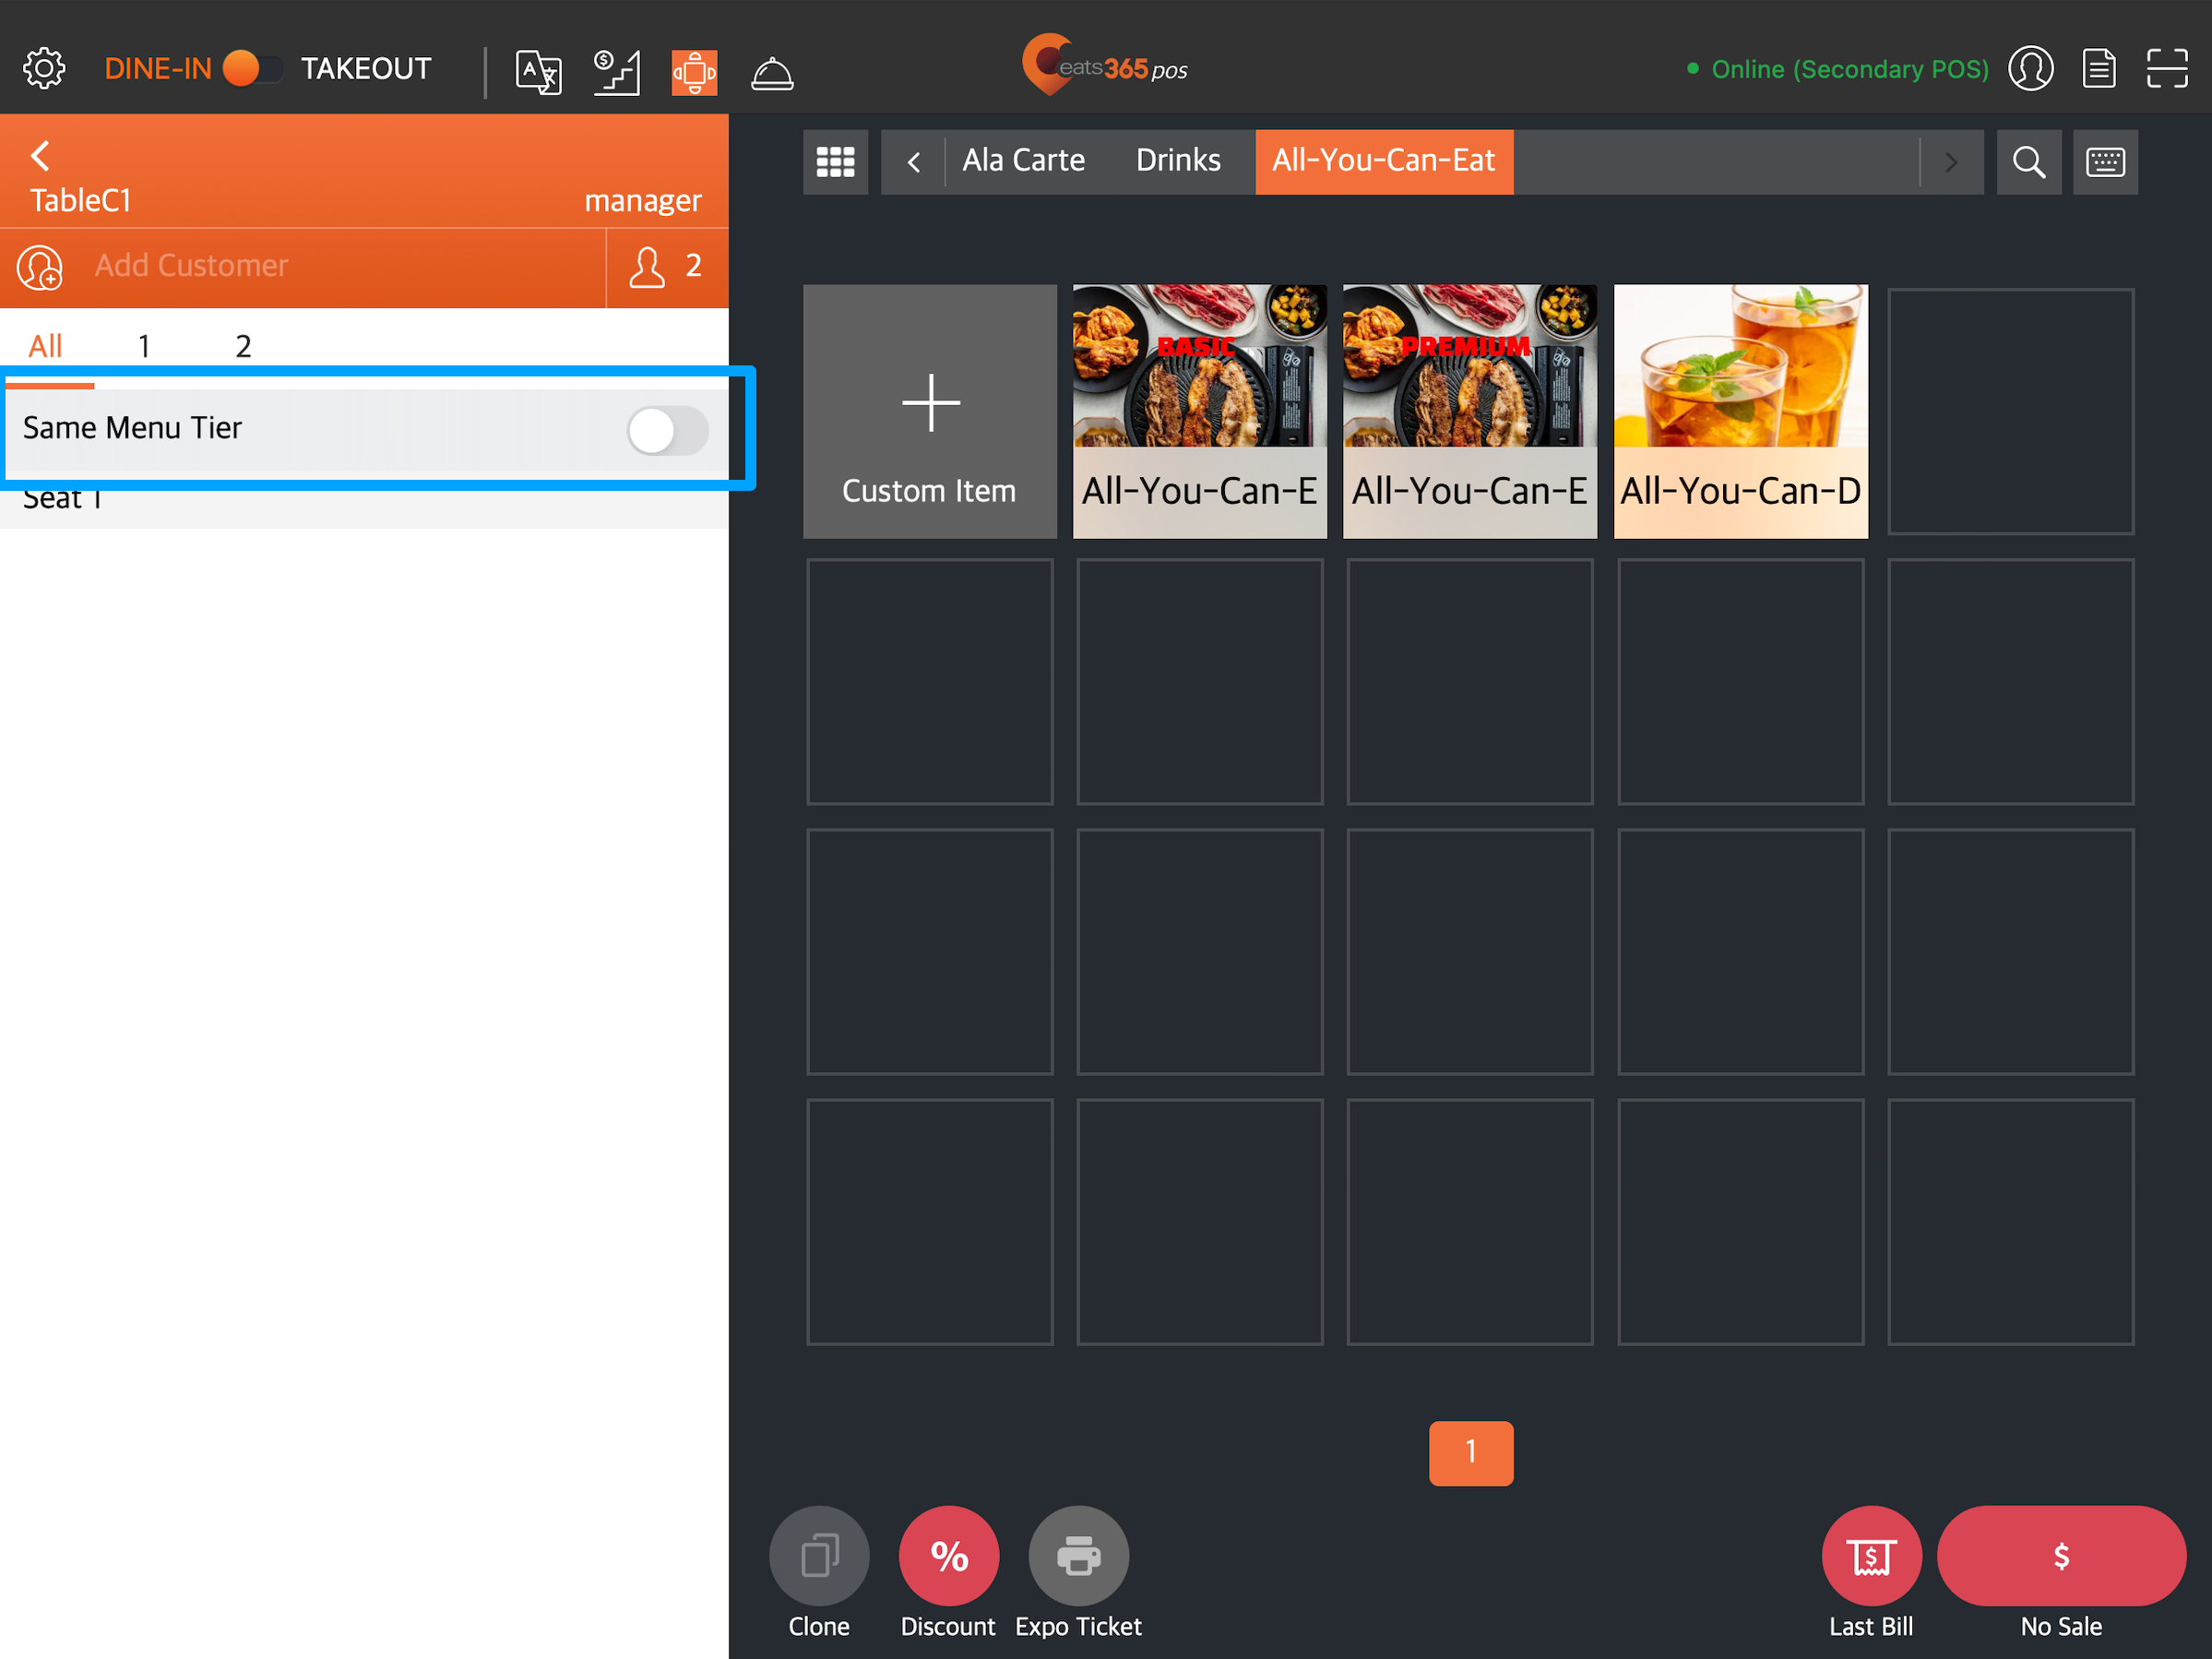
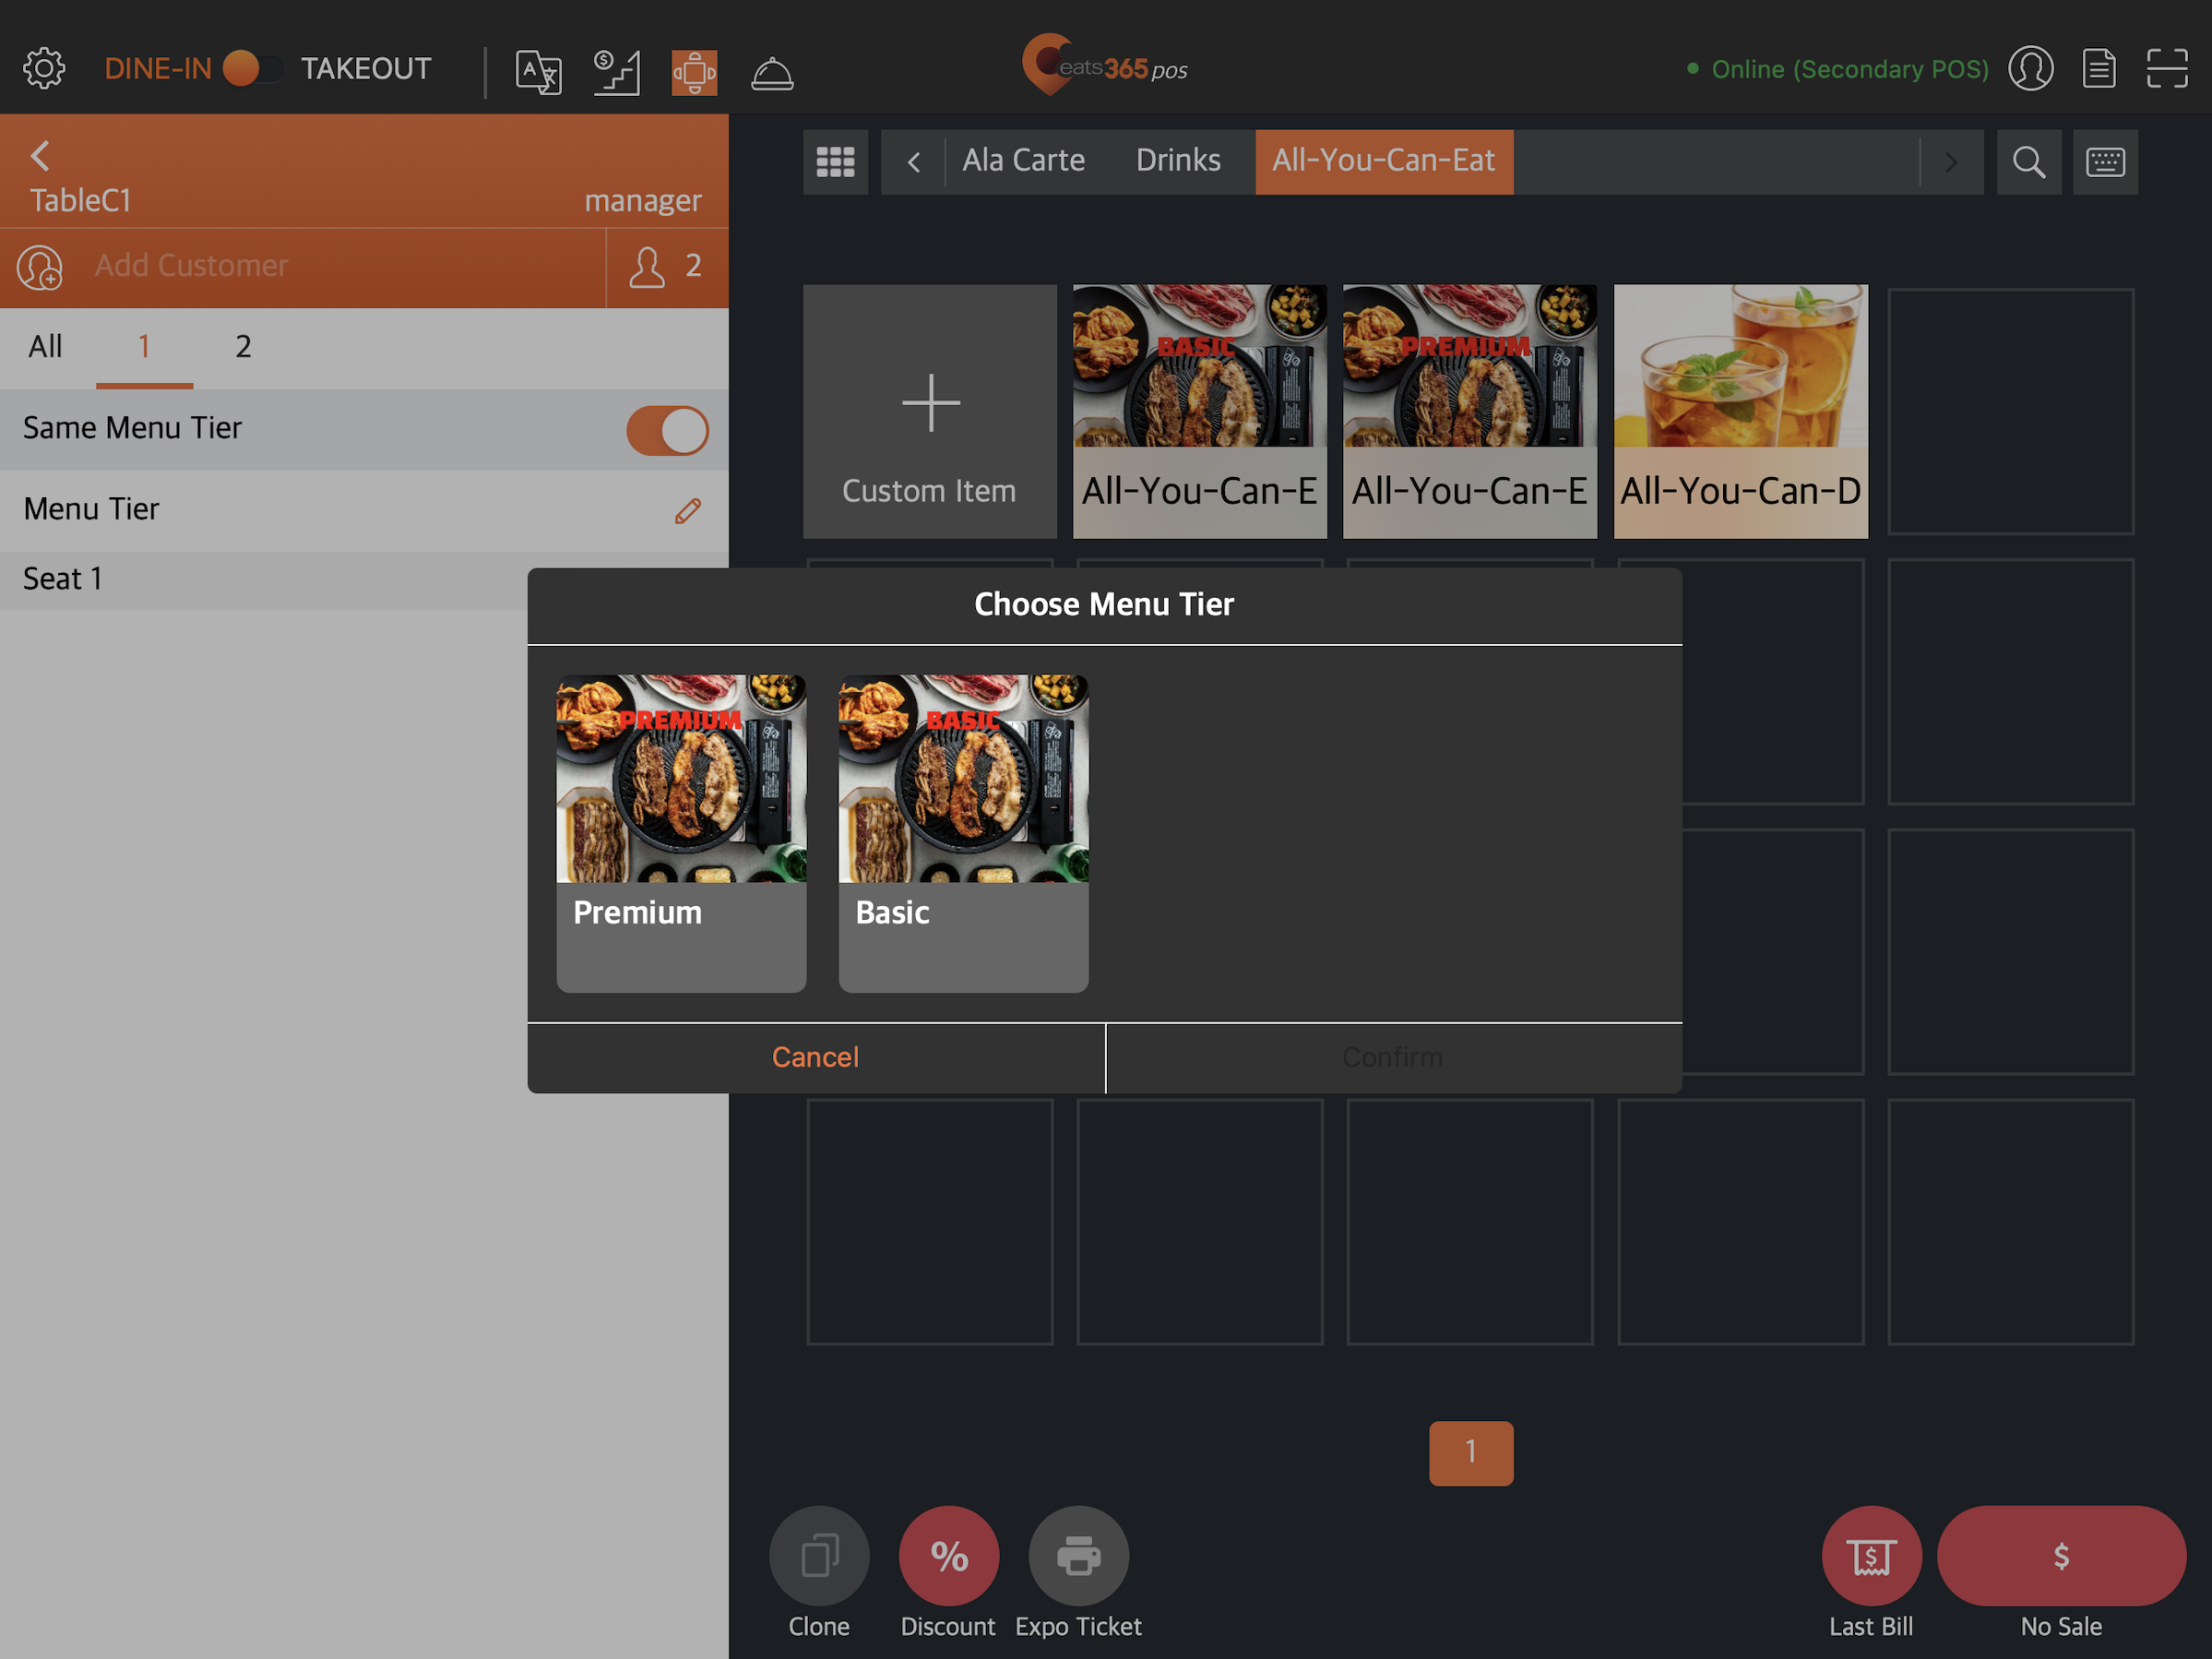
- Choose the table’s preferred All You Can Eat tier.
 Note: When this setting is enabled, customers won’t be able to order from a different tier. For example, if the customer orders the “Basic” menu tier, they won’t be able to add items included in the “Premium” menu tier.
- To change the selected menu tier, tap Edit
 .
.
- To change the selected menu tier, tap Edit
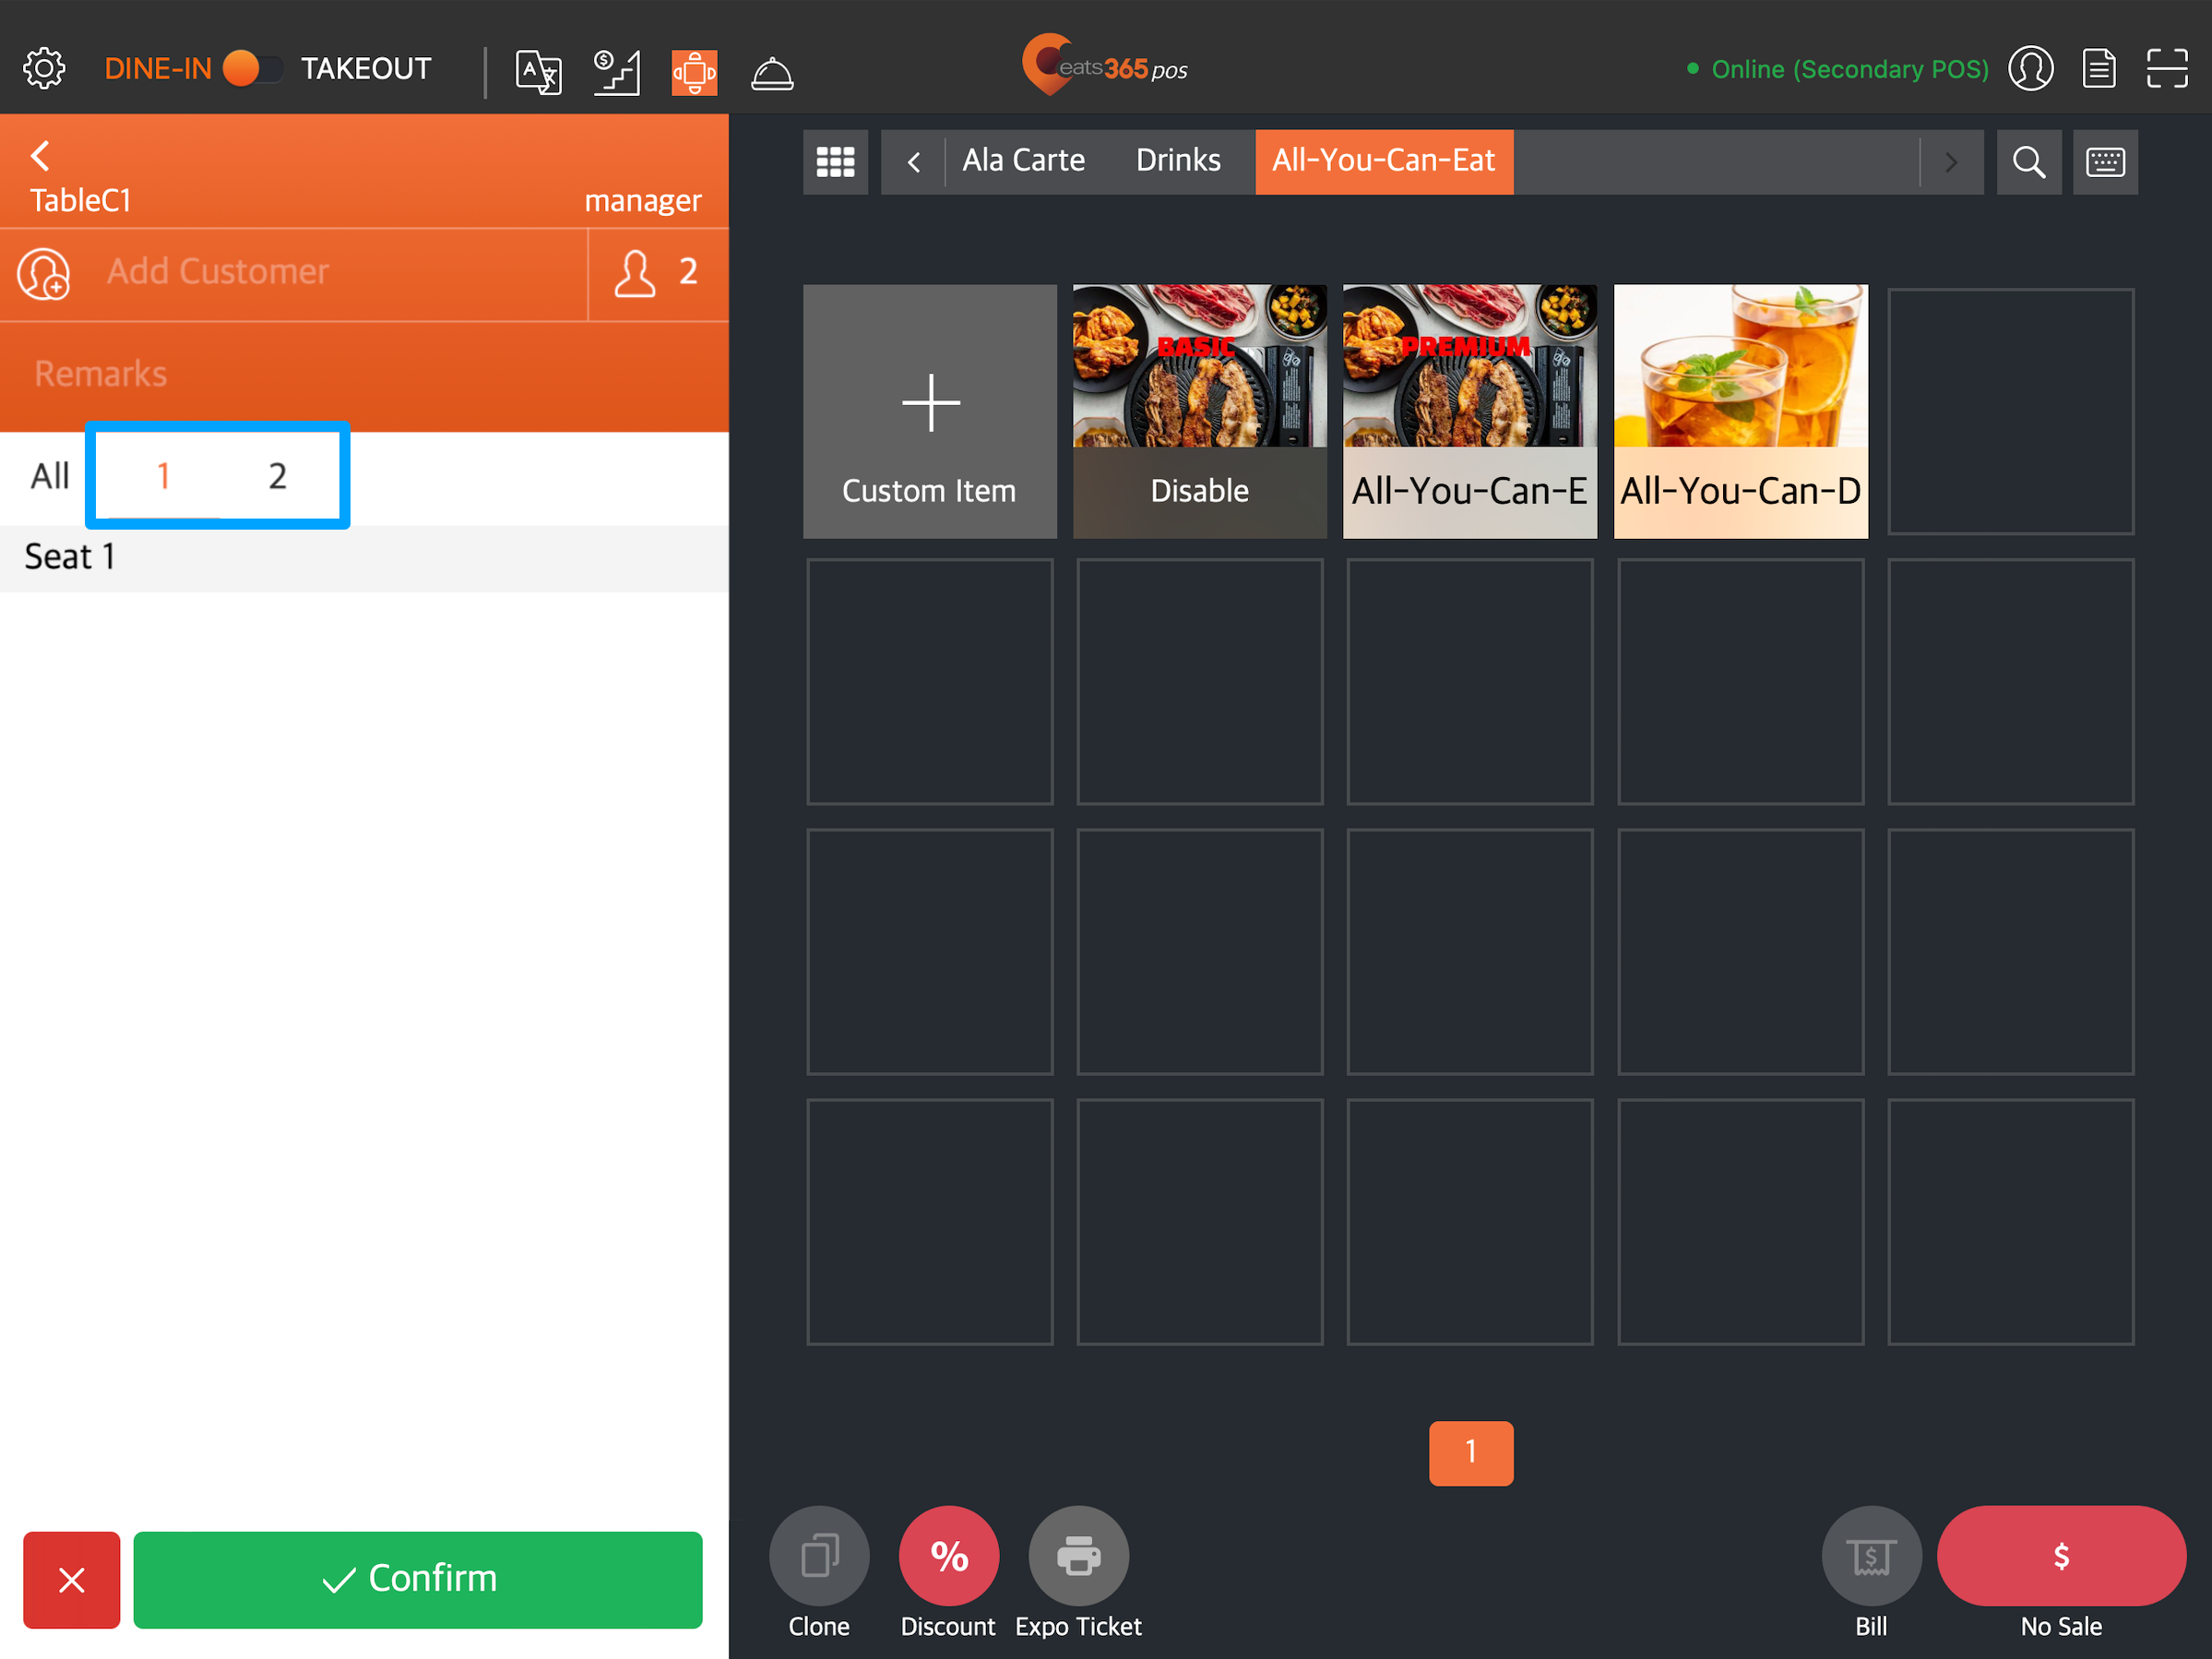
- If there’s more than one customer in the party group, tap the seat number to take orders by seat number.

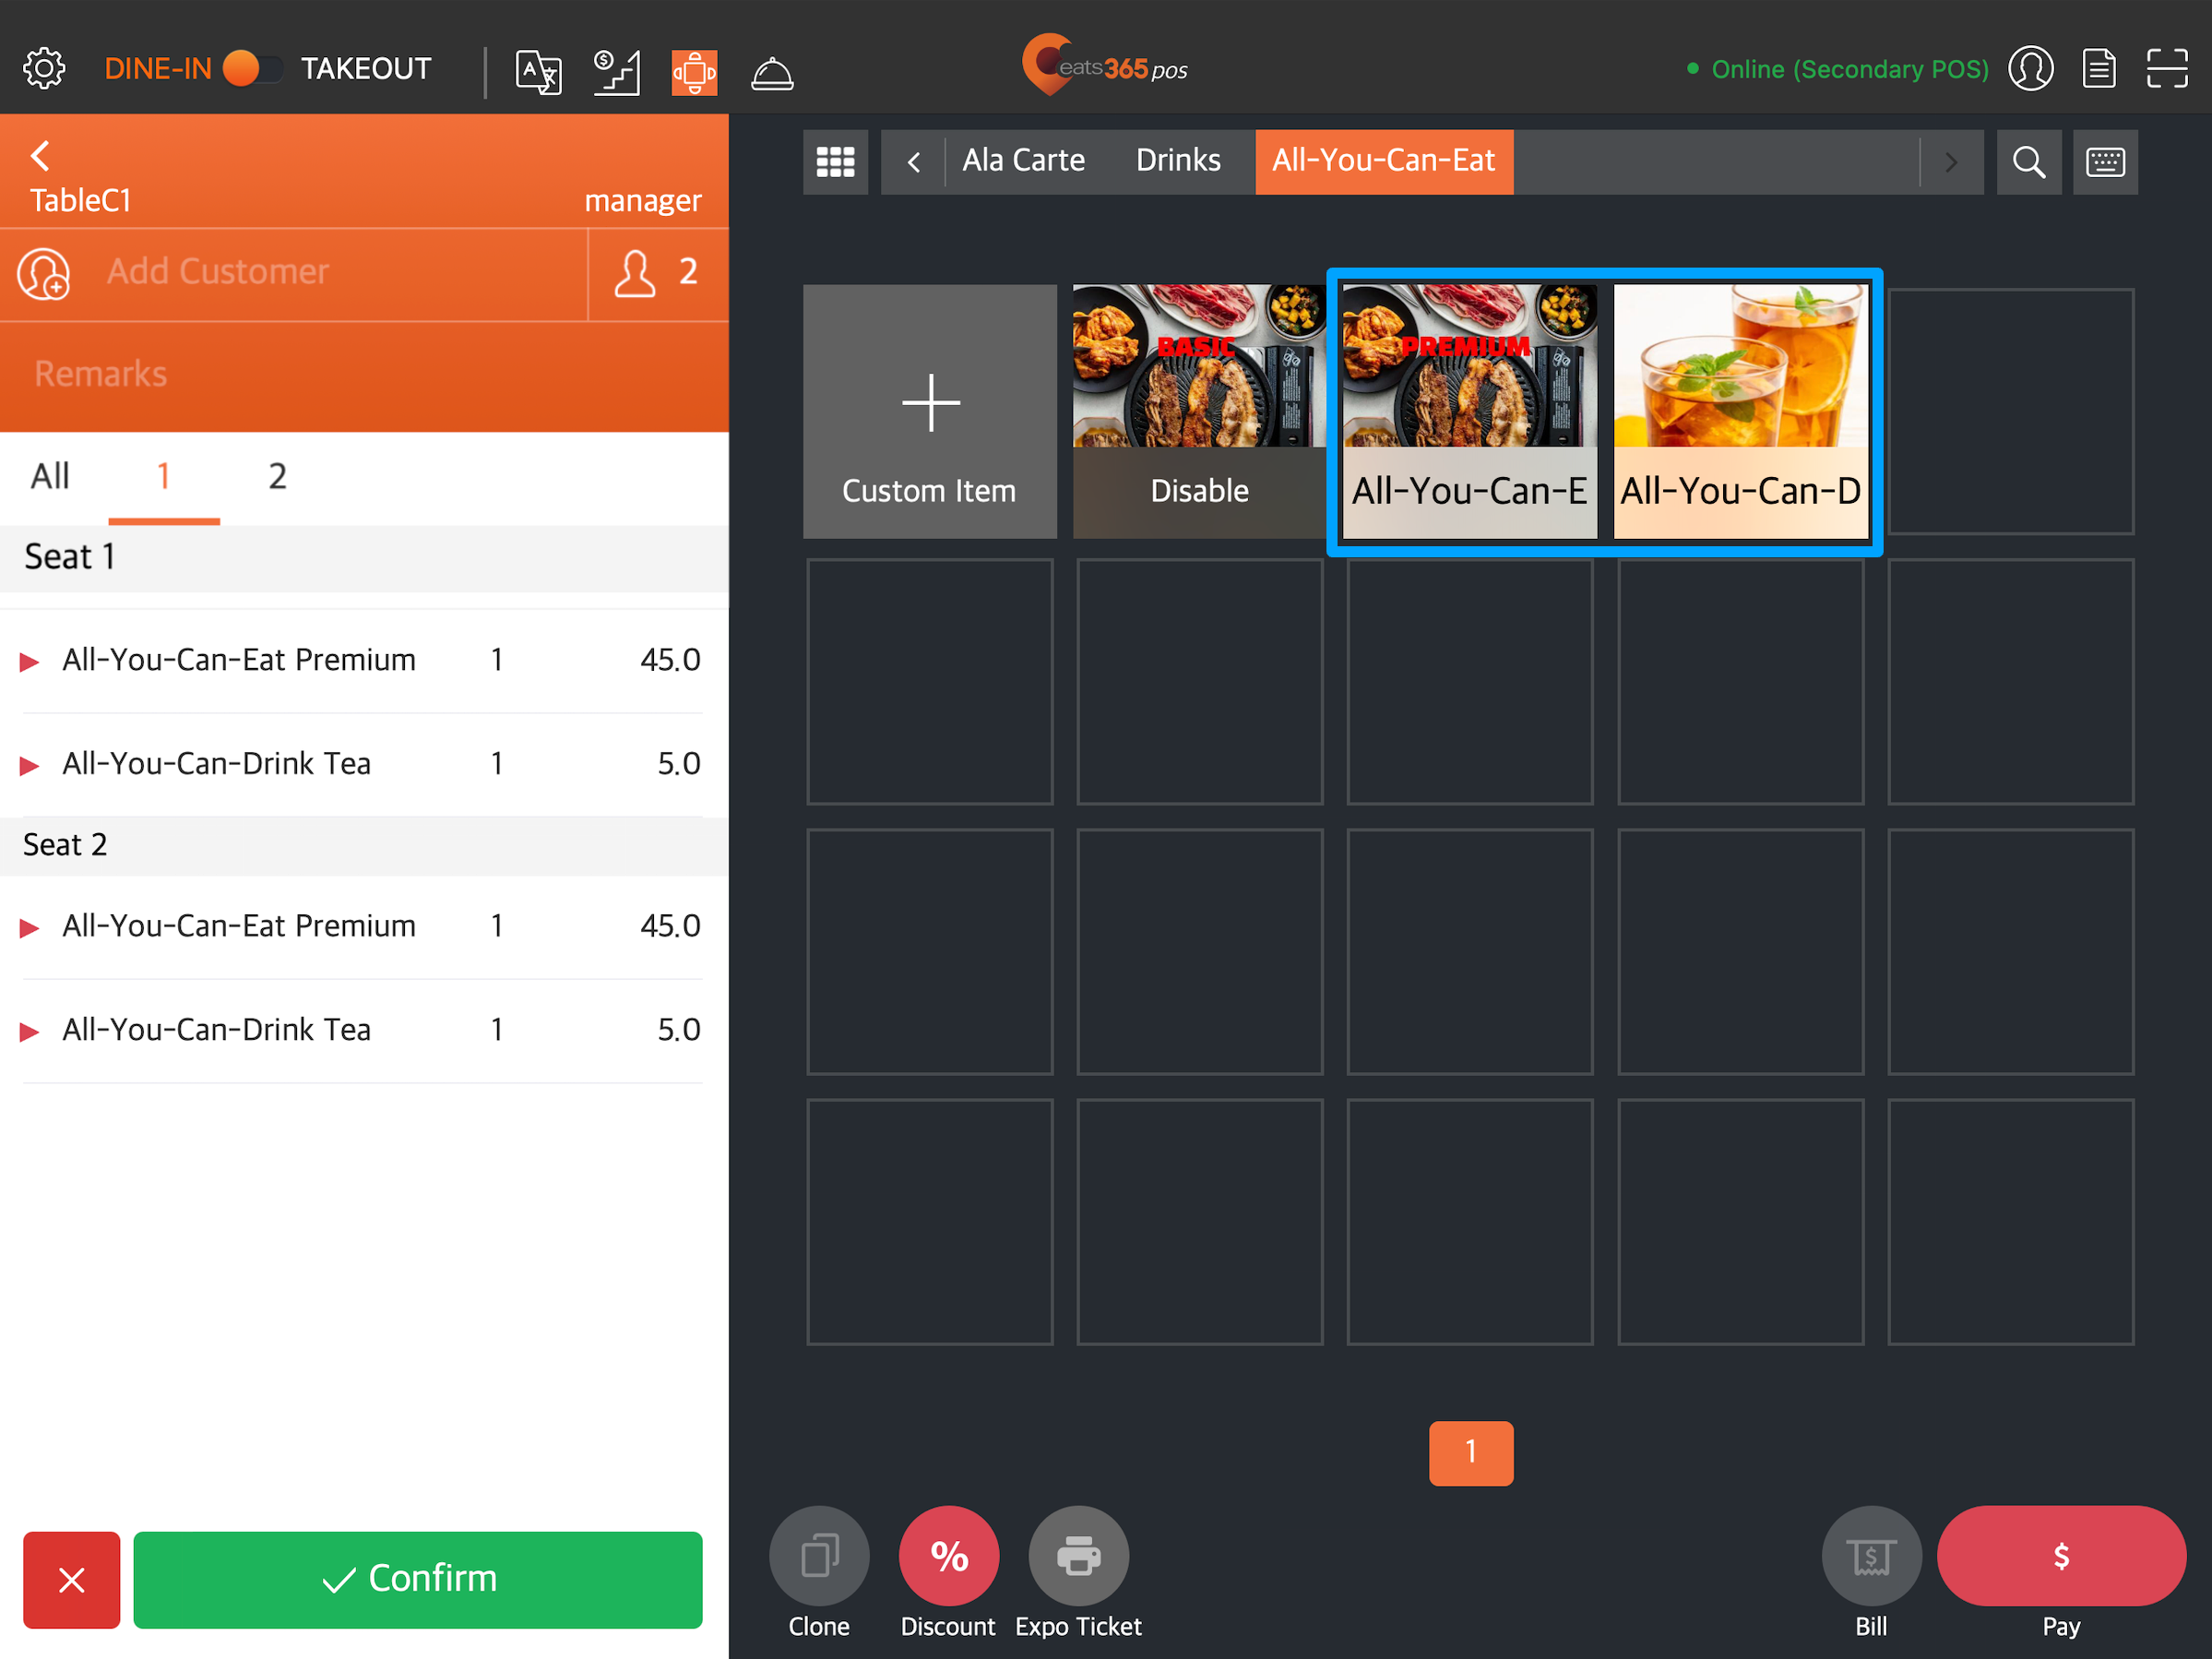
- On the order-taking screen, select the representing items that you’ve configured to display the All You Can Eat Menu on the POS.
 Note: If a representing item isn’t included in the currently selected tier, the POS disables that item.
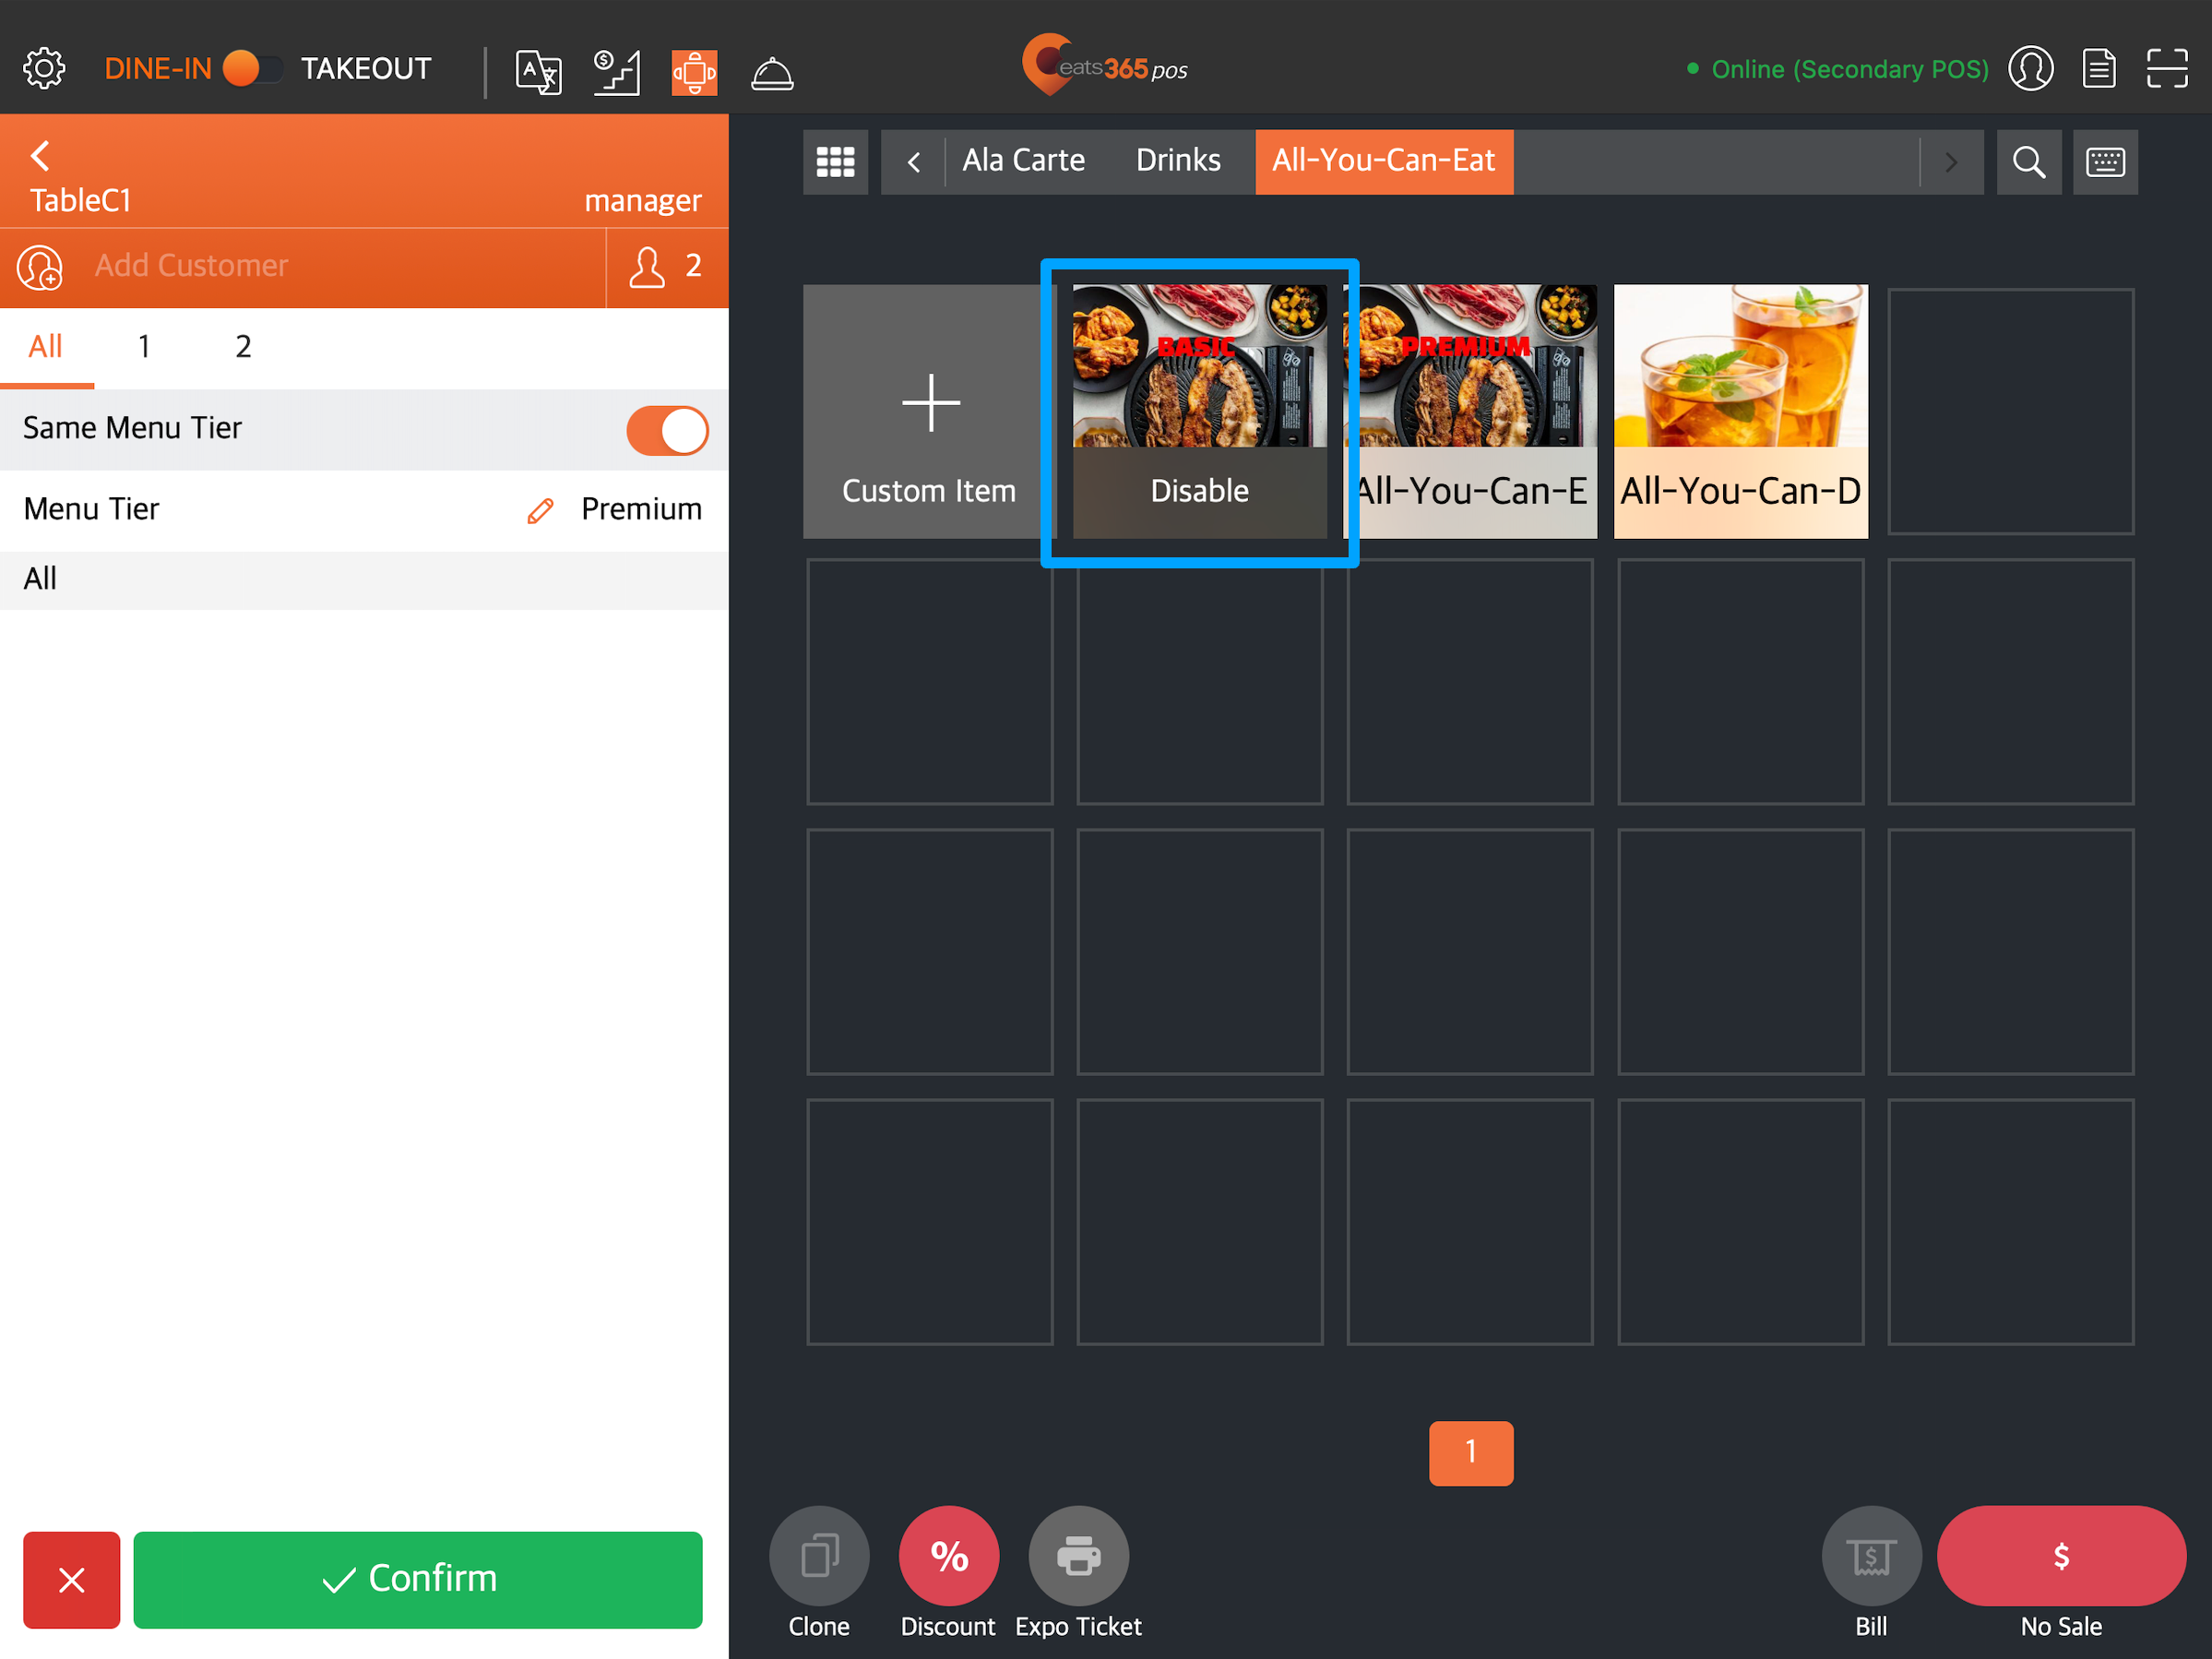
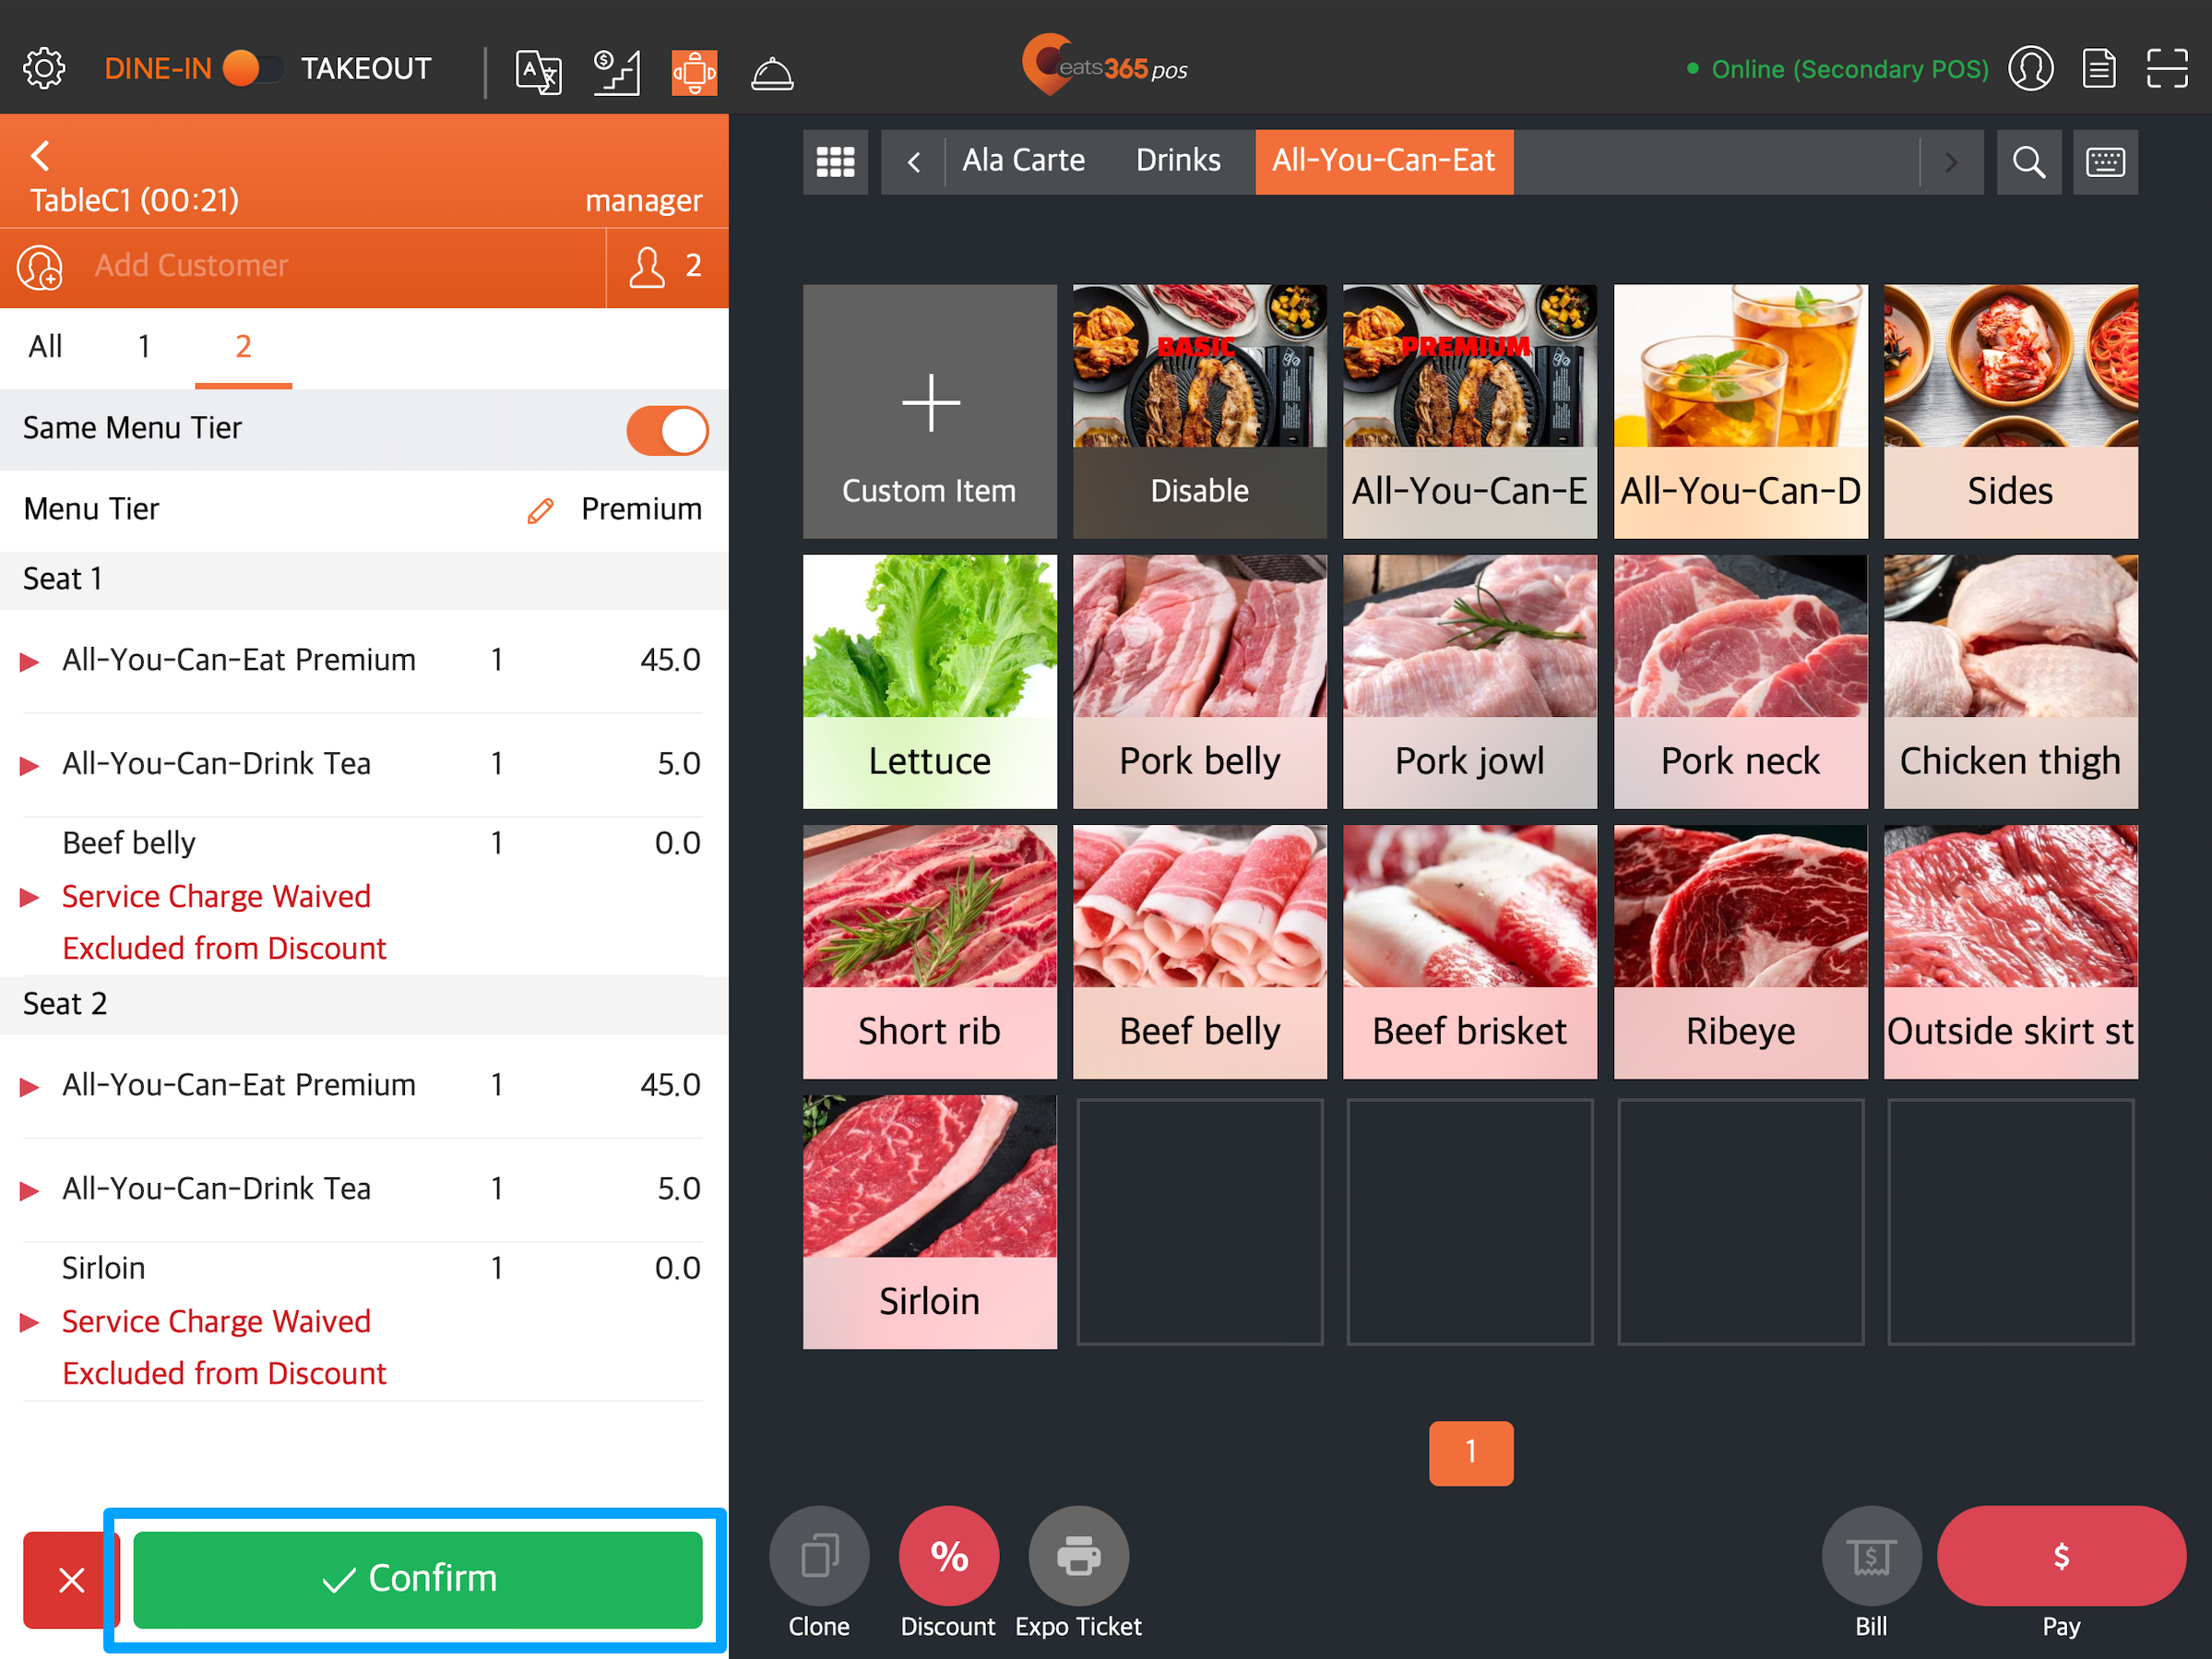
- Tap Confirm.
Once the POS successfully matches the representing items to an existing All You Can Eat menu, the All You Can Eat items from that menu should appear on the POS.
Activate All You Can Eat ordering for Scan to Order
Before dine-in customers can use Scan to Order to order from your restaurant’s All You Can Eat Menu, you must first activate the All You Can Eat Menu for them using the POS.
To allow customers to order All You Can Eat menu items using their mobile device, follow the steps below:
- Log in to the Eats365 POS and perform seating.
- If there’s more than one customer in the party group, tap the seat number to take orders by seat number.
- Select the representing items that you’ve configured to display the All You Can Eat Menu on the POS.
- Tap Confirm.
Once the order is confirmed, the POS will issue a ticket with a printed QR Code that the customer will use to order.
Activate All You Can Eat ordering for PhotoMenu
If the “Order Creation is required when ordering with eMenu” function is enabled in the PhotoMenu shared settings, customers will only be able to place an order on the PhotoMenu after a bill is created for their table using the POS. Staff must first activate the All You Can Eat service for the table before they can start ordering All You Can Eat items. For more information, refer to Configure PhotoMenu settings.
To allow customers to order All You Can Eat menu items using the PhotoMenu, follow the steps below:
- Log in to the Eats365 POS and perform seating.
- If there’s more than one customer in the party group, tap the seat number to take orders by seat number.
- Select the representing items that you’ve configured to display the All You Can Eat Menu on the POS.
- Tap Confirm.
Take All You Can Eat orders on the POS
To start taking All You Can Eat orders on the POS, follow the steps below:
- If there is more than one customer in a party group, on the order-taking screen, tap the seat number to take orders by seat number. For single-dining customers, proceed to the next step.
- Add the customer’s All You Can Eat orders.
- Tap Confirm to finish adding items to the order.
To learn how to handle orders, refer to Manage new orders and Process a payment for an order.
Accept All You Can Eat orders placed using Scan to Order and PhotoMenu
When customers dine at your restaurant and place orders using Scan to Order or PhotoMenu, all orders are sent to your POS. You can manually accept the orders or configure the POS to automatically accept based on your Scan to Order or PhotoMenu settings.
To learn how to accept new orders, refer to Manage new orders.