 Eats365 Products
 Merchant Guide
 Modules
 Membership
 Integrations
 Hardware
 Staff Operations
 Roles & Permissions
 Payments
 Reports
 What’s New
 Release Notes
 Troubleshooting
 Simulators
 Glossary
 Troubleshooter
 System Status
Menu Setup
Set up a Pickup Station
Learn how to create a Pickup Station on the Merchant Portal.
Pickup Stations are restaurant designations where customer can pick up their orders. You can create a single Pickup Station for all orders, or you can group categories together and assign them to their respective Pickup Stations. For example, a restaurant may have a cafe where they offer takeouts for coffee and pastries apart from their regular menu items. The restaurant can have a Pickup Station for their coffee and pastries, and then have a separate Pickup Station for their regular menu Items.
In this article, you’ll learn how to add a Pickup Station using the Merchant Portal.
To add a Pickup Station, follow the steps below:
Merchant Portal (Classic Theme)
- Log in to the Merchant Portal.
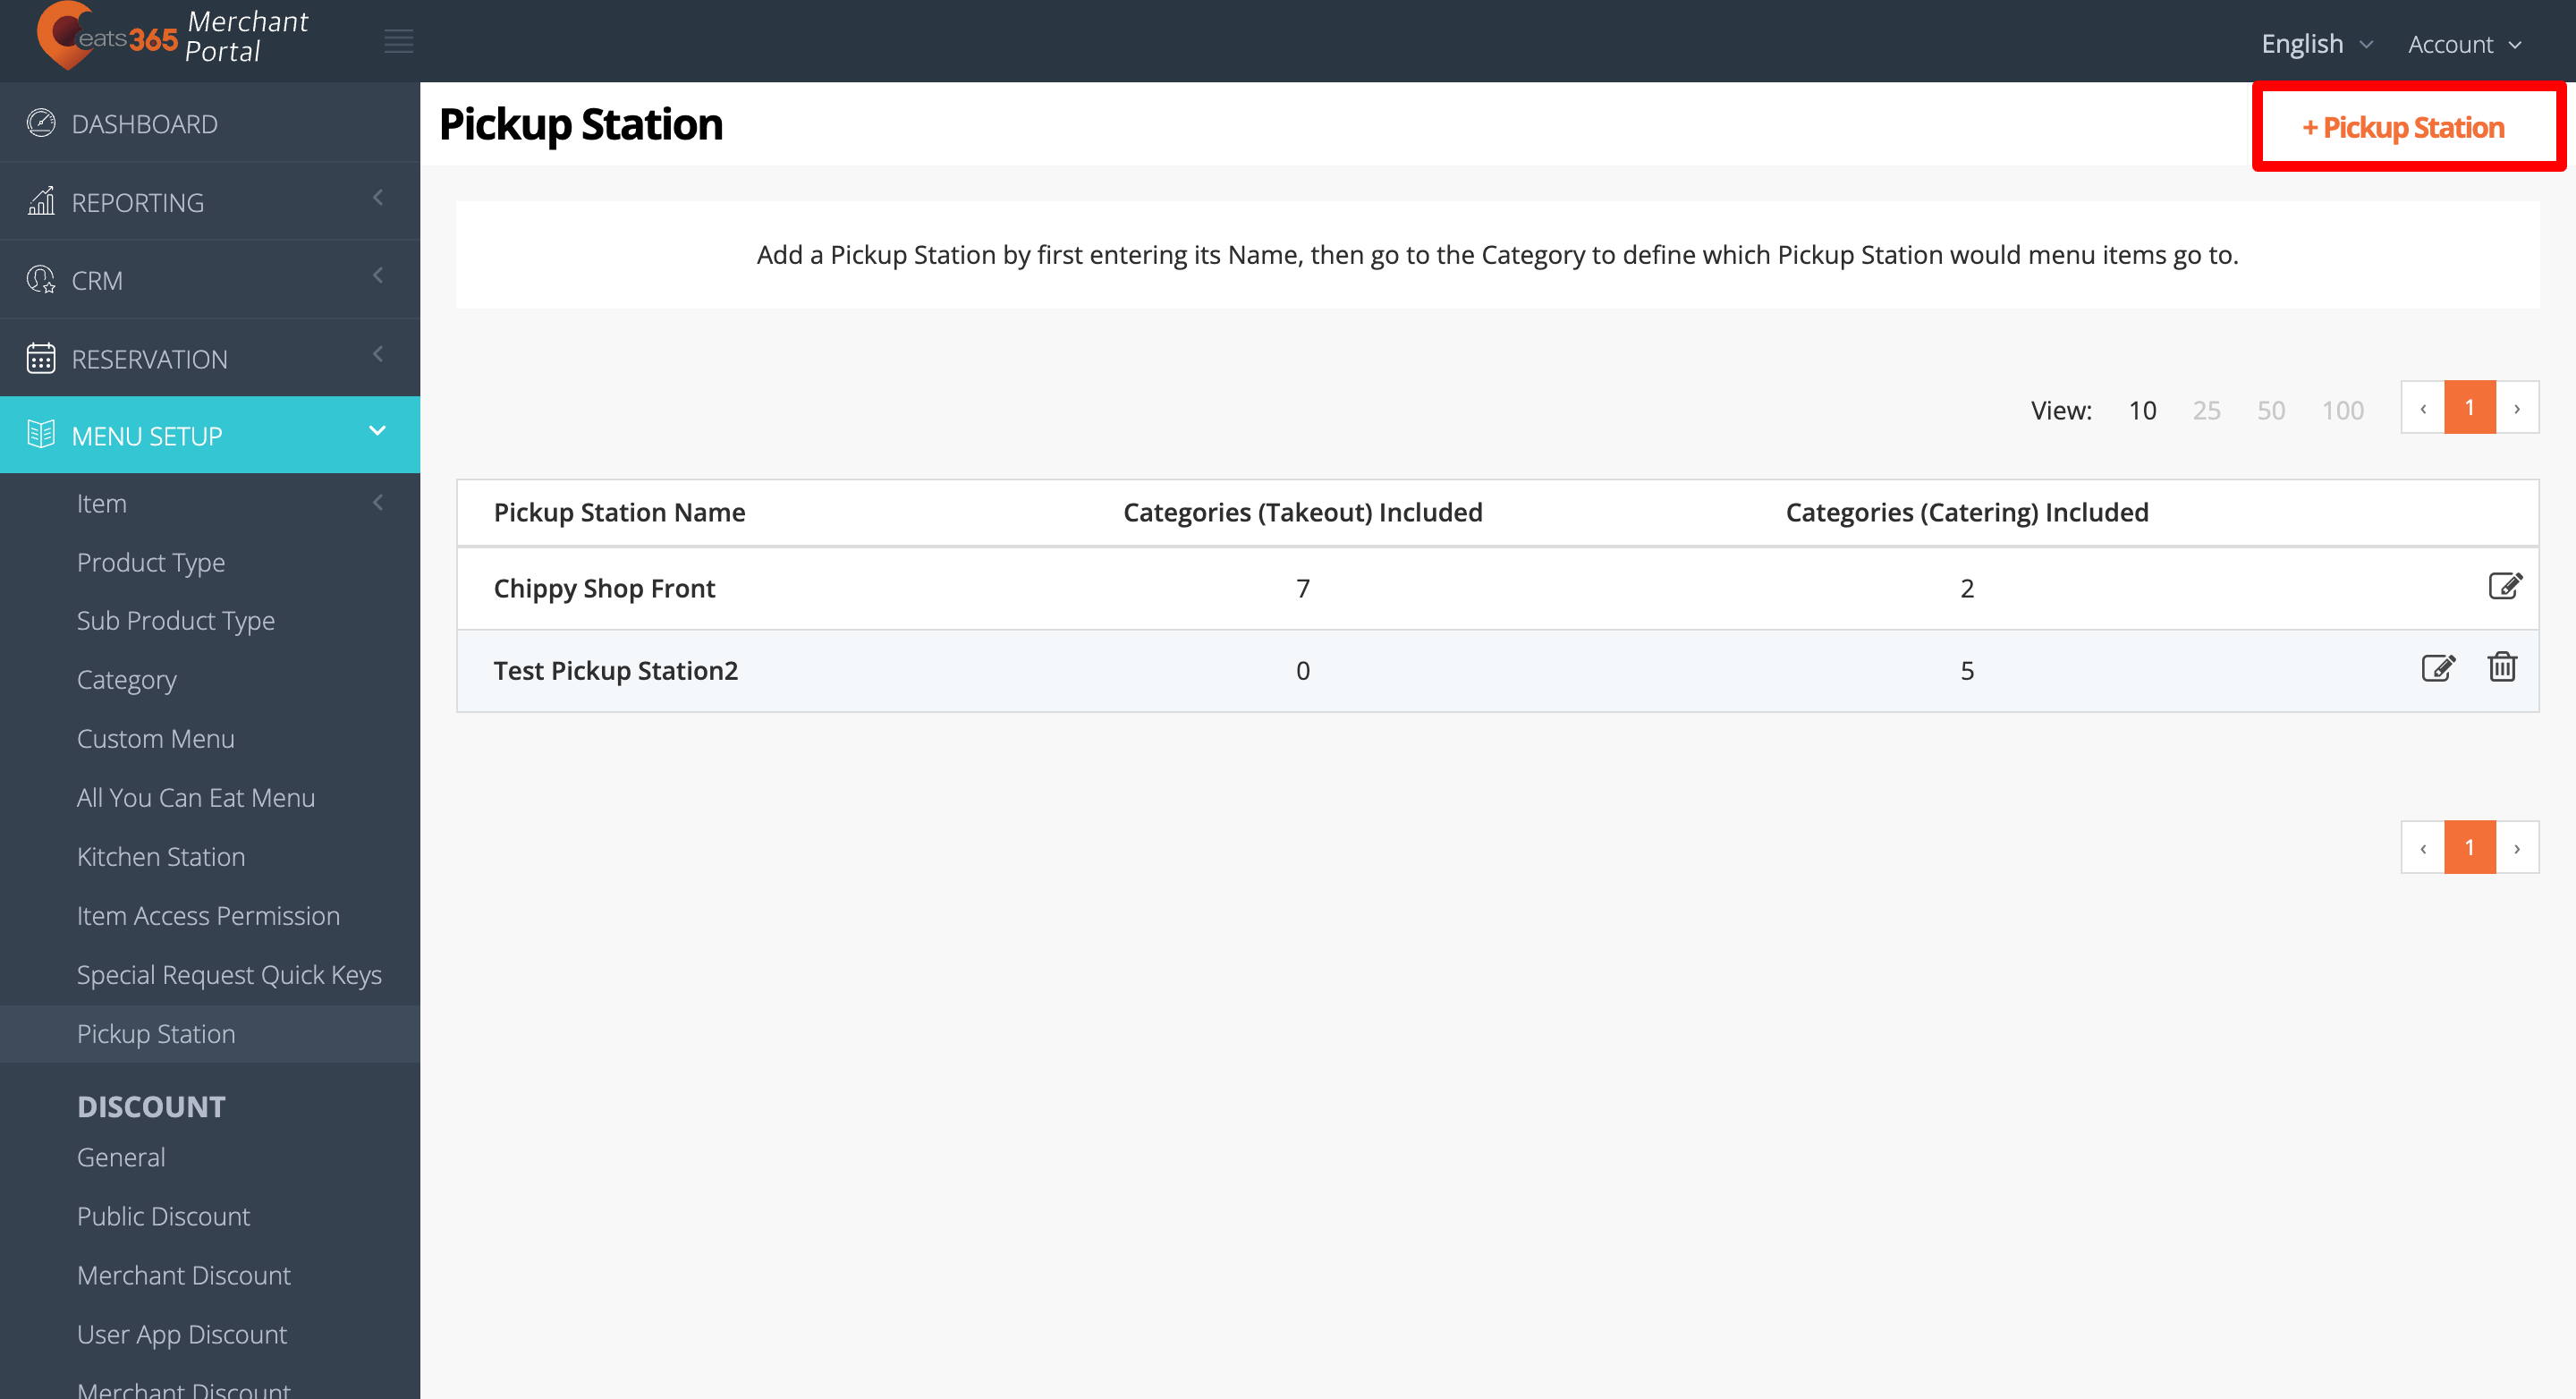
- On the left panel, click on Menu Setup. Then, click on Pickup Station.
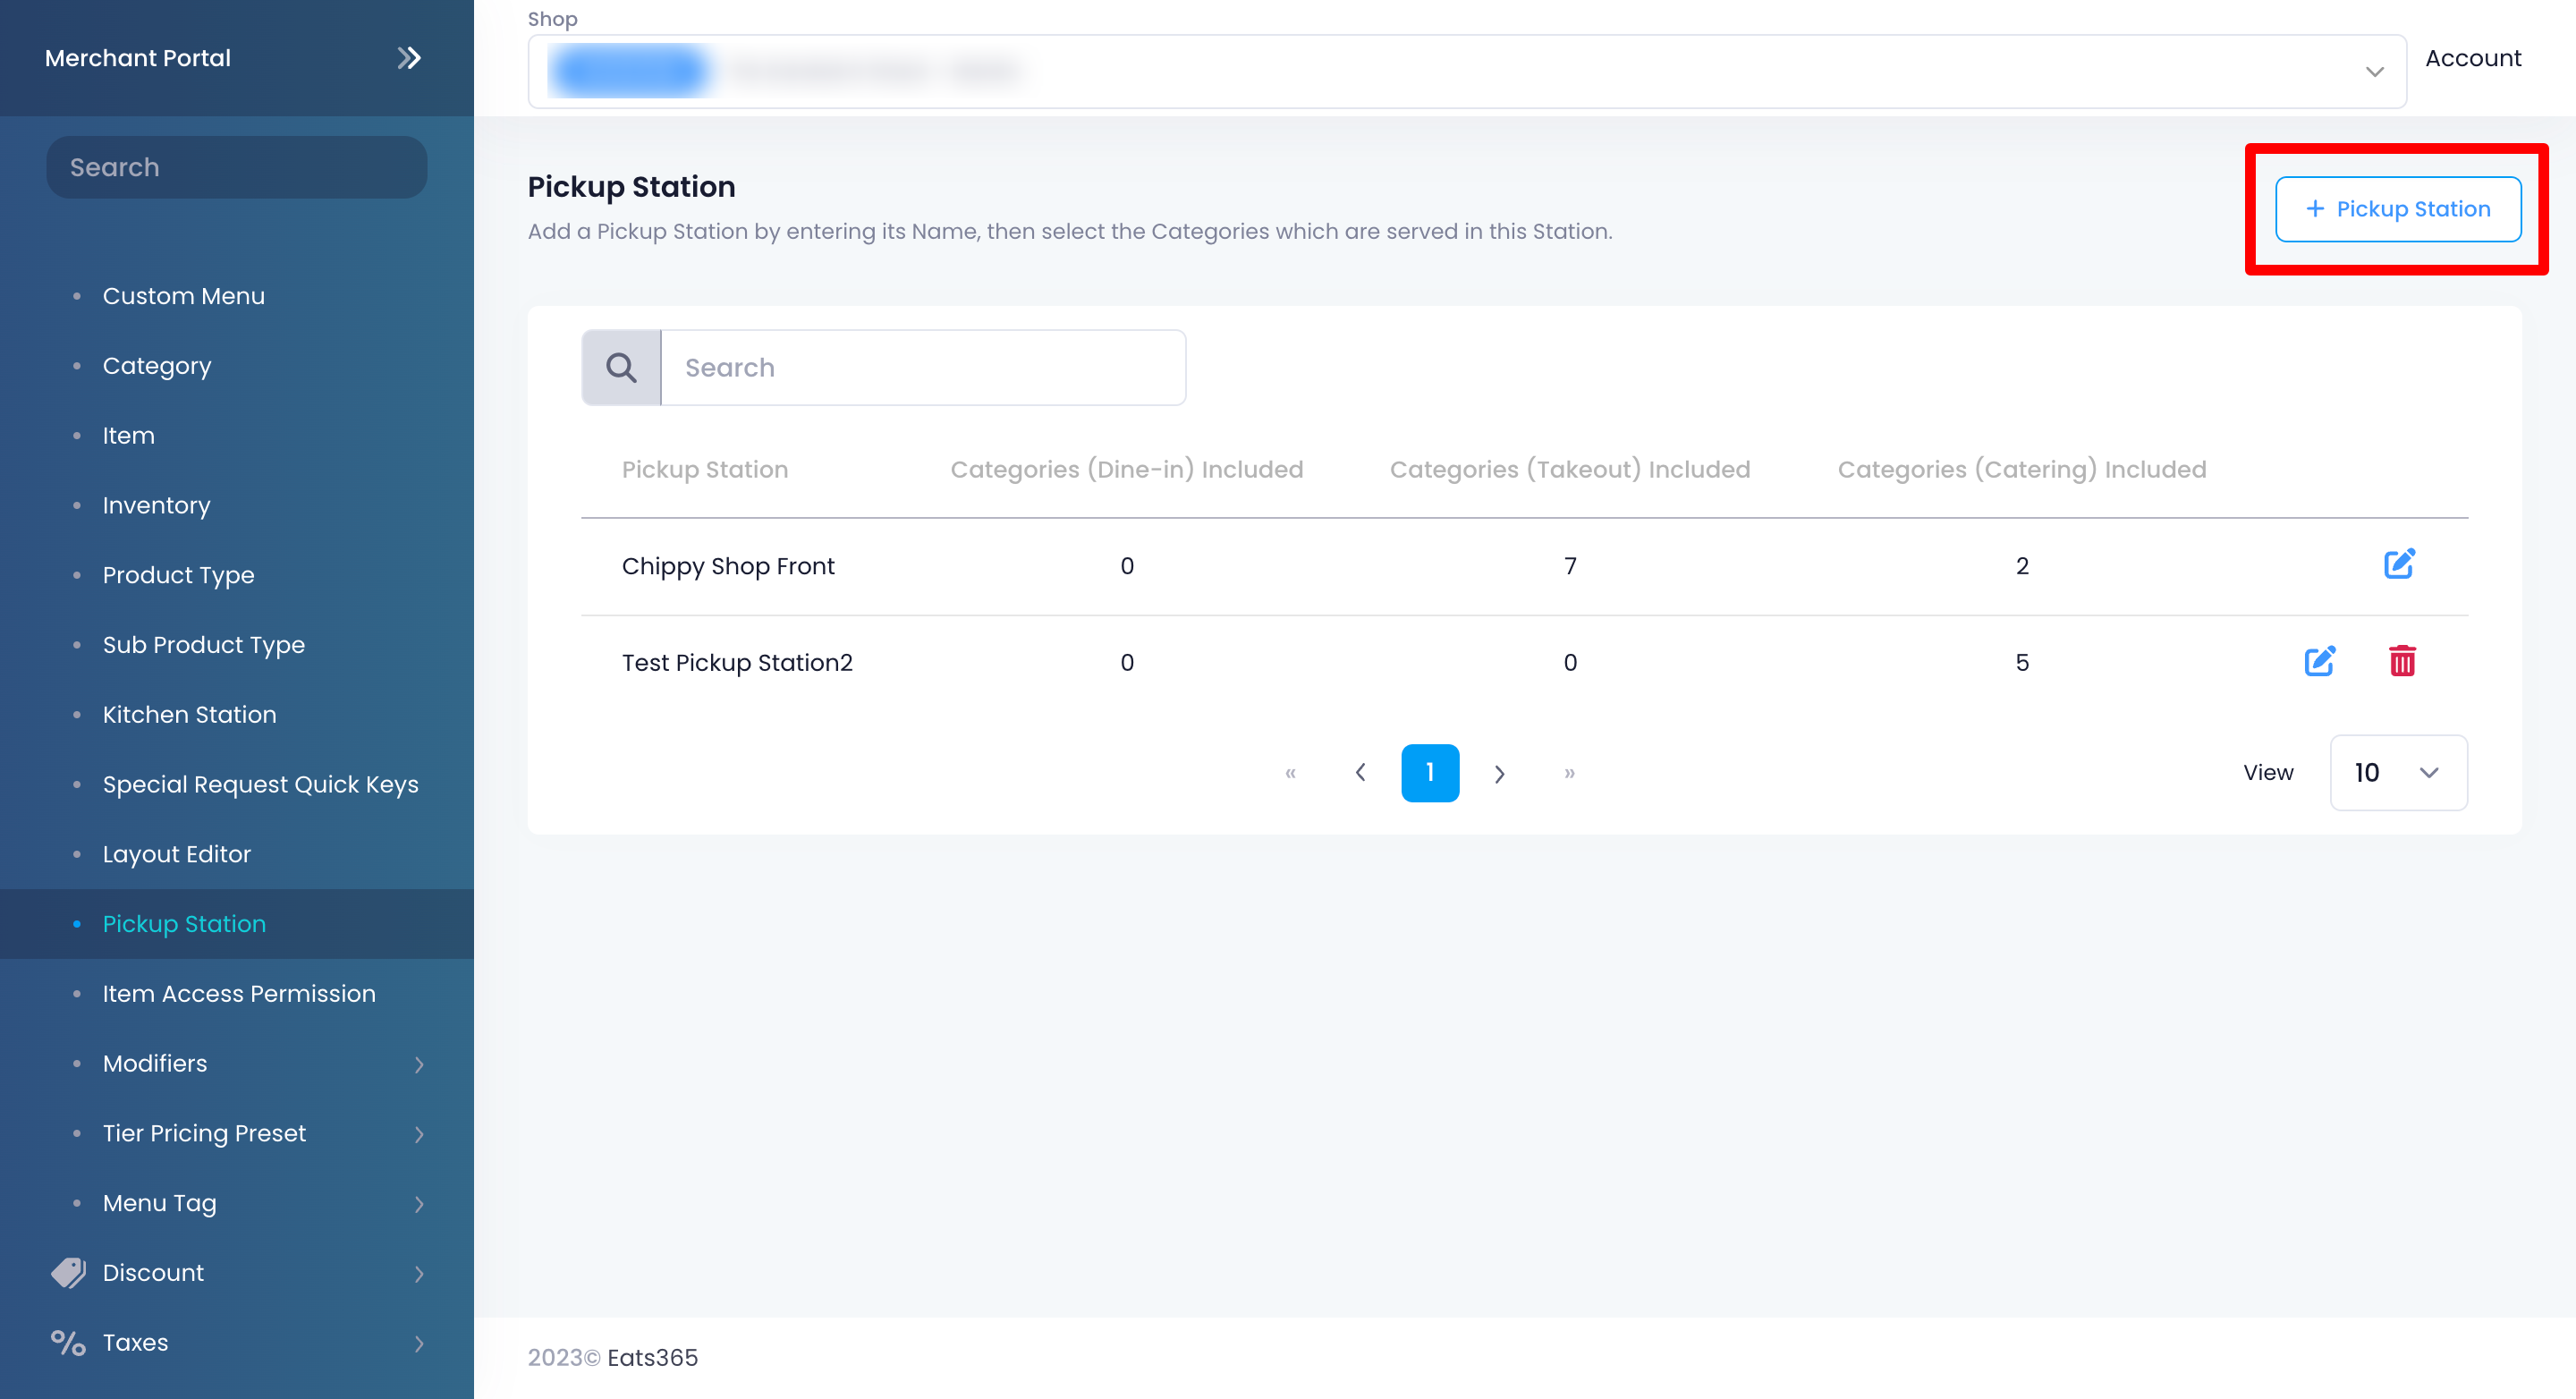
- At the top right, click on +Pickup Station.
- Select the Pickup Station language.
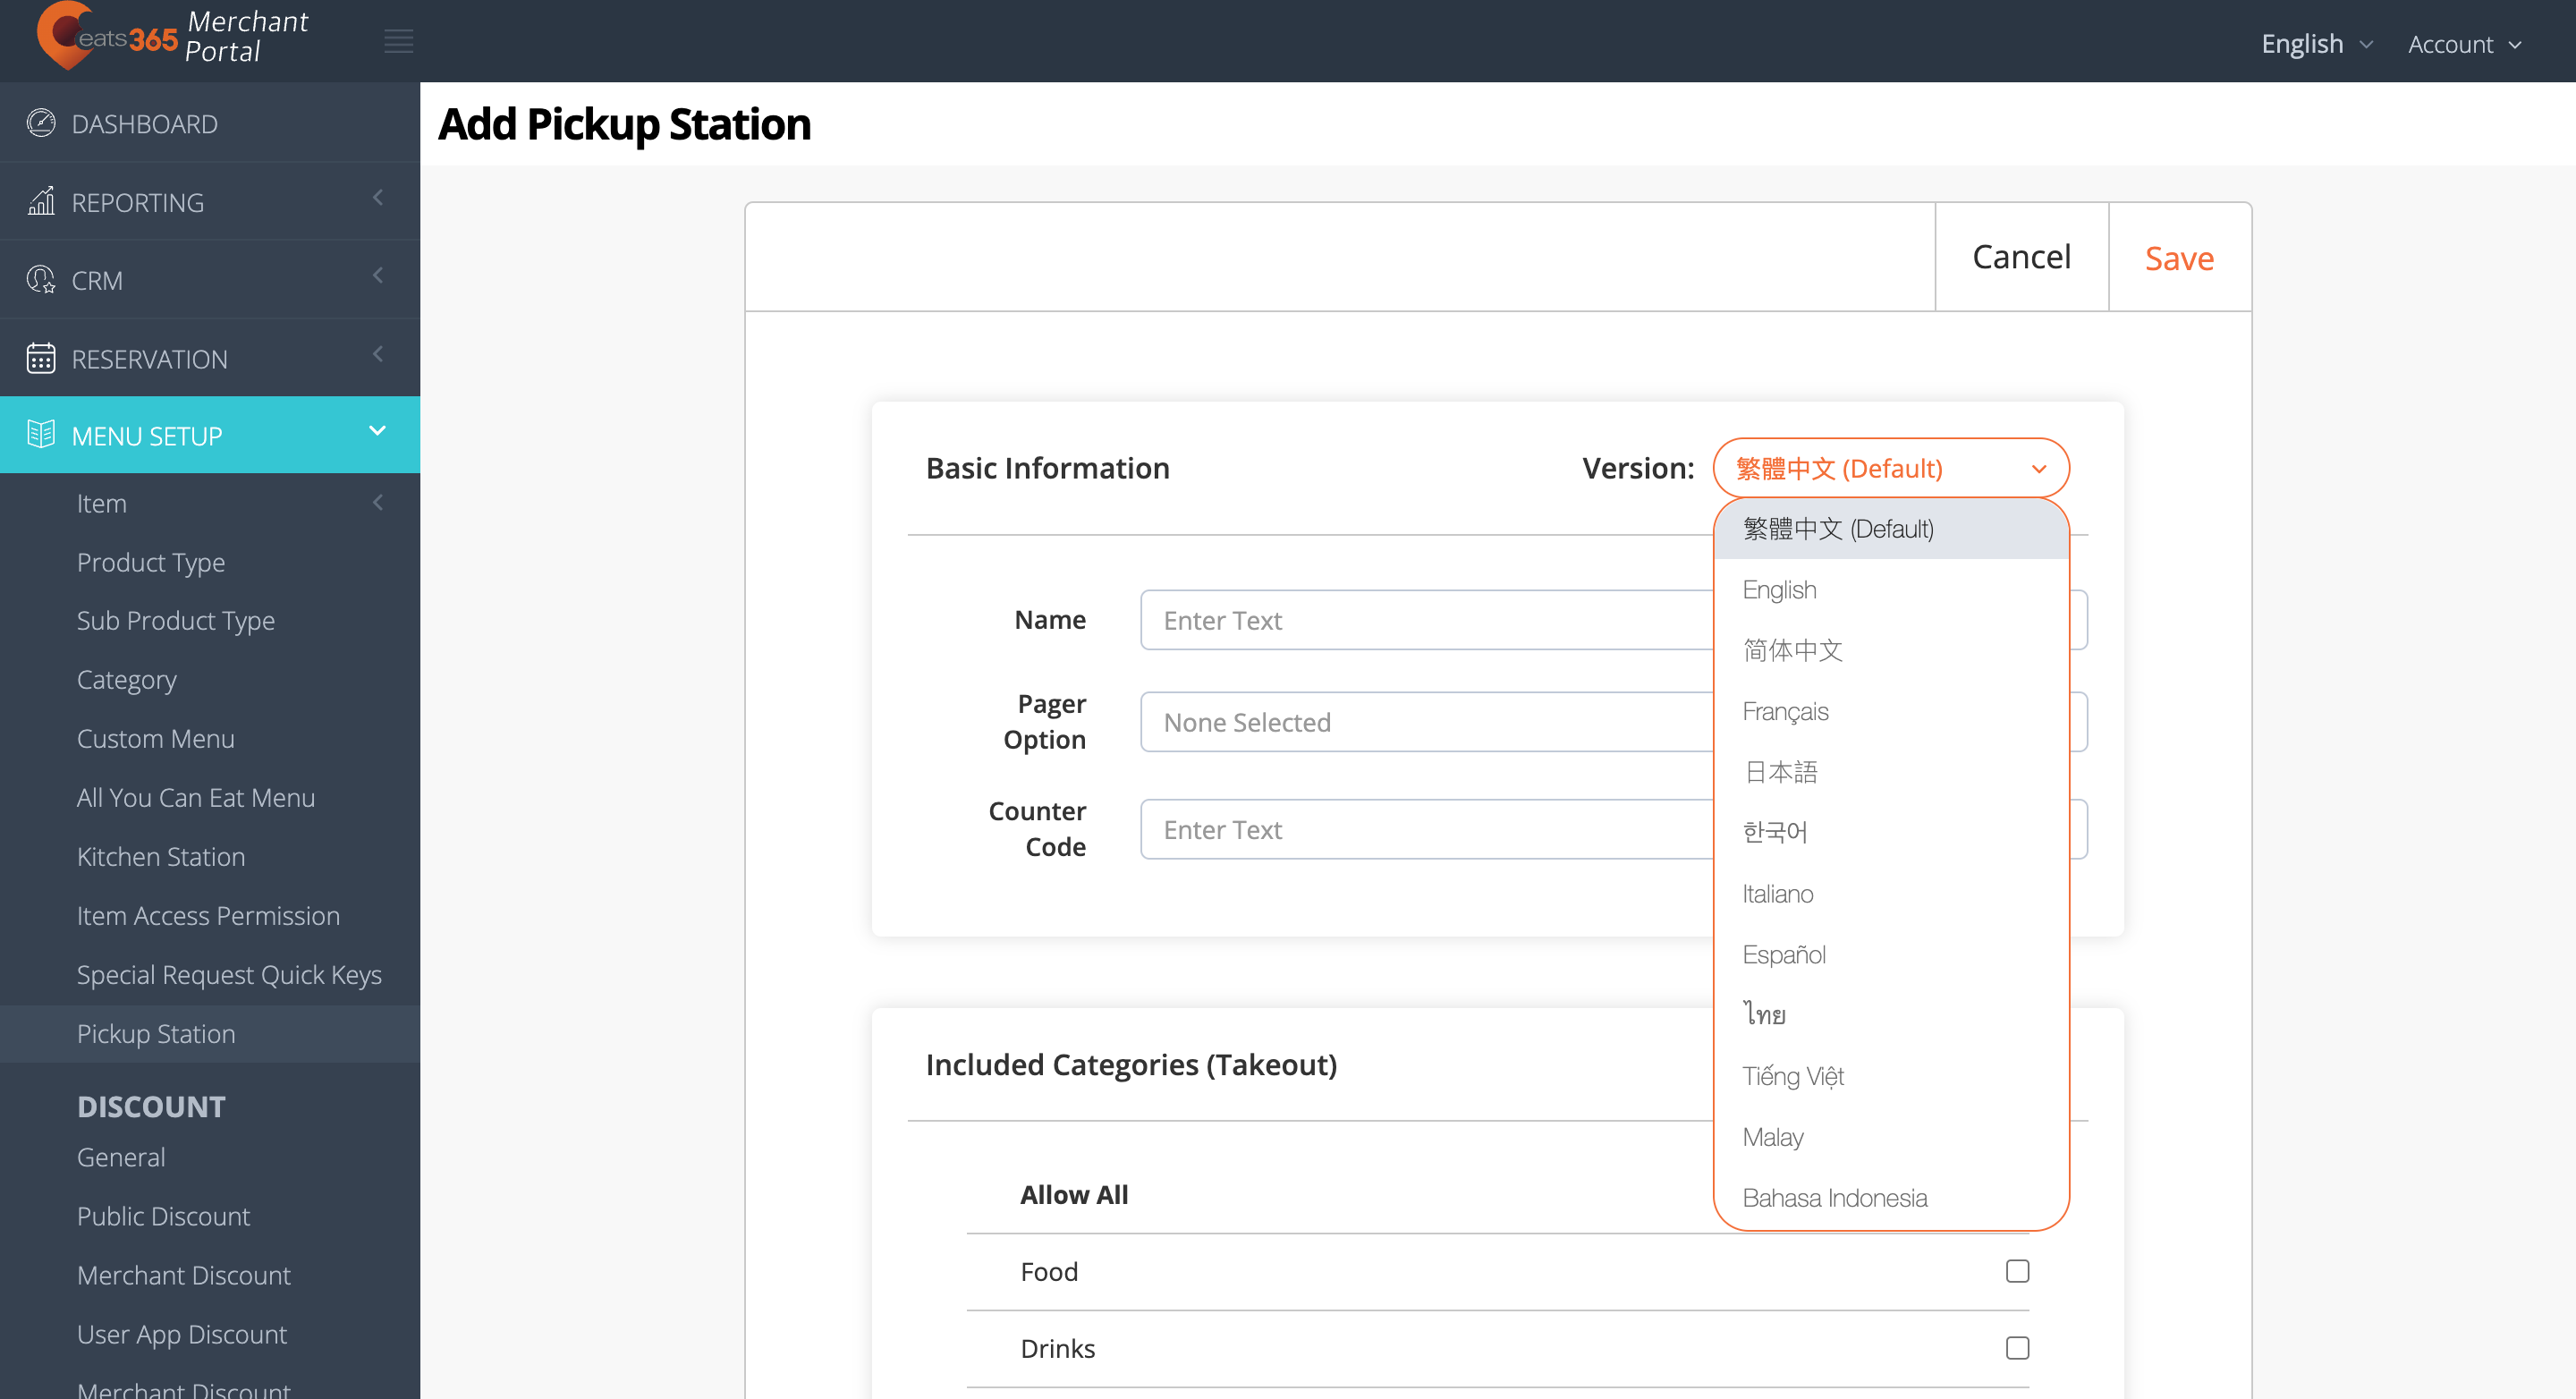
- Enter your preferred Pickup Station name.
- Add a Pager Option or Counter Codeas applicable.
- A Counter Code can be any number you’d like to assign to the Pickup Station.
- If your restaurant uses pagers, select your pager from the Pager Option drop-down list.
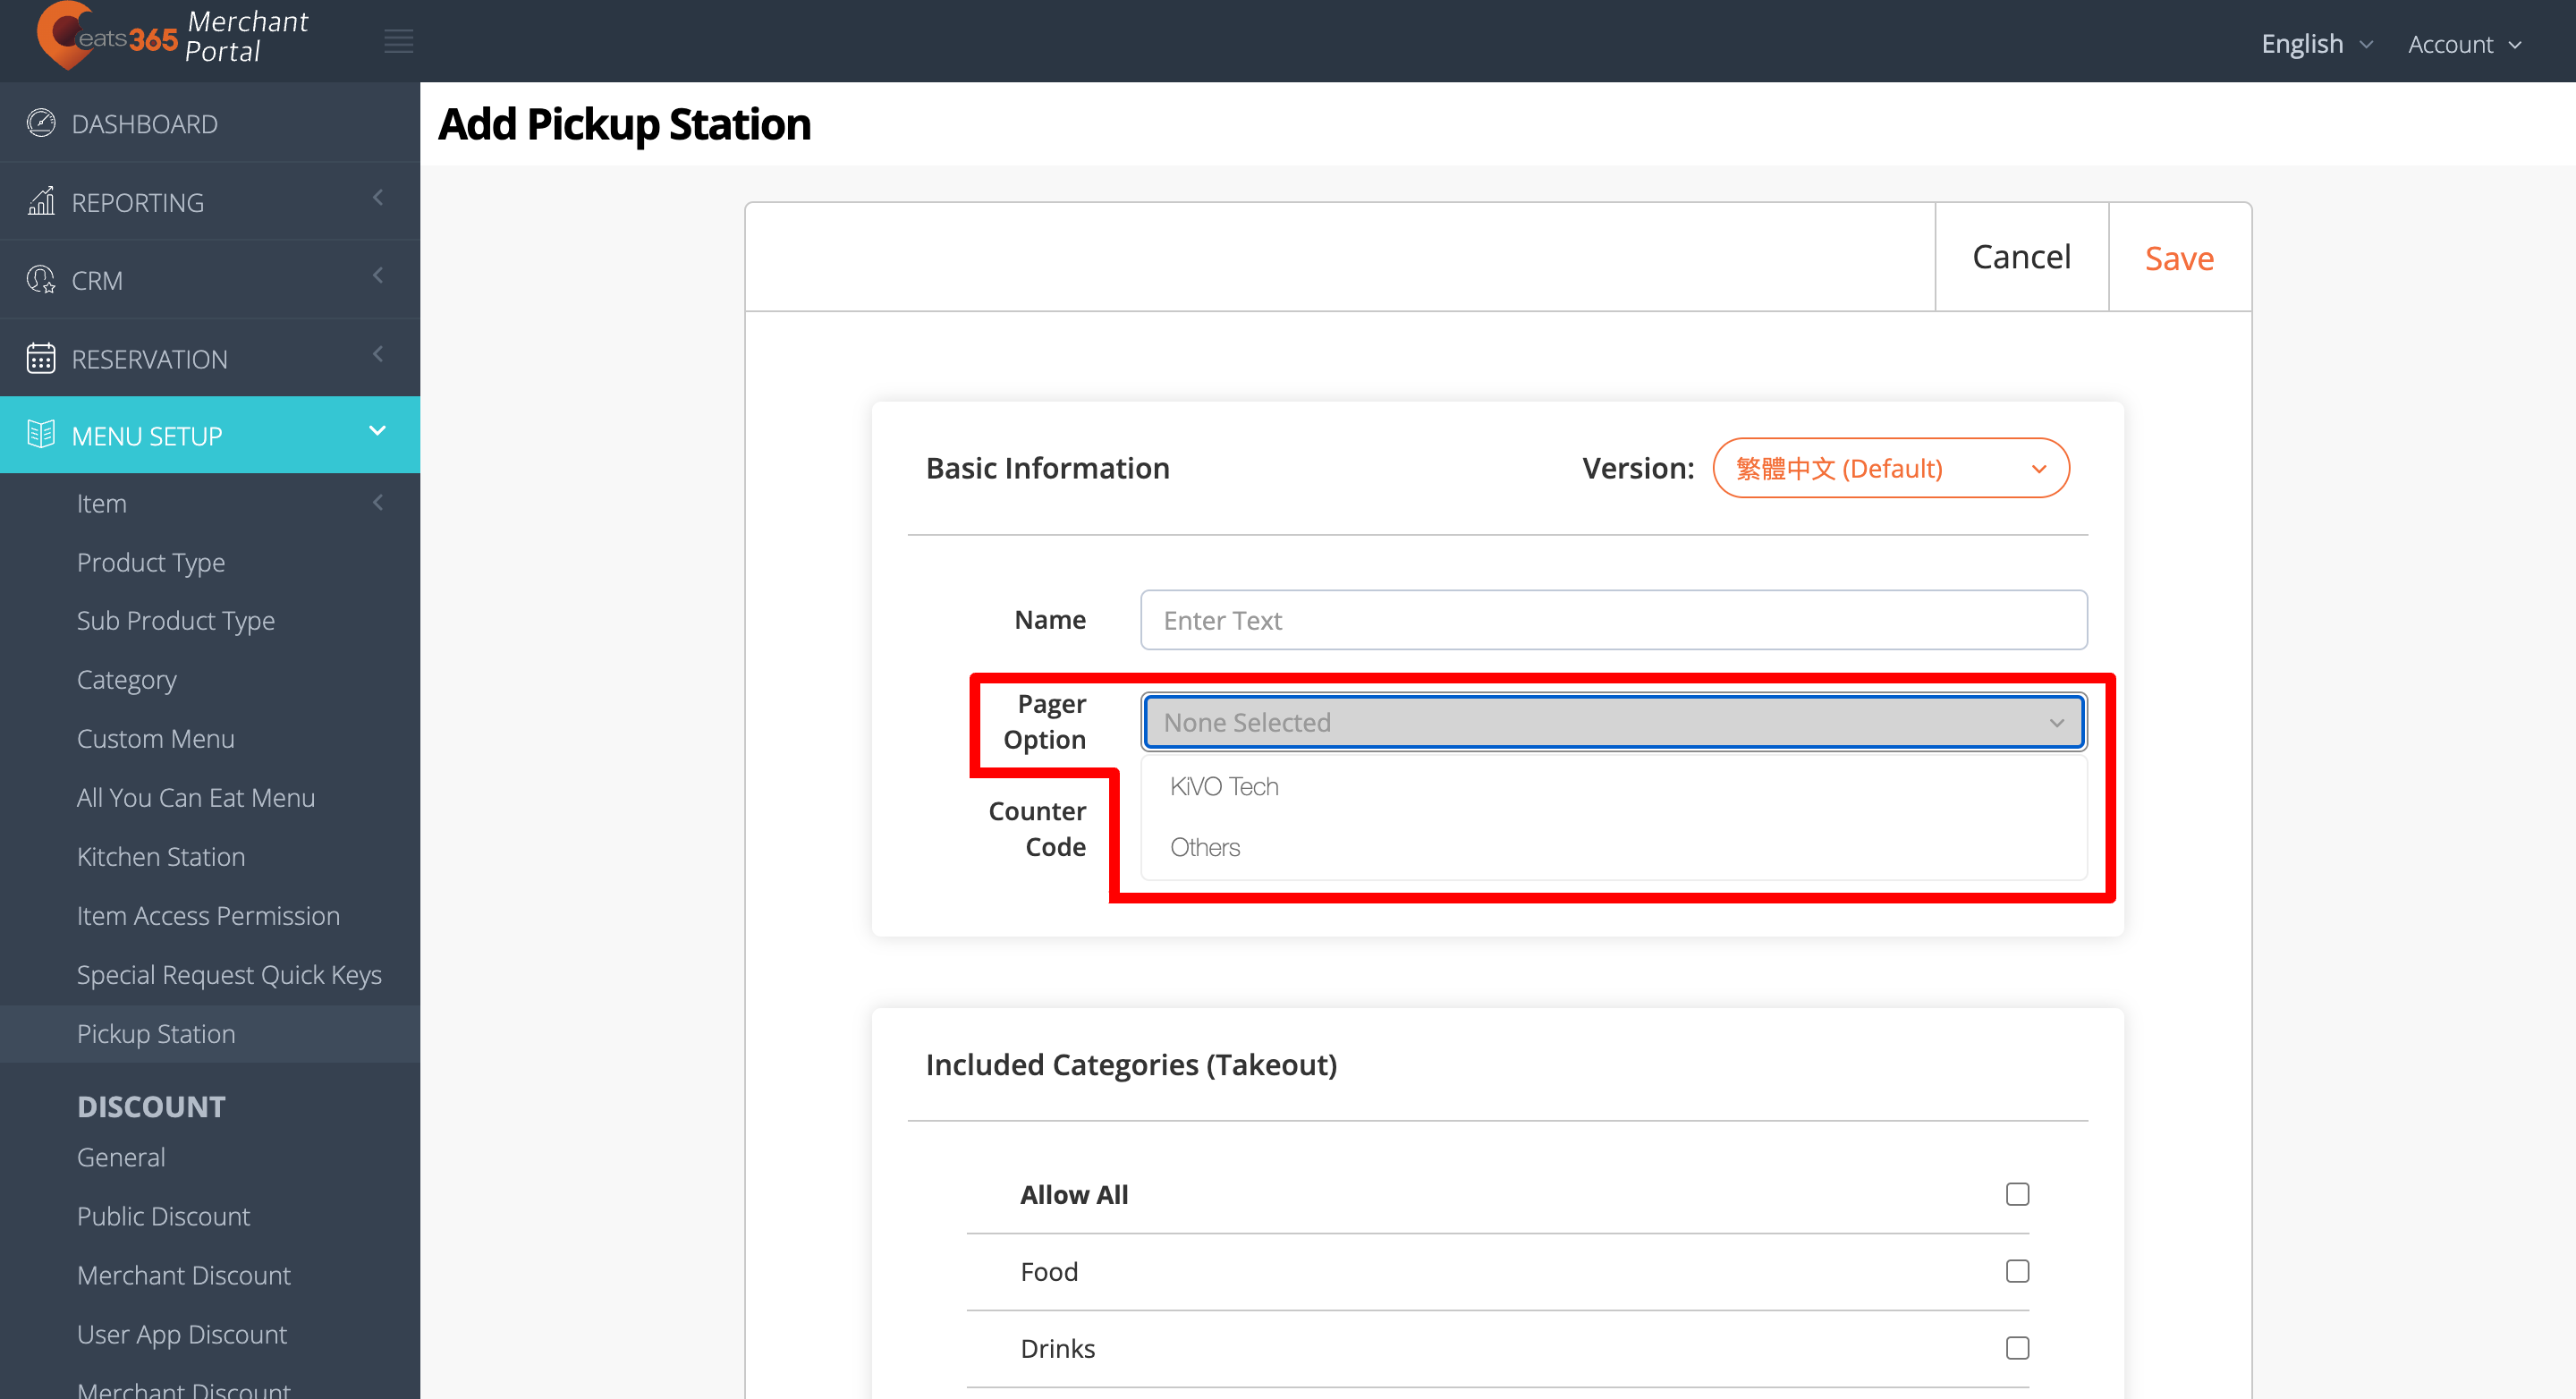
- If you’re using a KiVO pager, select KiVO Tech.
- For other pagers, select Others.
- Under Included Categories, click on the checkbox
 to select the categories that you’d like to include in the Pickup Station you’re creating.
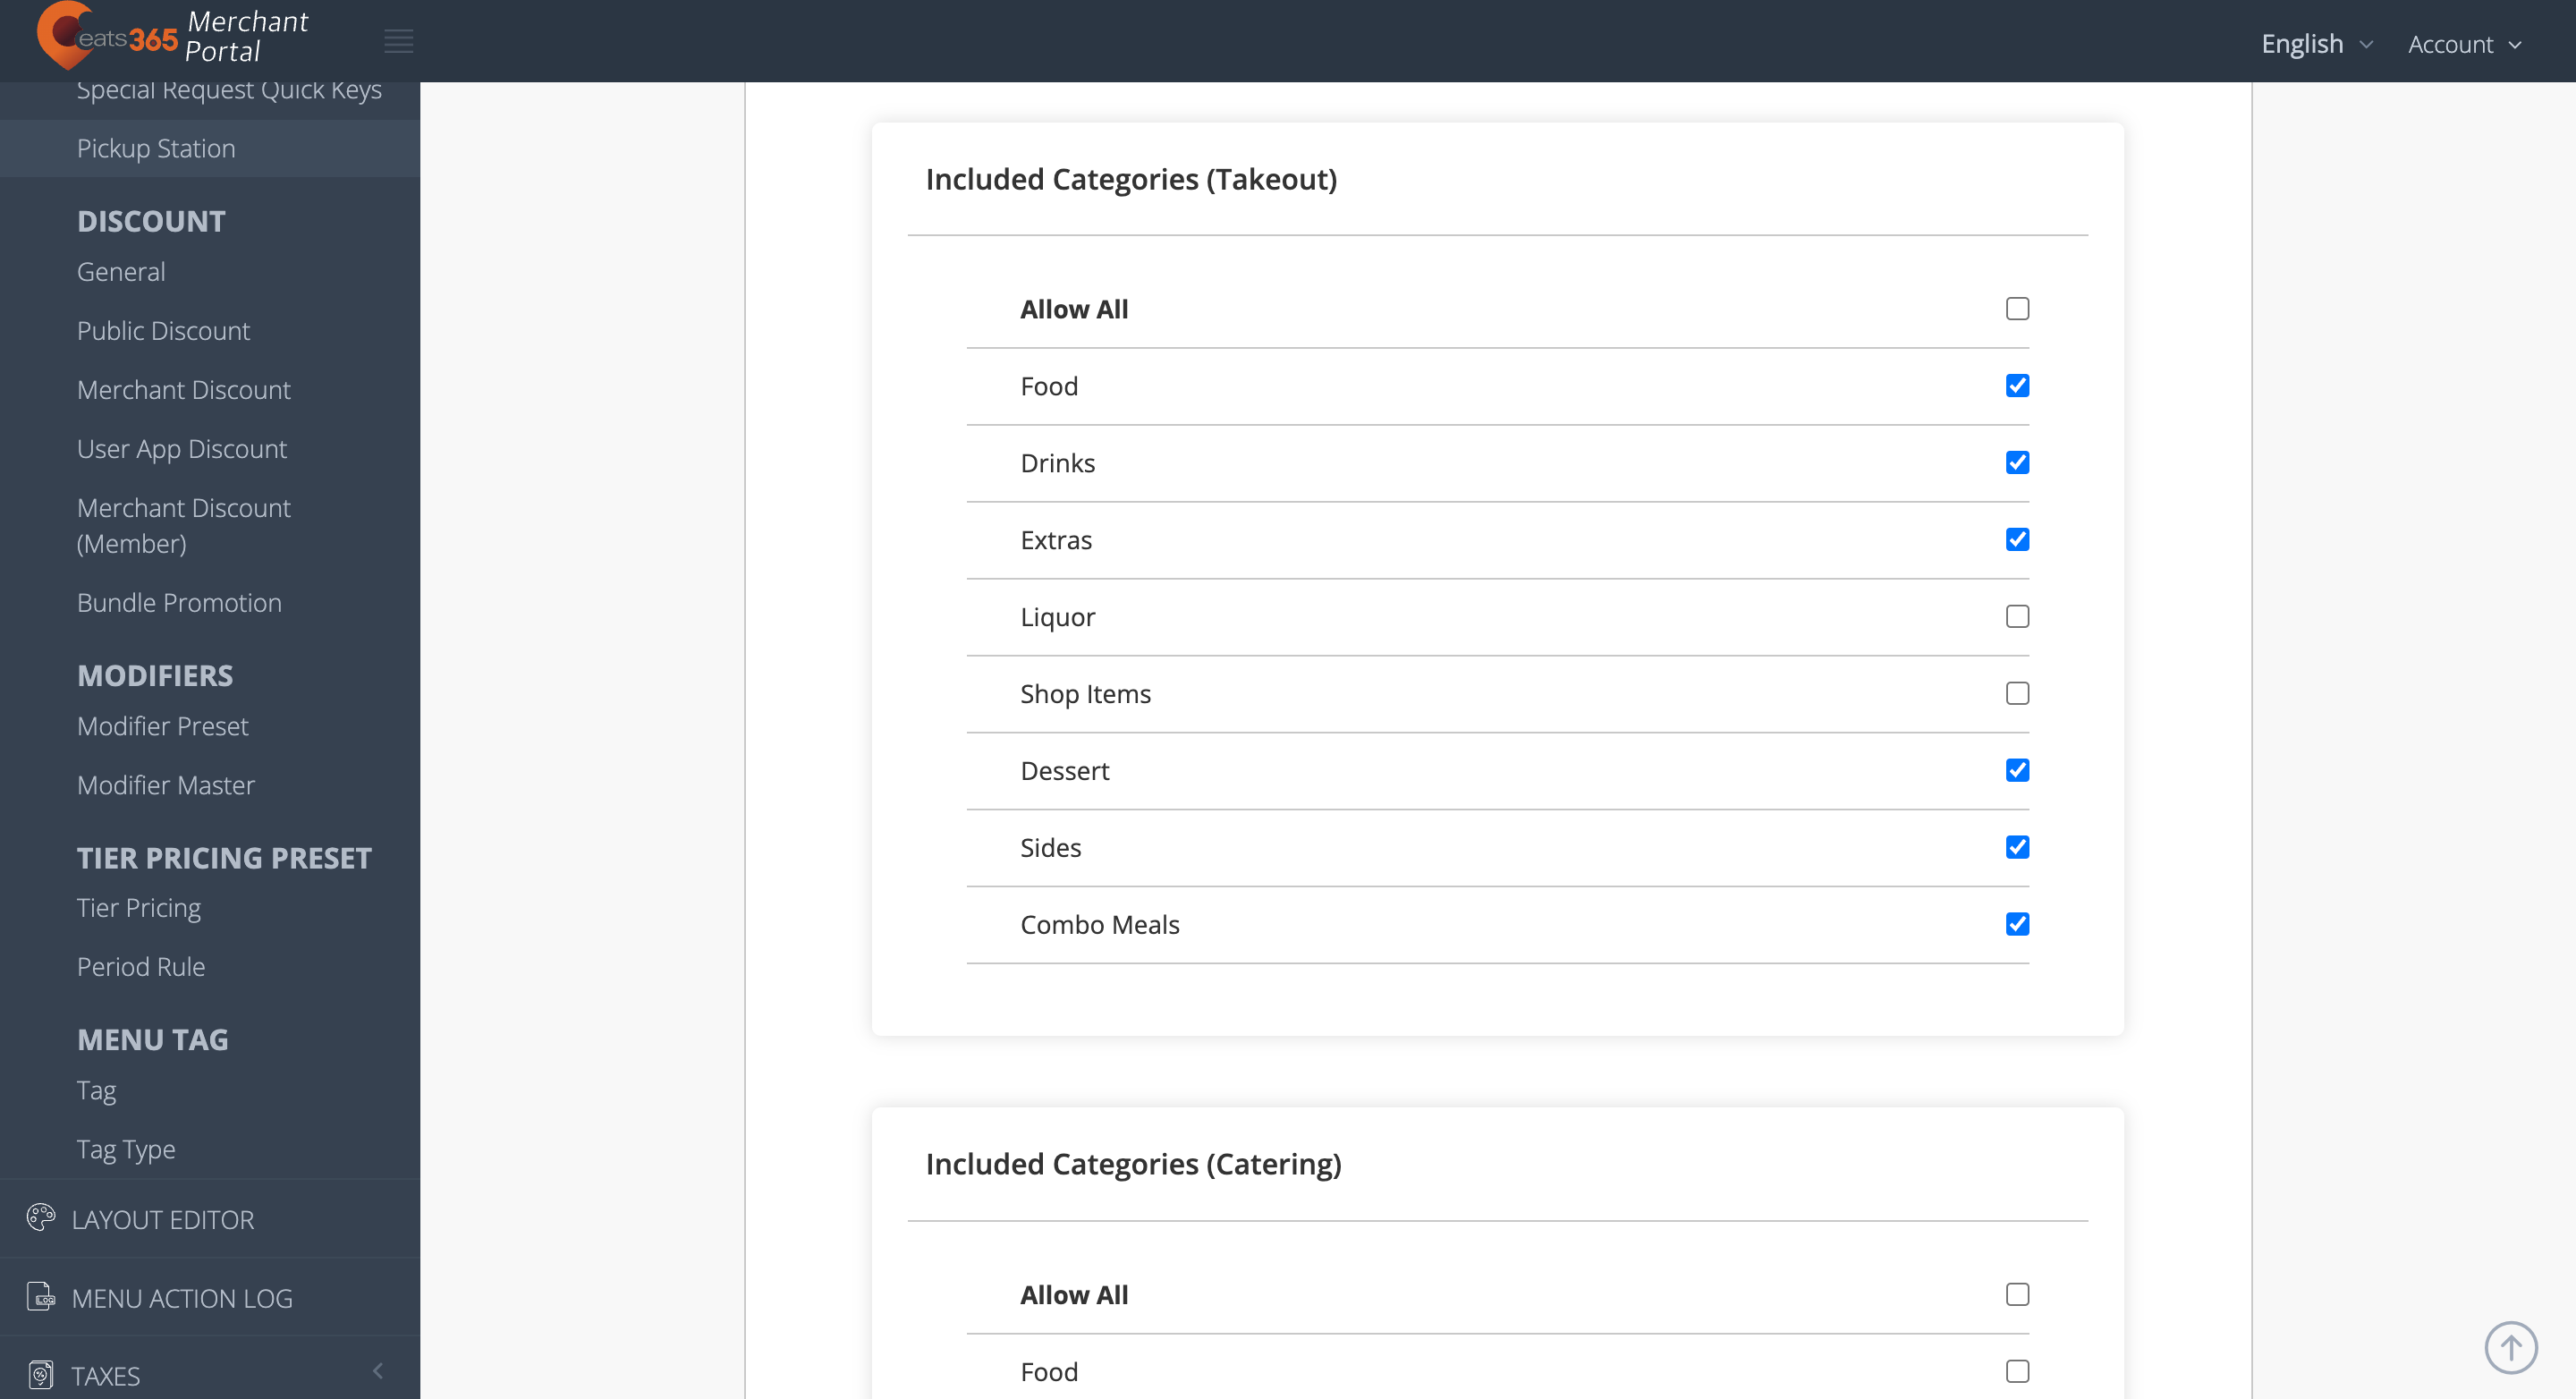 Note: You can only add a particular category to a Pickup Station once. Creating another Pickup Station and selecting a category that already belongs to a Pickup Station removes the category from the previous Pickup Station it originally belonged to.
 - At the top right, click on Save to confirm.
Merchant Portal 2.0
- Log in to the Merchant Portal.
- On the left panel, click on Menu Setup. Then, click on Pickup Station.
- At the top right, click on +Pickup Station.
- Enter your preferred Pickup Station Name per language.
Note: You must enter a default name for the Pickup Station. The name becomes available in the language the POS app is using. To add more languages, click on Add Language.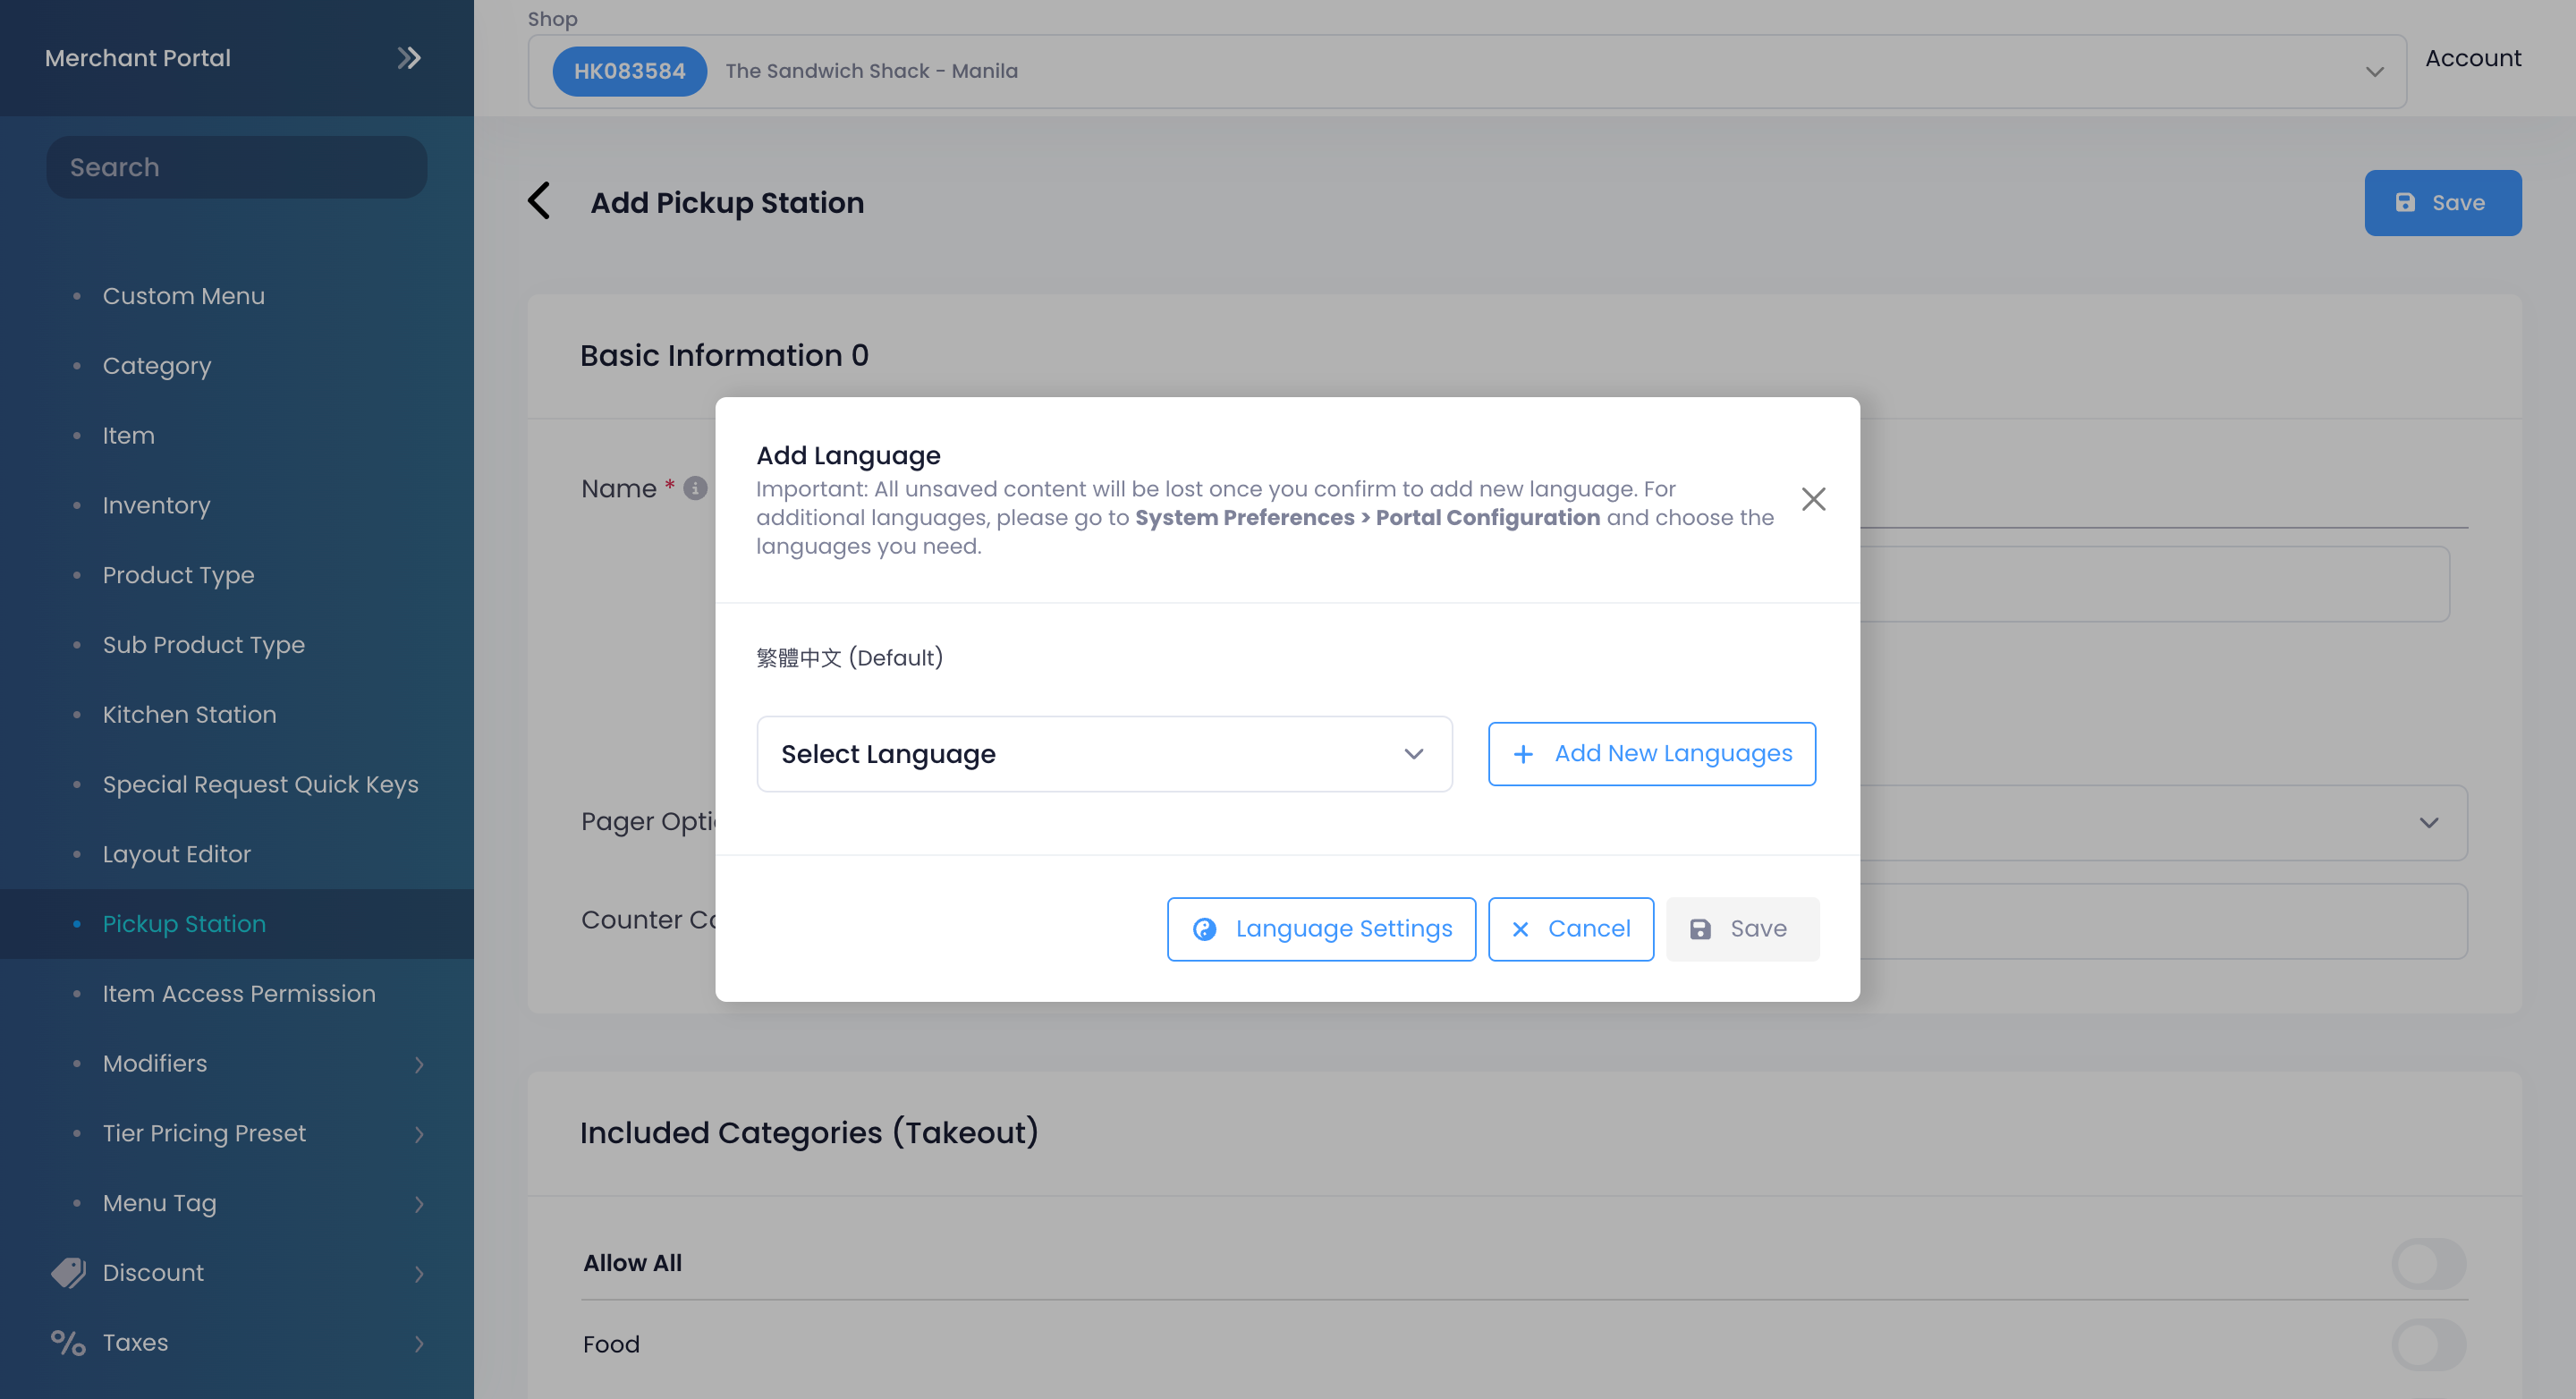
- Add a Pager Option or Counter Code as applicable.
- A Counter Code can be any number you’d like to assign to the Pickup Station.
- If your restaurant makes use of pagers, select your pager from the Pager Option drop-down list.
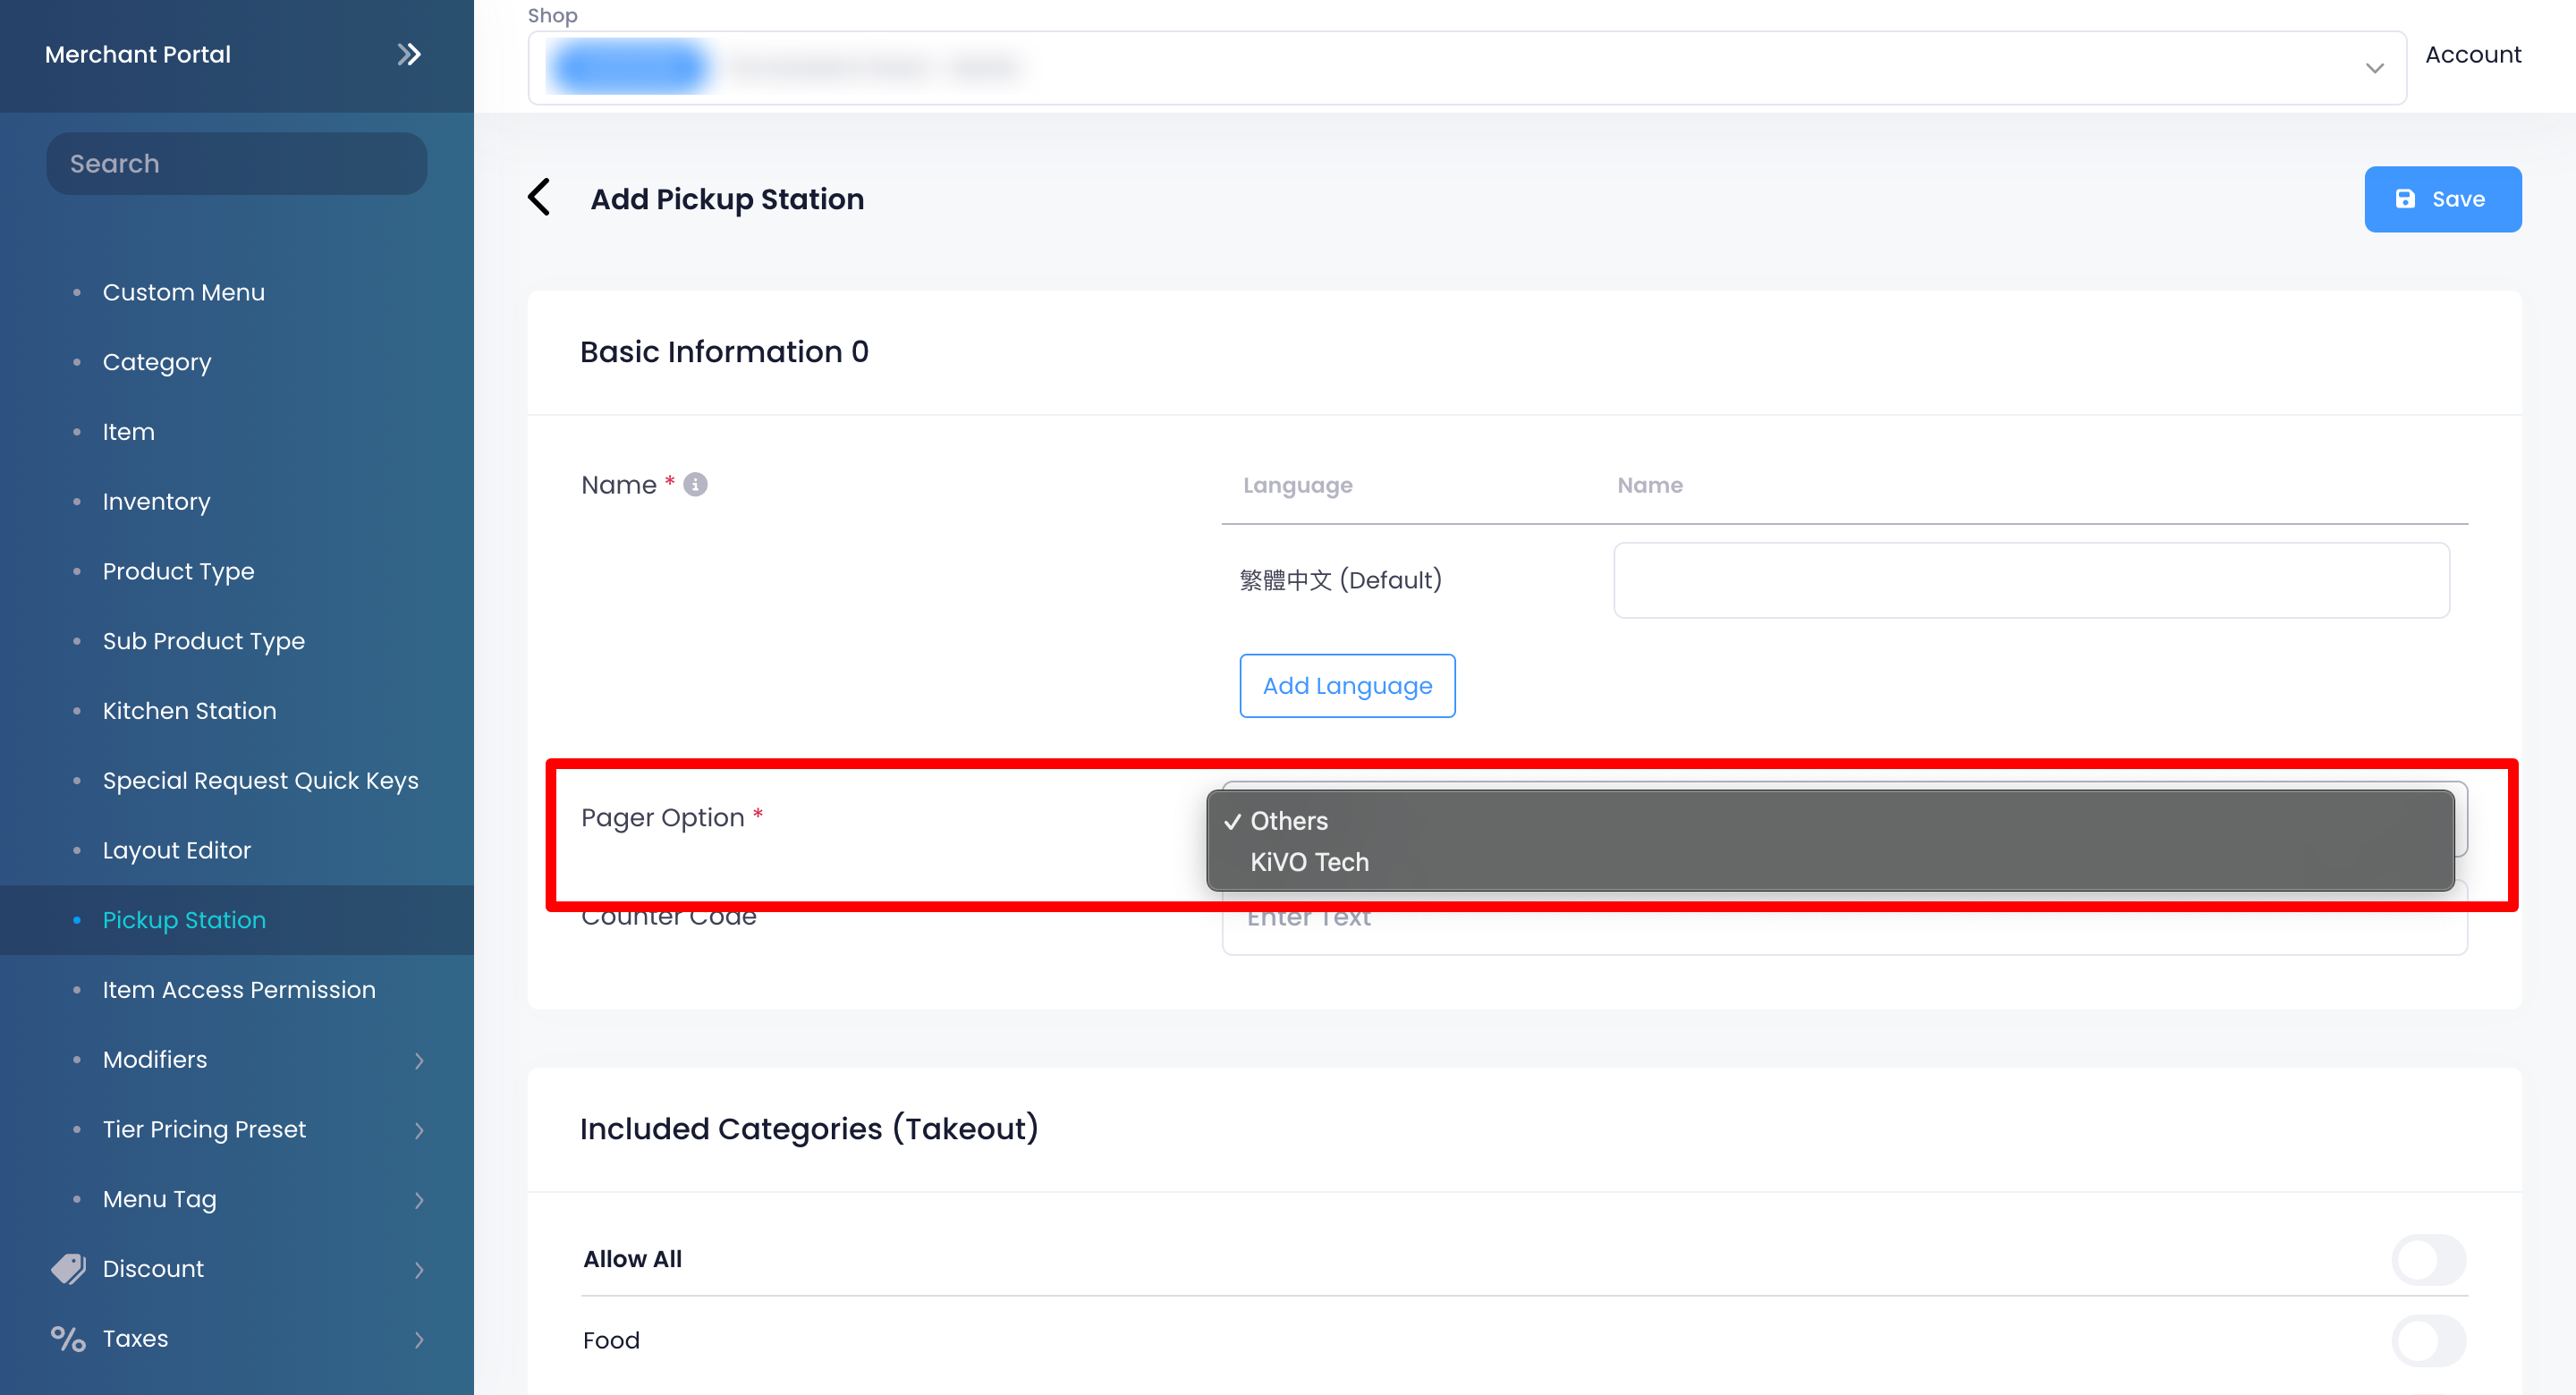
- If you’re using a KiVO pager, select KiVO Tech.
- For other pagers, select Others.
- Under Included Categories, toggle
 the categories that you’d like to include for the Pickup Station you’re creating.
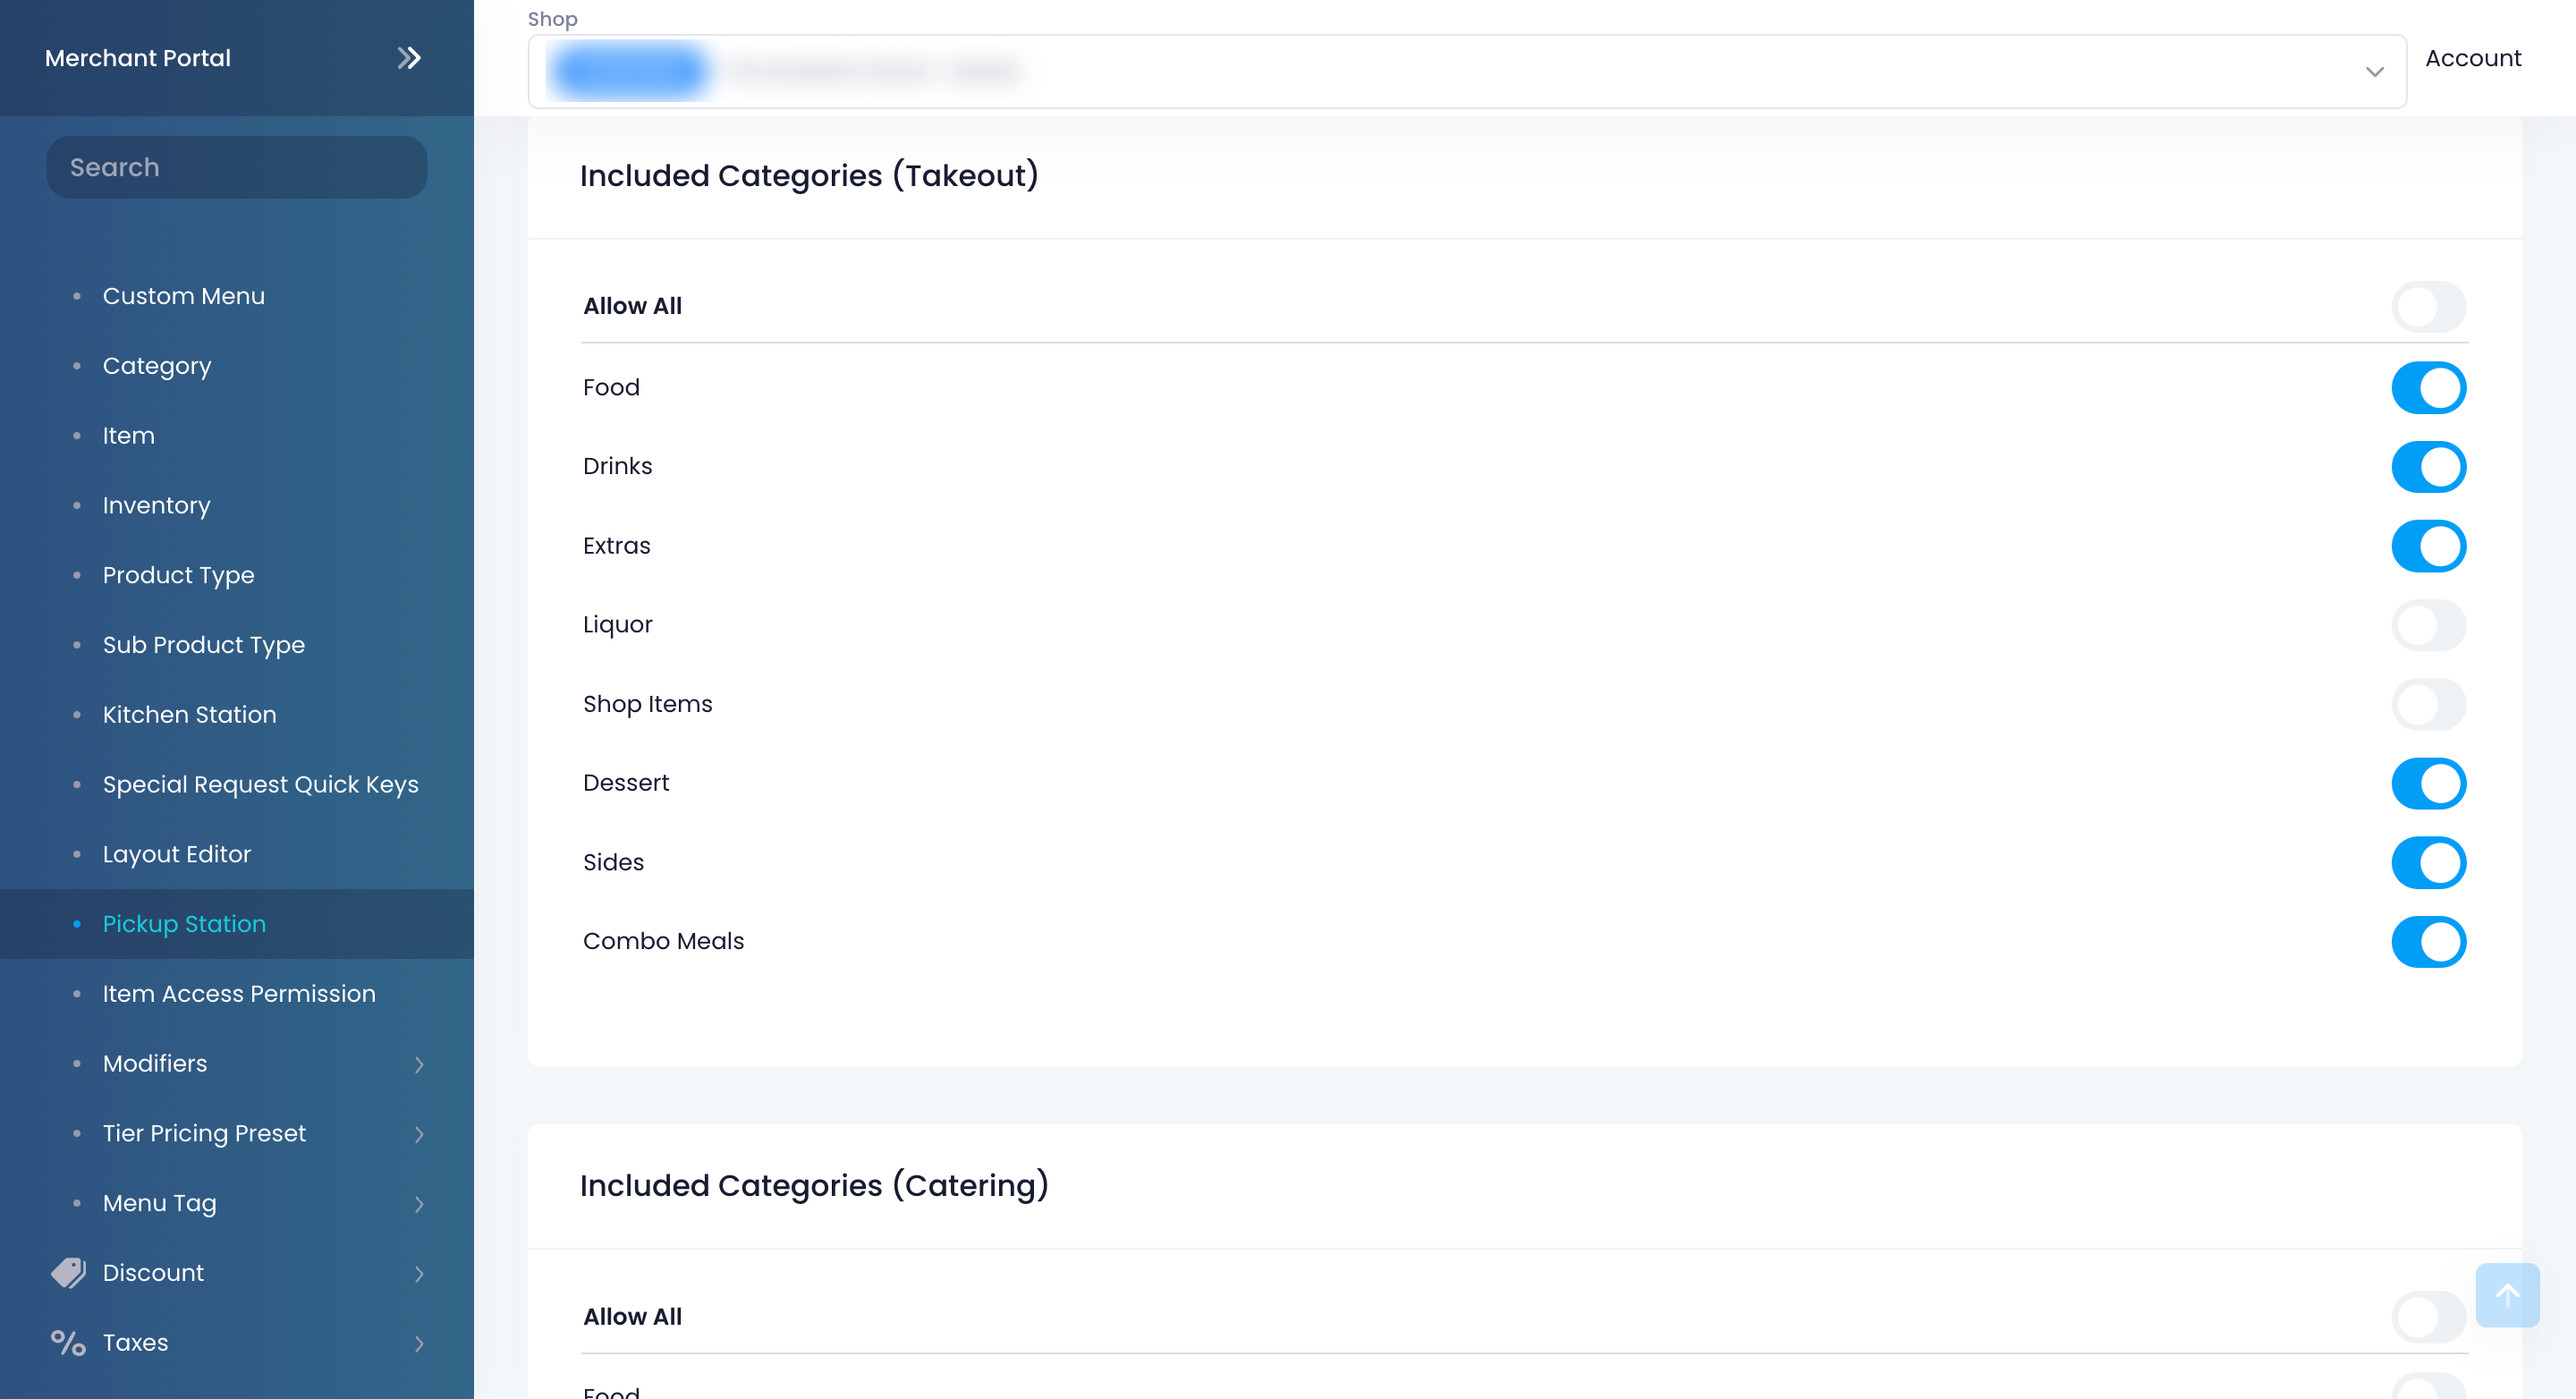 Note: You can only add a particular category to a Pickup Station once. Creating another Pickup Station and selecting a category that already belongs to a Pickup Station removes the category from the previous Pickup Station it originally belonged to.
 - At the top right, click on Save to confirm.
Once created, you can use the eSignage module to display orders that are ready for pickup for the Pickup Station that you created.