 Eats365 Products
 Merchant Guide
 Modules
 Membership
 Integrations
 Hardware
 Staff Operations
 Roles & Permissions
 Payments
 Reports
 What’s New
 Release Notes
 Troubleshooting
 Simulators
 Glossary
 Troubleshooter
 System Status
Restaurant Settings
All Product
Table of Contents
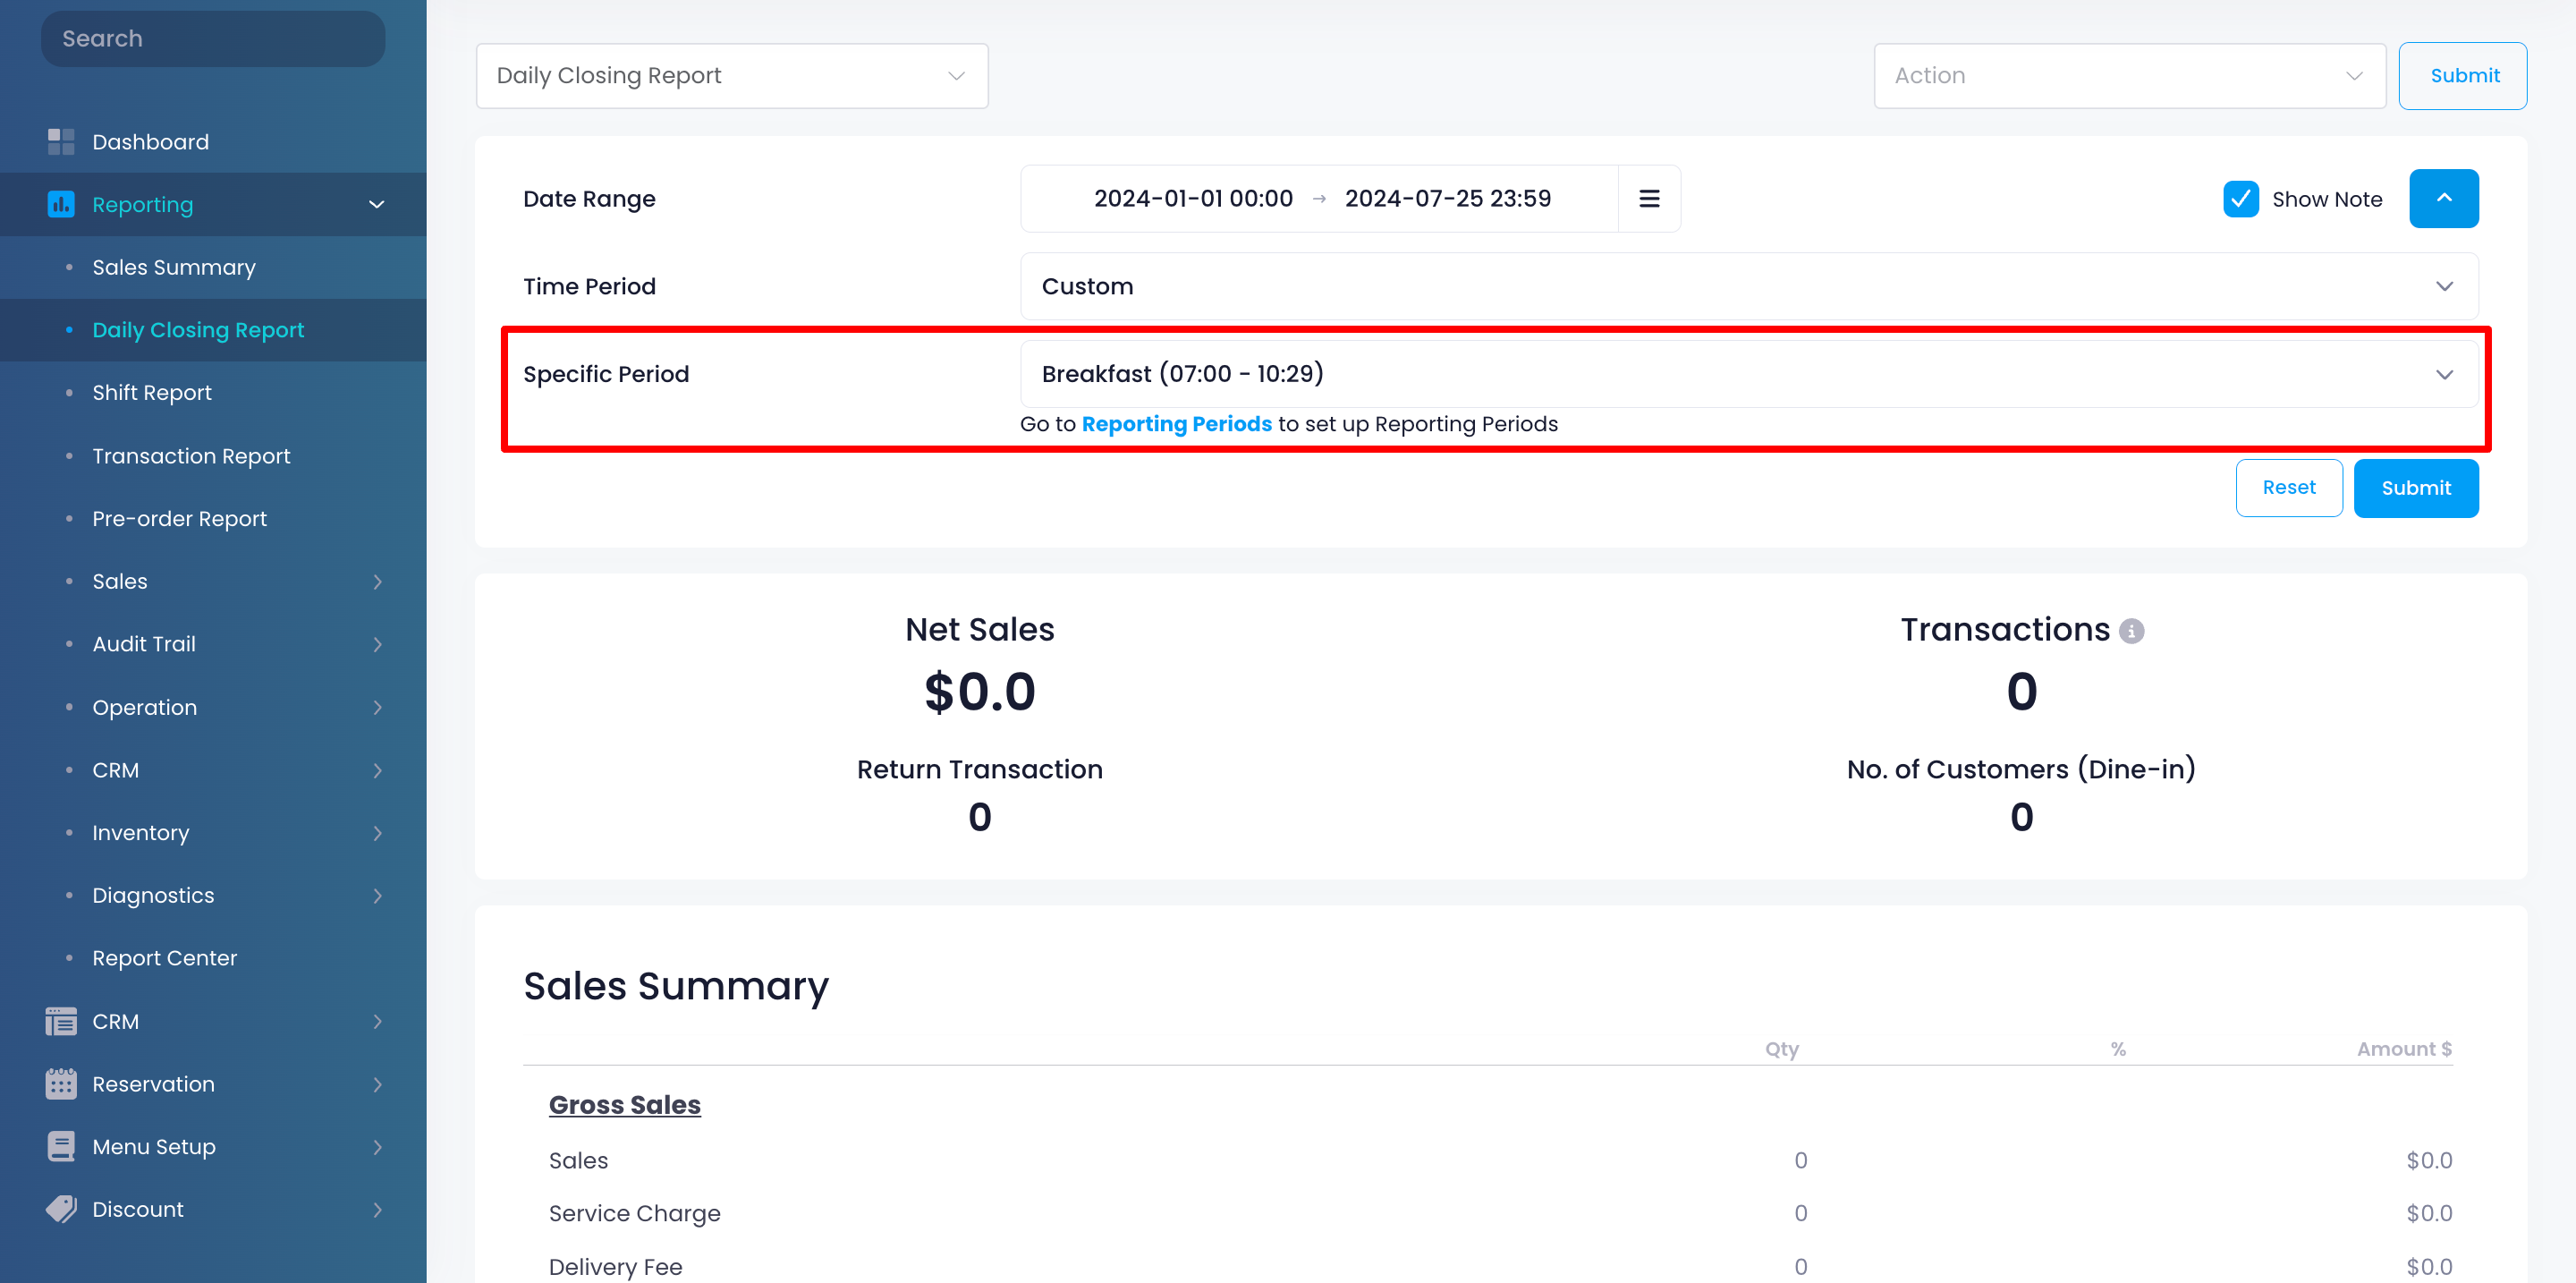
Set up and manage a Reporting Period
Learn how to create a reporting period that can be used to track sales during a specific time slot on the Merchant Portal.
A Reporting Period allows you to track sales and transactions generated over a set period of time. For example, you can set up a reporting period for “Lunch Hour” from 12 PM to 1 PM. When a relevant report is generated, you’ll find a separate sales summary for Lunch Hour.
In this article, you’ll learn how to add, modify, and delete a reporting period.
Create a reporting period
To create a reporting period, follow the steps below:
Merchant Portal (Classic Theme)
- Log in to the Merchant Portal.
- On the left panel, click on Restaurant Settings. Then, click on Basic Information.
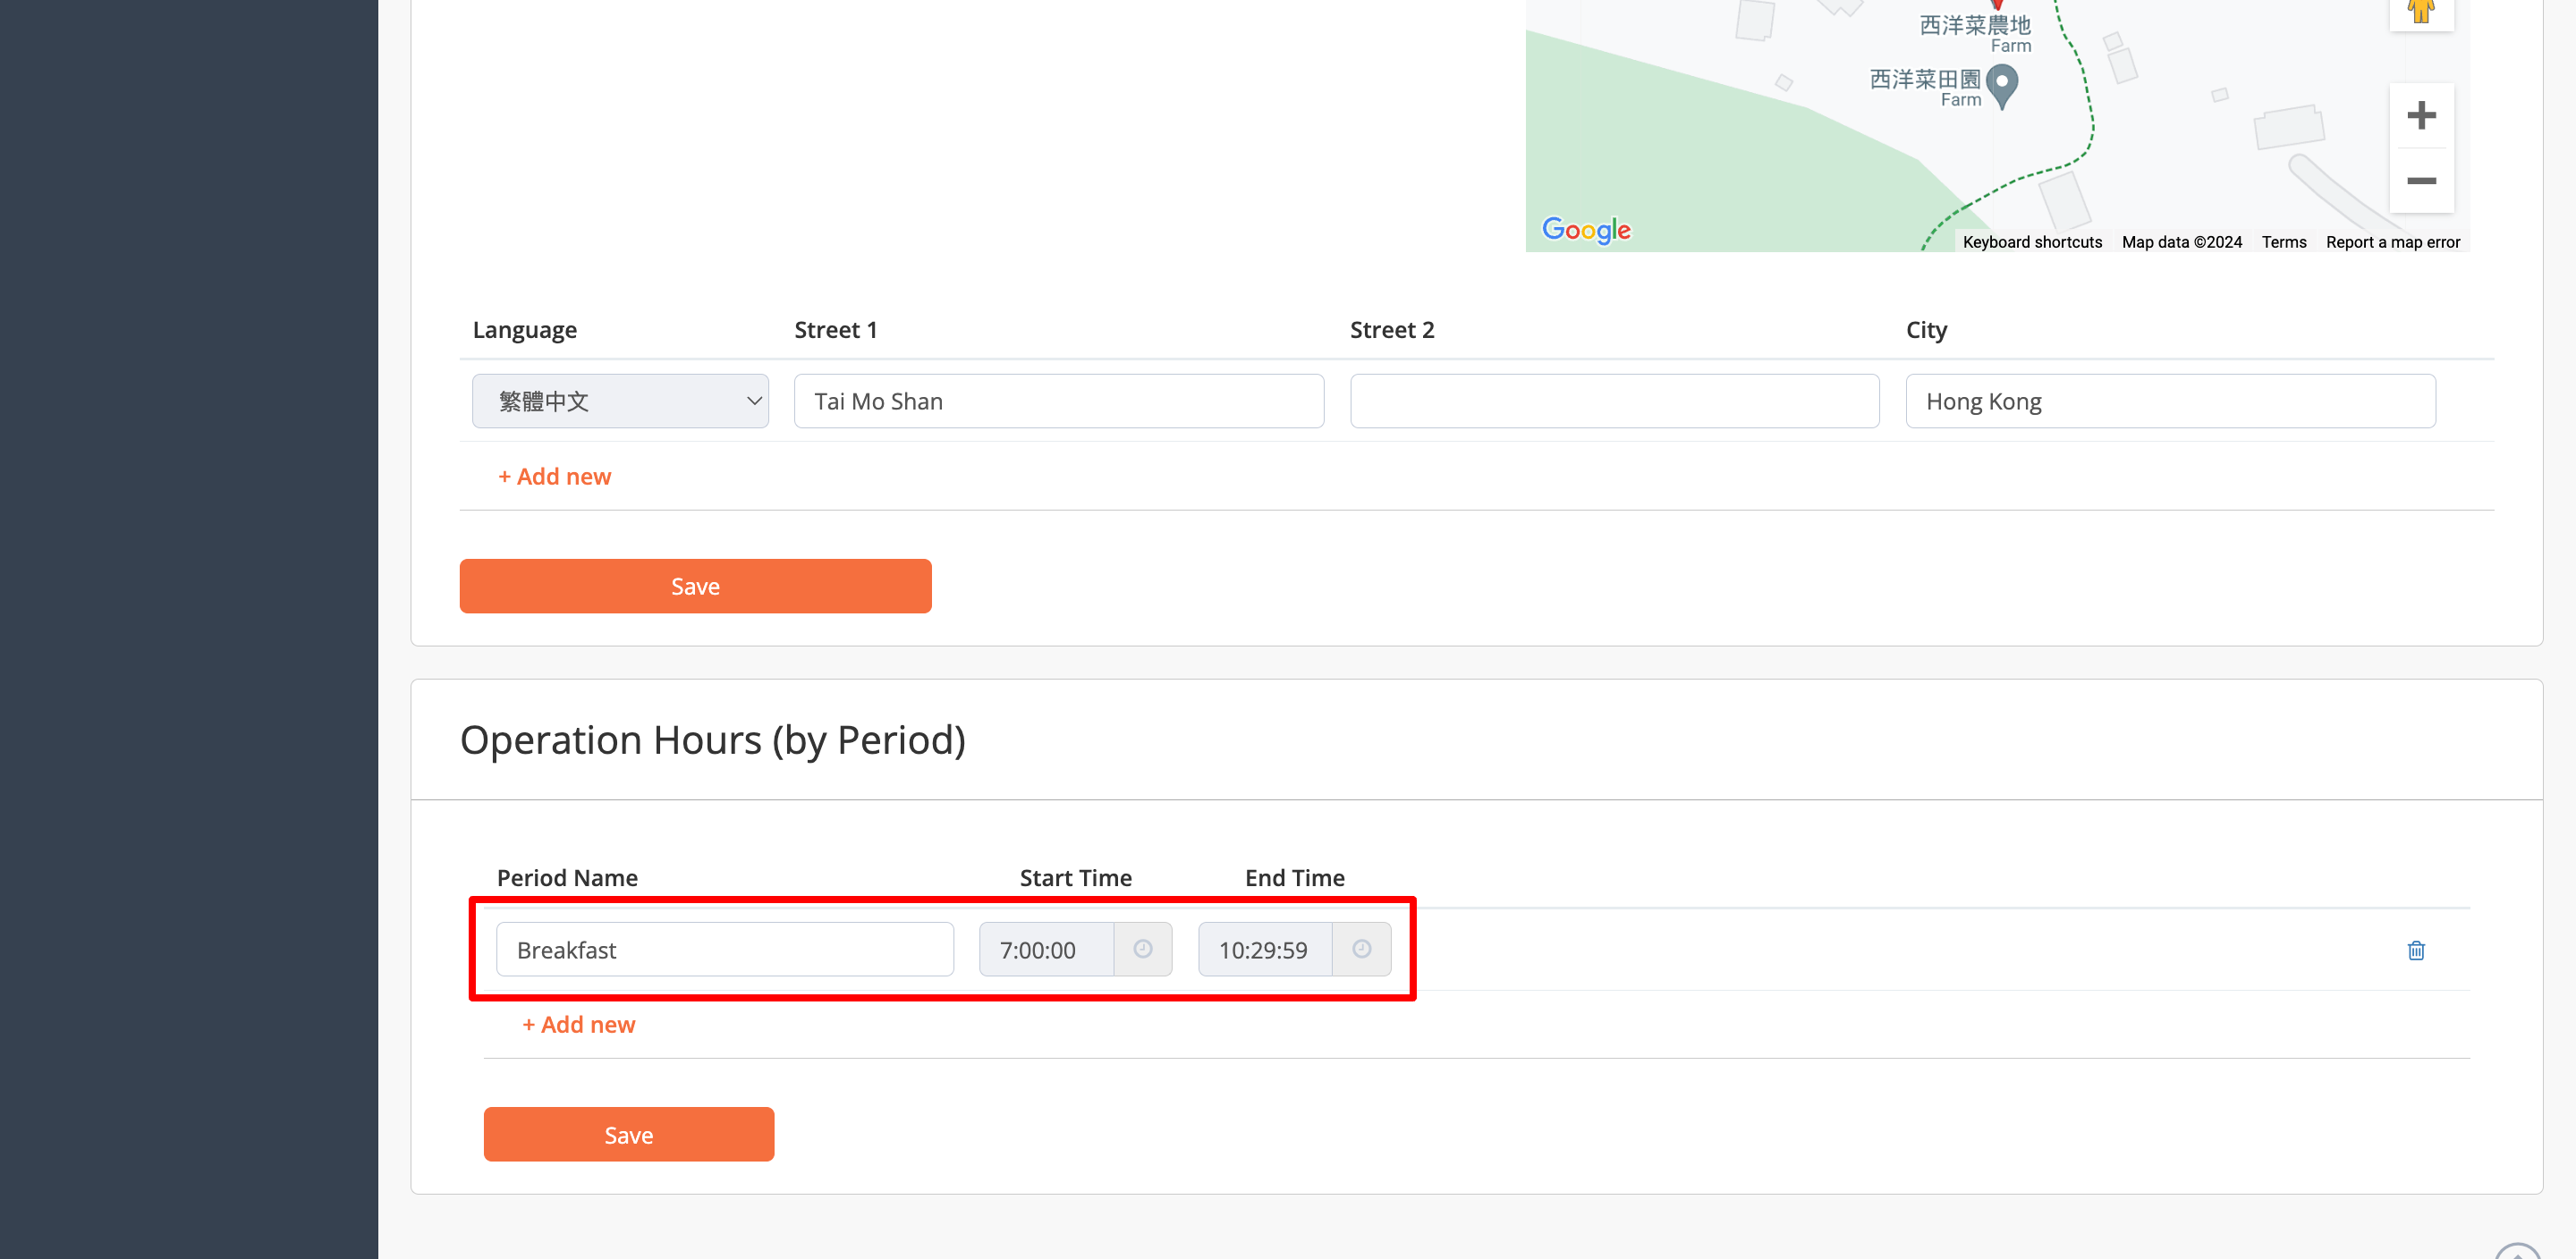
- Under "Operation Hours (by Period)," click on +Add New.
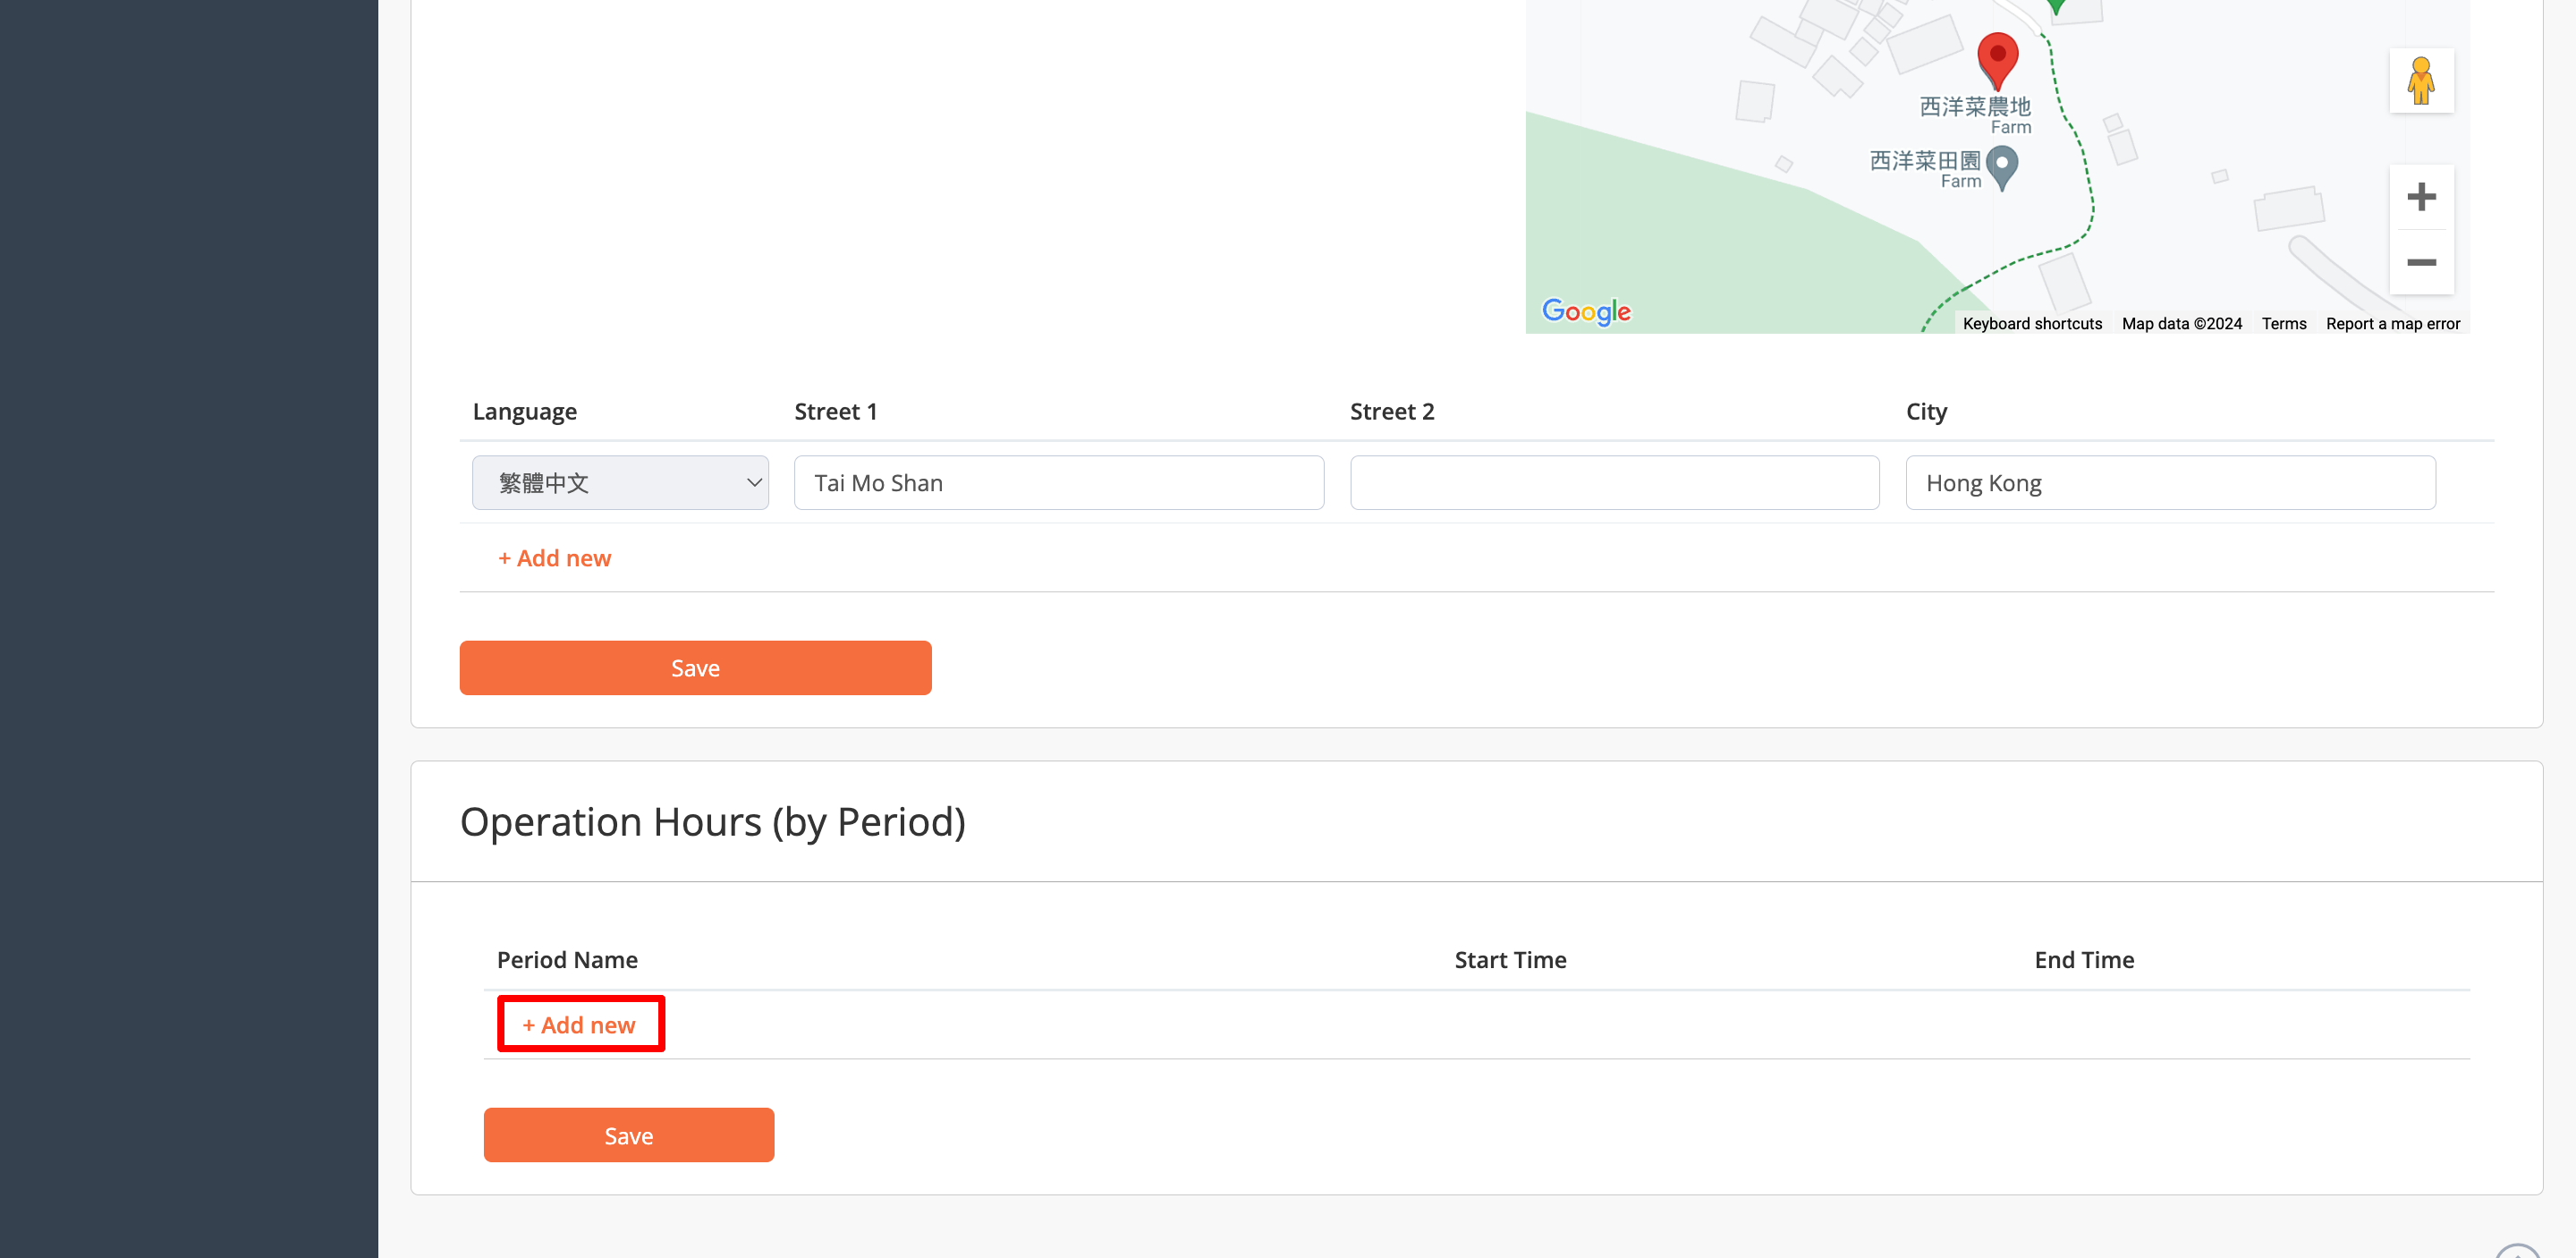 Note: You can create multiple reporting periods. To add another period, click on +Add New again.
 - Enter the period name.
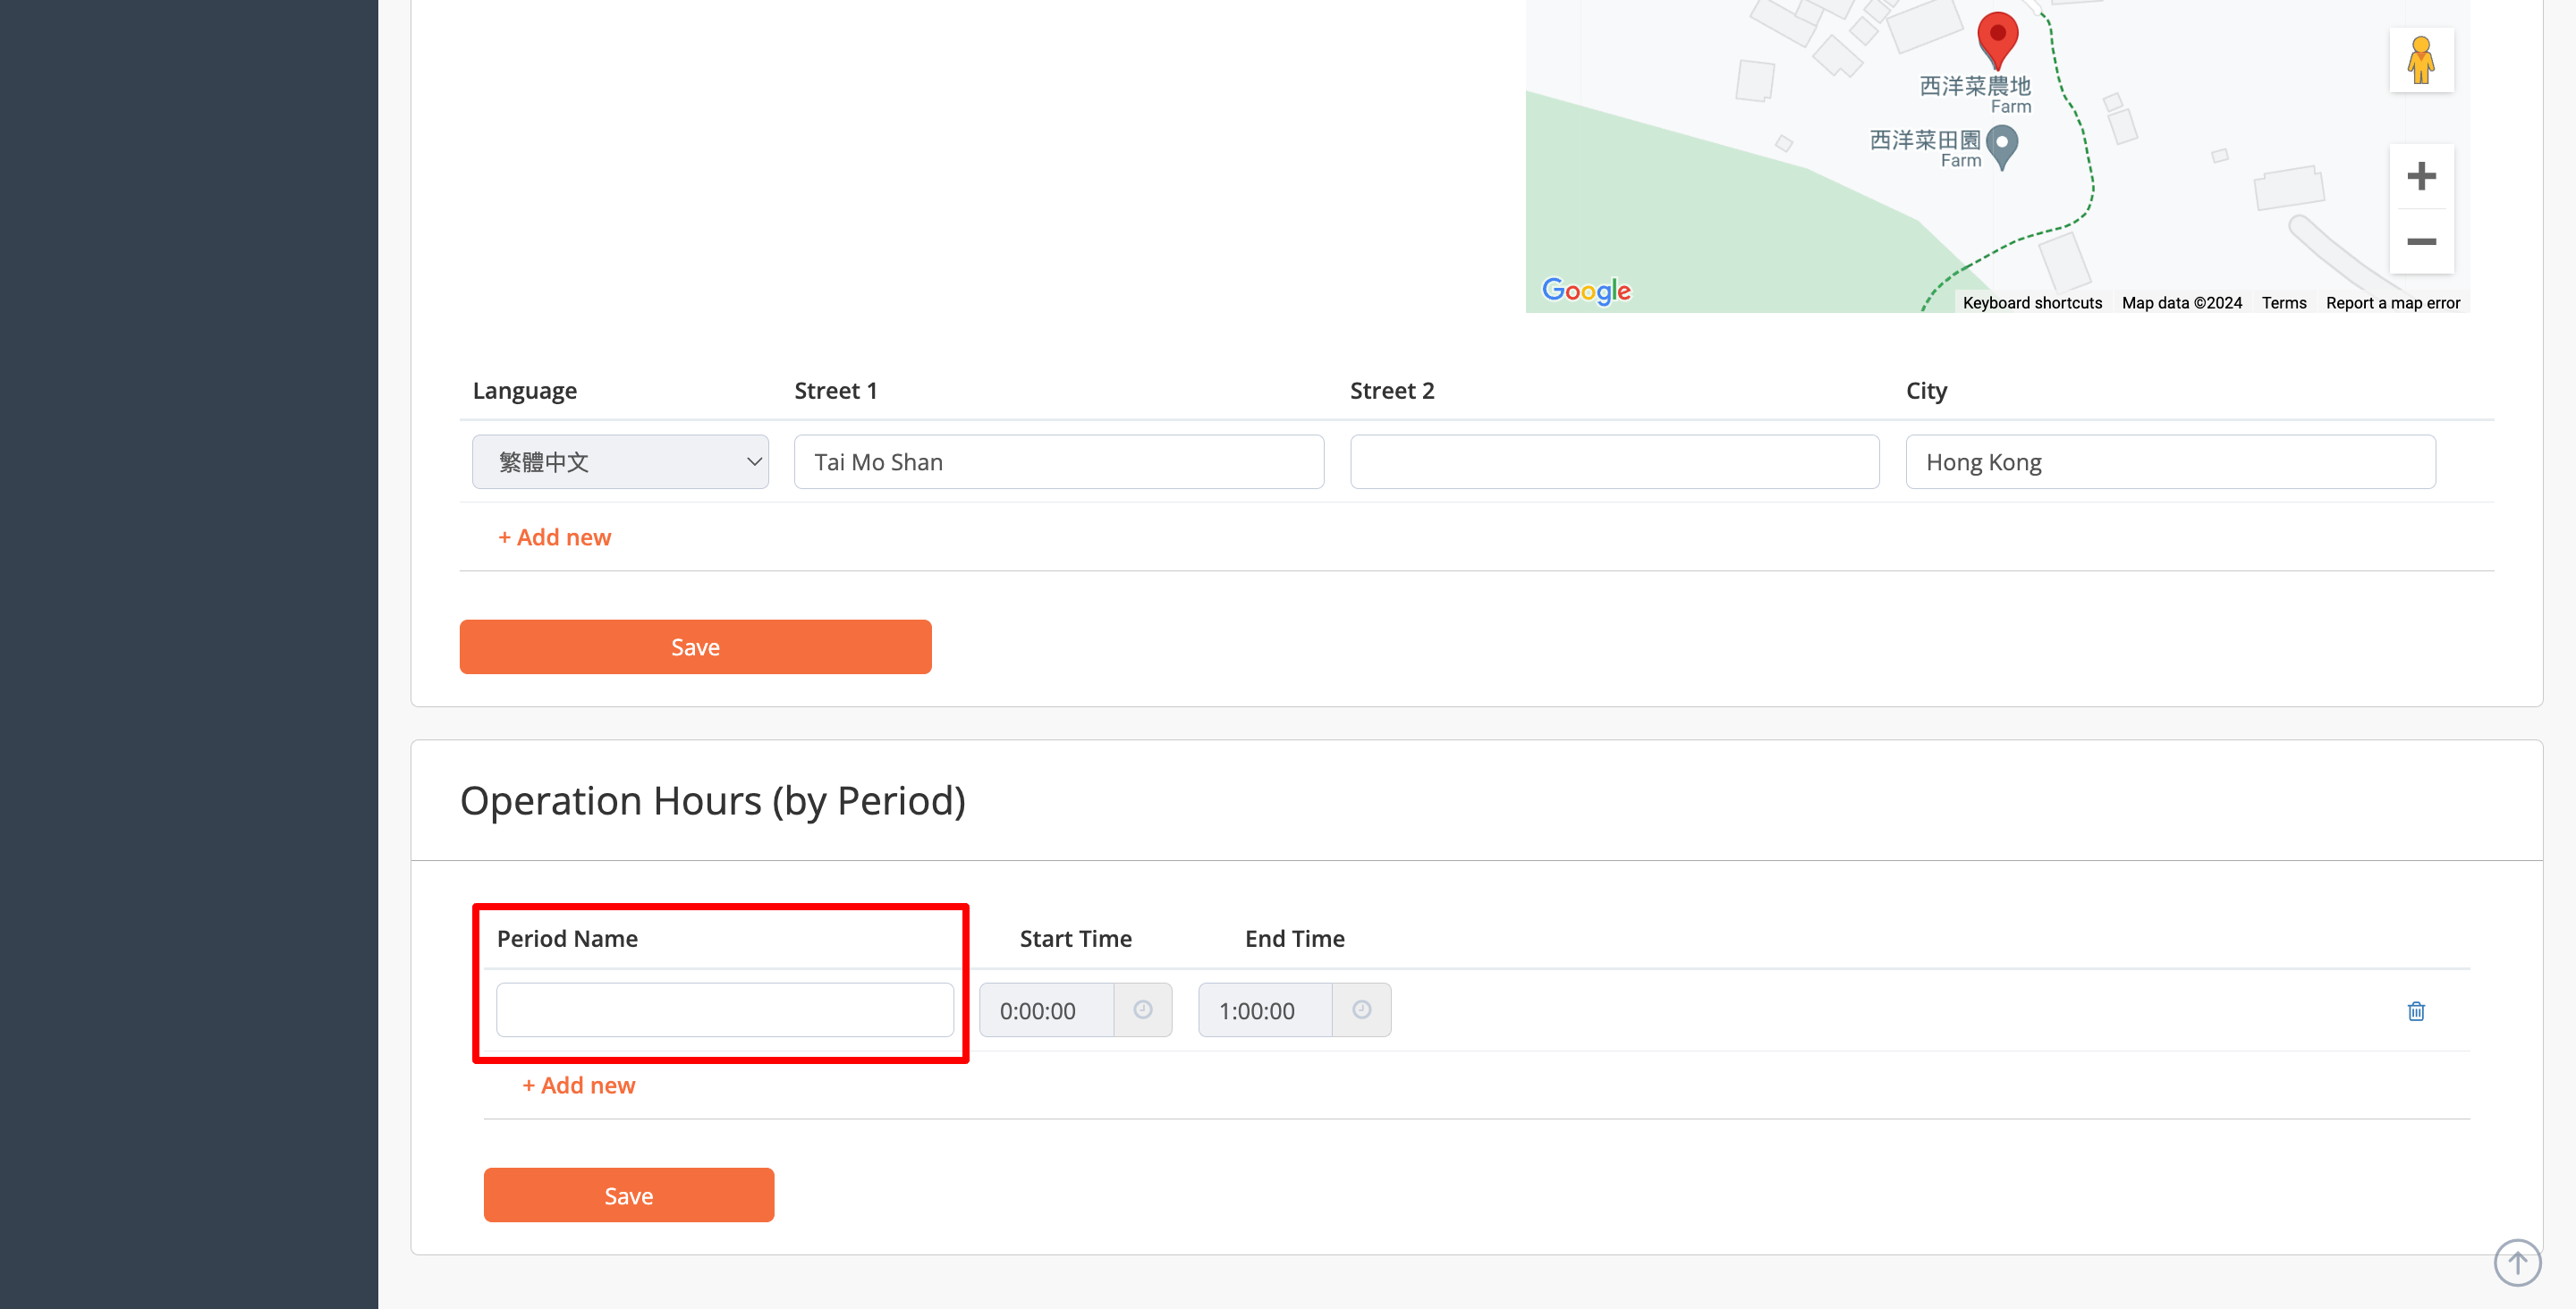
- Enter the Start and End for the period.
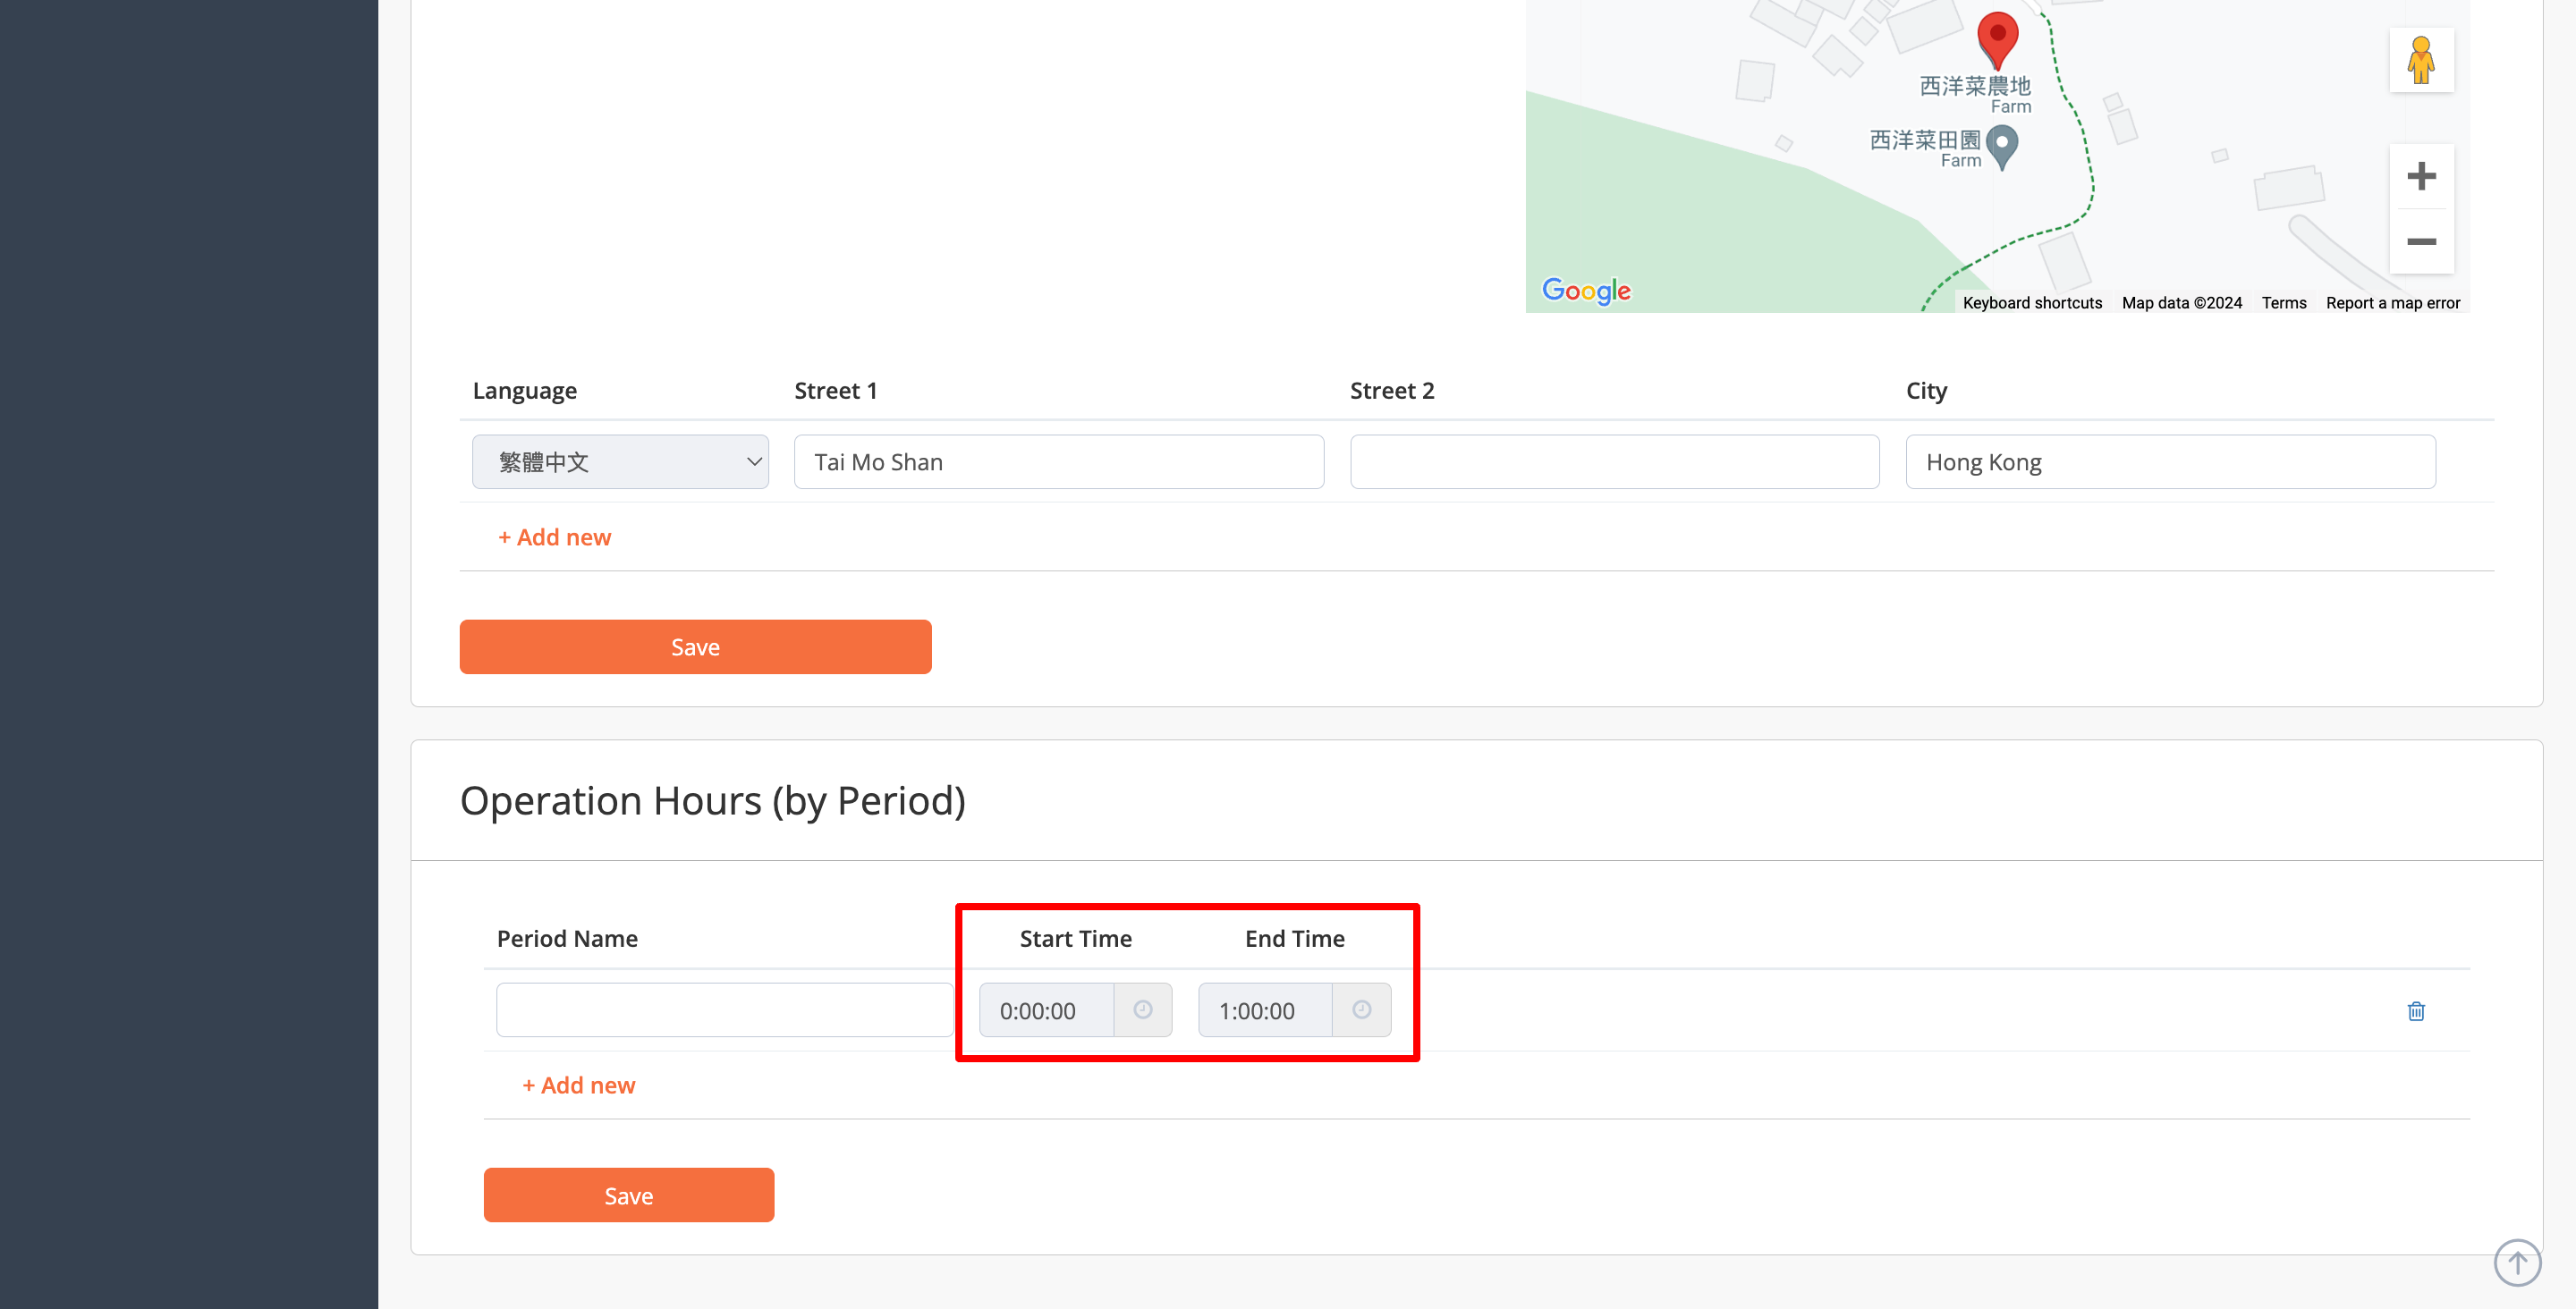
- Click on Save to confirm.
Merchant Portal 2.0
- Log in to the Merchant Portal.
- On the left panel, click on Restaurant Settings. Then, click on Basic Information.
- Click on Restaurant Information.
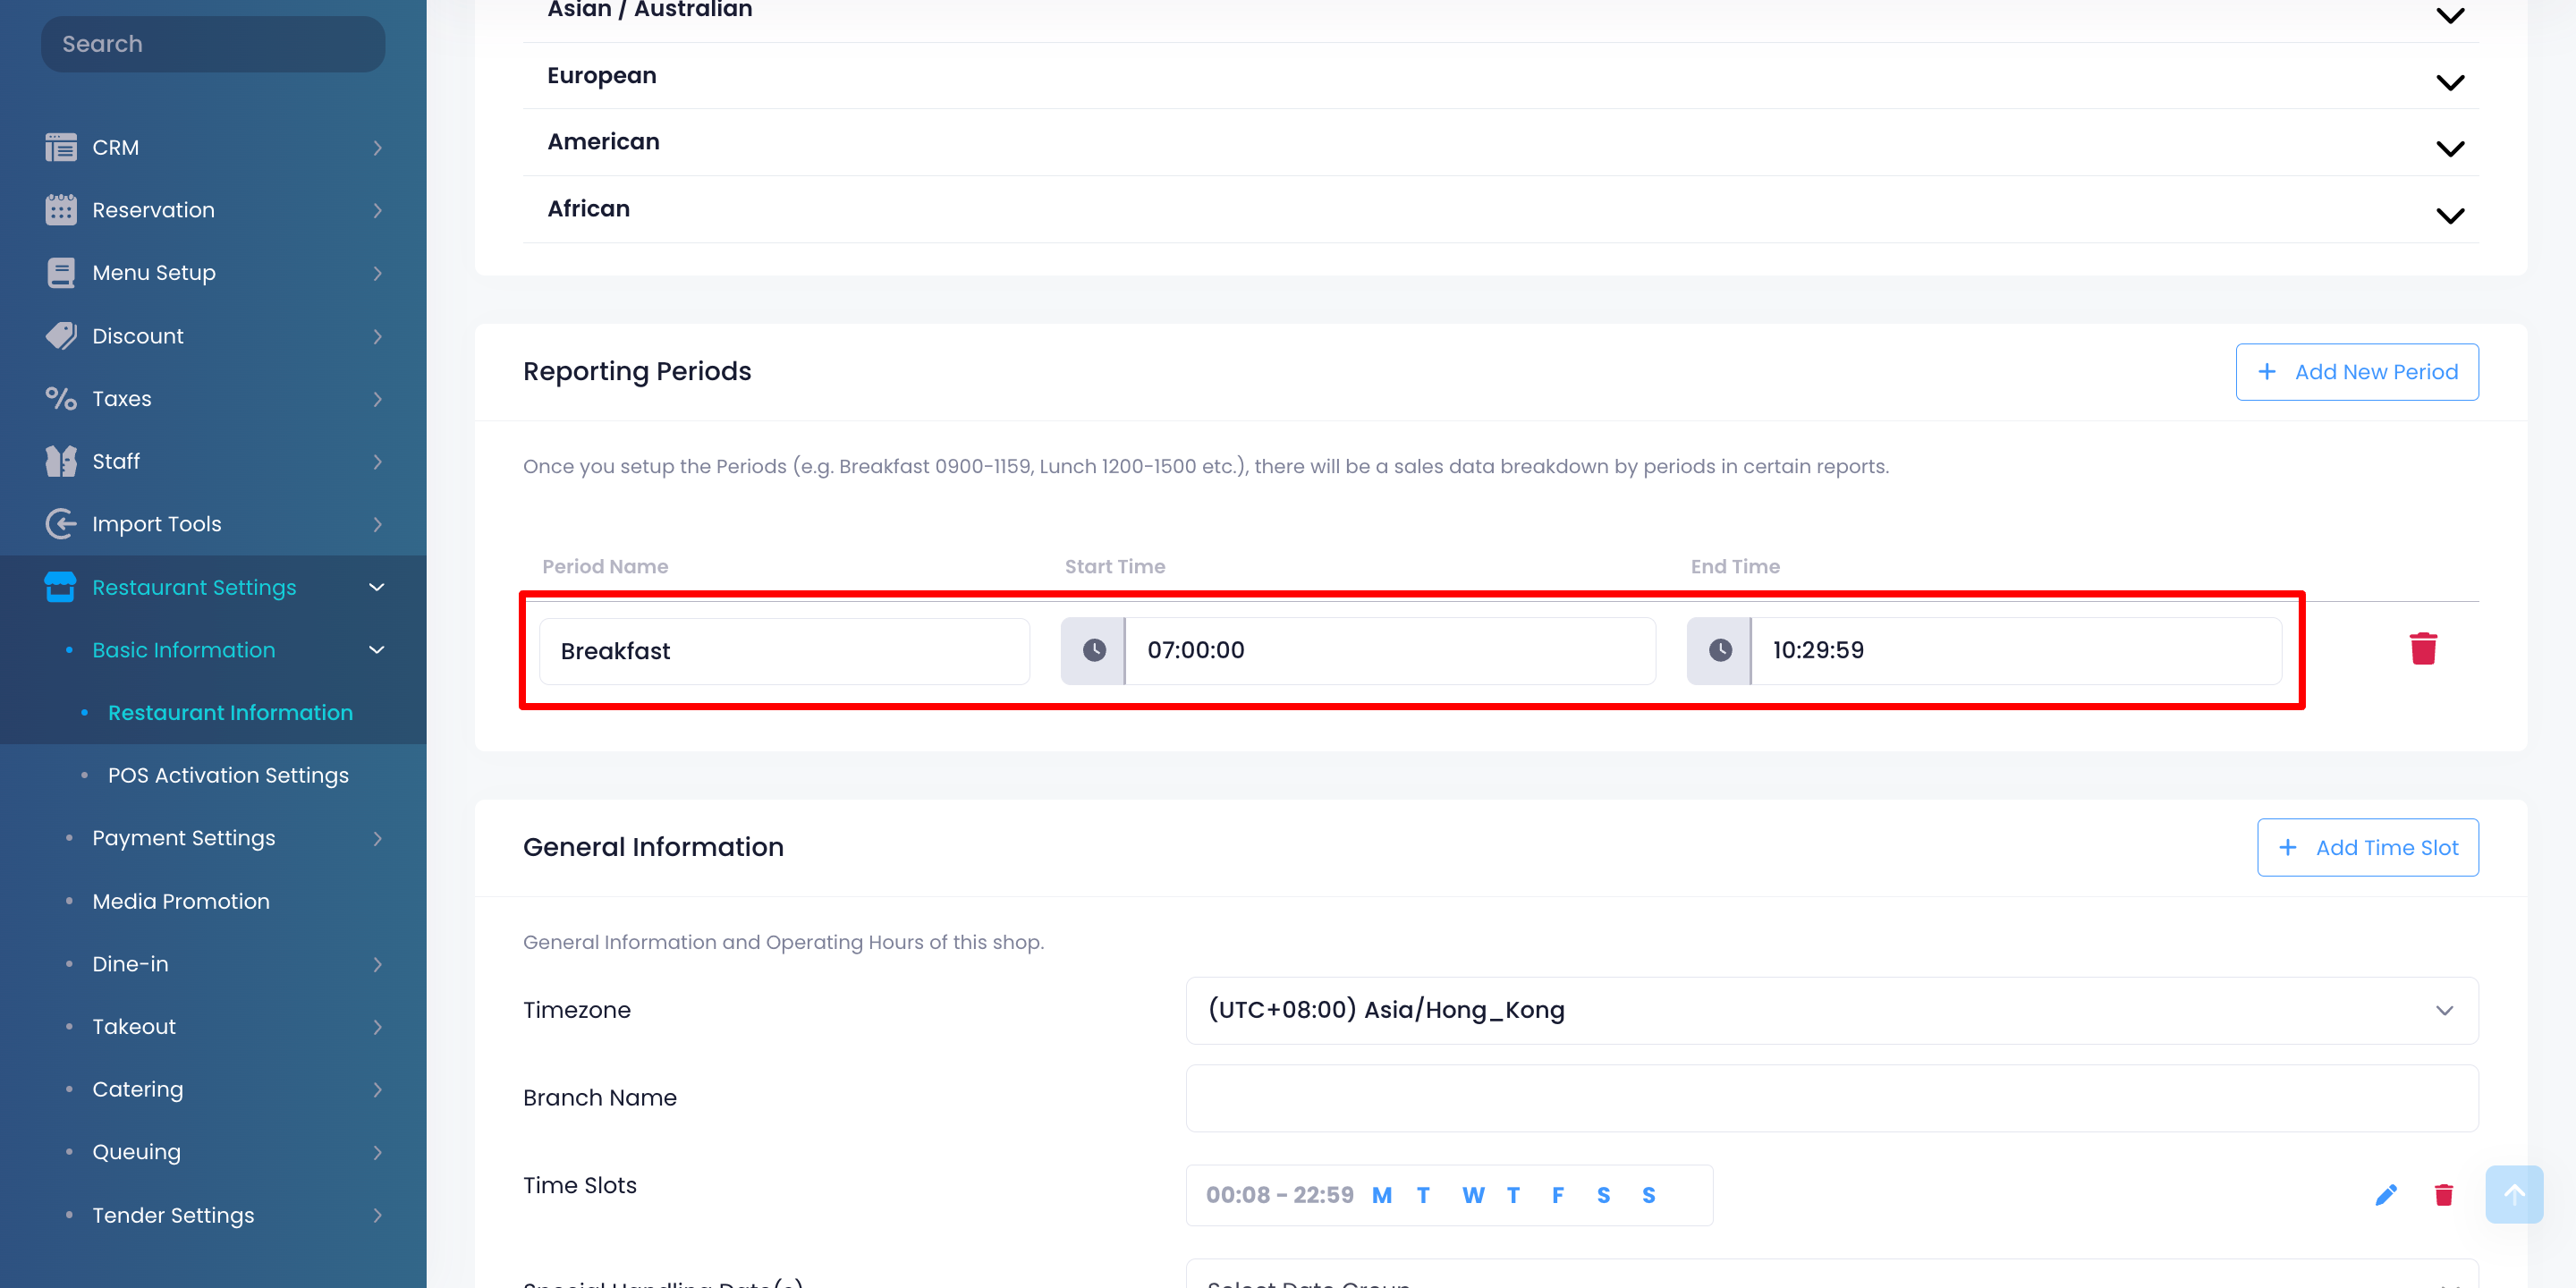
- Under "Reporting Periods," click on +Add New Period.
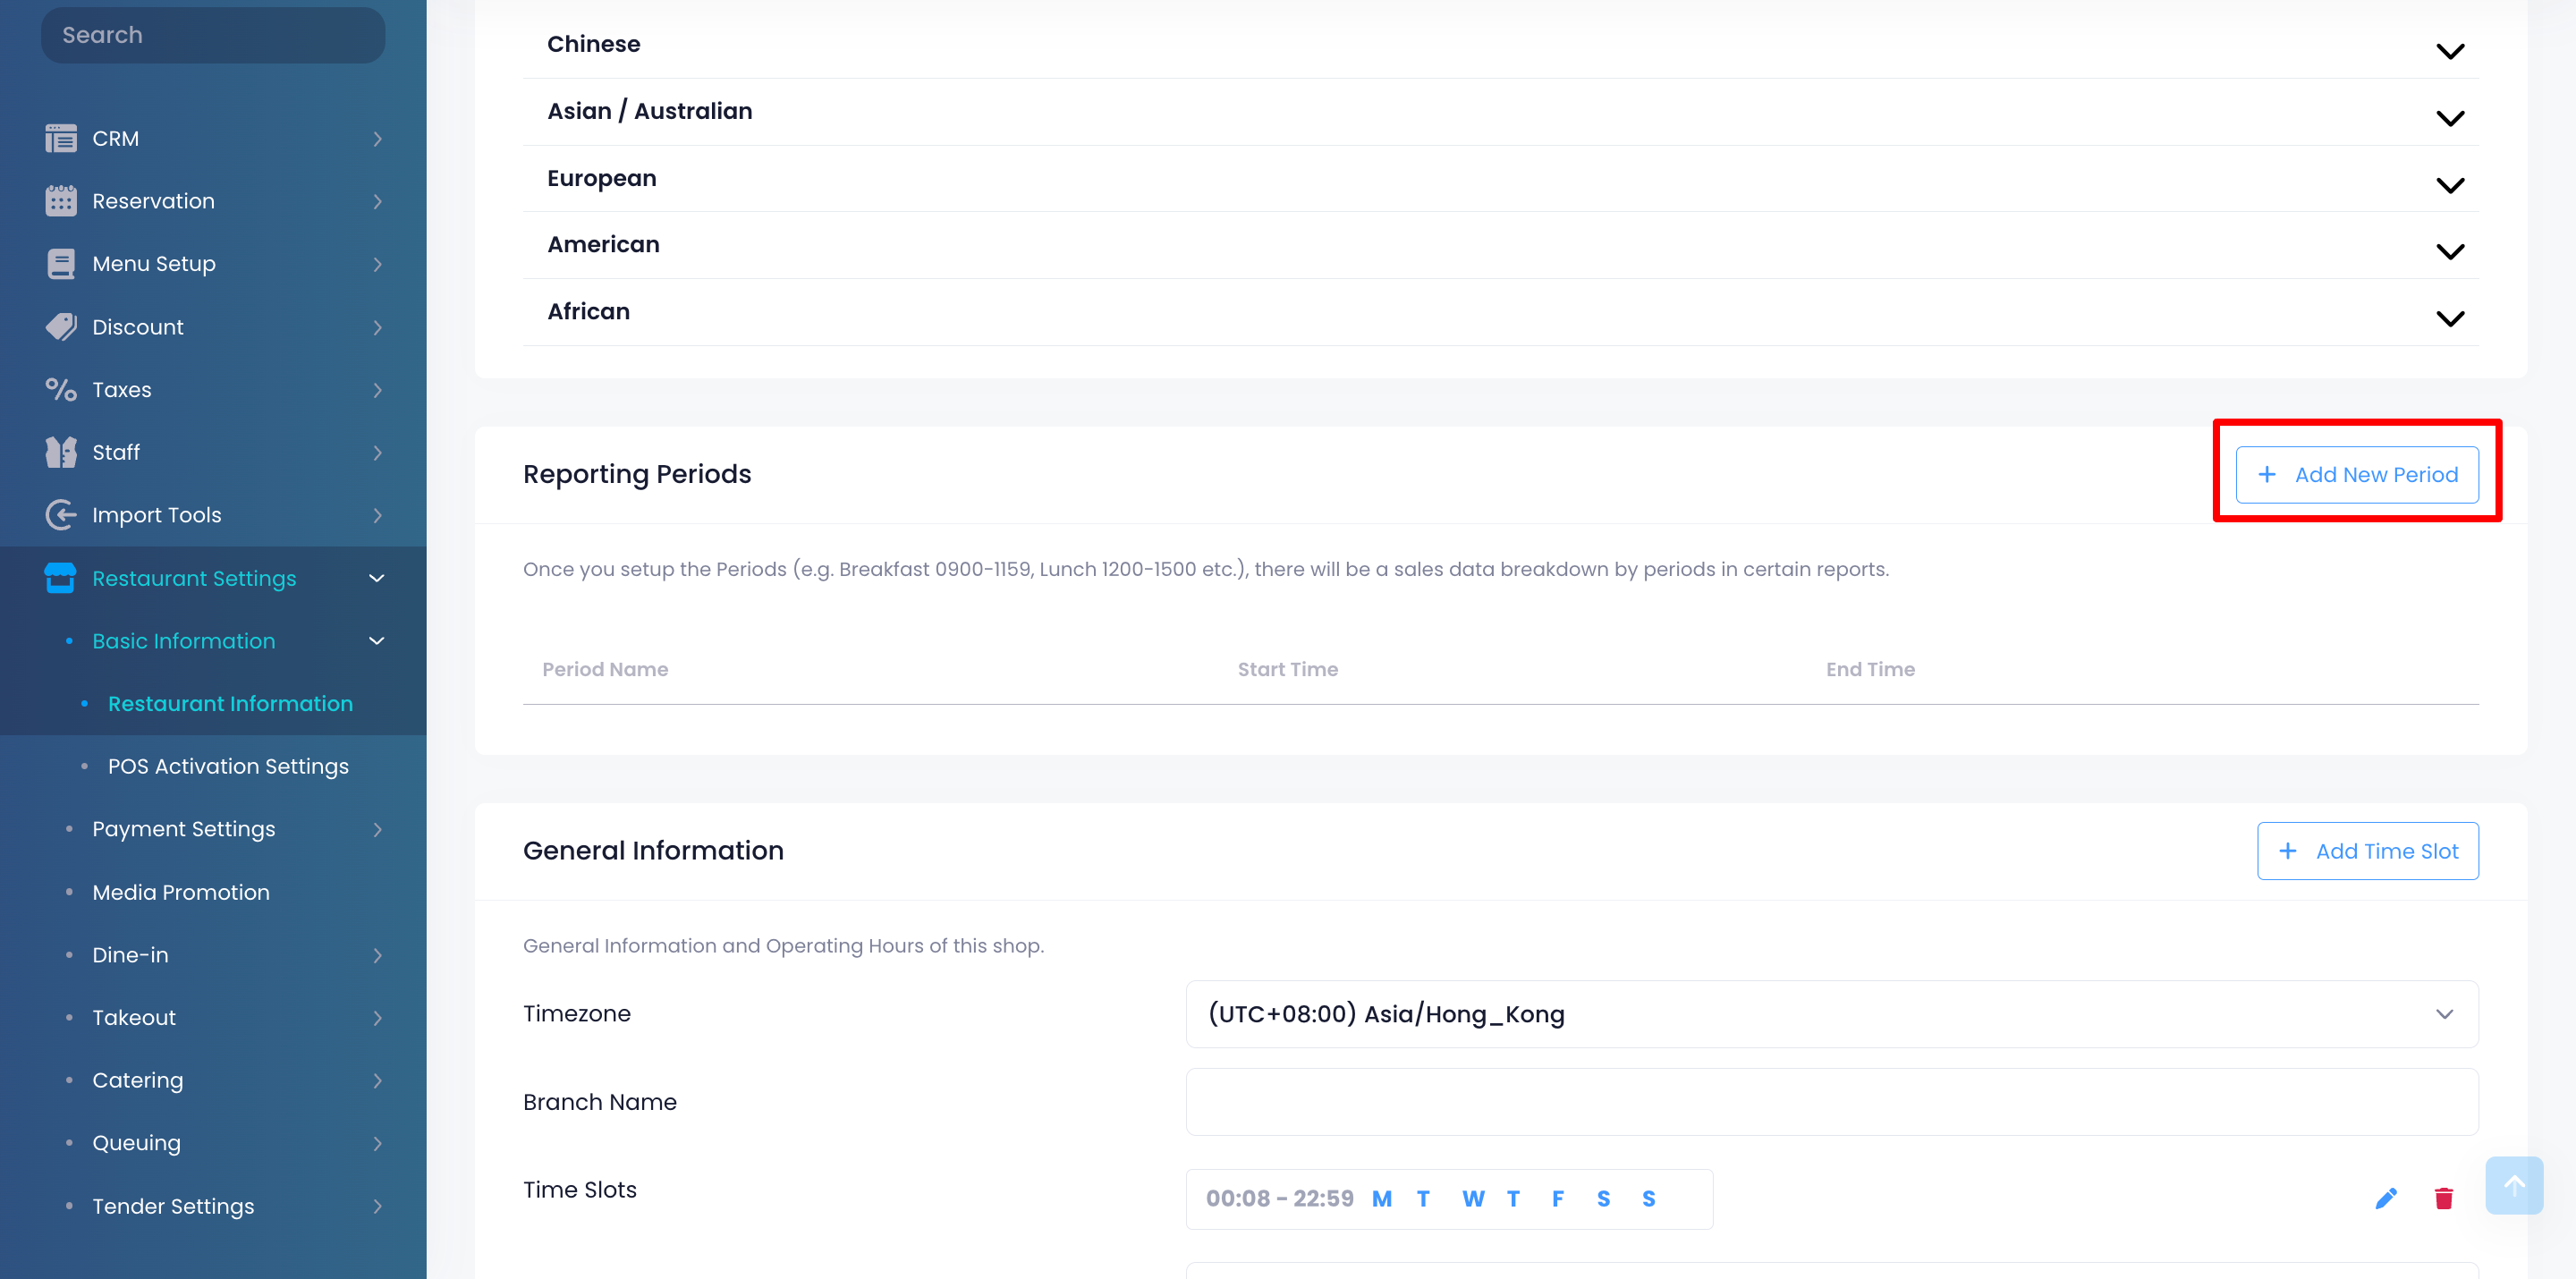 Note: You can create multiple reporting periods. To add another period, click on +Add New Period again.
 - Enter the period name.
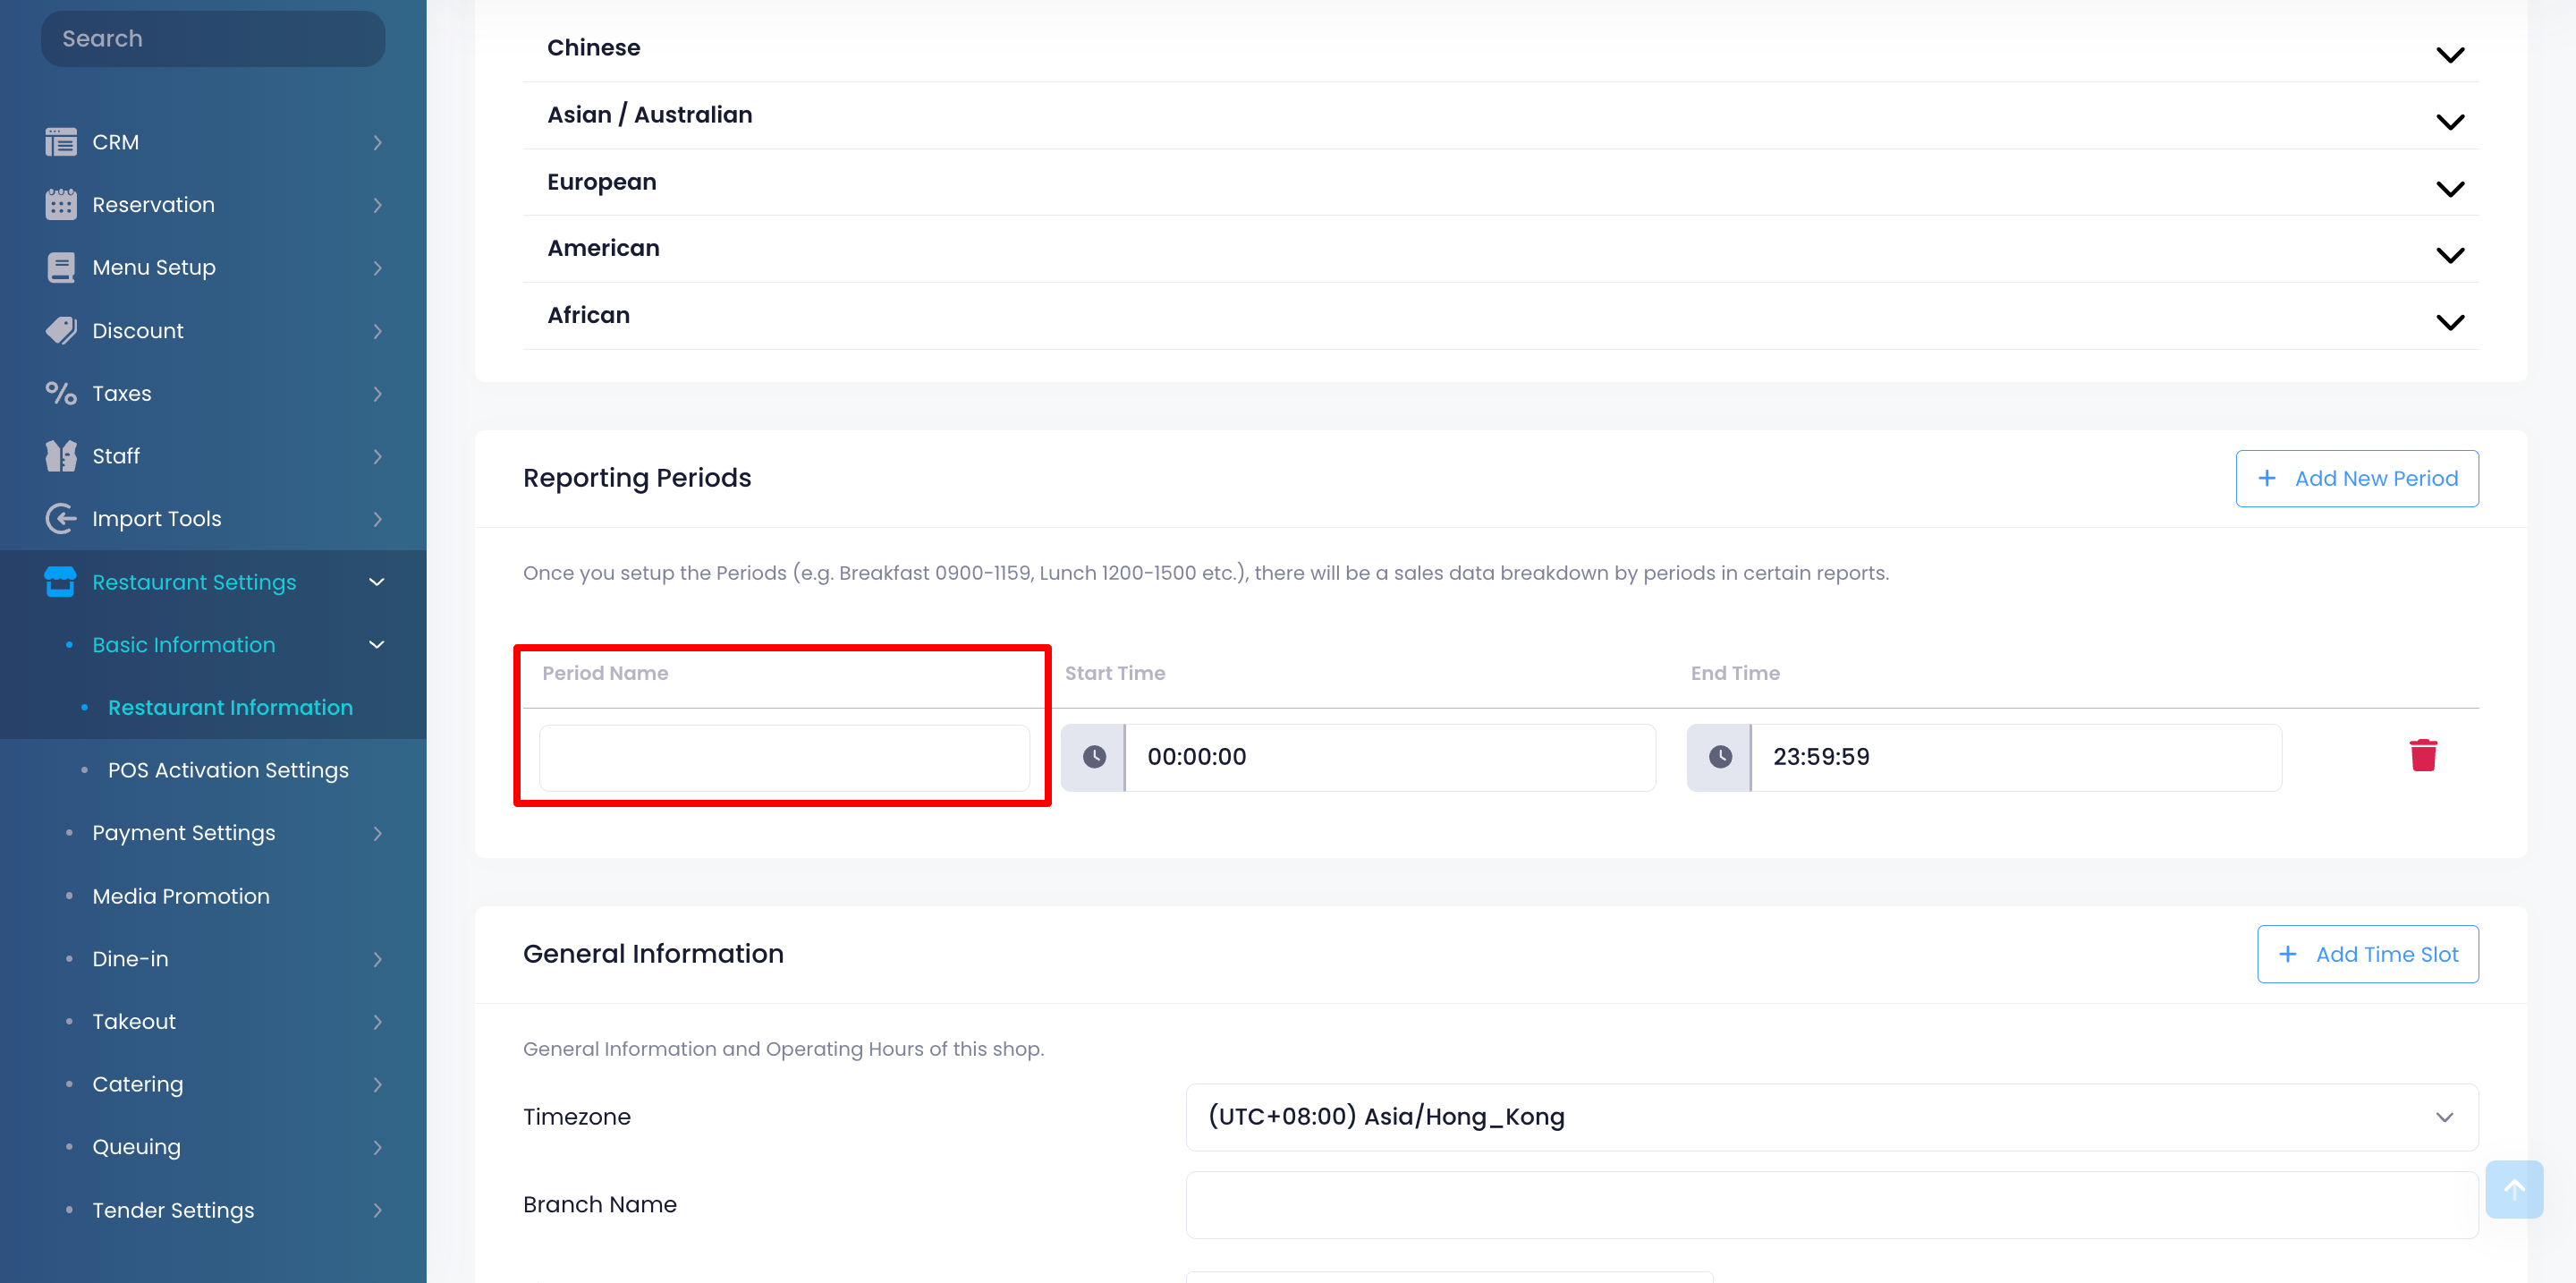
- Enter the Start and End for the period.
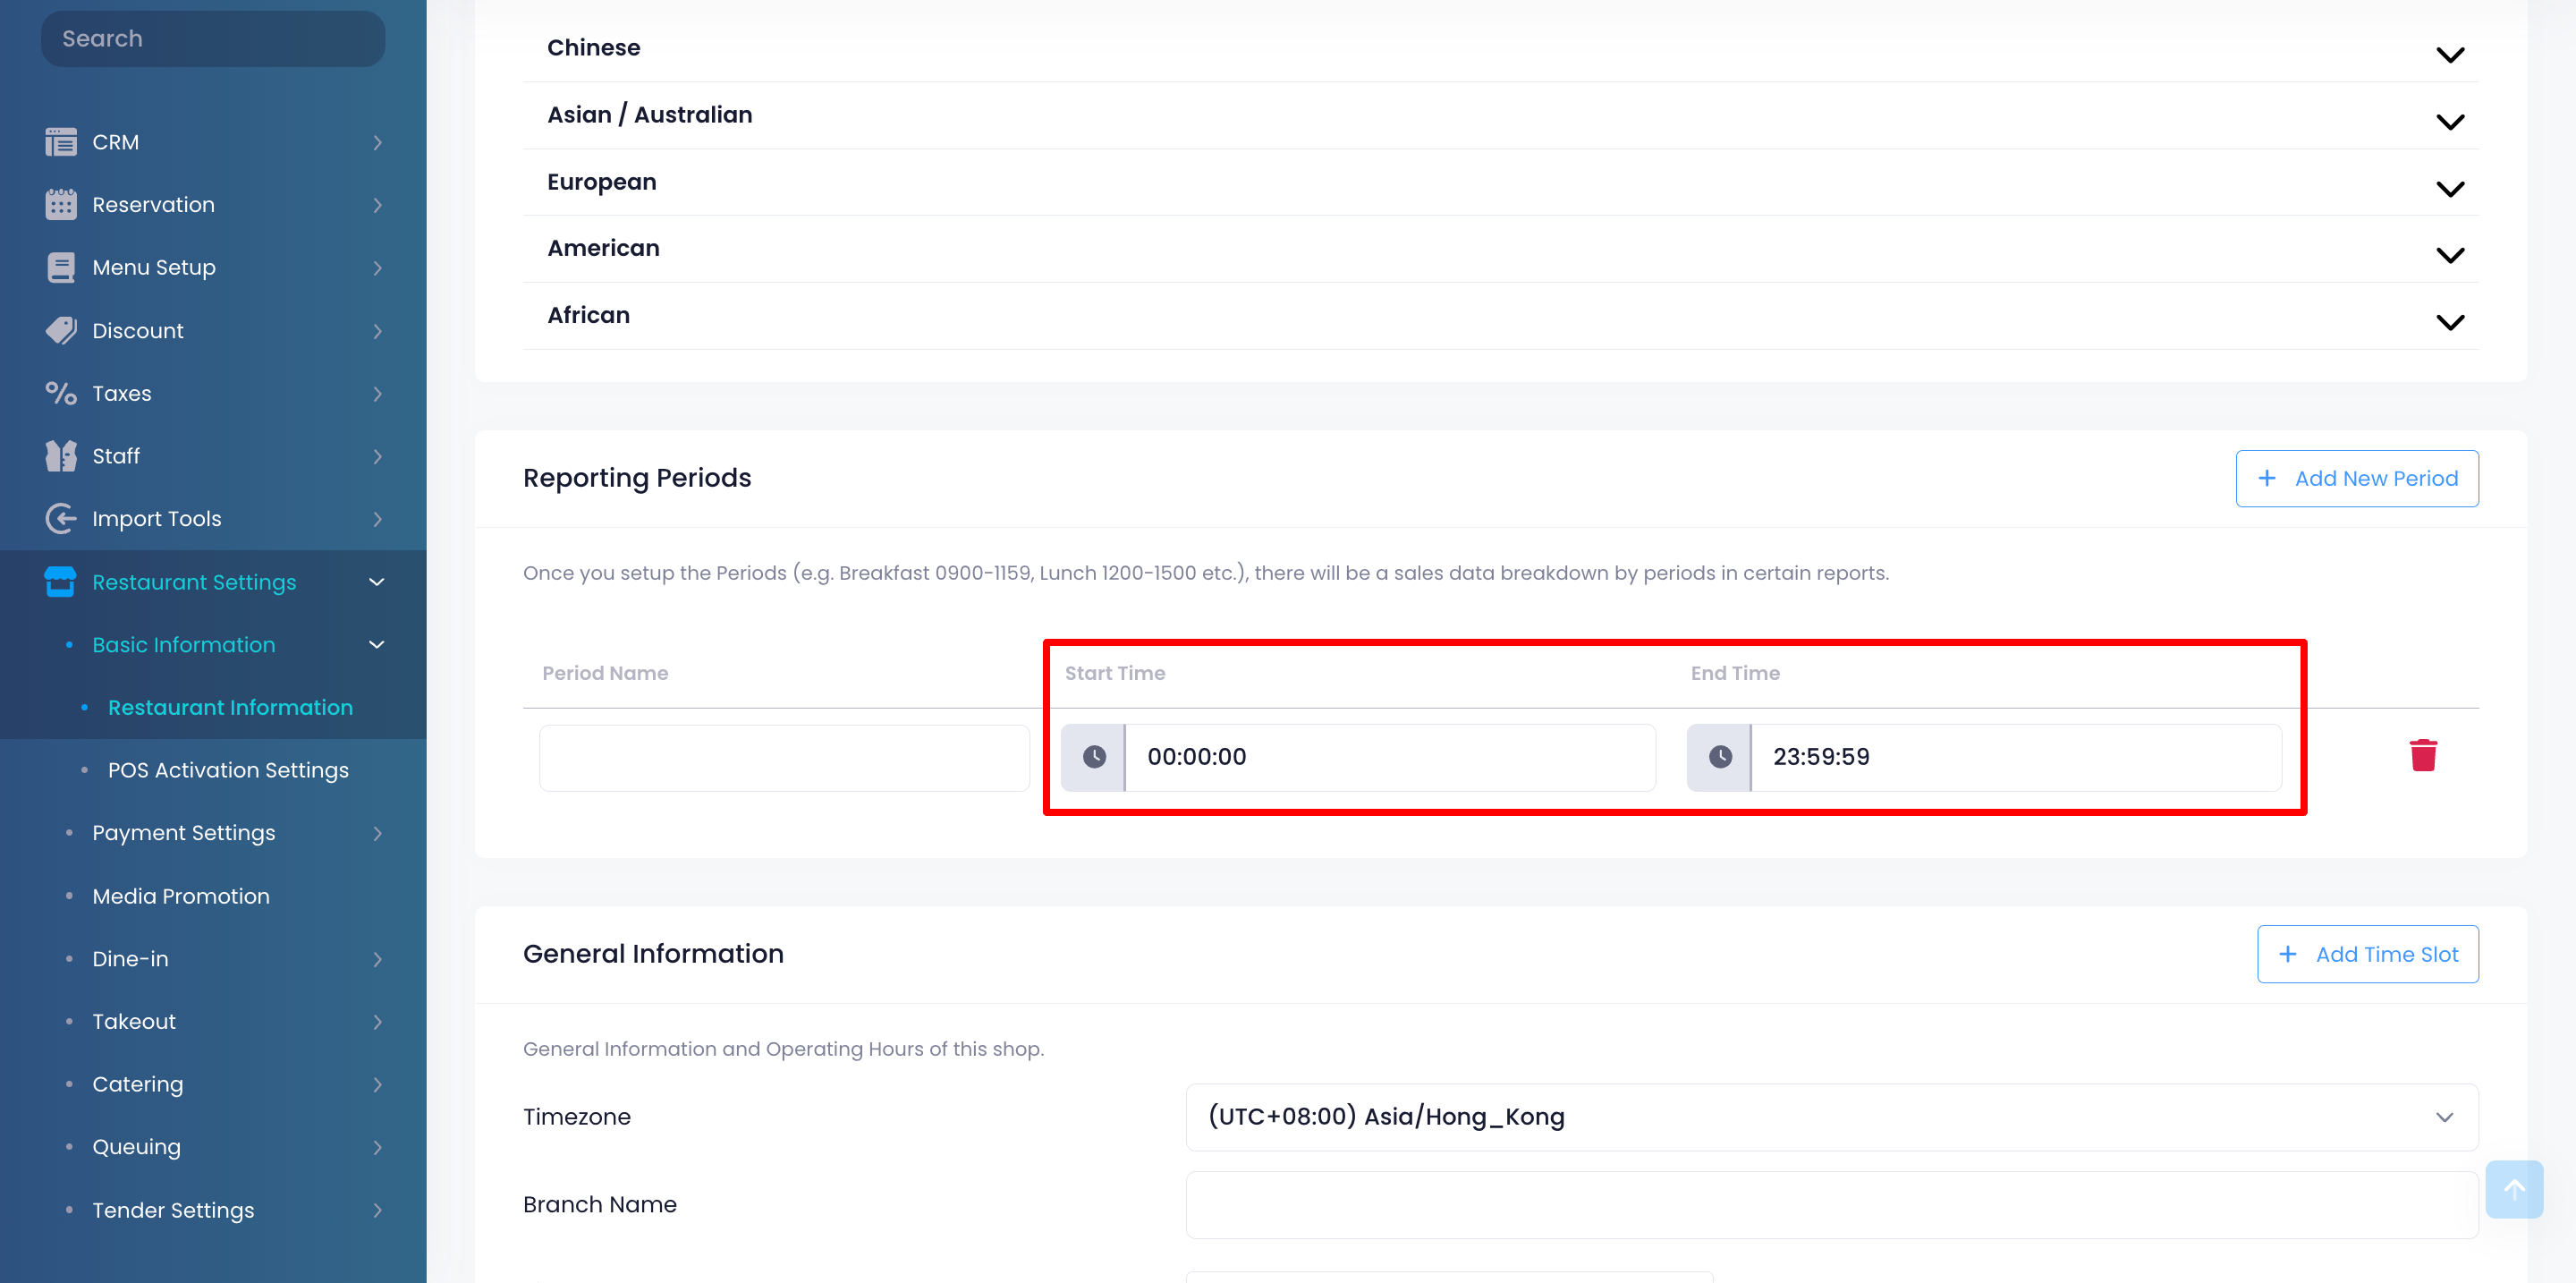
- Click on Save to confirm.
Manage a Reporting Period
Edit a Reporting Period
To modify a reporting period, follow the steps below:
Merchant Portal (Classic Theme)
- Log in to the Merchant Portal.
- On the left panel, click on Restaurant Settings. Then, click on Basic Information.
- Under "Operation Hours (by Period)," select the reporting period that you want to modify.
- Update the reporting period.
- Click on Save to confirm.
Merchant Portal 2.0
- Log in to the Merchant Portal.
- On the left panel, click on Restaurant Settings. Then, click on Basic Information.
- Click on Restaurant Information.
- Under "Reporting Periods," select the reporting period that you want to modify.
- Update the reporting period.
- Click on Save to confirm.
Delete a Reporting Period
To remove a reporting period, follow the steps below:
Merchant Portal (Classic Theme)
- Log in to the Merchant Portal.
- On the left panel, click on Restaurant Settings. Then, click on Basic Information.
- Under "Operation Hours (by Period)," select the reporting period that you want to delete.
- Next to the reporting period, click on Delete
 .
.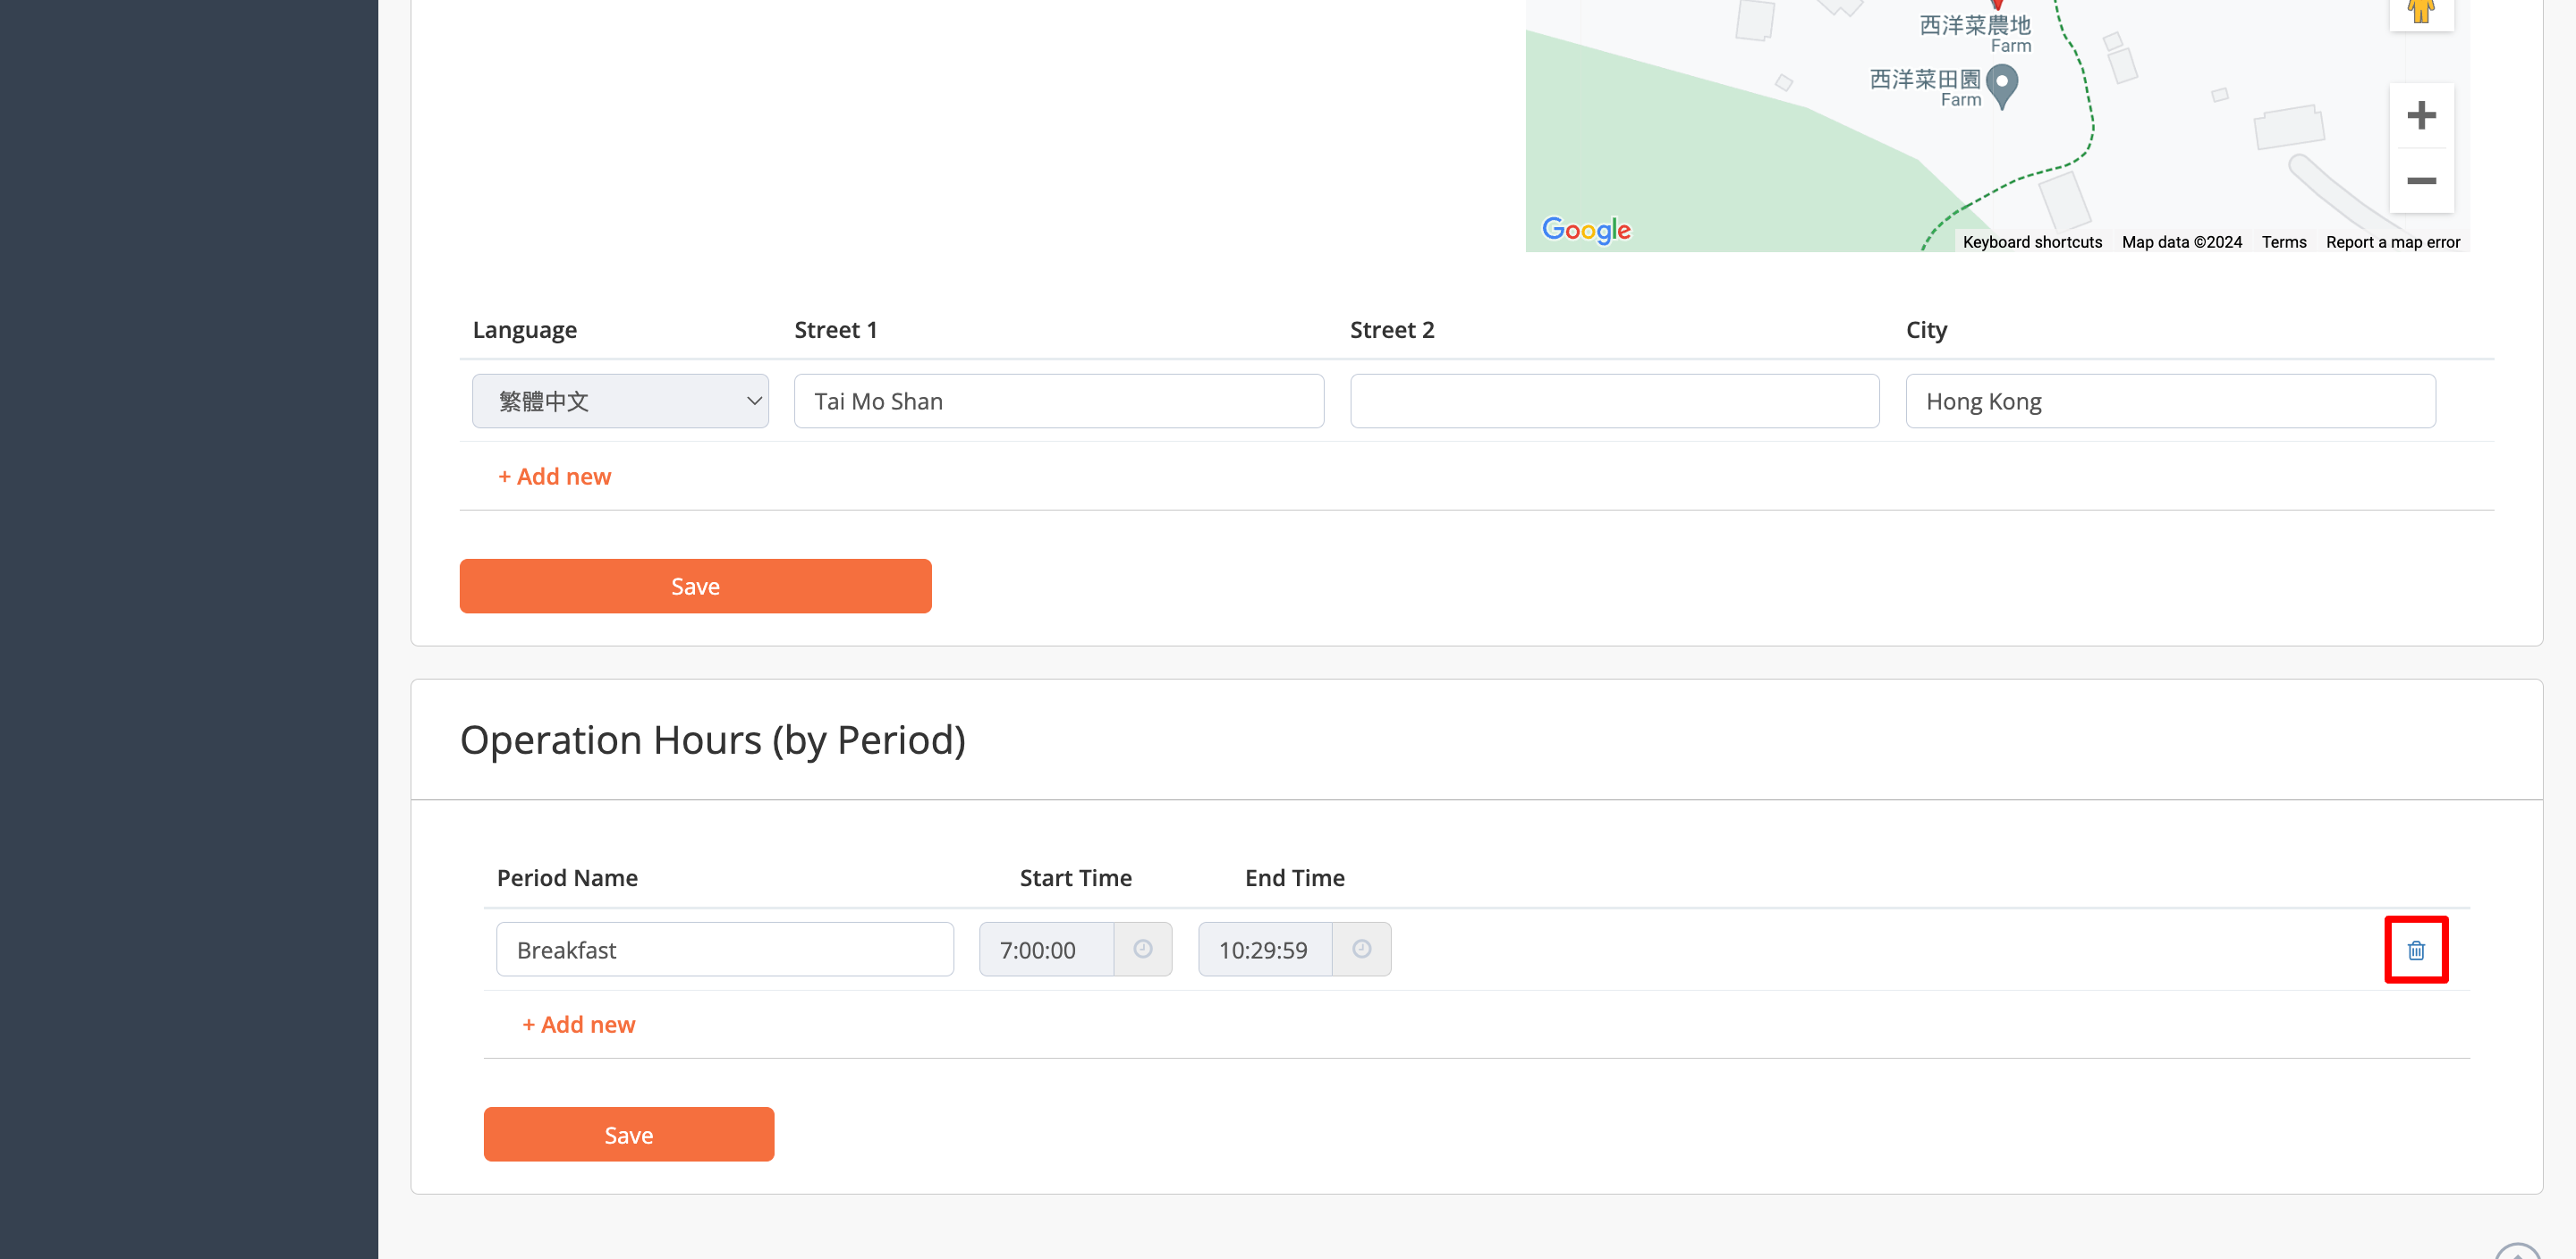
- Click on Save to confirm.
Merchant Portal 2.0
- Log in to the Merchant Portal.
- On the left panel, click on Restaurant Settings. Then, click on Basic Information.
- Click on Restaurant Information.
- Under "Reporting Periods," select the reporting period that you want to delete.
- Next to the reporting period, click on Delete
 .
.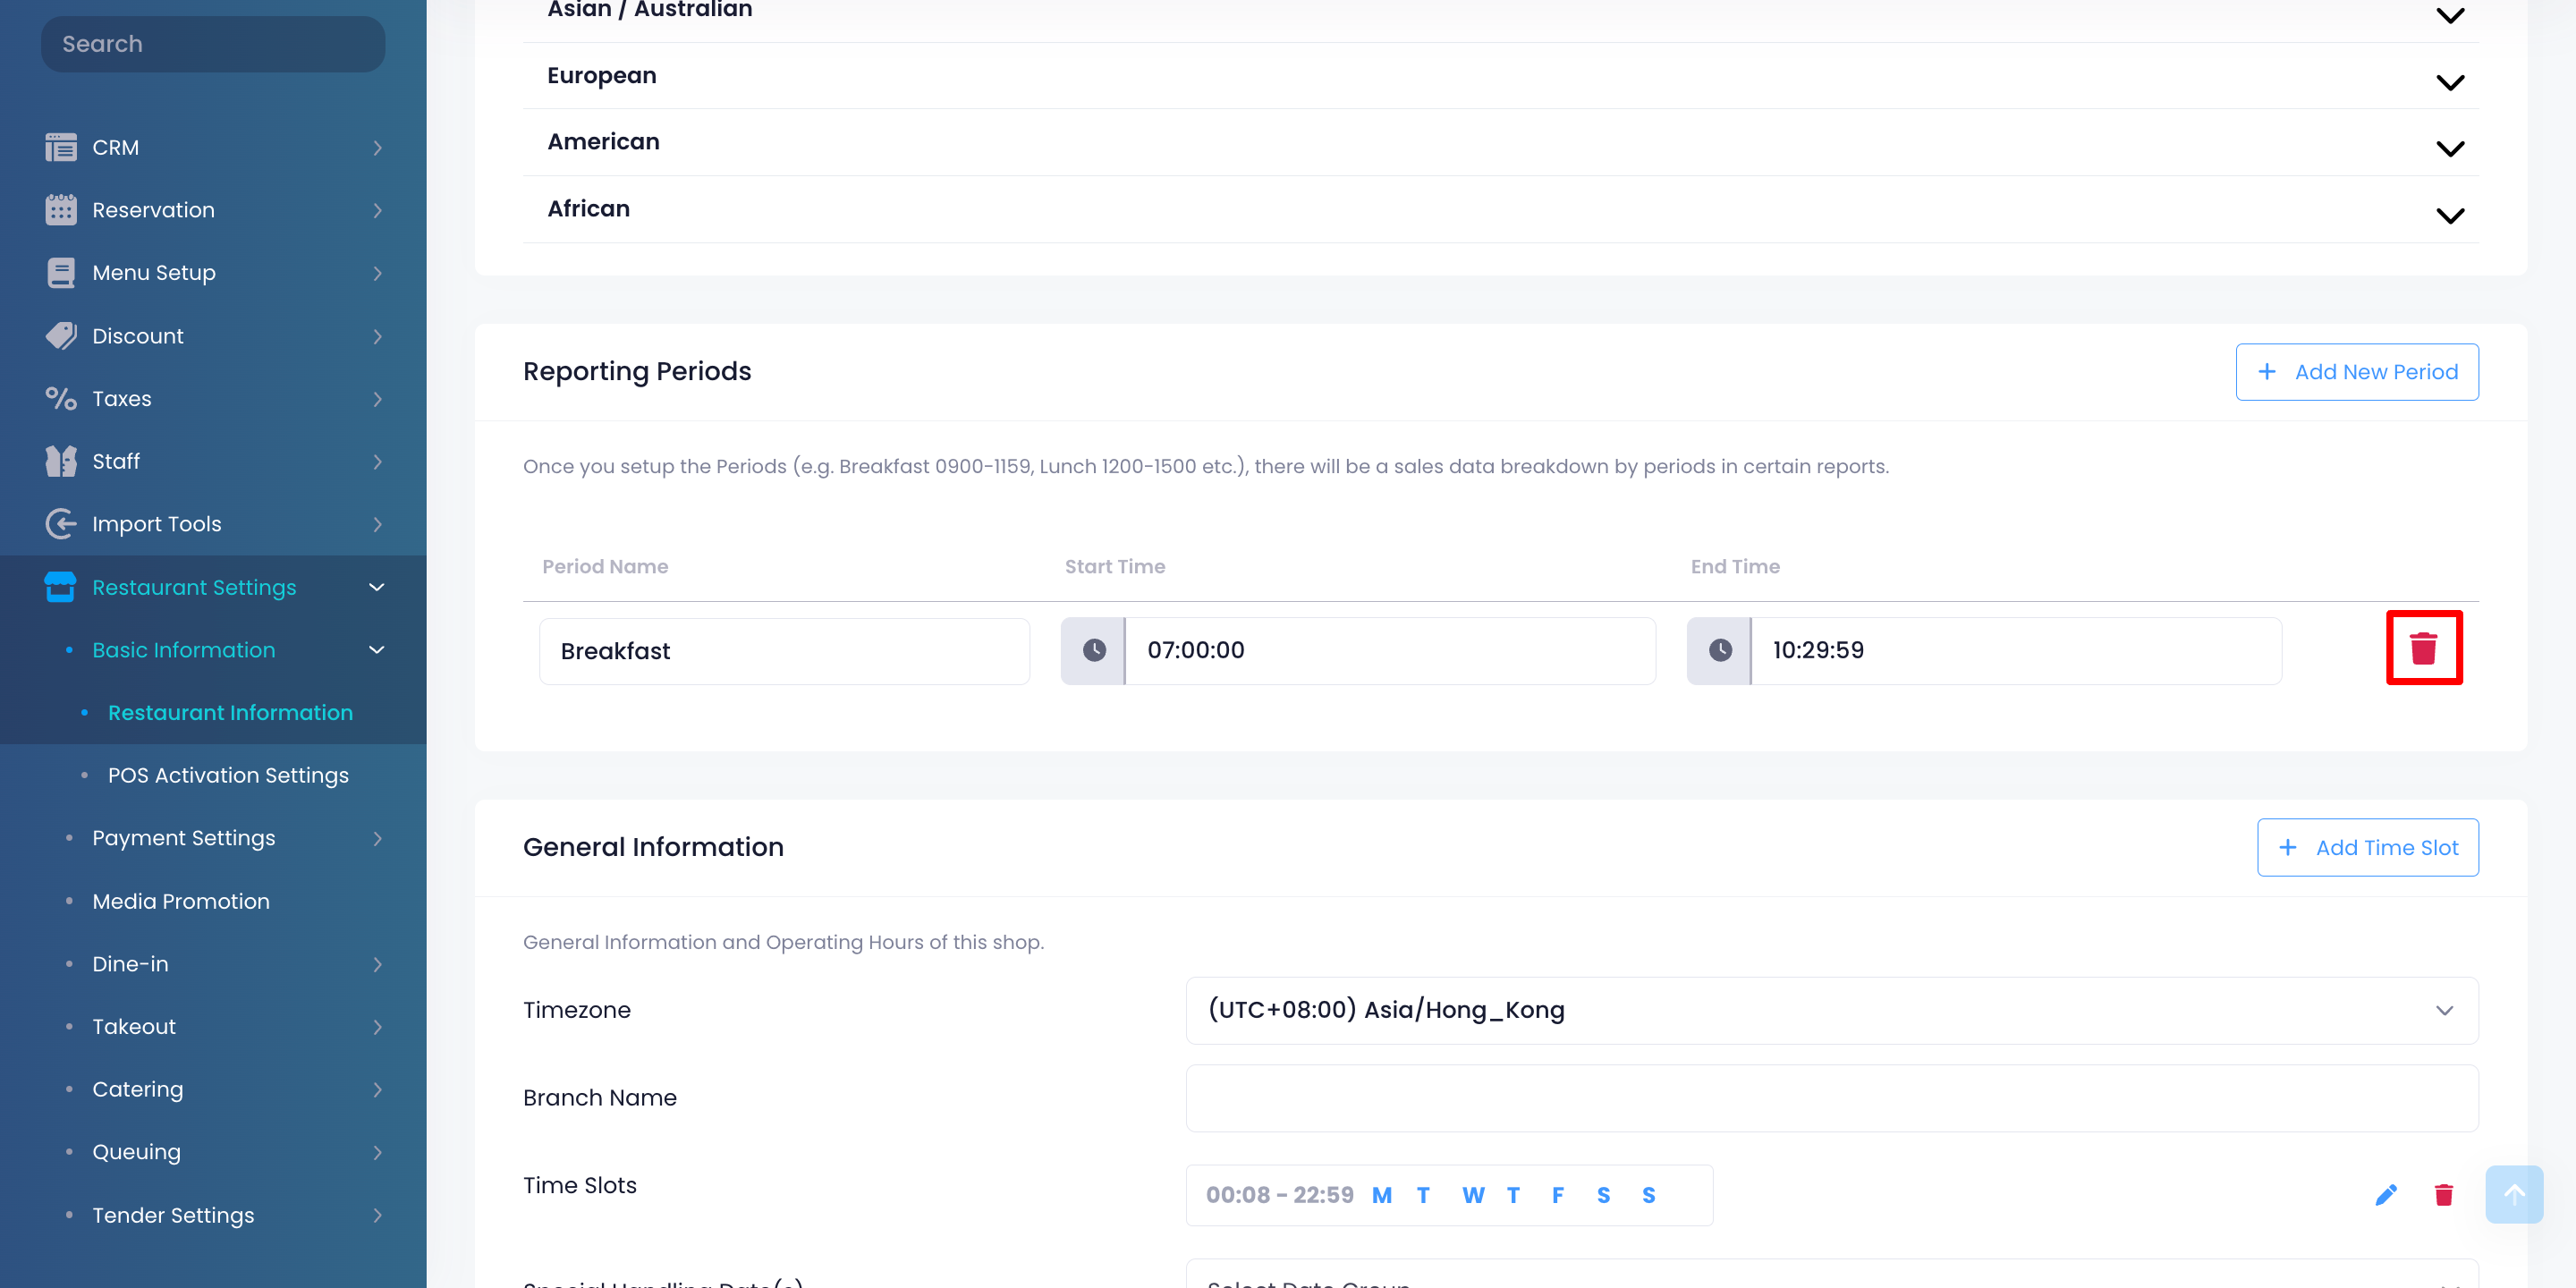
- Click on Save to confirm.