 Eats365 Products
 Merchant Guide
 Modules
 Membership
 Integrations
 Hardware
 Staff Operations
 Roles & Permissions
 Payments
 Reports
 What’s New
 Release Notes
 Troubleshooting
 Simulators
 Glossary
 Troubleshooter
 System Status
All You Can Eat Menu
Table of Contents
Set up a Menu Tier for All You Can Eat Menu
Learn how to create menu tiers that can be used to group different items with the same price point or menu level.
An "All You Can Eat Menu Tier" allows you to group items of the same price point or quality and categorize them into specific menu levels. You can then restrict customers in the same table from ordering items that are not included in their selected menu tier. For example, you can create a “Premium” All You Can Eat menu tier for higher-priced items and a “Basic” All You Can Eat menu tier for lower-priced items. You can then restrict the menu tiers so that customers who order from the Premium All You Can Eat menu tier cannot order items from the Basic All You Can Eat menu tier at the same time.
In this article, you’ll learn how to create a menu tier and how to restrict customers from ordering from a different menu tier.
Create a Menu Tier
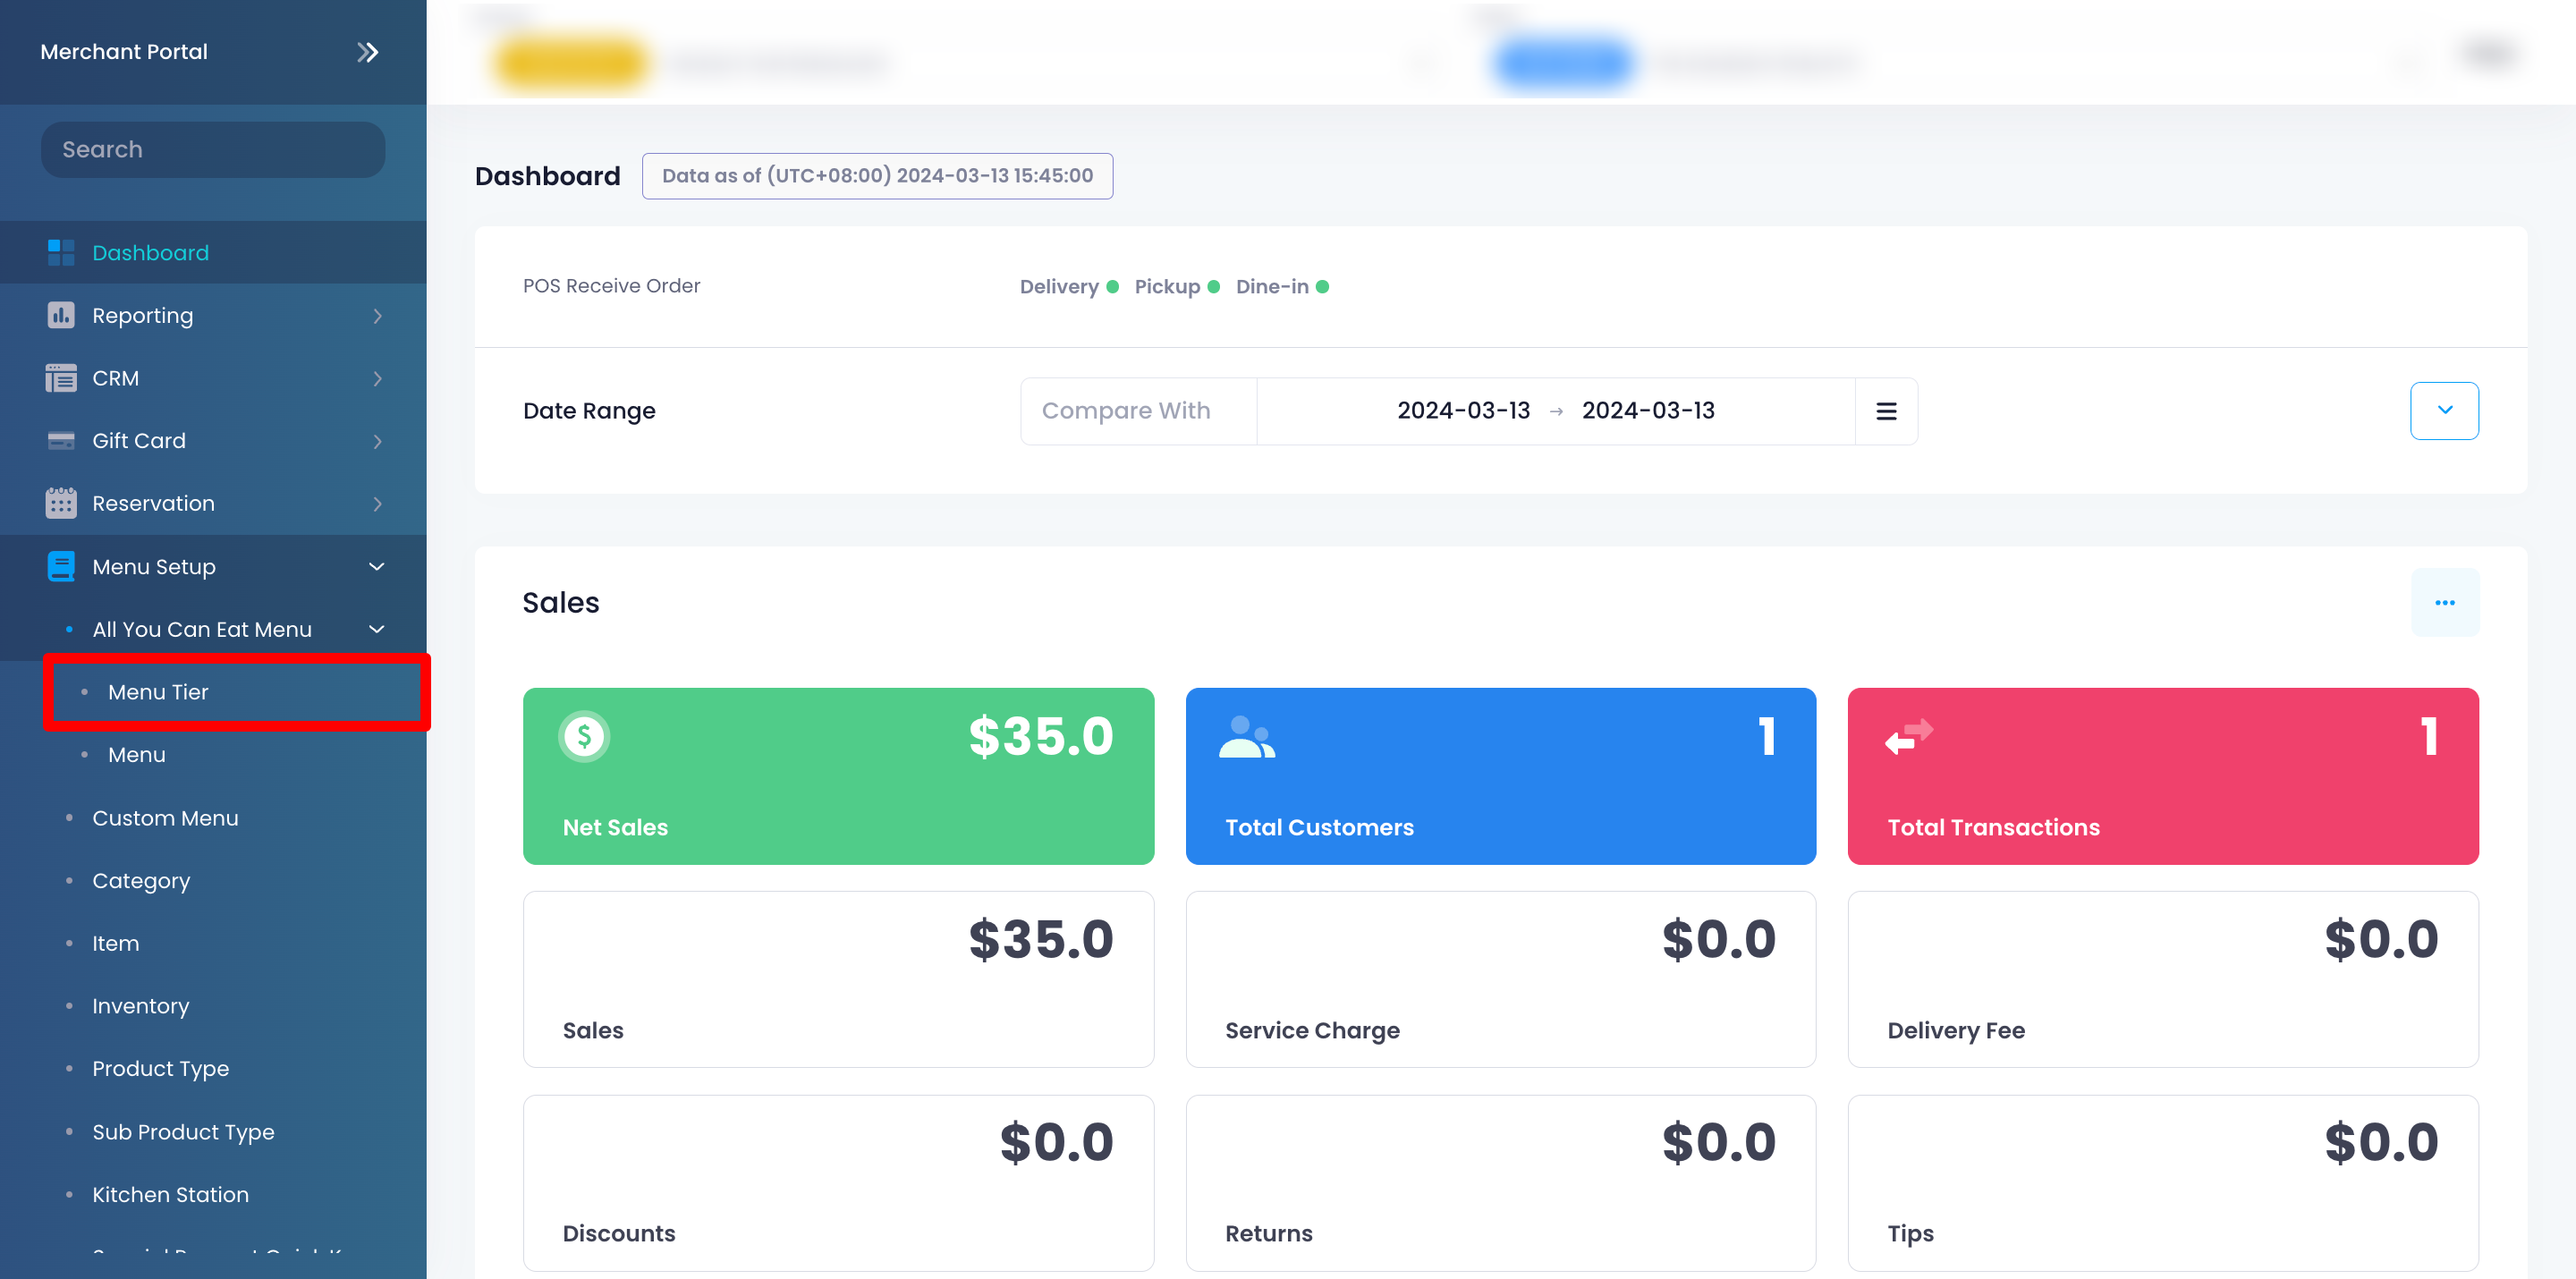
- Log in to the Merchant Portal.
- On the left panel, click on Menu Setup. Then, click on All You Can Eat Menu.
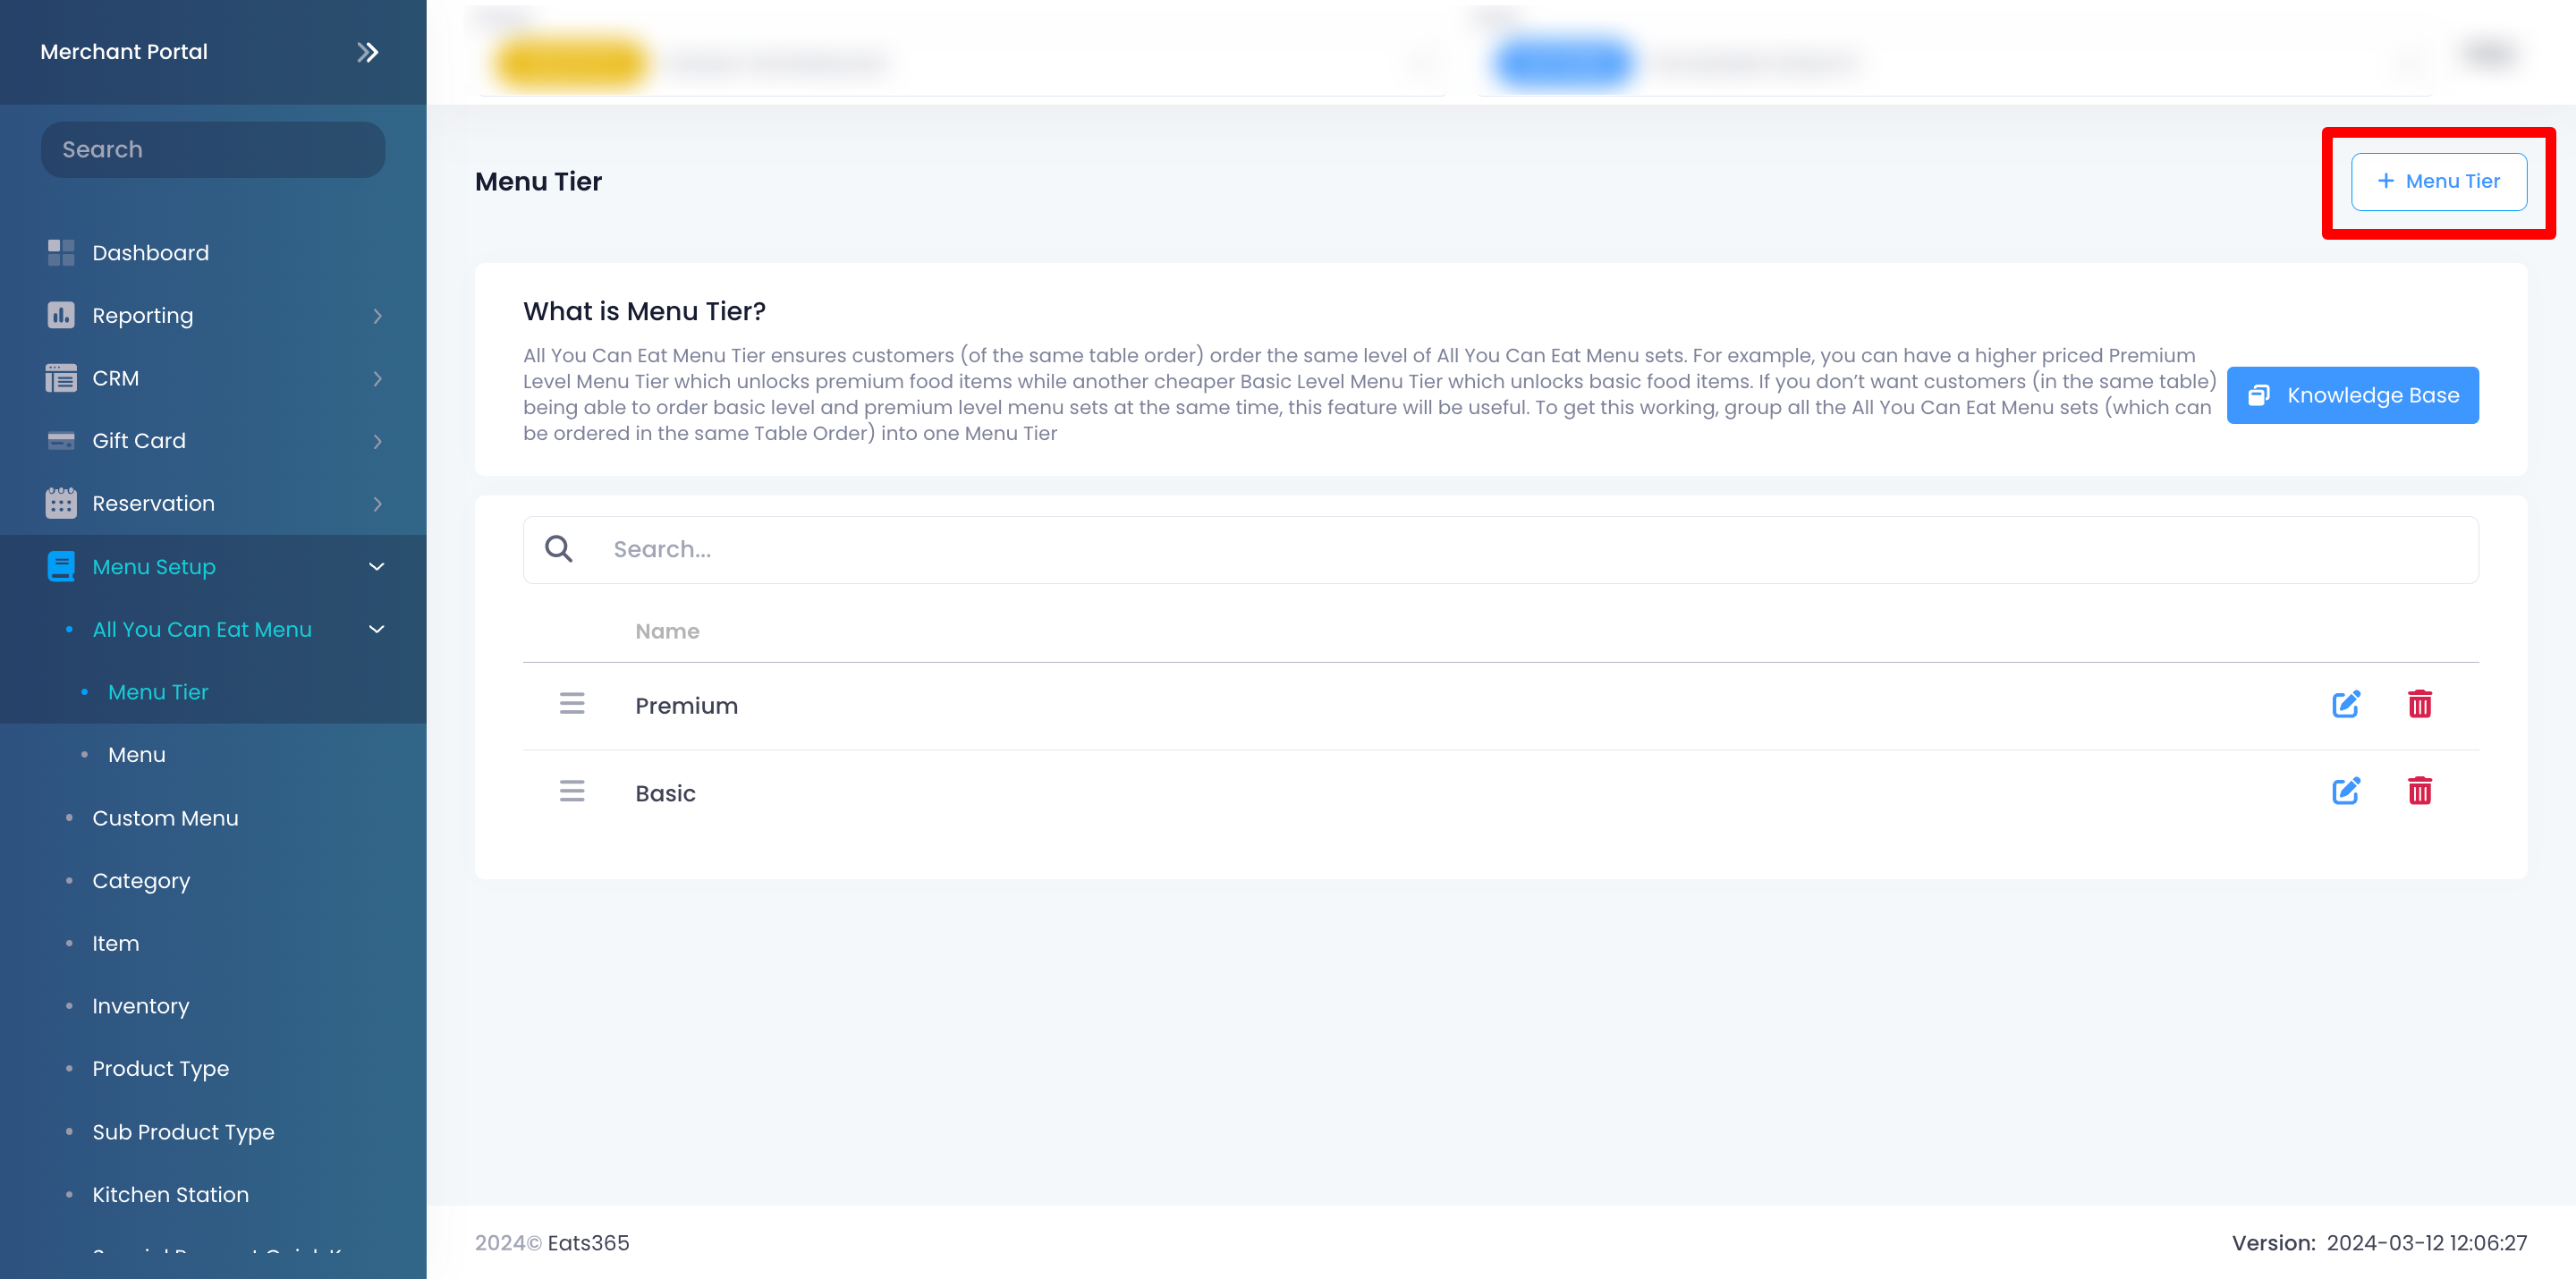
- Select Menu Tier.
- At the top right, click on + Menu Tier.
- To enable the menu tier, toggle on Active
 .
.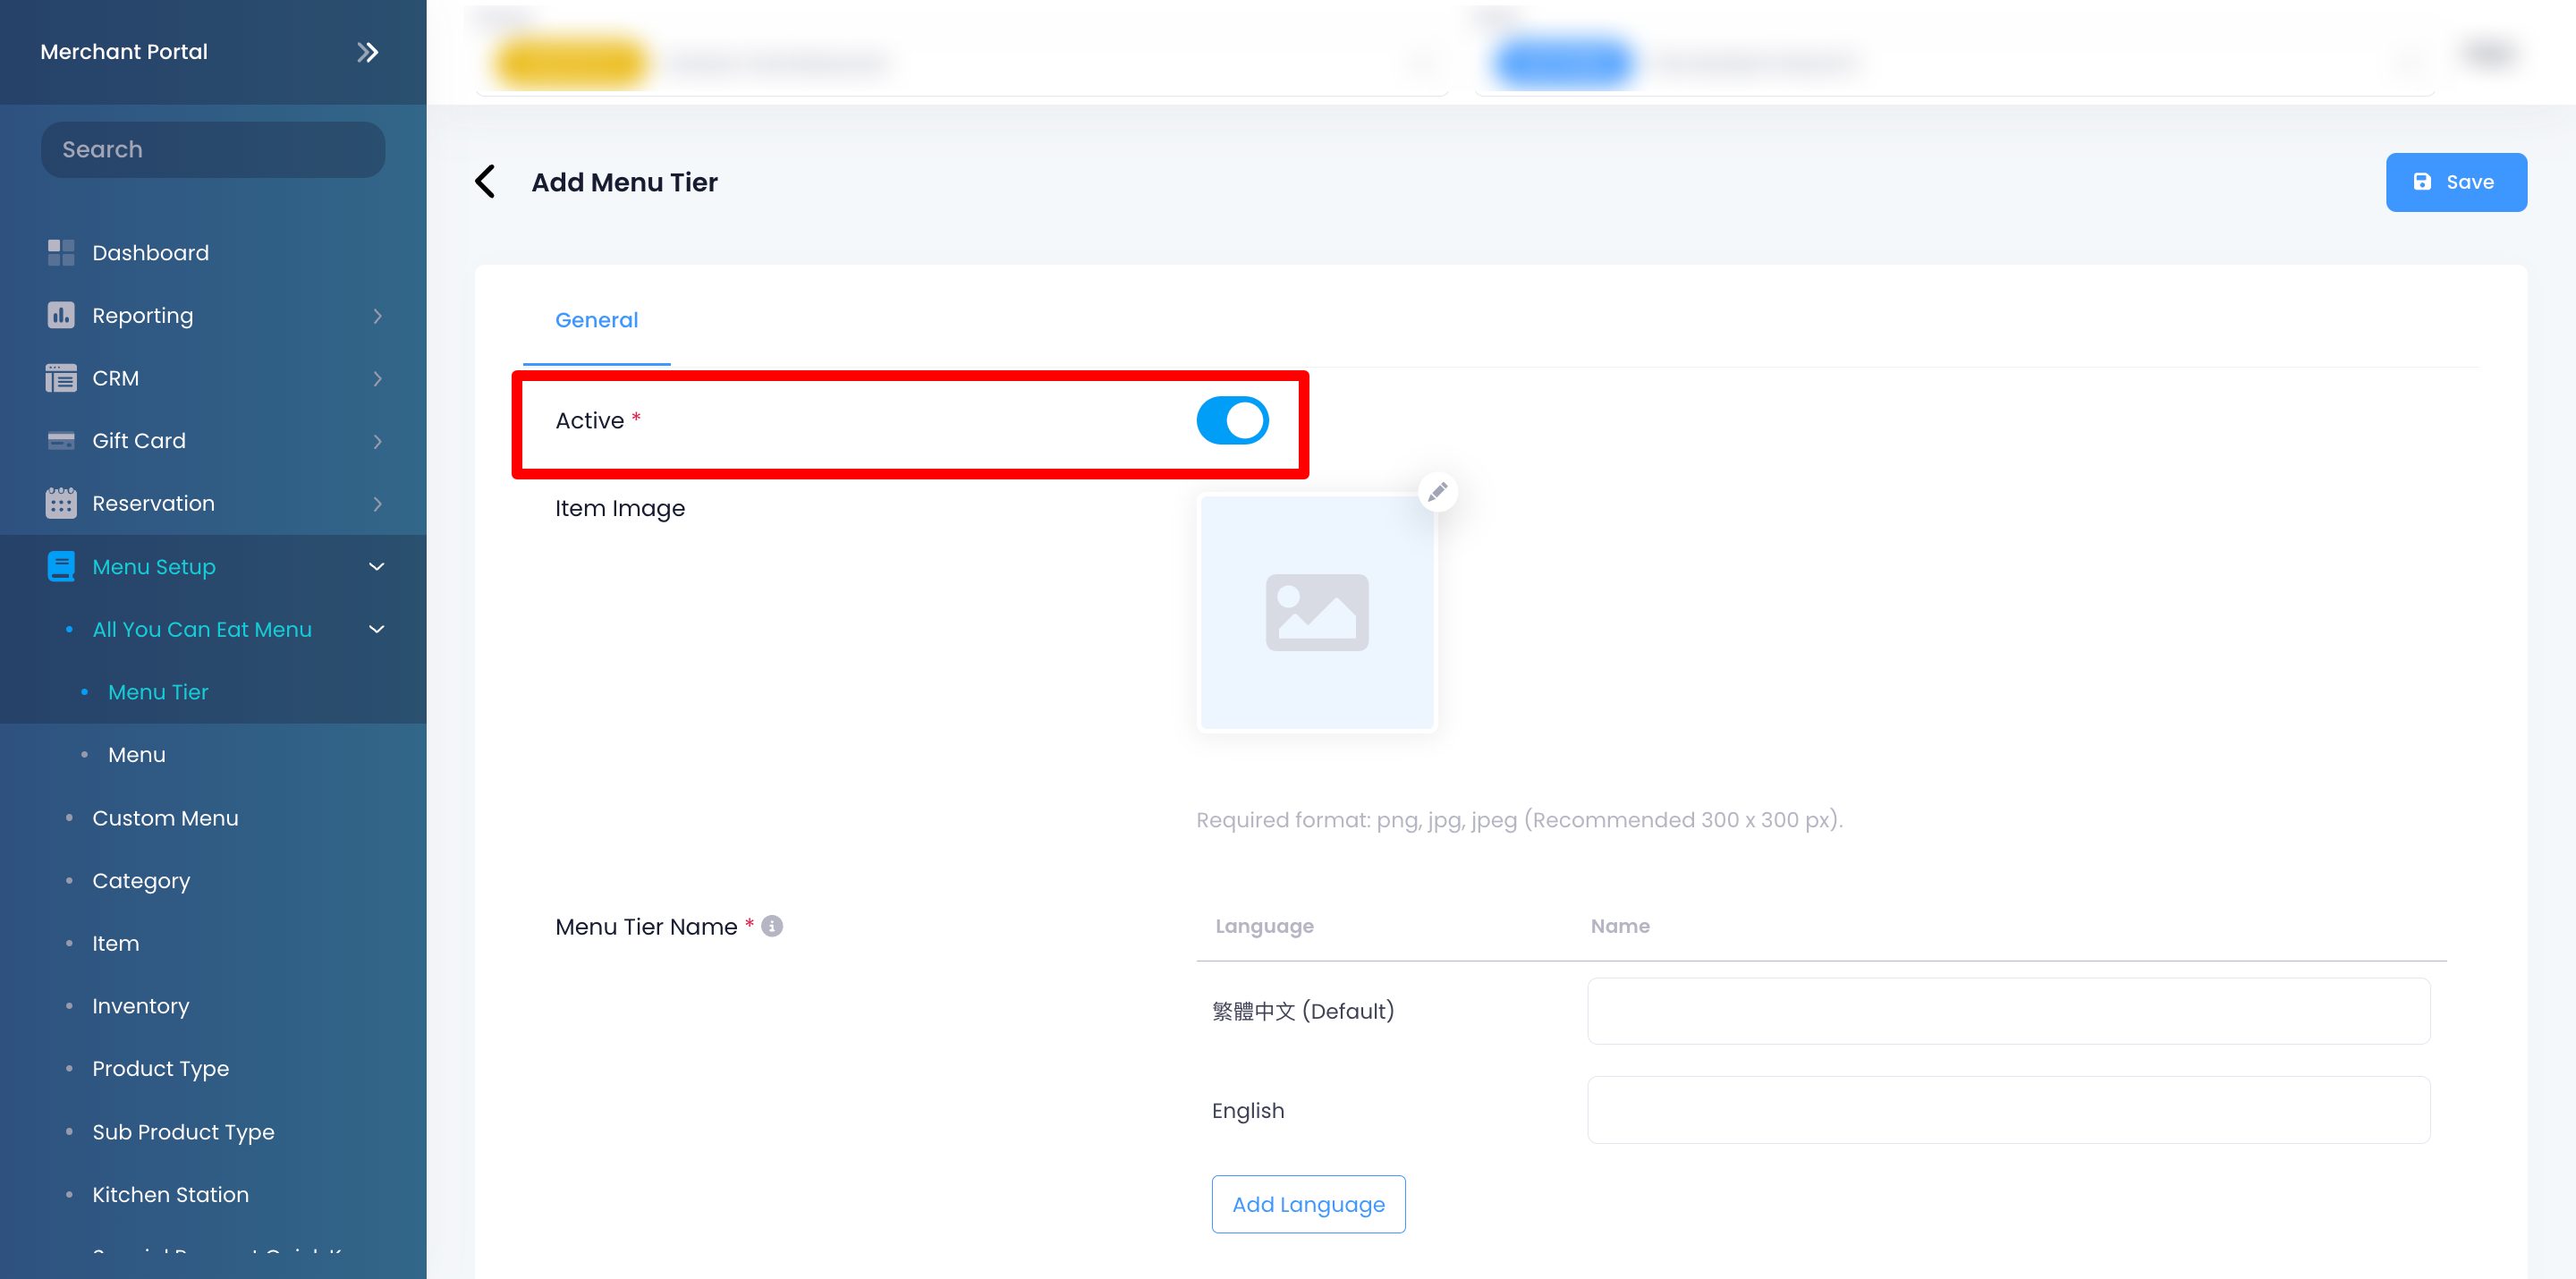
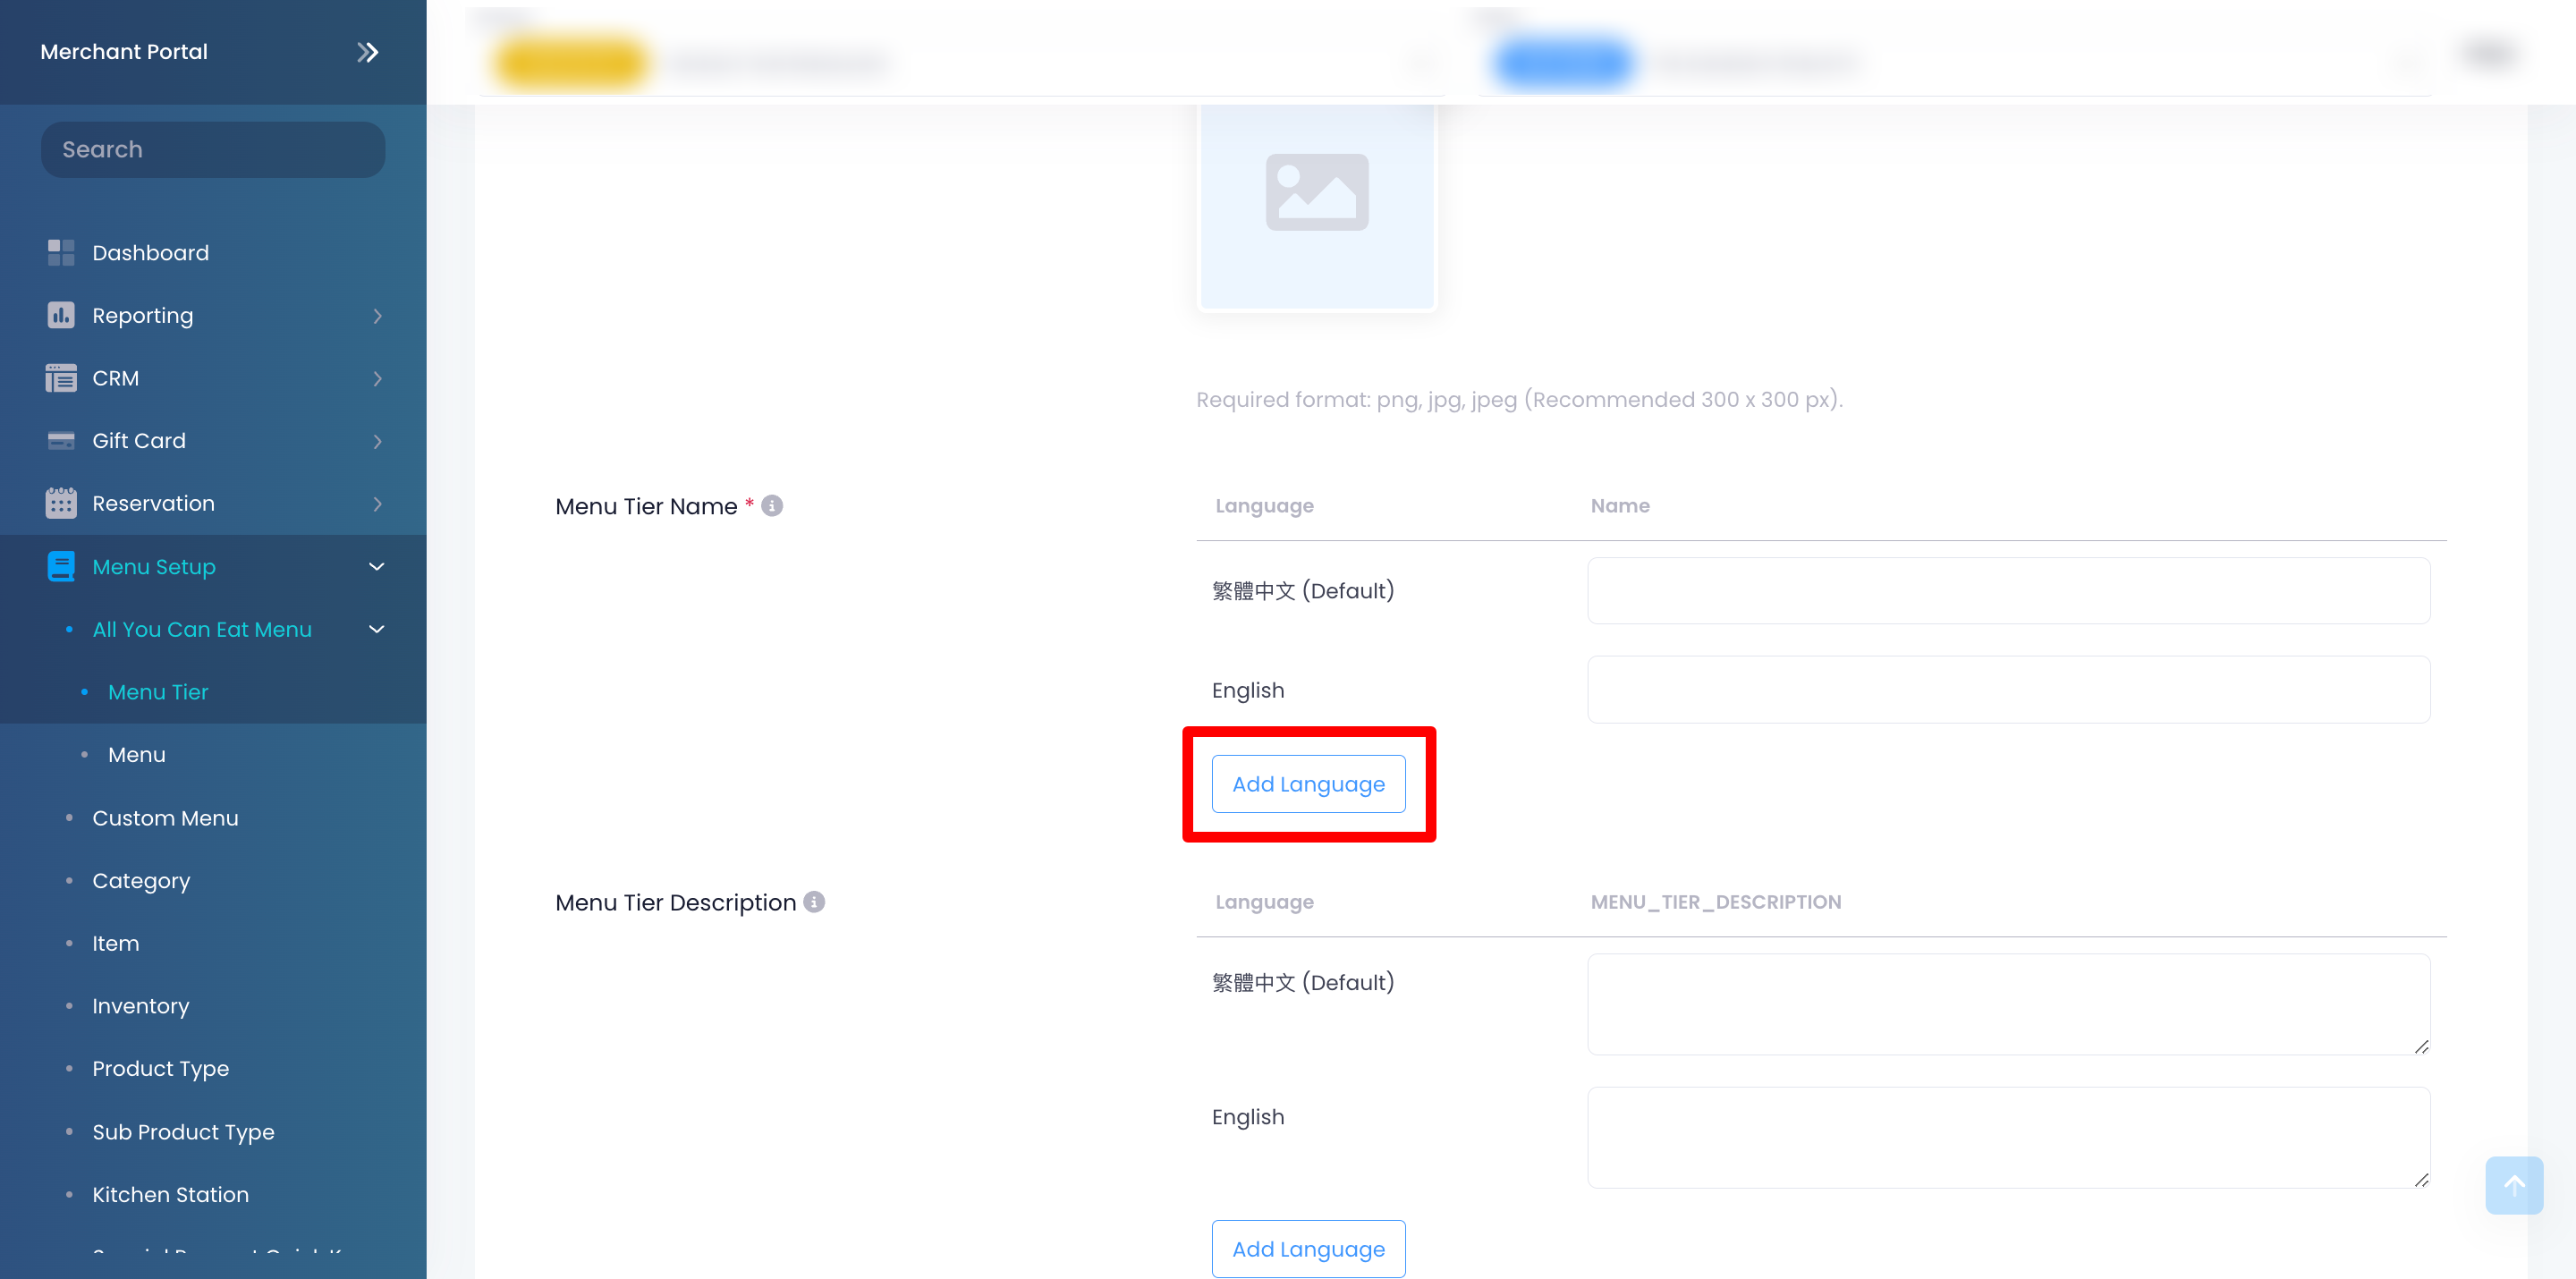
- (Optional) To make the Menu Tier recognizable, upload an item image.
- Enter the Menu Tier name and description per language. To add another language, click on Add Language.
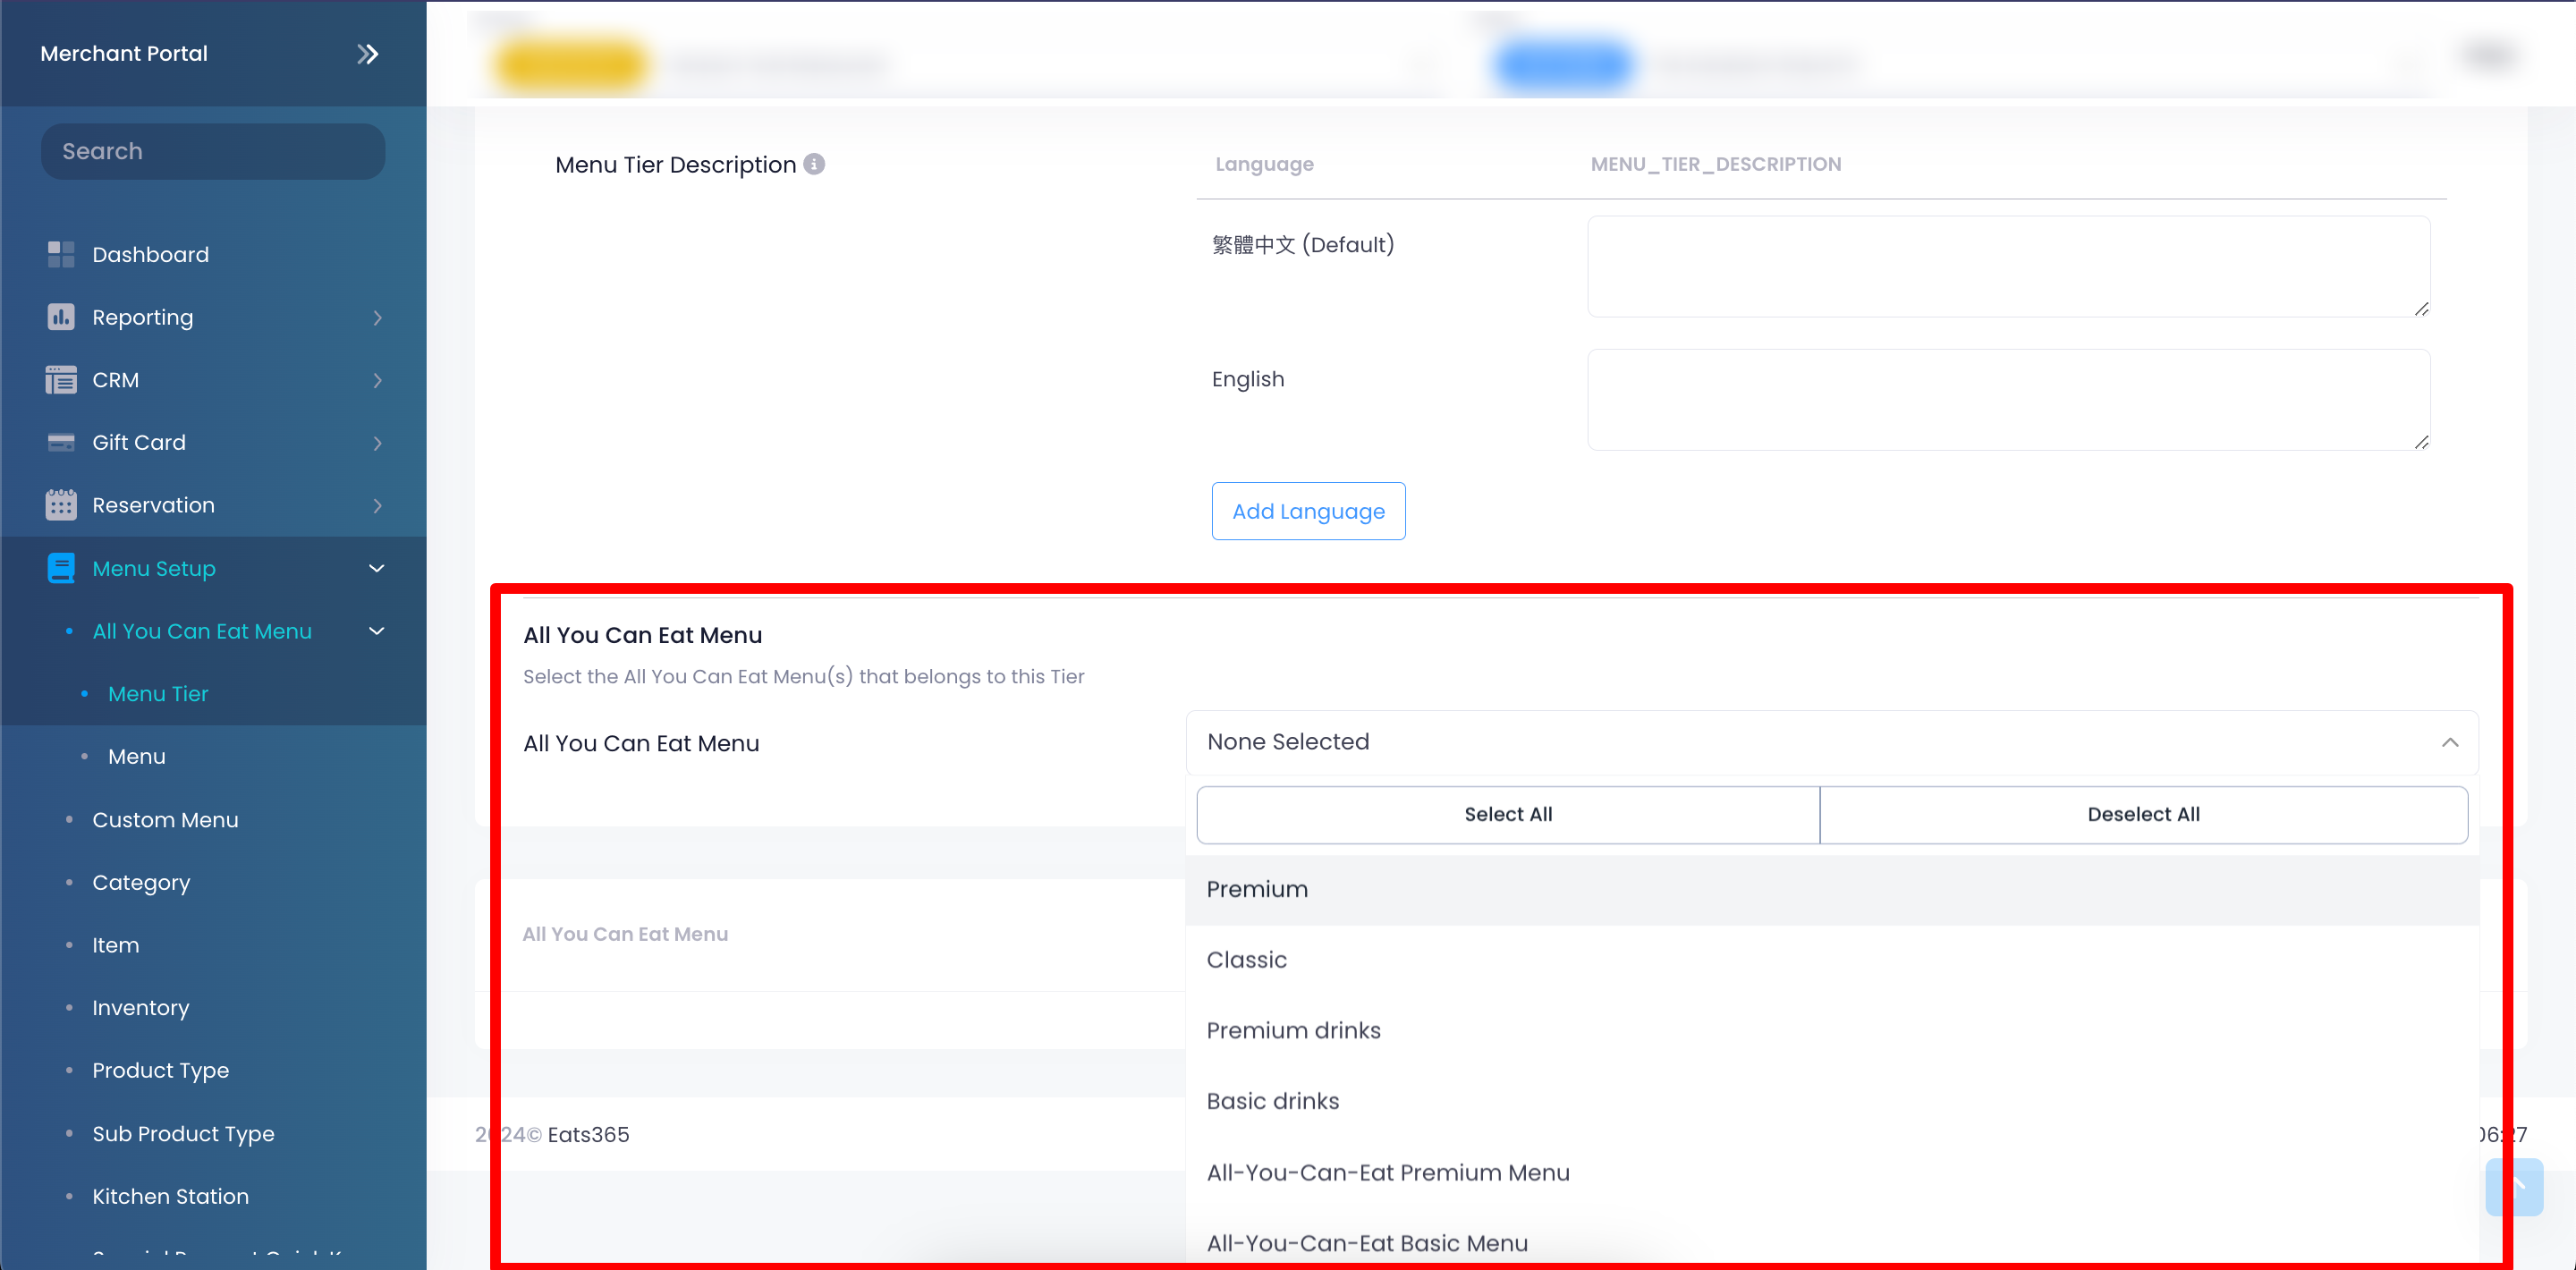
- Under "All You Can Eat Menu," select the All You Can Eat Menu sets that you want to include in the Menu Tier.
- At the top right, click on Save to confirm.
Manage Menu Tier
Edit a Menu Tier
To modify a menu tier, follow the steps below:
- Log in to the Merchant Portal.
- On the left panel, click on Menu Setup. Then, click on All You Can Eat Menu.
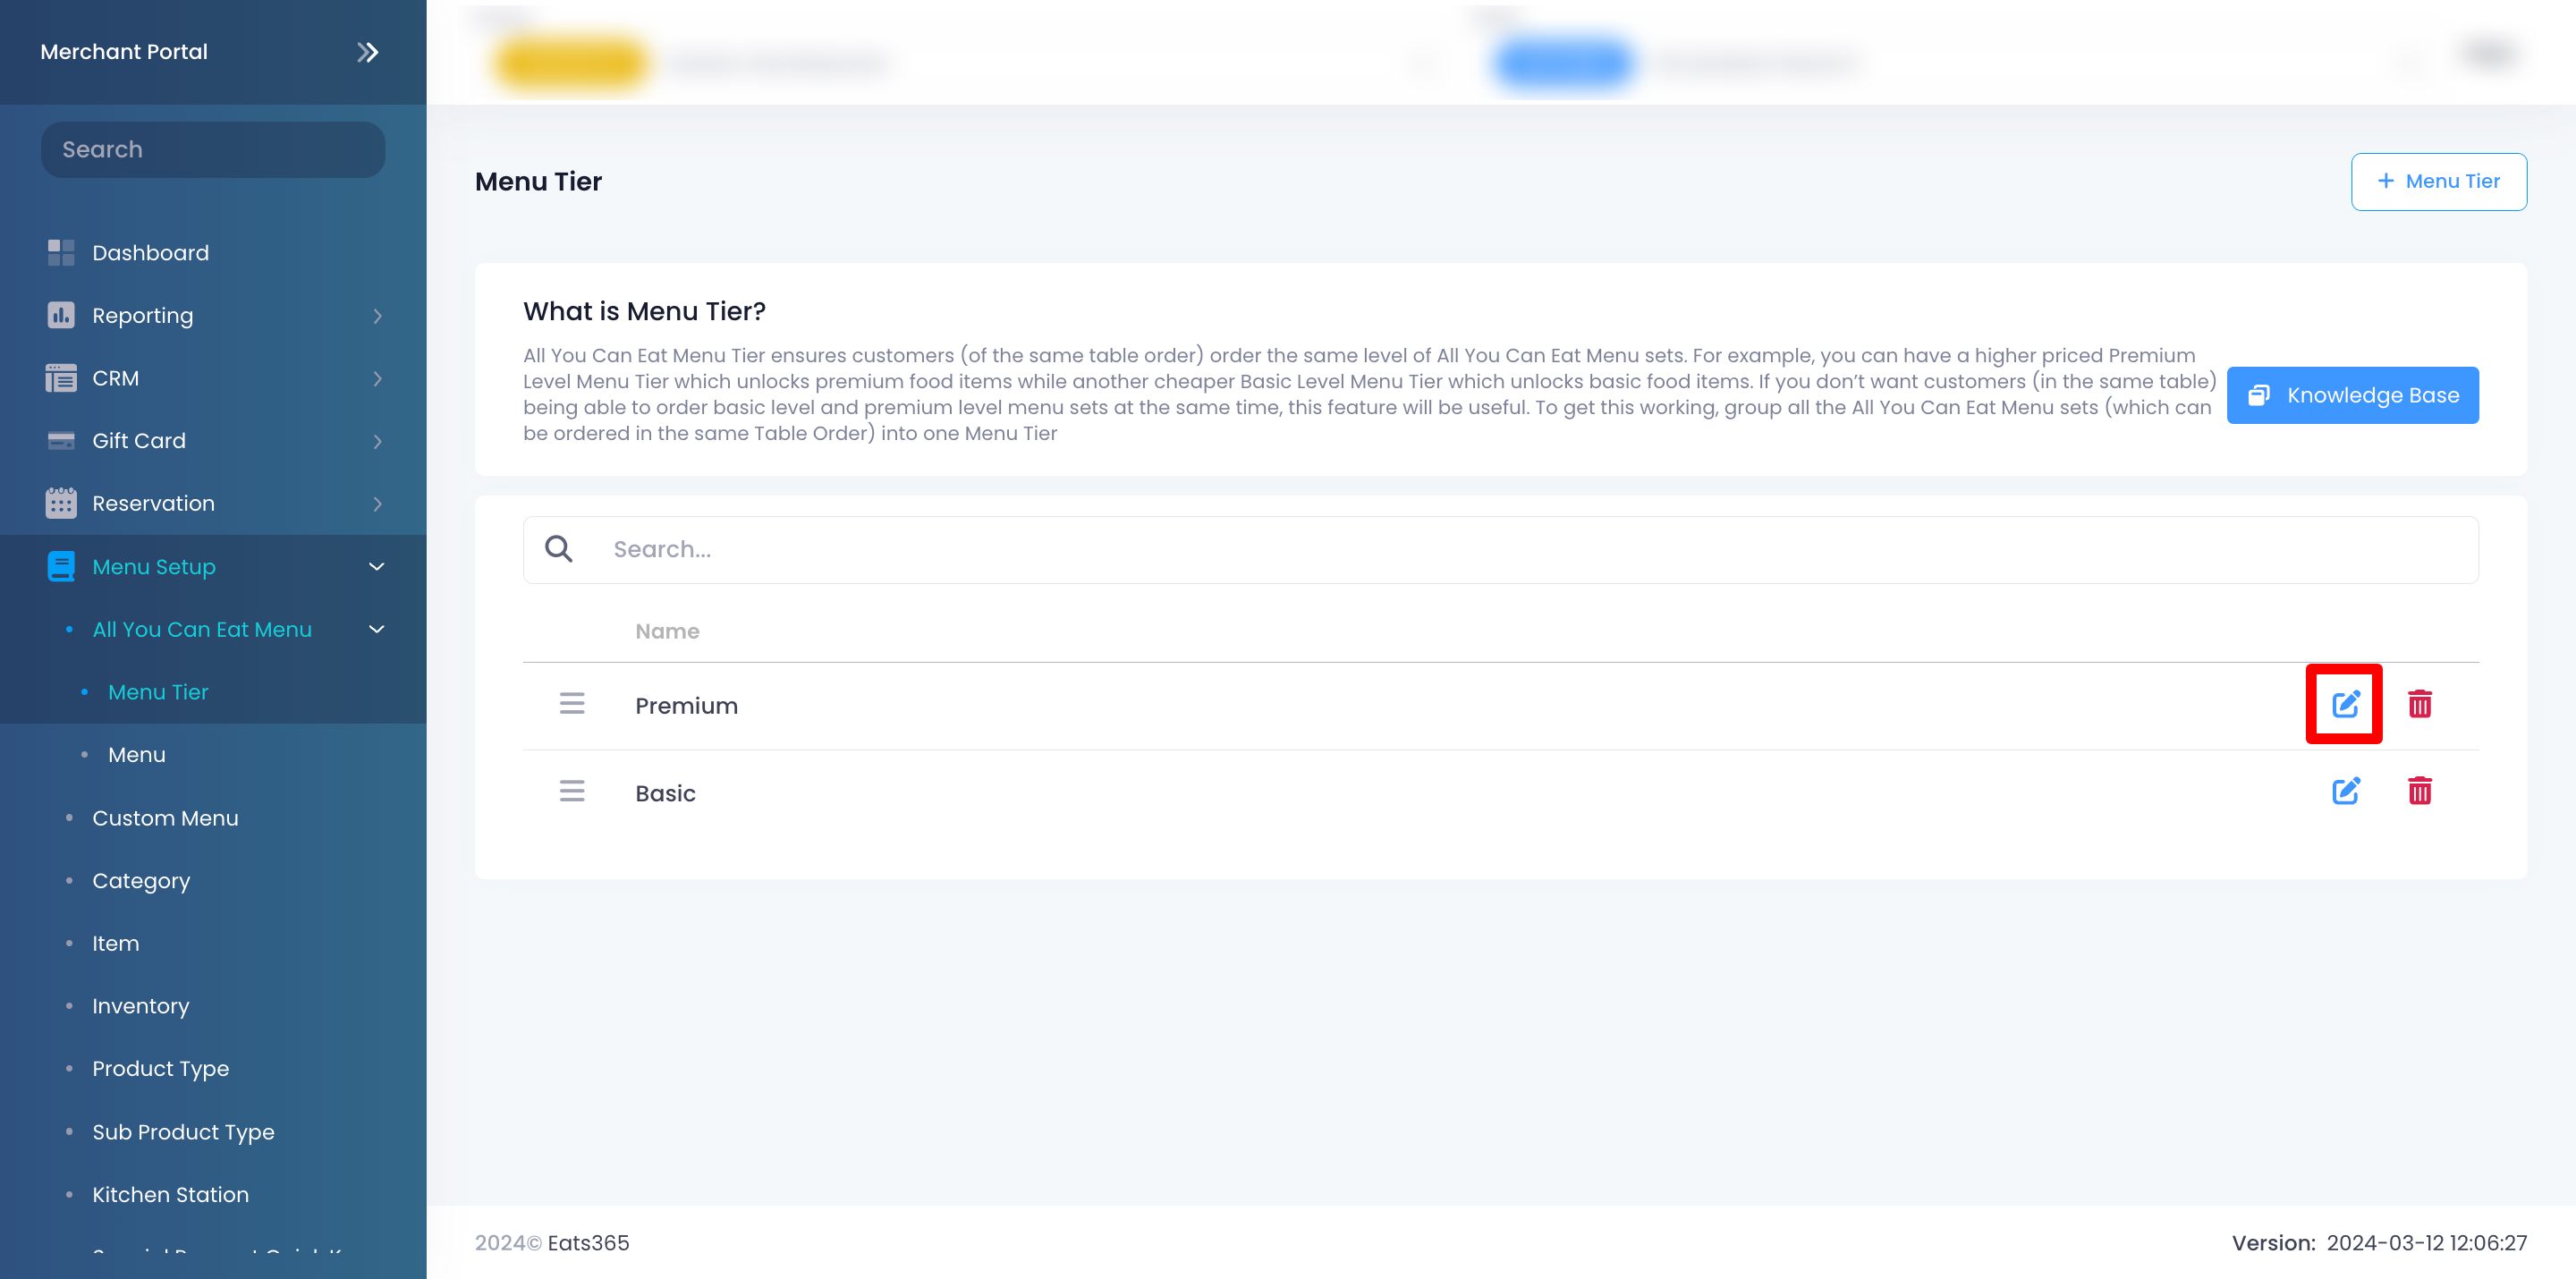
- Select Menu Tier.
- Next to the Menu Tier that you want to update, click on Edit
 .
.
- Update the menu tier.
- At the top right, click on Save to confirm.
Delete a Menu Tier
To remove a menu tier, follow the steps below:
- Log in to the Merchant Portal.
- On the left panel, click on Menu Setup. Then, click on All You Can Eat Menu.
- Select Menu Tier.
- Next to the menu tier that you want to remove, click on Delete
 . A prompt appears to confirm that you want to delete the record.
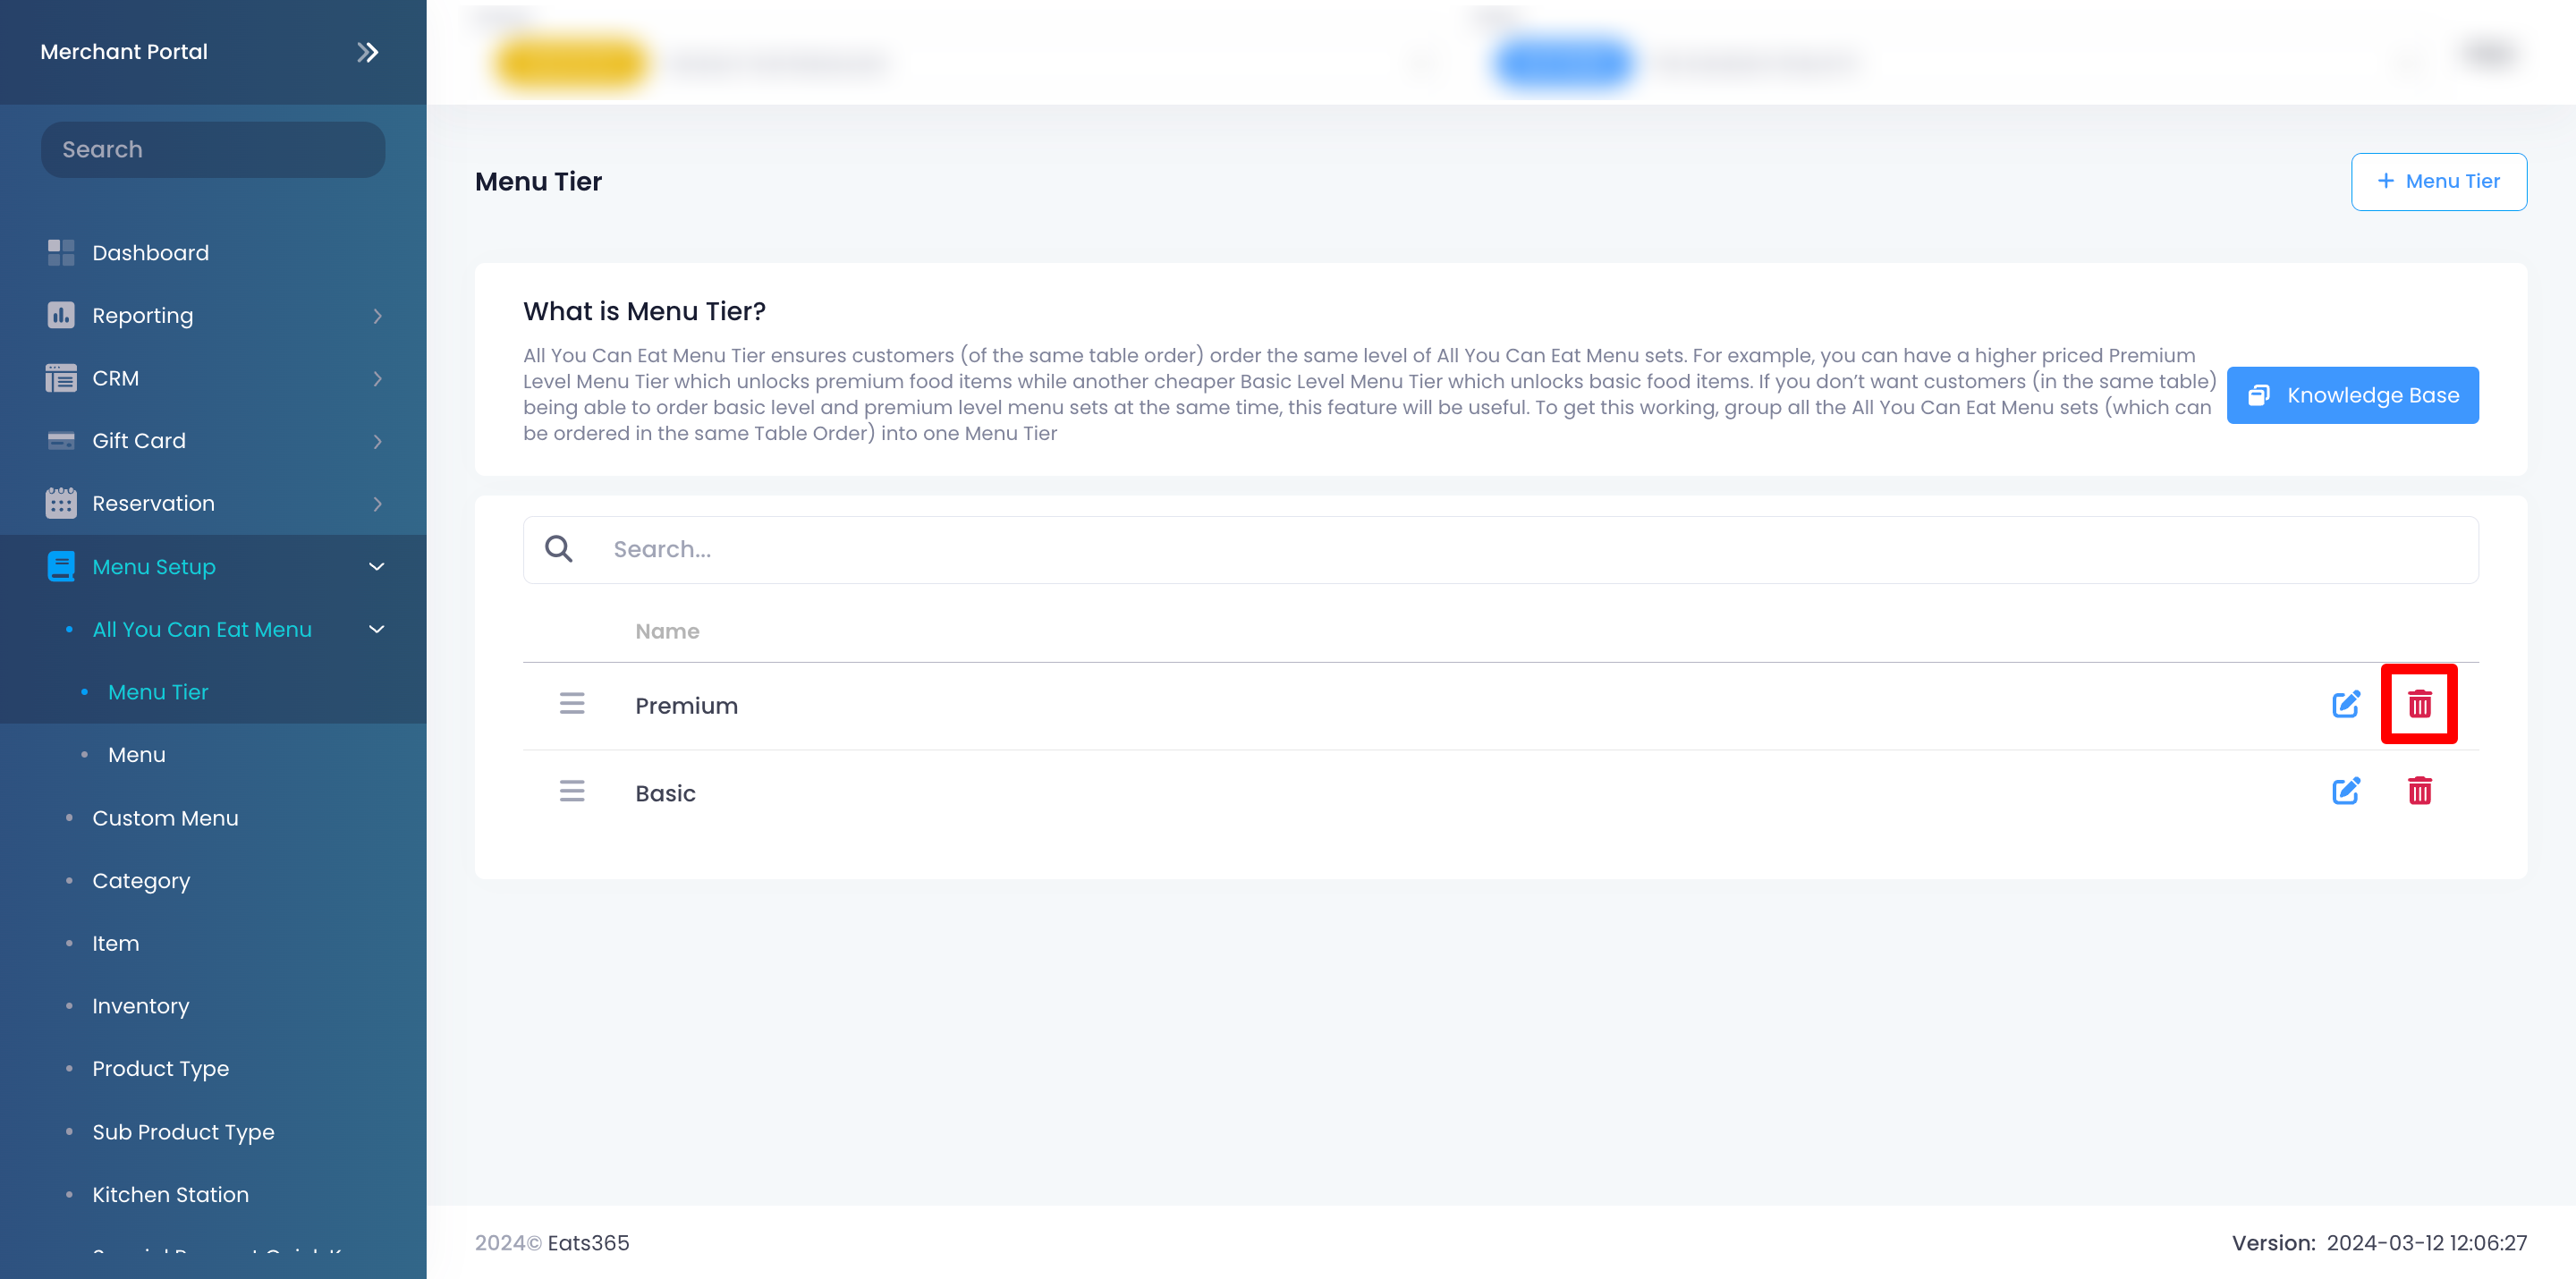
- Click on Confirm to proceed.
Enforce Same All You Can Eat Menu Tier in Same Order
The "Enforce Same All You Can Eat Menu Tier in Same Order" setting ensures that all customers at the same table order from the same menu tier. For example, if Customer 1 orders from a “Premium” menu tier, then all members of the party are restricted to ordering from the “Premium” menu tier as well.
To enable the Enforce Same All You Can Eat Menu Tier in Same Order setting, follow the steps below:
Eats365 POS
- Log in to the Eats365 POS.
- At the top left, tap Settings
 .
. - Under "Settings," tap Dine-In.
- Tap Workflow Settings.
- Under All You Can Eat Menu, turn on Enforce Same All You Can Eat Menu Tier in Same Order
 .
.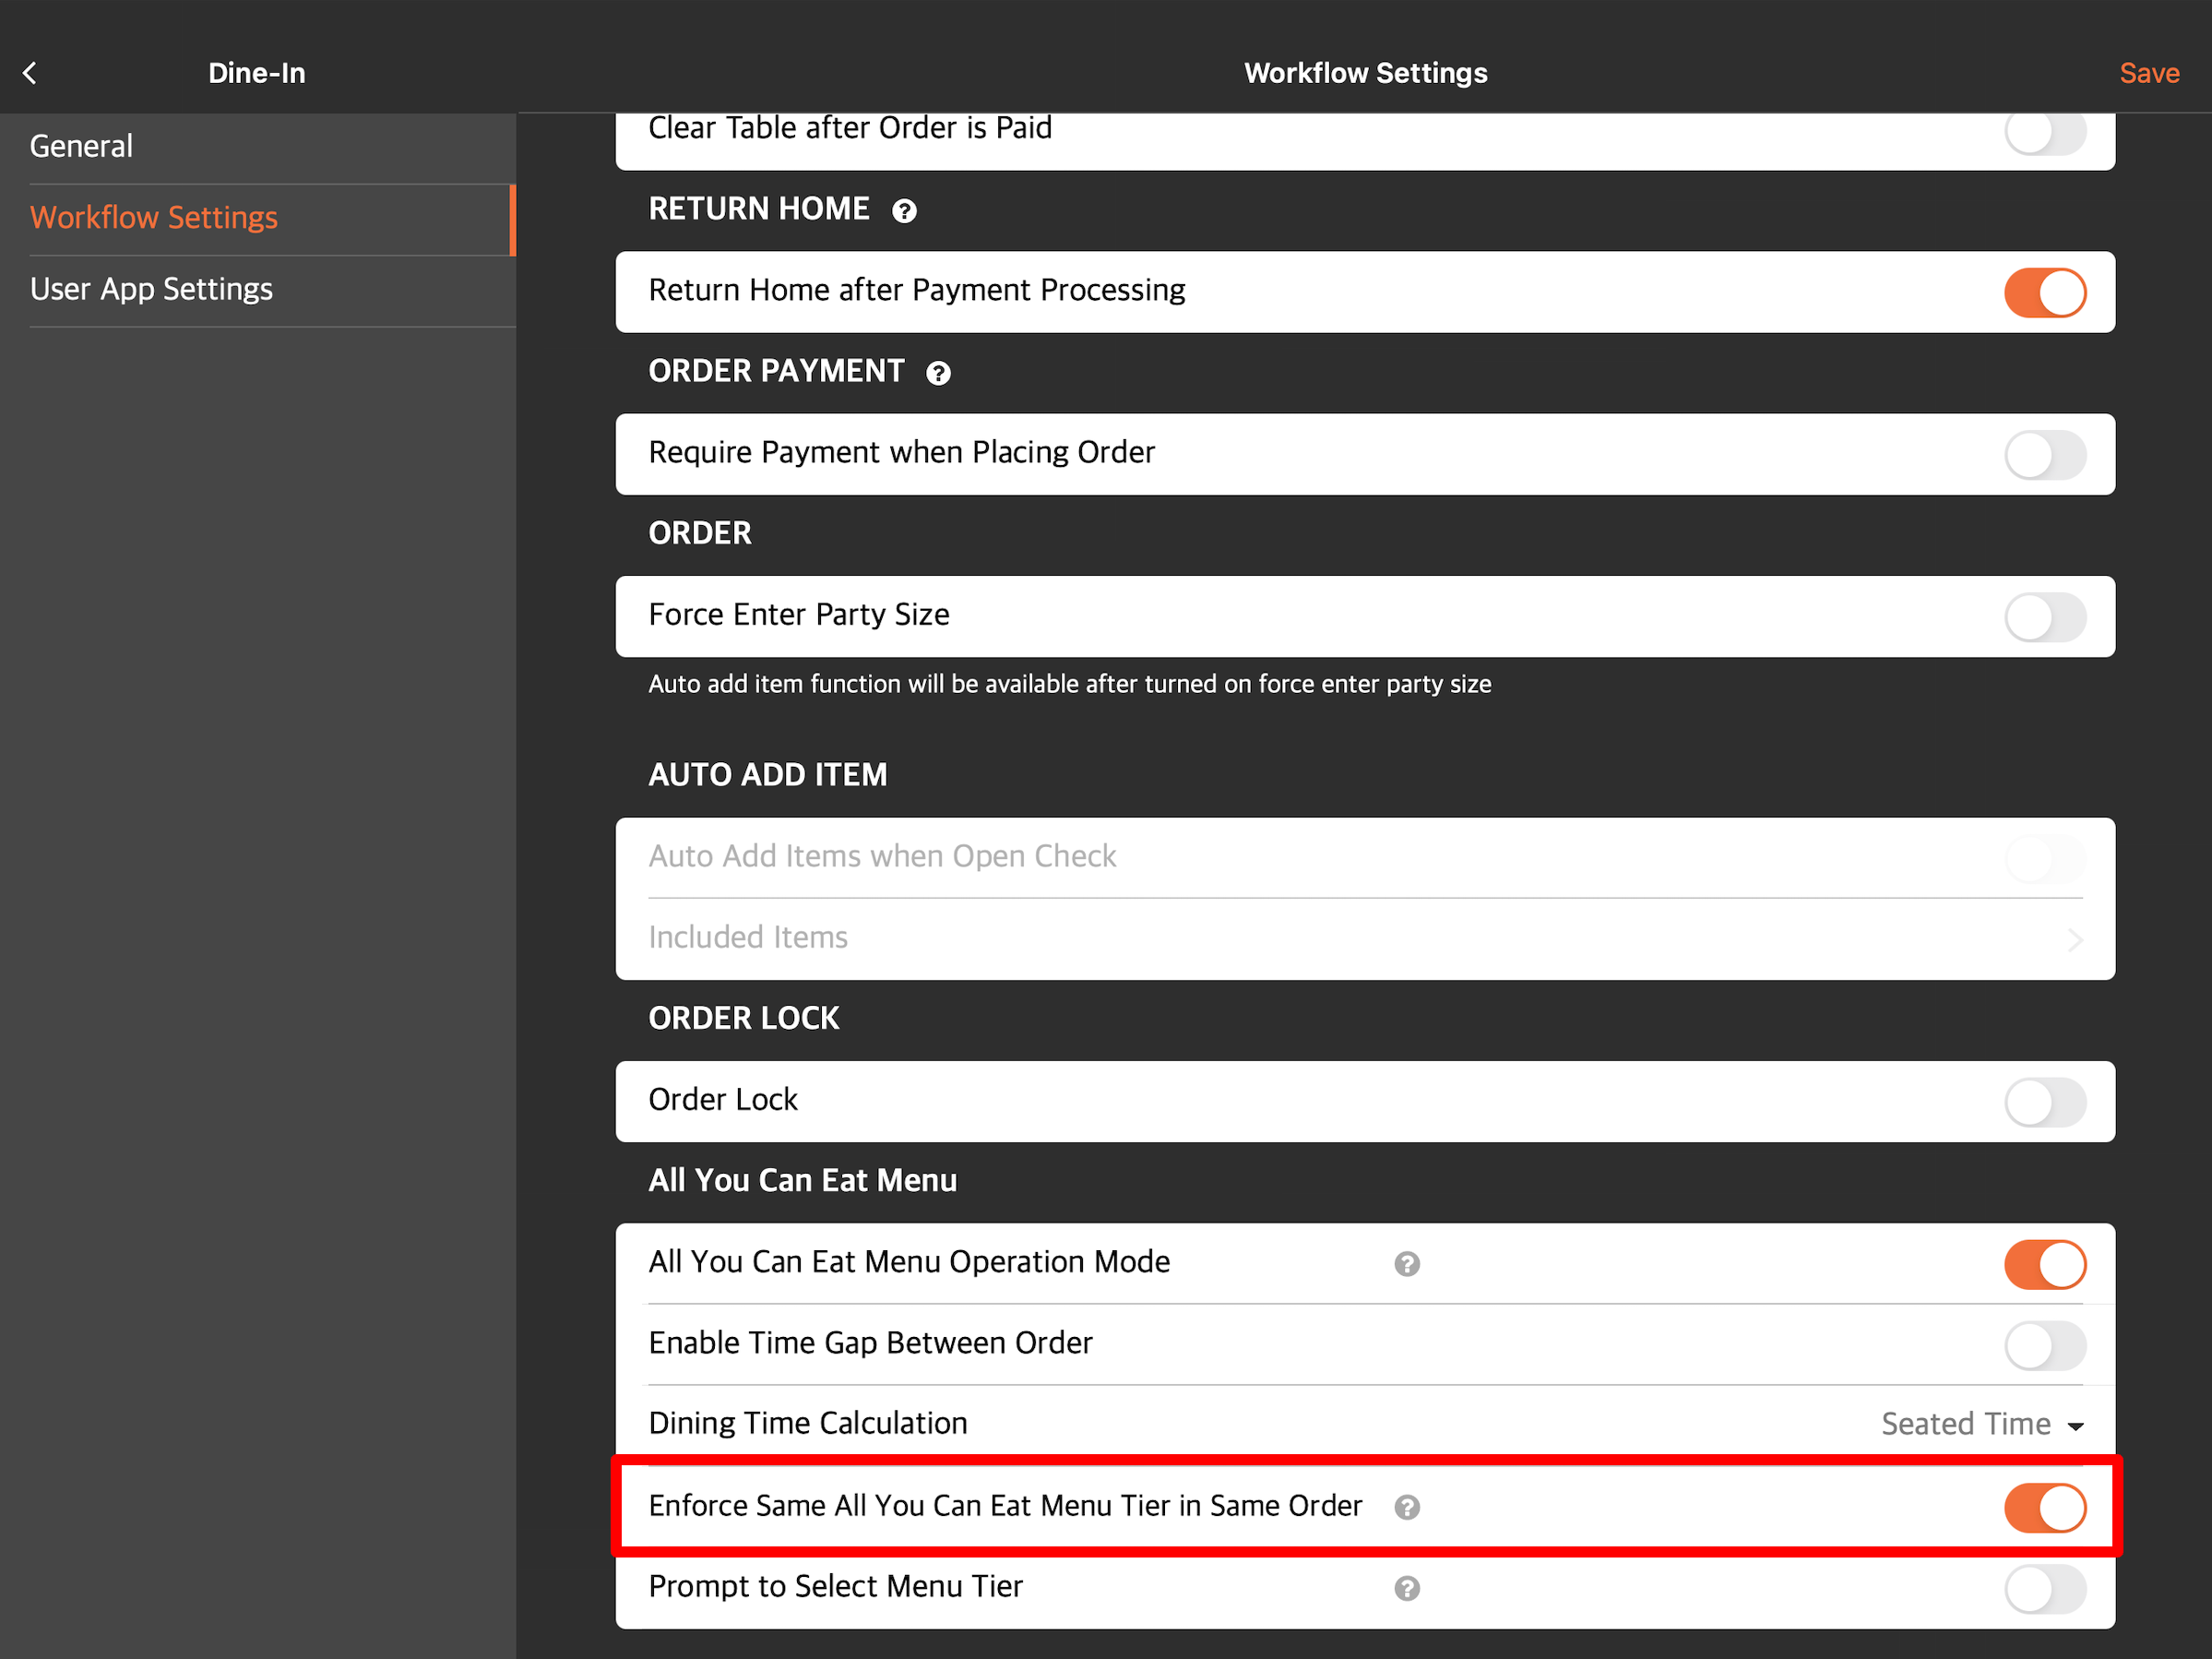
- To prompt the staff to select a tier when "Same Menu Tier" is enabled on the order-taking screen, turn on Prompt to Select Menu Tier .
Note: The option "Enforce Same All You Can Eat Menu Tier in Same Order" must be enabled to use the show the "Same Menu Tier" toggle on the order-taking screen.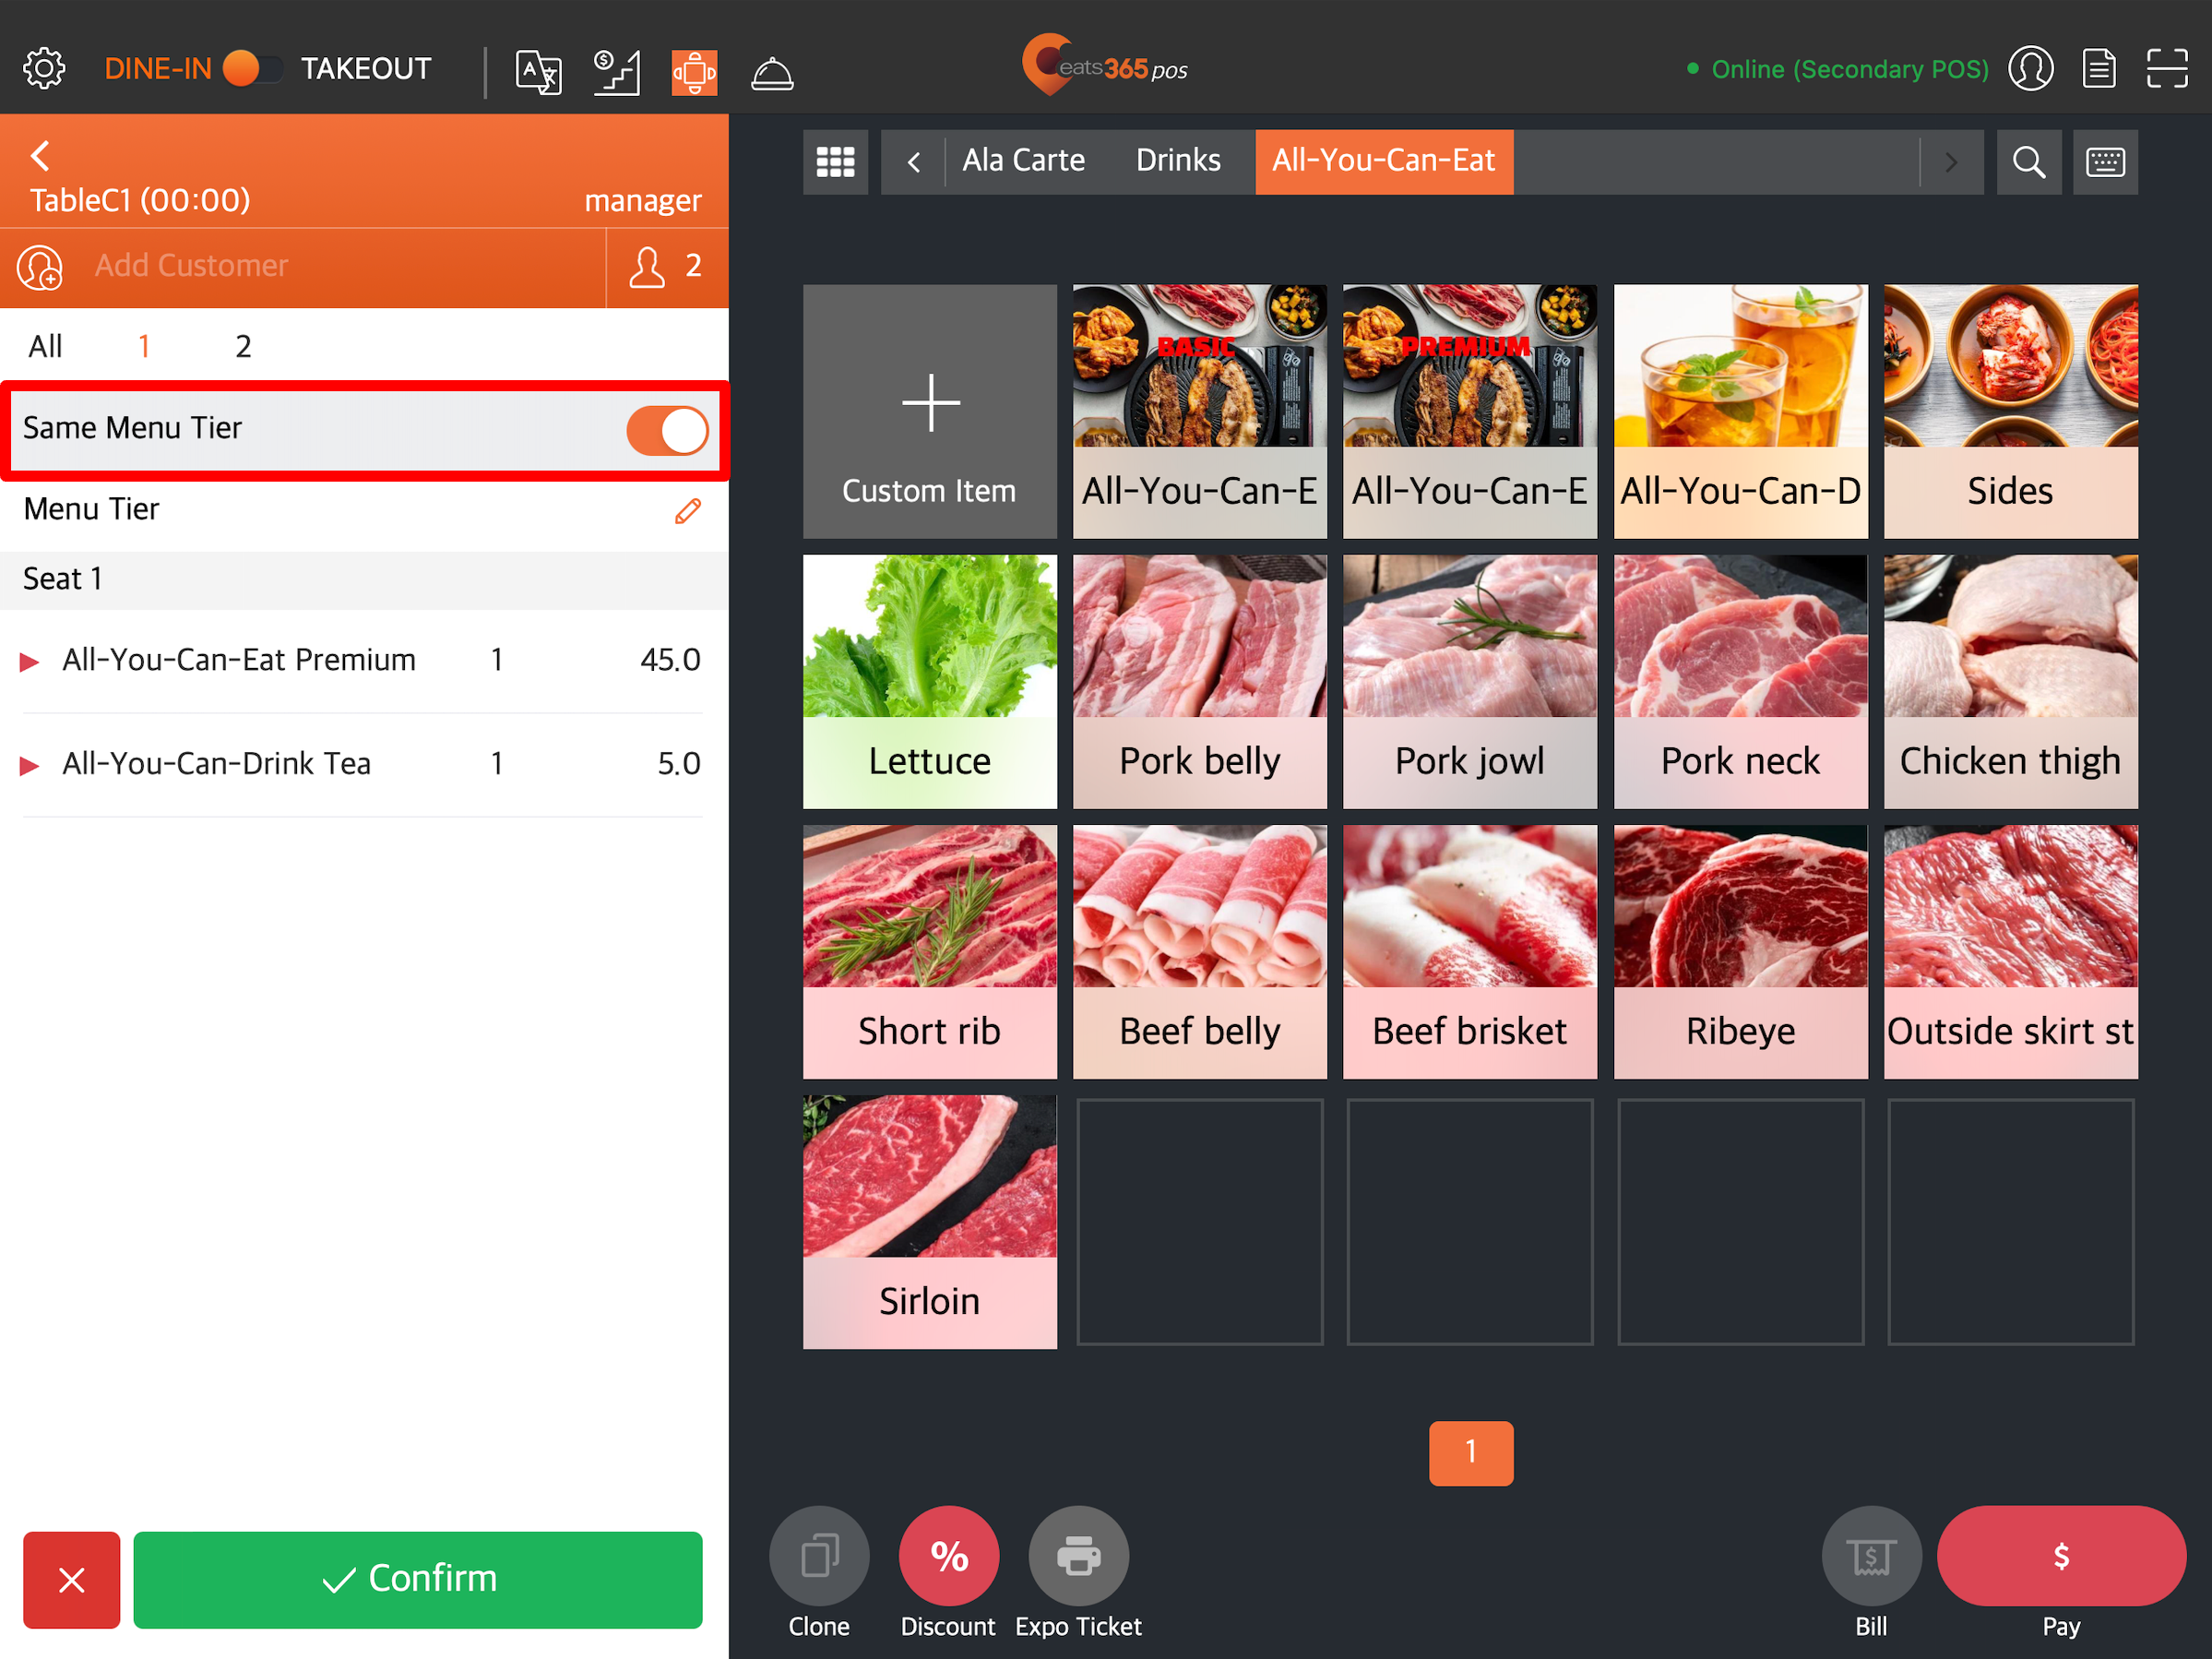
- At the top right, tap Save to confirm.
Merchant Portal 2.0
- Log in to the Merchant Portal.
- On the left panel, click on Restaurant Settings. Then, select Dine-In.
- Click on Workflow.
- Under "All You Can Eat Menu," turn on Enforce Same All You Can Eat Menu Tier in Same Order .
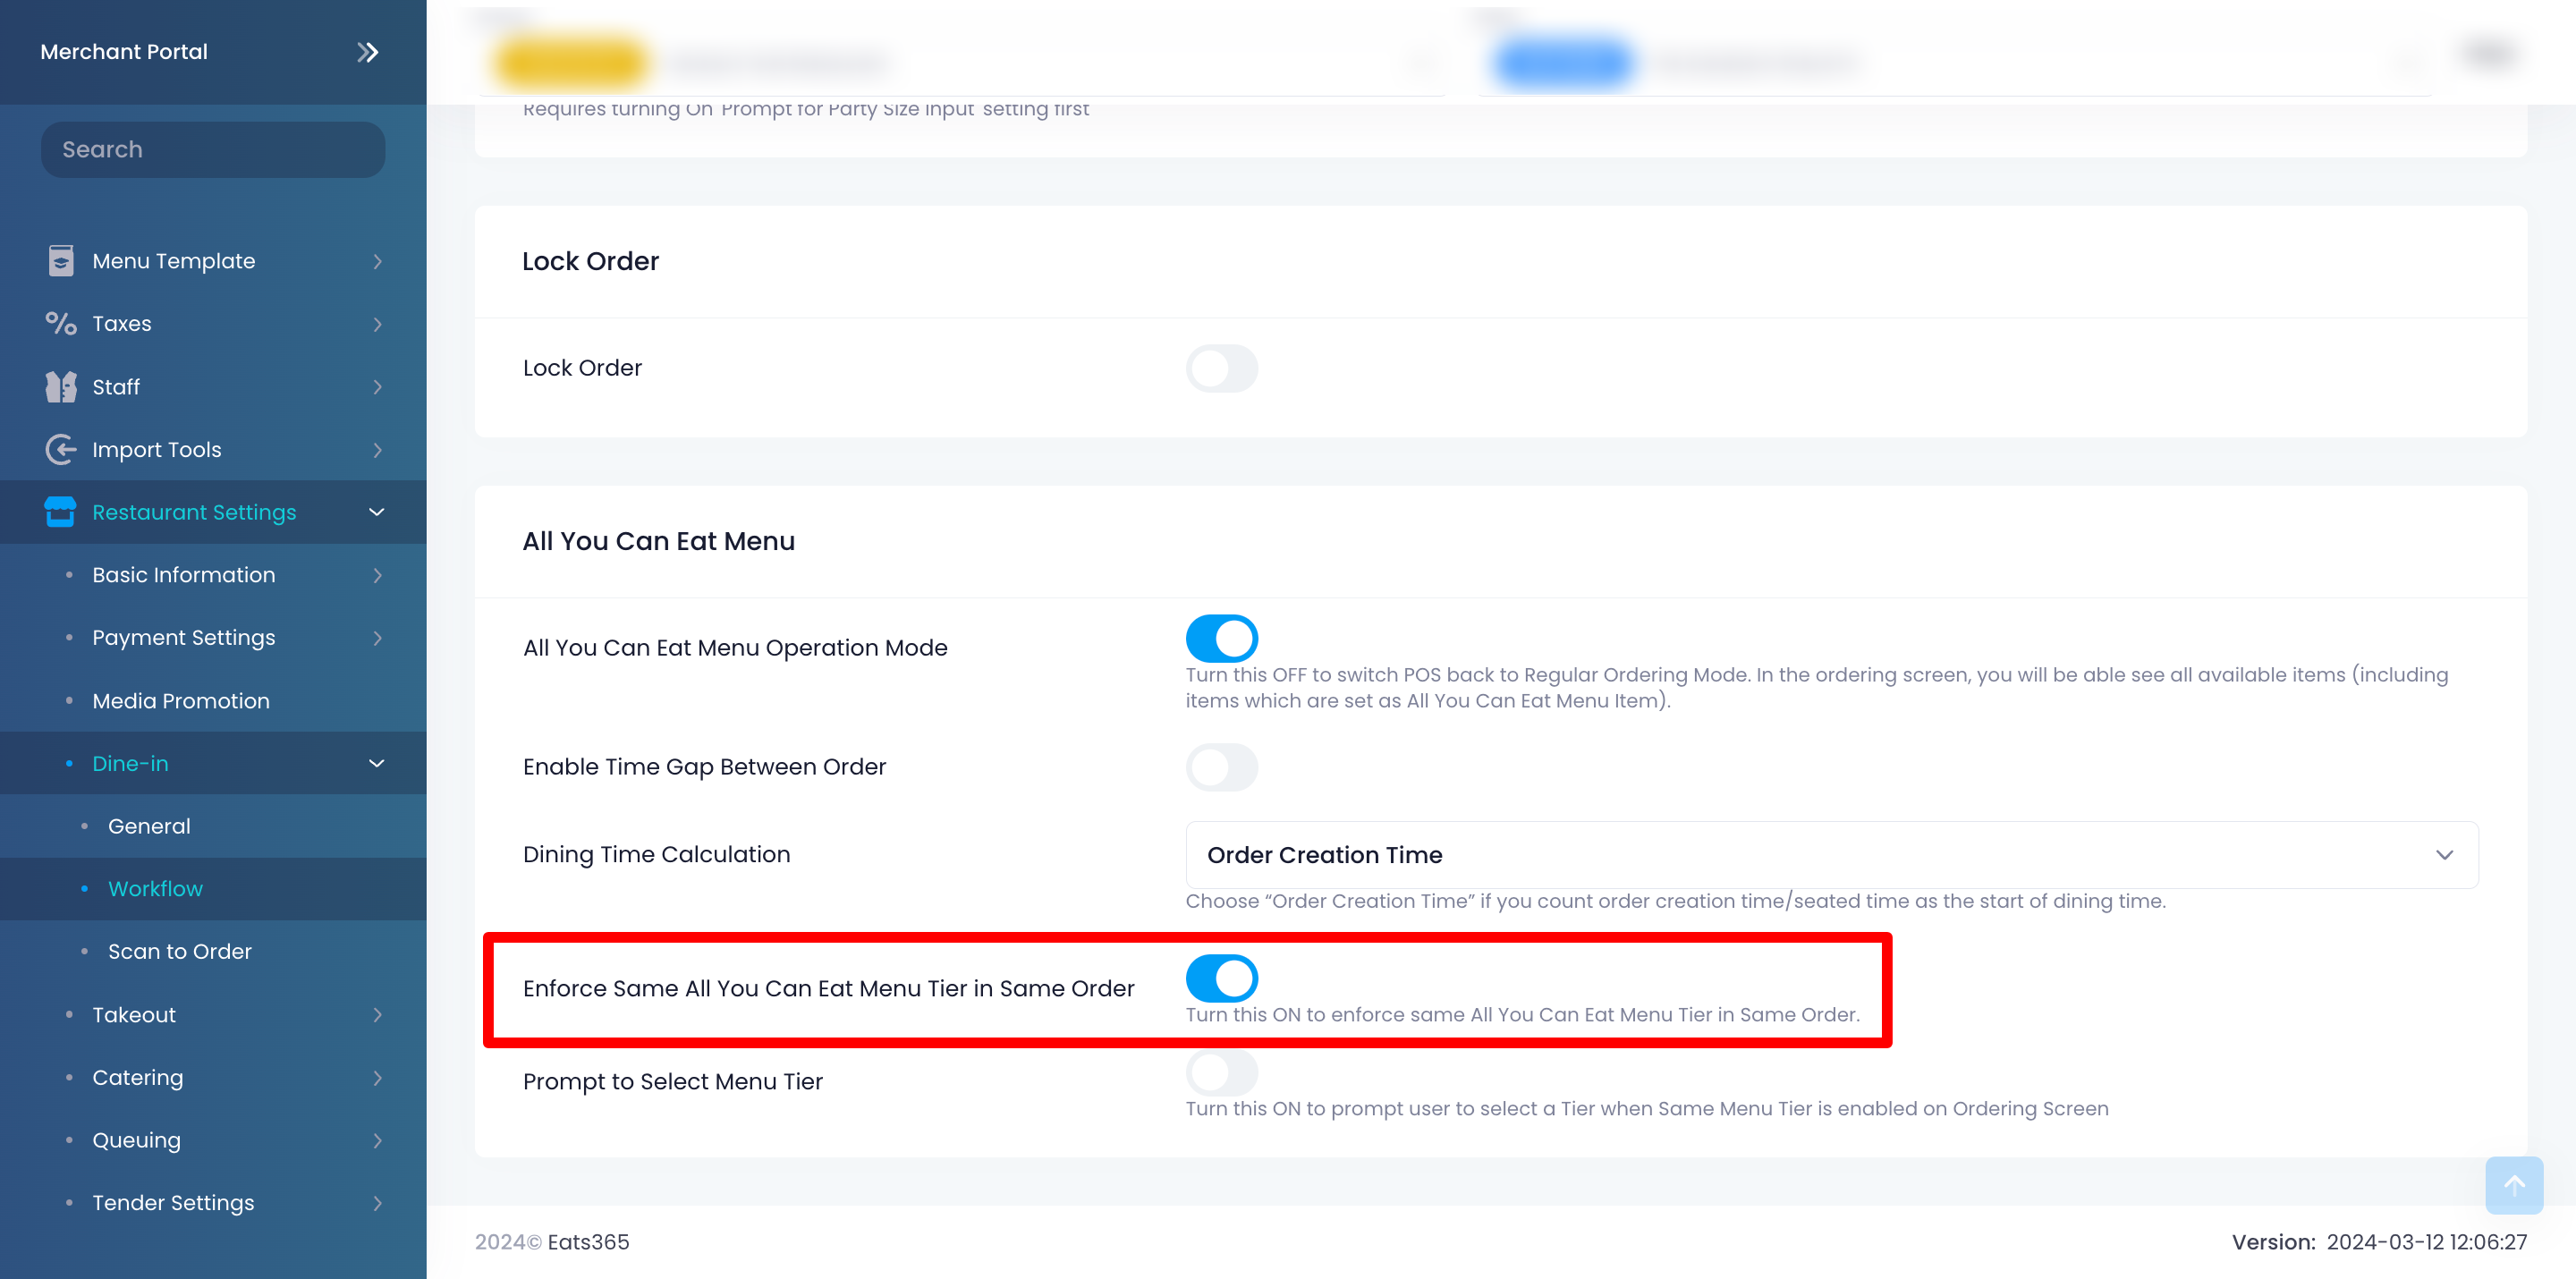
- To prompt the staff to select a tier when "Same Menu Tier" is enabled on the order-taking screen, turn on Prompt to Select Menu Tier .
Note: The option "Enforce Same All You Can Eat Menu Tier in Same Order" must be enabled to use the show the "Same Menu Tier" toggle on the order-taking screen.
- At the top right, click on Save to confirm.