Order Handling
Table of Contents
Manage new orders
Learn how to accept orders placed on different Eats365 Modules.
Orders placed through the PhotoMenu, Self Order Kiosk, Eats365 User App, and Scan to Order are submitted to the POS as new orders. You can manually confirm new orders or turn on Auto Accept Order to automatically accept orders on the POS.
In this article, you’ll learn about how to accept new orders manually and automatically.
New order notification
When there is an incoming new order, a small blue bubble appears on the Order List button  , and the corresponding table with the new order turns blue on the Table Map screen.
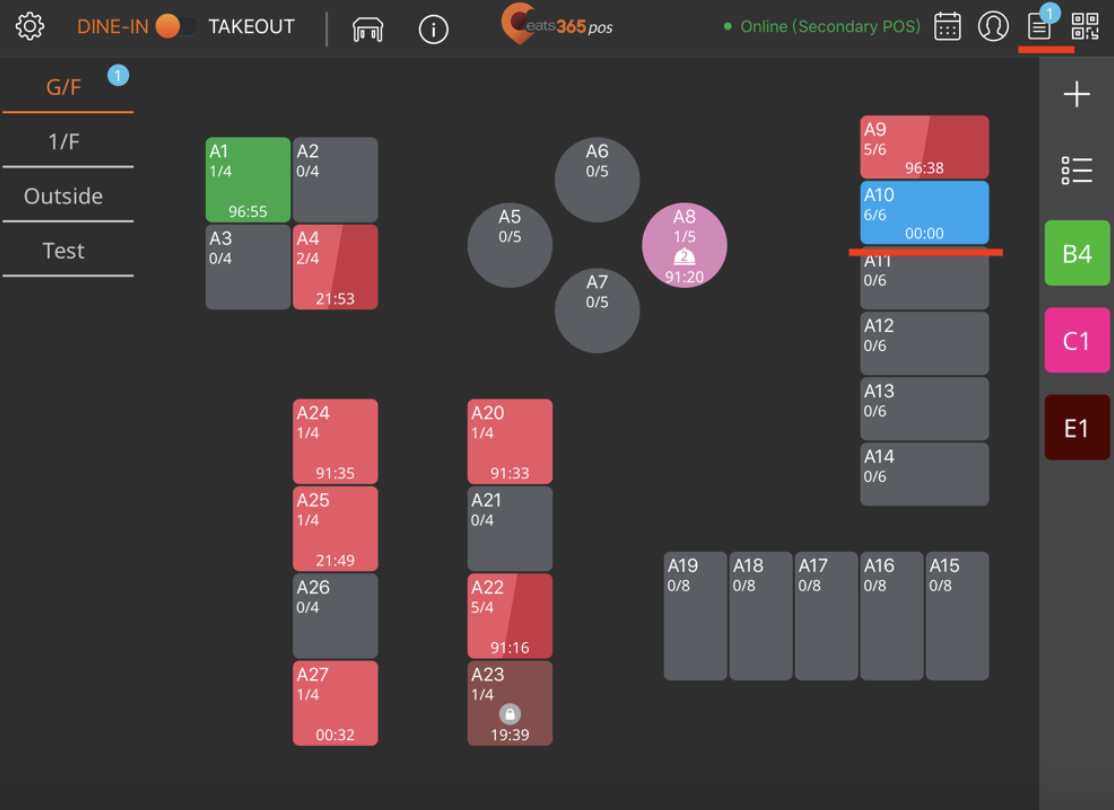
Manage new orders
To confirm a new order, follow the steps below:
- On the Table Map or the order-taking screen, tap Order List .
- Tap New.
- Select the action that you want to do on the new order.
- To accept the new order, tap Accept.
- If you don’t want to accept the order, tap Reject, then enter the reason for the rejection.
- To check the order details first, tap To Order.
Note: Kitchen tickets won’t be printed until you accept the new order.

Auto Accept Order
If you don’t want to accept orders manually every time a new order comes in, you can choose to skip the confirmation process by turning on Auto Accept Order. You can enable Auto Accept Order for PhotoMenu, Self Order Kiosk, and online ordering.
To turn on Auto Accept Order, follow the steps below:
Eats365 POS
- Log in to the Eats365 POS.
- At the top left, tap Settings
 .
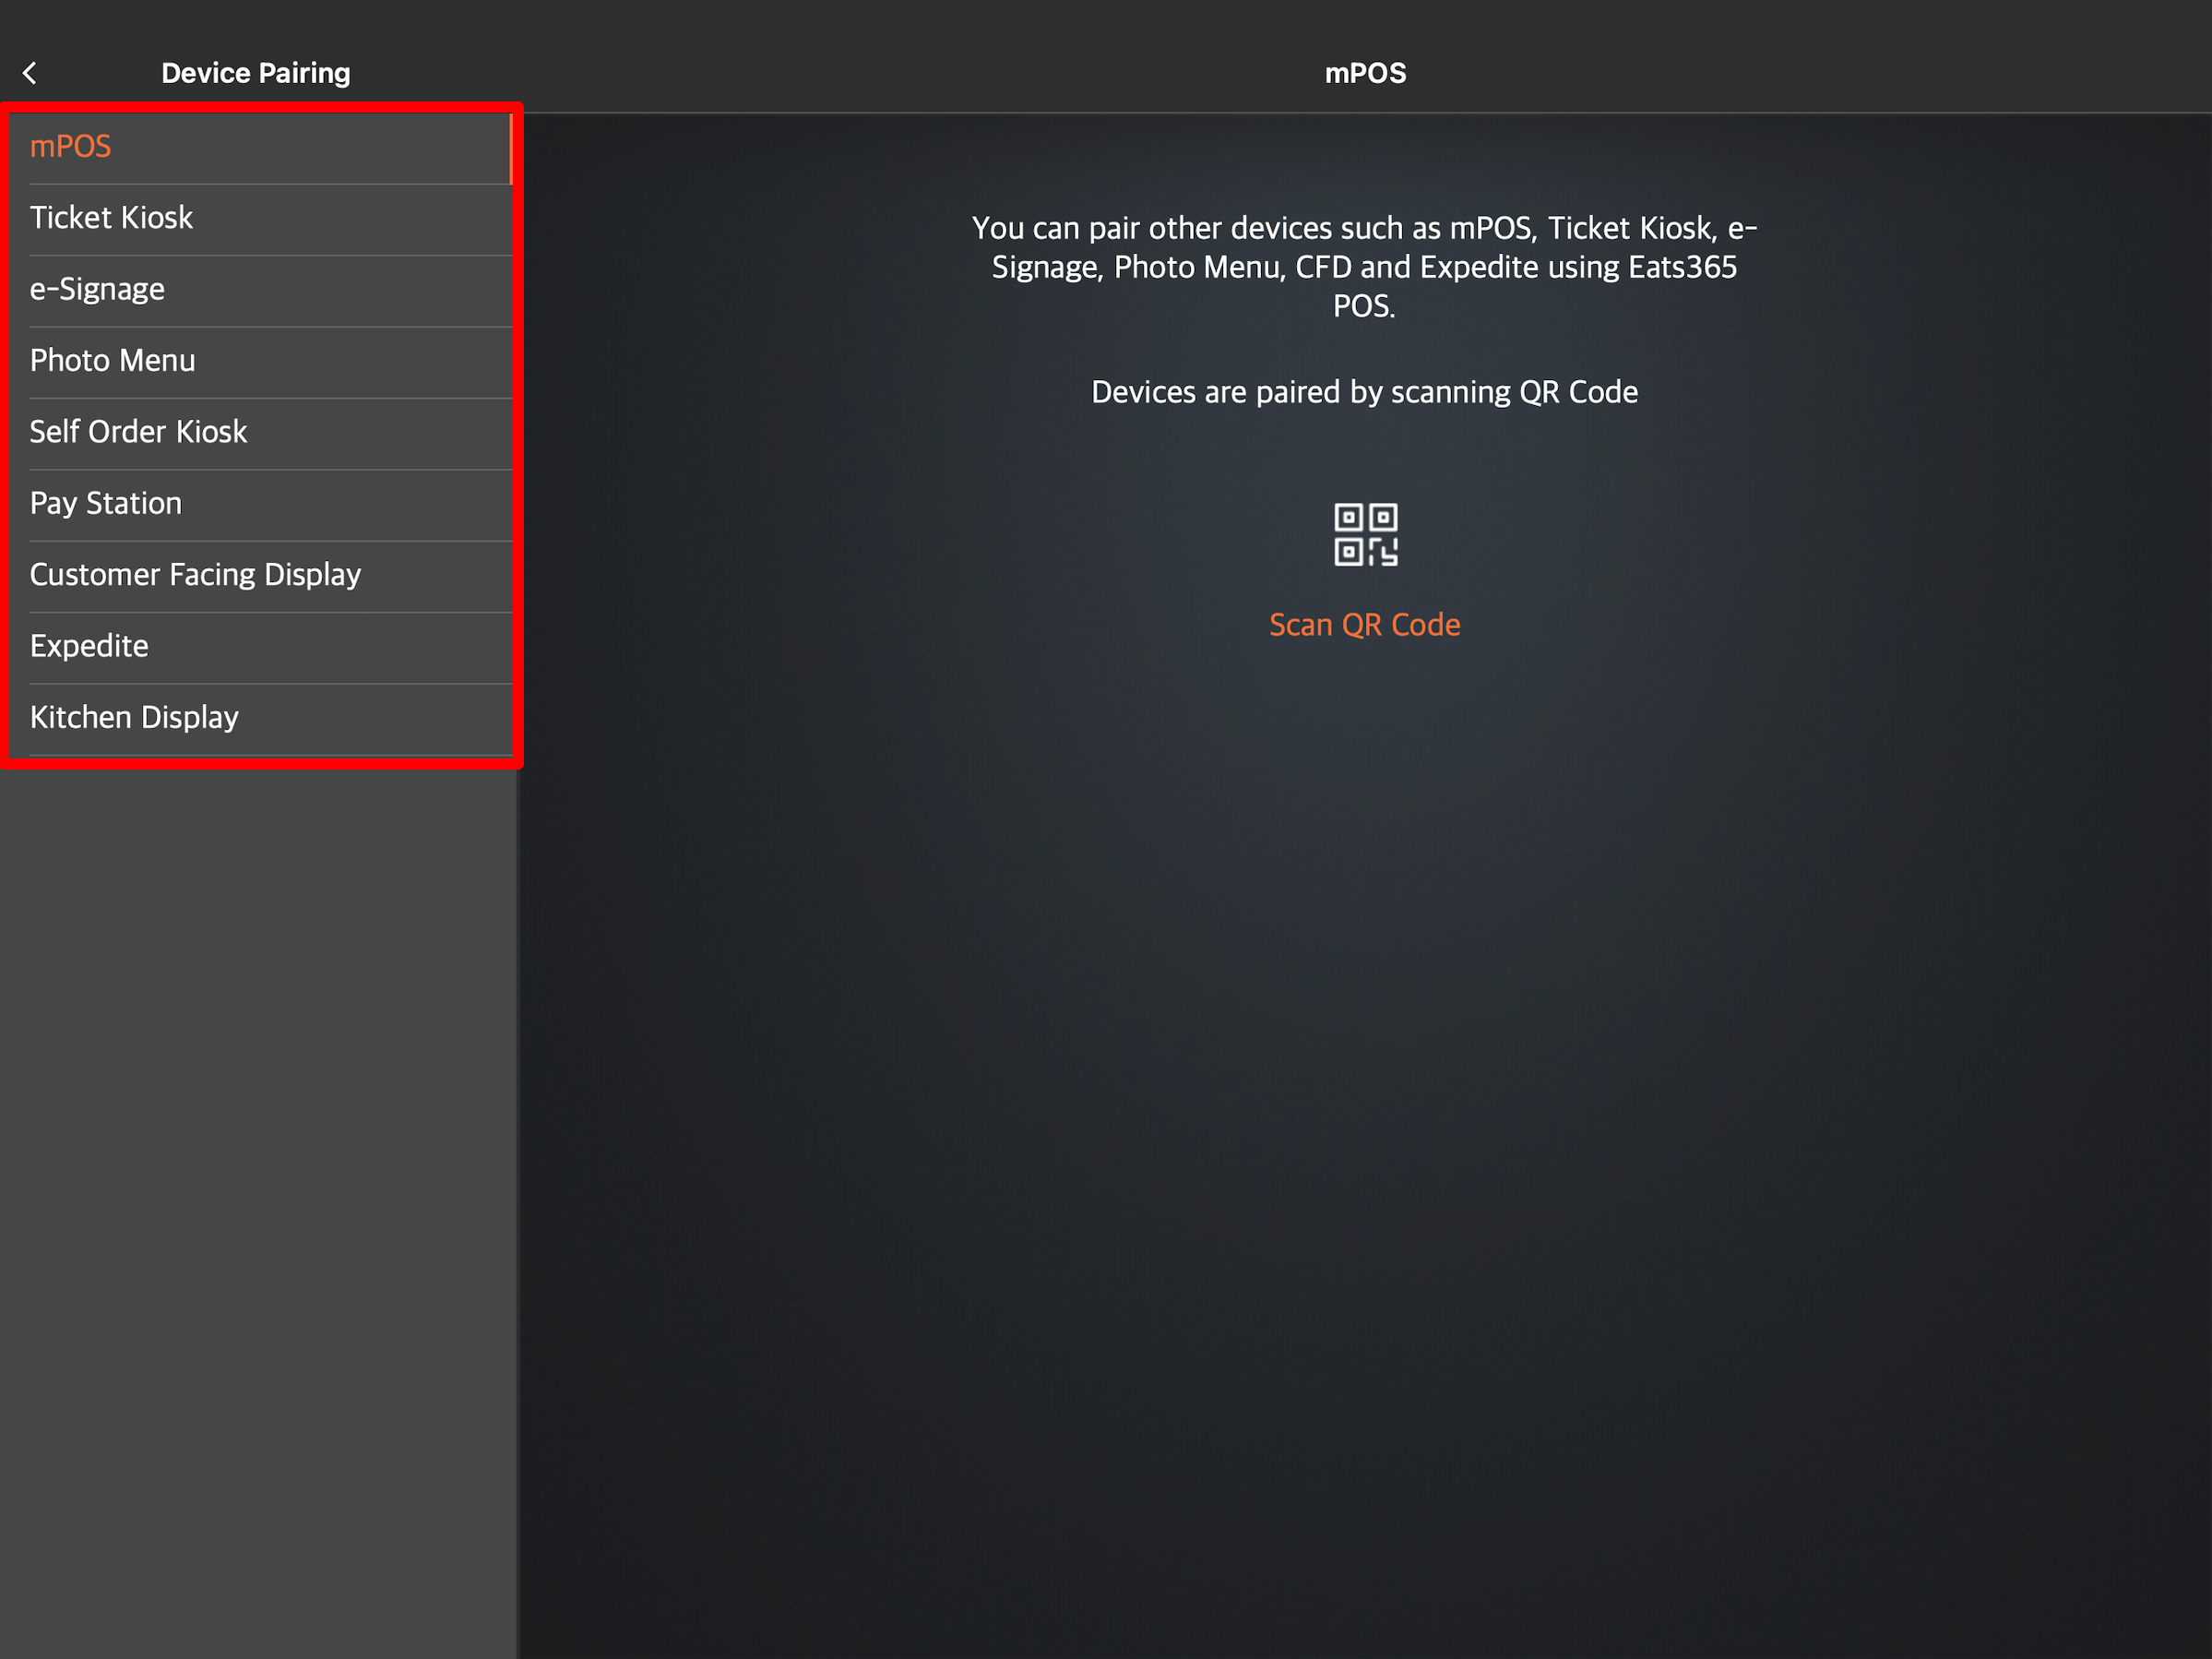
. - Under General, select Device Pairing.
- Select the Module where you want to enable Auto Accept Order. For example, if you have a PhotoMenu, tap Photo Menu.
- Under Shared Settings, turn on Auto Accept Order
 .
.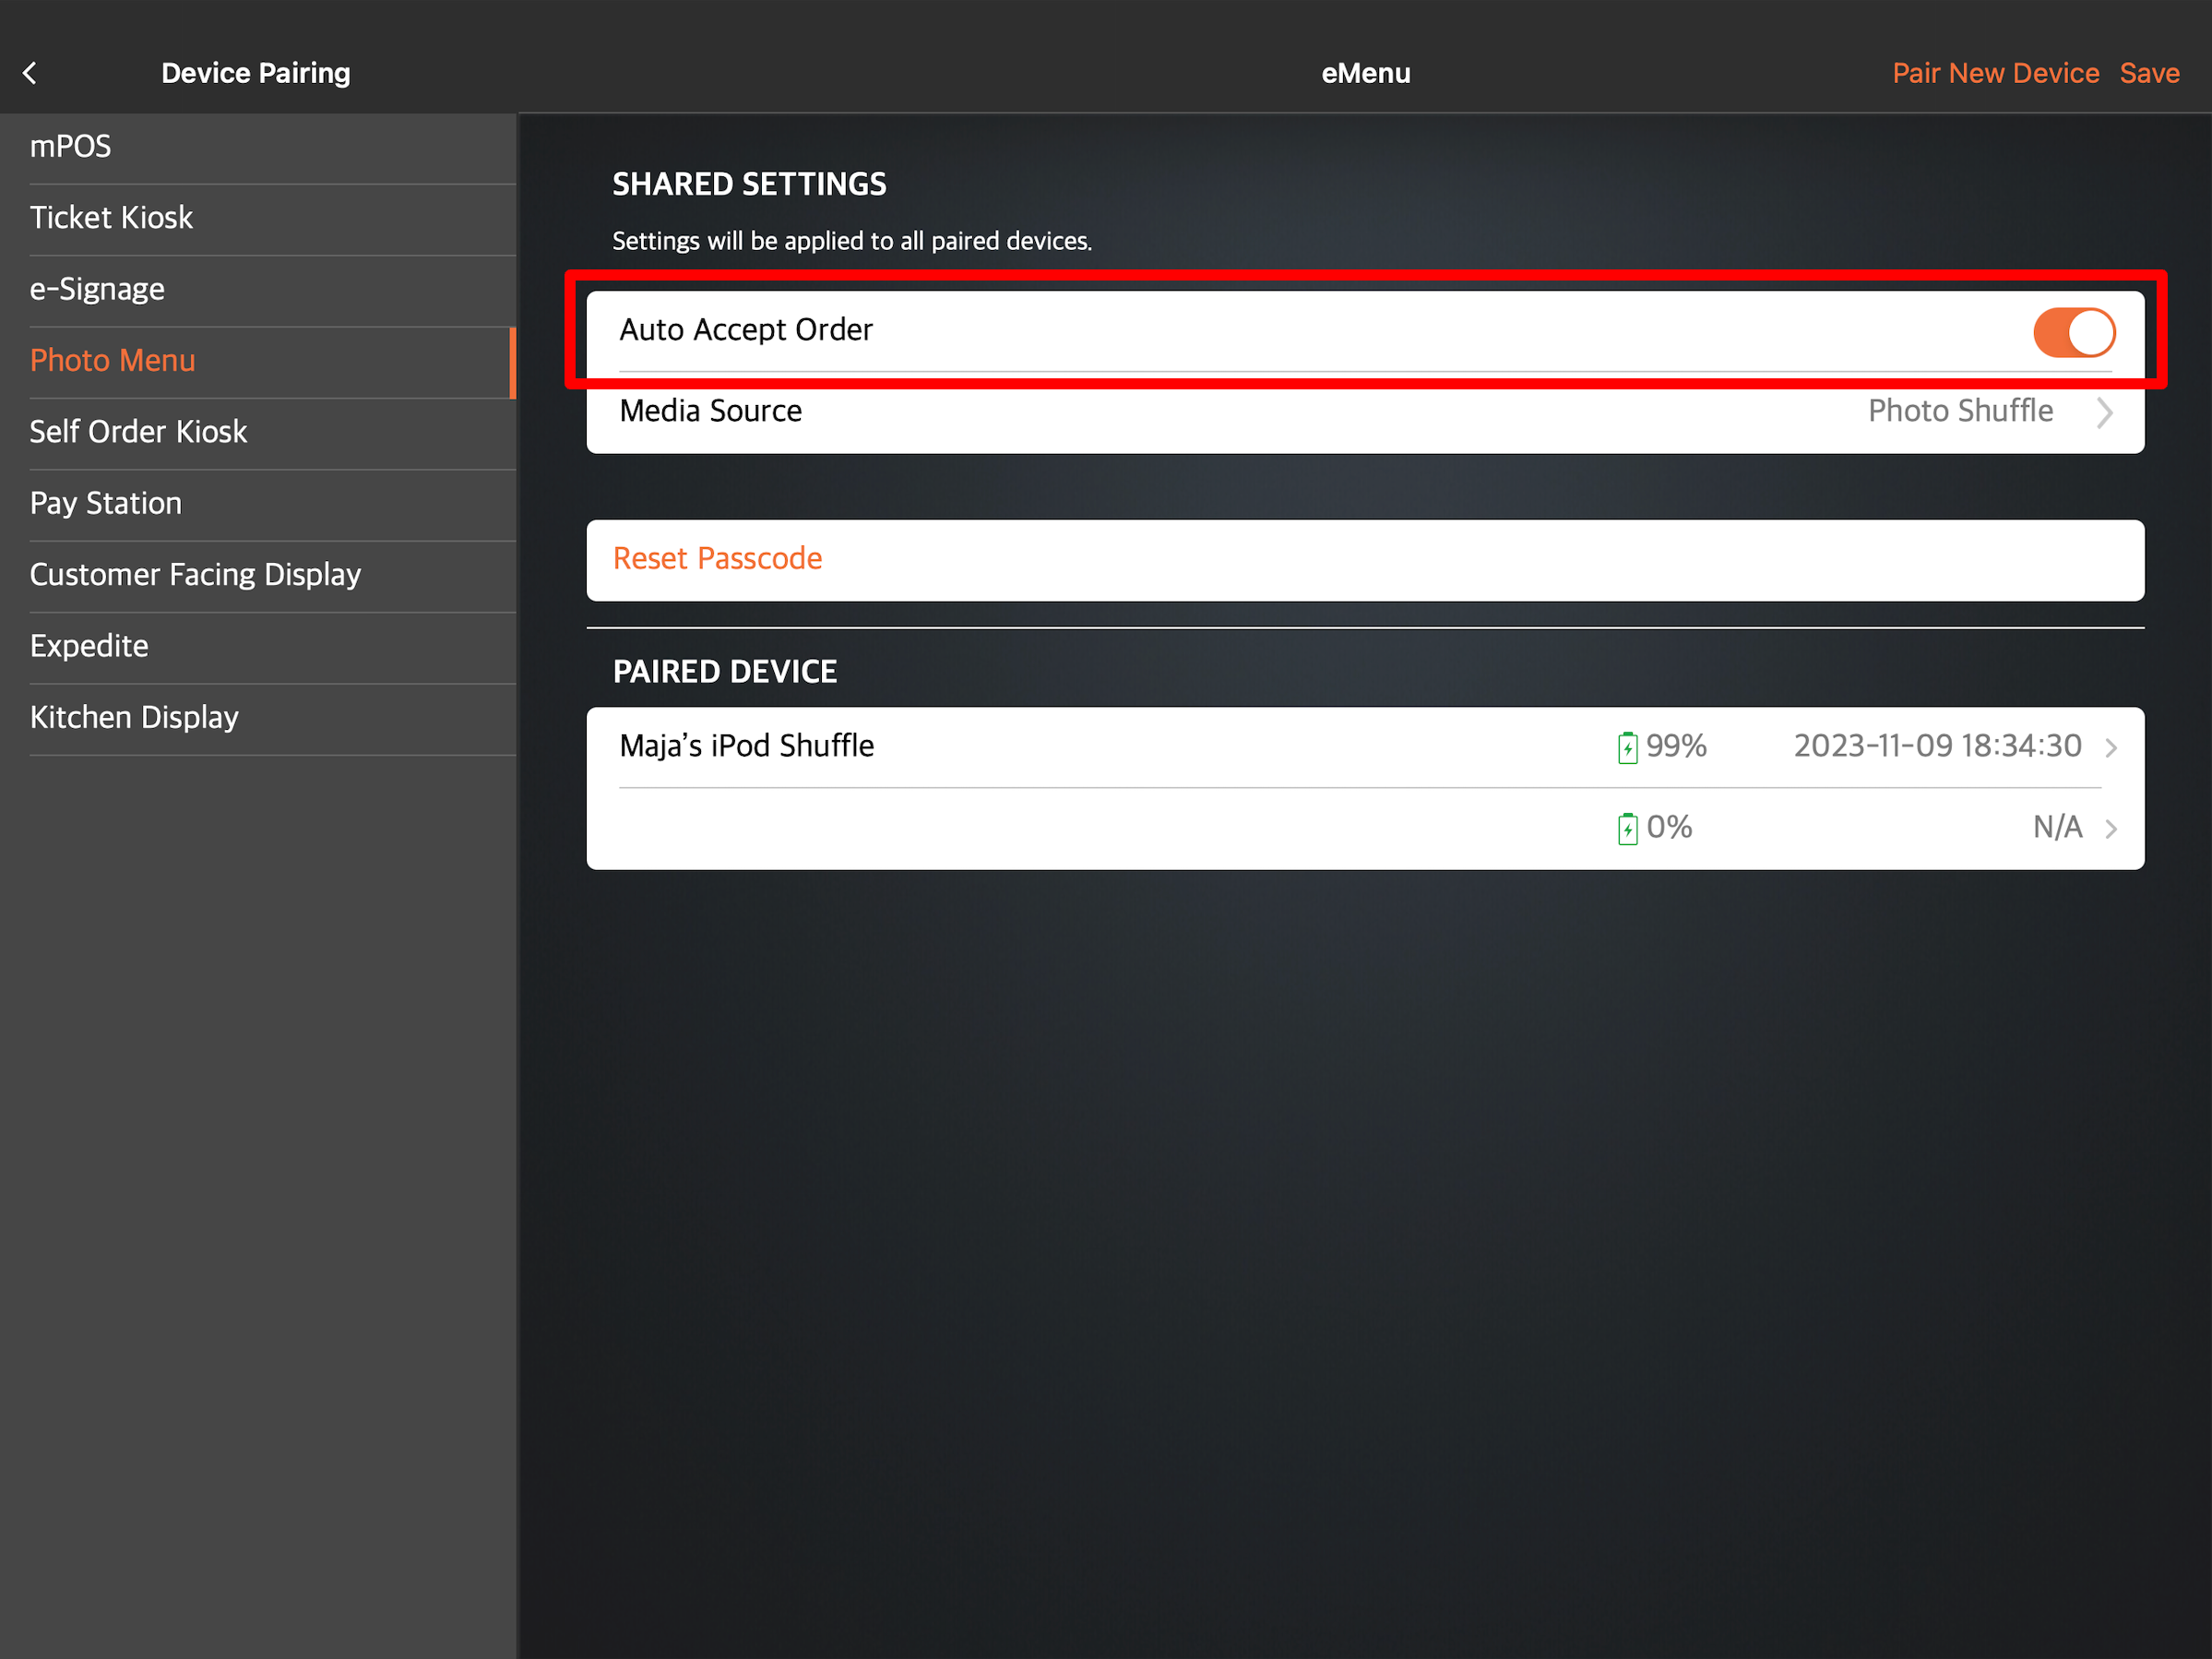
- At the top right, tap Save to confirm.
Merchant Portal (Classic Theme)
PhotoMenu and Self Order Kiosk
- Log in to the Merchant Portal.
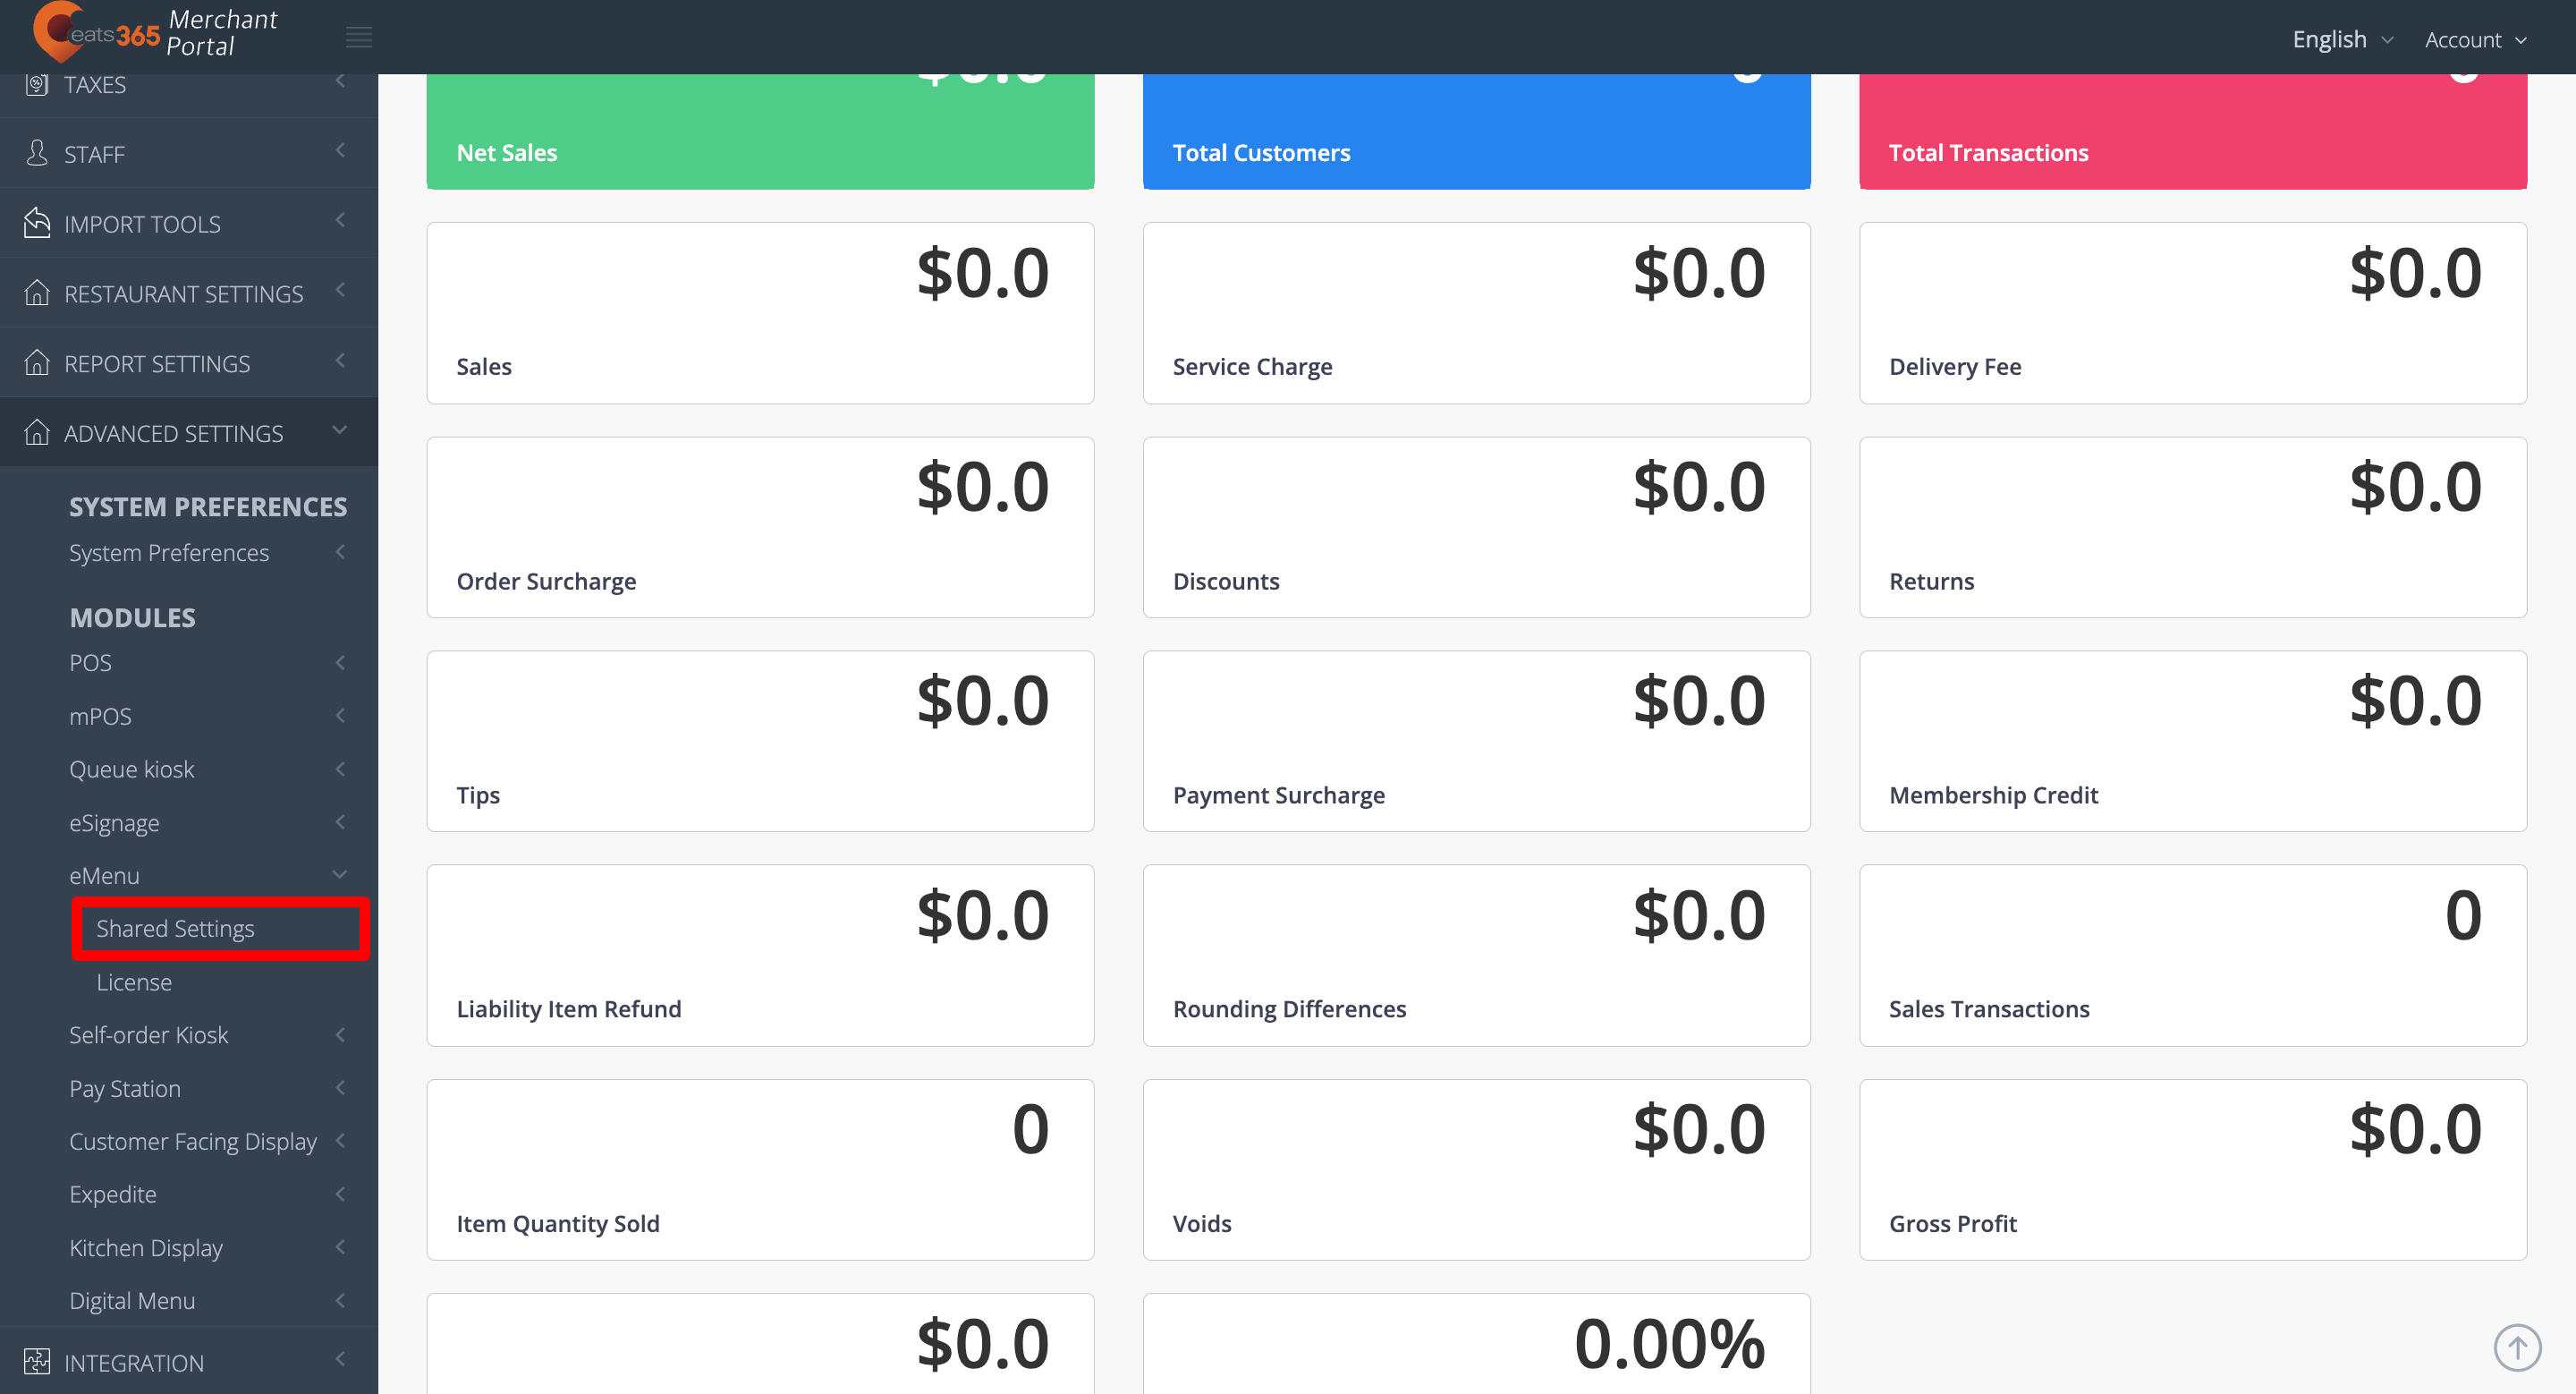
- On the left panel, click on Advanced Settings.
- Click on the Module where you want to enable Auto Accept Order. For example, if you have a PhotoMenu, click on eMenu. Then, click on Shared Settings.
- Under Operation Mode, turn on Auto Accept Order
 .
.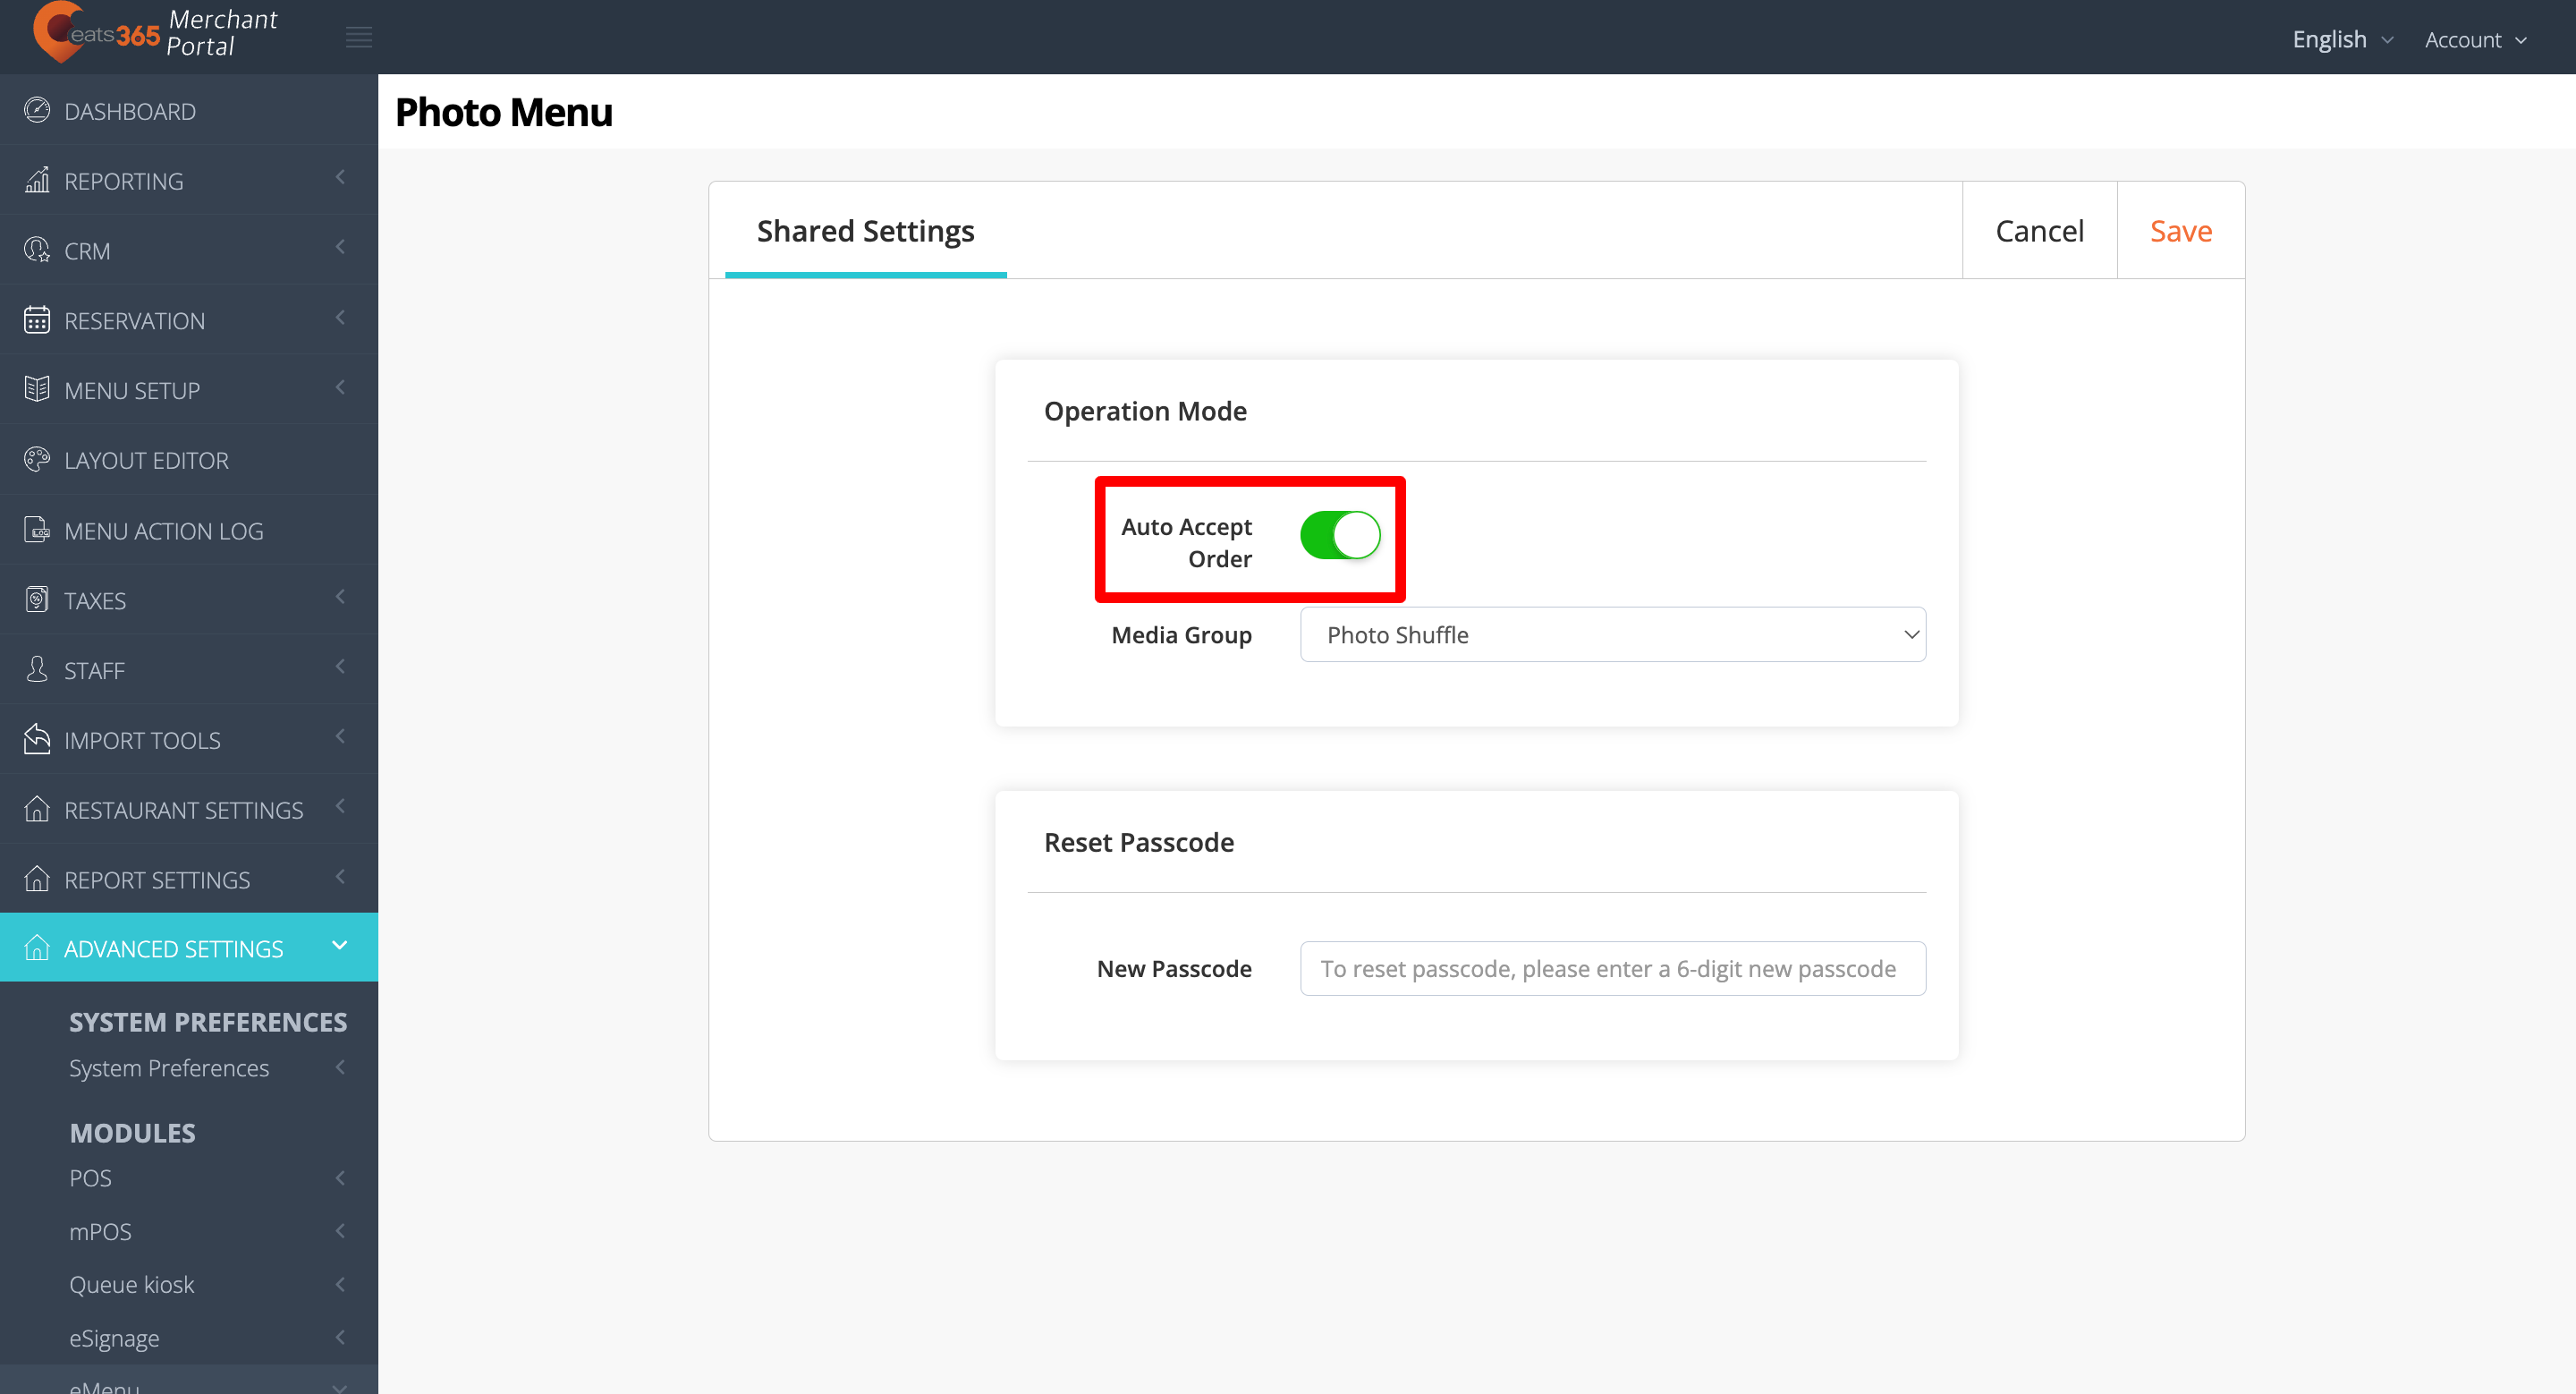
- At the top right, click on Save to confirm.
Online ordering
- Log in to the Merchant Portal.
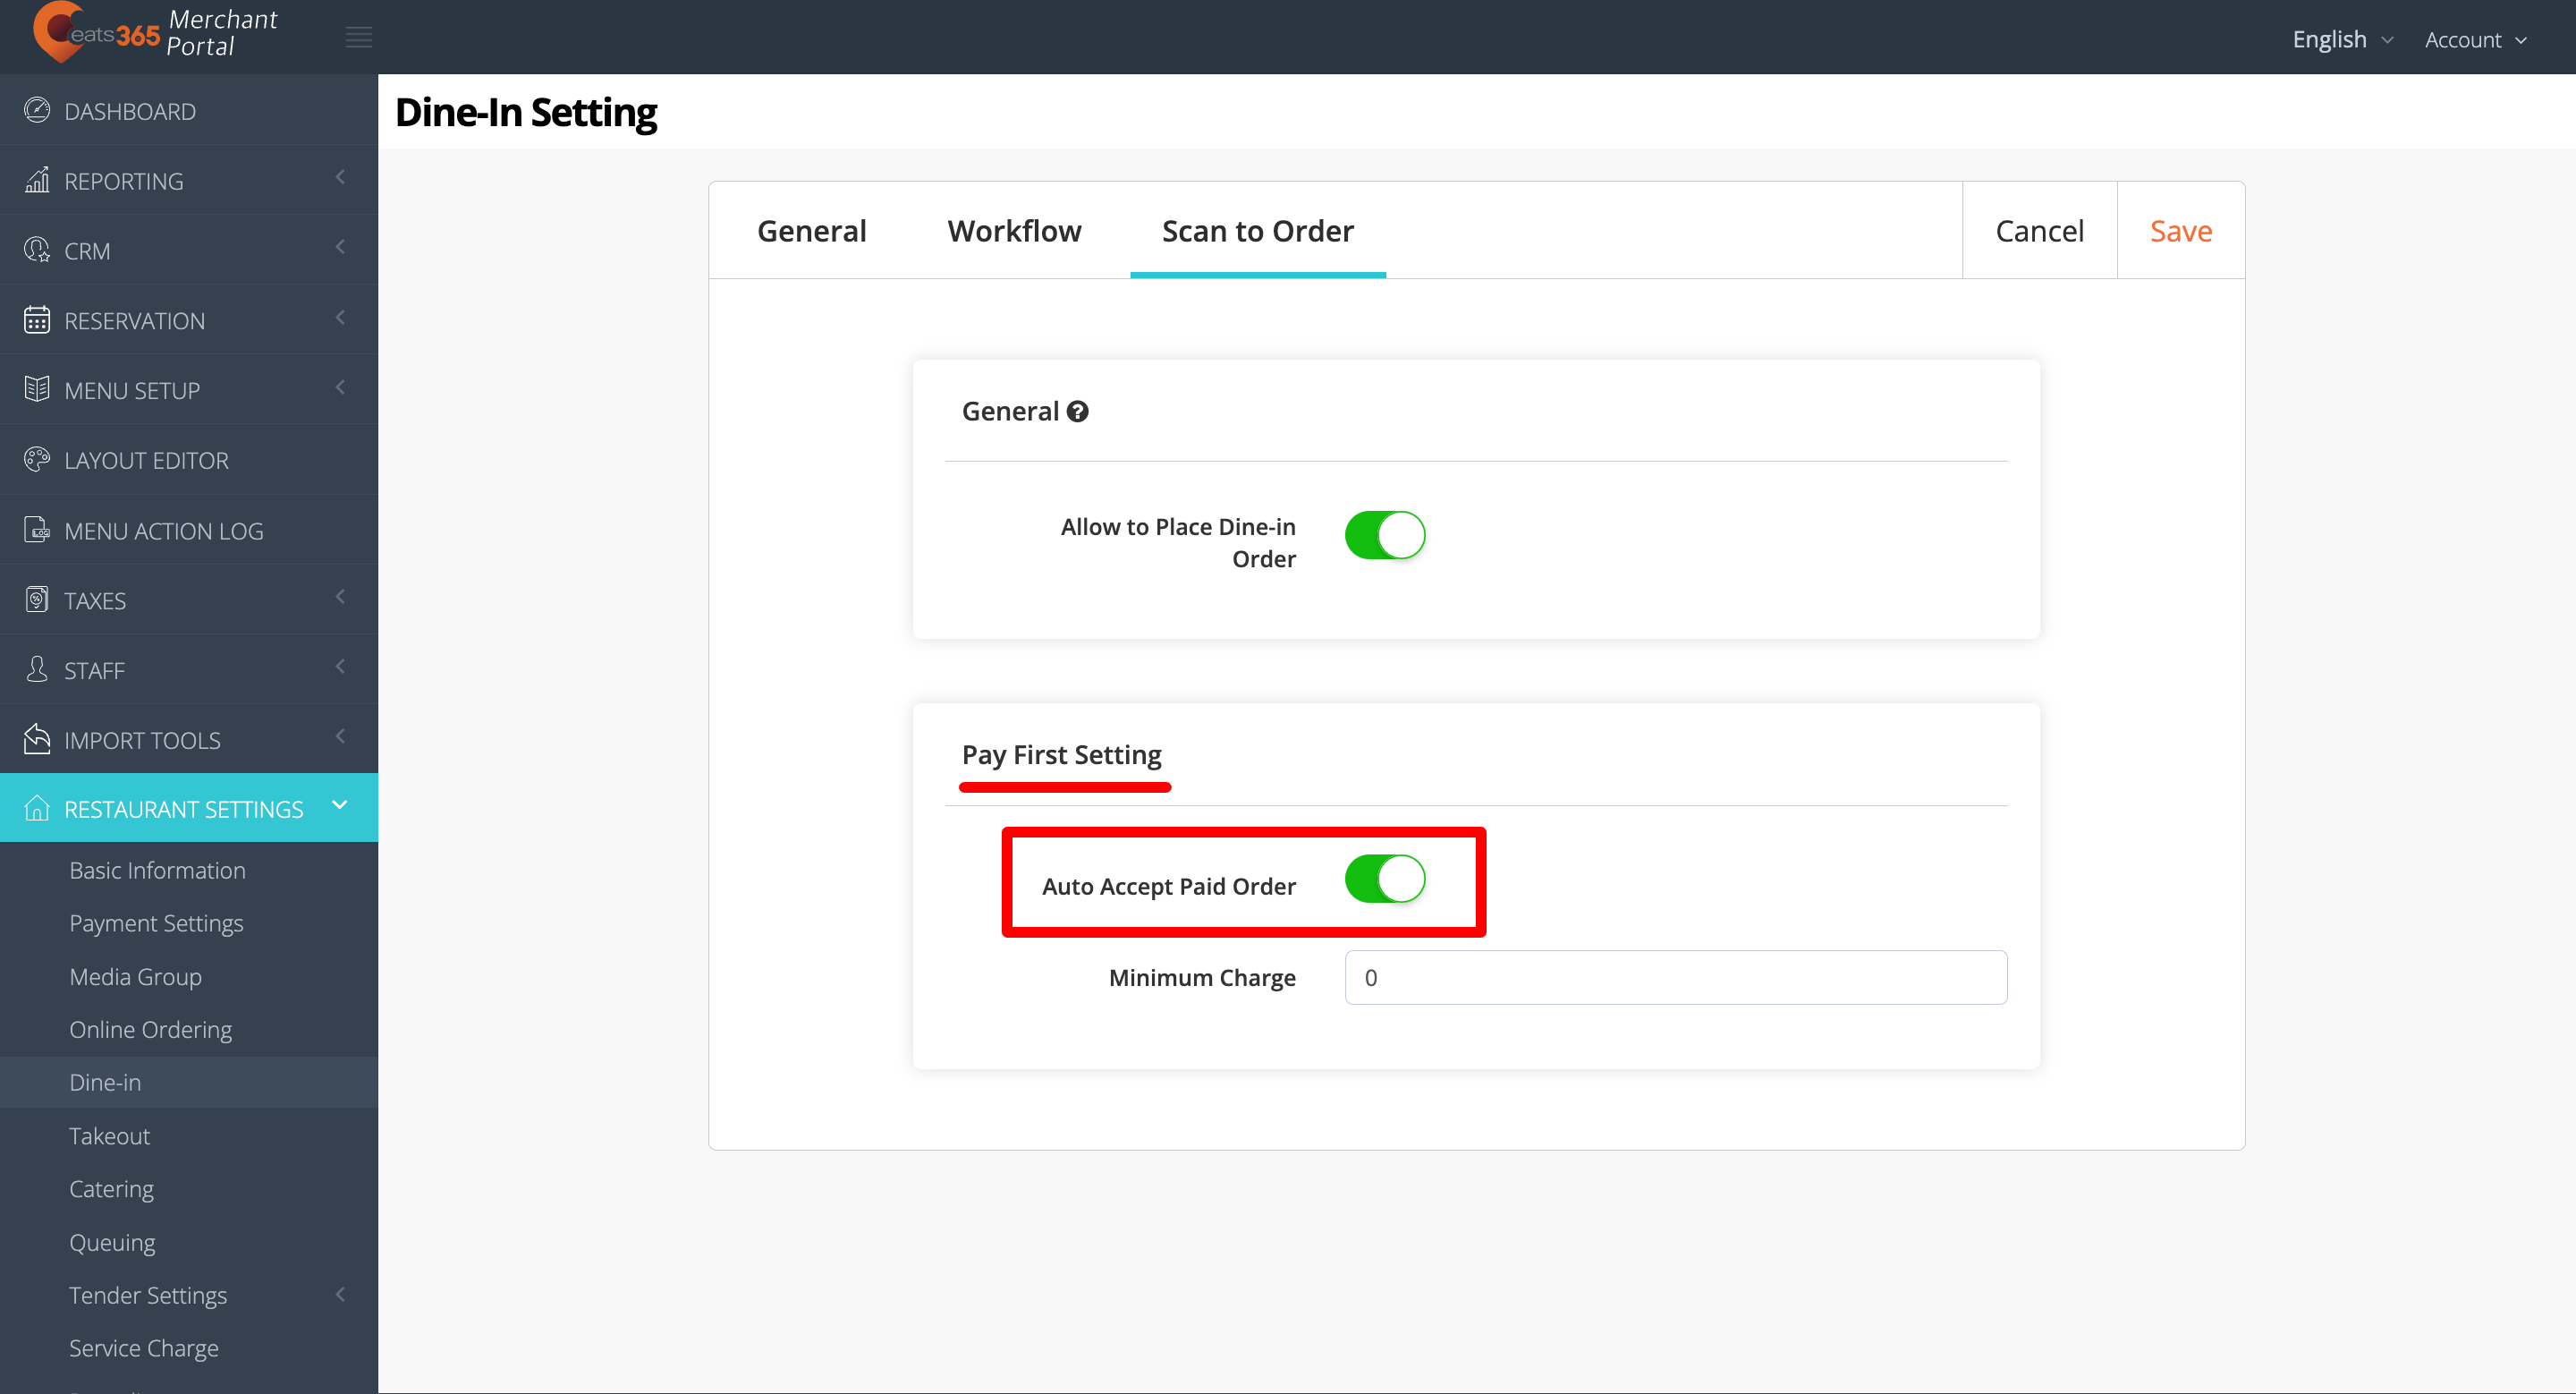
- On the left panel, click on Restaurant Settings. Then, click on Dine-In.
- Click on the Scan to Order tab.
- Turn on Auto Accept Order .
- If you have Require Payment when Placing Order enabled, Auto Accept Paid Order appears under Pay First Setting.
- If you have Require Payment when Placing Order
 disabled, Auto Accept Order appears under Pay Later Setting.
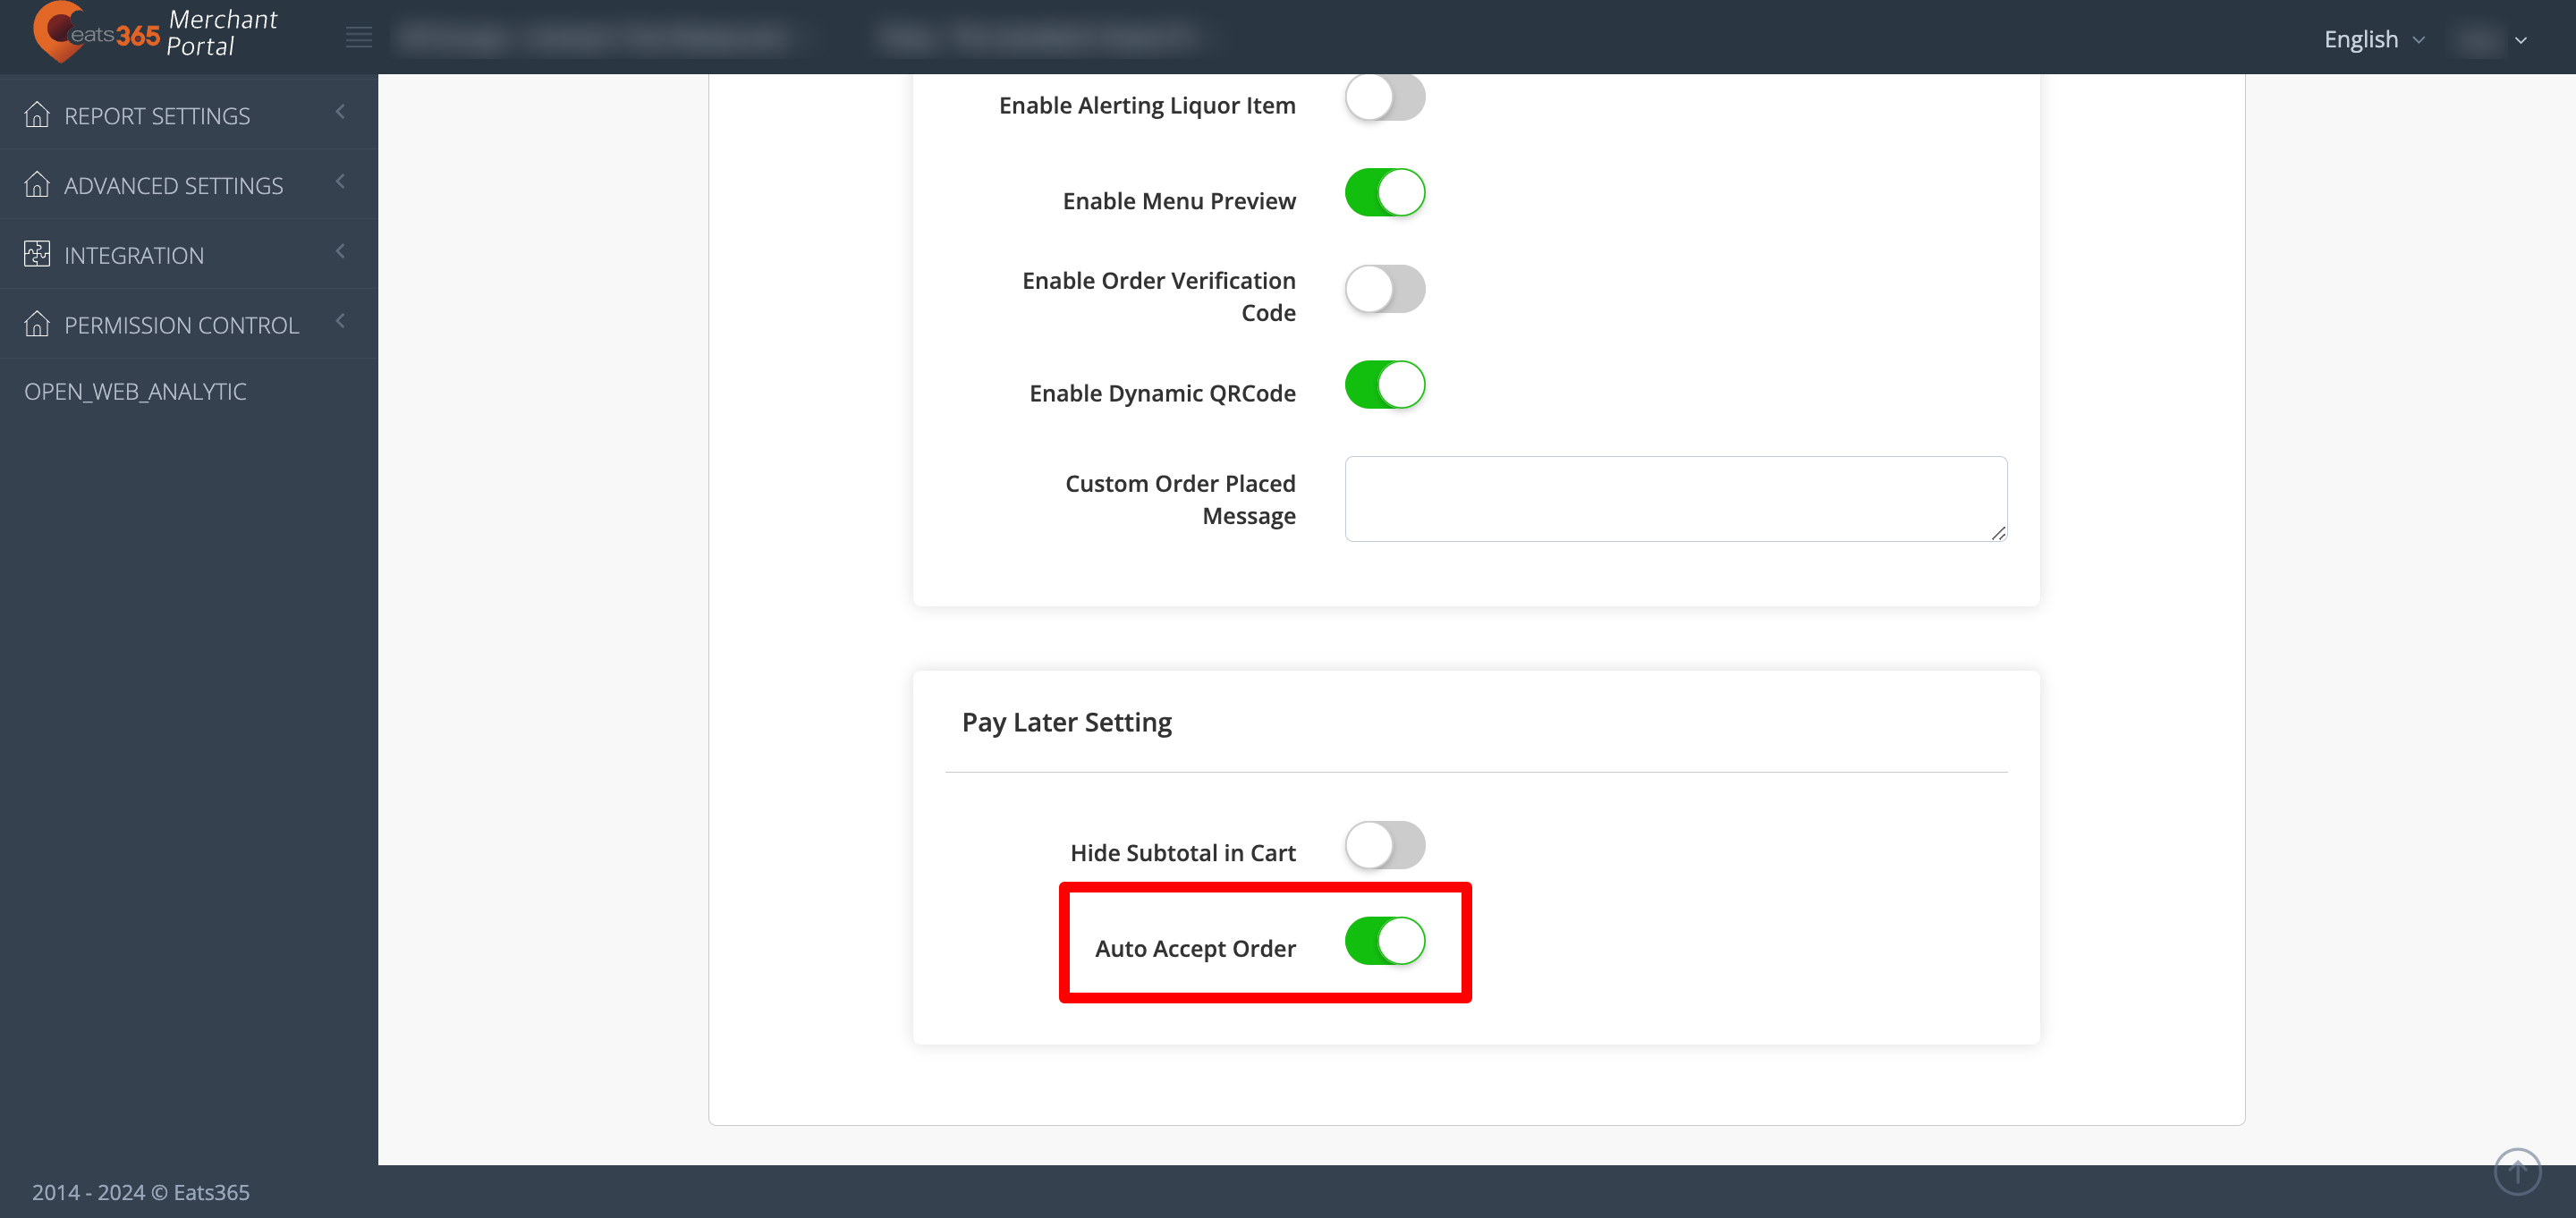
- If you have Require Payment when Placing Order
- At the top right, click on Save to confirm.
Merchant Portal 2.0
PhotoMenu and Self Order Kiosk
- Log in to the Merchant Portal.
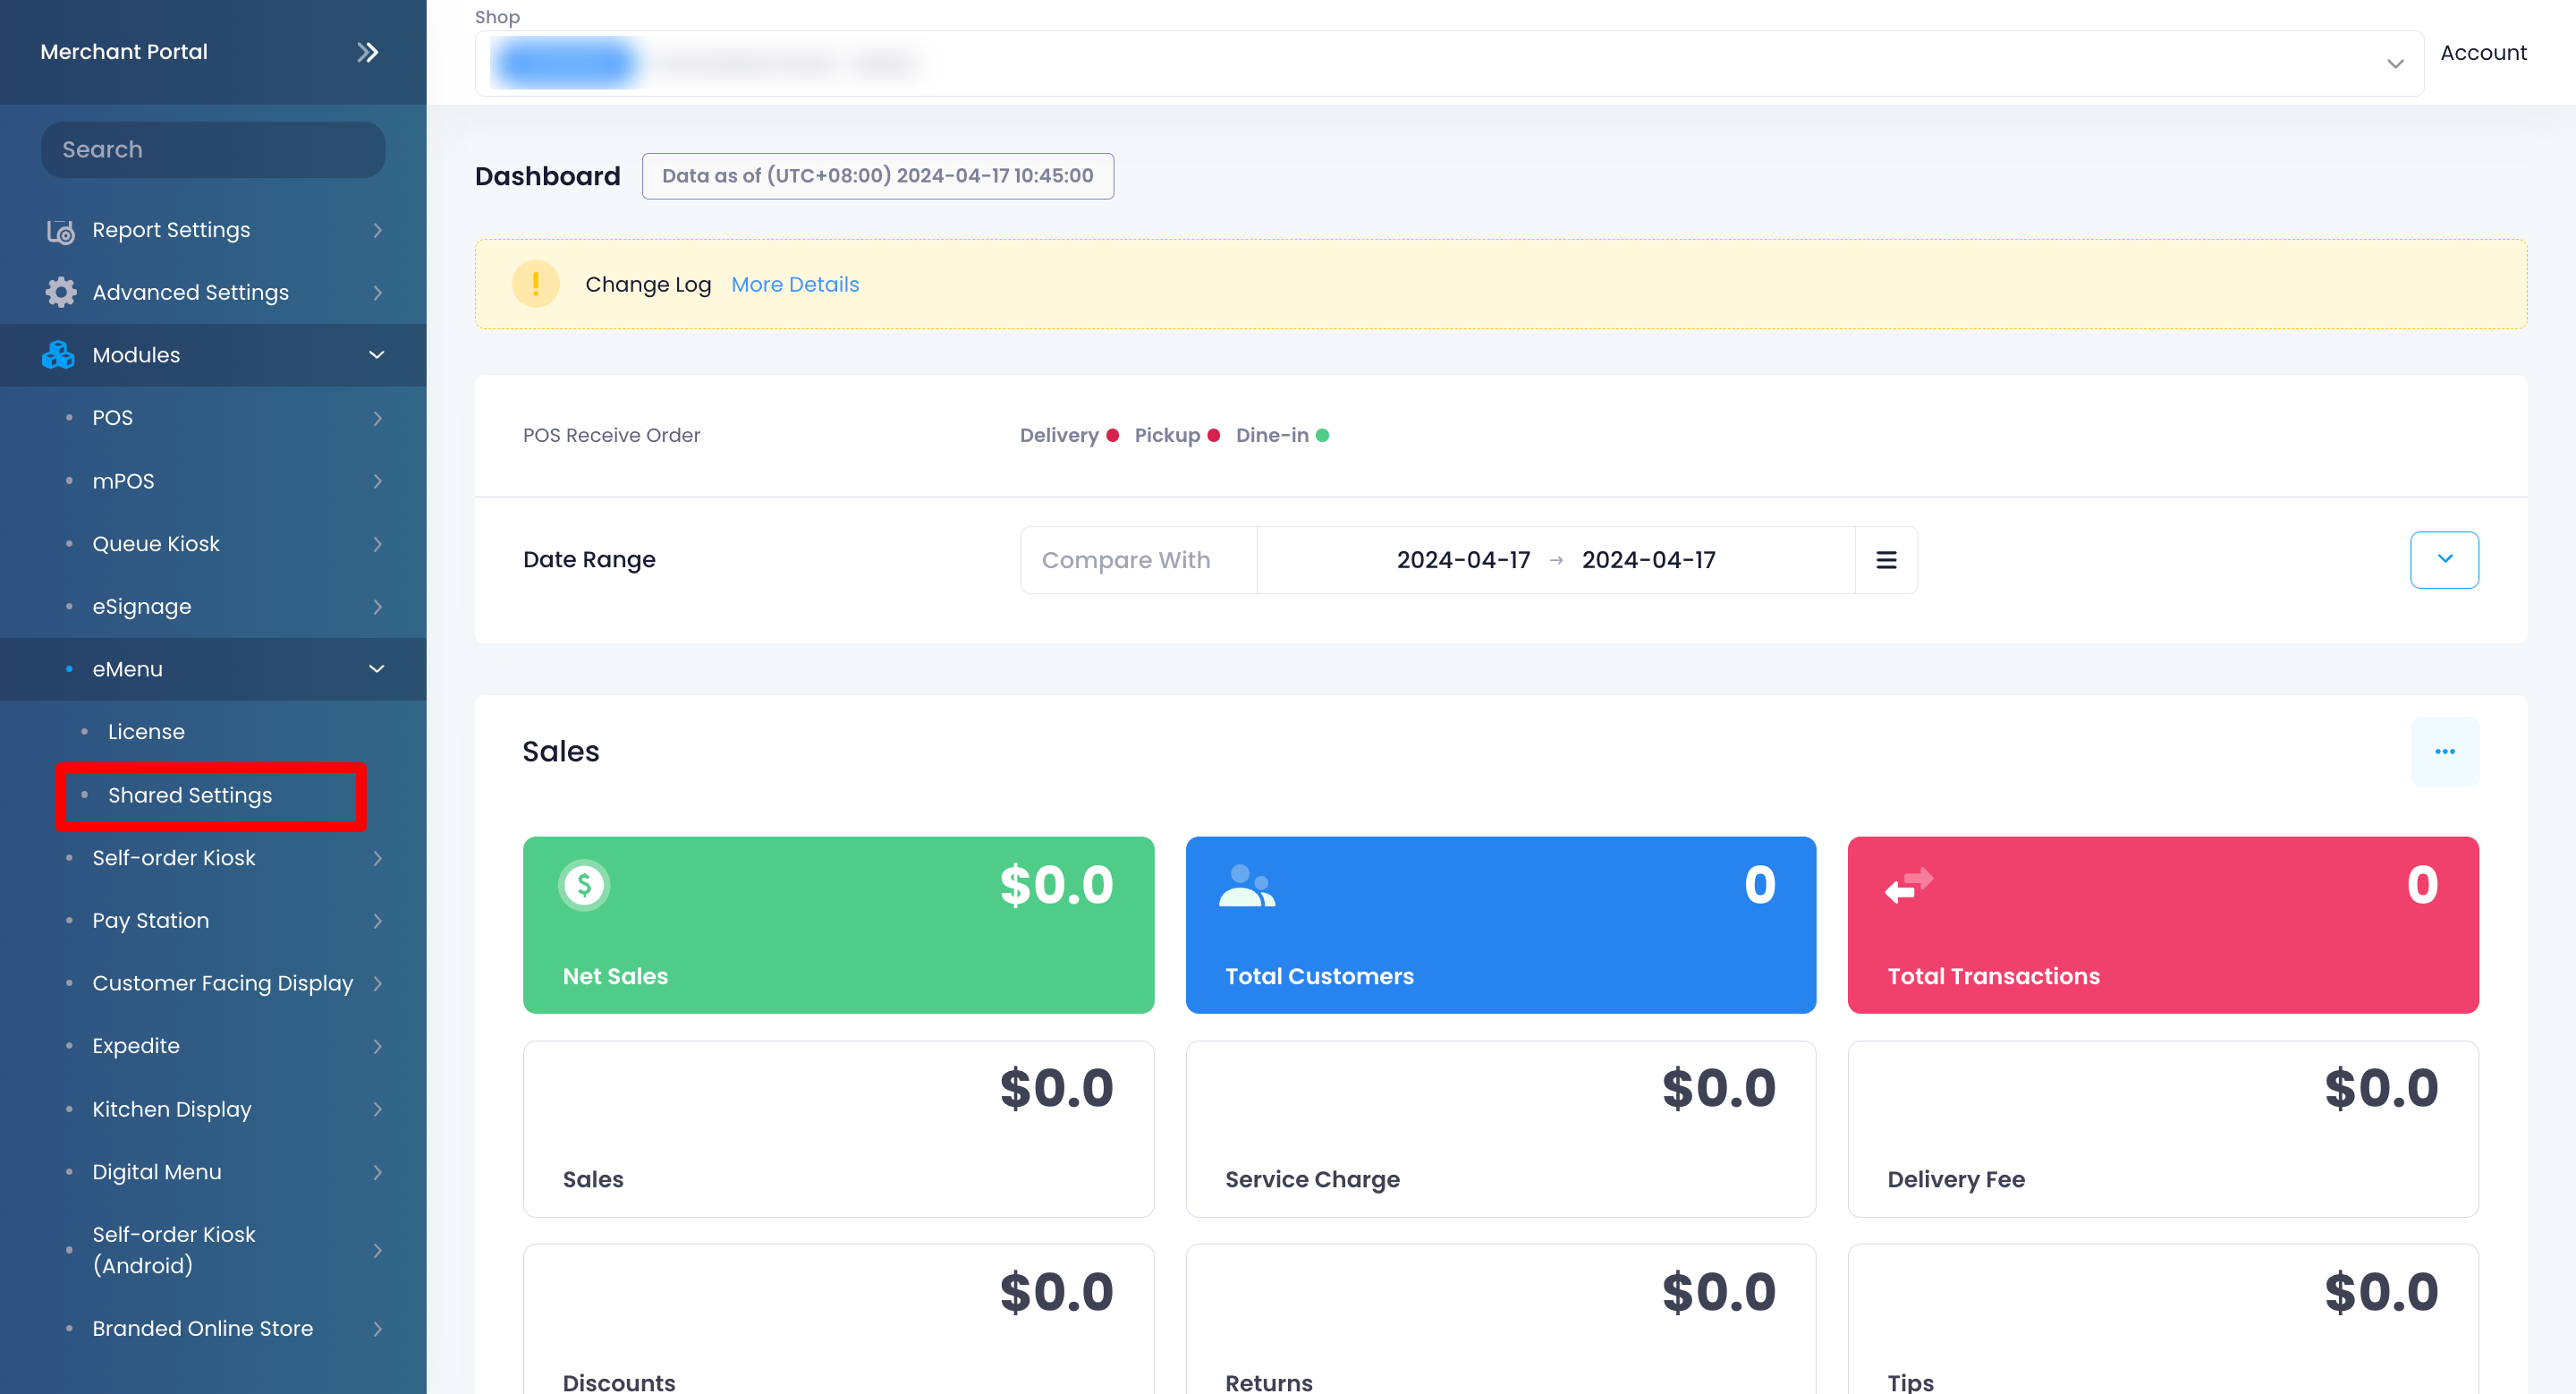
- On the left panel, click on Modules.
- Click on the Module where you want to enable Auto Accept Order. For example, if you have a PhotoMenu, click on eMenu. Then, click on Shared Settings.
- On the General tab, turn on Auto Accept Order
 .
.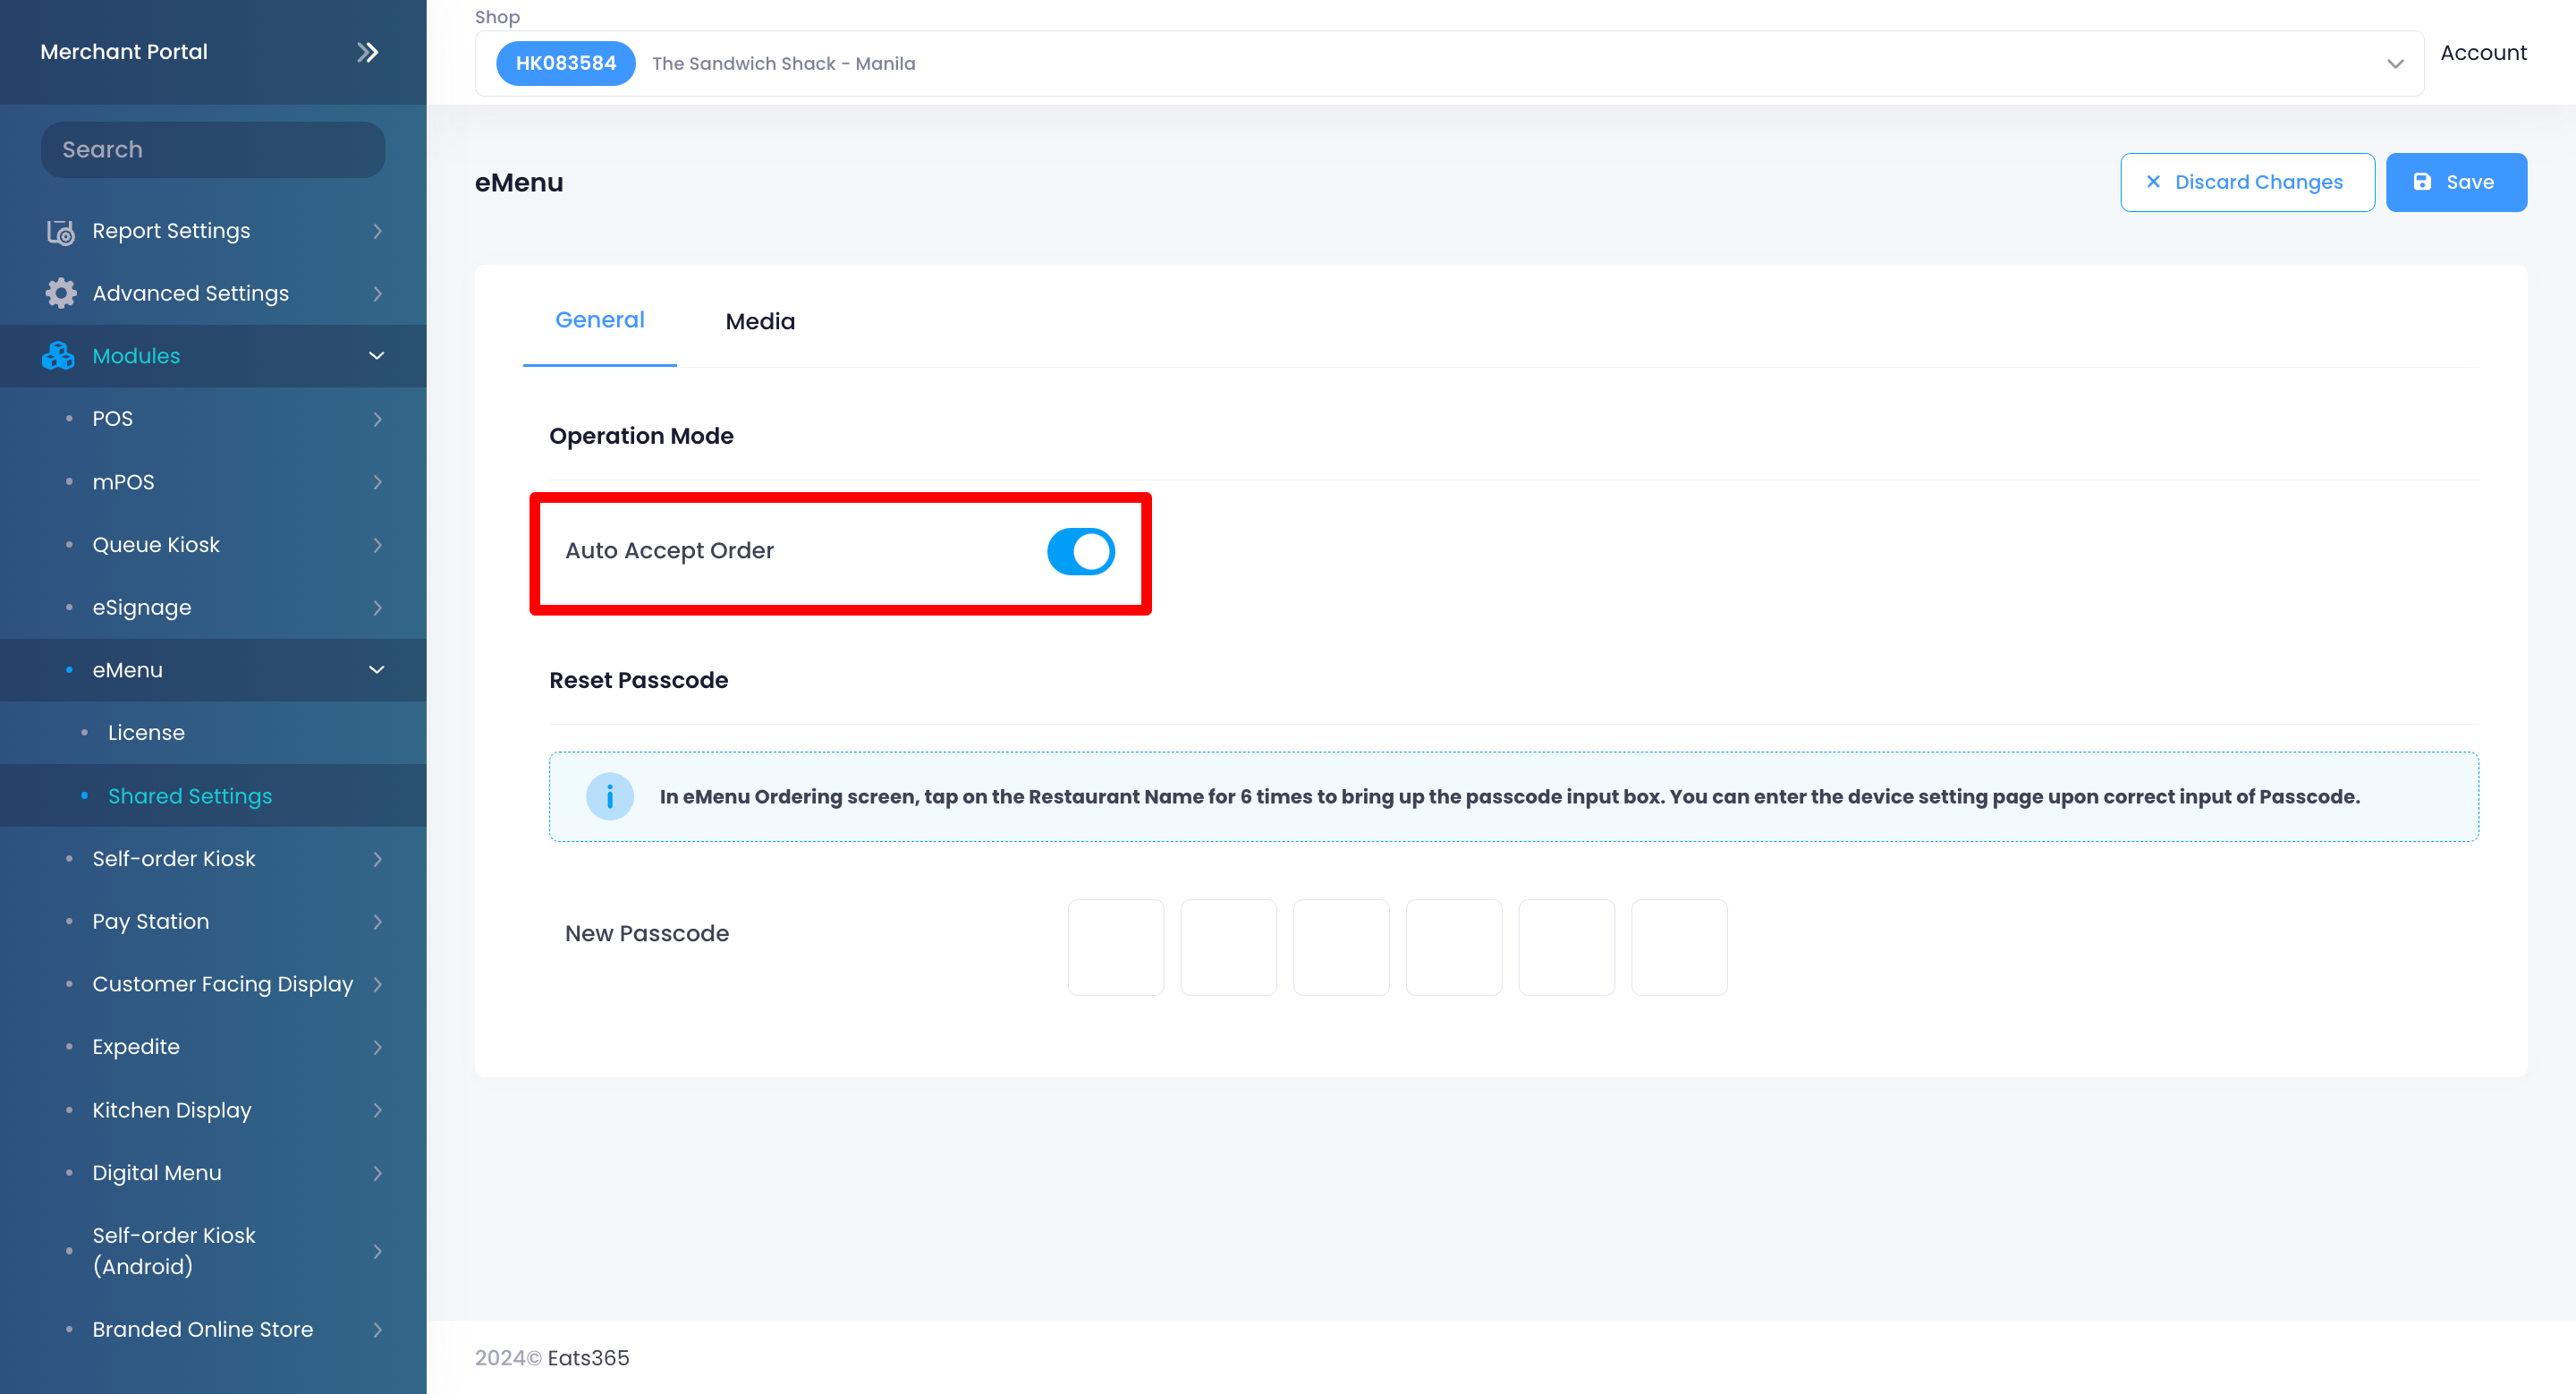
- At the top right, click on Save to confirm.
Online ordering
- Log in to the Merchant Portal.
- On the left panel, click on Restaurant Settings. Then, click on Dine-In.
- Click on Scan to Order.
- Turn on Auto Accept Order .
- If you have Require Payment when Placing Order enabled, Auto Accept Paid Order can be turned on under Pay First Setting.
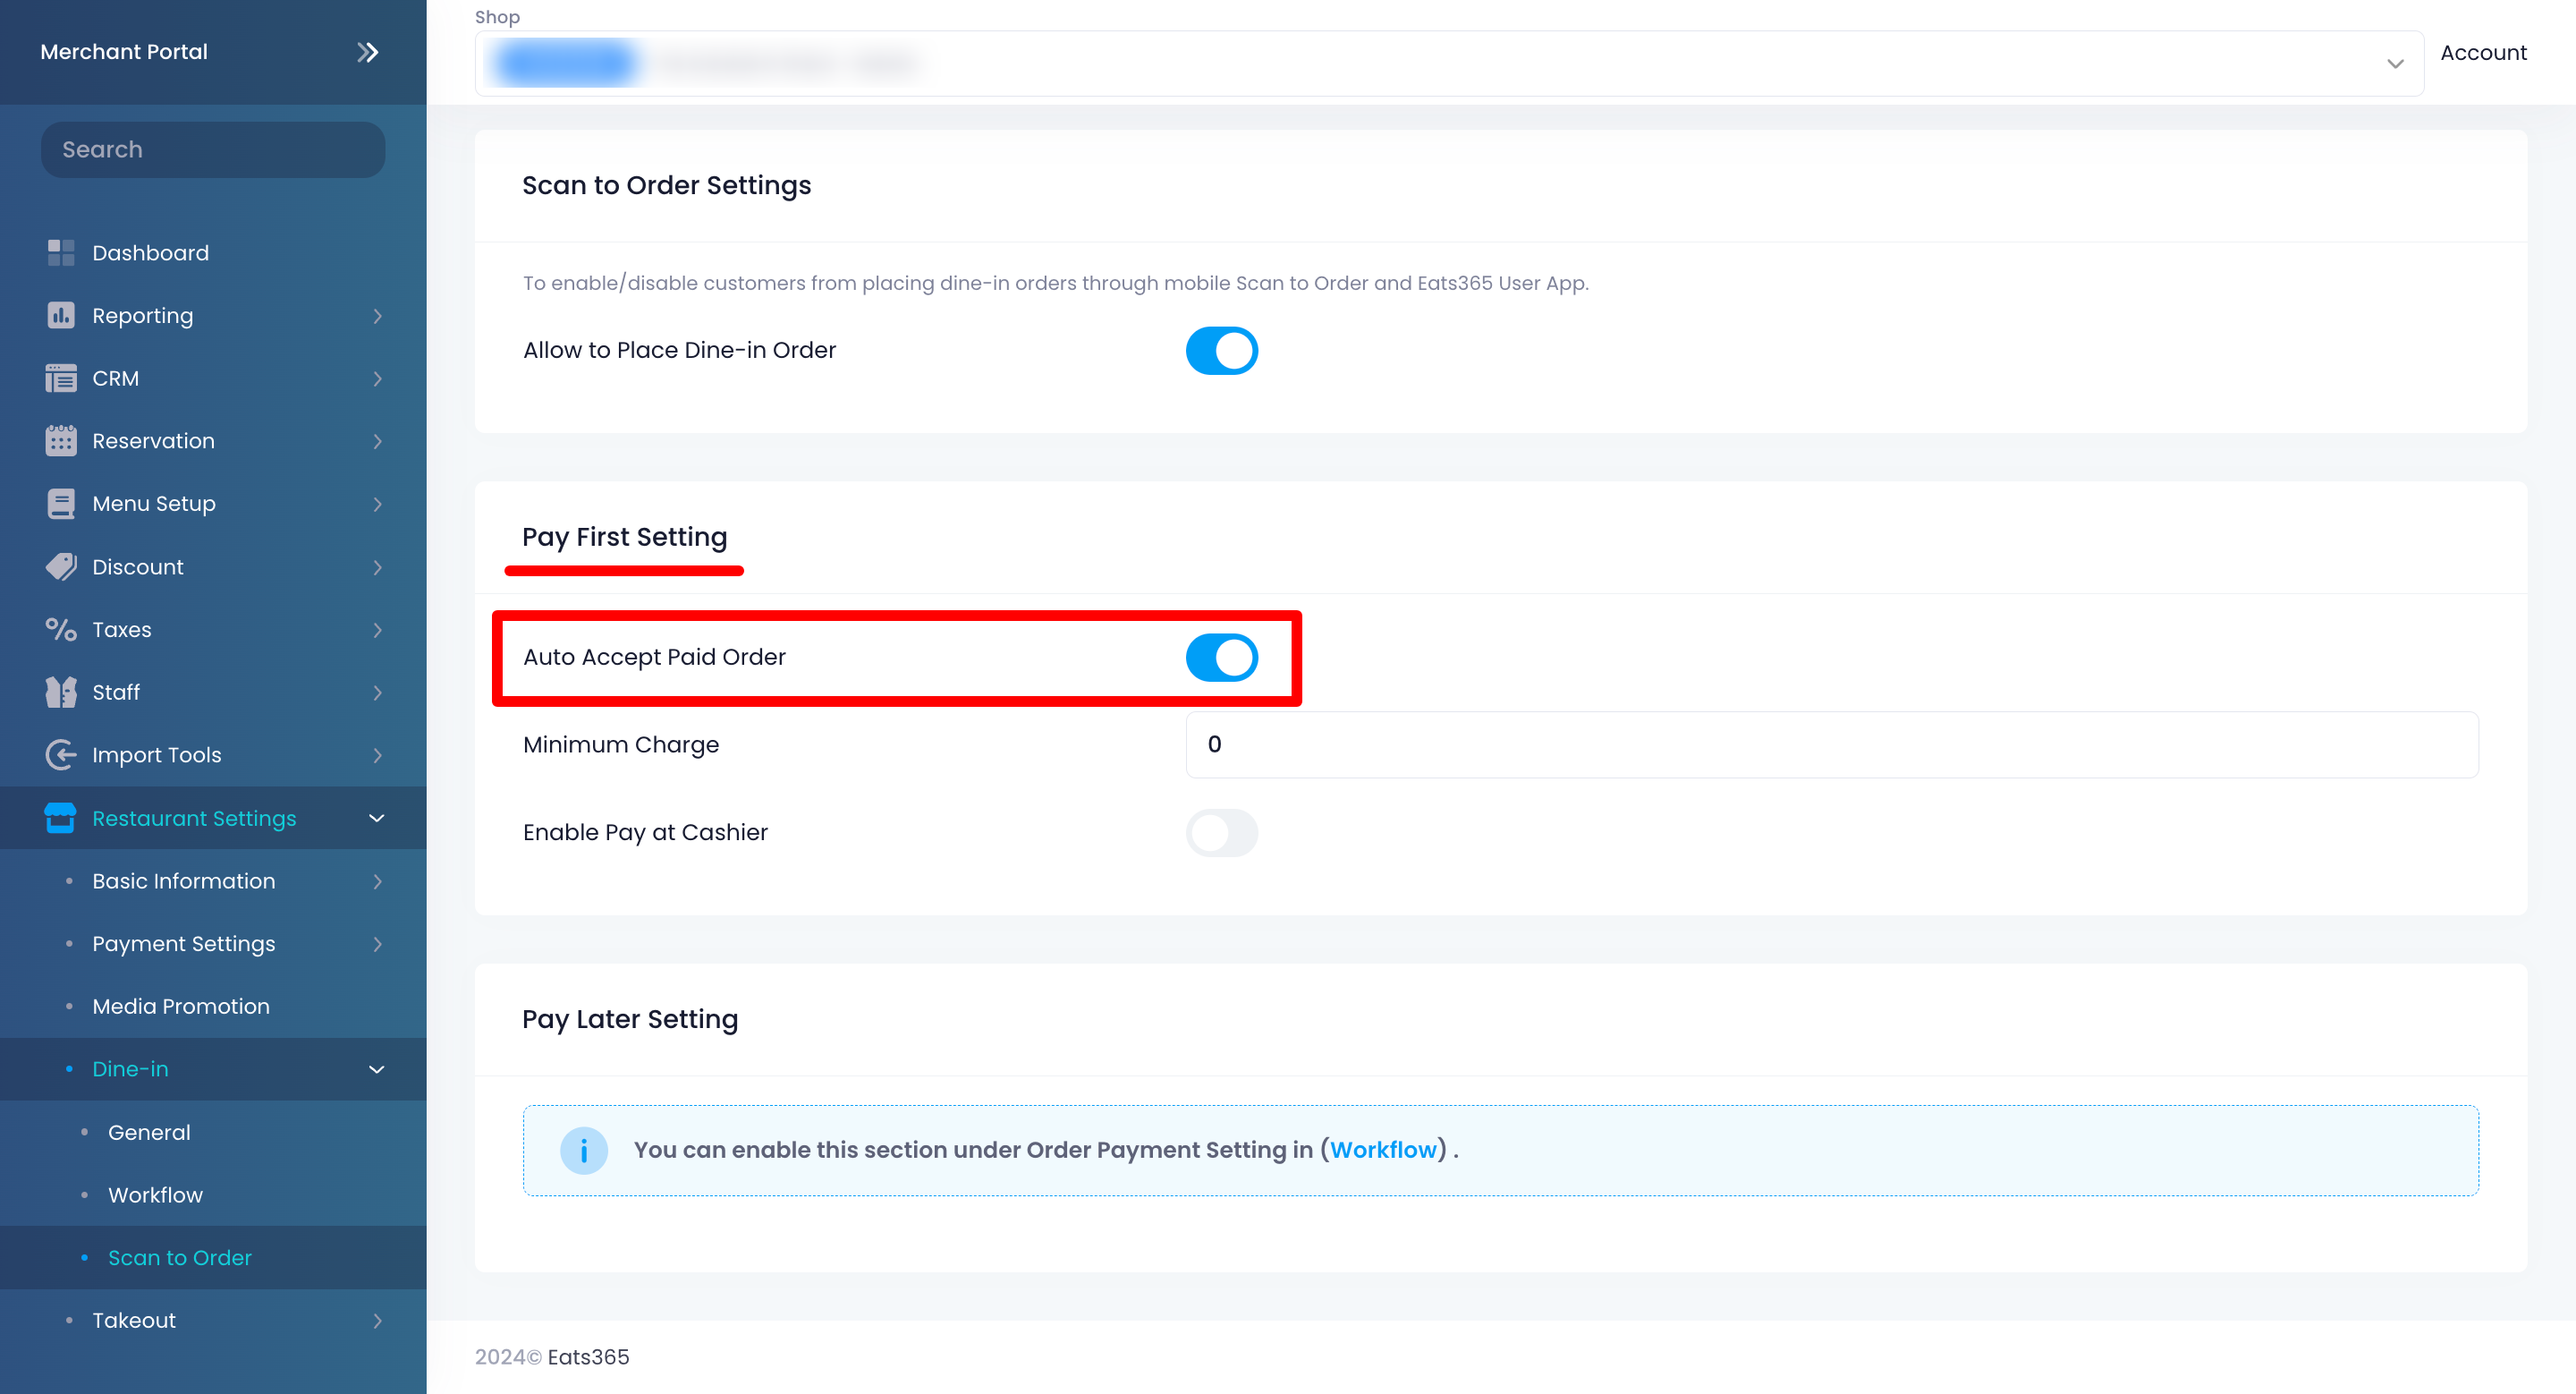
- If you have Require Payment when Placing Order disabled, Auto Accept Order can be turned on under Pay Later Setting.

- If you have Require Payment when Placing Order
- At the top right, click on Save to confirm.
Once Auto Accept Order is enabled, new orders are sent directly to kitchen printers.