Eats365 Products
 Merchant Guide
 Modules
 Membership
 Integrations
 Hardware
 Staff Operations
 Roles & Permissions
 Payments
 Reports
 What’s New
 Release Notes
 Troubleshooting
 Simulators
 Glossary
 Troubleshooter
 System Status
Restaurant Settings
Table of Contents
Set up and manage Media Promotion
Learn how to create a Media Promotion and upload custom content on the Merchant Portal.
Media Promotion allows you to upload custom images, videos, or text that can be used on different Eats365 modules, such as the PhotoMenu, Customer Facing Display, and eSignage. You can create a Media Promotion to show customized content, such as special deals during holidays, or exclusive menu items at specific times of the day.
In this article, you’ll learn how to upload different types of media, as well as, manage existing Media Promotions.
Create a Media Promotion
Important media specifications for the Customer Facing Display (CFD)
The required file specifications vary depending on the selected "Display Mode" in the CFD settings, which defines the number of media displayed on the CFD simultaneously.
| Display 1 Media | Display 2 Media |
 |
 |
Guide to optimize media files for CFD
Use the guide below to ensure that the media files you upload are configured to fit optimally in the allocated space(s) on the CFD screen based on your iPad model:
| iPad model | Screen Size (pt) | Display Mode | File Width | File Height |
| iPad Mini 6 | 1133 × 744 | Display 1 Media | 566 pt (1132 px) | 674 pt (1348 px) |
| Display 2 Media | 450 pt (900 px) | 337 pt (674 px) | ||
| iPad 10 / Air 11" | 1180 × 820 | Display 1 Media | 590 pt (1180 px) | 750 pt (1500 px) |
| Display 2 Media | 500 pt (1000 px) | 375 pt (750 px) | ||
| iPad Pro 11" | 1194 × 834 | Display 1 Media | 597 pt (1194 px) | 764 pt (1528 px) |
| Display 2 Media | 510 pt (1020 px) | 382 pt (764 px) | ||
| iPad Pro 12.9" / 13" | 1366 × 1024 | Display 1 Media | 683 pt (1366 px) | 954 pt (1908 px) |
| Display 2 Media | 636 pt (1272 px) | 477 pt (954 px) |
For other iPad models not defined in the resource above, follow the manual method below:

- Define the usable space on the iPad screen. In this example, we're using the iPad 9th Generation model. Take note of the screen size width (W) and height (H) in the Unit of Measurement "Points" (pt).
Example: 1080 (W) x 820 (H) pt
Note: To check your iPad's screen size, refer to this Apple documentation. - Subtract 70 pt from the height to account for the space occupied by the CFD header.
Example: 820 - 70 = 750 pt (H)
Based on the example above, below are the required file sizes:
- Display 1 Media:
- Width: 540 pt (1080 ÷ 2 = 540)
- Height: 750 pt
- Display 2 Media:
- Width: 500 pt (750 × 0.667 ≈ 500 pt)
- Height: 375 pt (750 ÷ 2 = 375 pt)
iPad 9th Generation Example Summary
| iPad model | Screen Size (pt) | Display Mode | File Width | File Height |
| iPad 9th Generation | 1080 (H) × 820 (W) | Display 1 Media | 540 pt (787 px) | 750 pt (1000 px) |
| Display 2 Media | 500 pt (667 px) | 375 pt (500 px) |
To create a Media Promotion, follow the steps below:
Merchant Portal 2.0
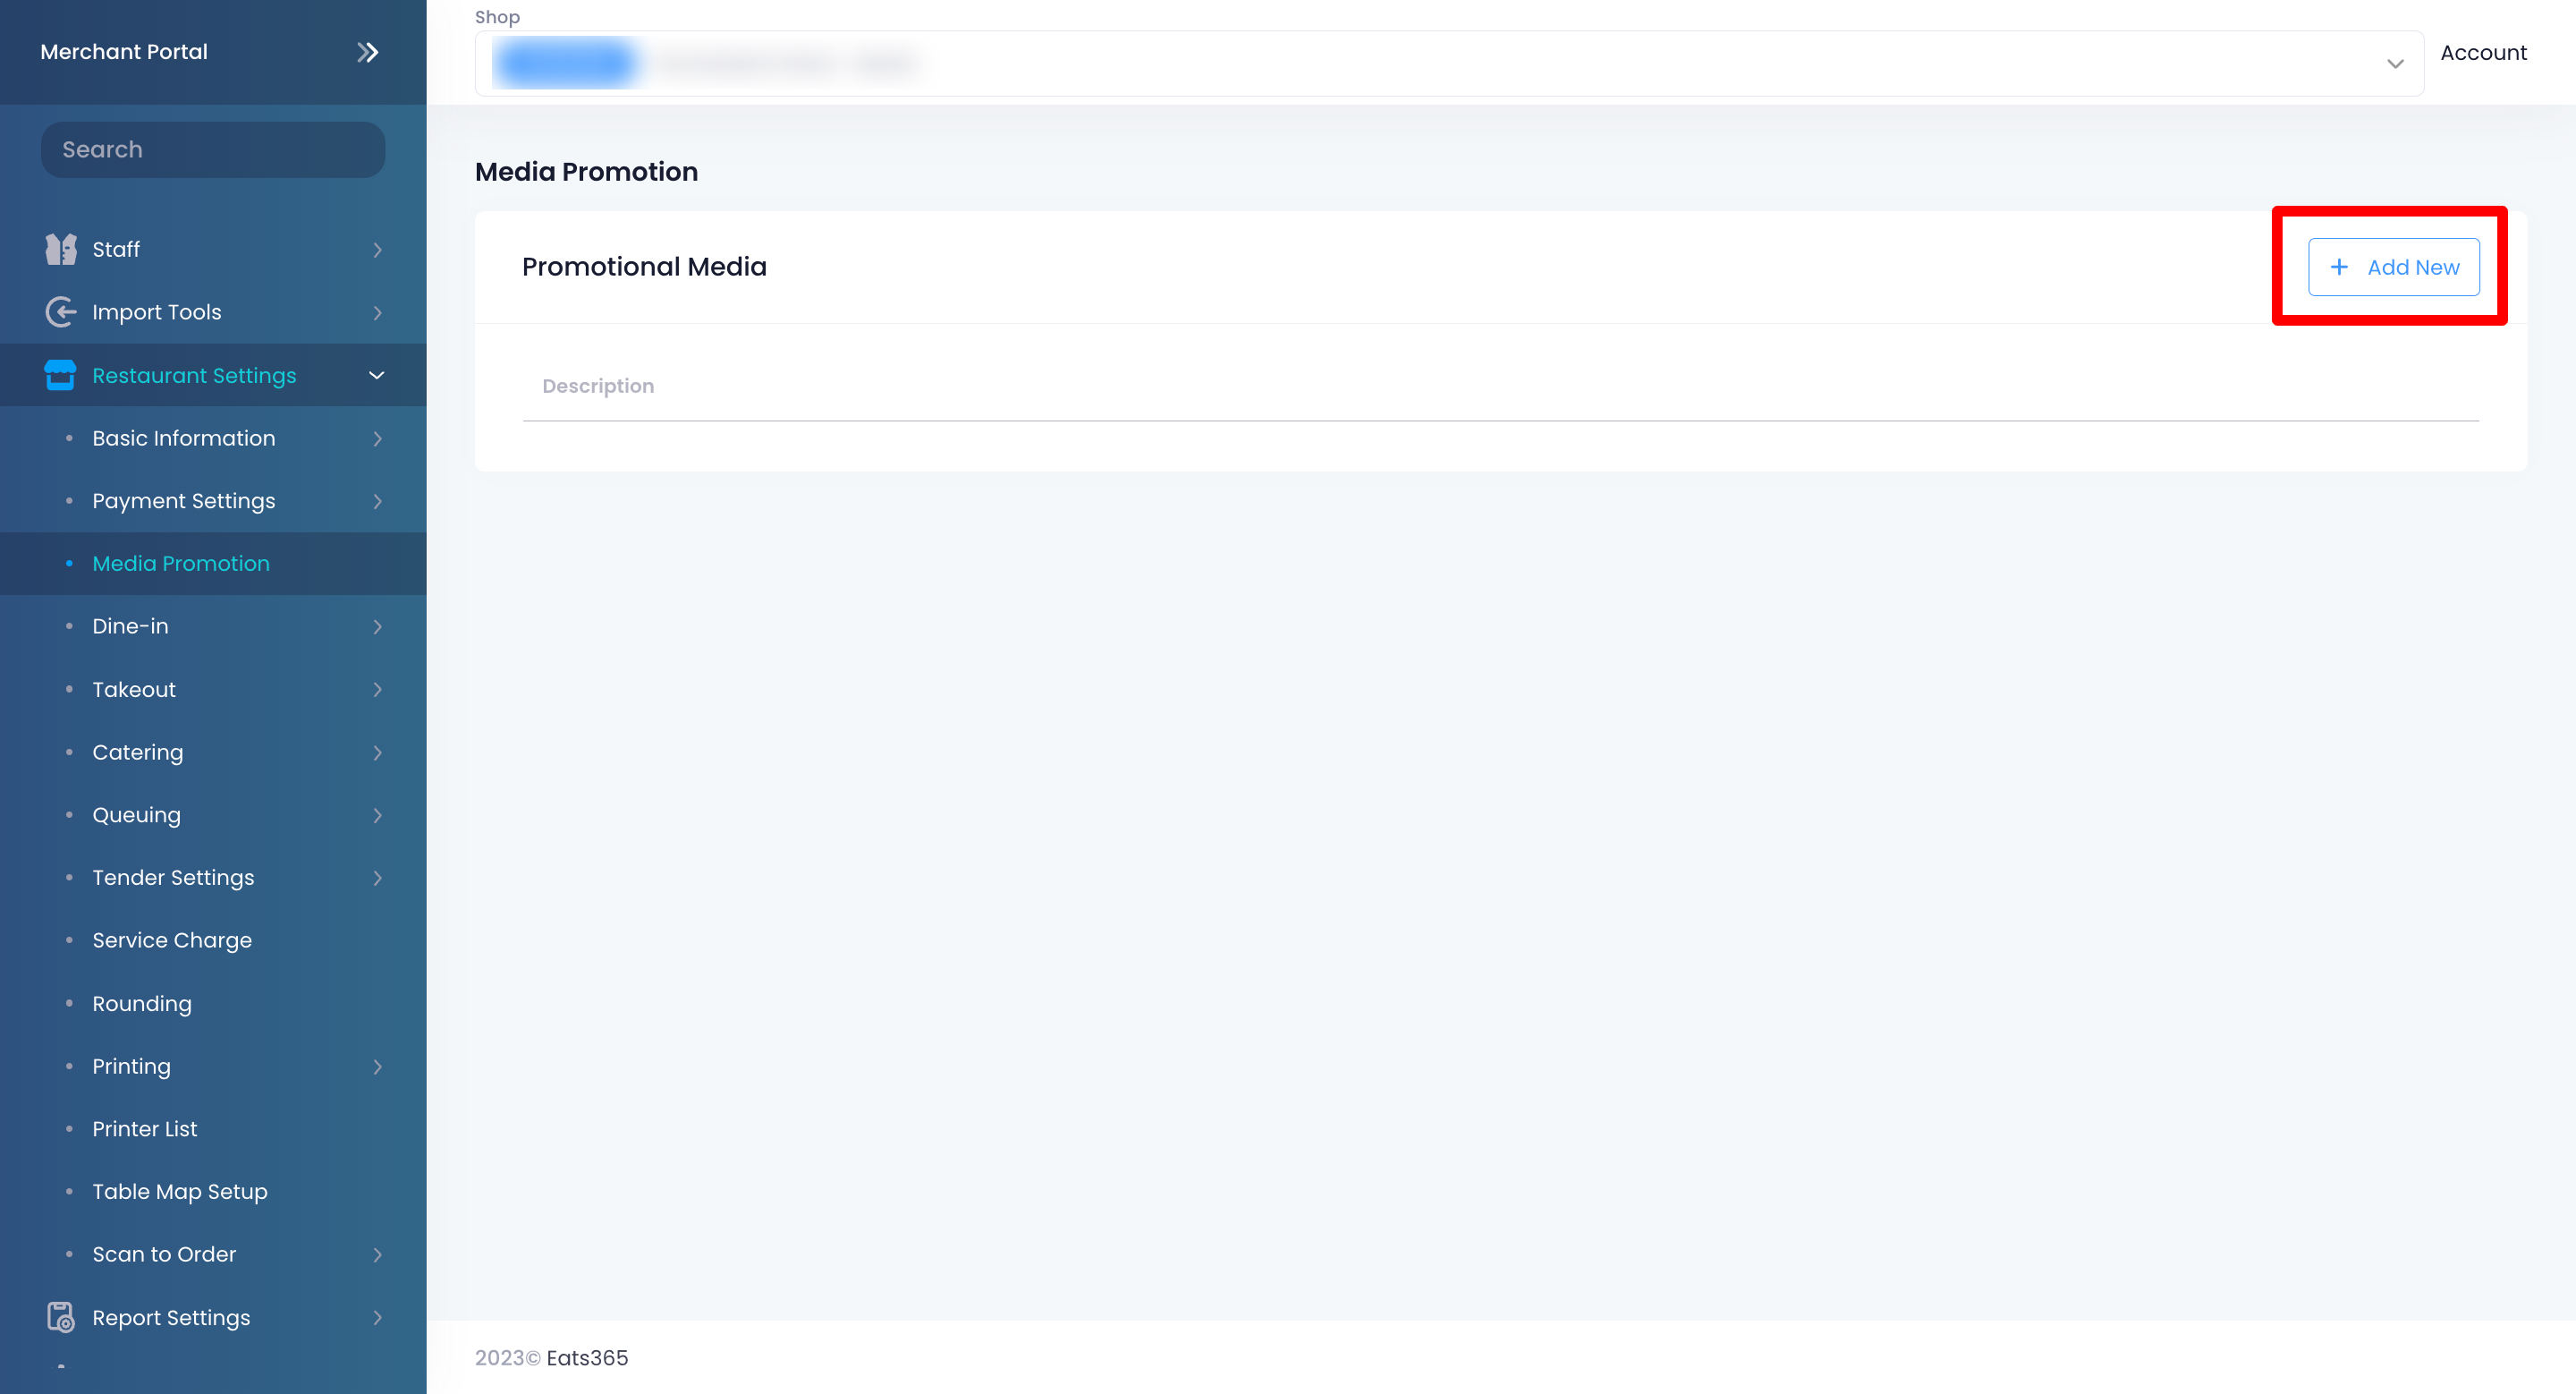
- Log in to the Merchant Portal.
- On the left panel, click on Restaurant Settings
 Media Promotion.
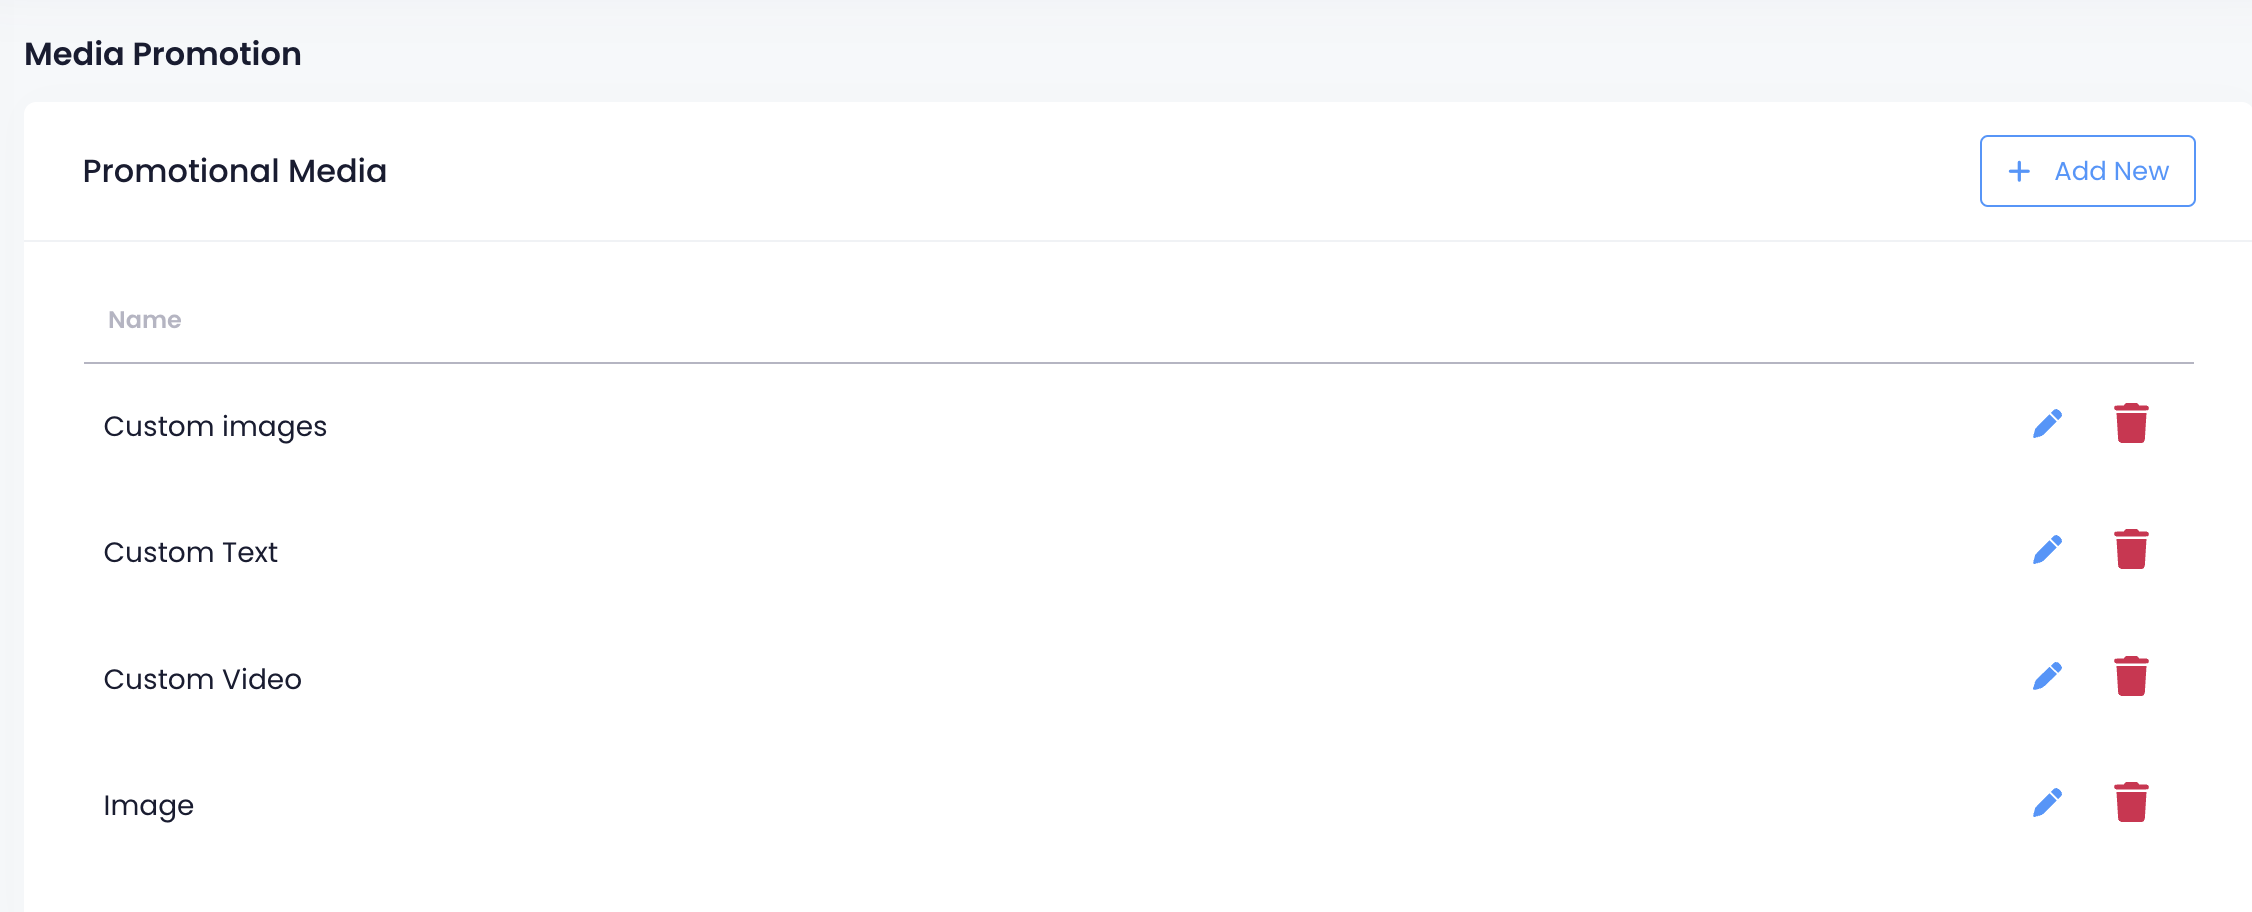
 - Click on +Add New.
- In the blank field, add the Media Promotion name. Then, click on Save
 to confirm the name.
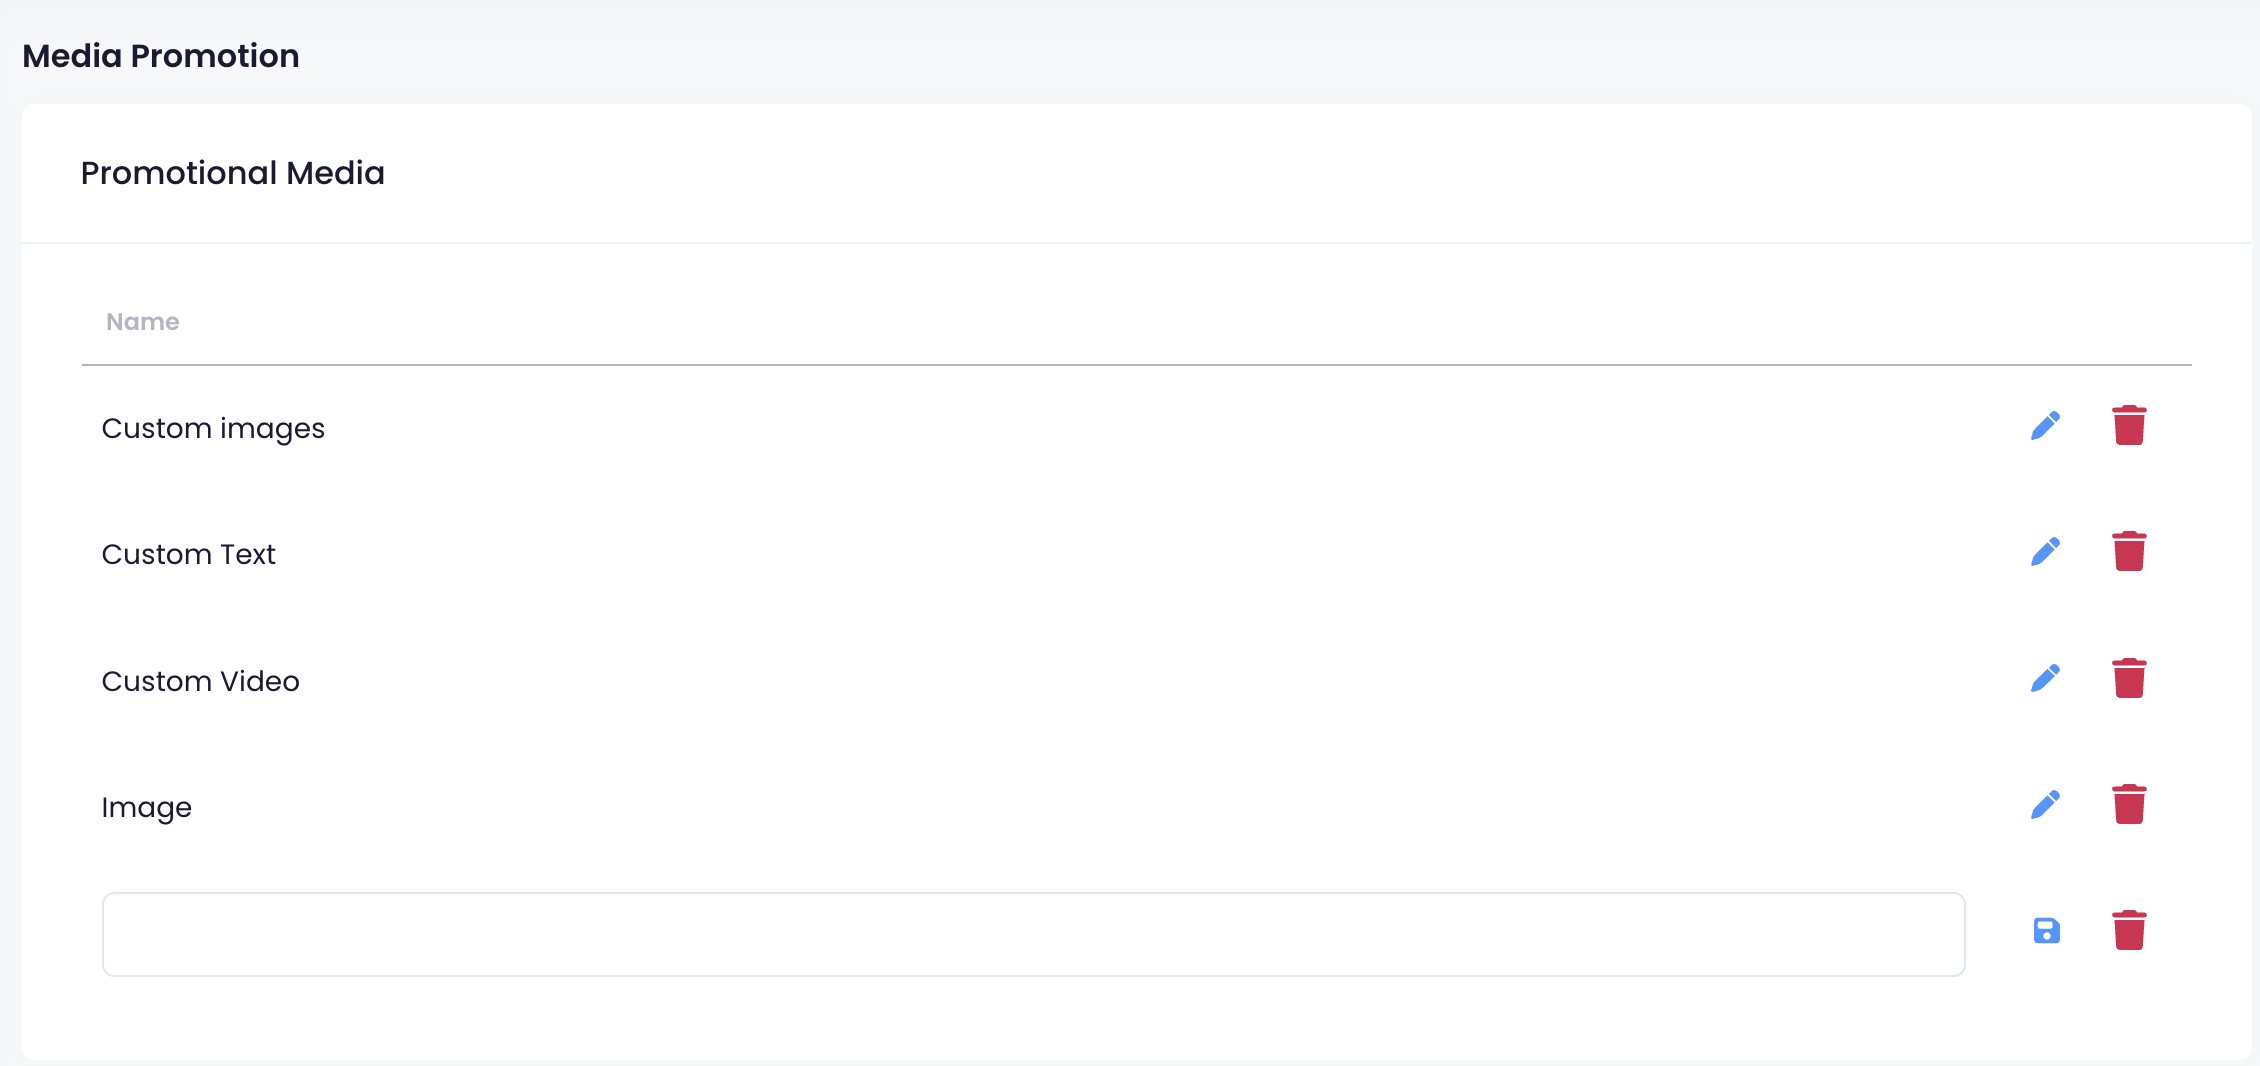
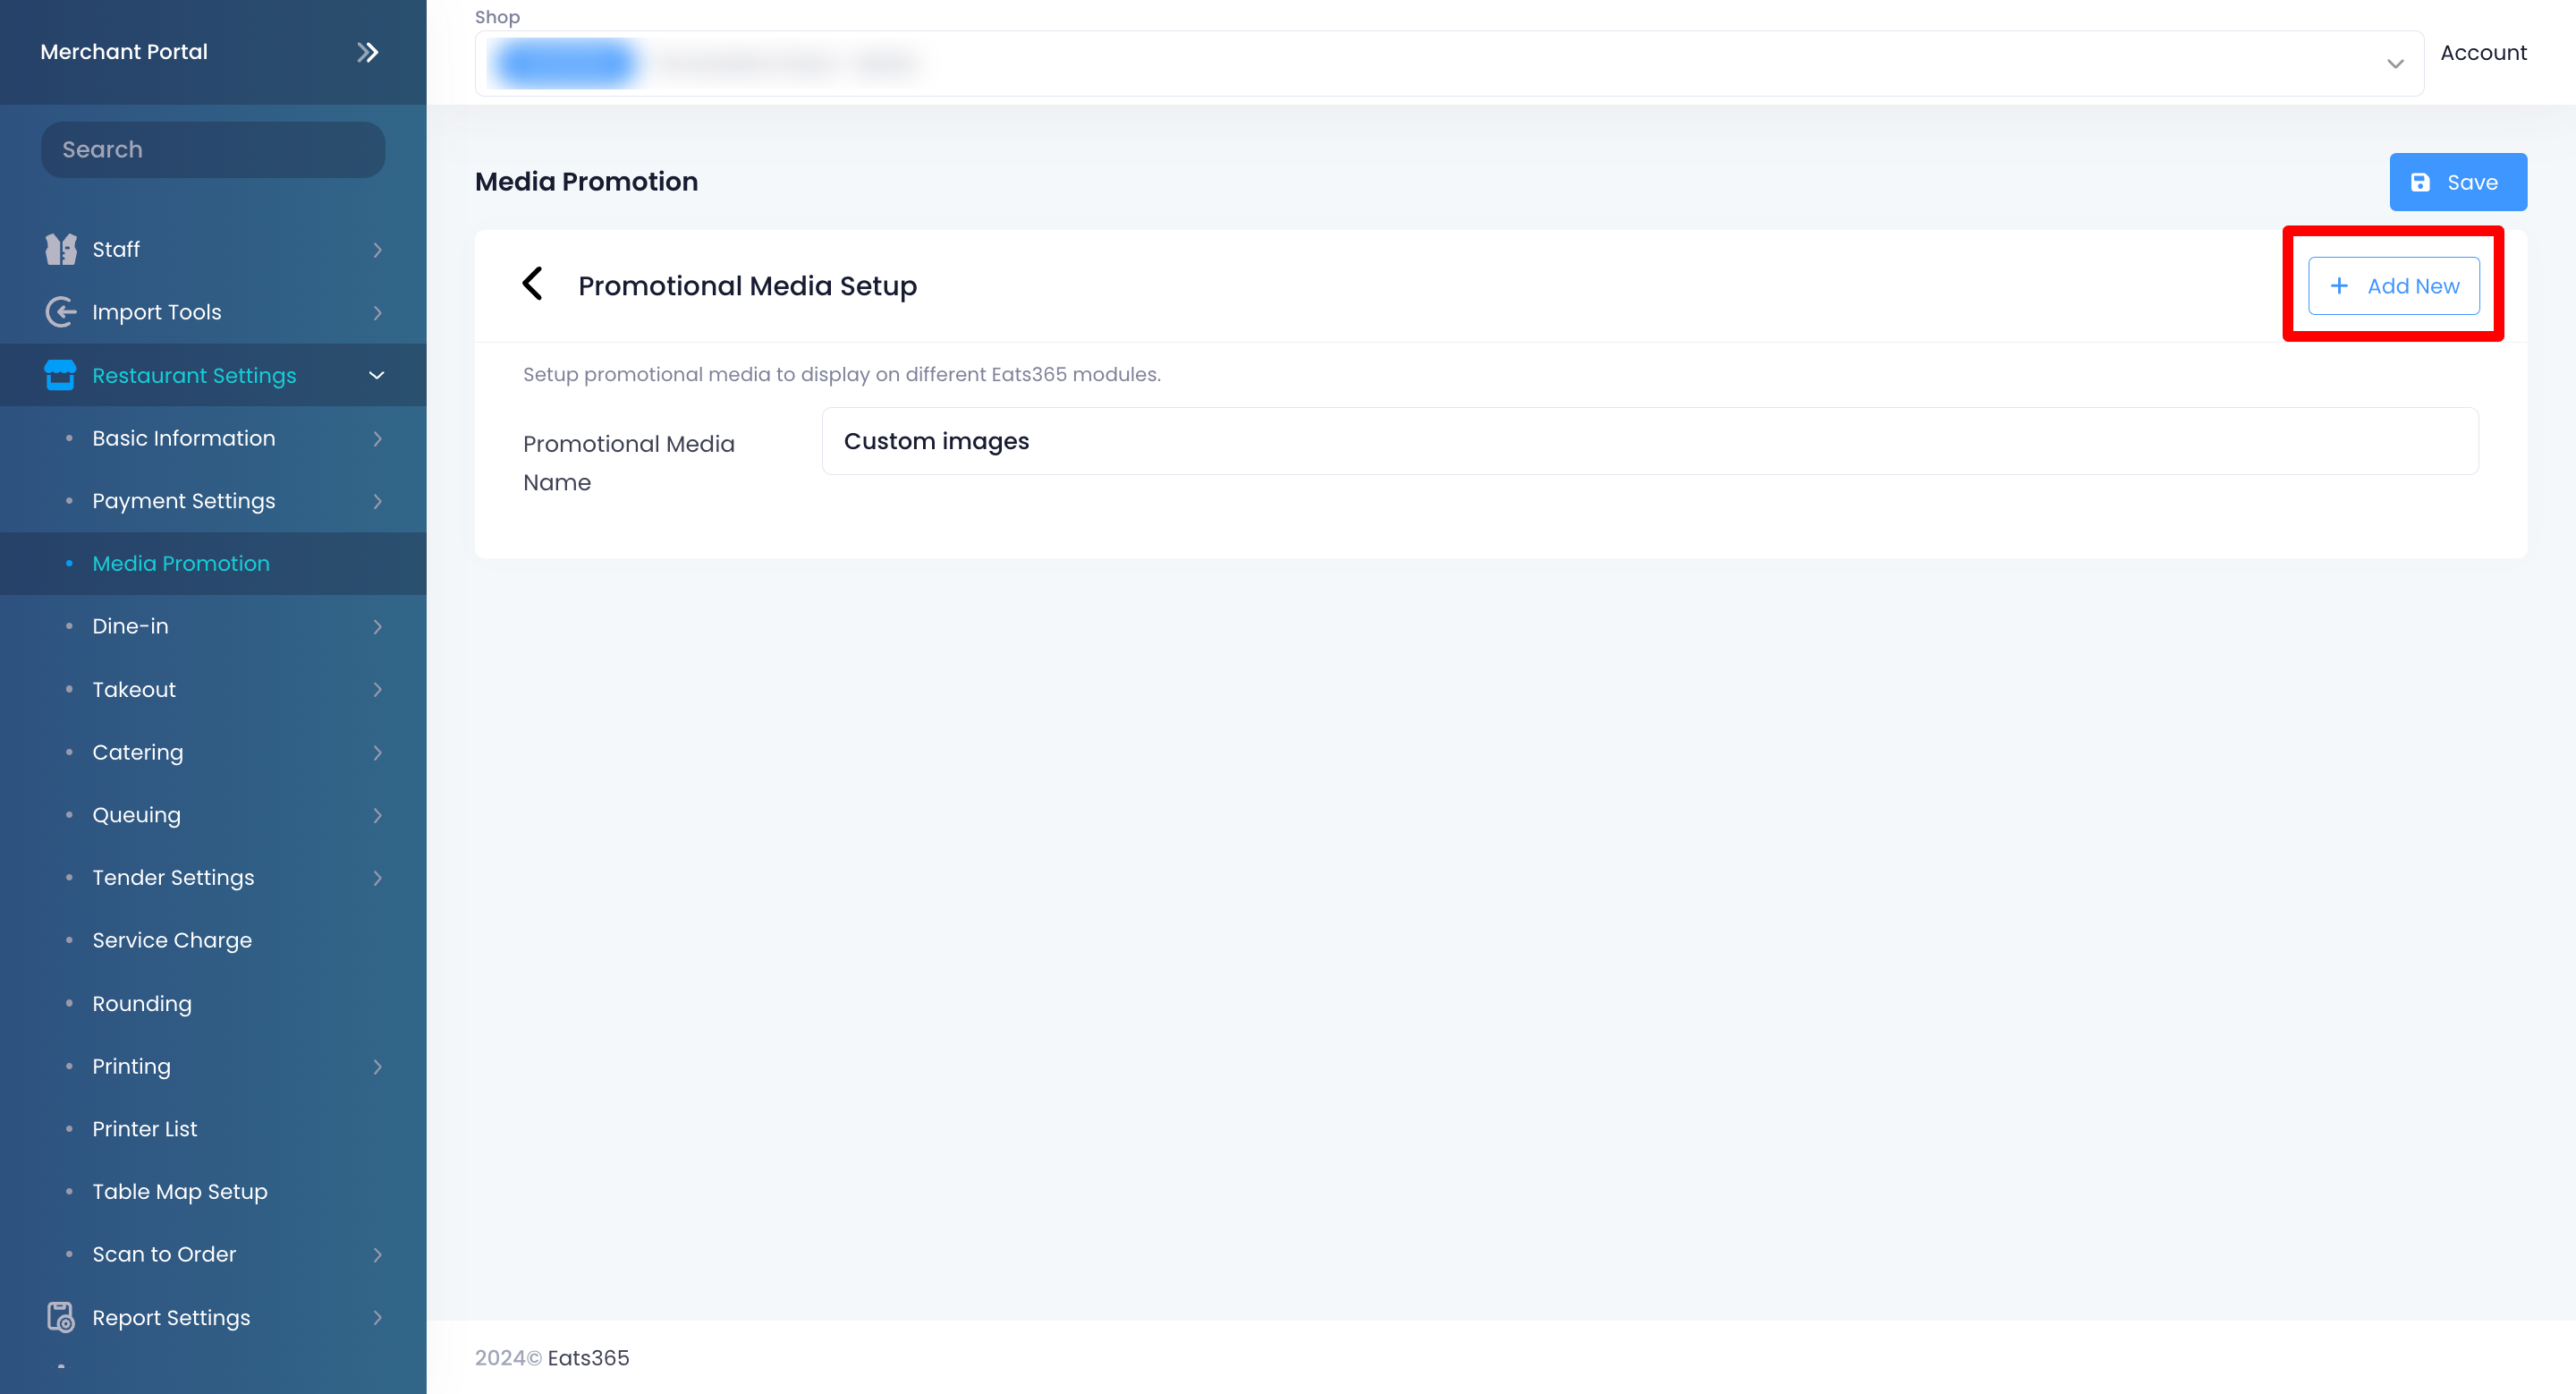
- Select your newly-created Media Promotion from the list. Then, click on Edit
 .
.
- To upload custom content to the Media Promotion, click on +Add New.
- Toggle Enable
 to turn on the Media Promotion function.
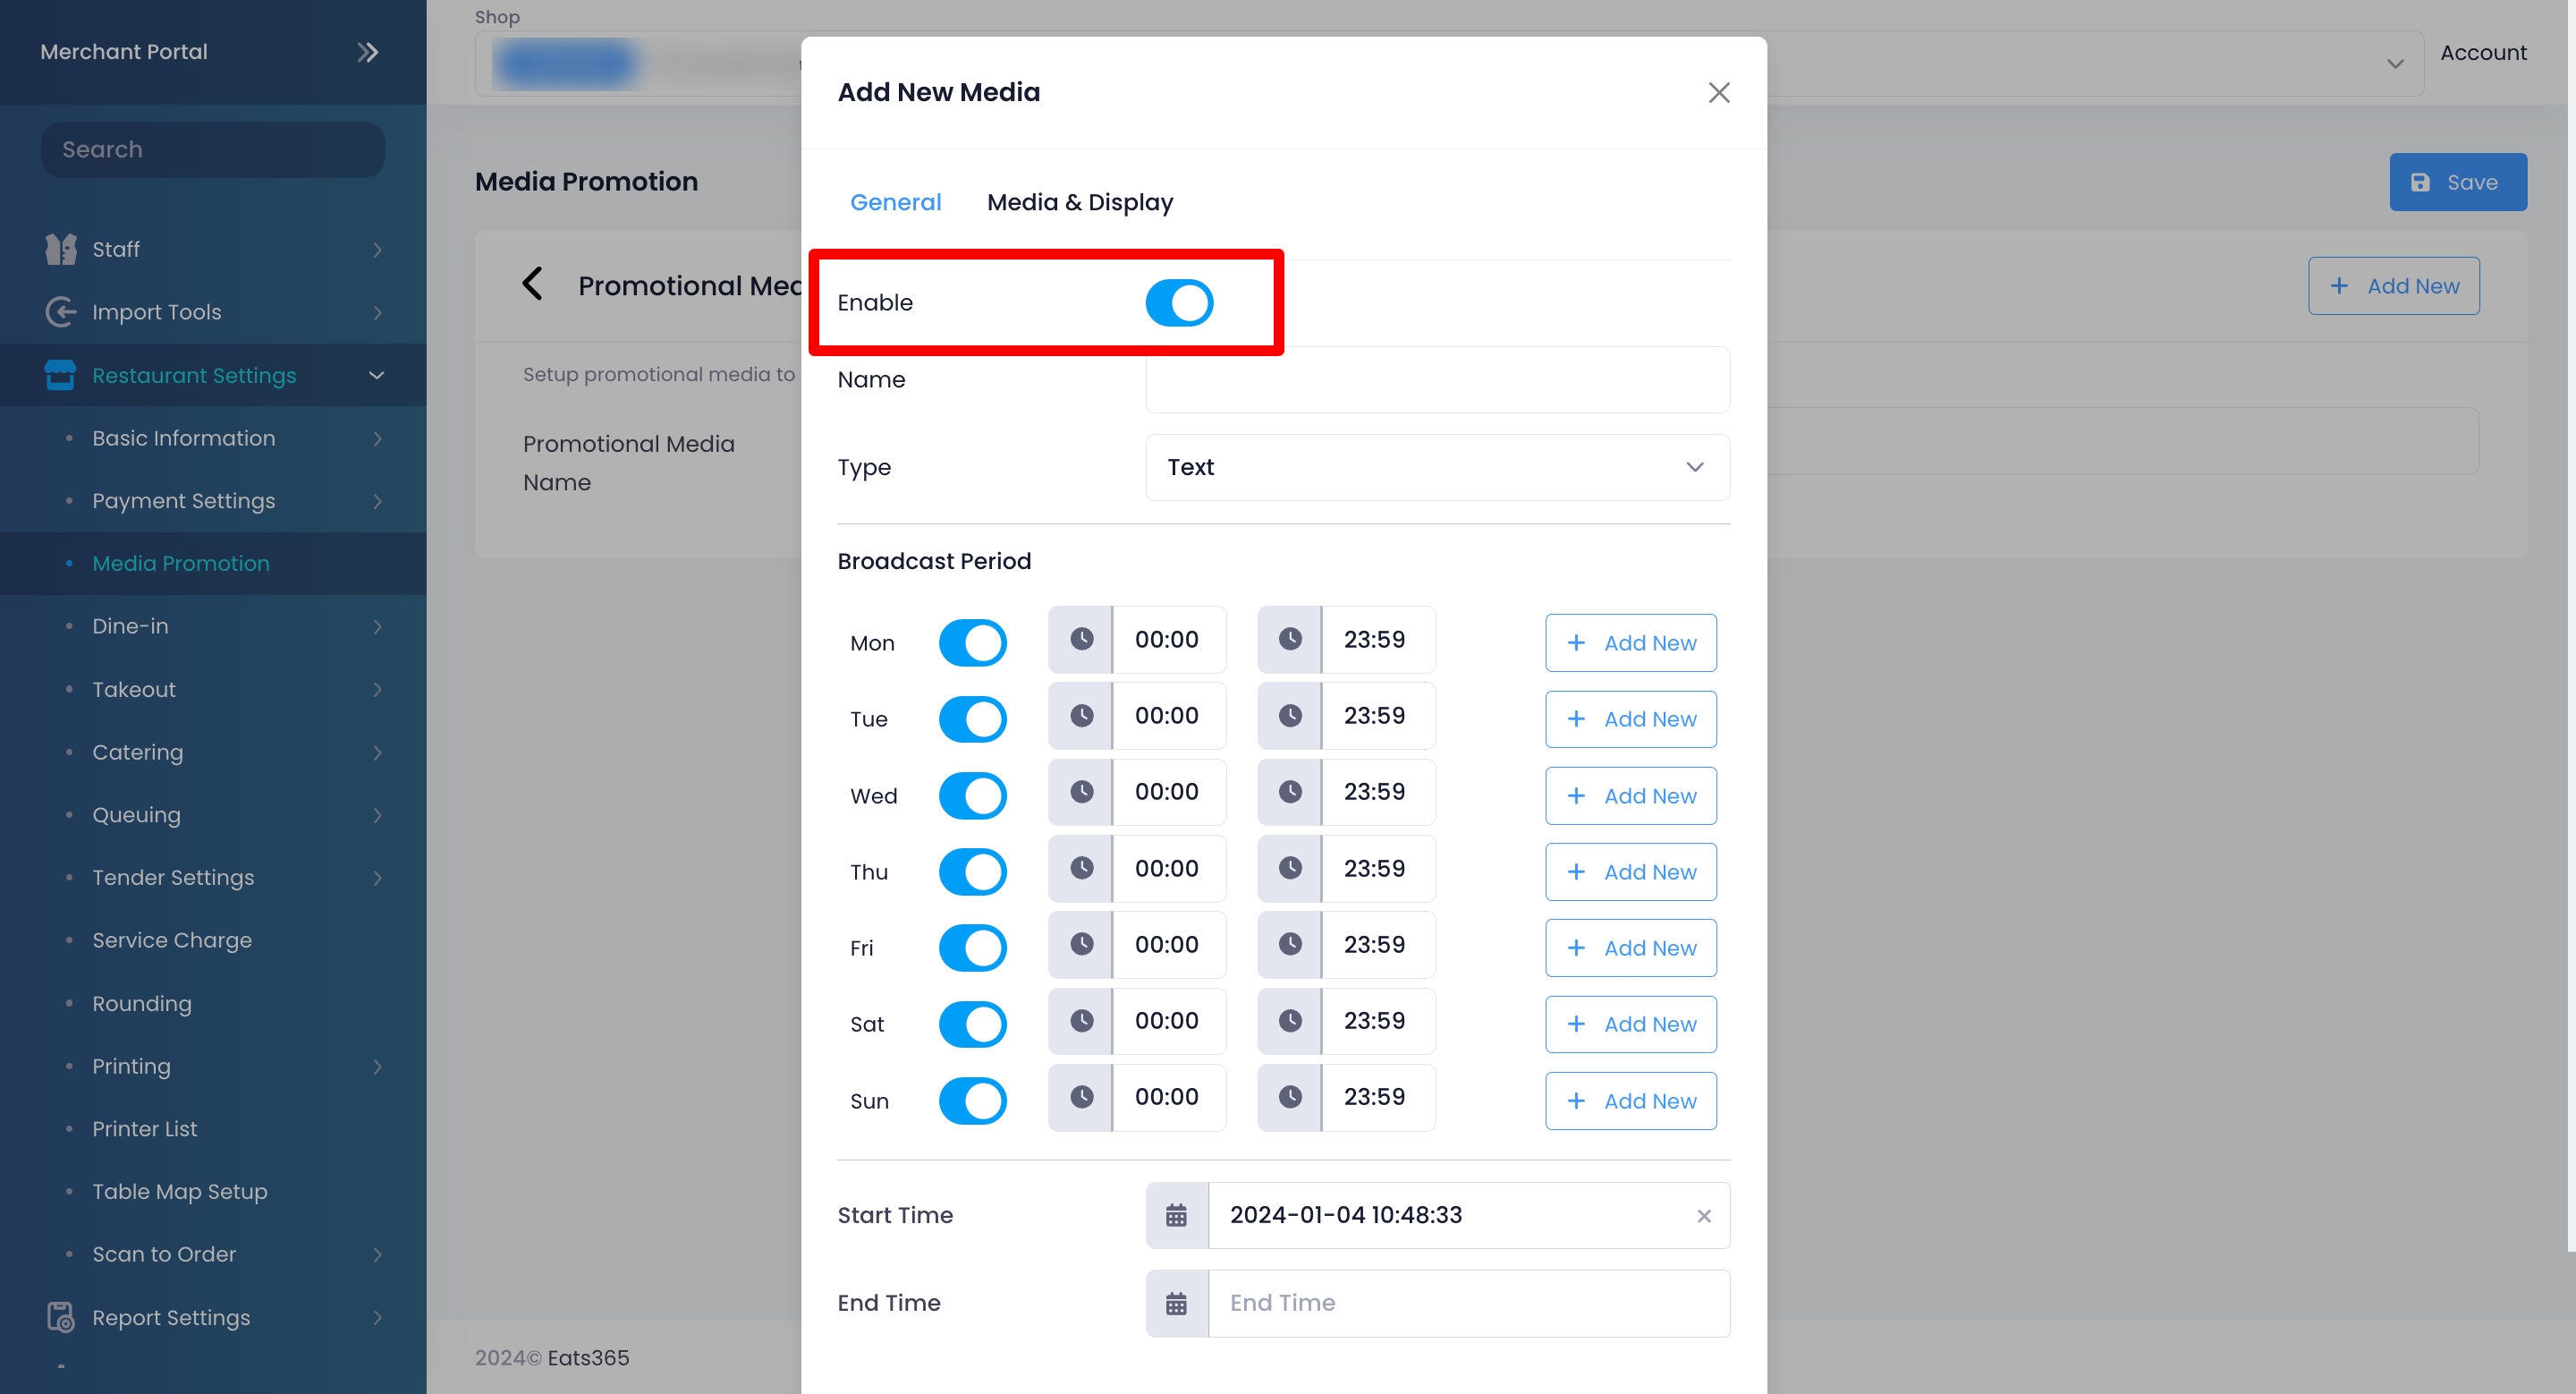
- Next to the "Name" field, enter the name that you want to use for your custom upload.
- Click on the Type drop-down list and select the type of media that you want to upload. You can choose from the available media types:
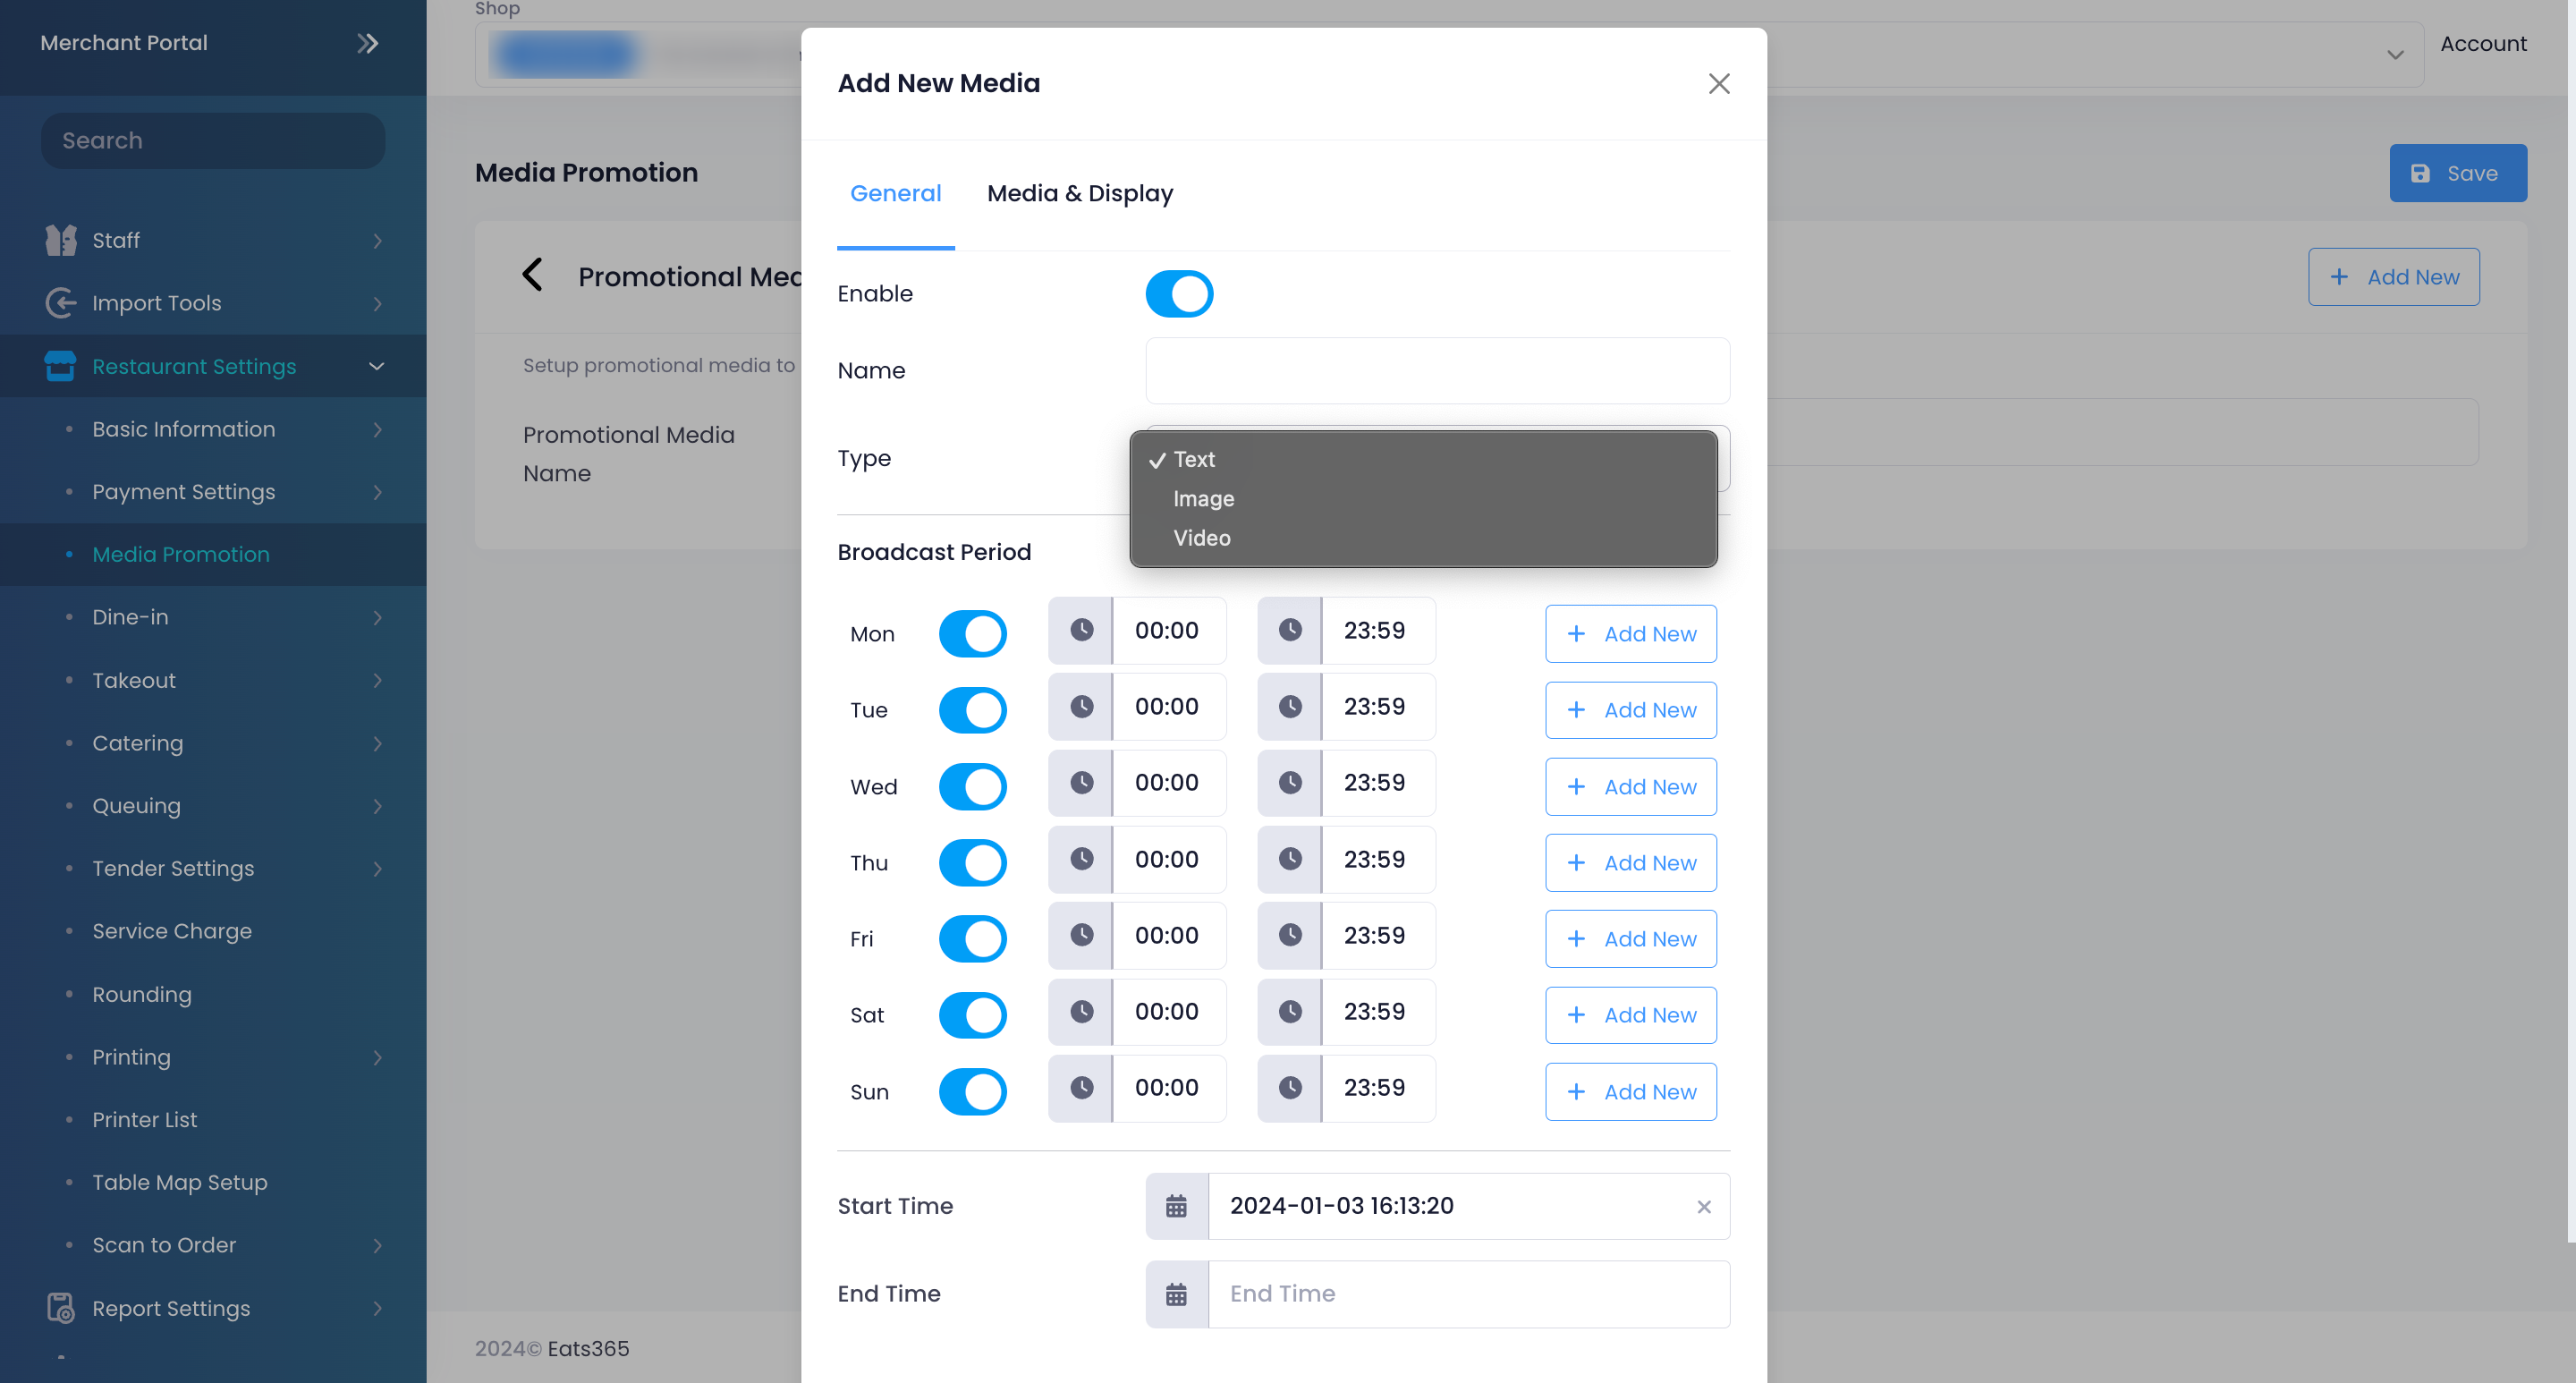
- Text
- Video
- Image
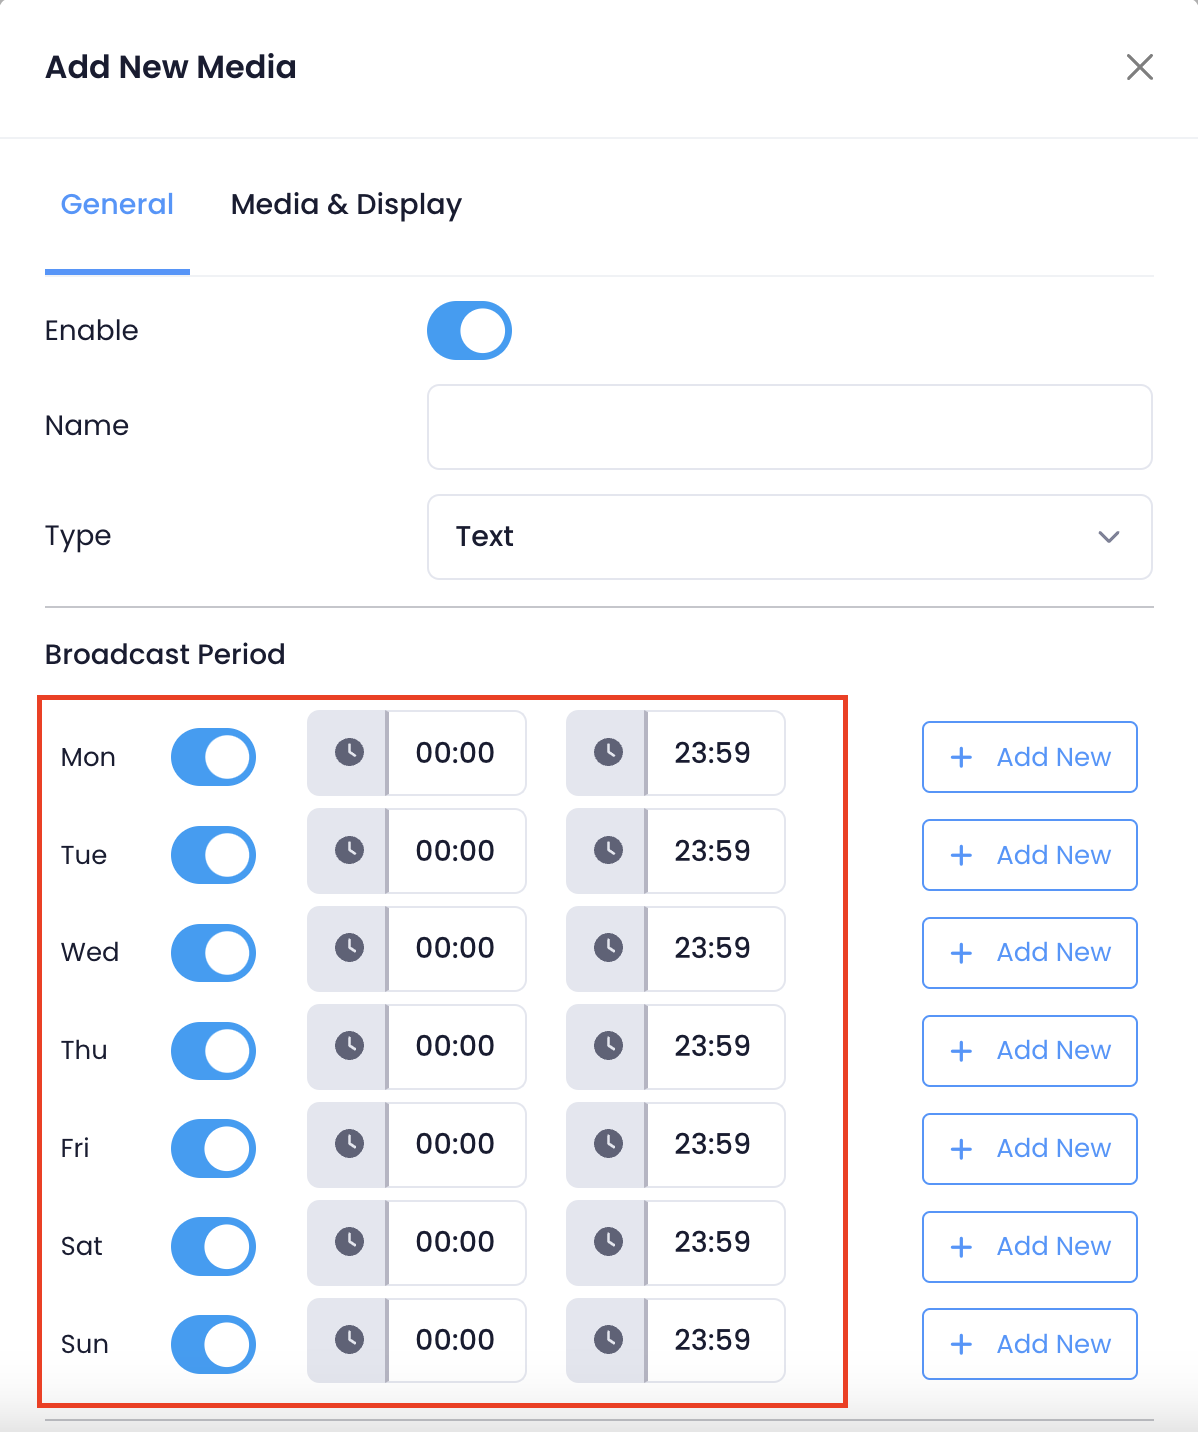
- To set a time when the custom upload appears, under "Broadcast Period," set the day and time.
- Set the Start Time and End Time when the media is available.
Tip: If you want the media to show on the PhotoMenu, Customer Facing Display, or eSignage indefinitely, you can choose to skip adding an End Time. - To upload a media entry, click on Media & Display. This configuration varies depending on the selected "Type" in the General tab.
- Text: Enter the message that you want to show.
 Important: Creating a custom text is only available on eSignage.
 - Image: Upload images to include in the Media Promotion. You can upload a maximum of 10 images at a time. To upload more than 10 images, initiate more uploads through the +Add New button.
Important: The total size of all media files for a single restaurant cannot exceed 2GB.- Next to "Media File Upload," click on Select Images. Then, select the image that you want to upload.
Image file requirements: jpeg, png, bmp Tip: You can choose up to 10 images to upload.
 - Enter the Display Duration (in seconds).
- Under "Display Mode," select how you want the images to be shown. You can choose from the available display ratios.

- Next to "Media File Upload," click on Select Images. Then, select the image that you want to upload.
- Video: Upload a video to include in the Media Promotion.
Important: The total size of all media files for a single restaurant cannot exceed 2GB.- Next to "Media File Upload," click on Select File. Select the video that you want to upload, then click on Upload.
Video file requirements: mp4, mpg, mpeg, 3gp, mov, avi
- Under "Display Mode," select how you want the video to be shown. You can choose from the available display ratios.

- Next to "Media File Upload," click on Select File. Select the video that you want to upload, then click on Upload.
- Text: Enter the message that you want to show.
- Click on Save to confirm.
- To add more Media, repeat steps 6 to 13.
Merchant Portal (Classic Theme)
- Log in to the Merchant Portal.
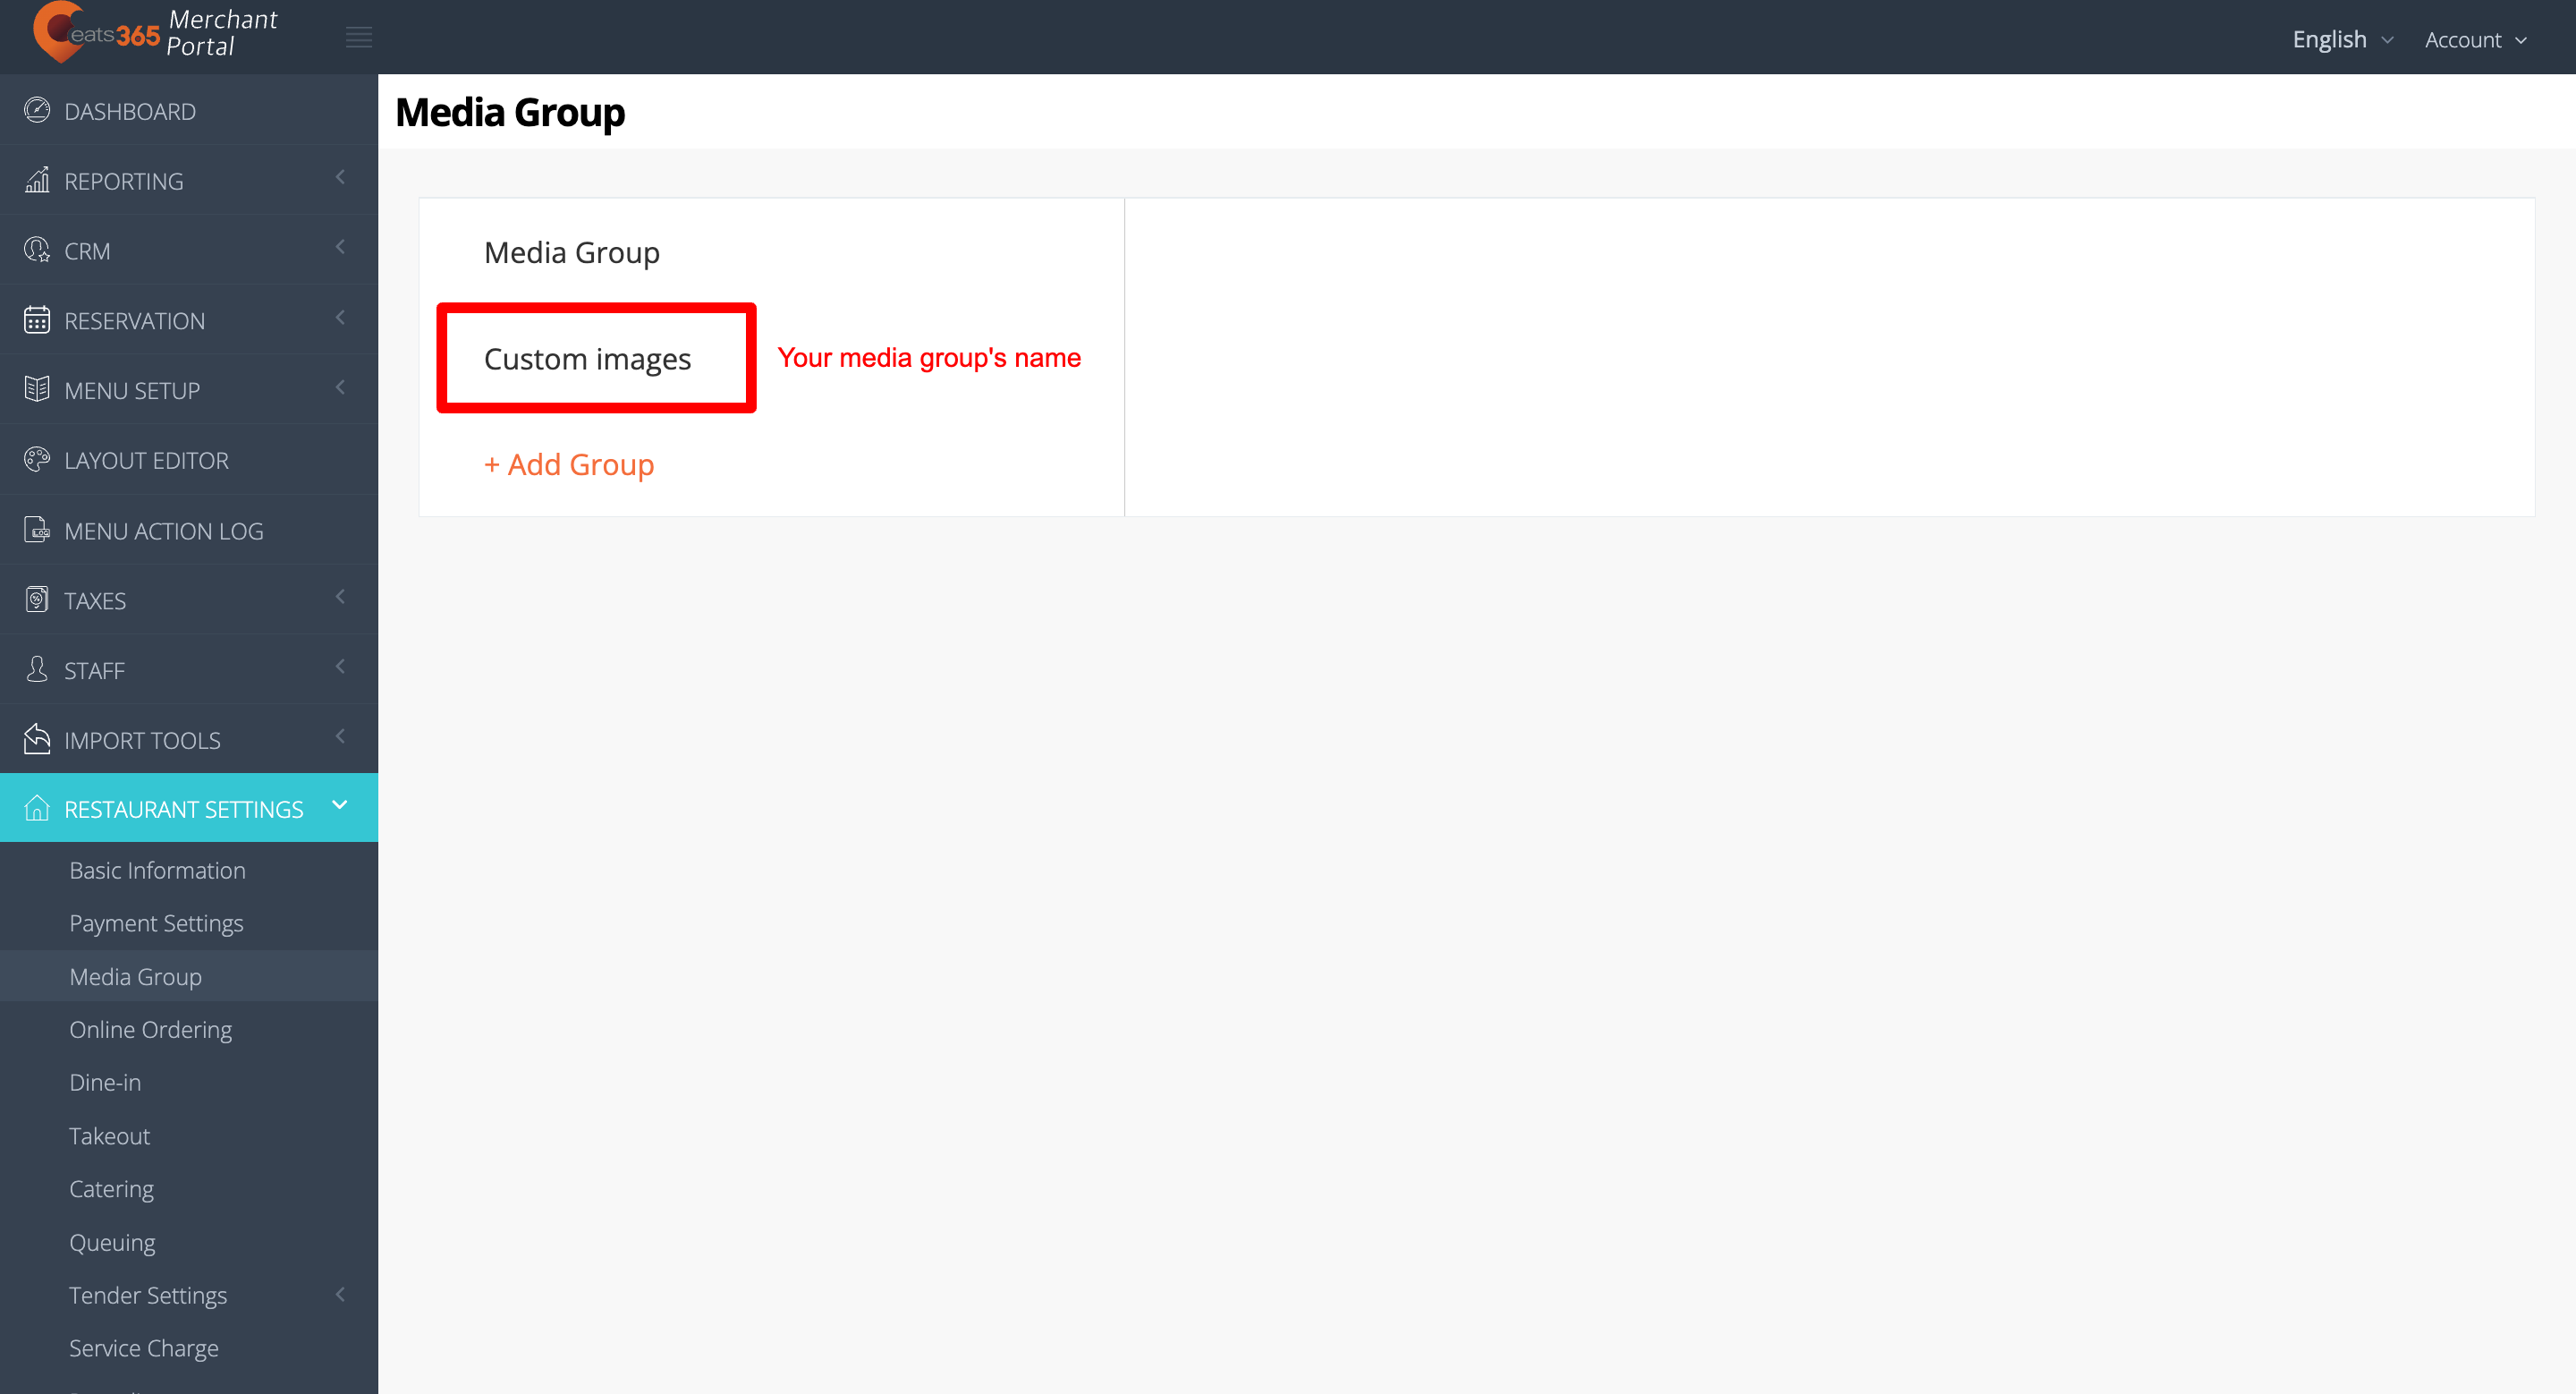
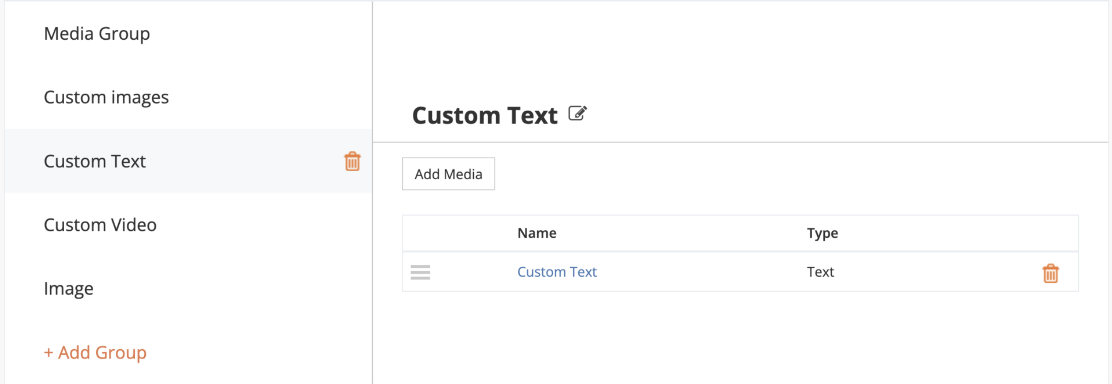
- On the left panel, click on Restaurant Settings. Then, select Media Group.
- Click on +Add Group.
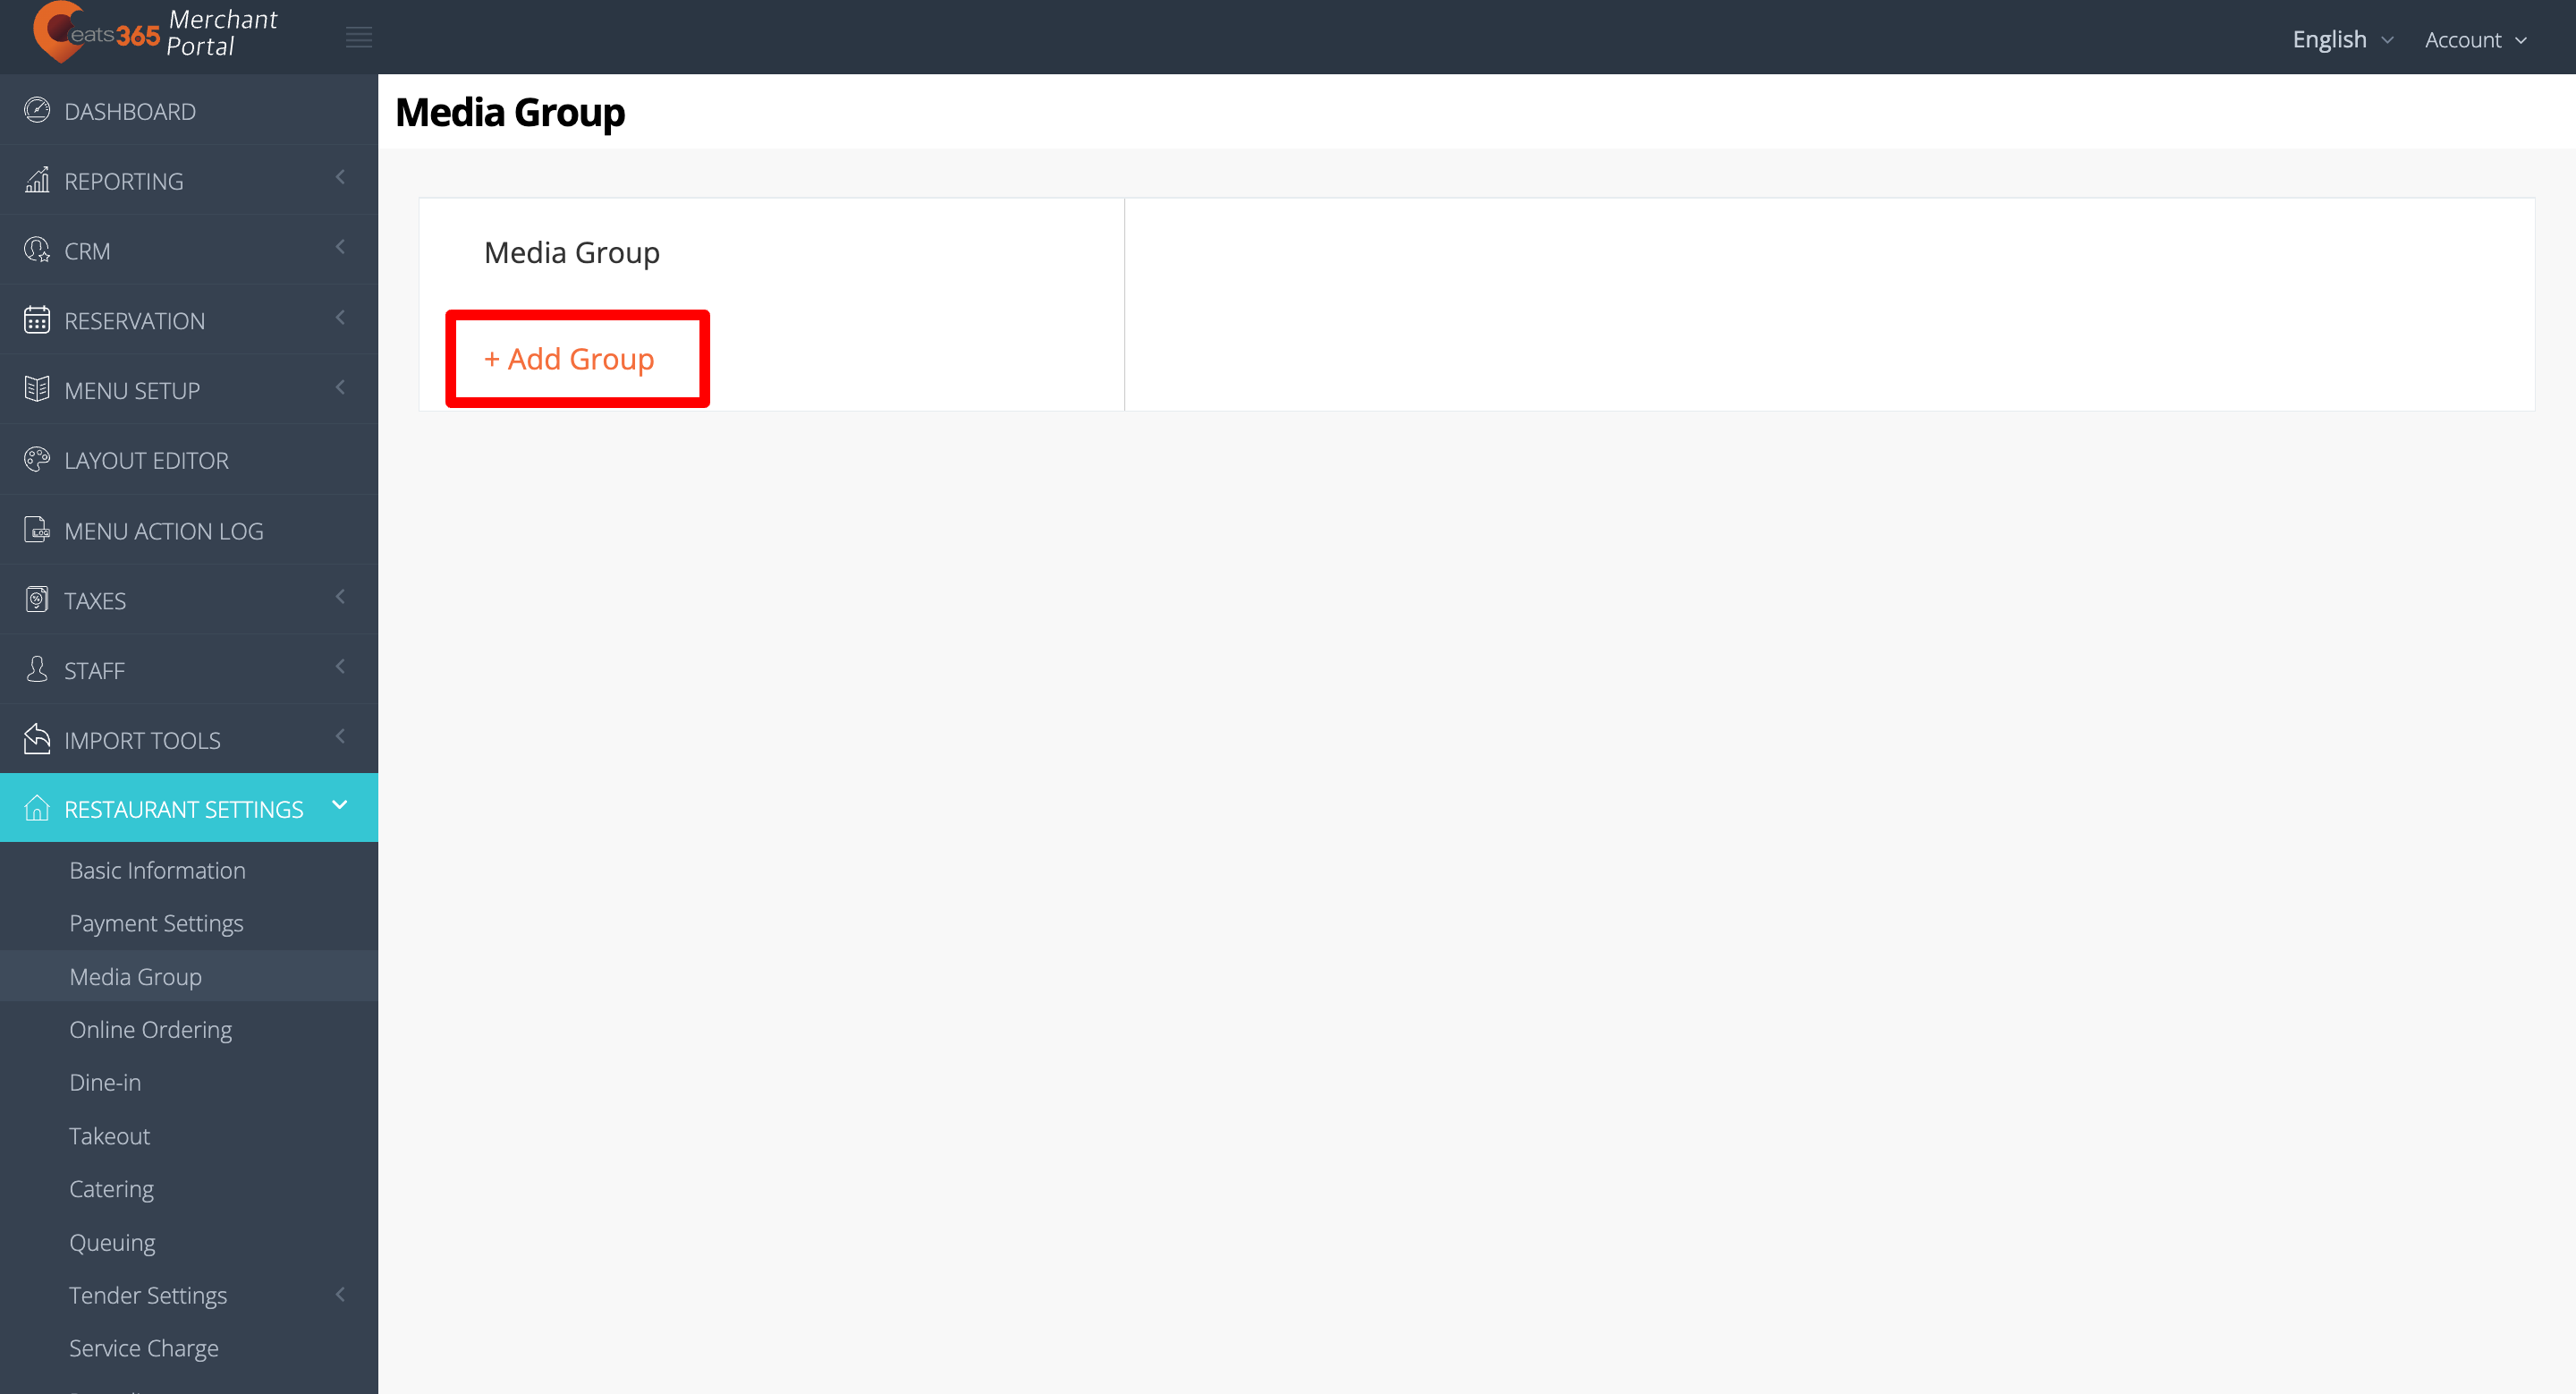
- In the blank field, add the Media Group name. Then, click on Save to confirm the name. The screen redirects to the Media Group list.
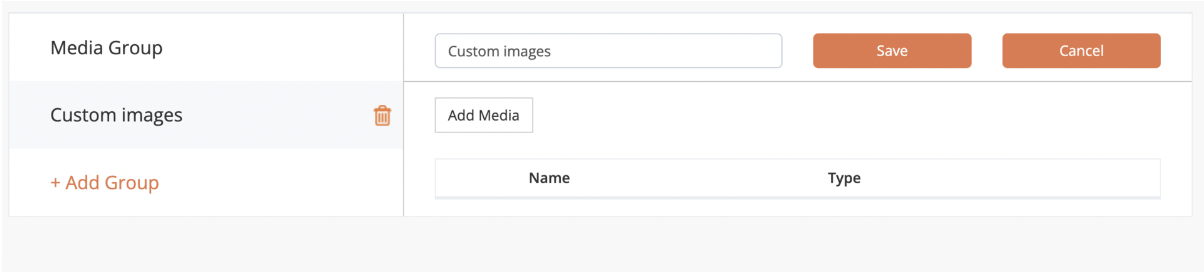
- Select your newly-created Media Group from the list.
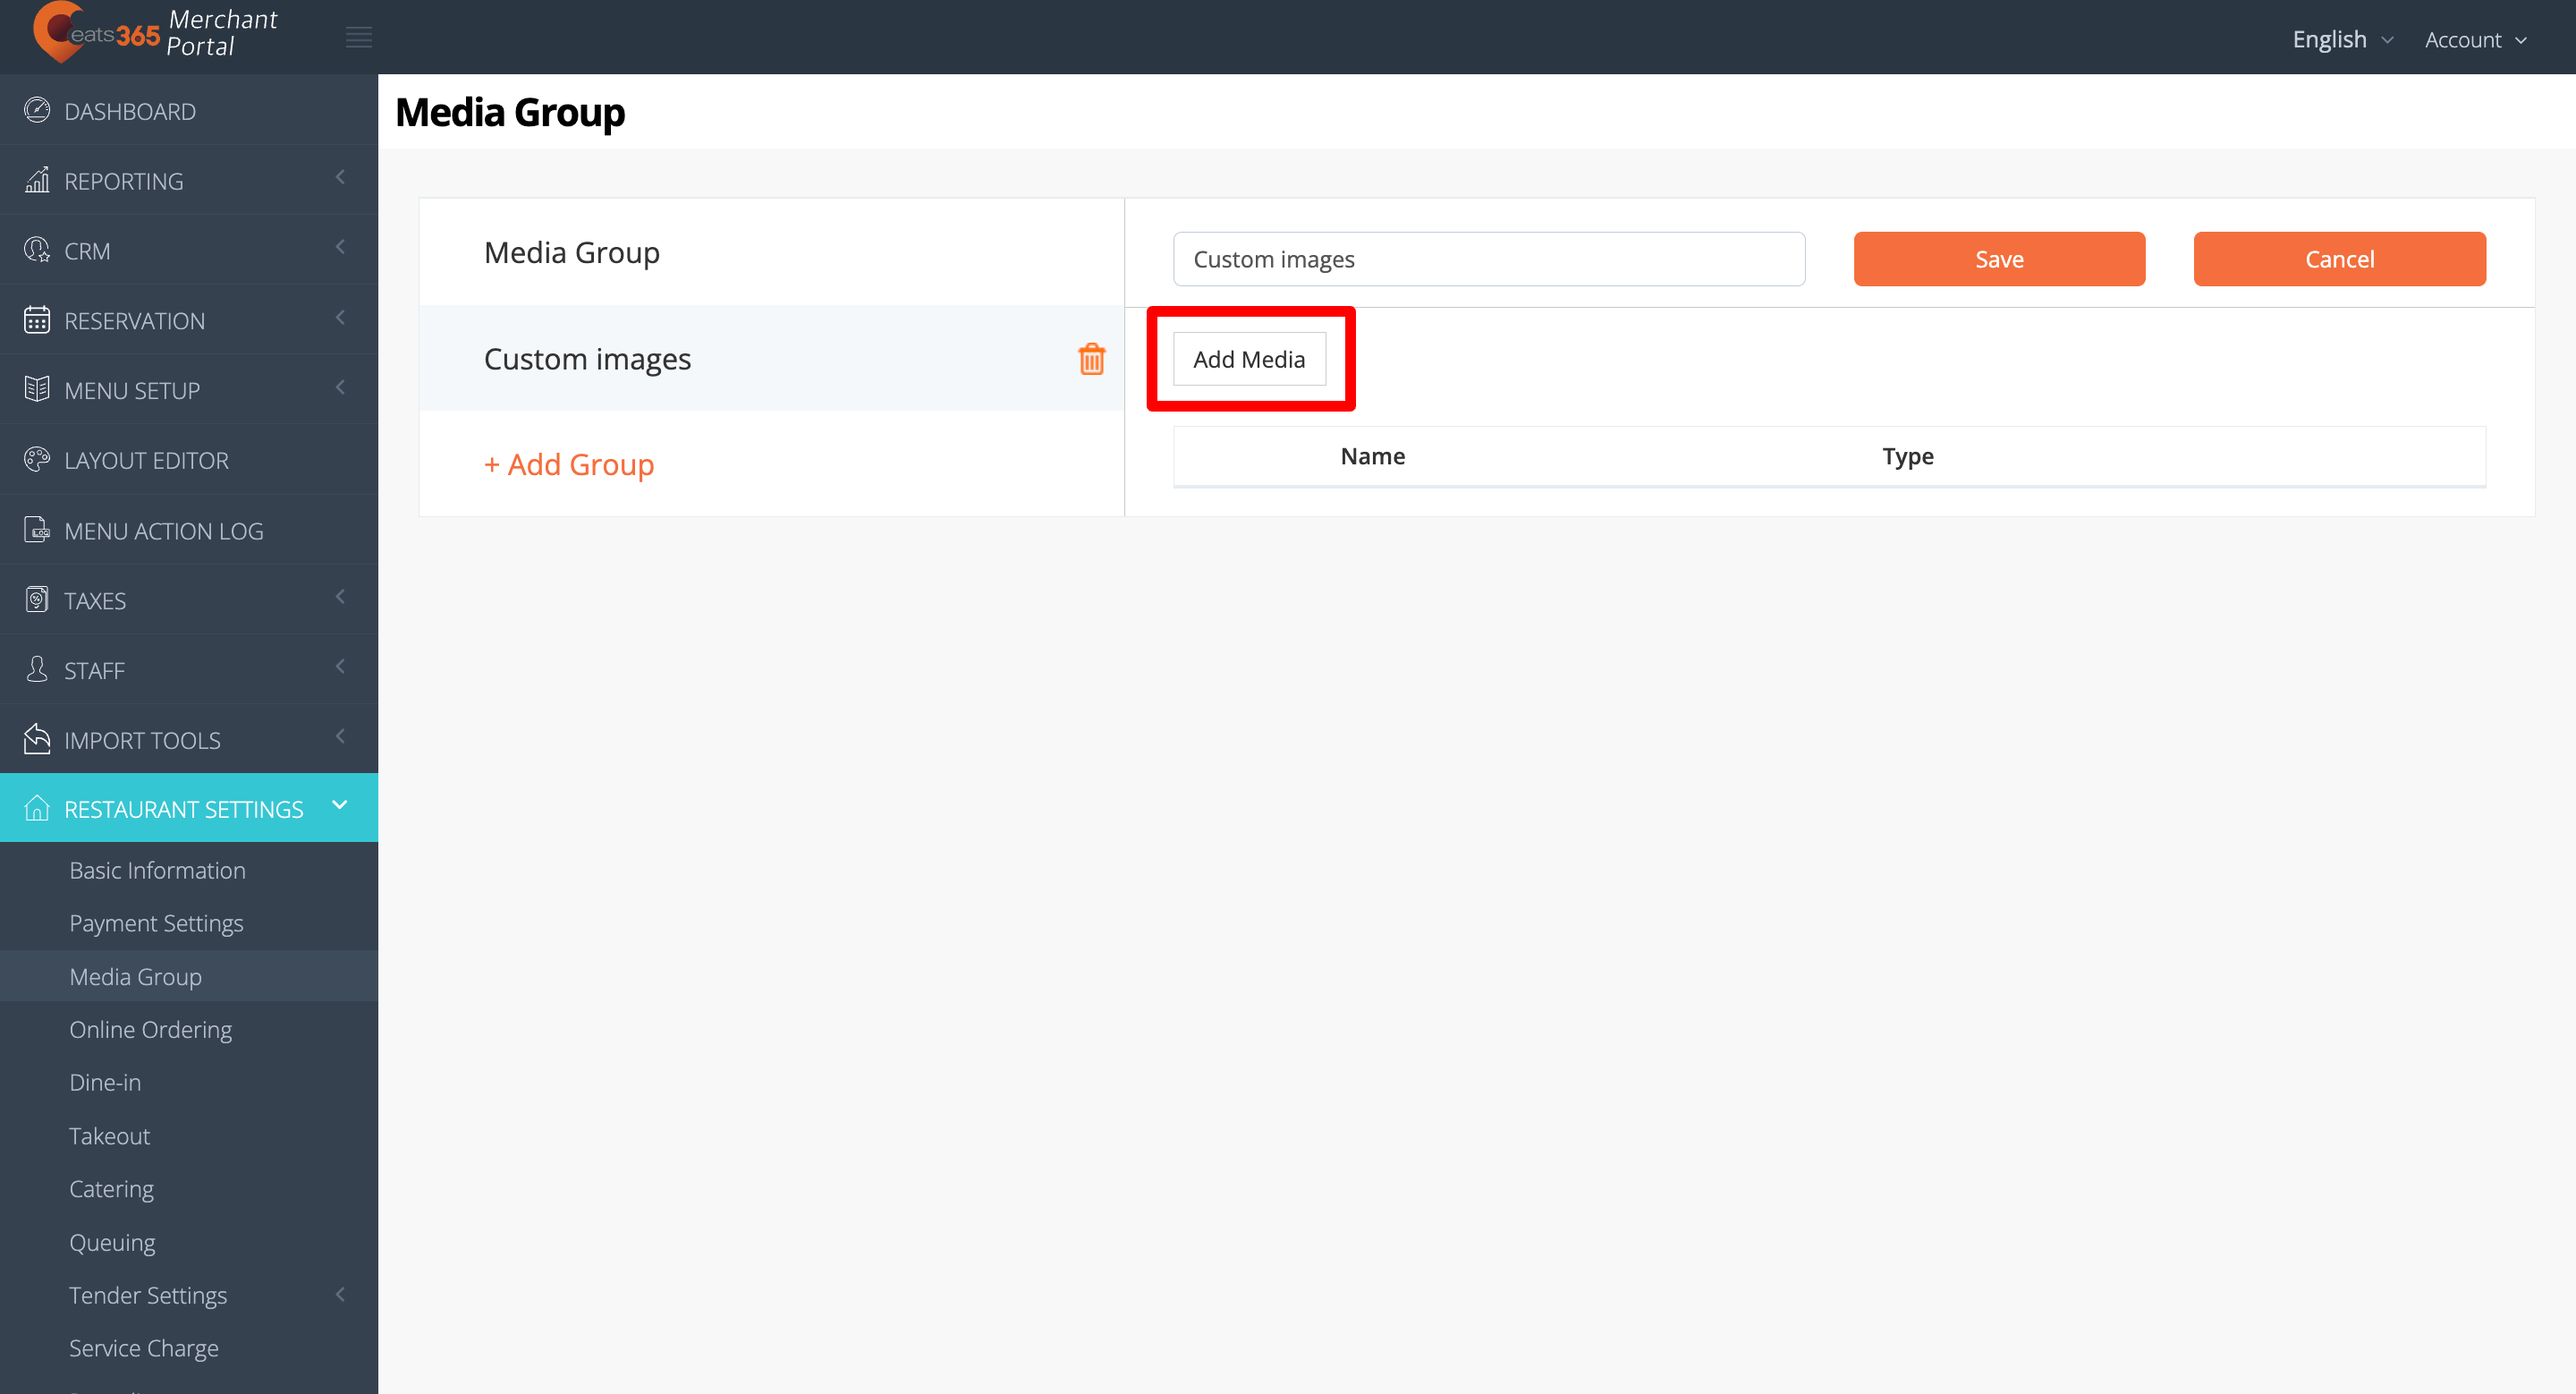
- To upload custom content to the Media Group, click on Add Media.
- Next to the Name field, enter the name that you want to use for your custom upload.
- Next to the Type field, select the type of media that you want to upload. You can choose from the available media types:
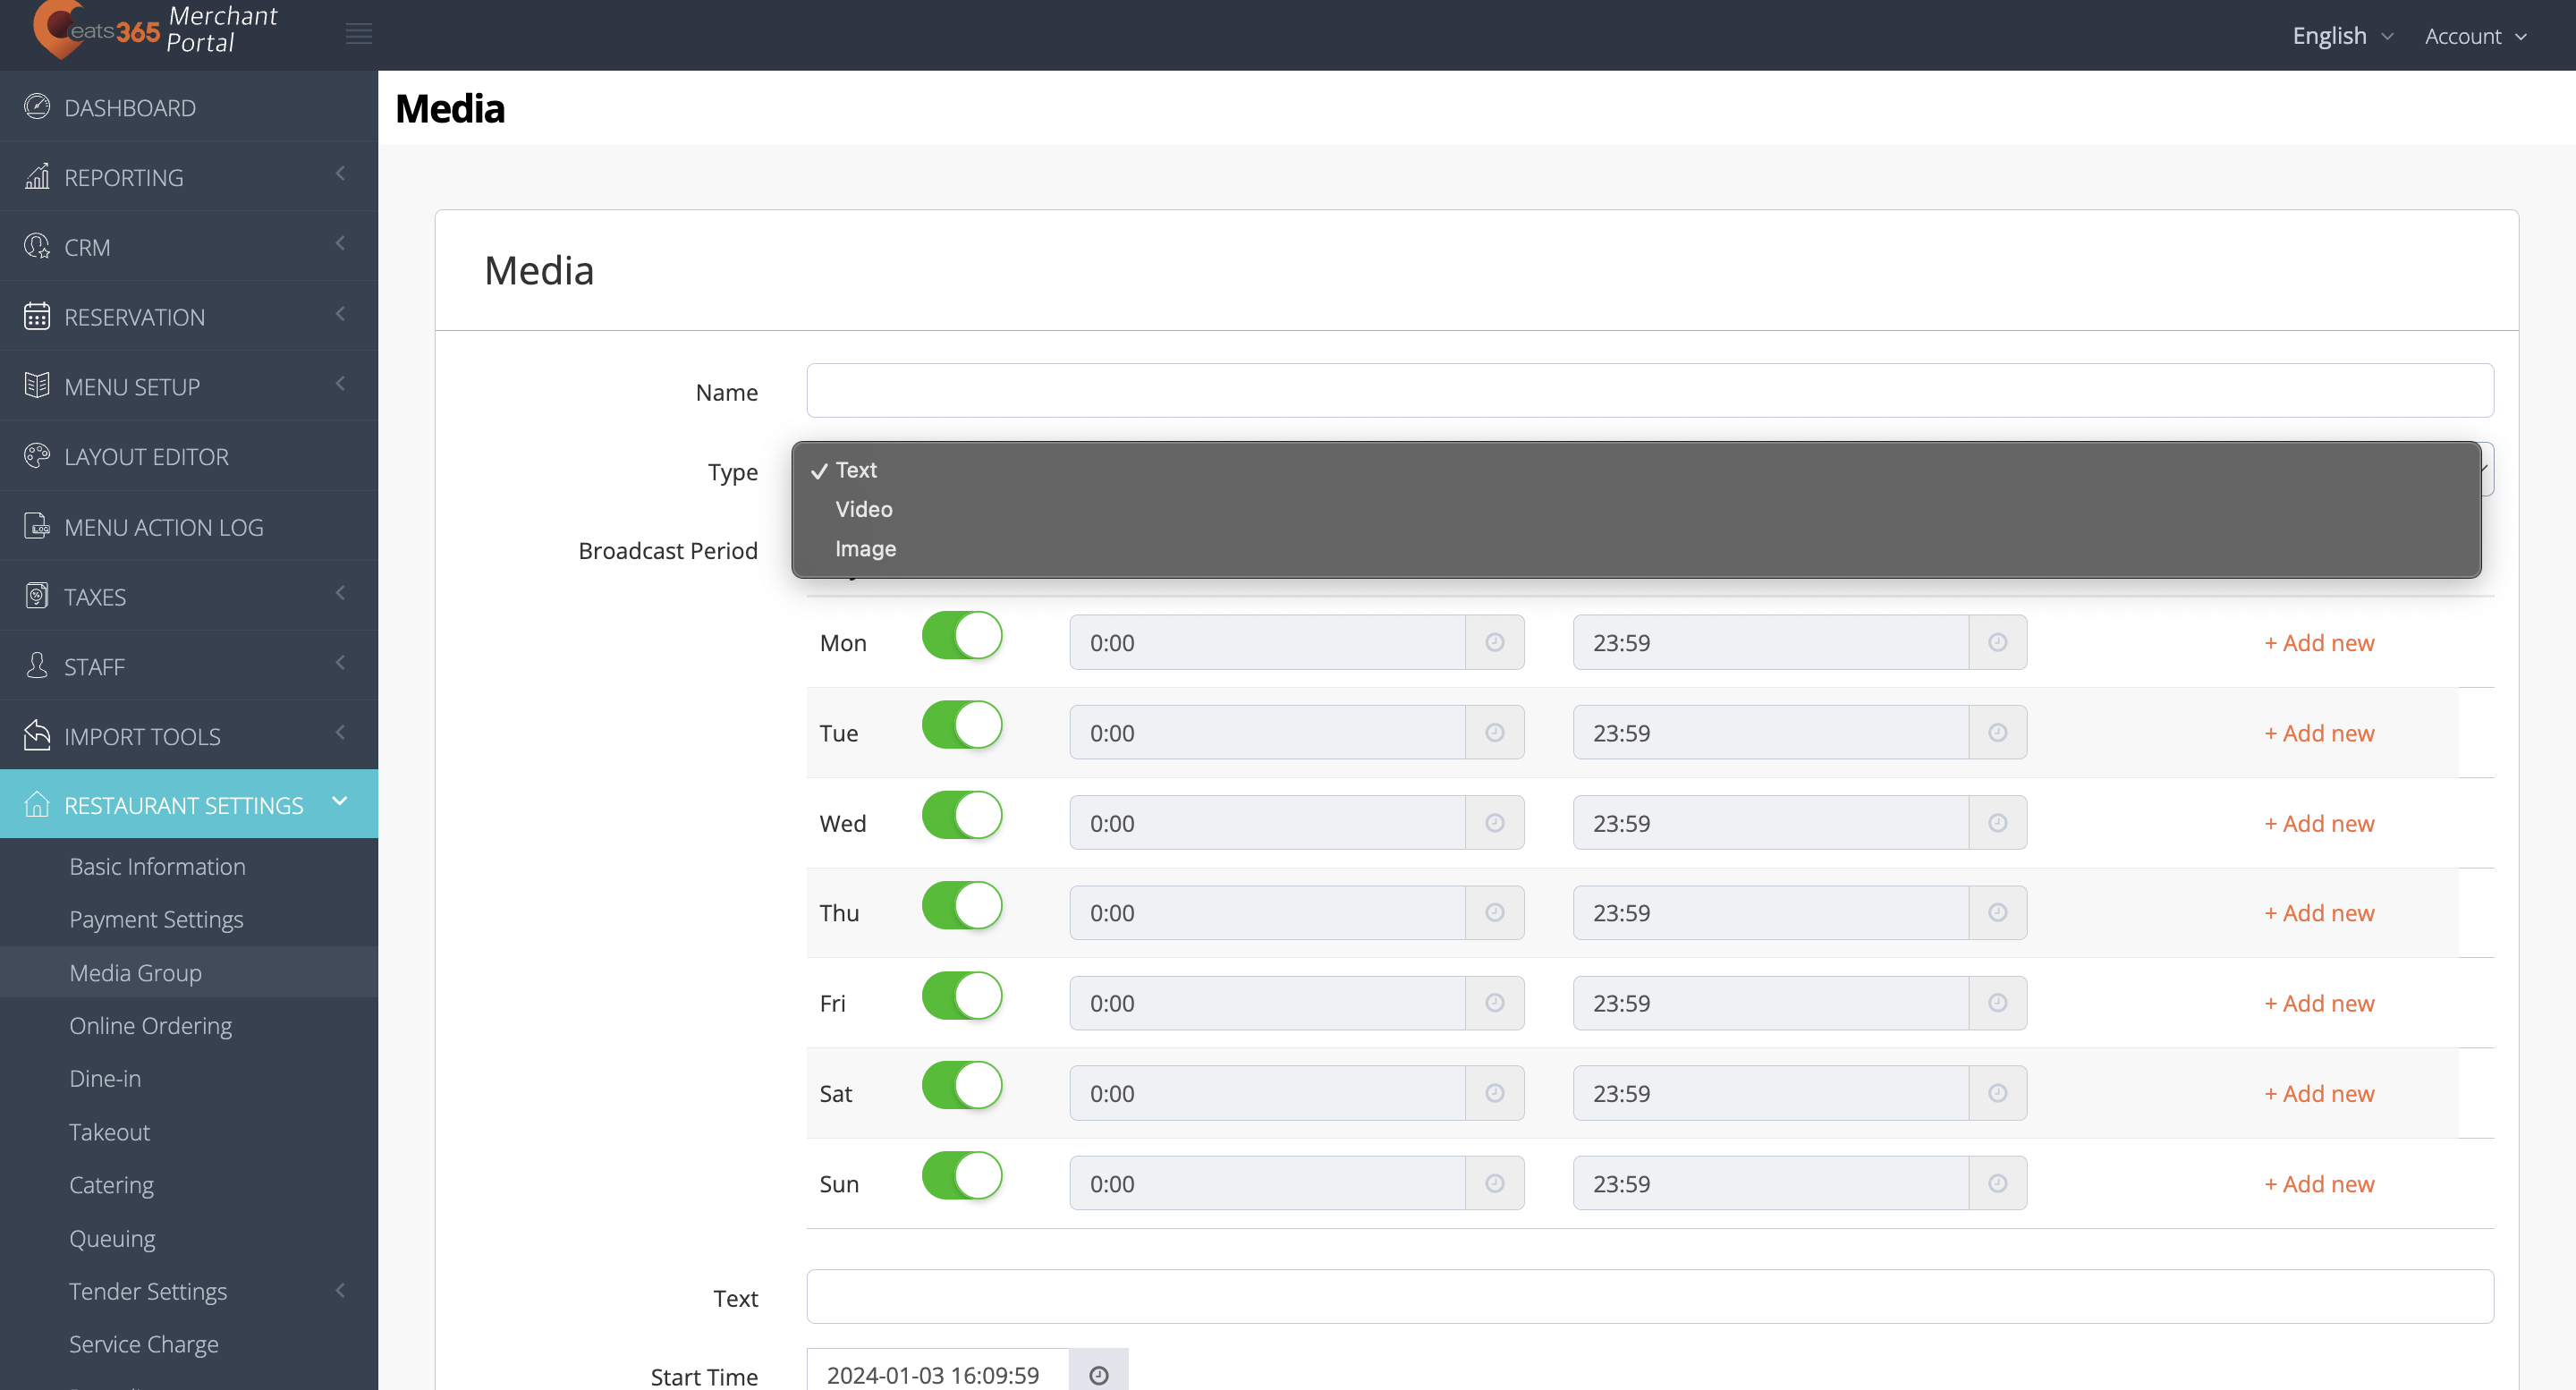
- Text
- Video
- Image
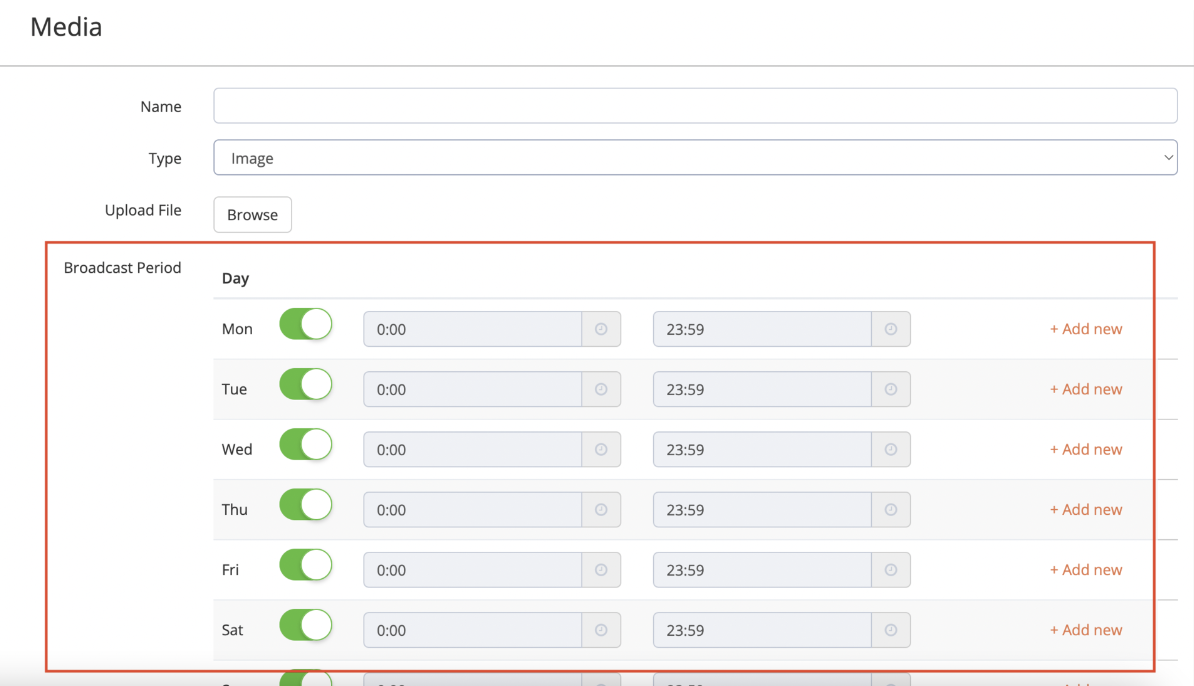
- Upload the media.
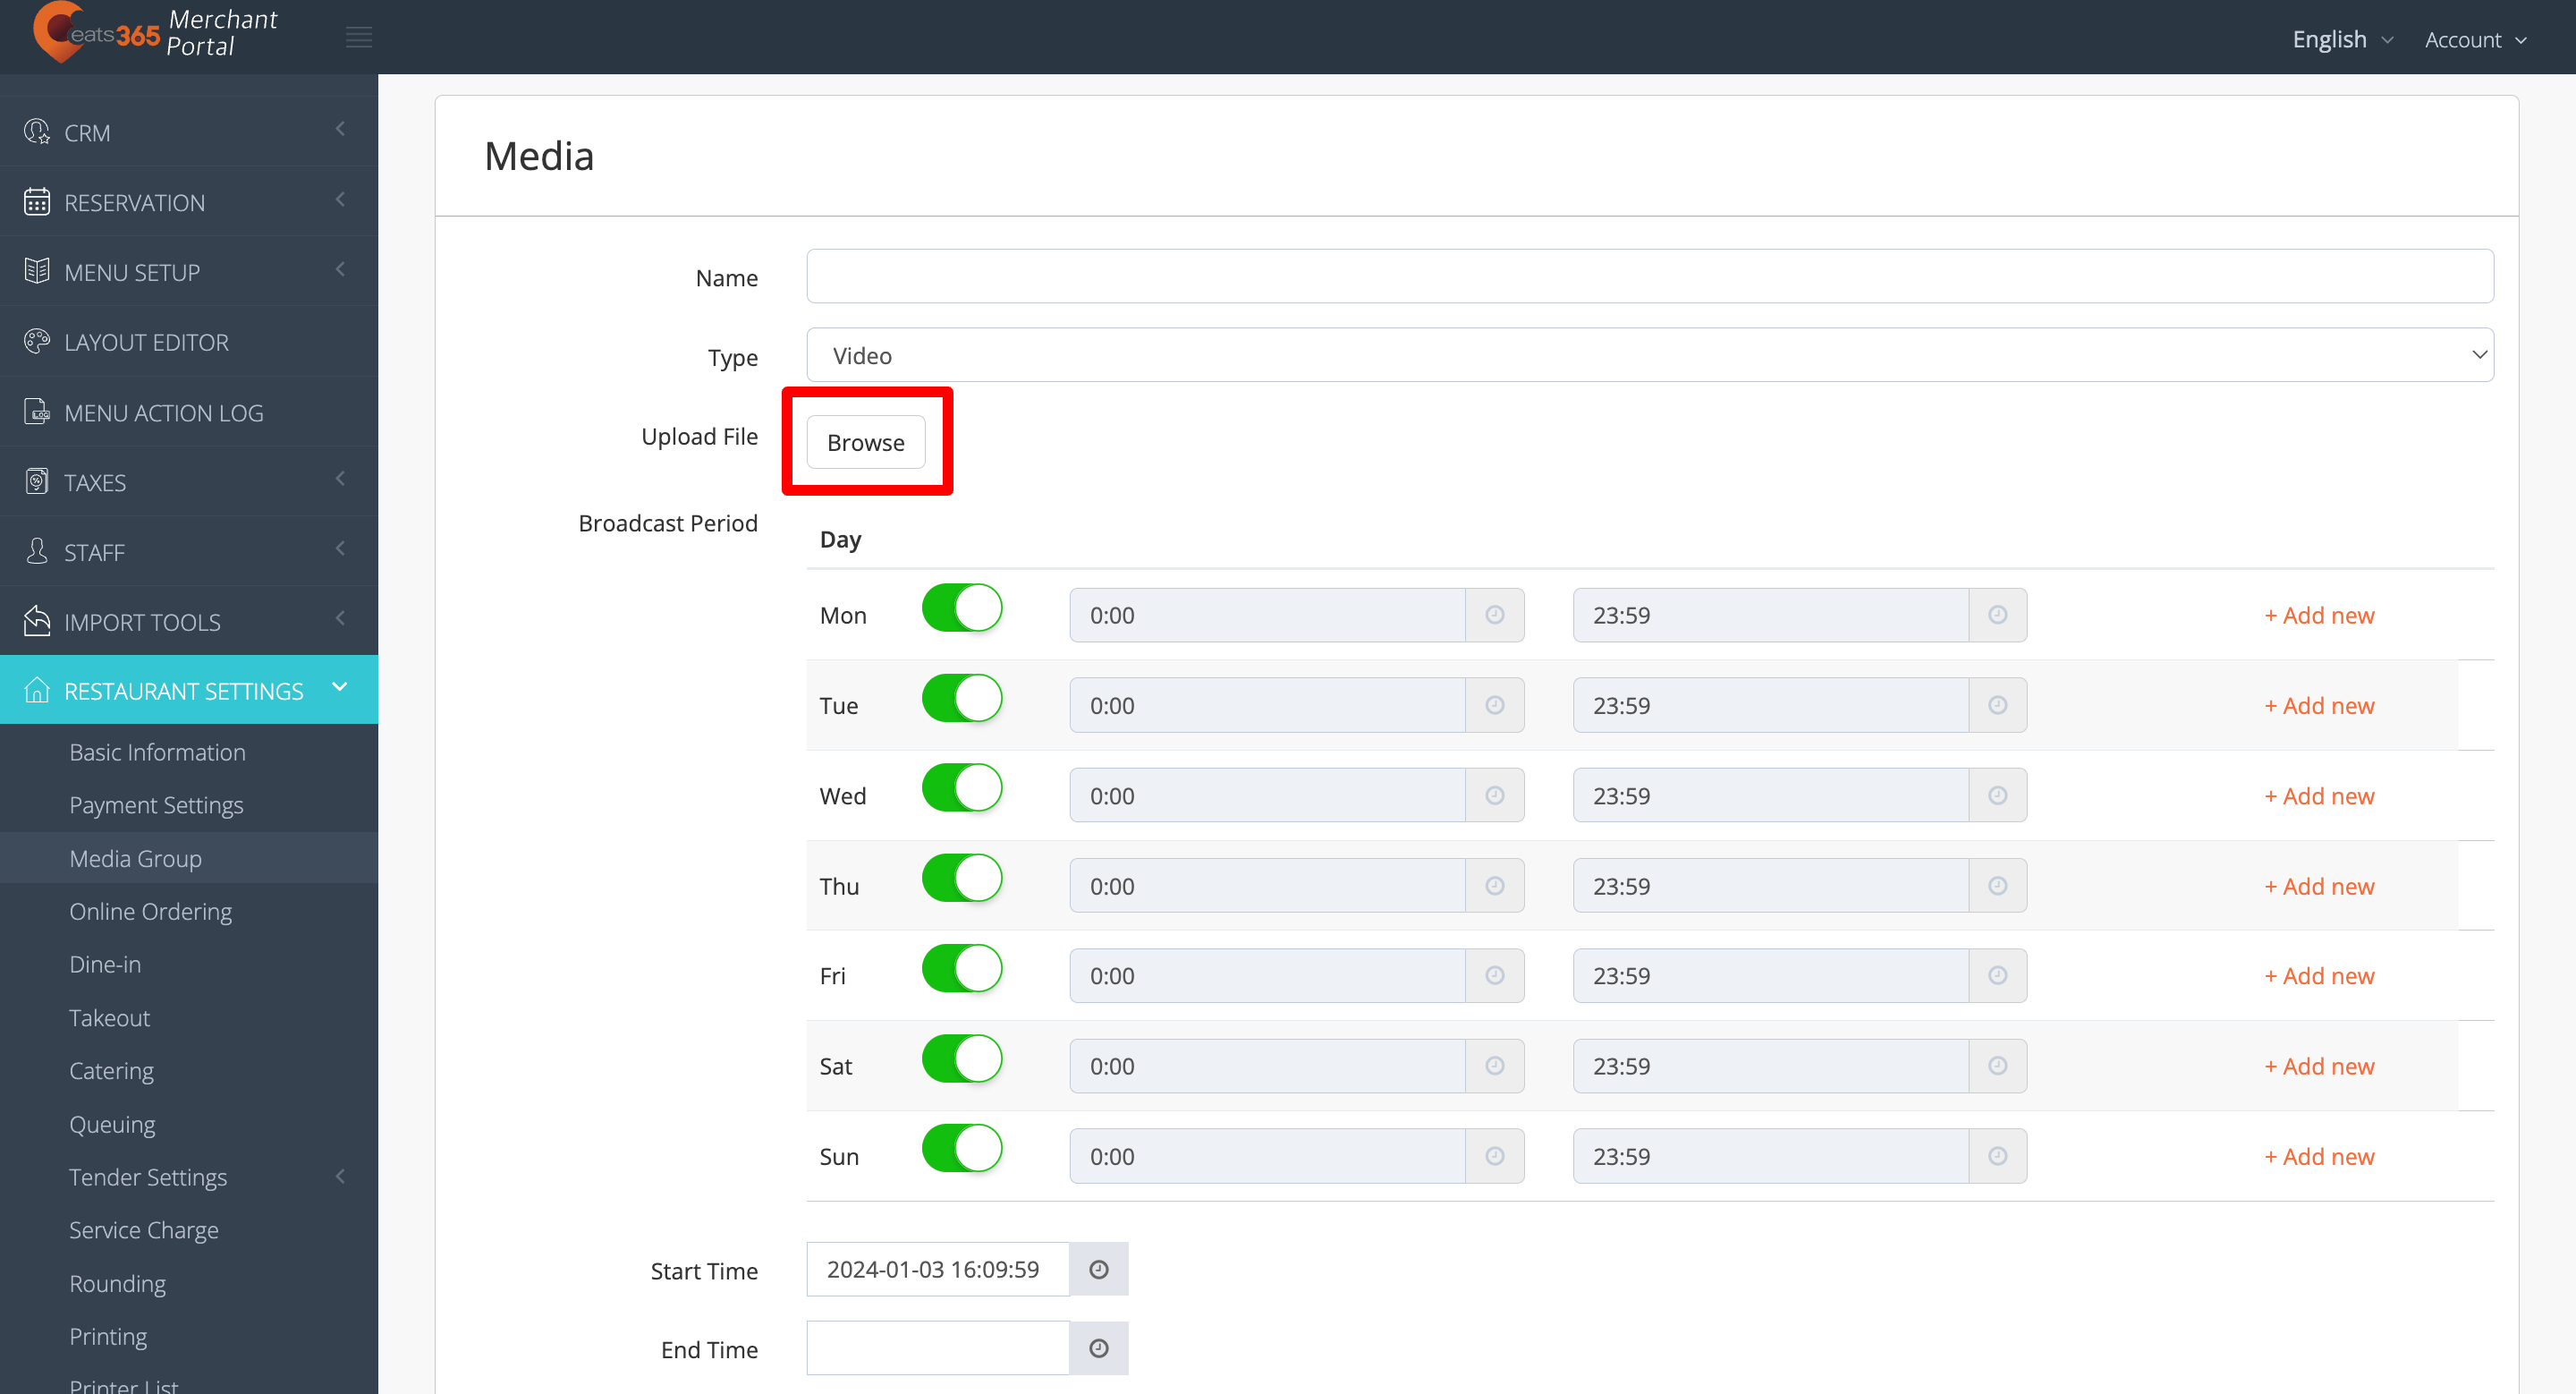
- If you are uploading a video or image, next to Upload File, click on Browse. Then, select the video or image that you want to upload.
- If you want to display a text message, scroll down and look for the Text field. Then, enter the message that you want to show.
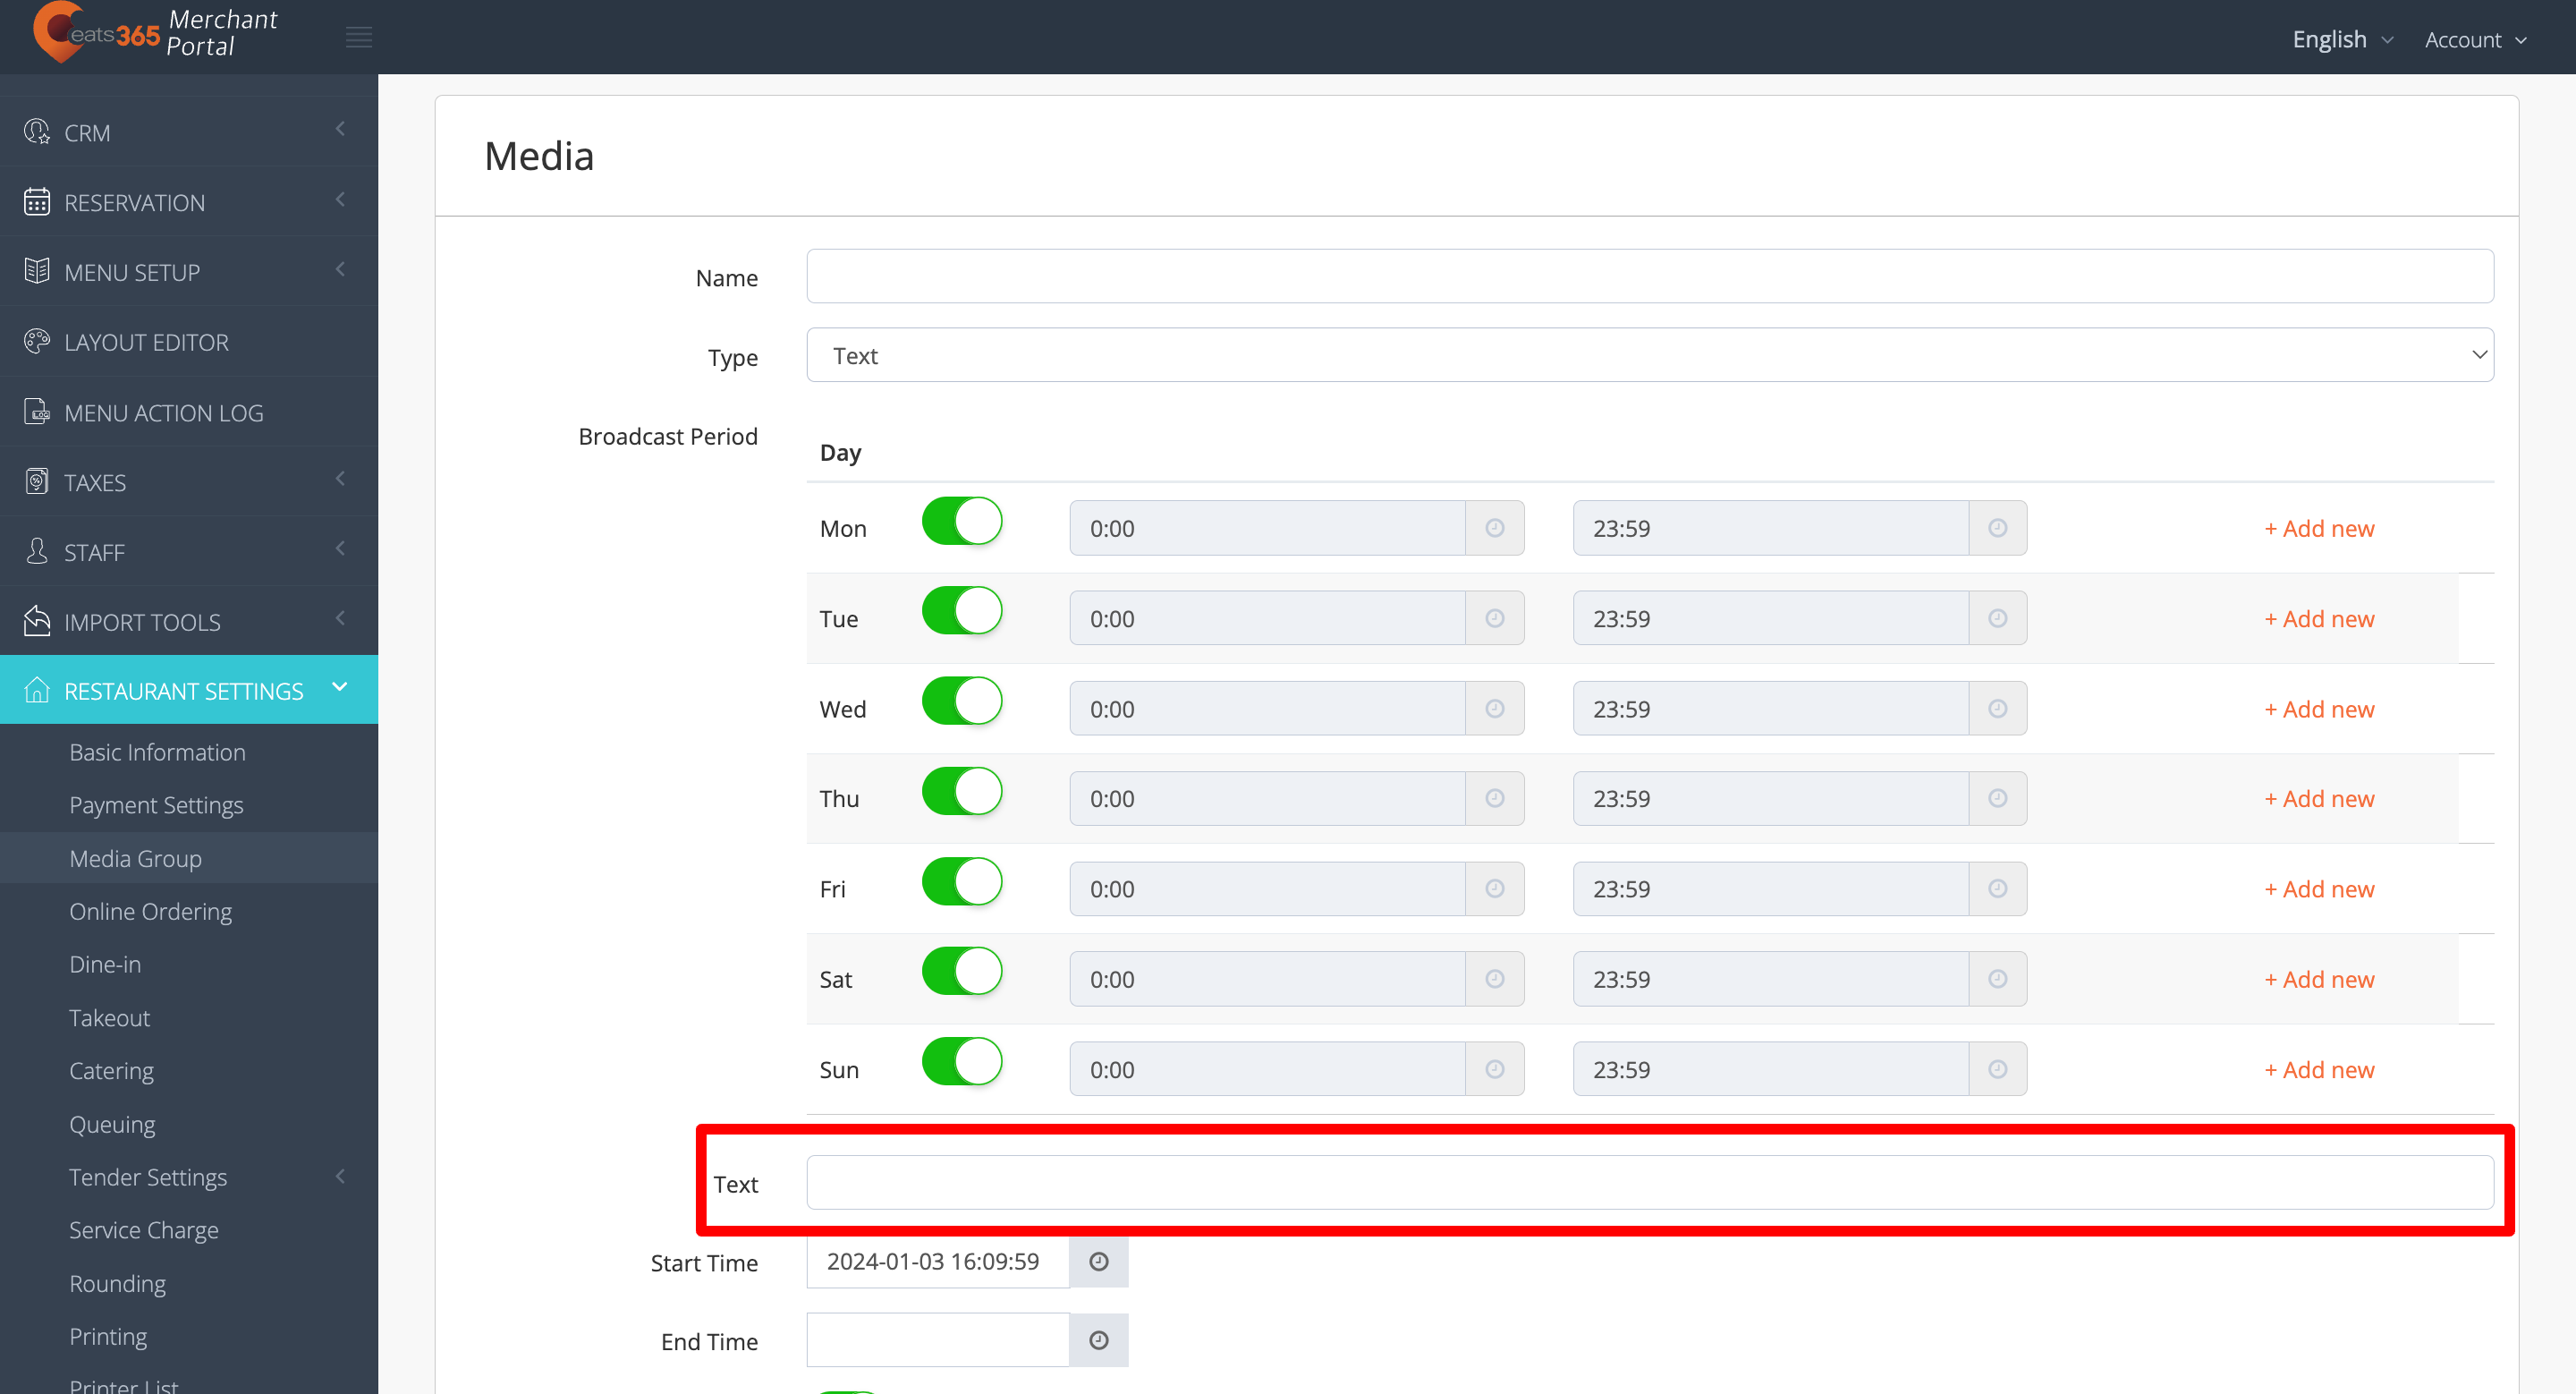 Note: Creating a custom text is only available on eSignage.
- If you are uploading a video or image, next to Upload File, click on Browse. Then, select the video or image that you want to upload.
- To set a time when the custom upload appears, under Broadcast Period, set the day and time.
- Set the Start Time and End Time when the media is available.
Tip: If you want the media to show on the PhotoMenu, Customer Facing Display, or eSignage indefinitely, you can choose to skip adding an End Time. - If you’re uploading an image, select the Display Duration (in minutes).
- Toggle Enable
 to turn on the Media Group function.
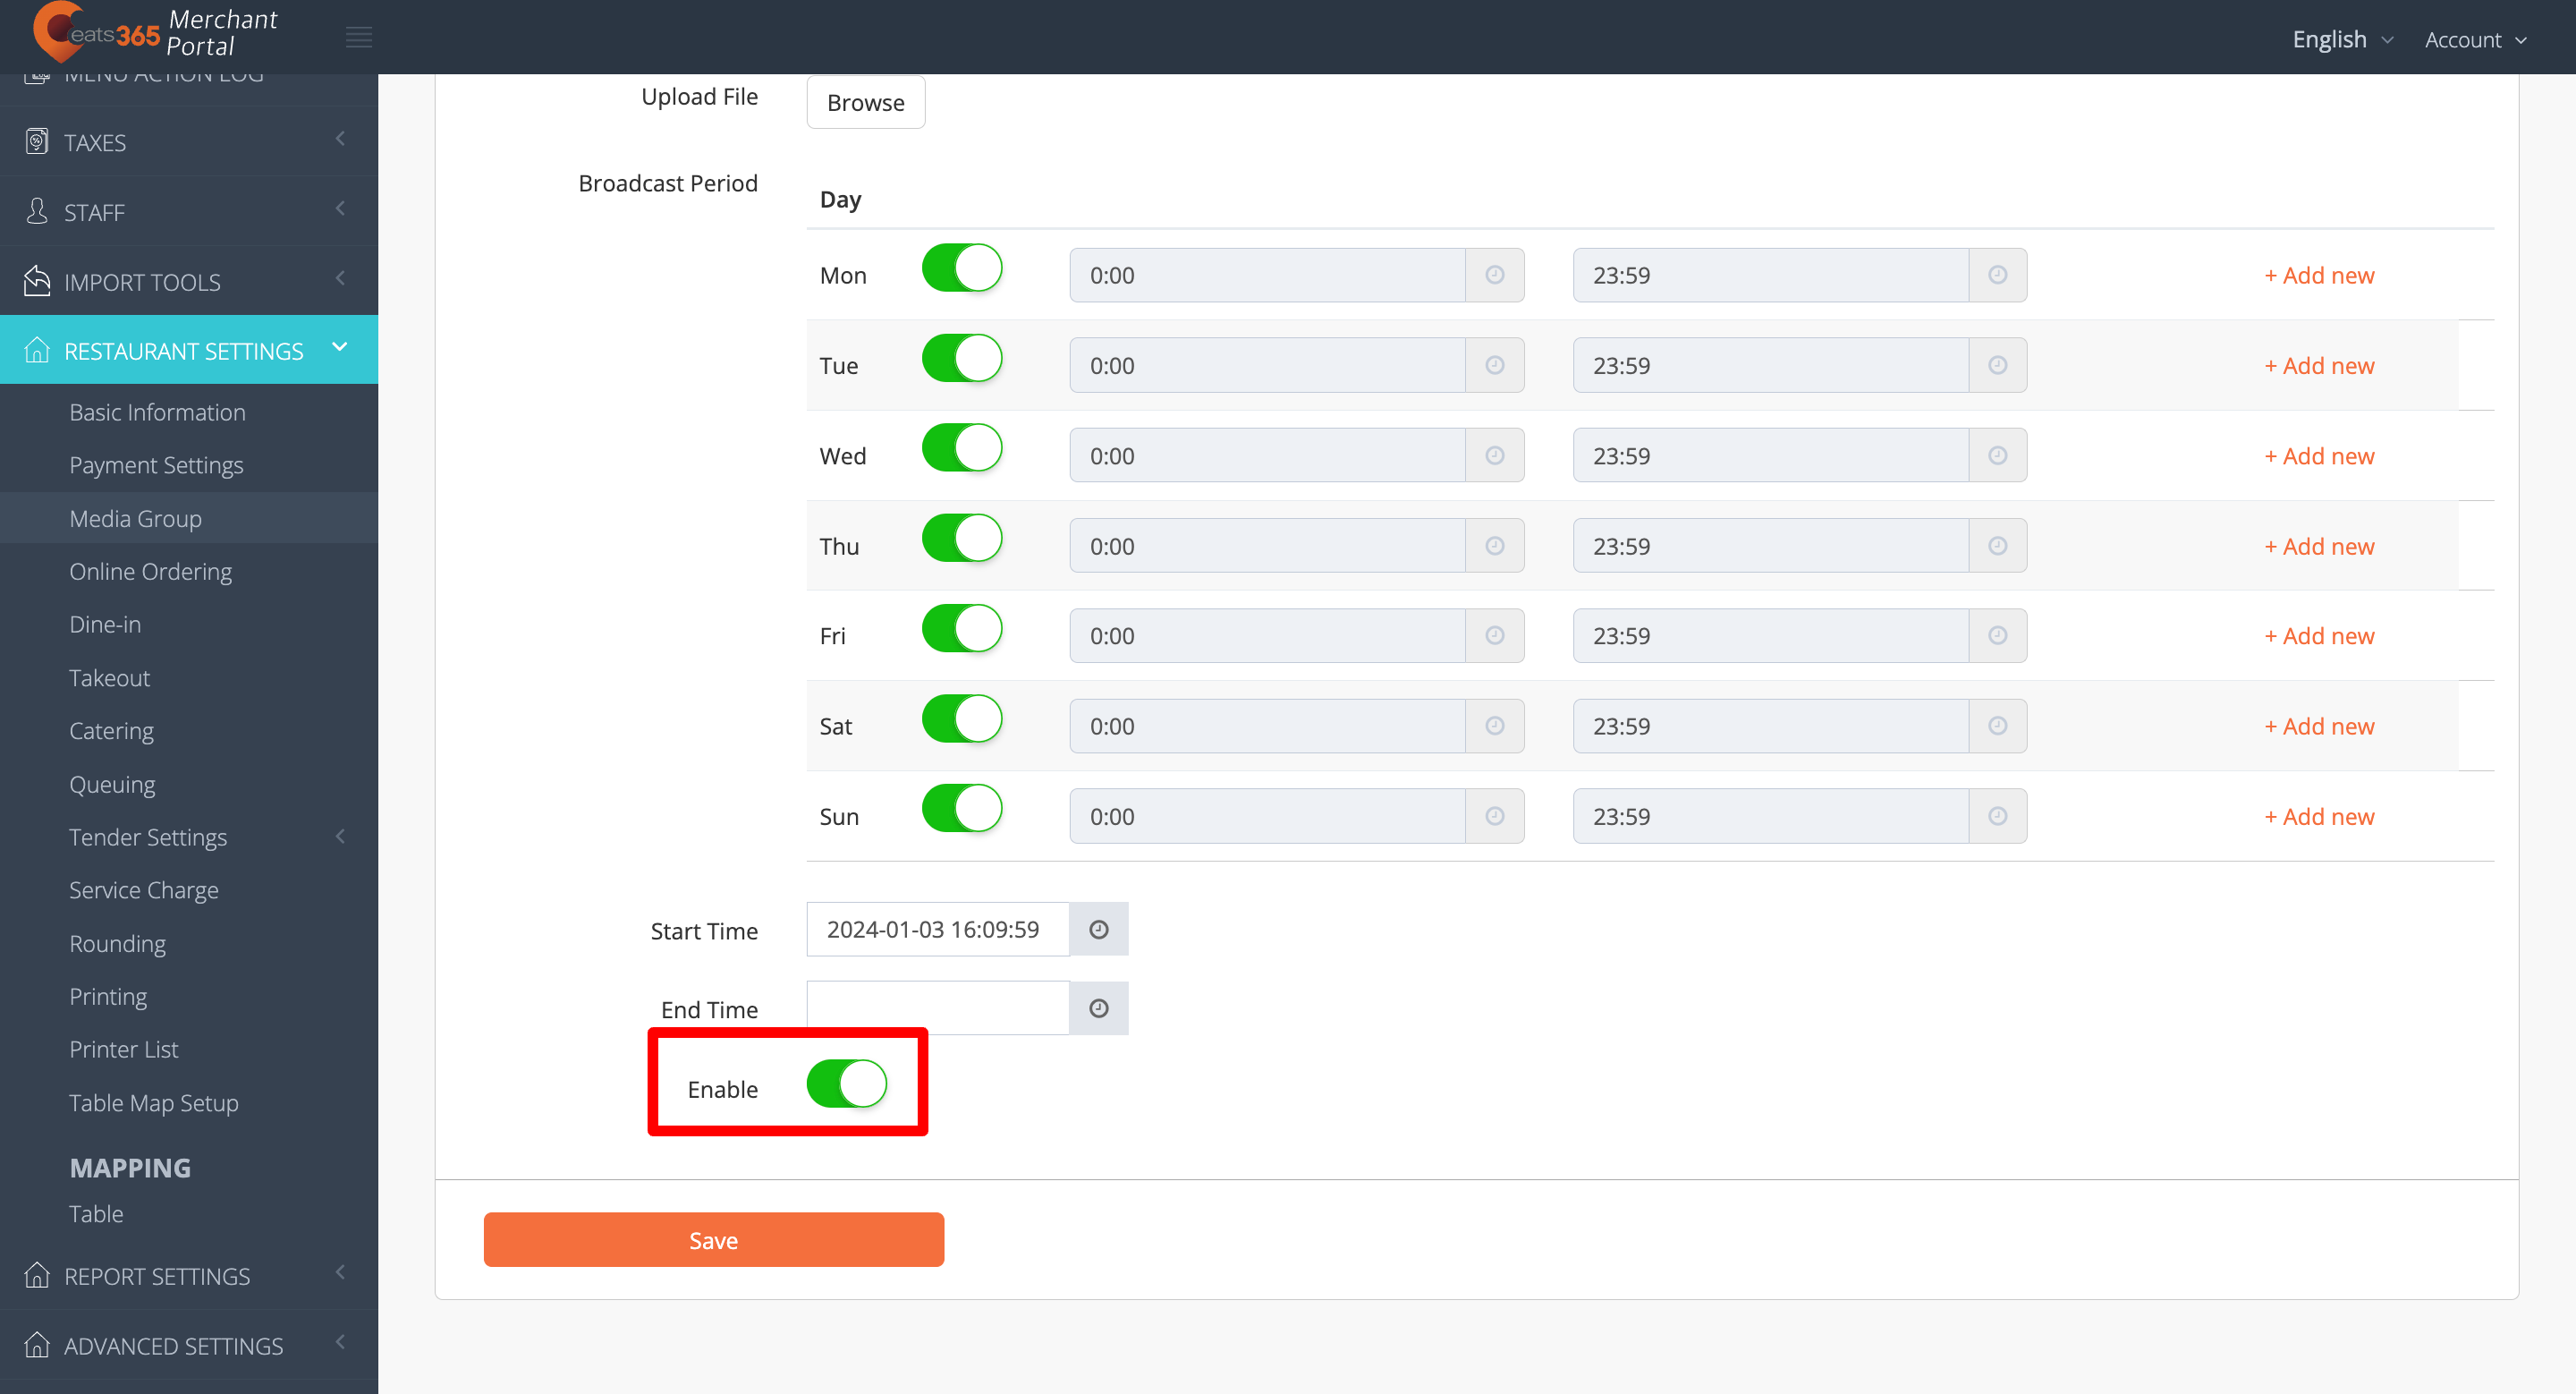
- Click on Save to confirm.
- To add more media, repeat steps 5 to 14.
Manage Media Promotion
Modifying an existing Media Promotion allows you to add or remove uploaded videos, images, and text, change the Broadcast Period, and update the Start and End Time of a media.
Edit Media Promotion
To modify a Media Promotion, follow the steps below:
Merchant Portal 2.0
- Log in to the Merchant Portal.
- On the left panel, click on Restaurant Settings Media Promotion.
- Next to the Media Promotion with the media that you want to update, click on Edit.
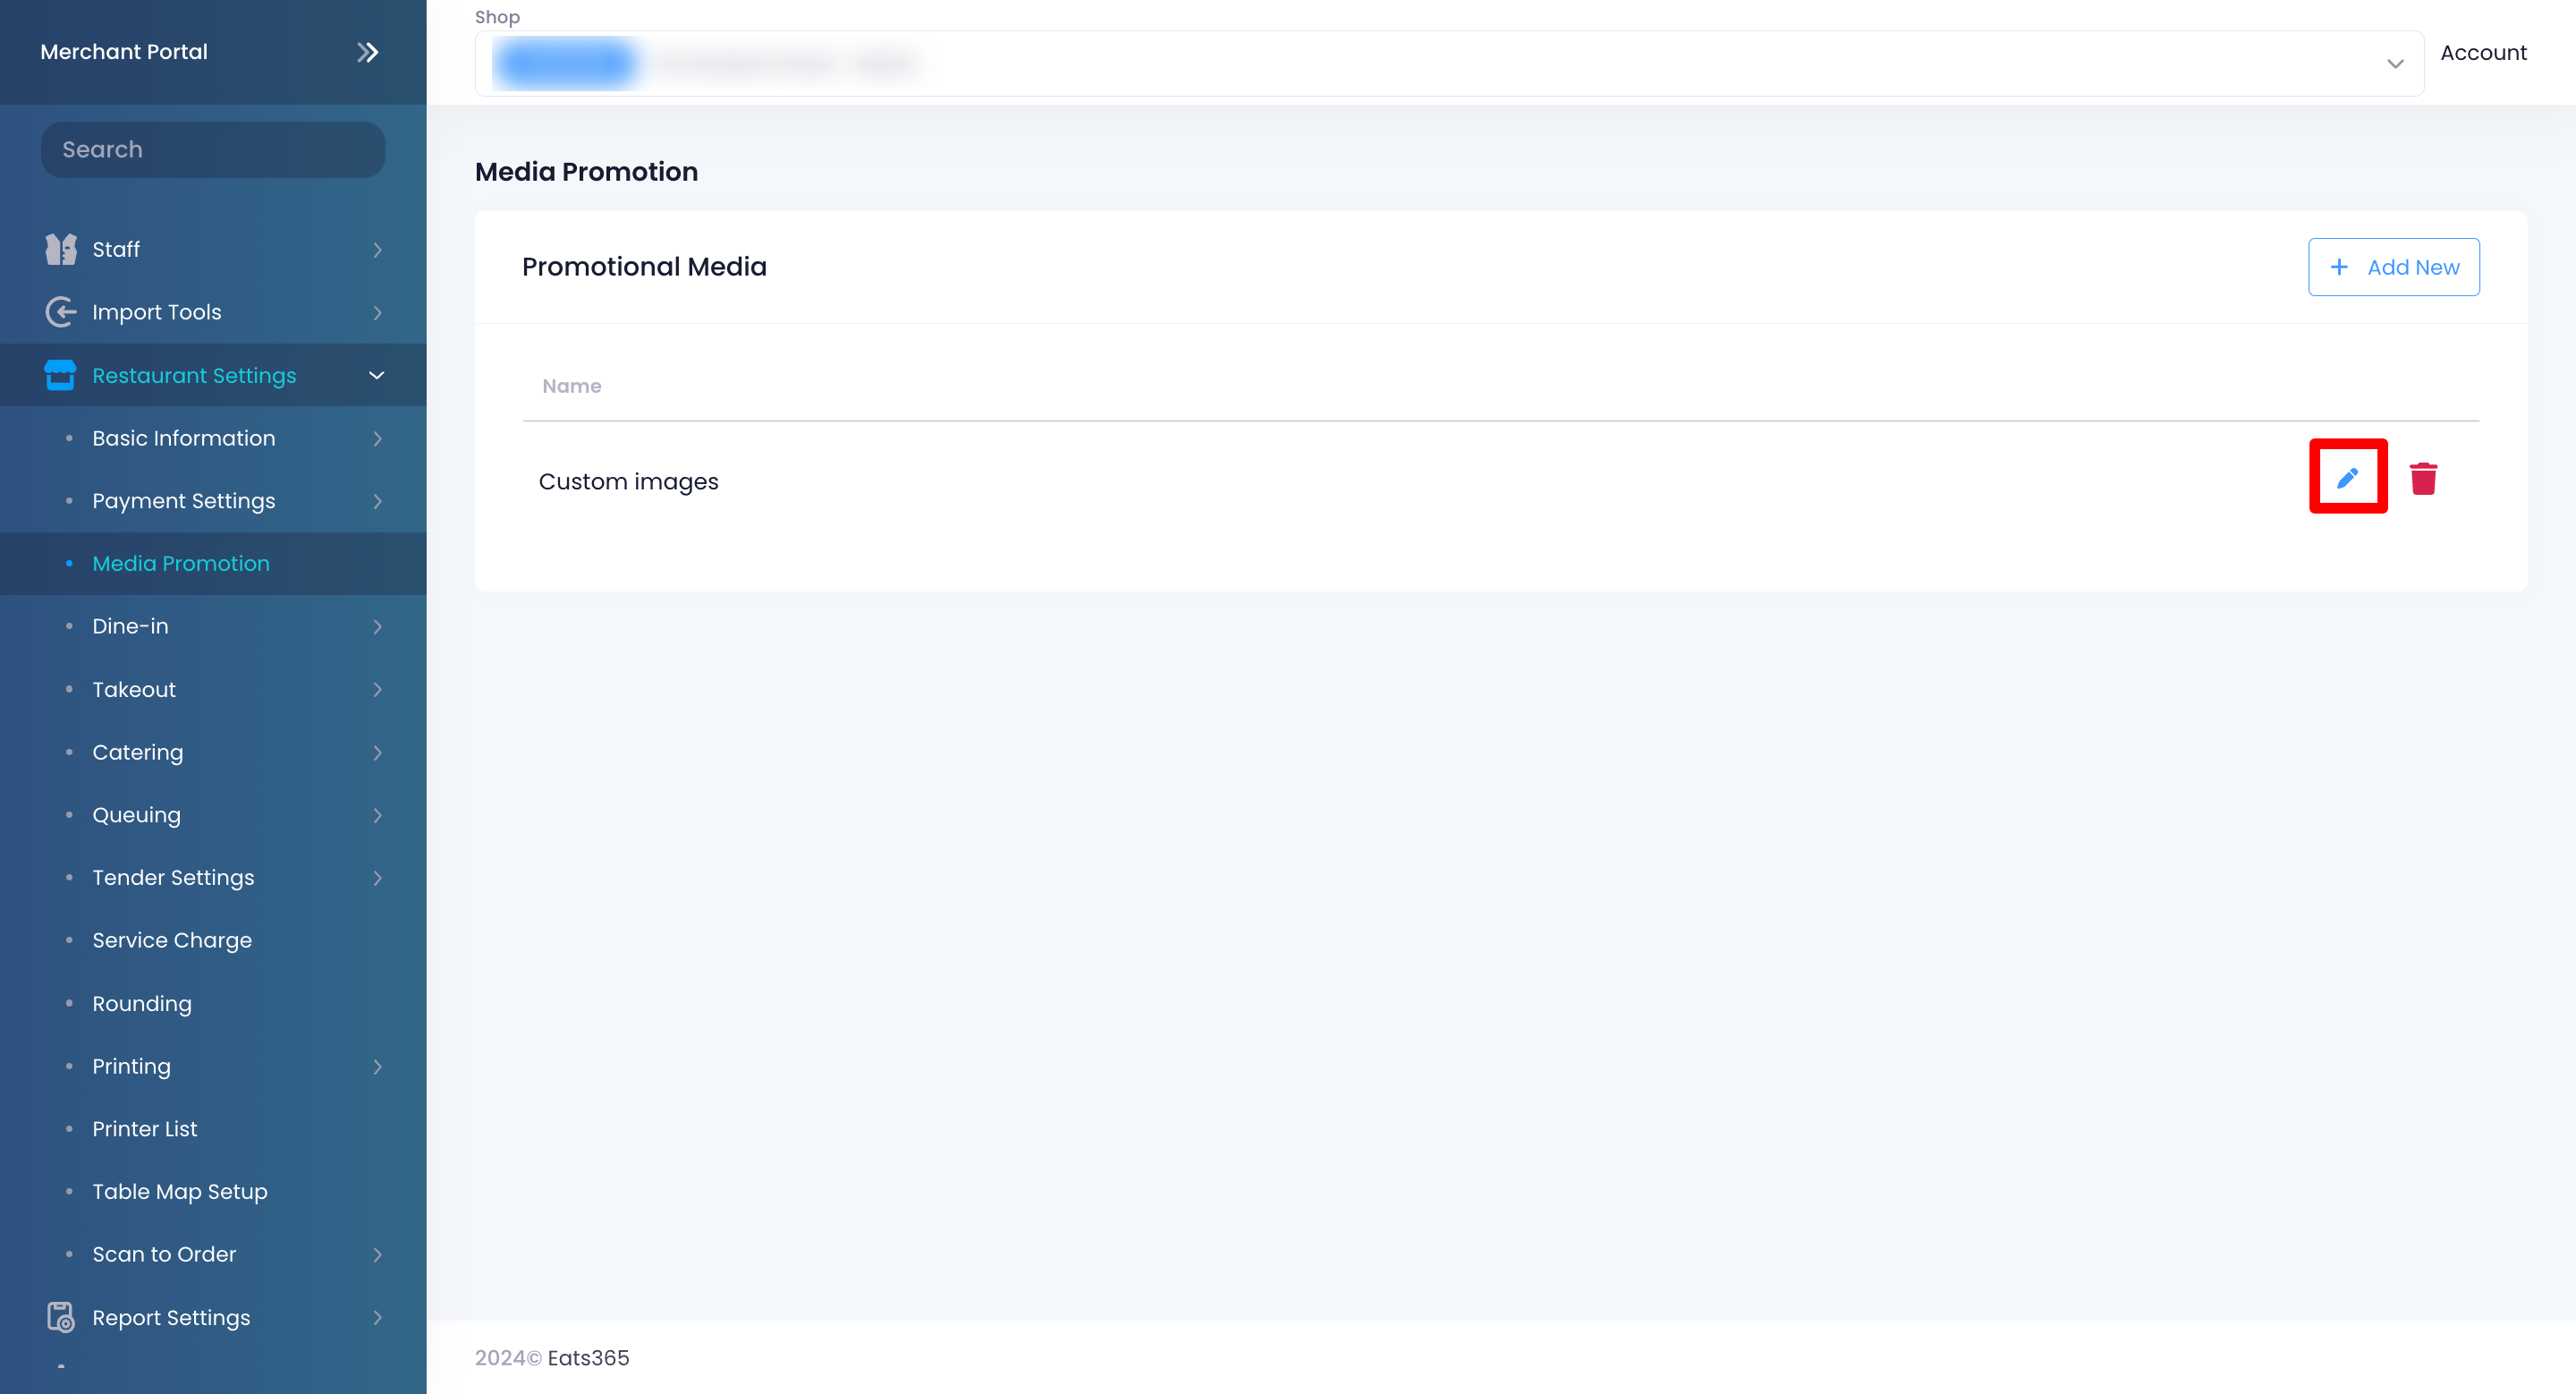
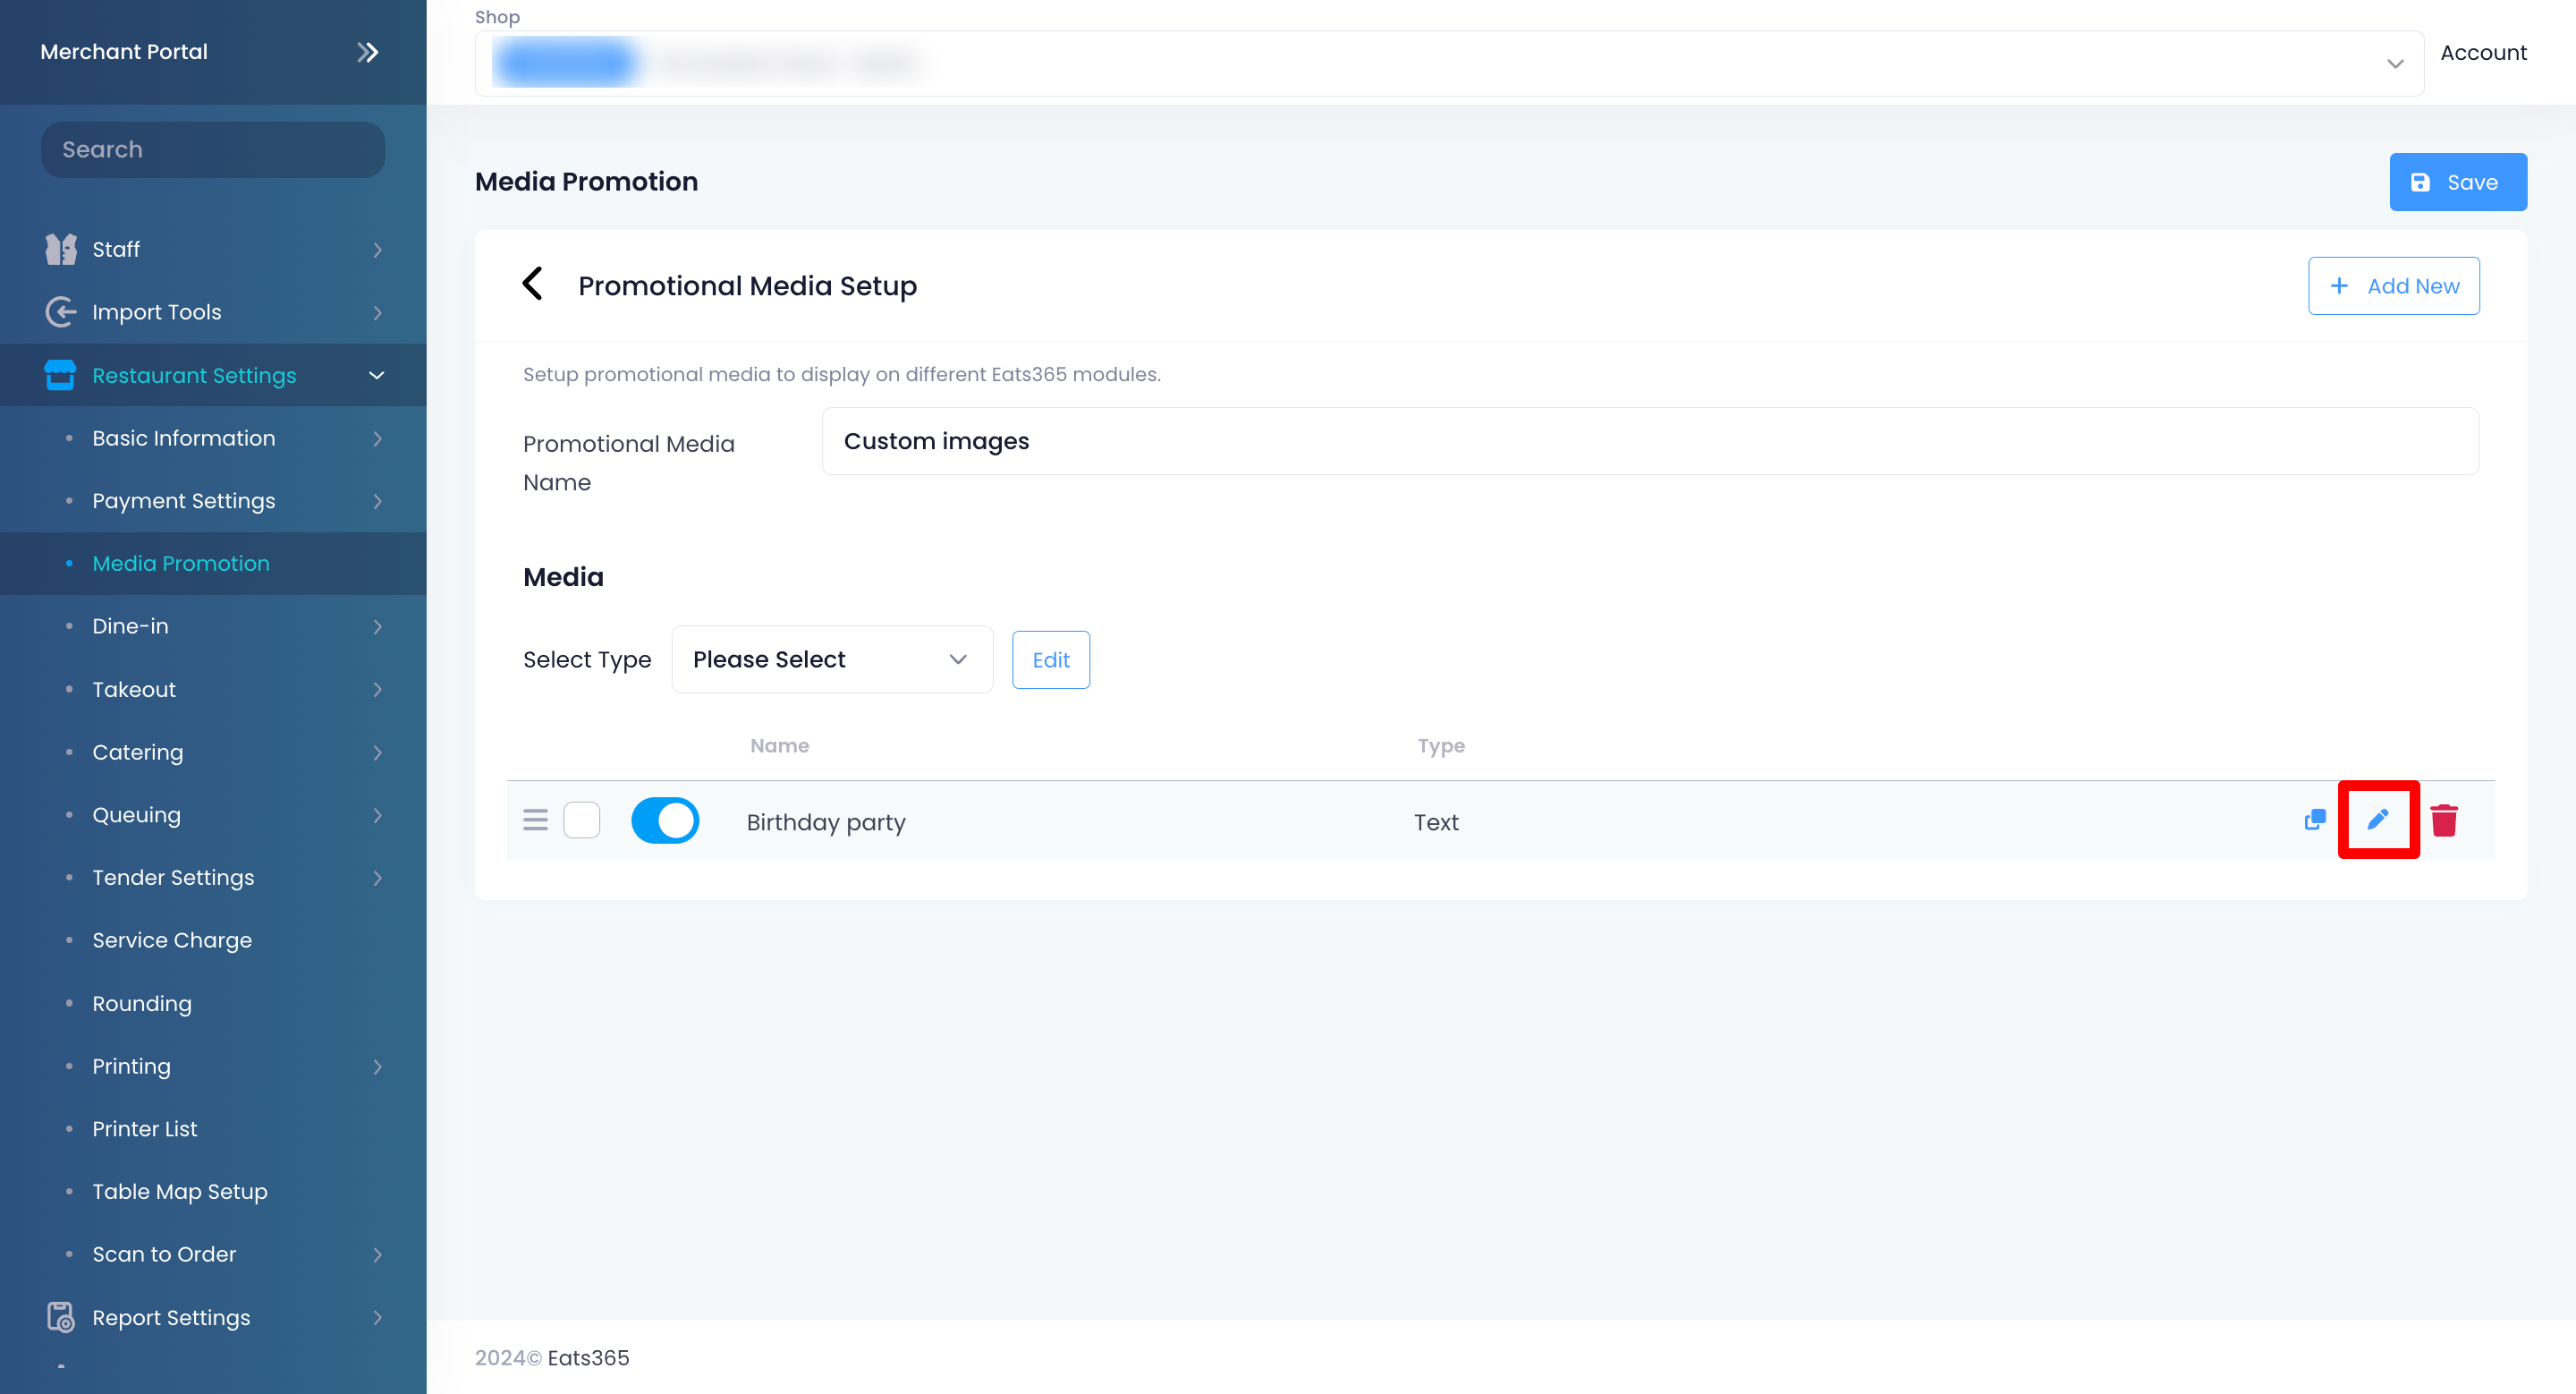
- Under "Media," select the media that you want to edit. Click on Edit.
- Update the media's settings.
Note: You can’t replace uploaded videos and images. If you want to upload a new video or image, you must add a new media file instead. - Click on Save to confirm.
Merchant Portal (Classic Theme)
- Log in to the Merchant Portal.
- On the left panel, click on Restaurant Settings. Then, select Media Group.
- Select the Media Group with the media that you want to update.
- Click on the media that you want to update.
- Update the media's settings.
Note: You can’t replace uploaded videos and images. If you want to upload a new video or image, you must add a new media file instead. - Click on Save to confirm.
Bulk edit the contents of a Media Promotion
You can modify Media Promotion content simultaneously on Merchant Portal 2.0.
To perform a bulk edit, follow the steps below:
- Log in to the Merchant Portal.
- On the left panel, click on Restaurant Settings Media Promotion.
- Select the Media Promotion with the media that you want to update. Then, click on Edit.
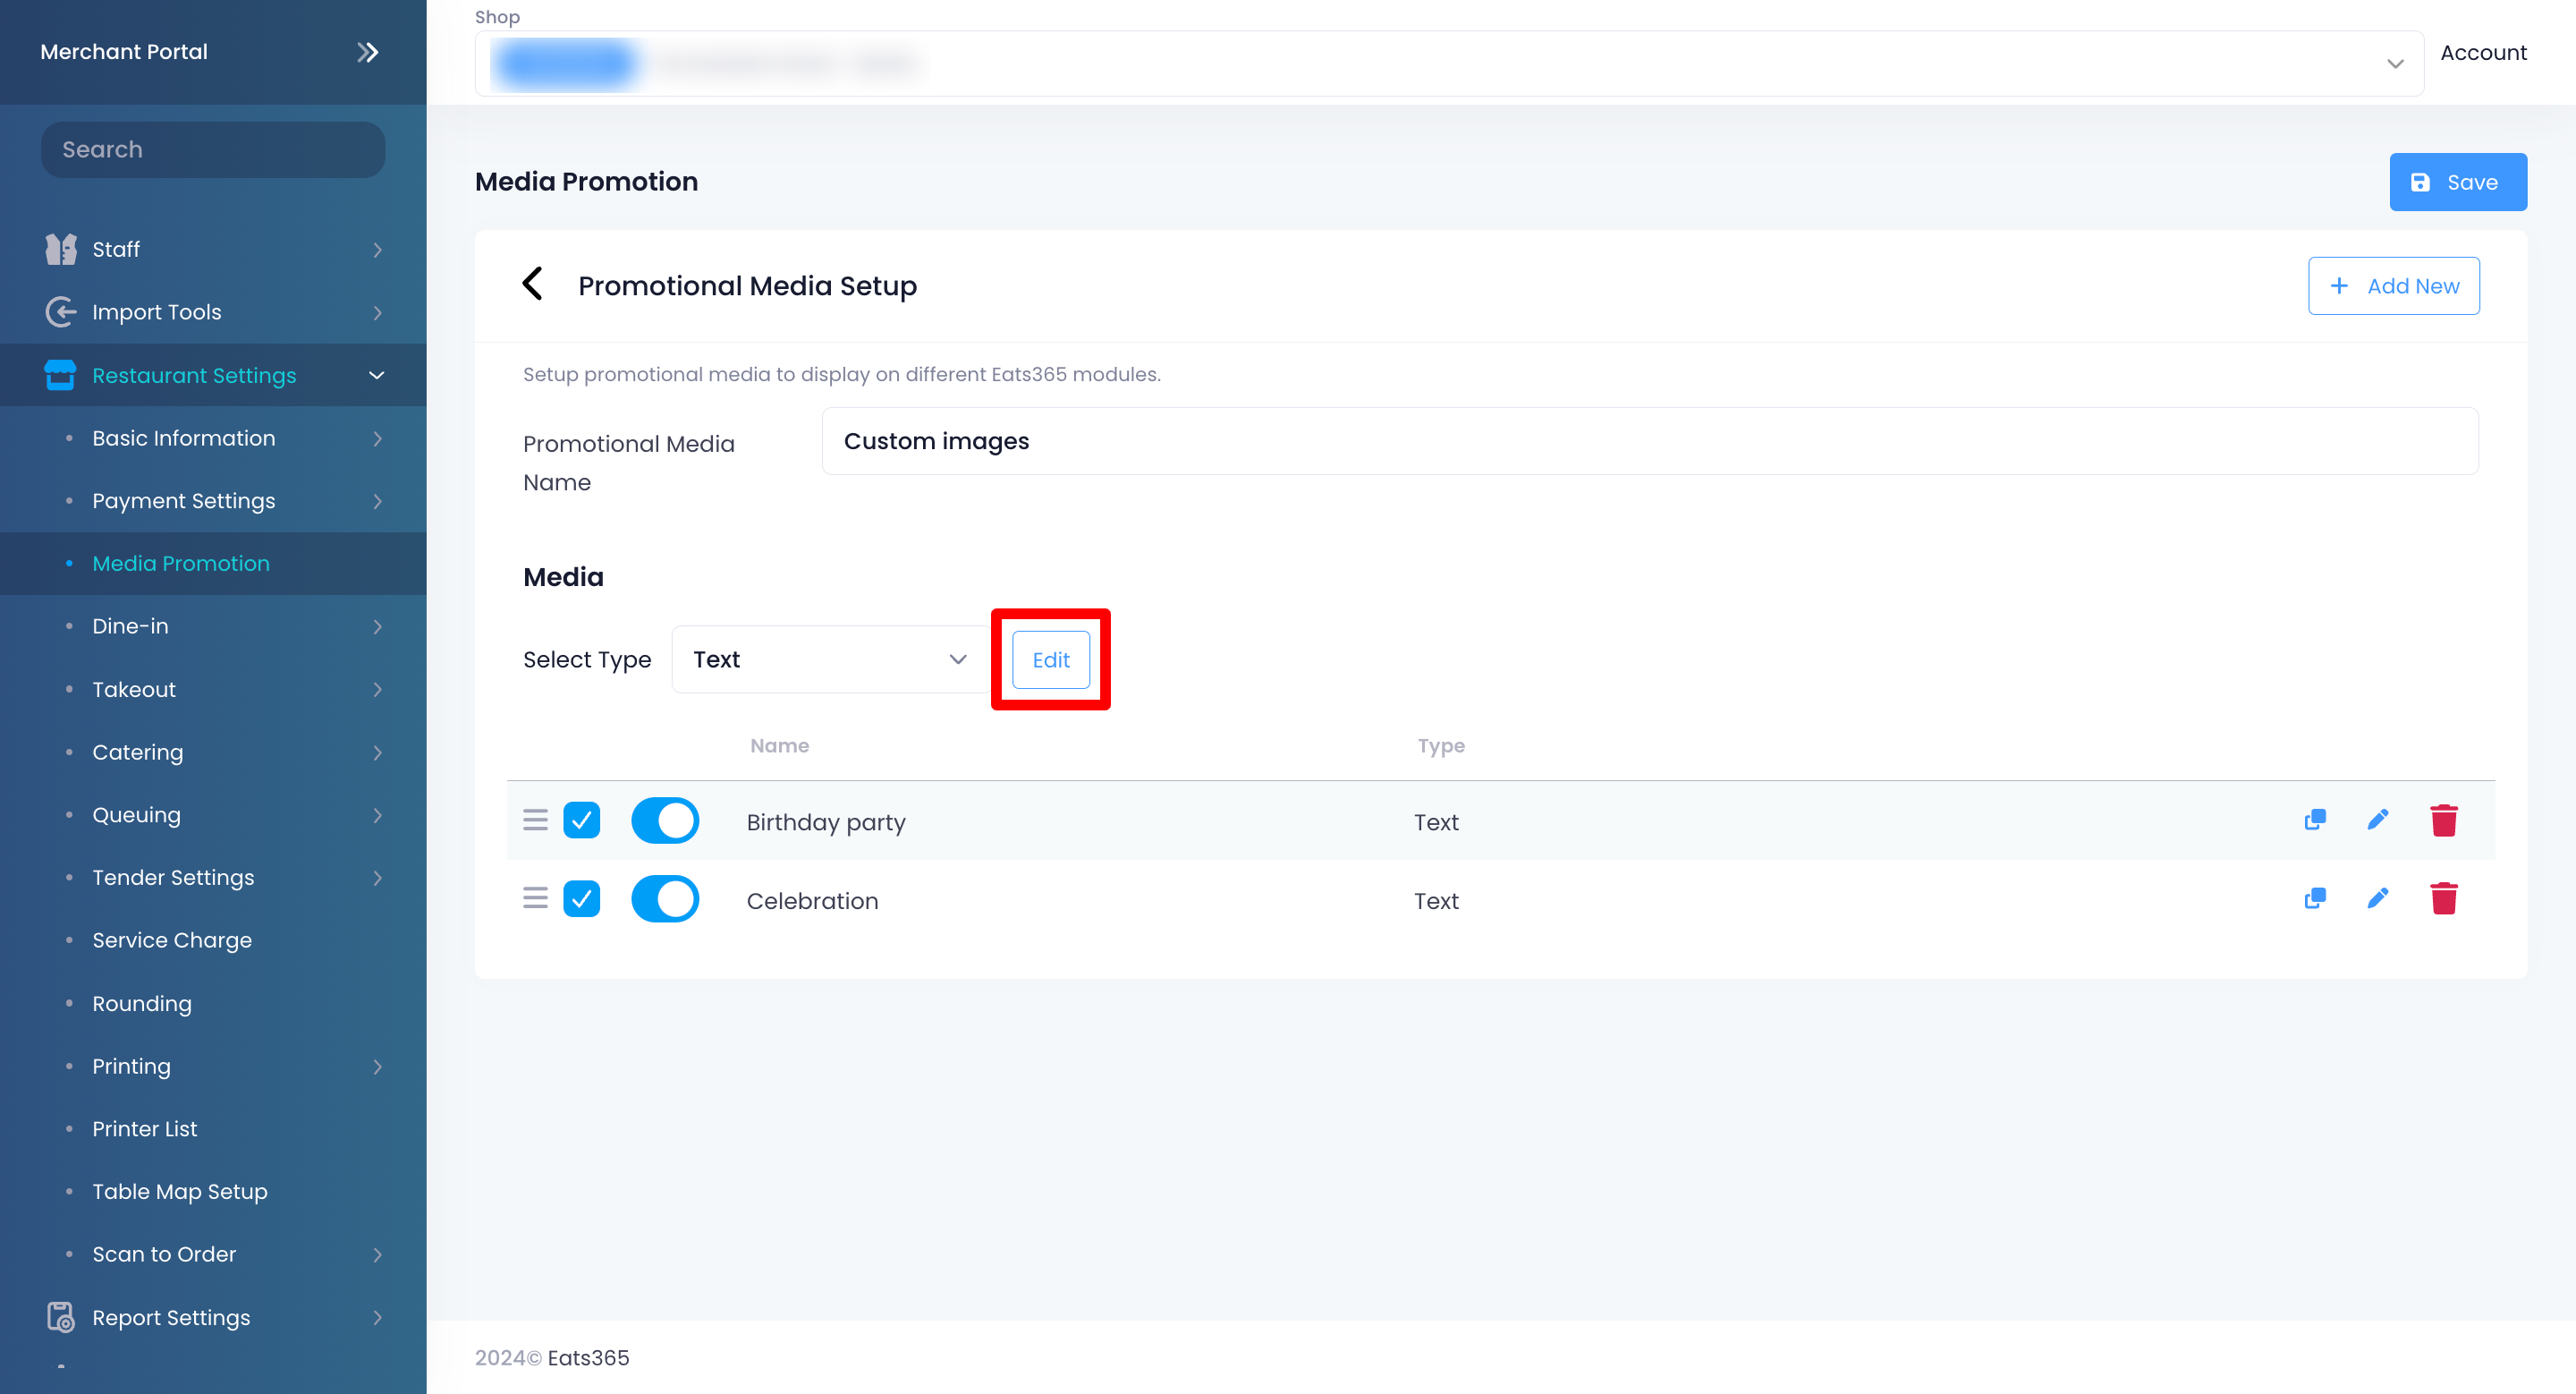
- To select Media entries for the bulk edit, manually select
 the entries or click on the Type drop-down list and select the media type you want to edit in bulk. You can only do bulk edits on the same media type.
- Click on Edit.
- Update the media's settings. You can perform bulk editing on the following settings:
- Toggle the switch to turn the Media Promotion function or off
 .
. - Broadcast Period: Choose the day and time when you want the content to be broadcast on the Customer Facing Display, PhotoMenu, or eSignage.
- Start Time and End Time: Set the beginning and ending time when the content will be available.
- Display Duration: Update the Display Duration (in seconds).
- Toggle the switch to turn the Media Promotion function
- Click on Save to confirm.
Delete Media Promotion
To delete a Media Promotion, follow the steps below:
Merchant Portal 2.0
- Log in to the Merchant Portal.
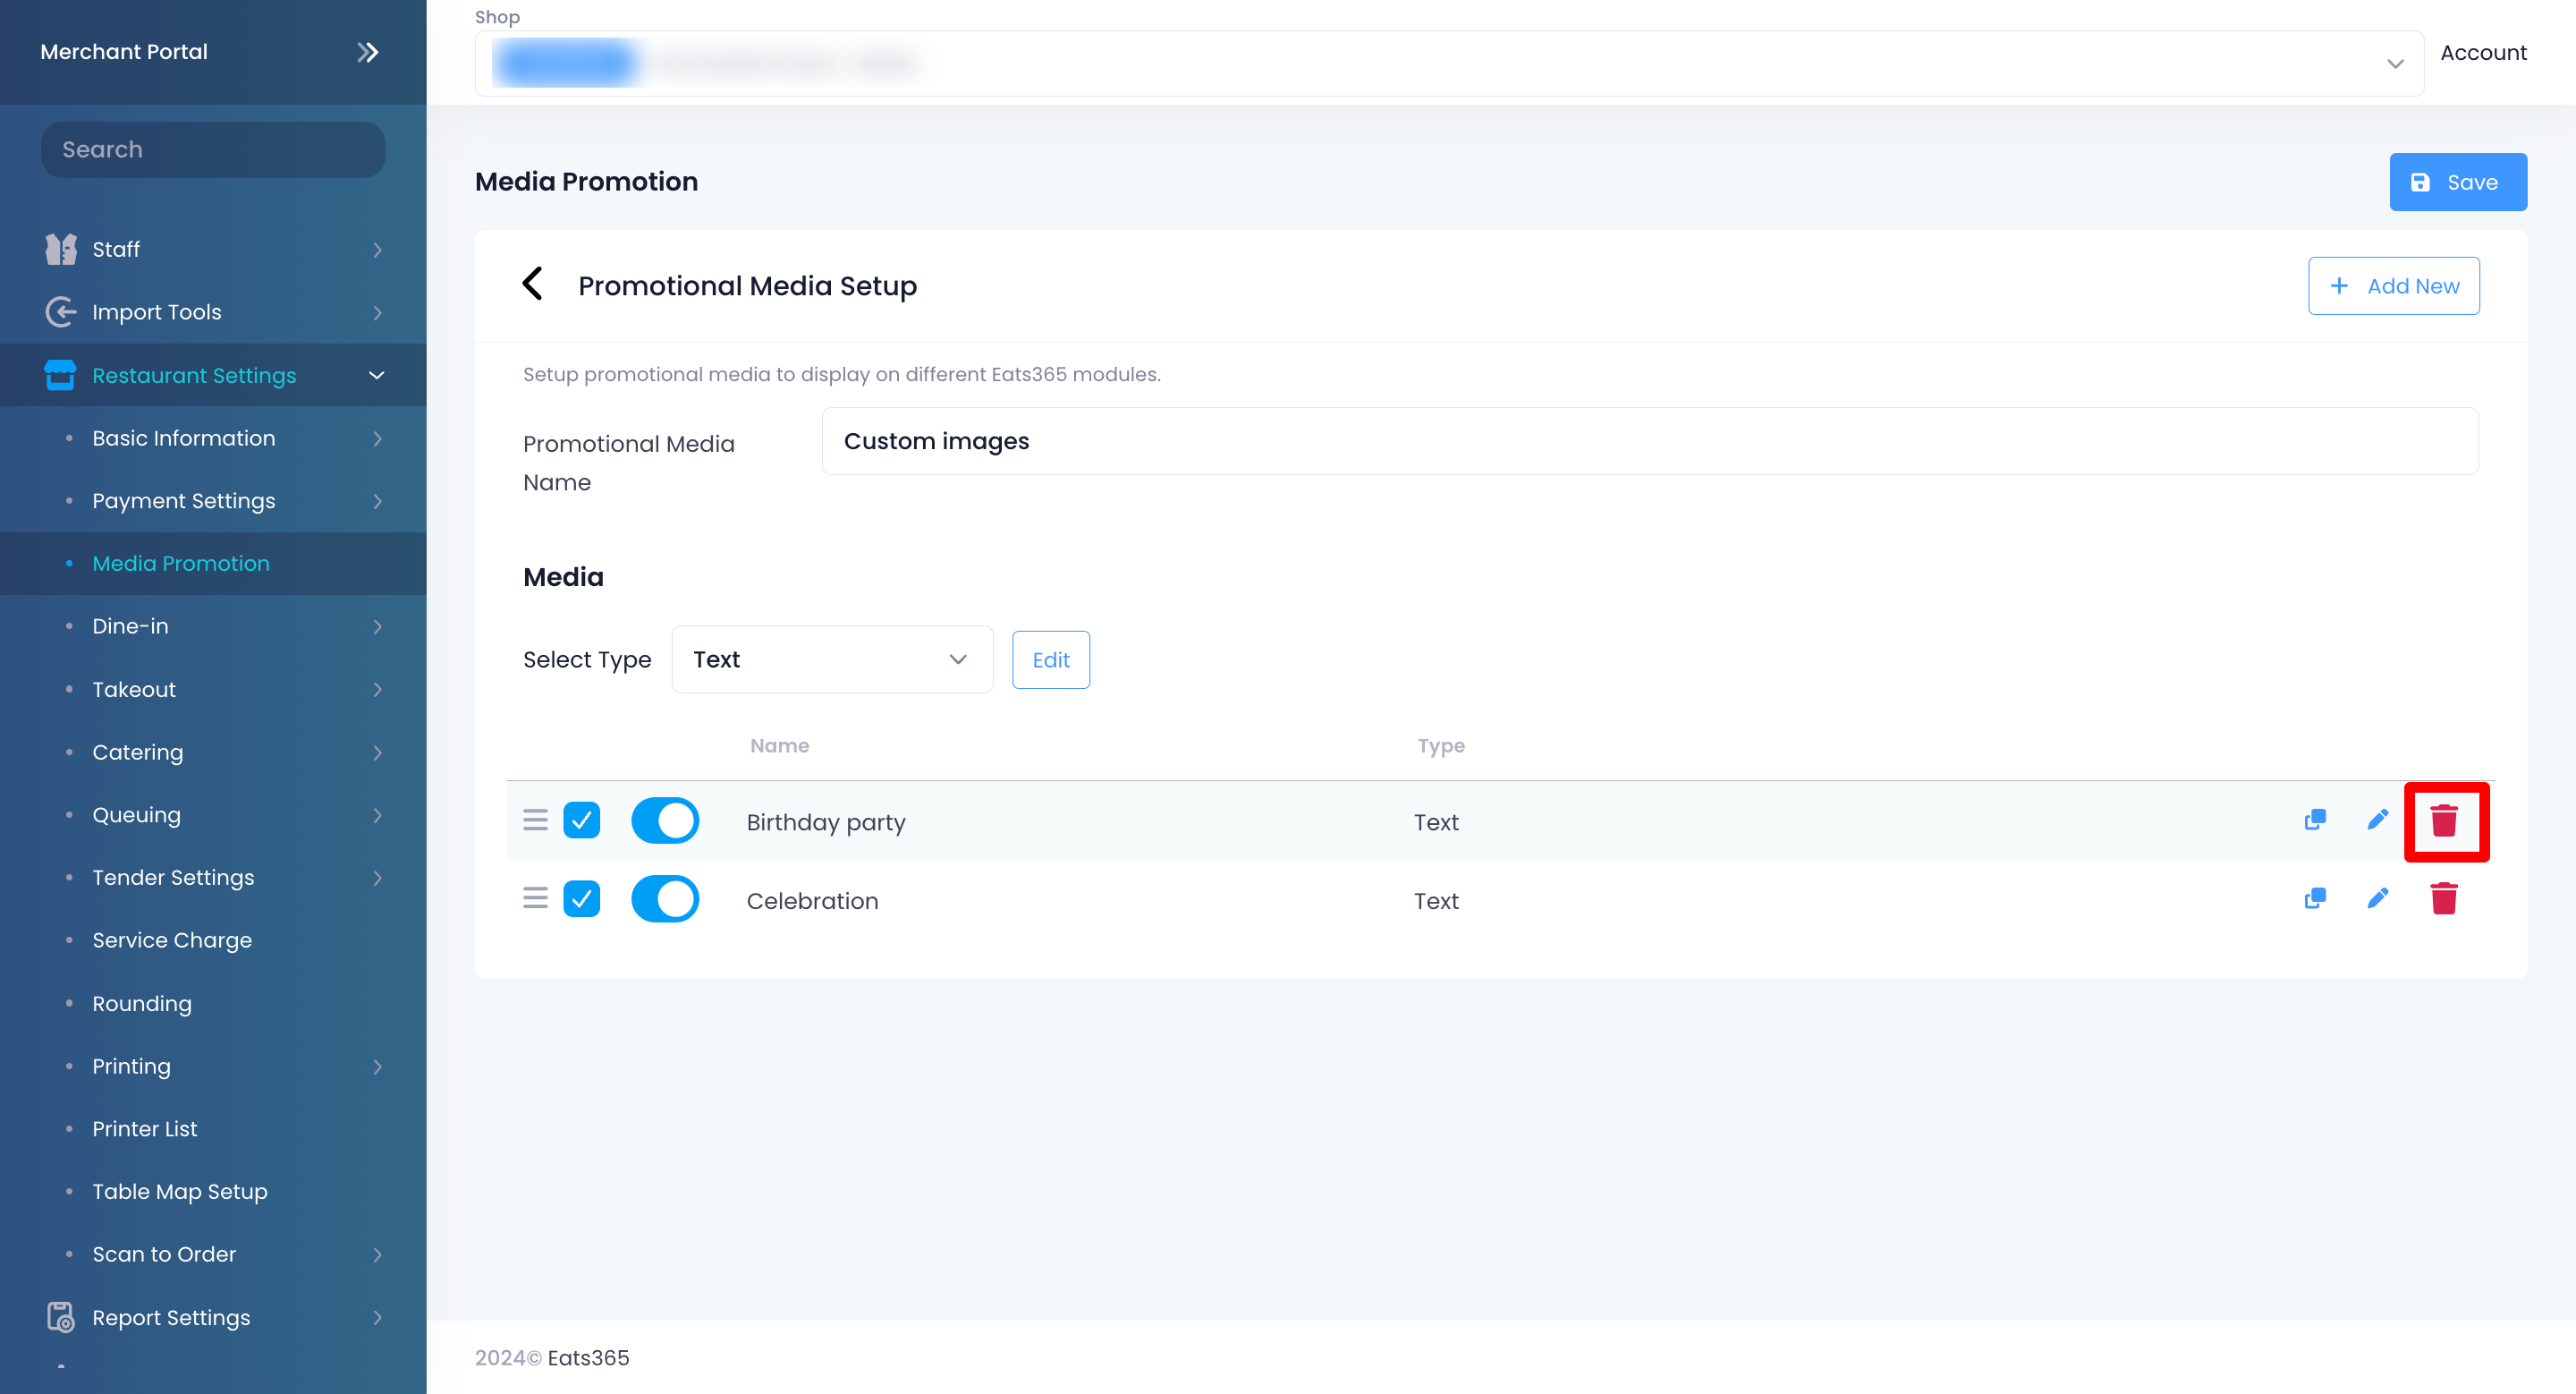
- On the left panel, click on Restaurant Settings Media Promotion.
- Select the Media Promotion that you want to delete. Next to the Promotional Media name, click on Delete
 .
.
- If the Media Promotion isn’t empty, delete all media first. To delete, click on Edit. Under "Media," select the media that you want to remove, then click on Delete.
 .
.
Merchant Portal (Classic Theme)
- Log in to the Merchant Portal.
- On the left panel, click on Restaurant Settings. Then, select Media Group.
- Select the Media Group that you want to delete.
- If the Media Group isn't empty, delete all media first. To delete, next to the existing media, click on Delete
 .
.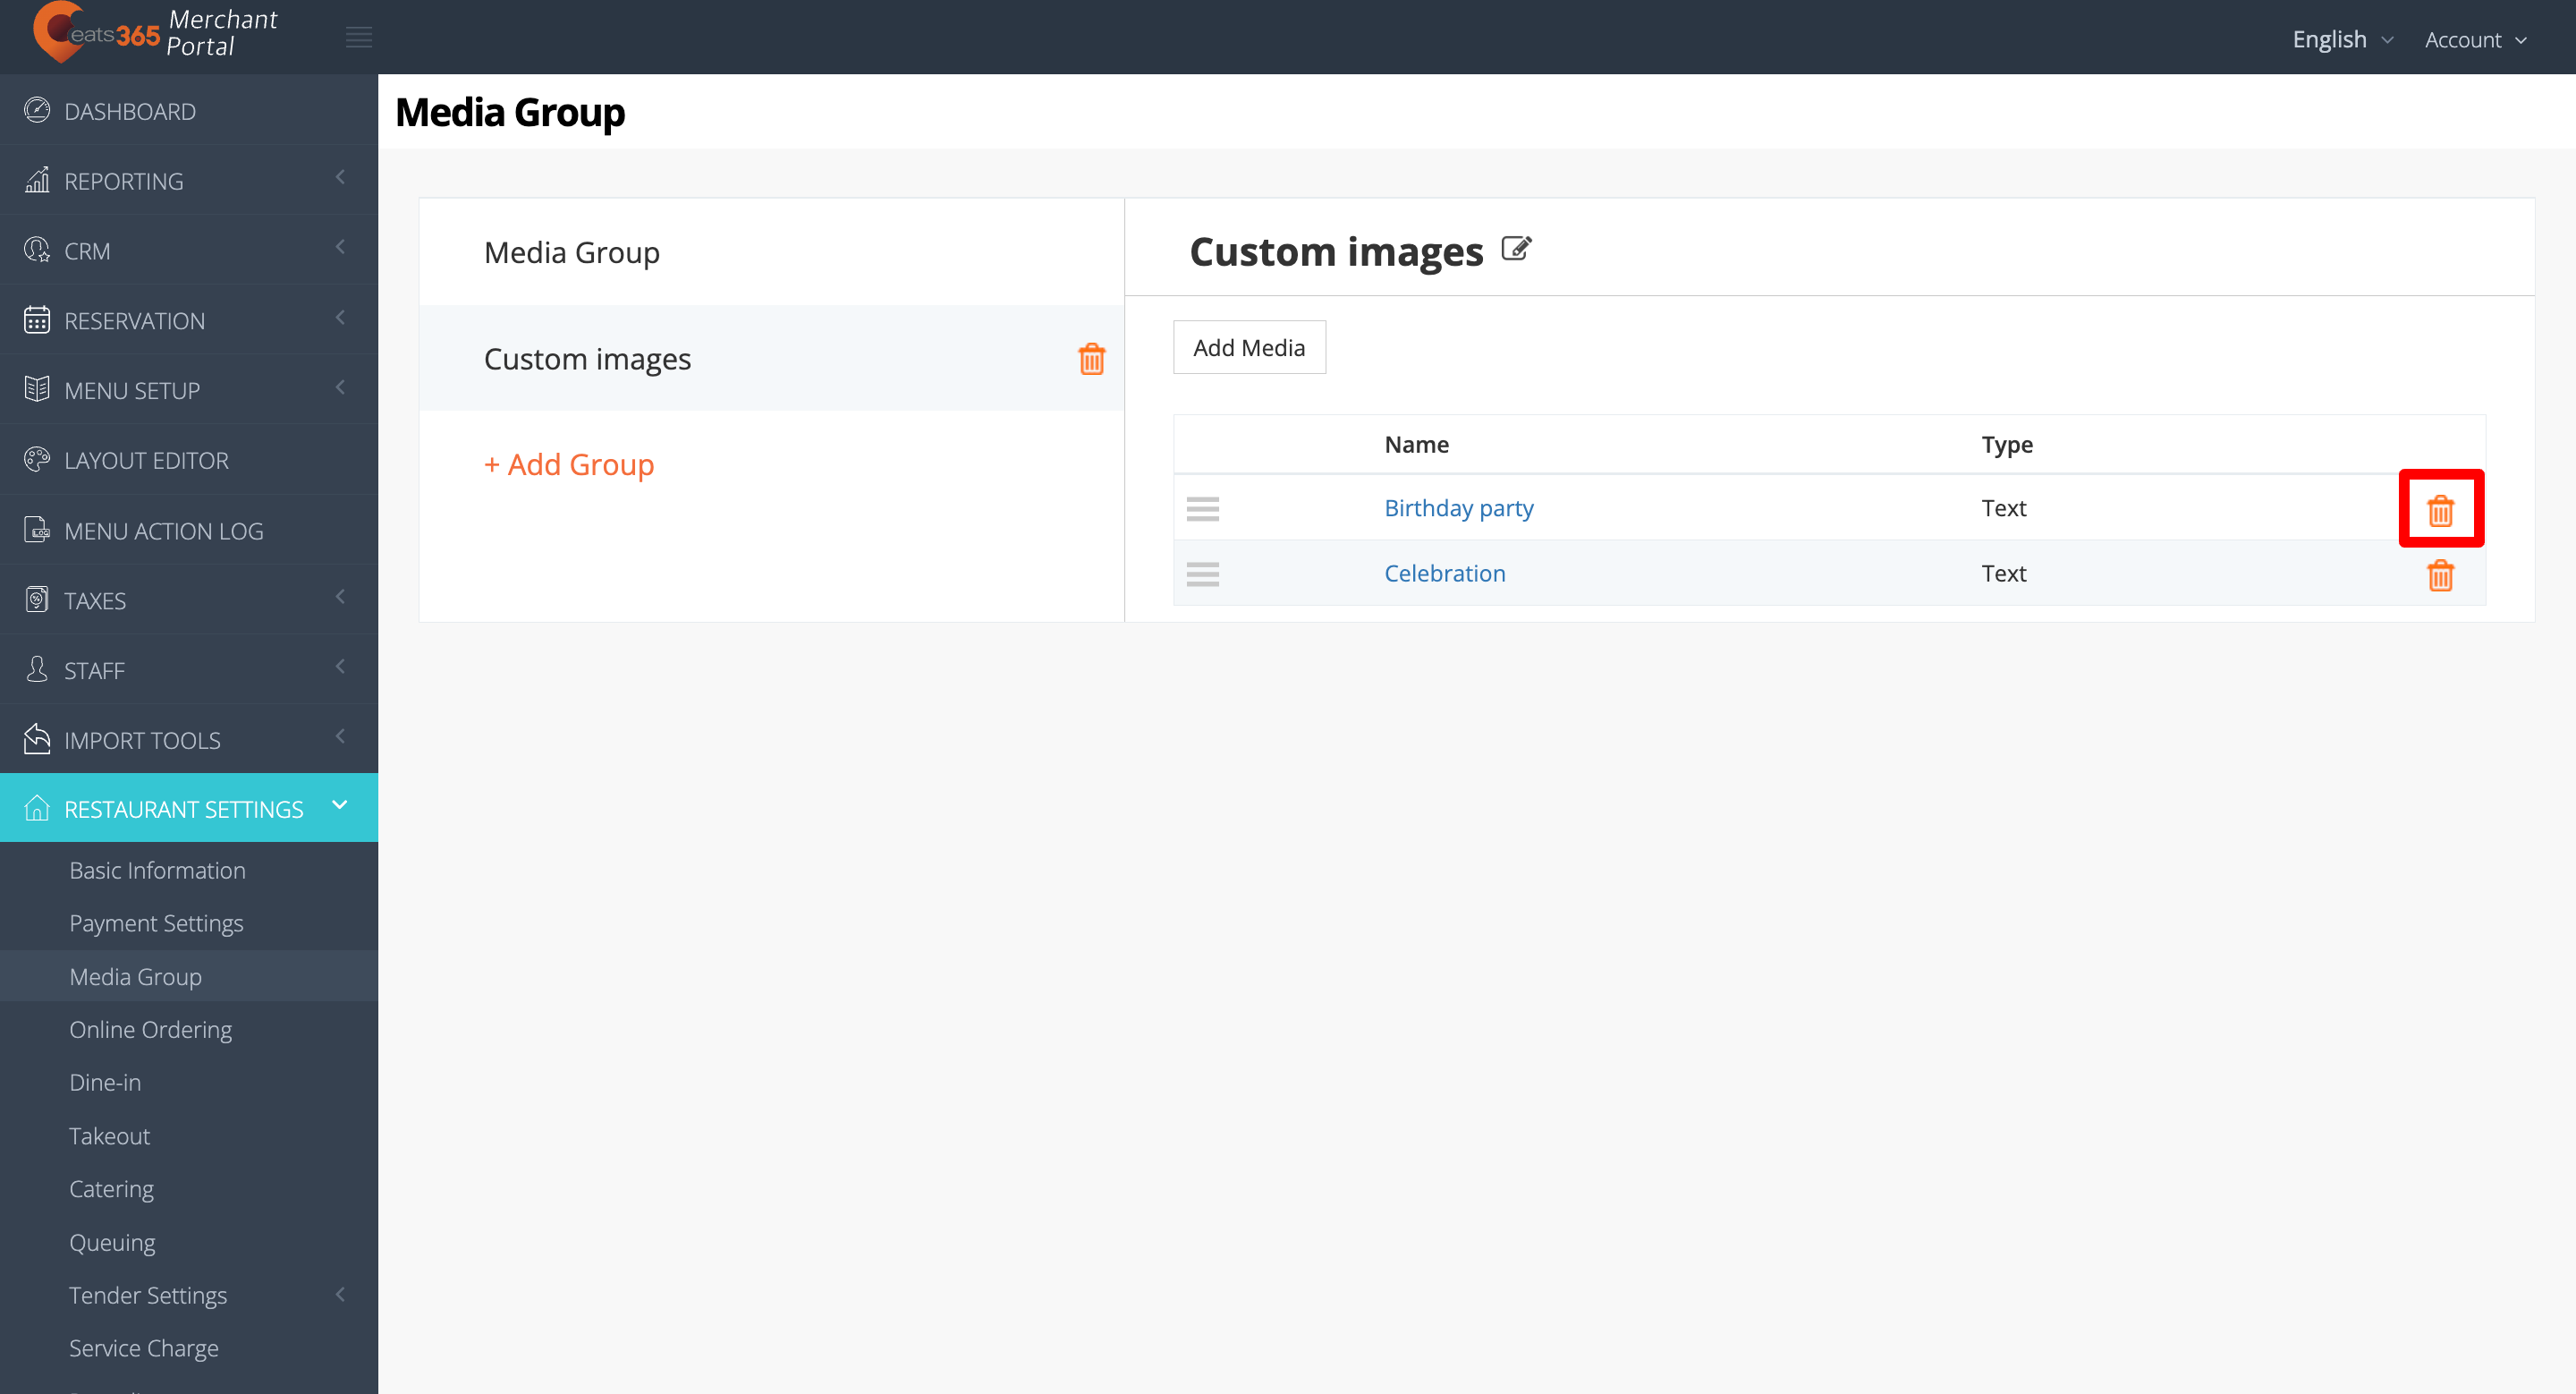
- Next to the Media Group name, click on Delete.
Reorder media in a Media Promotion
Videos, images, and text that belong to a Media Promotion can be arranged to appear in the sequence of your choice.
To reorder media in a Media Promotion, follow the steps below:
Merchant Portal 2.0
- Log in to the Merchant Portal.
- On the left panel, click on Restaurant Settings. Then, select Media Promotion.
- Select the Media Promotion with the media that you want to reorder. Then, click on Edit.
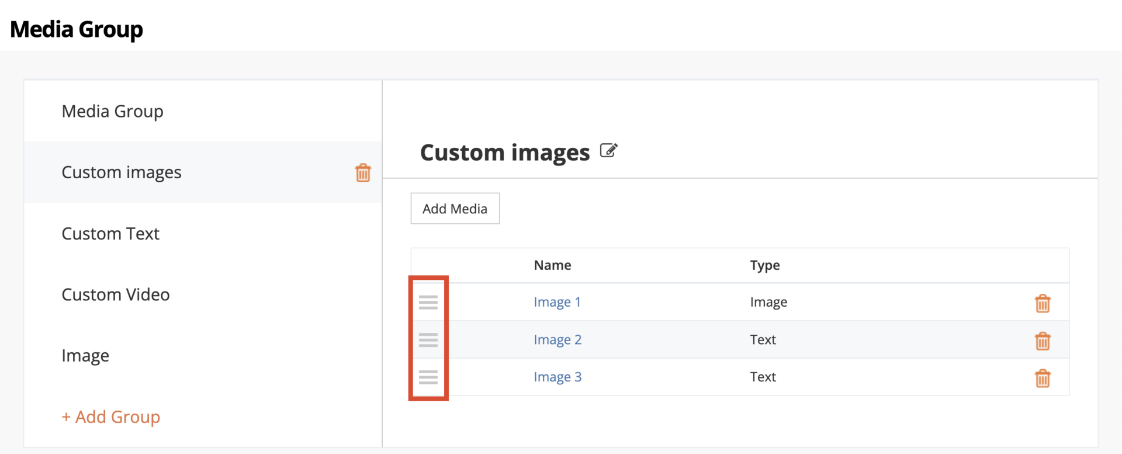
- Next to the media that you want to reorder, click and hold on Reorder
 . Drag the media in the order in which you want it to appear.
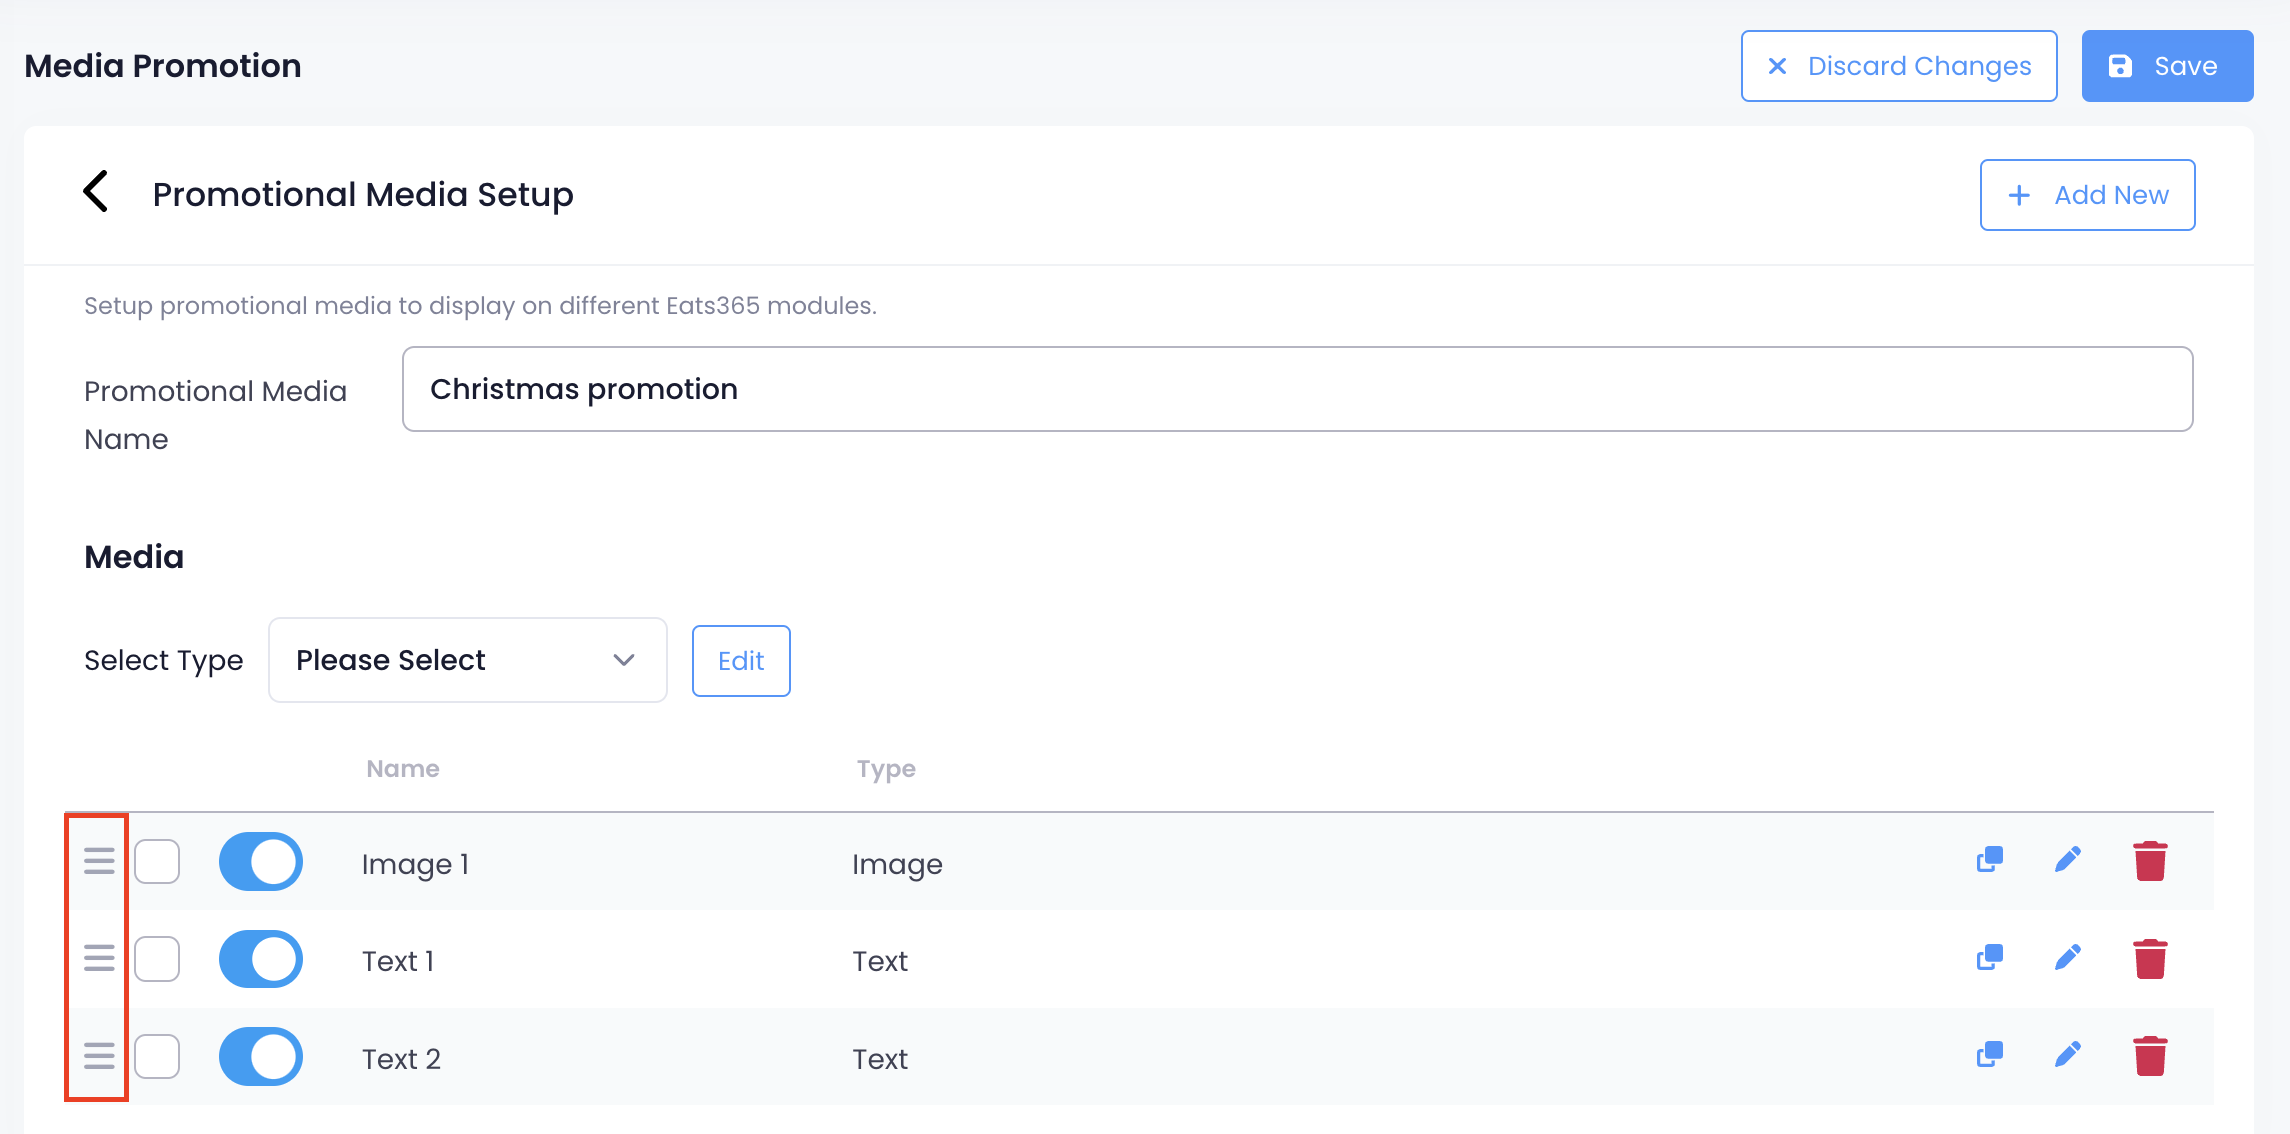
Merchant Portal (Classic Theme)
- Log in to the Merchant Portal.
- On the left panel, click on Restaurant Settings. Then, select Media Group.
- Select the Media Group with the media that you want to reorder.
- Select the media that you want to reorder. Then, click and hold on Reorder . Drag the media in the order in which you want them to appear.