Reservation Management
Table of Contents
Manage reservations
Learn how to handle POS and online reservations on the Eats365 POS.
This article discusses how to process reservations on the Eats365 POS, covering the steps to book a reservation, check existing reservations, cancel reservations, and attend to customers with reservations.
If Online Reservation is enabled for your restaurant, you can manage online reservations just as you would reservations made on the POS.
Book a reservation
To place a reservation on the Eats365 POS, follow the steps below:
- Log in to the Eats365 POS.
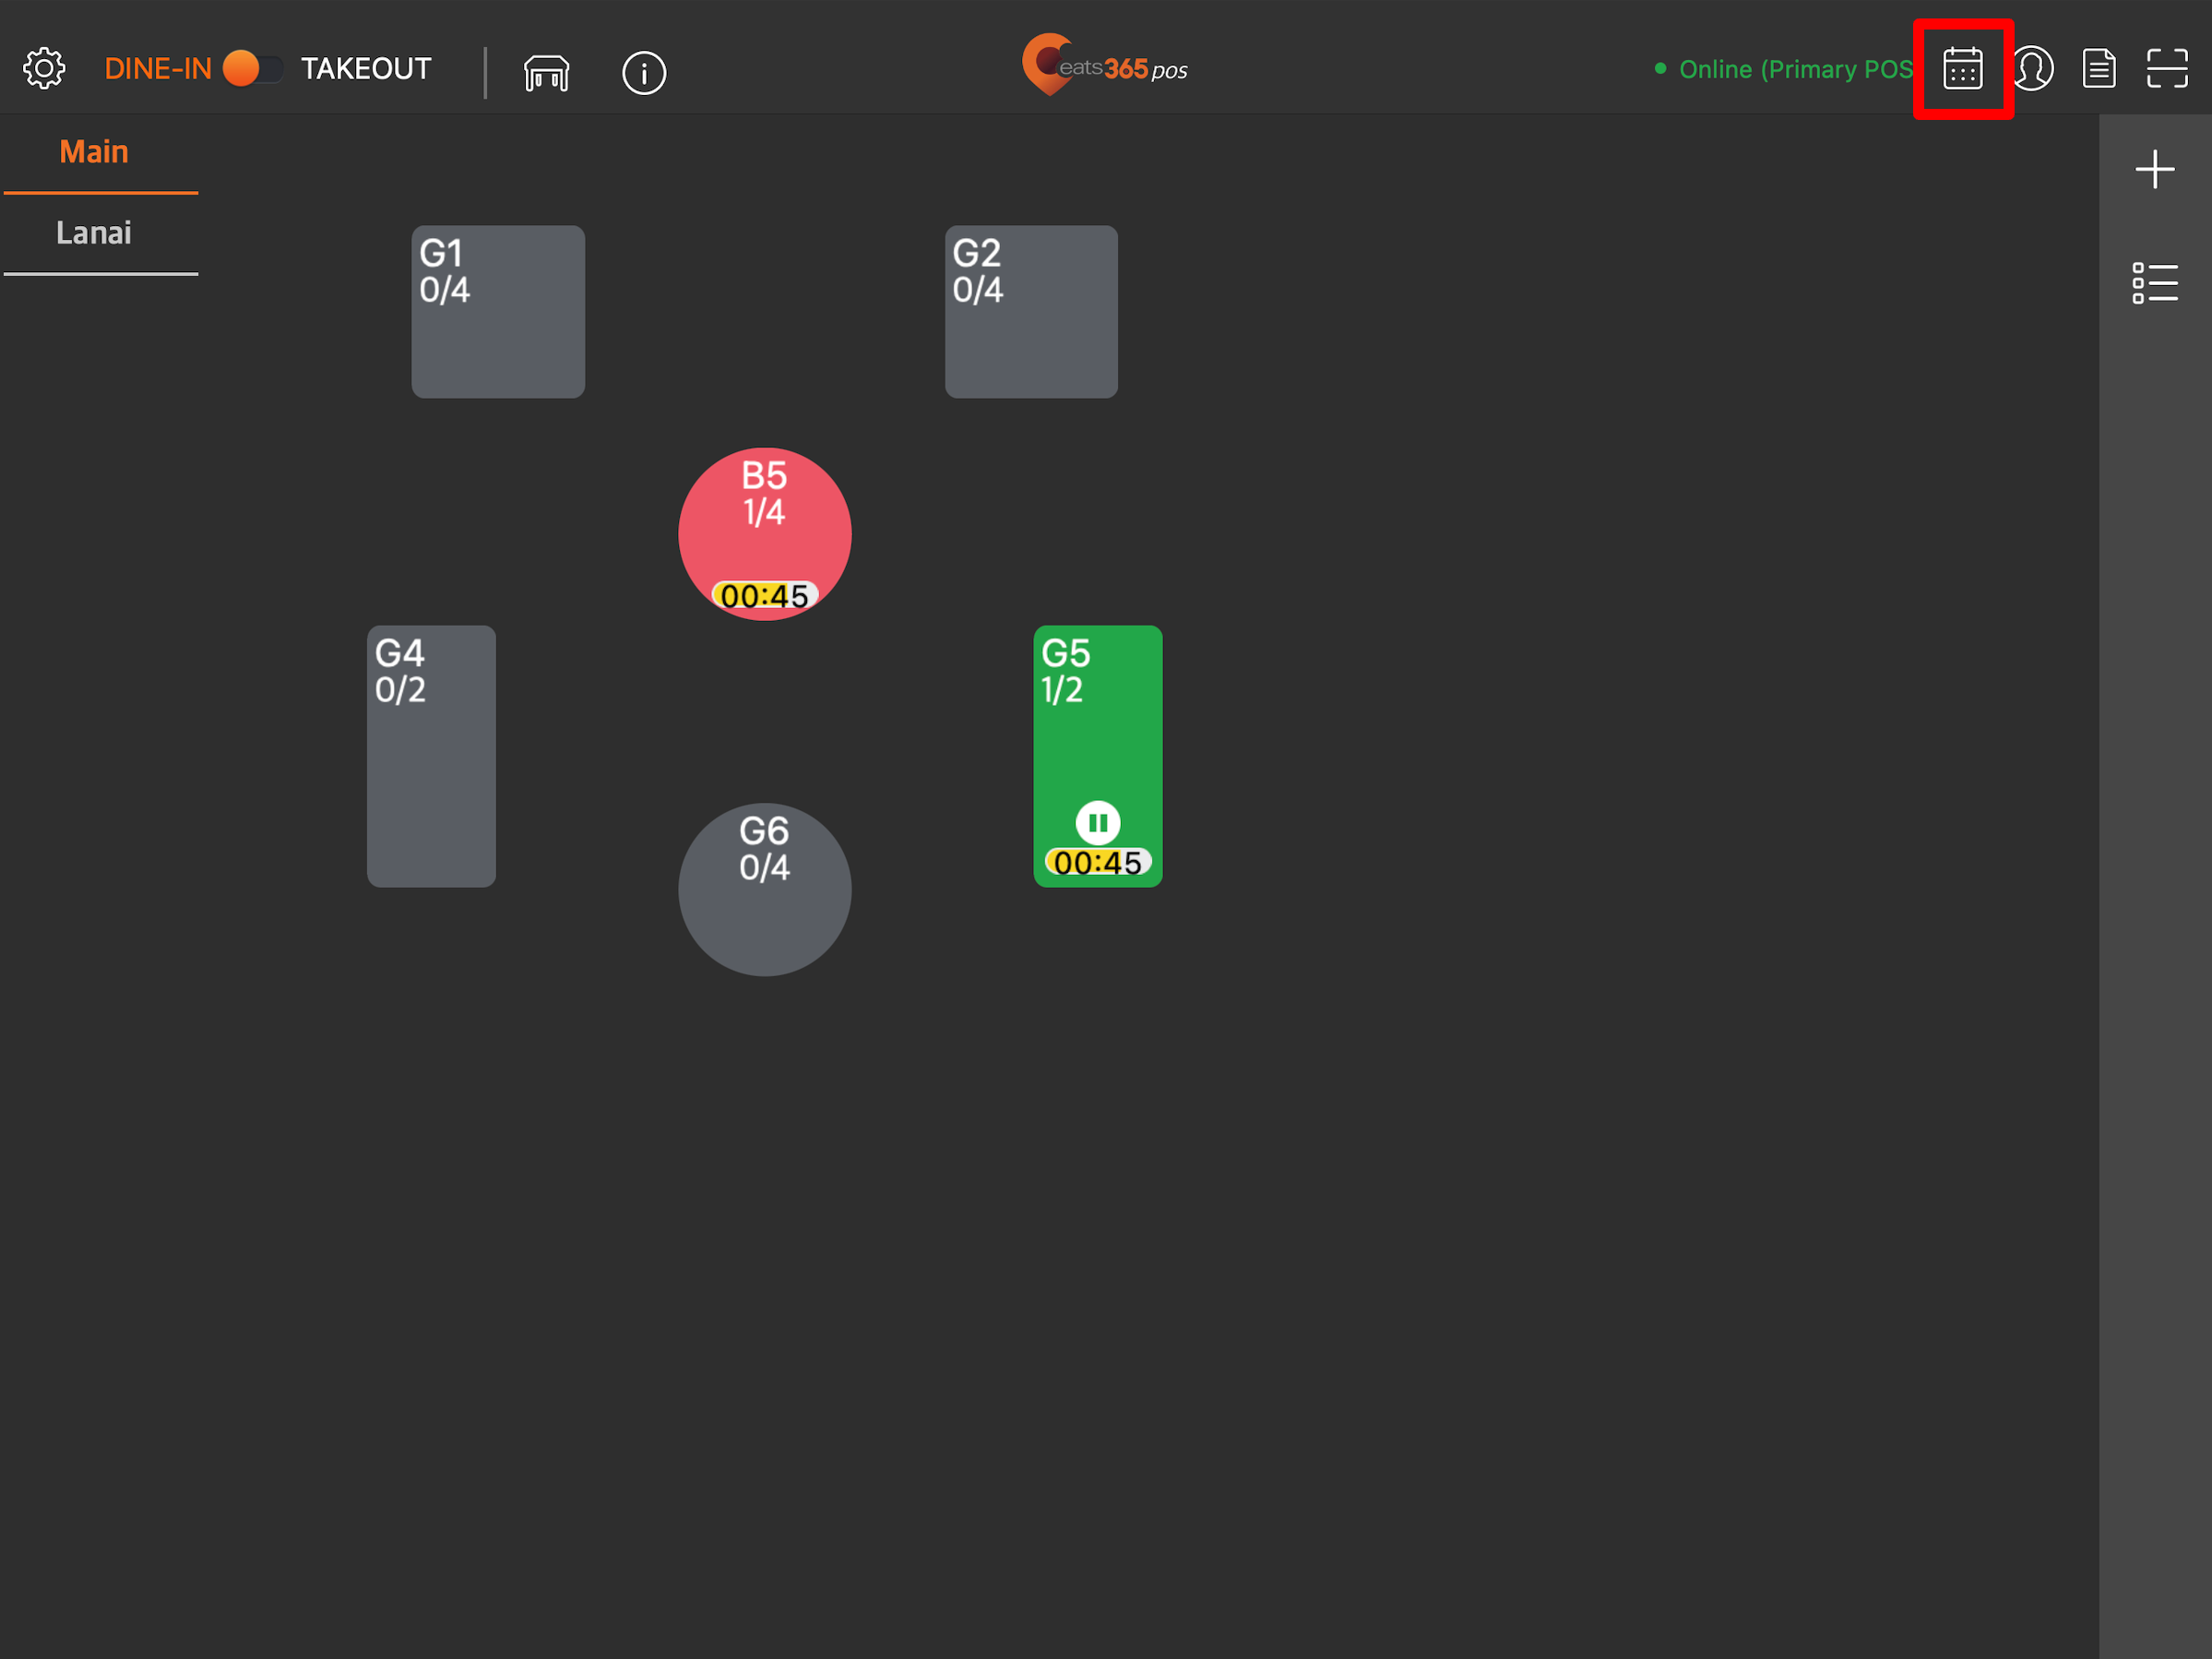
- At the top left, tap Dine-In to get to the Table Map screen.
Tip: You can set the Table Map screen as the default view from the General Preferences settings, so you won’t need to tap Dine-In every time you log in. - At the top right, tap Reservation
 .
.
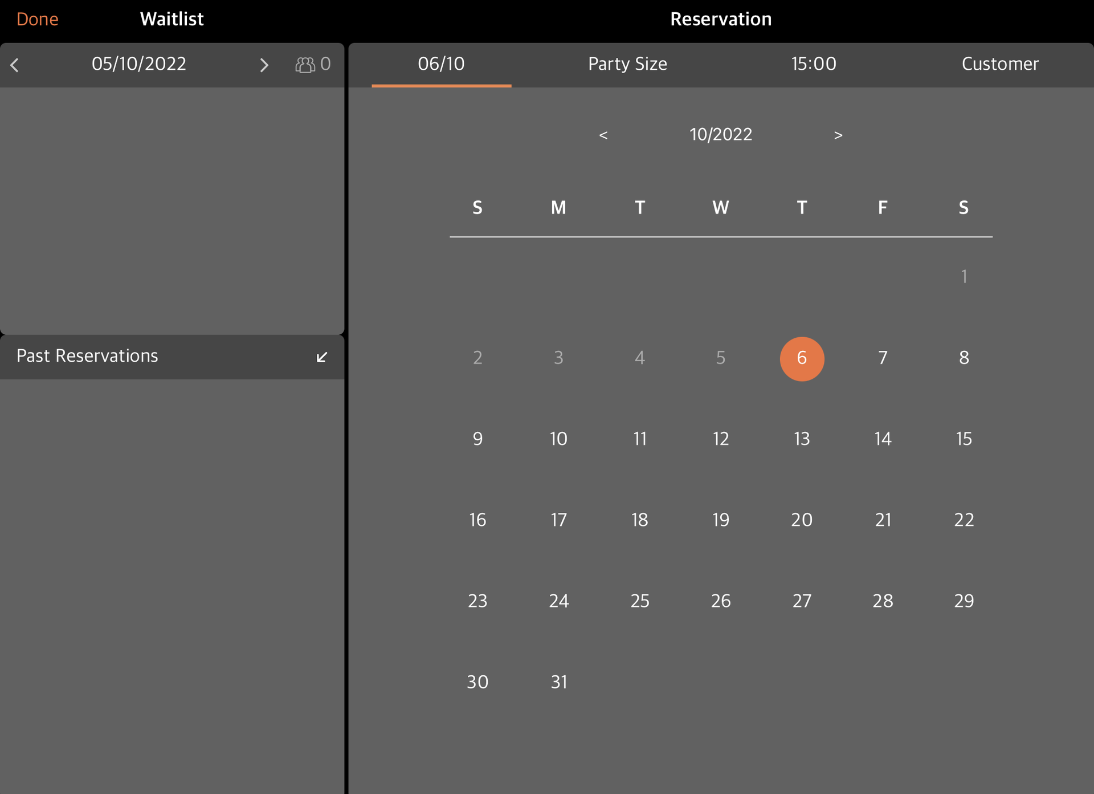
- Select the date when you want to place a reservation.
- Choose the Party Size.
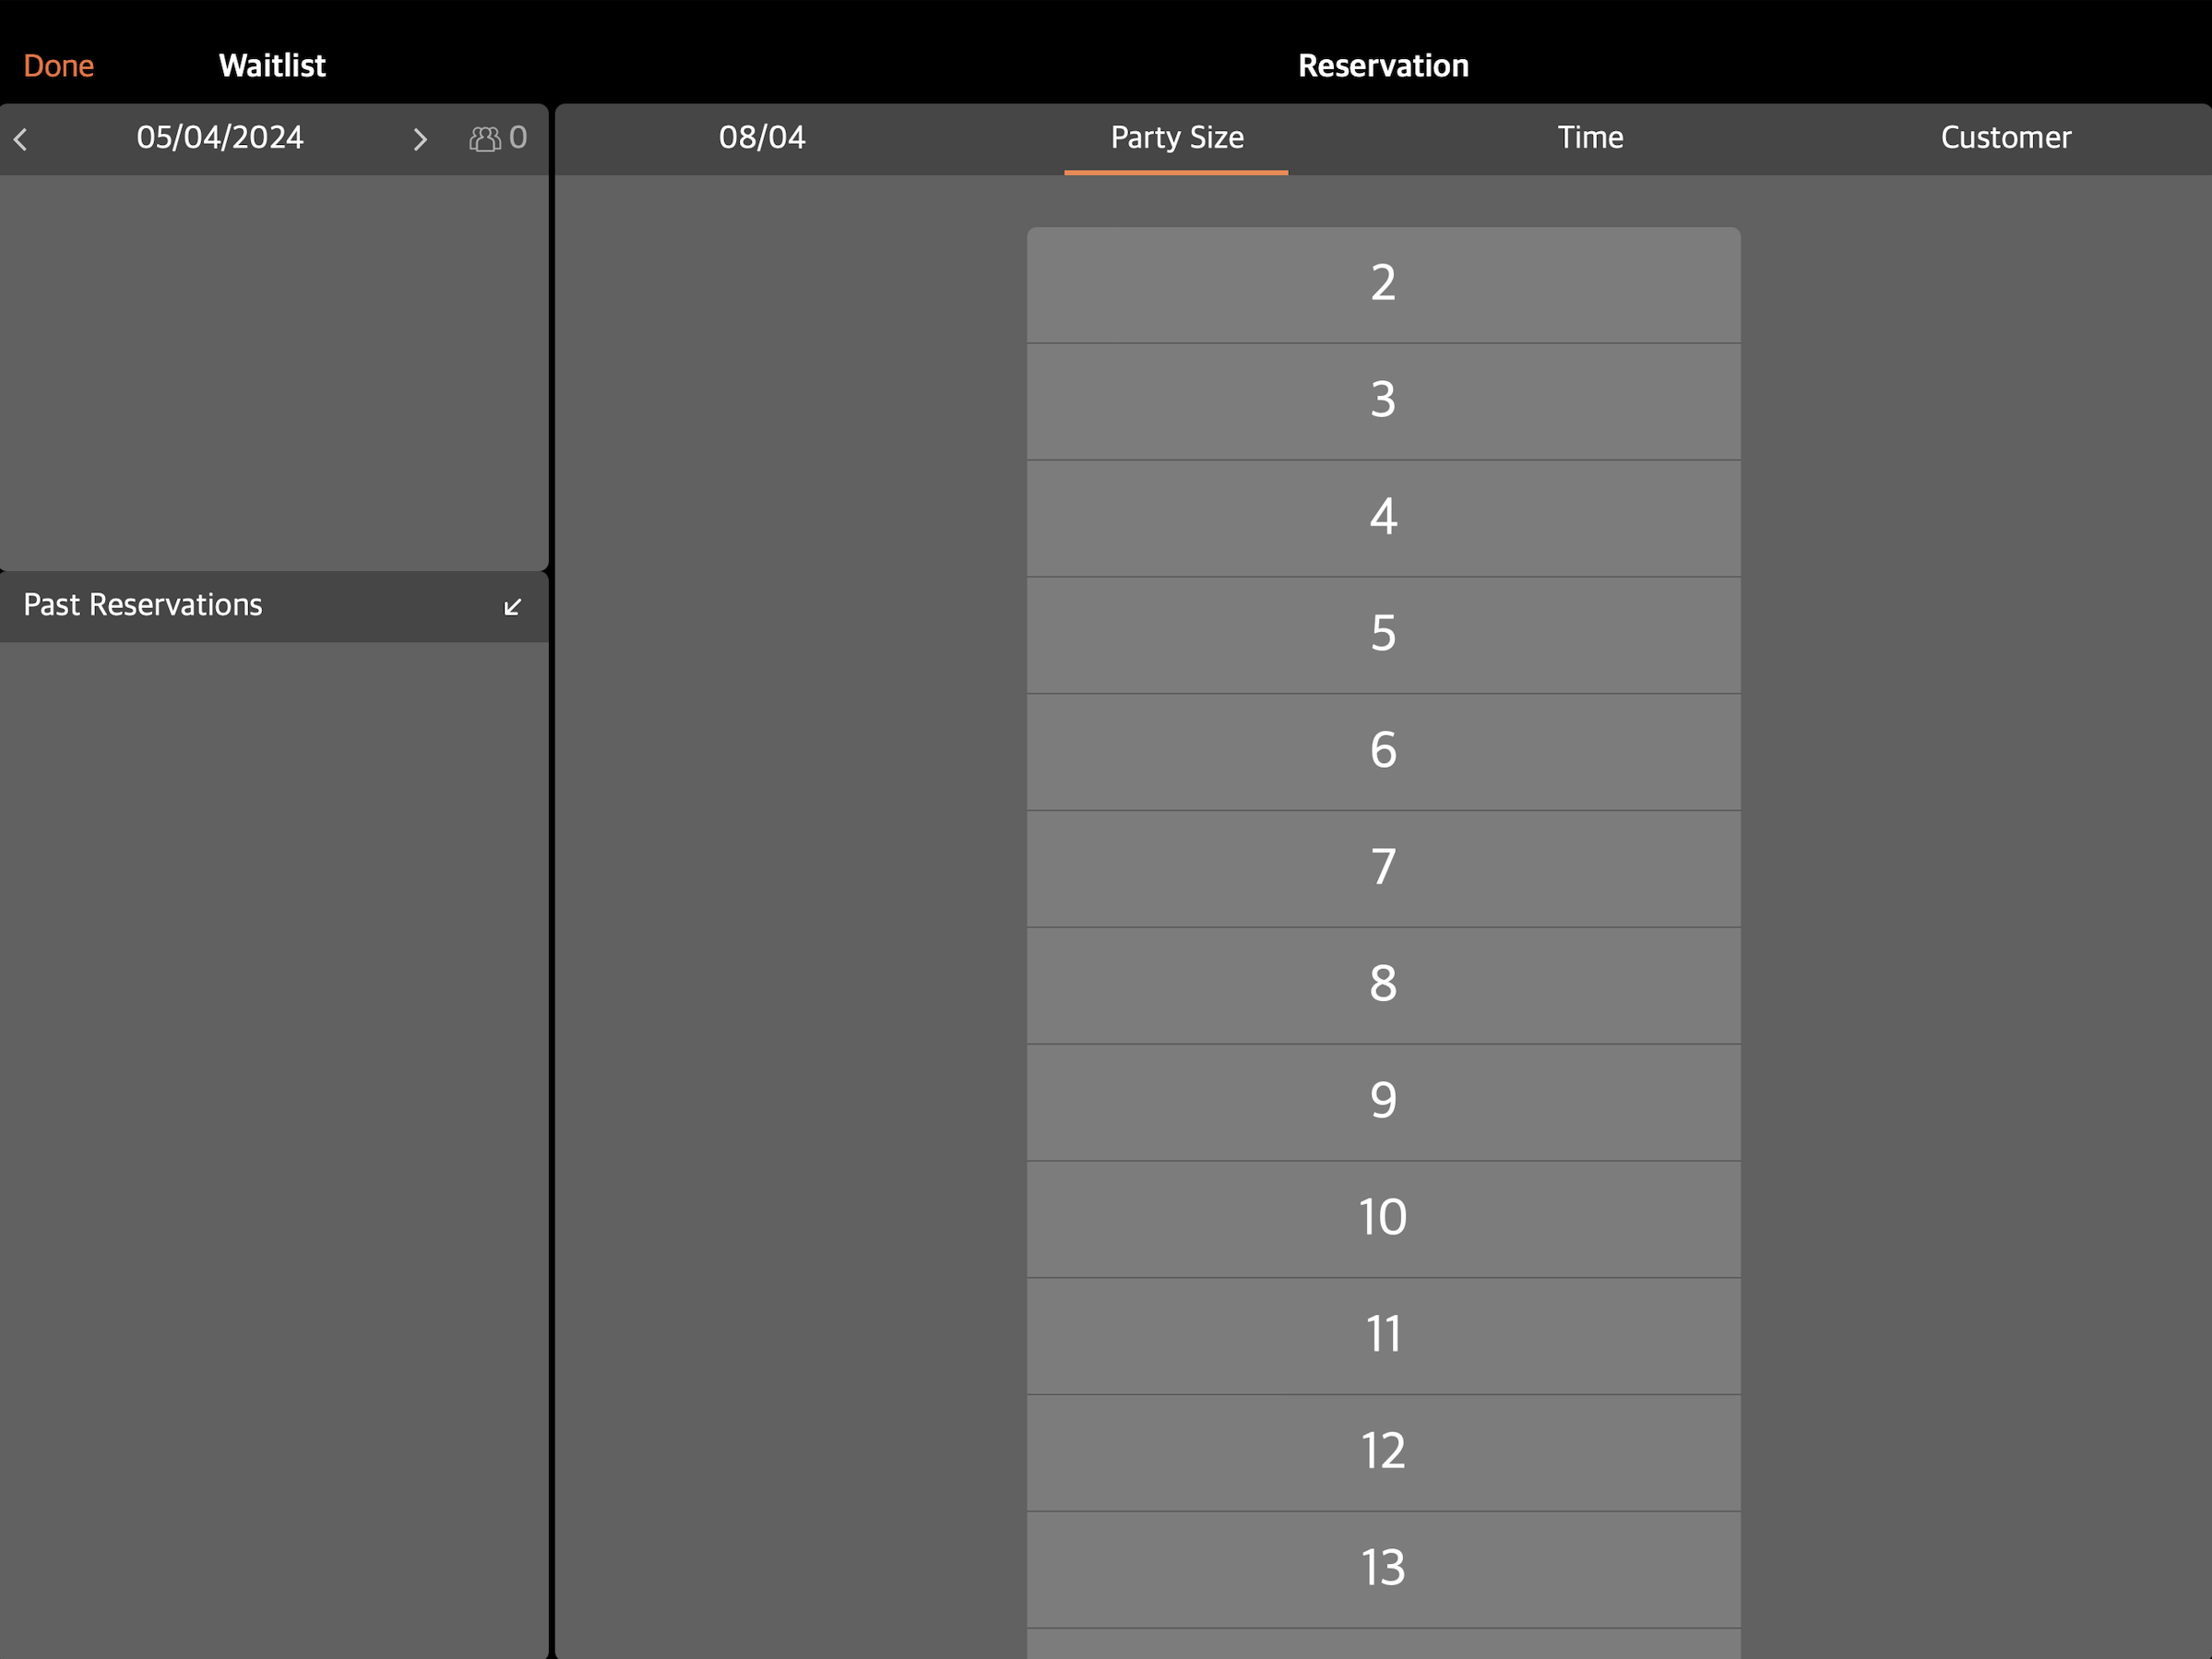 Note: Depending on how your Reservation settings are set up, the minimum and maximum Party Size range varies.
 - Select the time when the party is expected to arrive.
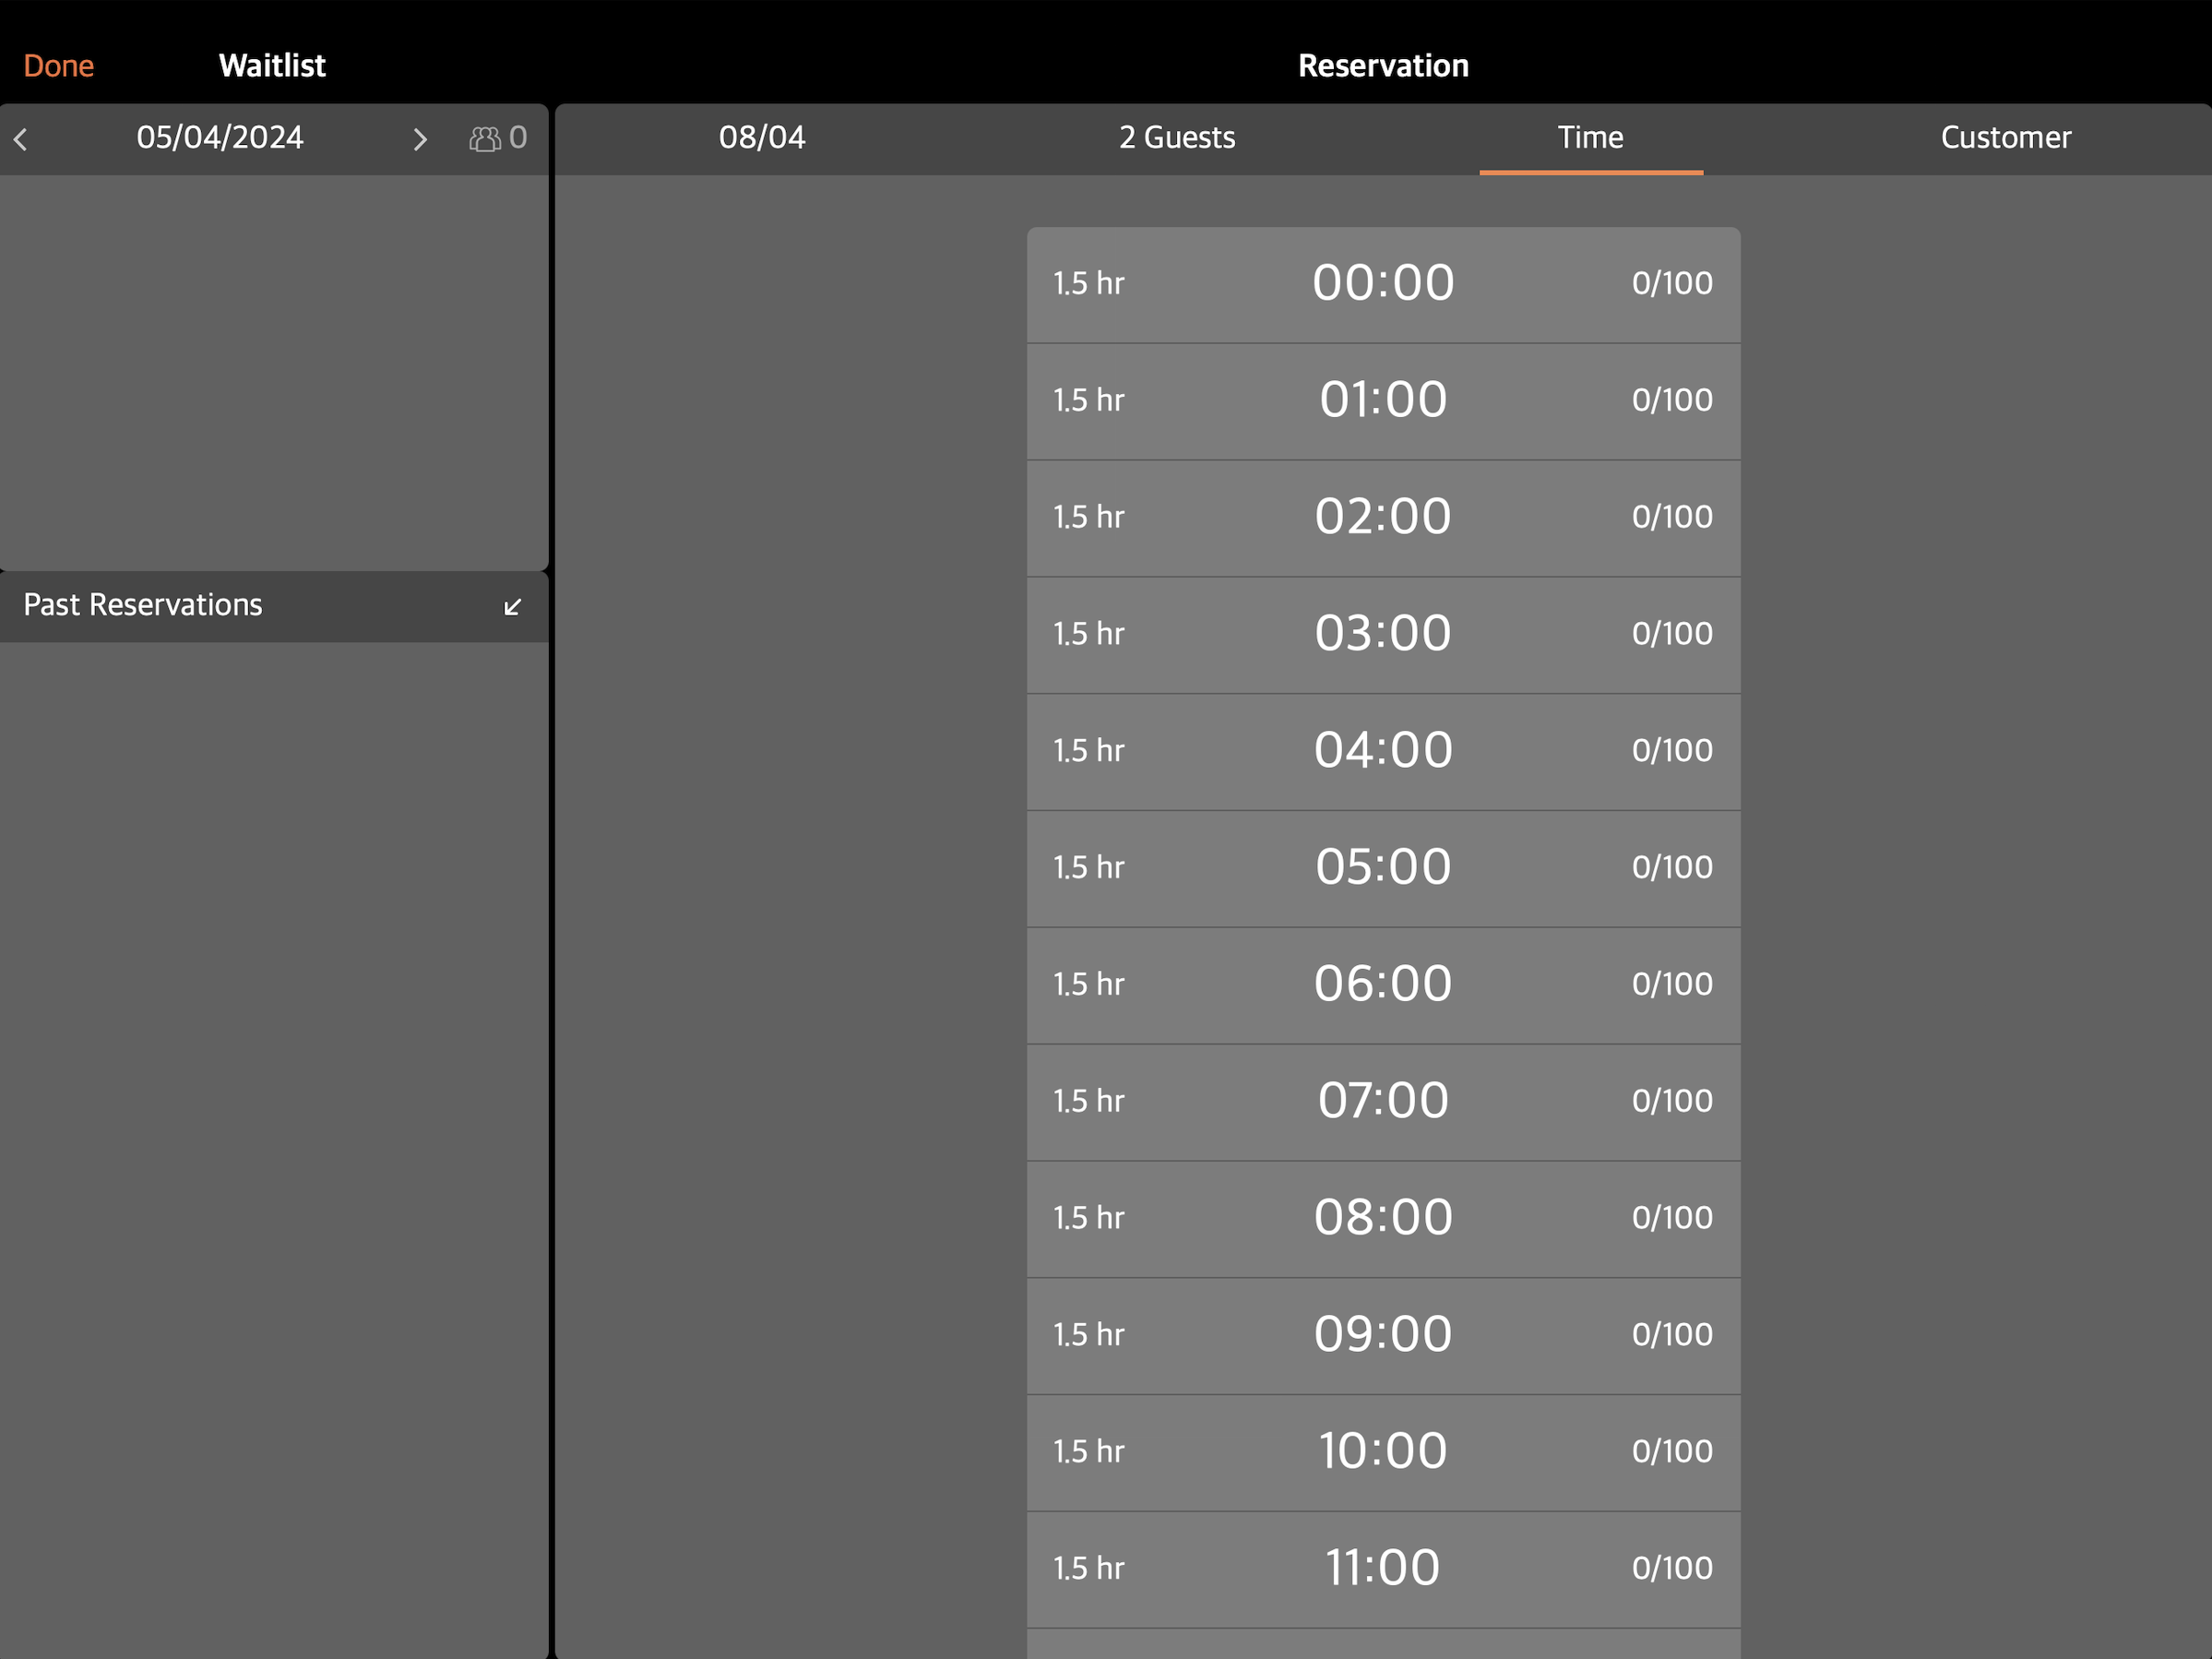 Note: Depending on how your Reservation settings are set up, the available window for booking a reservation varies.
 - Enter the customer’s information.
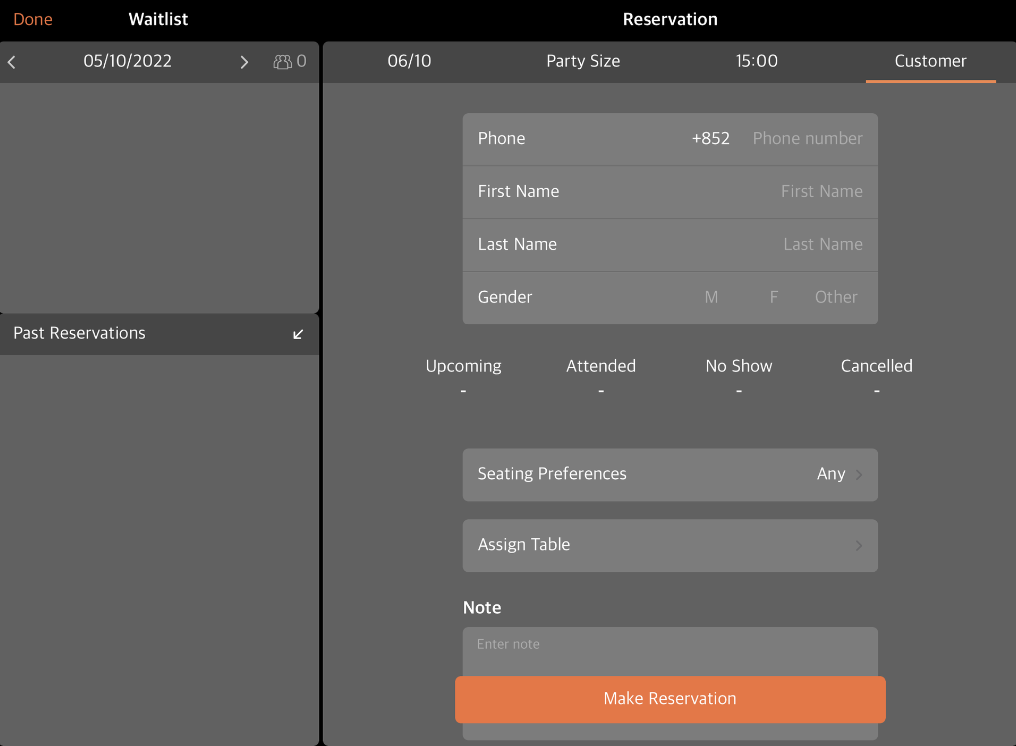
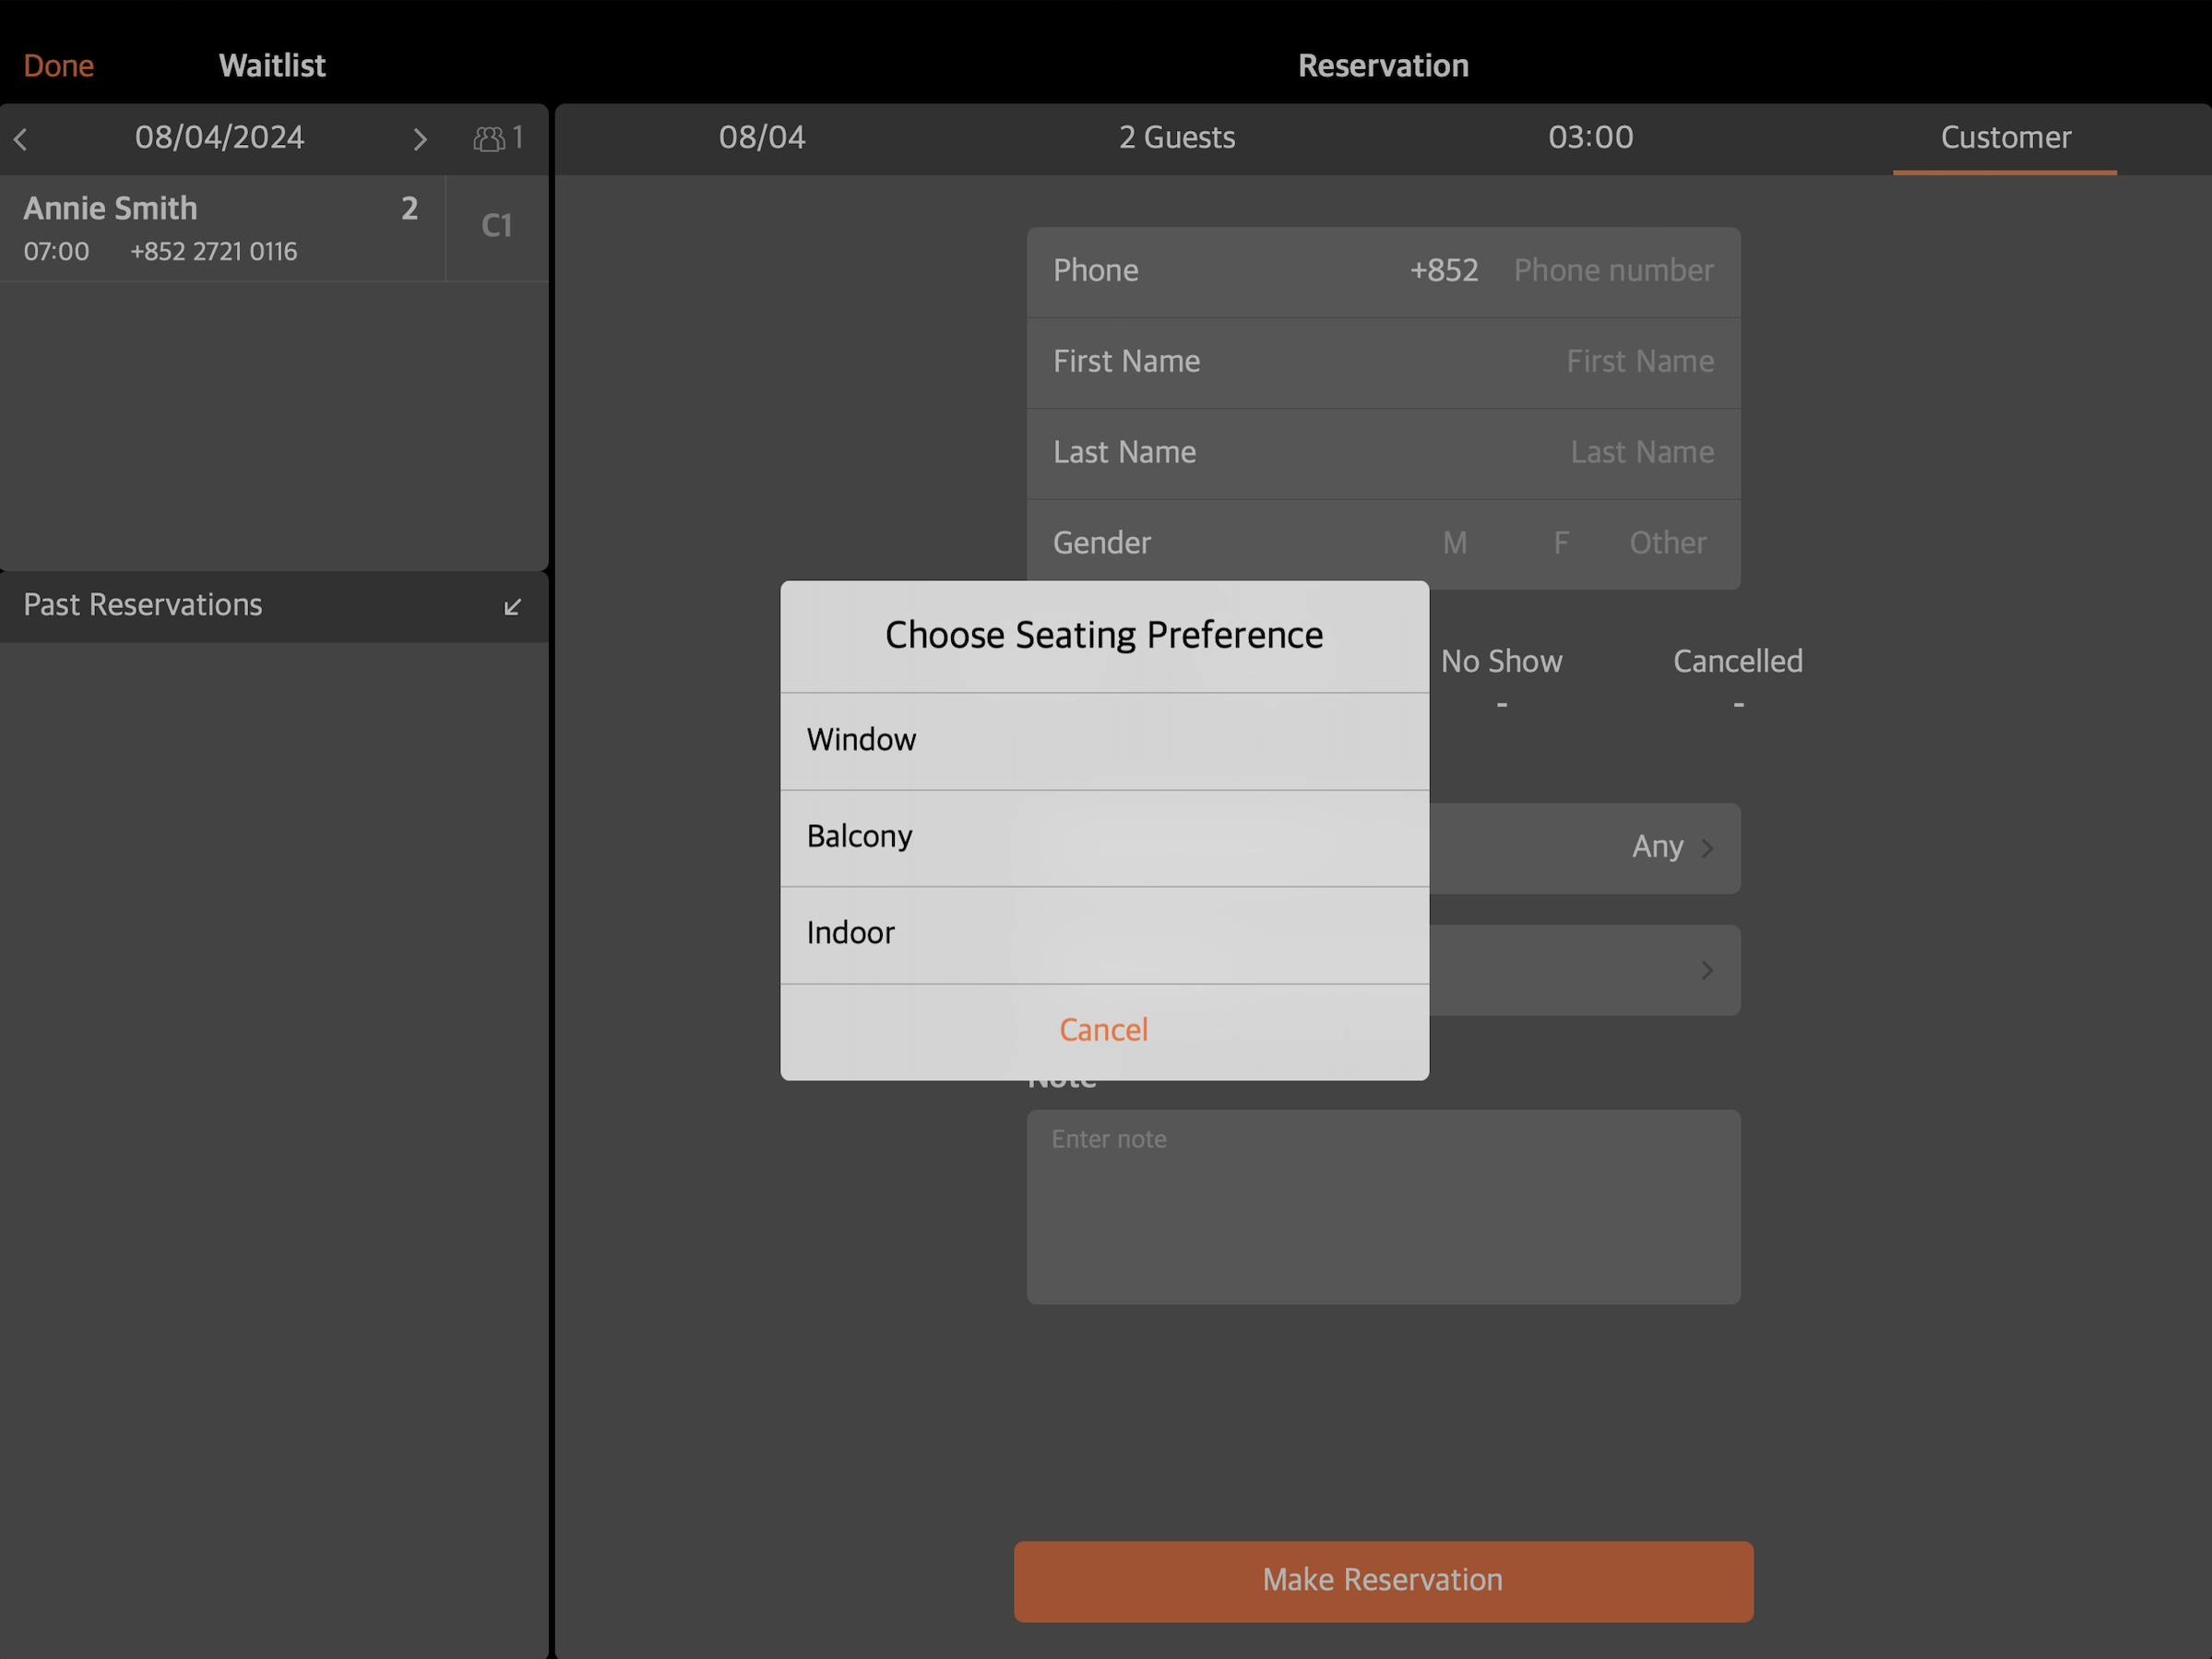
- If you have Seating Preference set up, the customer can choose where they want to sit based on the options available. Select the customer’s seating preference from the available options.
- Assign a table for the party.
Tip: If Assign Table is enabled, you may skip this step. When "Assign Table" is enabled, you are required to select a table after selecting Attend on the POS. - If the customer has any special requests, you can add a note on the reservation.
- Tap Make Reservation to confirm.
Manage a Reservation
Once a reservation has been successfully placed, you can check and manage the reservation from the Reservation screen.

Edit a reservation
If you need to make changes to a customer’s reservation, follow the steps below:
- Log in to the Eats365 POS.
- At the top left, tap Dine-In to get to the Table Map screen.
Tip: You can set the Table Map screen as the default view from the General Preferences settings, so you won’t need to tap Dine-In every time you log in. - At the top right, tap Reservation .
- At the top left, select the reservationbooking that you want to modify.
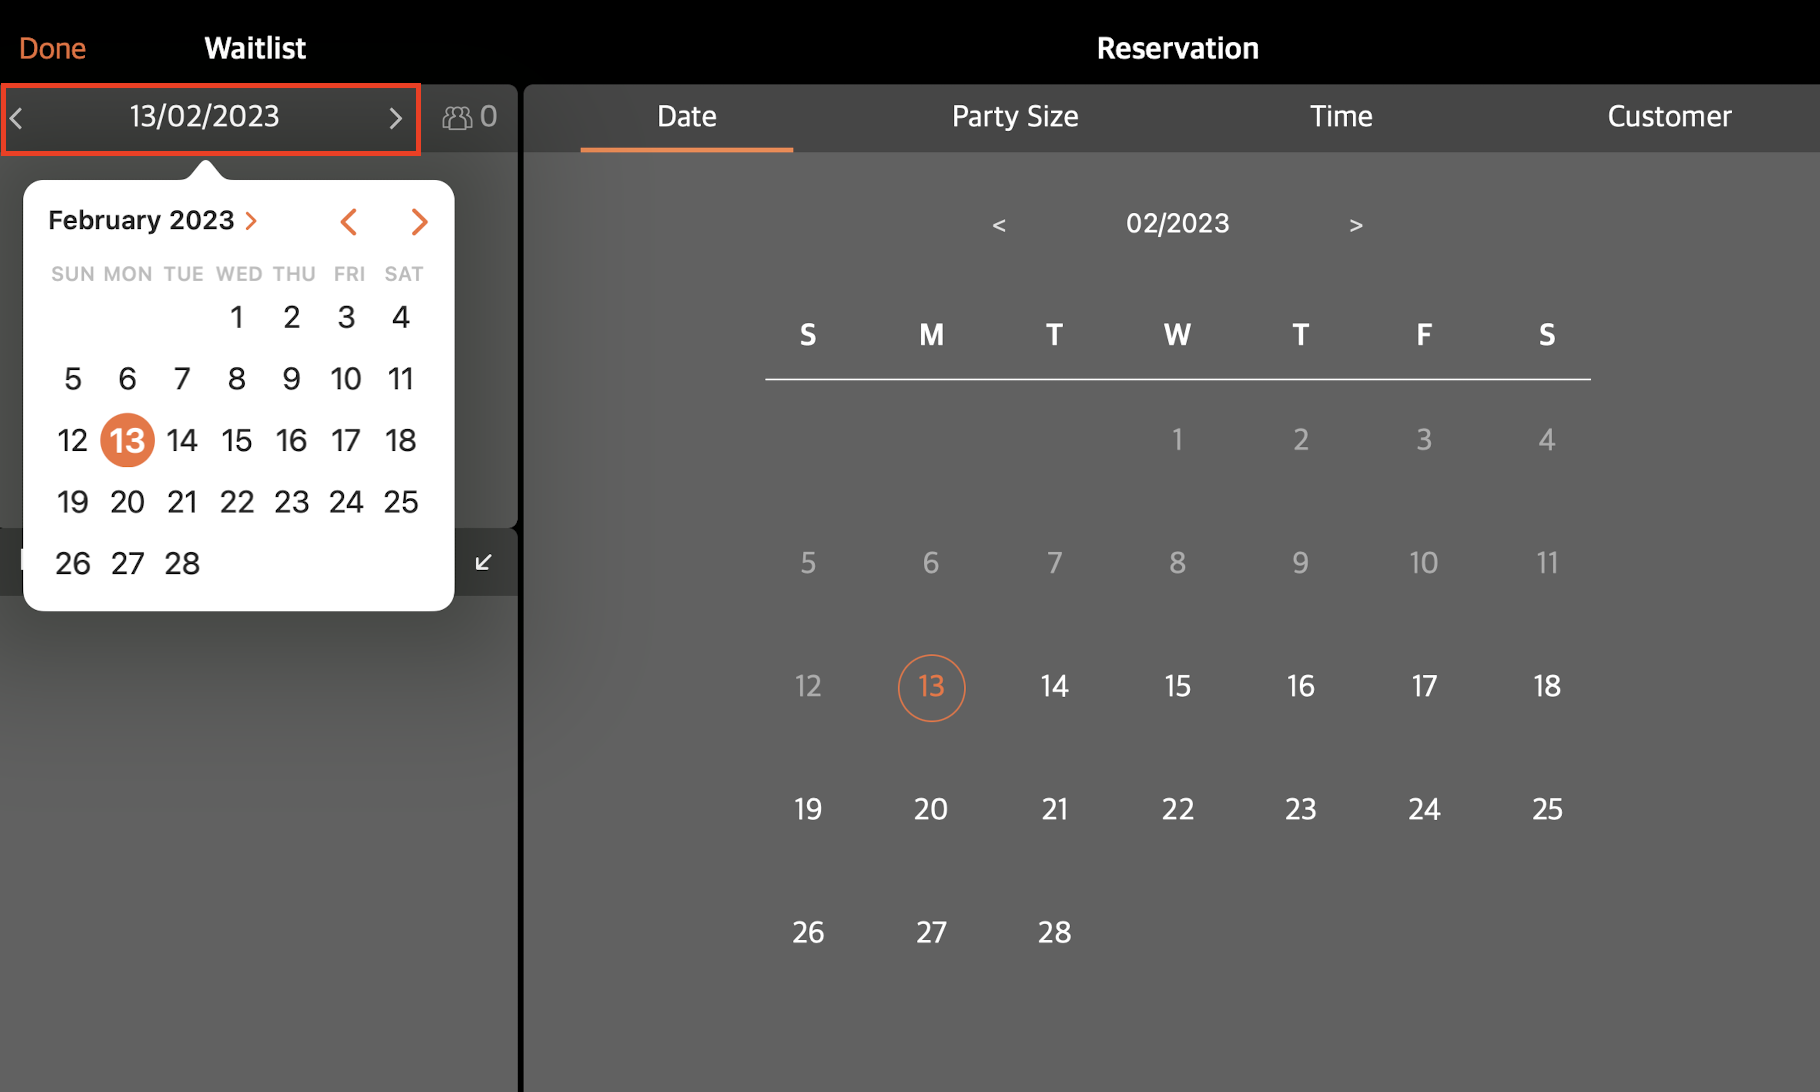
- Check by date: Under "Waitlist," select the date of the reservation. Tap the date field to show the calendar or use the left and right arrows to search for the date manually. Unopened bookings have a blue dot to indicate that the reservation has not been viewed by any staff member.
- Check new bookings: Tap Unread Reservations to open the list of bookings that haven’t been viewed. Unopened bookings have a blue dot to indicate that the reservation has not been viewed by any staff member.

- Check by date: Under "Waitlist," select the date of the reservation. Tap the date field to show the calendar or use the left and right arrows to search for the date manually. Unopened bookings have a blue dot to indicate that the reservation has not been viewed by any staff member.
- Select the reservation that you want to edit.
- Next to the information that you want to edit, tap Edit
 . Then, update the reservation information.
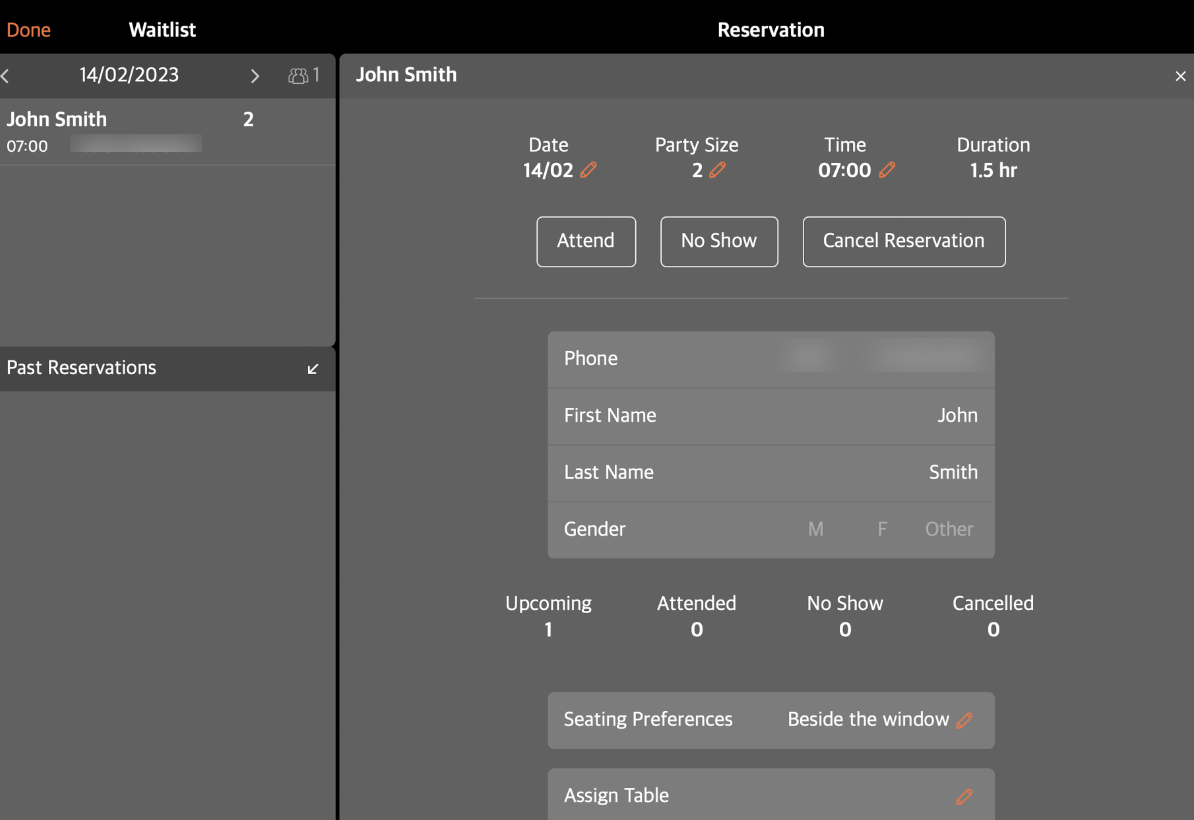
- At the top right, tap Update to confirm changes.
Attend booking
To attend to a confirmed booking, follow the steps below:
- Log in to the Eats365 POS.
- At the top left, tap Dine-In to get to the Table Map screen.
Tip: You can set the Table Map screen as the default view from the General Preferences settings, so you won’t need to tap Dine-In every time you log in. - At the top right, tap Reservation .
- At the top left, select the reservationbooking you want to attend.
- Check by date: Under “Waitlist,” select the date of the reservation. Tap the date field to show the calendar or use the left and right arrows to search for the date manually. Unopened bookings have a blue dot to indicate that the reservation has not been viewed by any staff member.
- Check new bookings: Tap Unread Reservations to open the list of bookings that haven’t been viewed. Unopened bookings have a blue dot to indicate that the reservation has not been viewed by any staff member.
- Check by date: Under “Waitlist,” select the date of the reservation. Tap the date field to show the calendar or use the left and right arrows to search for the date manually. Unopened bookings have a blue dot to indicate that the reservation has not been viewed by any staff member.
- Select the reservation that you want to attend.
- Tap Attend.
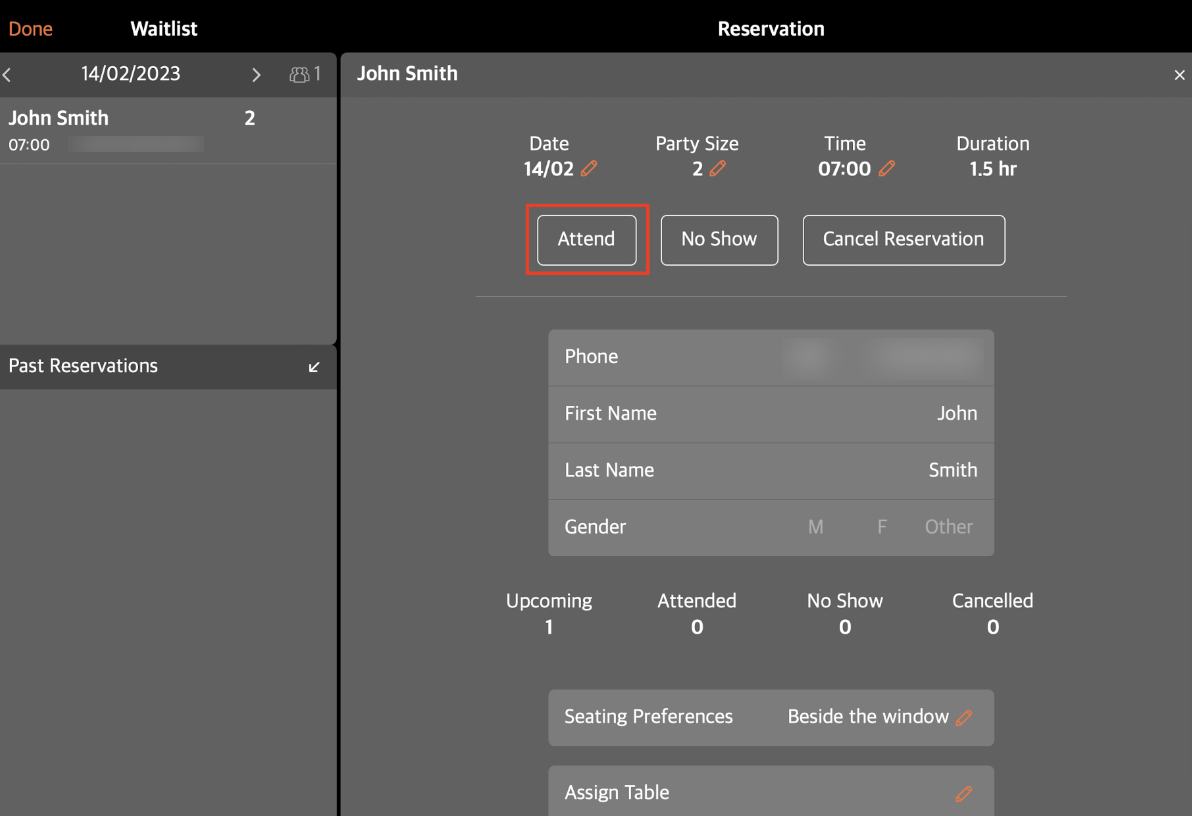
- If you haven’t assigned a table to the booked reservation and have the "Assign Table" function enabled on the Merchant Portal, you must assign a table to the party after selecting Attend.
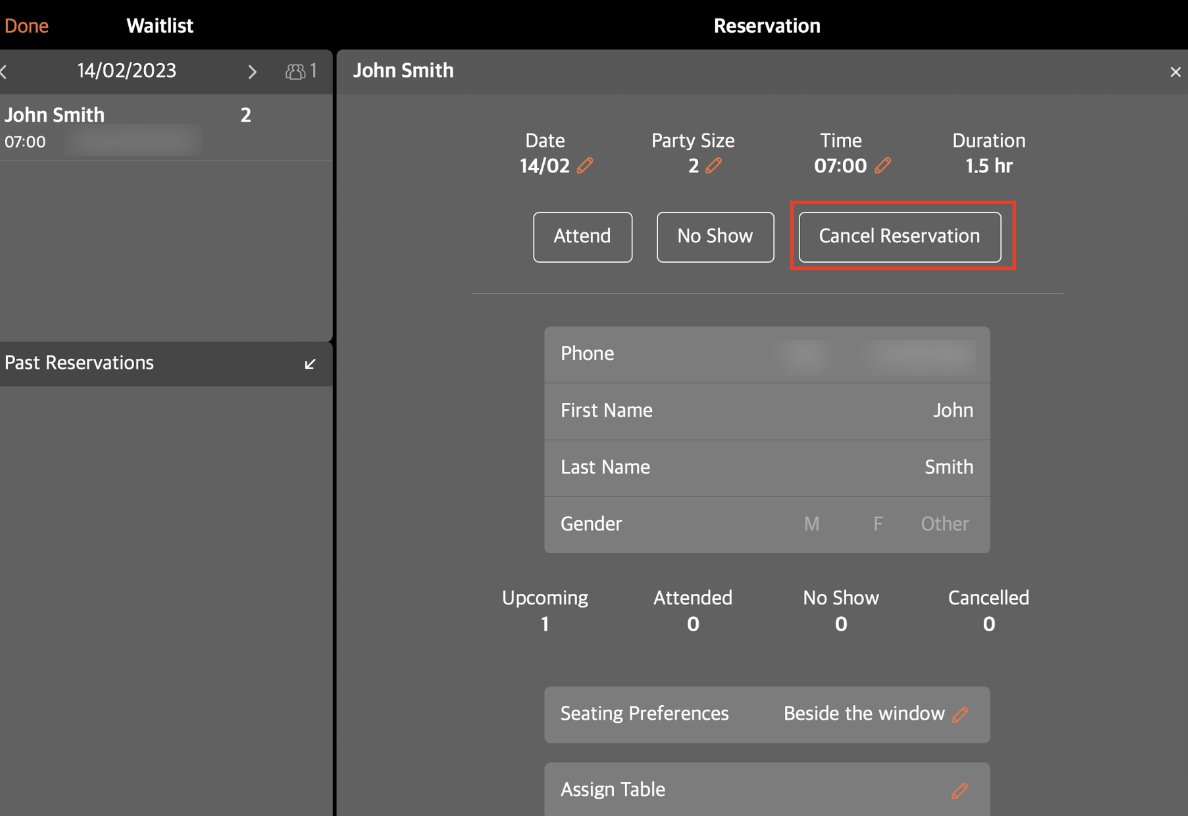
Cancel Reservation
To cancel a reservation, follow the steps below:
- Log in to the Eats365 POS.
- At the top left, tap Dine-In to get to the Table Map screen.
Tip: You can set the Table Map screen as the default view from the General Preferences settings, so you won’t need to tap Dine-In every time you log in. - At the top right, tap Reservation .
- At the top left, select the reservation booking you want to cancel.
- Check by date: Under “Waitlist,” select the date of the reservation. Tap the date field to show the calendar or use the left and right arrows to search for the date manually. Unopened bookings have a blue dot to indicate that the reservation has not been viewed by any staff member.
- Check new bookings: Tap Unread Reservations to open the list of bookings that haven’t been viewed. Unopened bookings have a blue dot to indicate that the reservation has not been viewed by any staff member.
- Check by date: Under “Waitlist,” select the date of the reservation. Tap the date field to show the calendar or use the left and right arrows to search for the date manually. Unopened bookings have a blue dot to indicate that the reservation has not been viewed by any staff member.
- Select the reservation that you want to cancel.
- Tap Cancel Reservation.
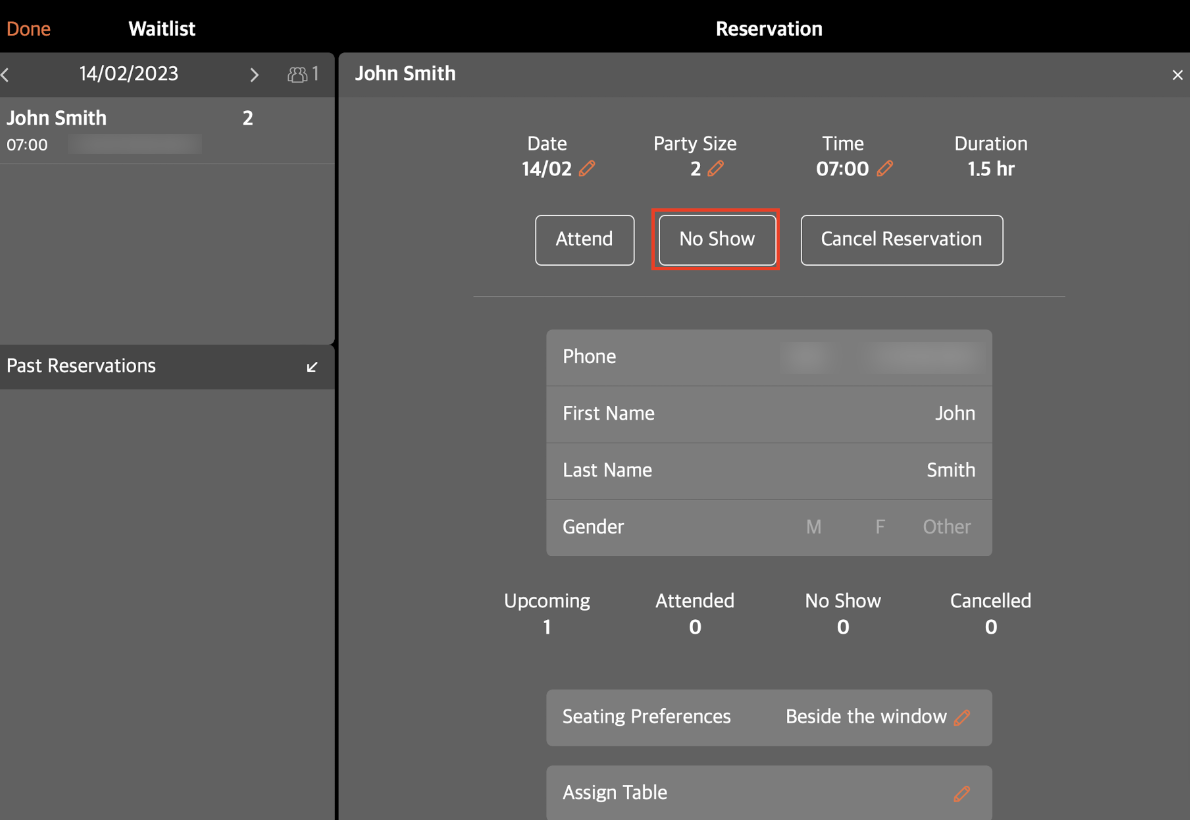
Tag a reservation as No Show
If a party doesn’t show up for their reservation, you can tag the booking as "No Show" on the POS.
To tag a reservation as a "No Show," follow the steps below:
- Log in to the Eats365 POS.
- At the top left, tap Dine-In to get to the Table Map screen.
Tip: You can set the Table Map screen as the default view from the General Preferences settings, so you won’t need to tap Dine-In every time you log in. - At the top right, tap Reservation .
- At the top left, select the reservationbooking that you want to tag as "No Show."
- Check by date: Under “Waitlist,” select the date of the reservation. Tap the date field to show the calendar or use the left and right arrows to search for the date manually. Unopened bookings have a blue dot to indicate that the reservation has not been viewed by any staff member.
- Check new bookings: Tap Unread Reservations to open the list of bookings that haven’t been viewed. Unopened bookings have a blue dot to indicate that the reservation has not been viewed by any staff member.
- Check by date: Under “Waitlist,” select the date of the reservation. Tap the date field to show the calendar or use the left and right arrows to search for the date manually. Unopened bookings have a blue dot to indicate that the reservation has not been viewed by any staff member.
- Select the reservation that you’re tagging as “No Show.”
- Tap No Show.
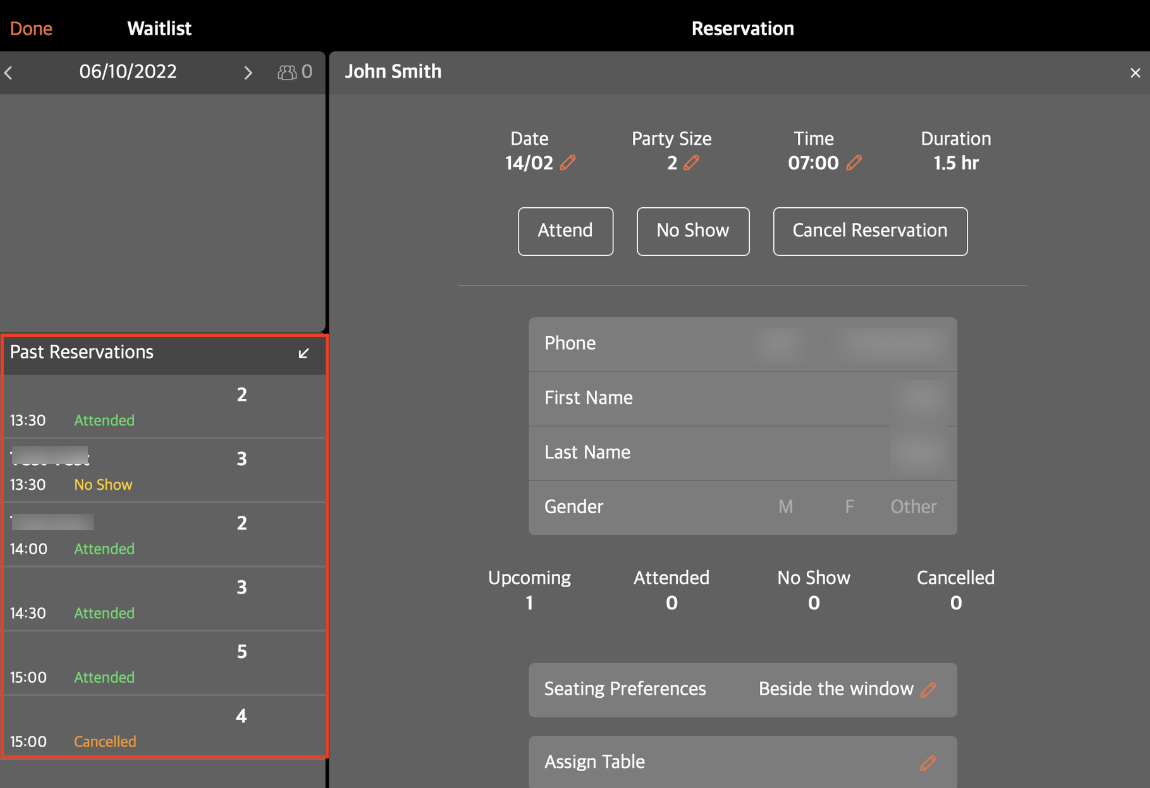
Check past reservations
If you need to check on a past reservation, follow the steps below:
- Log in to the Eats365 POS.
- At the top left, tap Dine-In to get to the Table Map screen.
Tip: You can set the Table Map screen as the default view from the General Preferences settings, so you won’t need to tap Dine-In every time you log in. - At the top right, tap Reservation .
- At the top left, Under “Waitlist,” select the date when the reservation you want to check was booked.
- Tap the date field to show the calendar or use the left and right arrows to search for the date manually.
- Under “Past Reservations,” you can find all past reservations made on that day. Select the reservation that you want to check.