 Eats365 Products
 Merchant Guide
 Modules
 Membership
 Integrations
 Hardware
 Staff Operations
 Roles & Permissions
 Payments
 Reports
 What’s New
 Release Notes
 Troubleshooting
 Simulators
 Glossary
 Troubleshooter
 System Status
eSignage
Table of Contents
Set up and install eSignage
Learn about eSignage features, setup instructions, and Merchant Portal information.
The eSignage module offers a versatile solution for streamlining communication and workflow within your restaurant. By strategically configuring paired devices, you can transform ordinary screens into valuable information hubs. Display real-time queue numbers in the waiting area to manage customer expectations and reduce confusion. At the pickup station, a dedicated screen can flash prominent visual alerts when orders are ready for pickup, ensuring timely delivery and preventing bottlenecks at the counter. The eSignage's adaptability allows you to tailor these information displays to your specific needs, resulting in a smoother and more efficient operation. To learn more about eSignage, visit eats365pos.com.
In this article, you’ll learn how to install, pair, and unpair eSignage, and manage its settings.
Before you start
To get your device ready to install eSignage, make sure you have the following ready:
- An Android or an Apple TV-supported device connected to a stable internet connection
Note: The Digital Board mode isn't supported on the Android eSignage. - An Eats365 eSignage license
- An Eats365 Expedite Display (to call completed orders for pickup)
- A Eats365 POS terminal
- Install eSignage
To install eSignage, follow the steps below:
Android TV
- On your Android TV, open the Google Play Store
 .
. - Search for "Eats365 Signage."
- From the search results, select Eats365 Signage, then tap Install. Once the download is complete, you can find the Eats365 Signage app on your device.

Apple TV
- On your Apple TV, open the Apple App Store
 .
. - Search for “Eats365 eSignage.”
- From the search results, select Eats365 eSignage, then tap Get. Once the download is complete, you can find the Eats365 Signage app on your device.
Pair eSignage to the POS terminal
To pair eSignage to the POS terminal, follow the steps below:
- On your Android or Apple TV, open the Eats365 eSignage app. A QR Code appears as soon as the app is launched. The POS uses this code to recognize the device.

- On the POS terminal, log in to the Eats365 POS.
- At the top left, tap Settings
 .
. - Under "General," tap Device Pairing, then tap e-Signage.
- Tap Scan QR Code. The POS terminal’s camera turns on.

- Align the eSignage QR code to the POS terminal’s camera.
- Once the QR code is successfully scanned, the screen redirects to a page where you can configure your eSignage basic settings. You can customize the eSignage settings now or do this later. For more information, refer to Configure eSignage settings.

- At the top right, tap Pair Device to confirm.

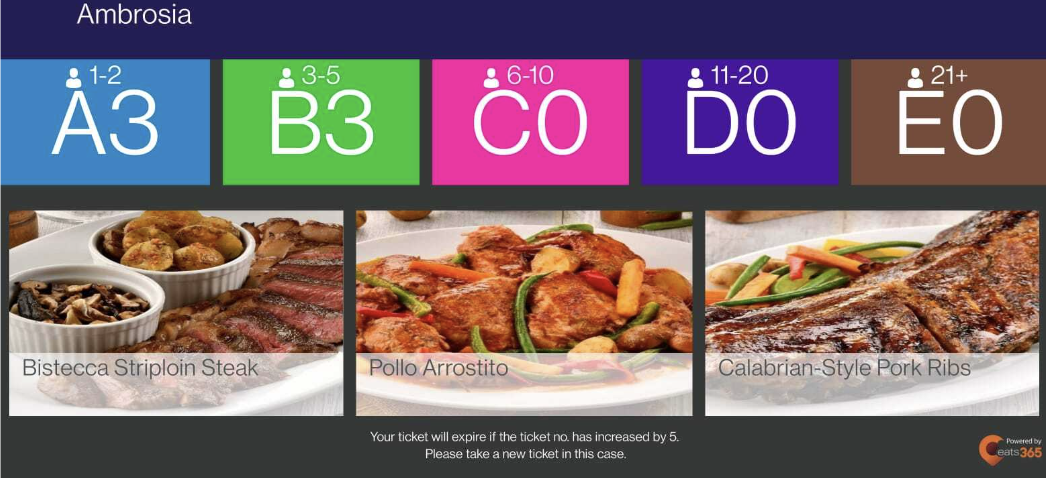
Once the eSignage is paired with the POS, the eSignage shows either Queue Ticket Kiosk information or orders that are ready for pick up based on the selected Mode of Operation.
Pick Up Display
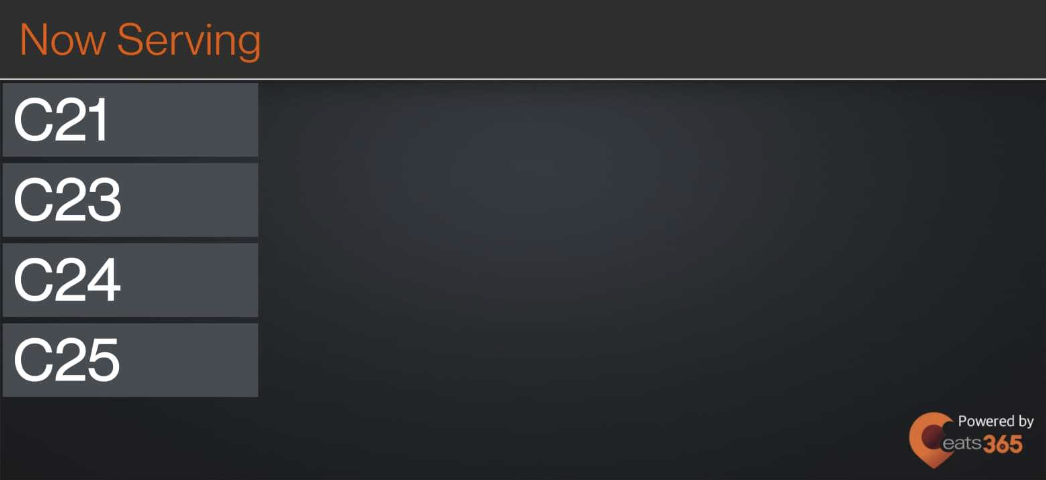
Queue Kiosk
Unpair eSignage from the POS app
To remove the eSignage from the POS app, follow the steps below:
- On the POS terminal, log in to the Eats365 POS.
- At the top left, tap Settings .
- Under "General," tap Device Pairing, then tap e-Signage.
- Select the eSignage device that you’d like to unpair.

- At the top right, tap Unpair Device.

- Tap Delete to confirm.
Once the eSignage is unpaired from the POS, the eSignage, including its configurations, is deleted. When you pair the device again, you must configure the settings to your preferences again.