 Eats365 Products
 Merchant Guide
 Modules
 Membership
 Integrations
 Hardware
 Staff Operations
 Roles & Permissions
 Payments
 Reports
 What’s New
 Release Notes
 Troubleshooting
 Simulators
 Glossary
 Troubleshooter
 System Status
Menu Setup
Table of Contents
Set up and manage a Kitchen Station
Learn how to create and manage Kitchen Stations to determine where an item goes in the kitchen.
A "Kitchen Station" allows you to specify where an item should be prepared in the kitchen. For example, if you have a “Hot food” section in your kitchen, you can create a matching “Hot Food” kitchen station on the POS and assign items that will be prepared in this section. You can also pair a printer to the kitchen station to print kitchen tickets based on which kitchen station an item is assigned.
In this article, you’ll learn how to add, edit, and delete a kitchen station.
Add a kitchen station
To create a kitchen station, follow the steps below:
Eats365 POS
- Log in to the Eats365 POS.
- At the top left, tap Settings
 .
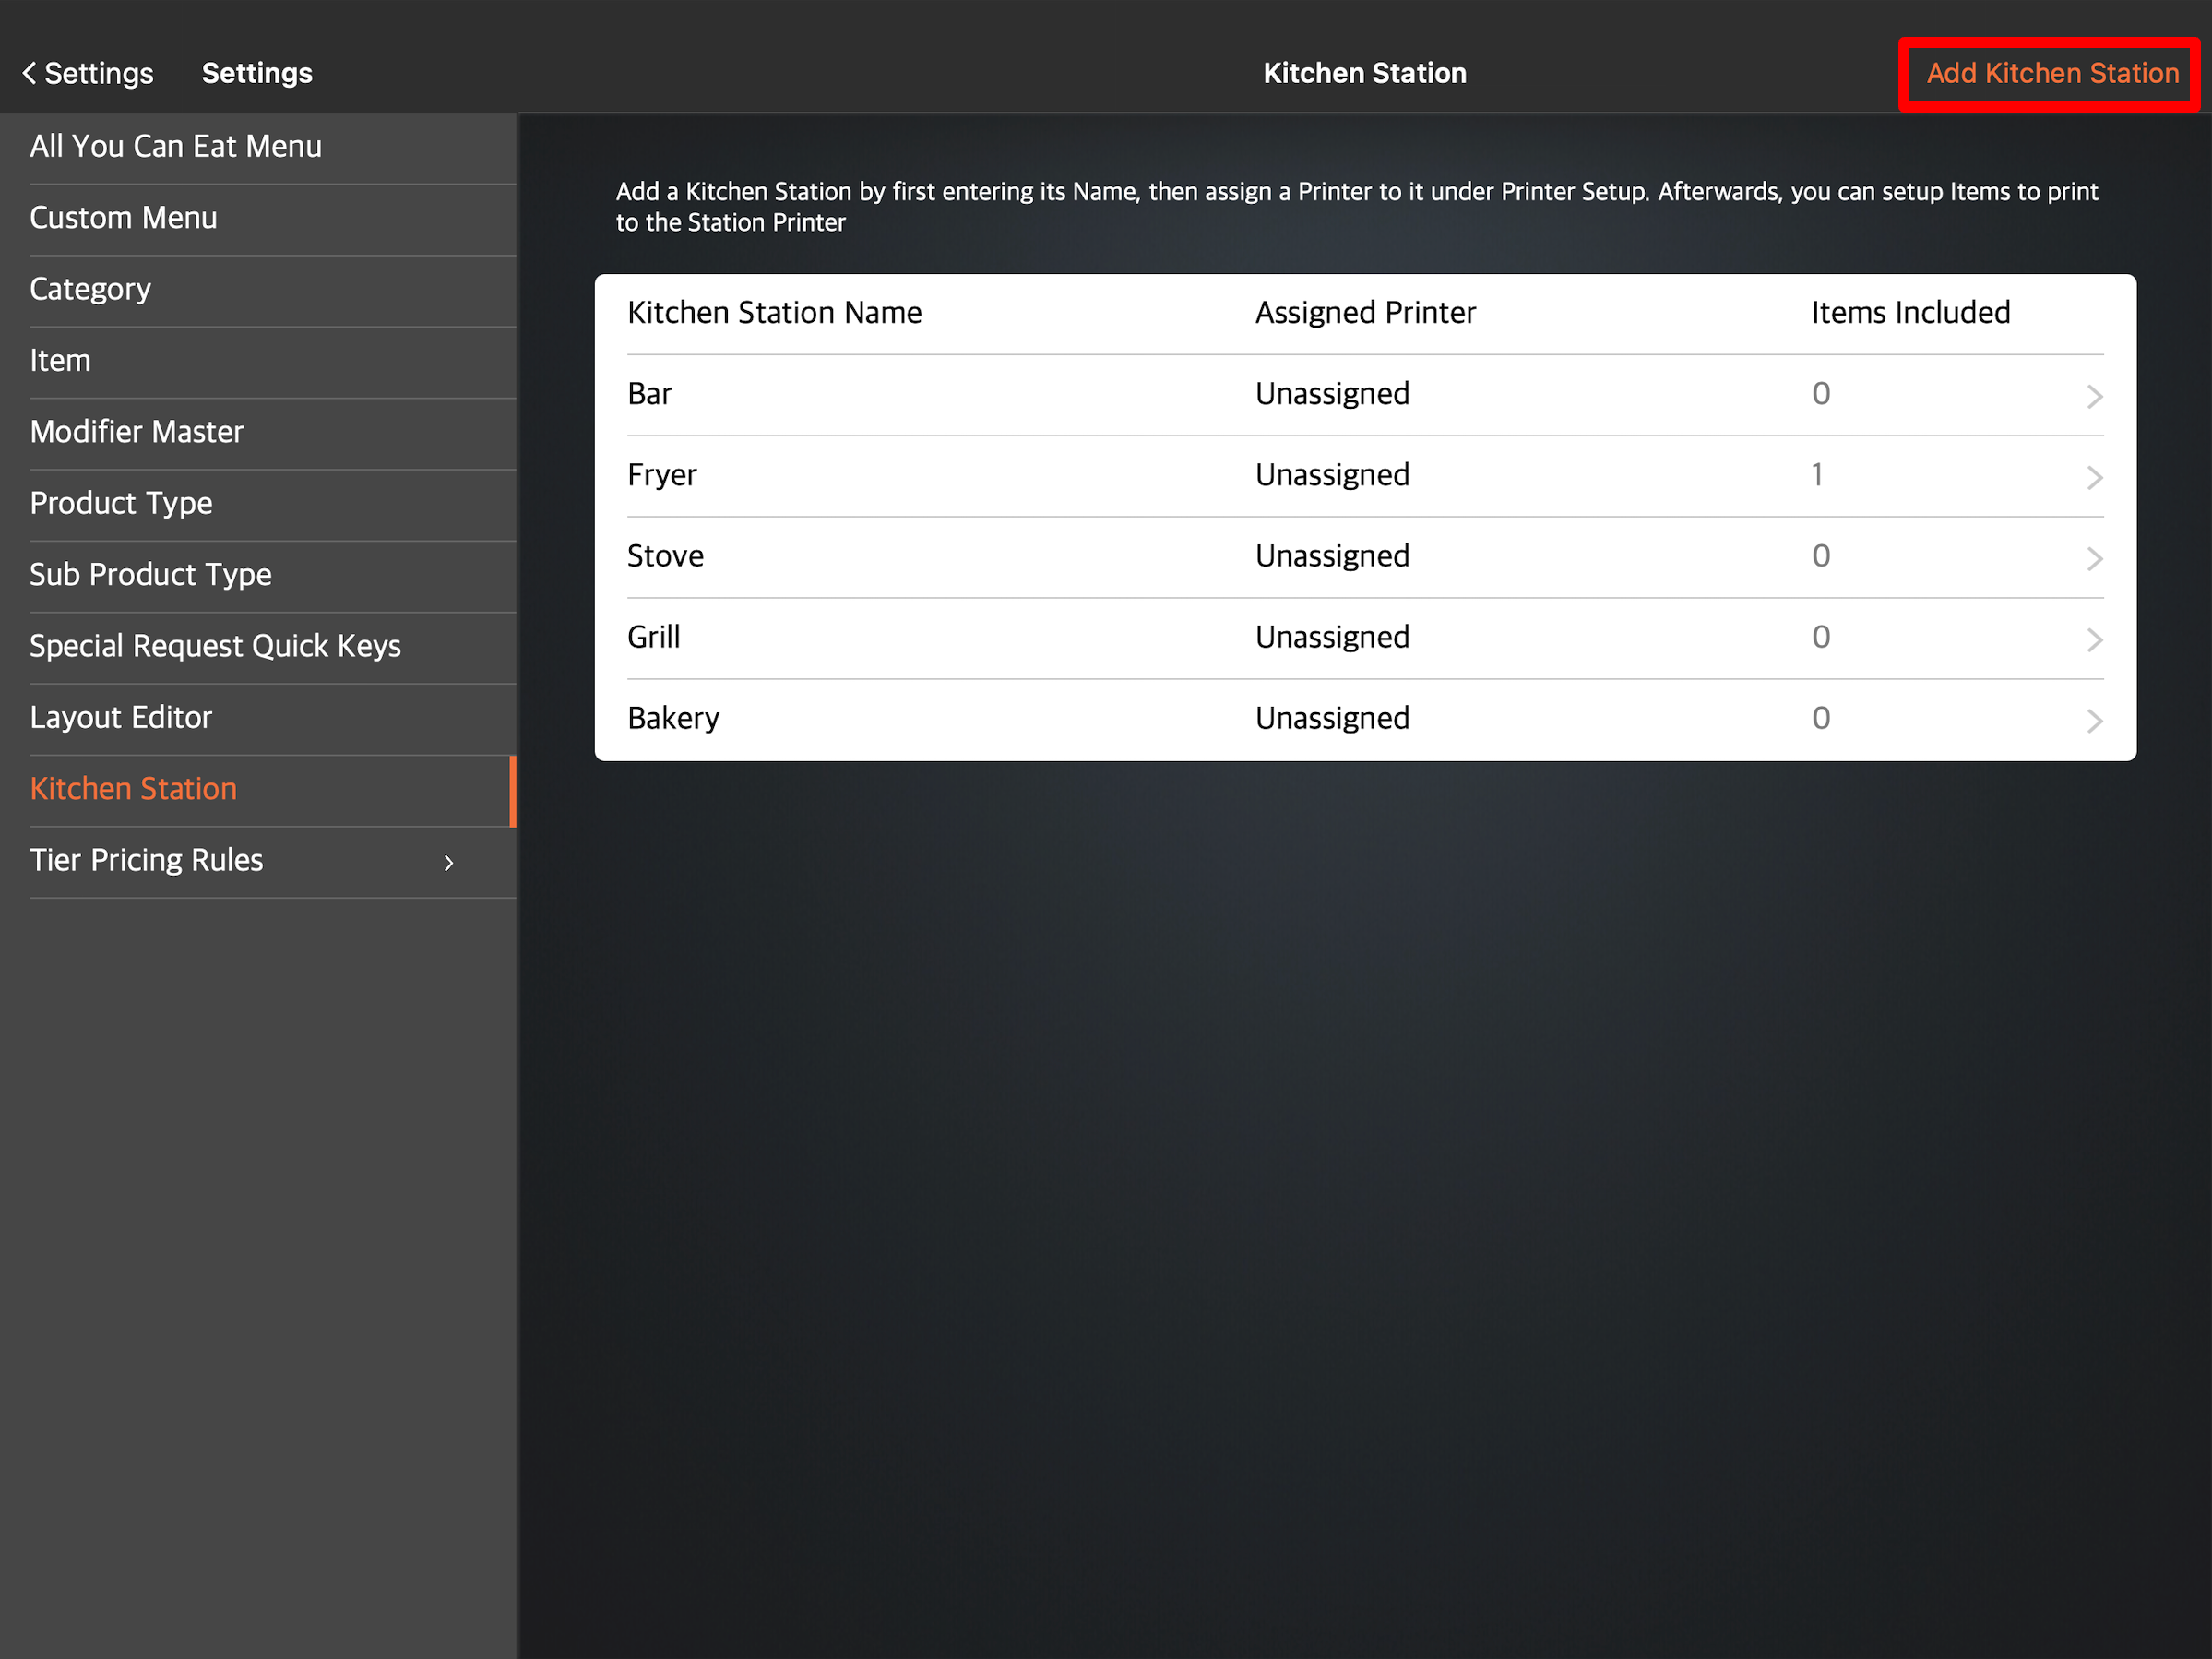
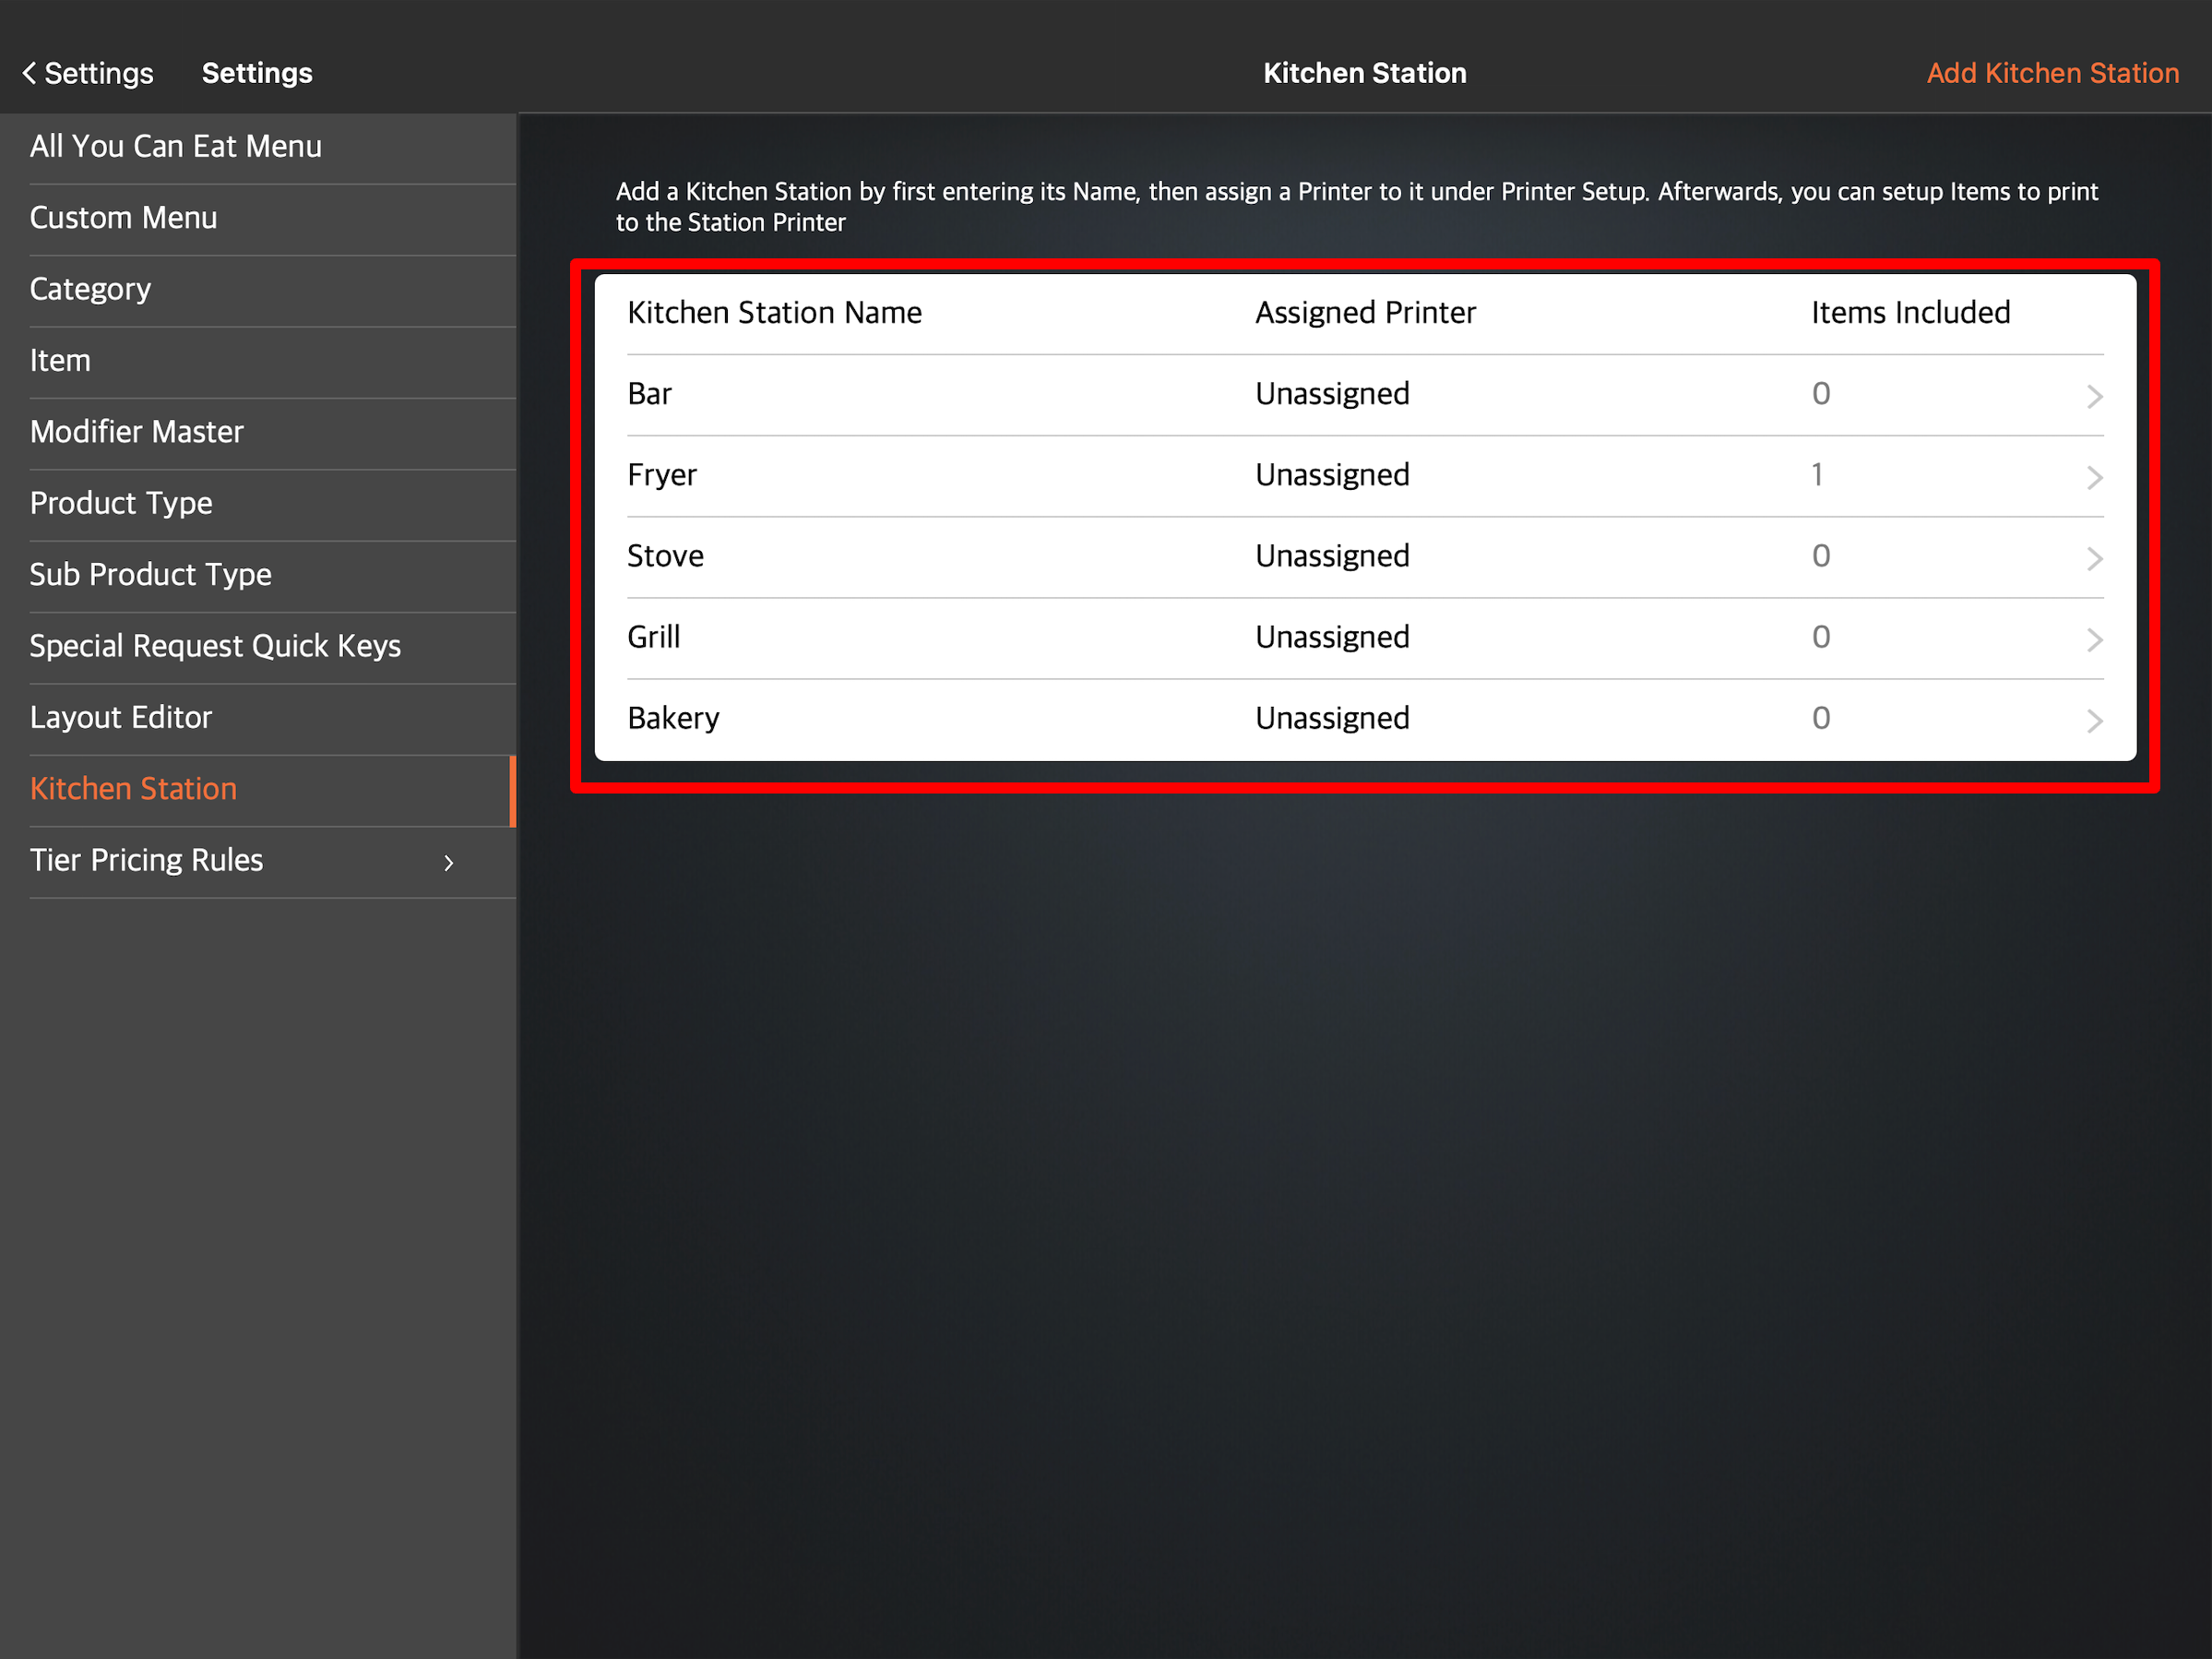
. - Under "General," tap Menu Setup, and then select Kitchen Station.
- At the top right, tap Add Kitchen Station.
- Enter your preferred kitchen station name.
- Tap Add to confirm.
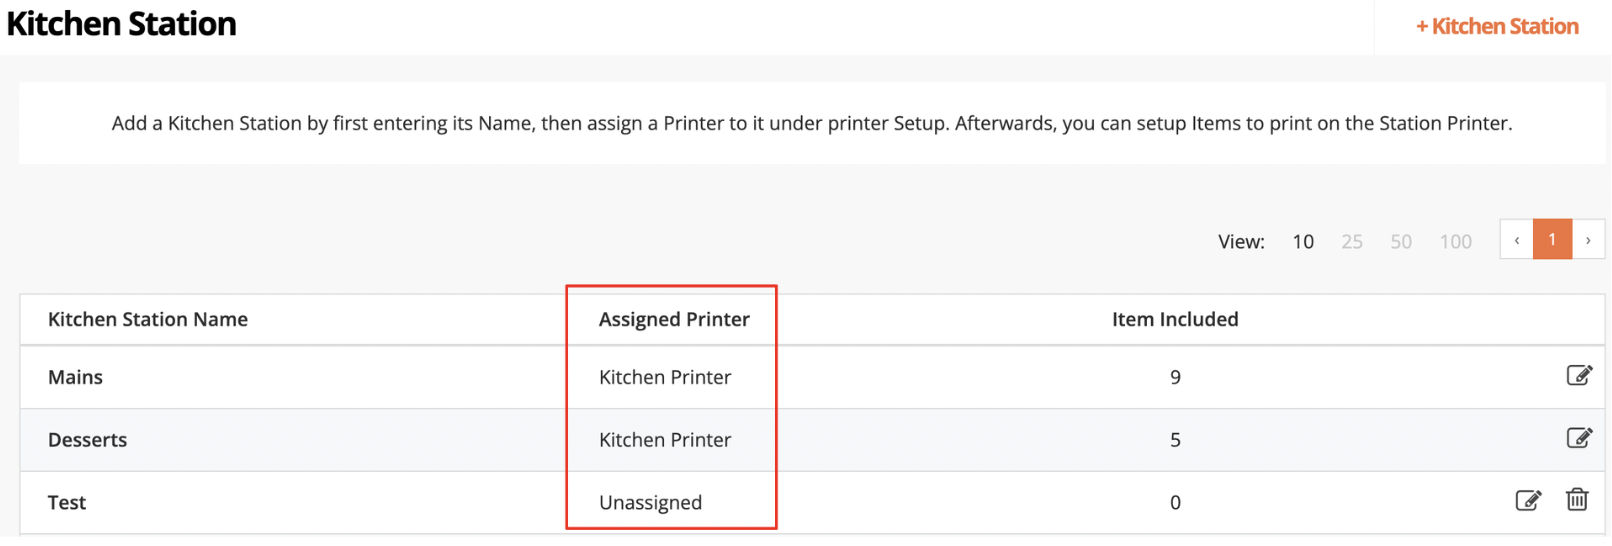
Note: If a printer is linked to a kitchen station, the printer appears under "Assigned Printer."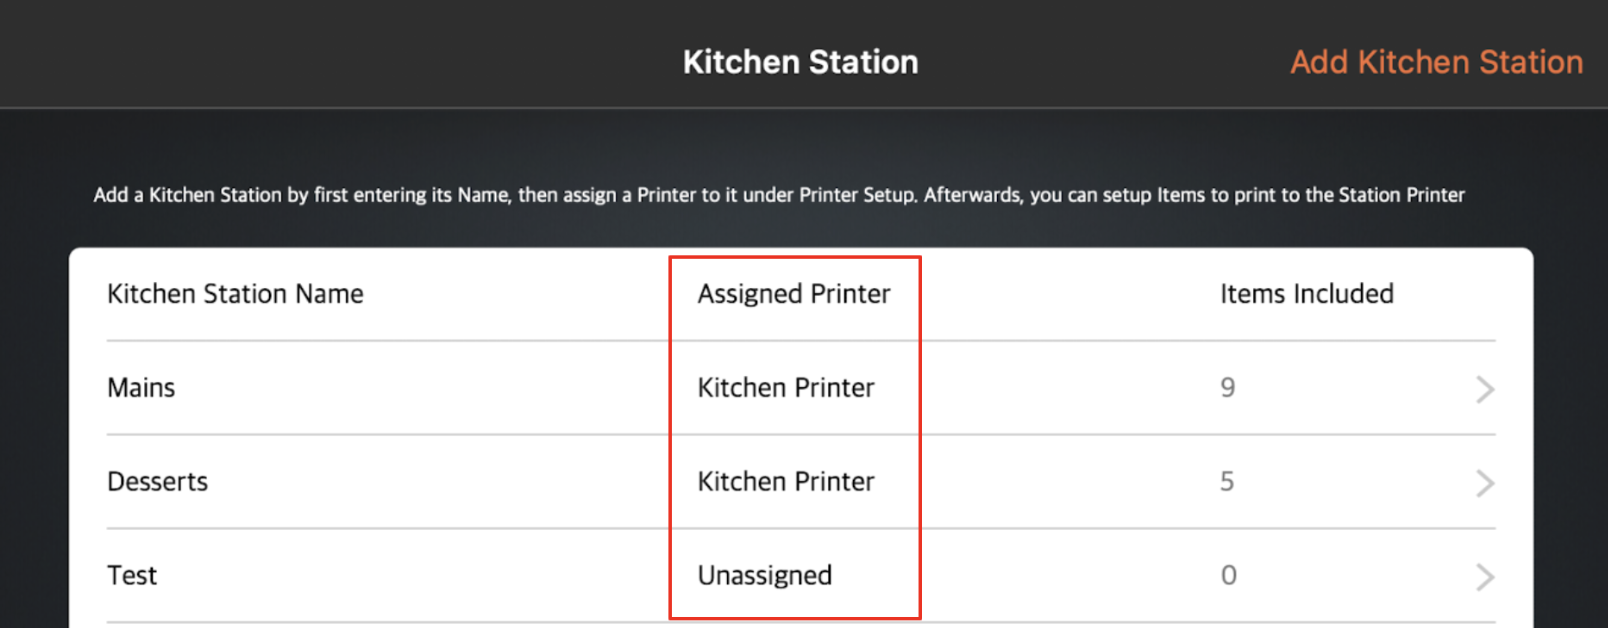
Merchant Portal (Classic Theme)
- Log in to the Merchant Portal.
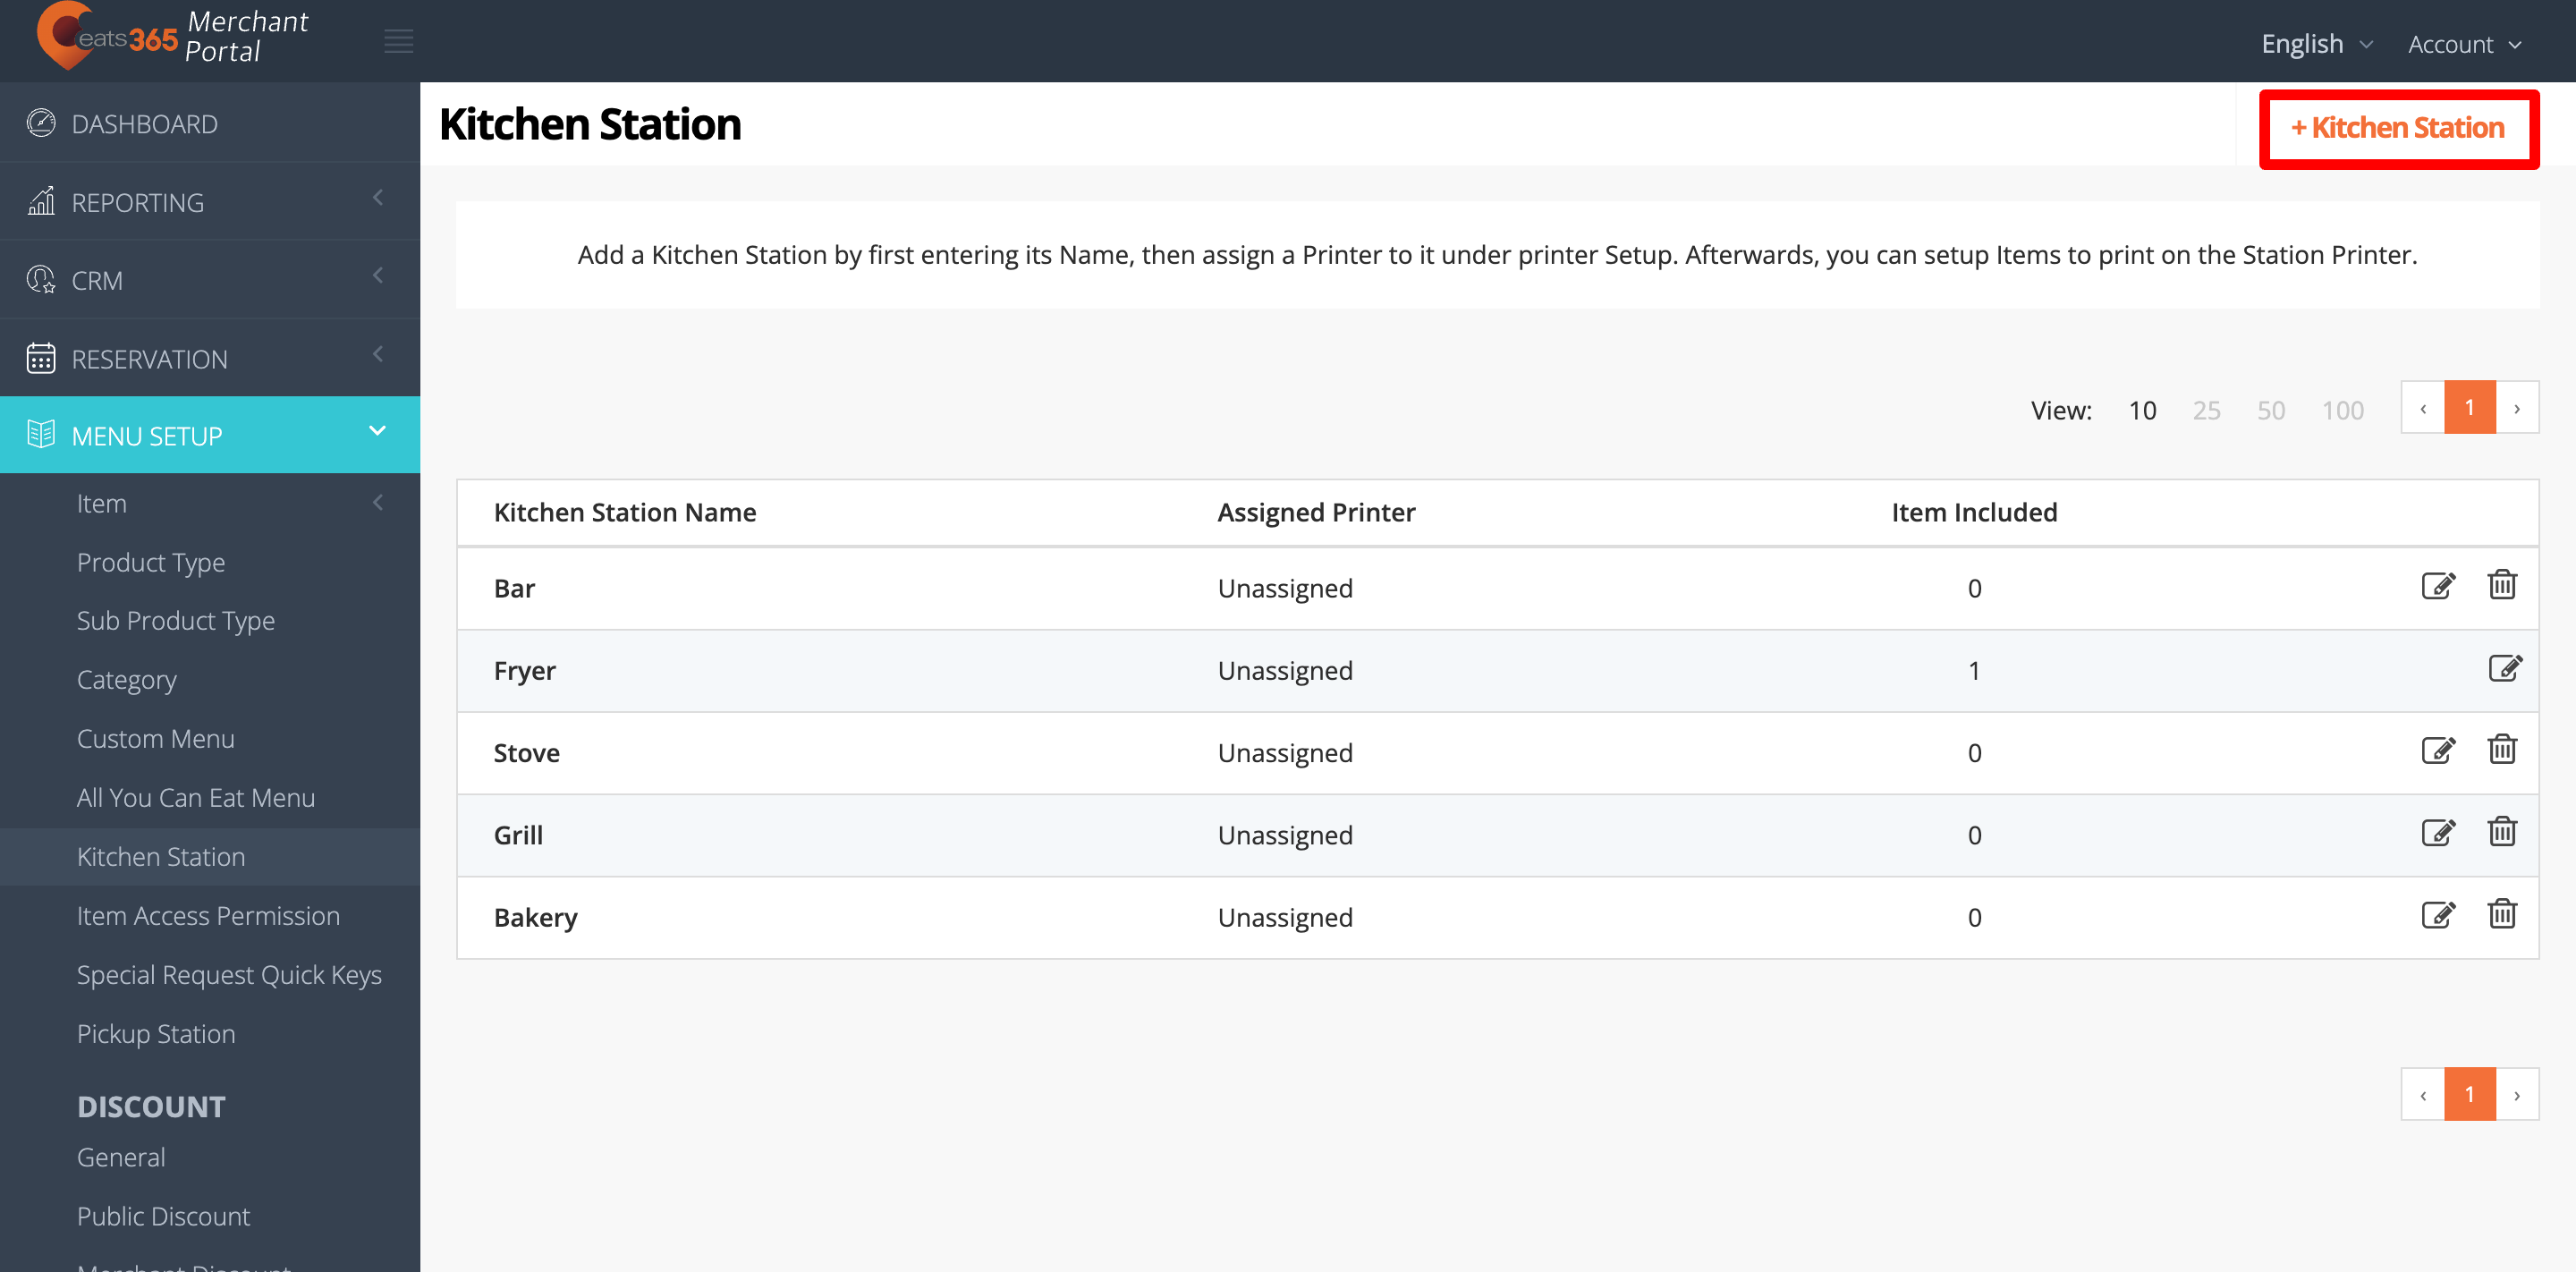
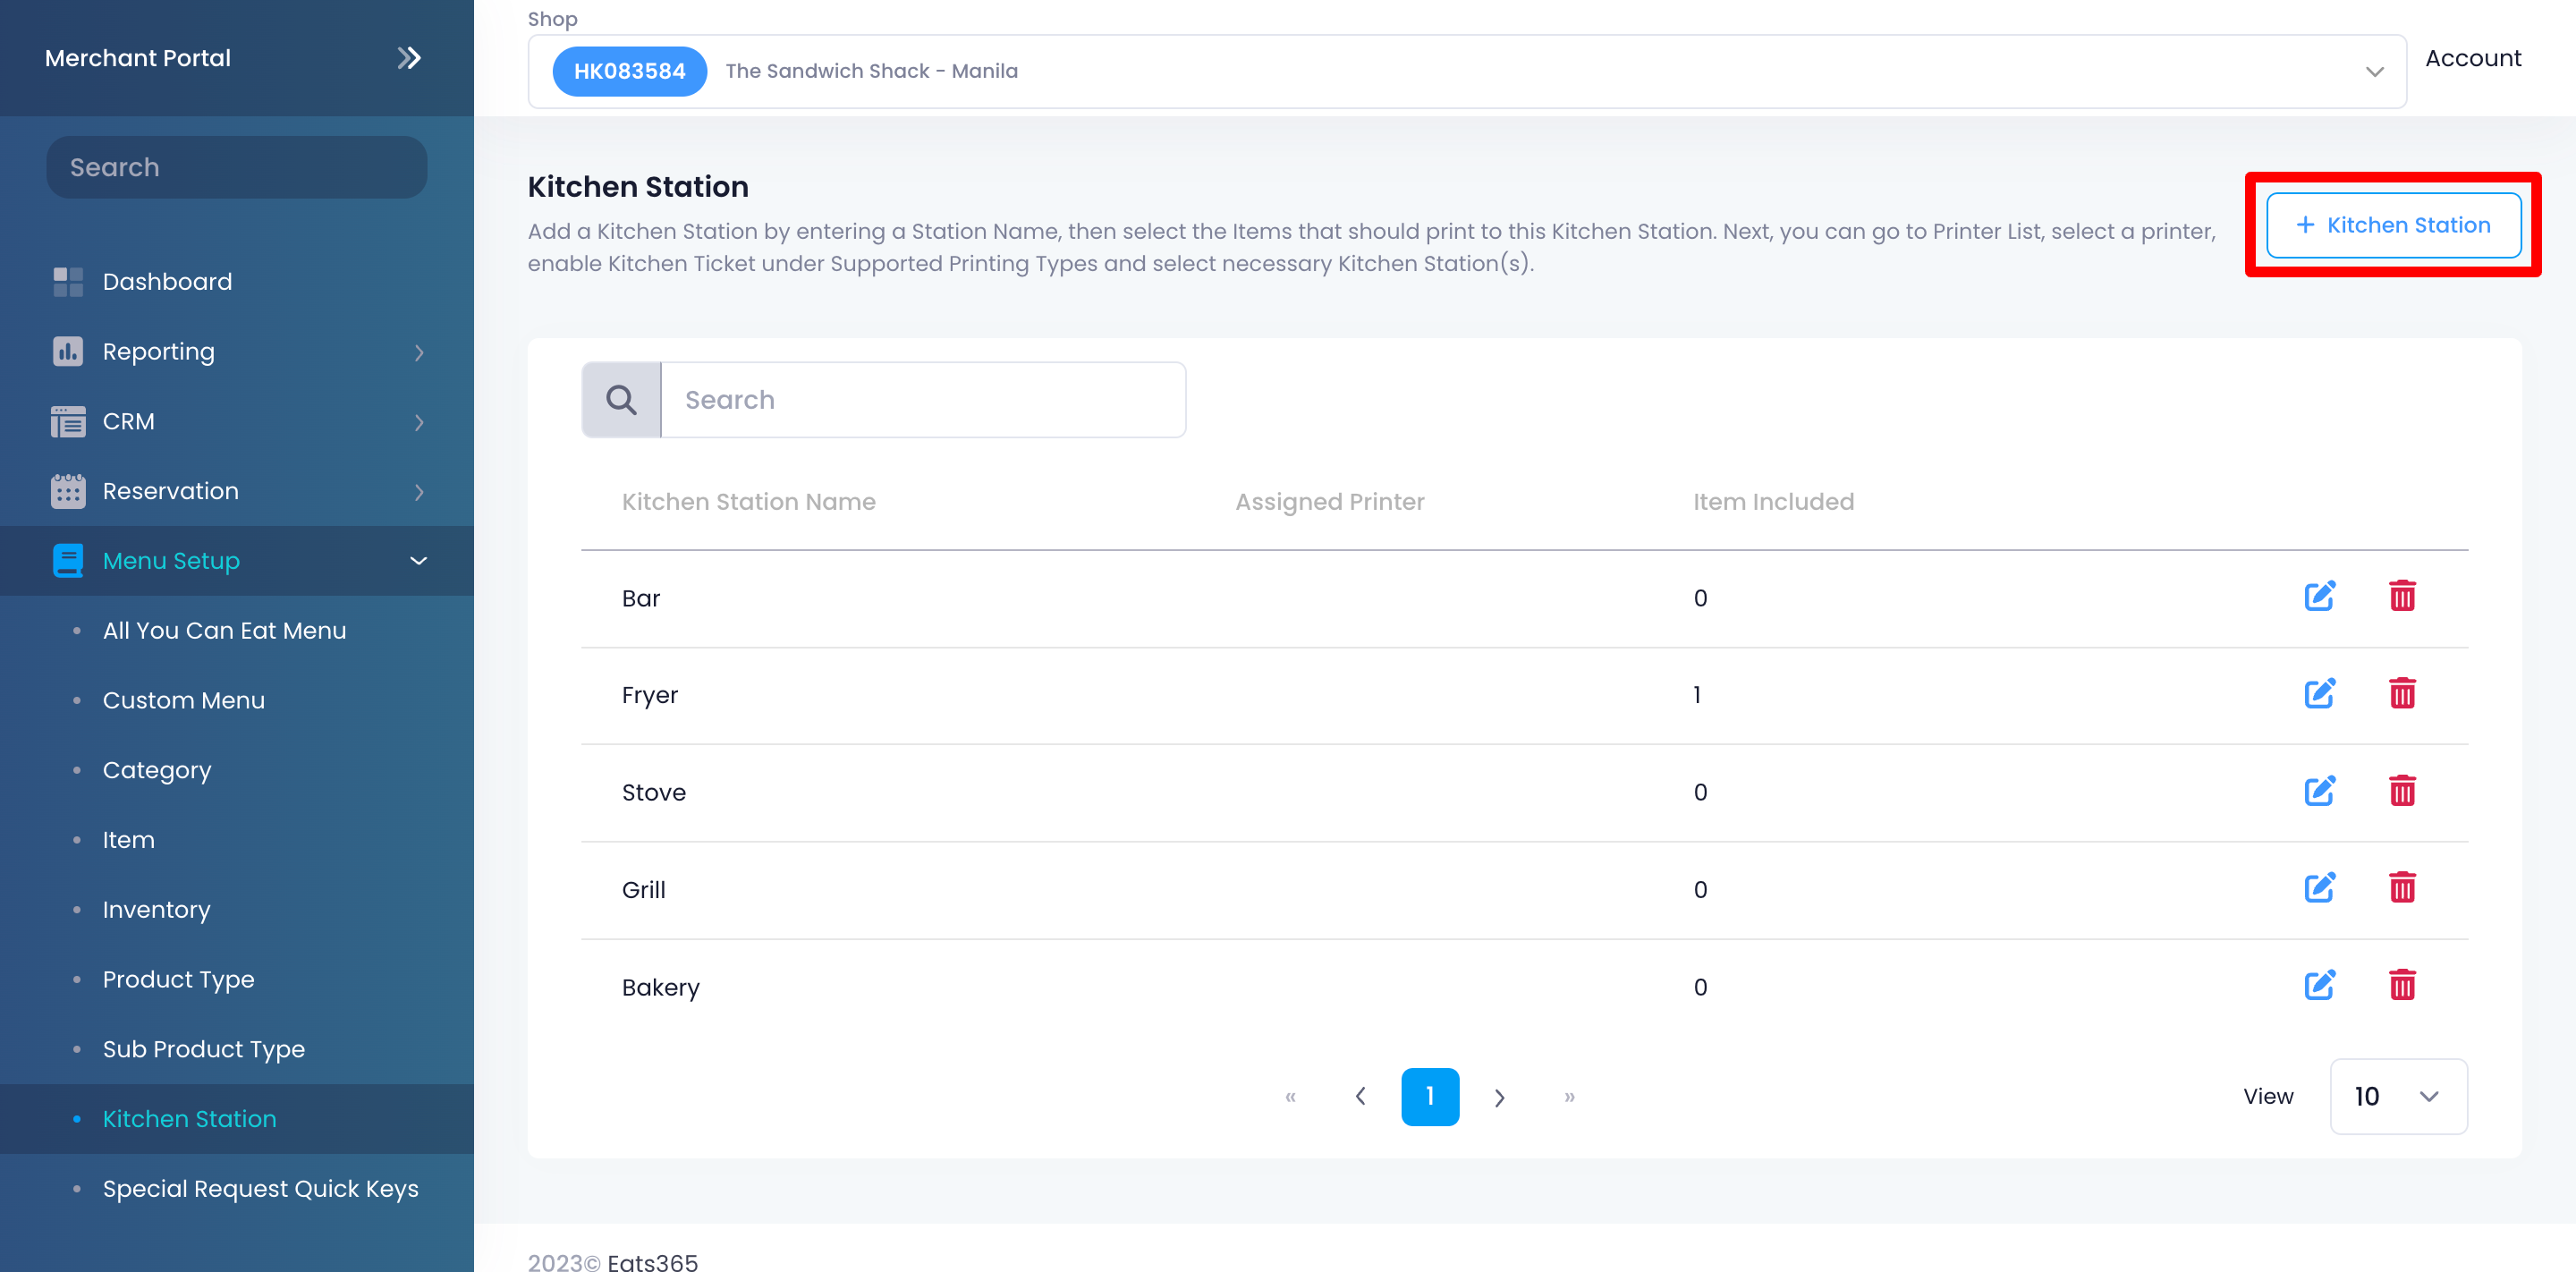
- On the left panel, click on Menu Setup. Then, select Kitchen Station.
- At the top right, click on +Kitchen Station.
- Enter your preferred kitchen station name.
- (Food court restaurants only) Under “Vendor,” select the restaurant you want to assign to the kitchen station.

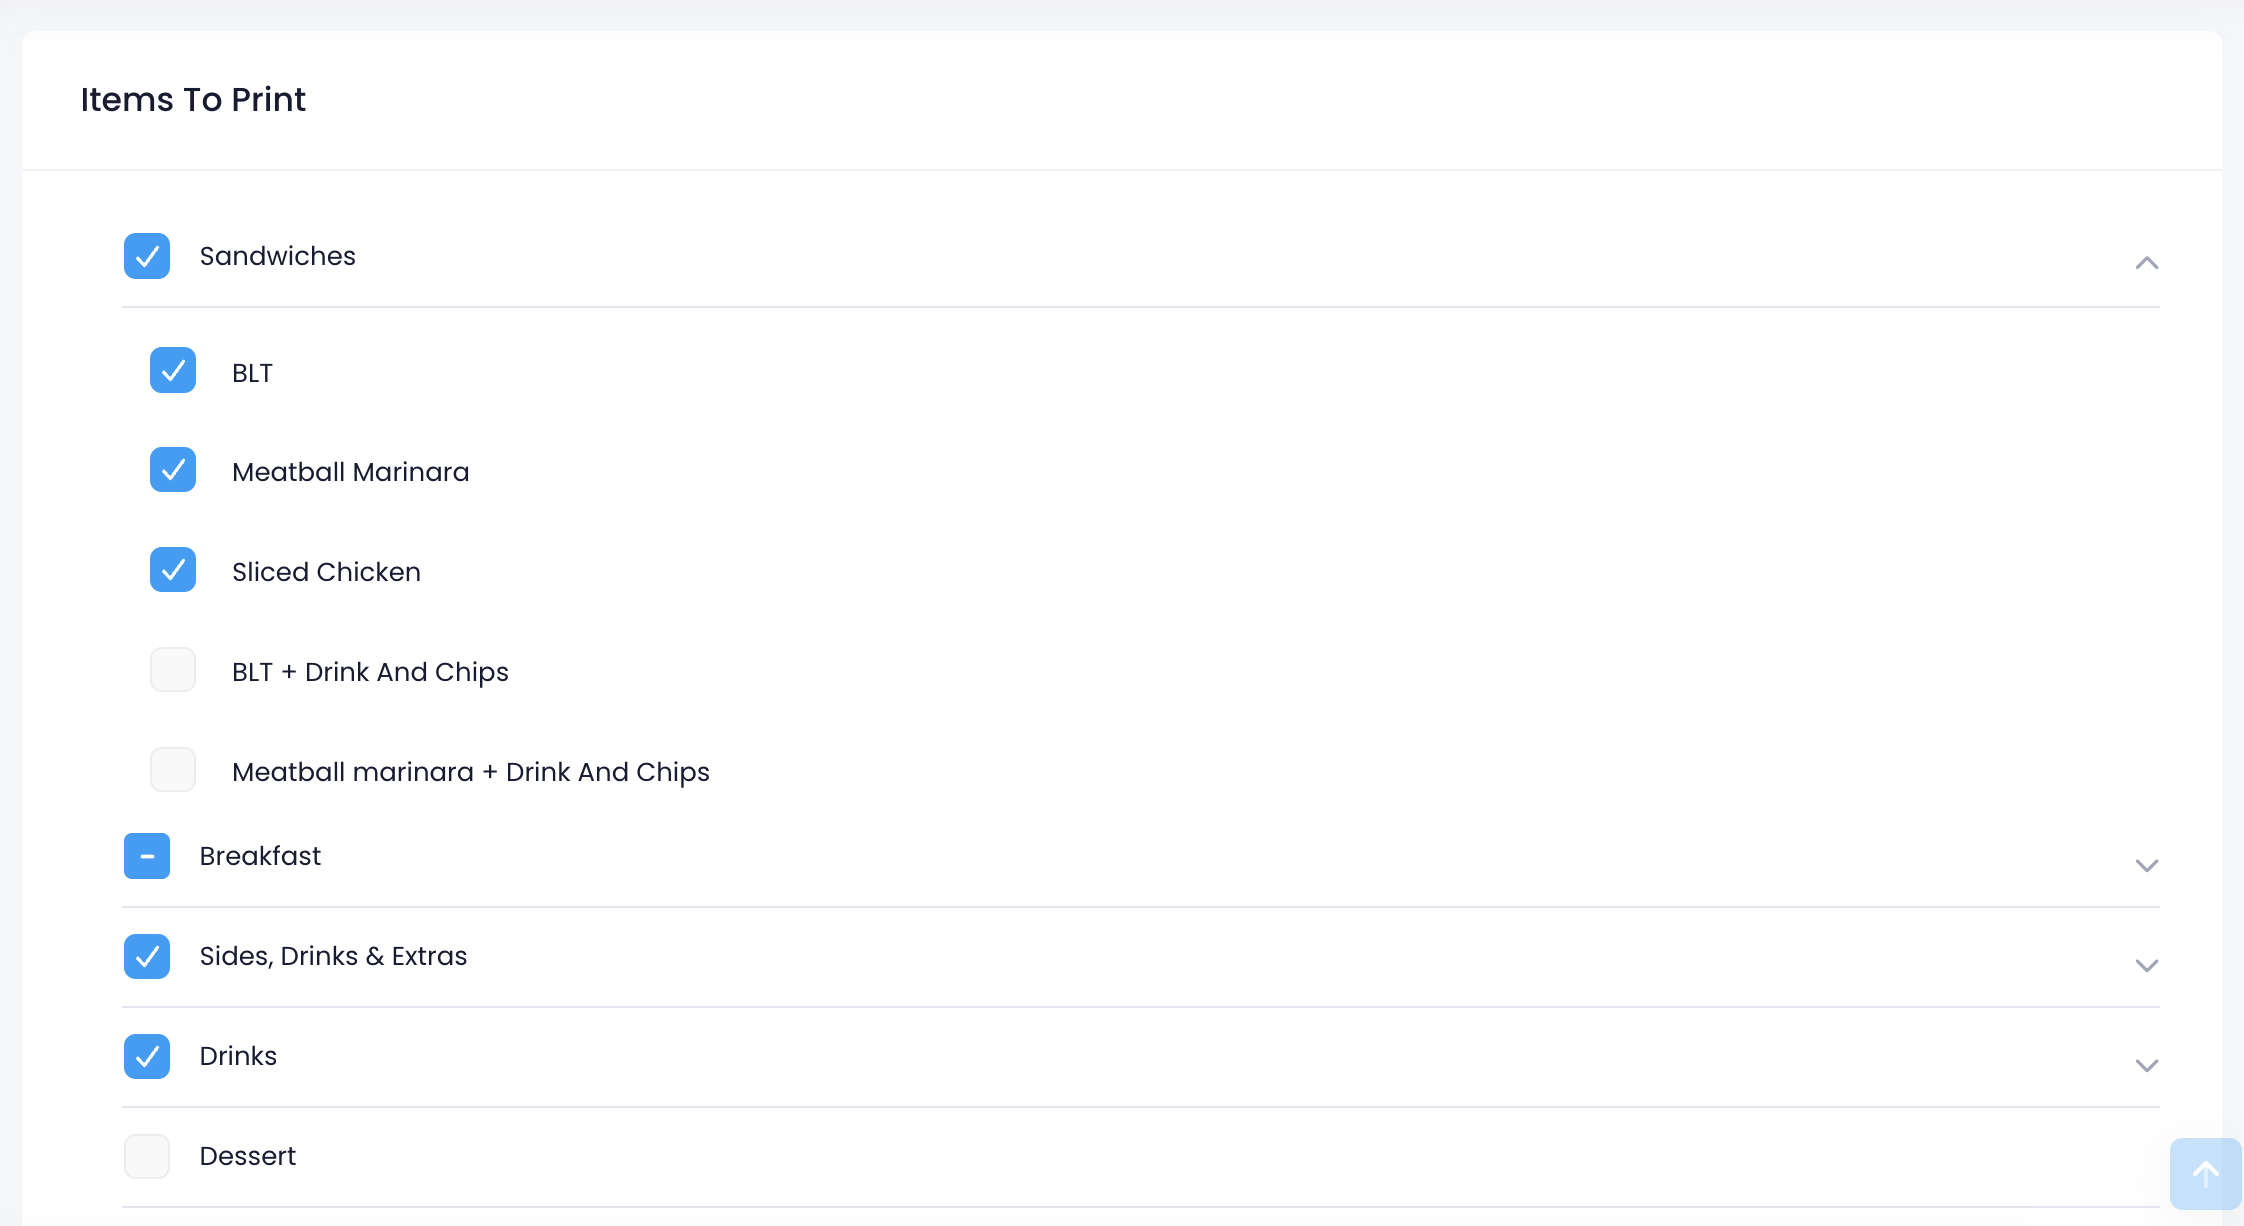
- Under “Items to Print,” select the category or the individual menu items that you’d like to include in the kitchen station. Tap
 to expand or
  to collapse the list.
Tip: You can assign an item to a kitchen station upon setting up the item through the Item settings.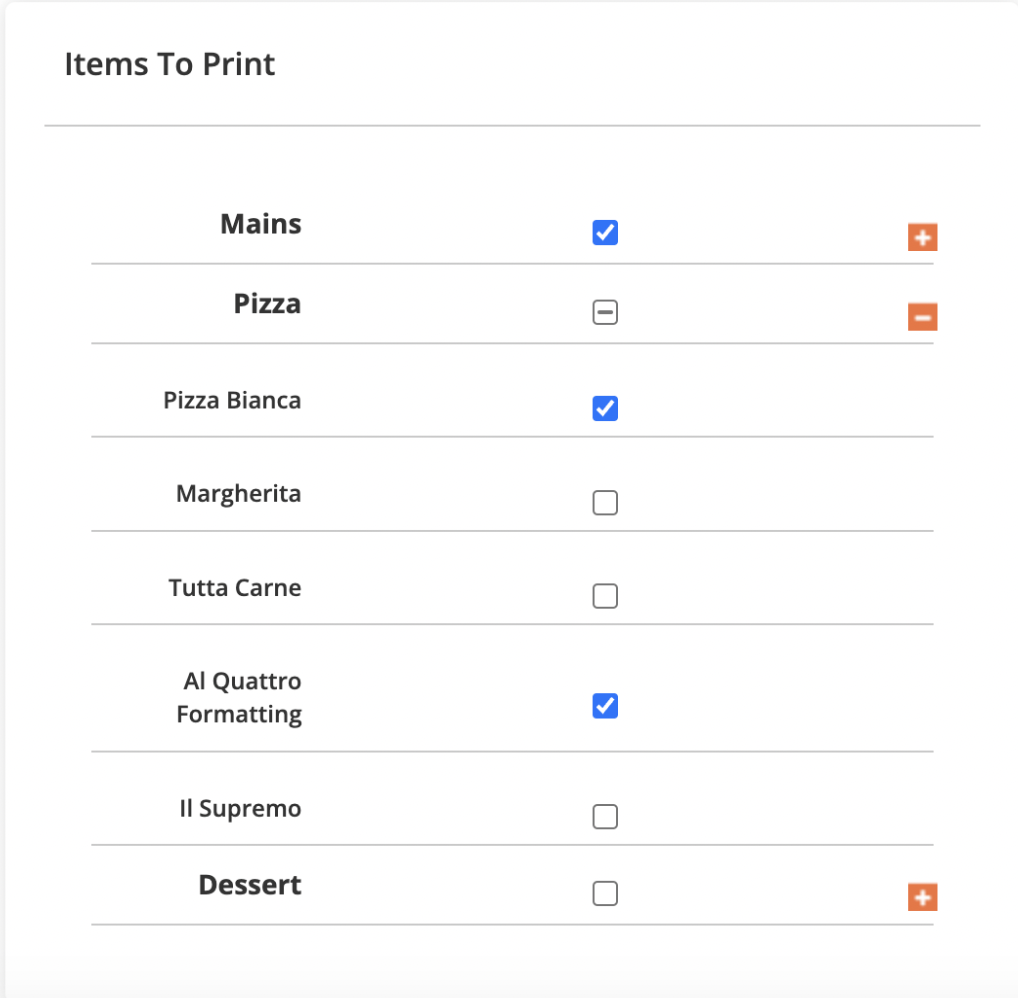
- Click on Save to confirm.
Note: If a printer is linked to a kitchen station, the printer appears under "Assigned Printer."
Merchant Portal 2.0
- Log in to the Merchant Portal.
- On the left panel, click on Menu Setup. Then, select Kitchen Station.
- At the top right, click on +Kitchen Station.
- Enter your preferred kitchen station name.
- (Food court restaurants only) Under “Vendor,” select the restaurant you want to assign to the kitchen station.

- Under “Items to Print,” select the category or the individual menu items that you’d like to include in the kitchen station. Tap the category name to show the items created under that category.
Tip: You can assign an item to a kitchen station upon setting up the item through the Item settings.
- Click on Save to confirm.
Note: If a printer is linked to a kitchen station, the printer appears under "Assigned Printer."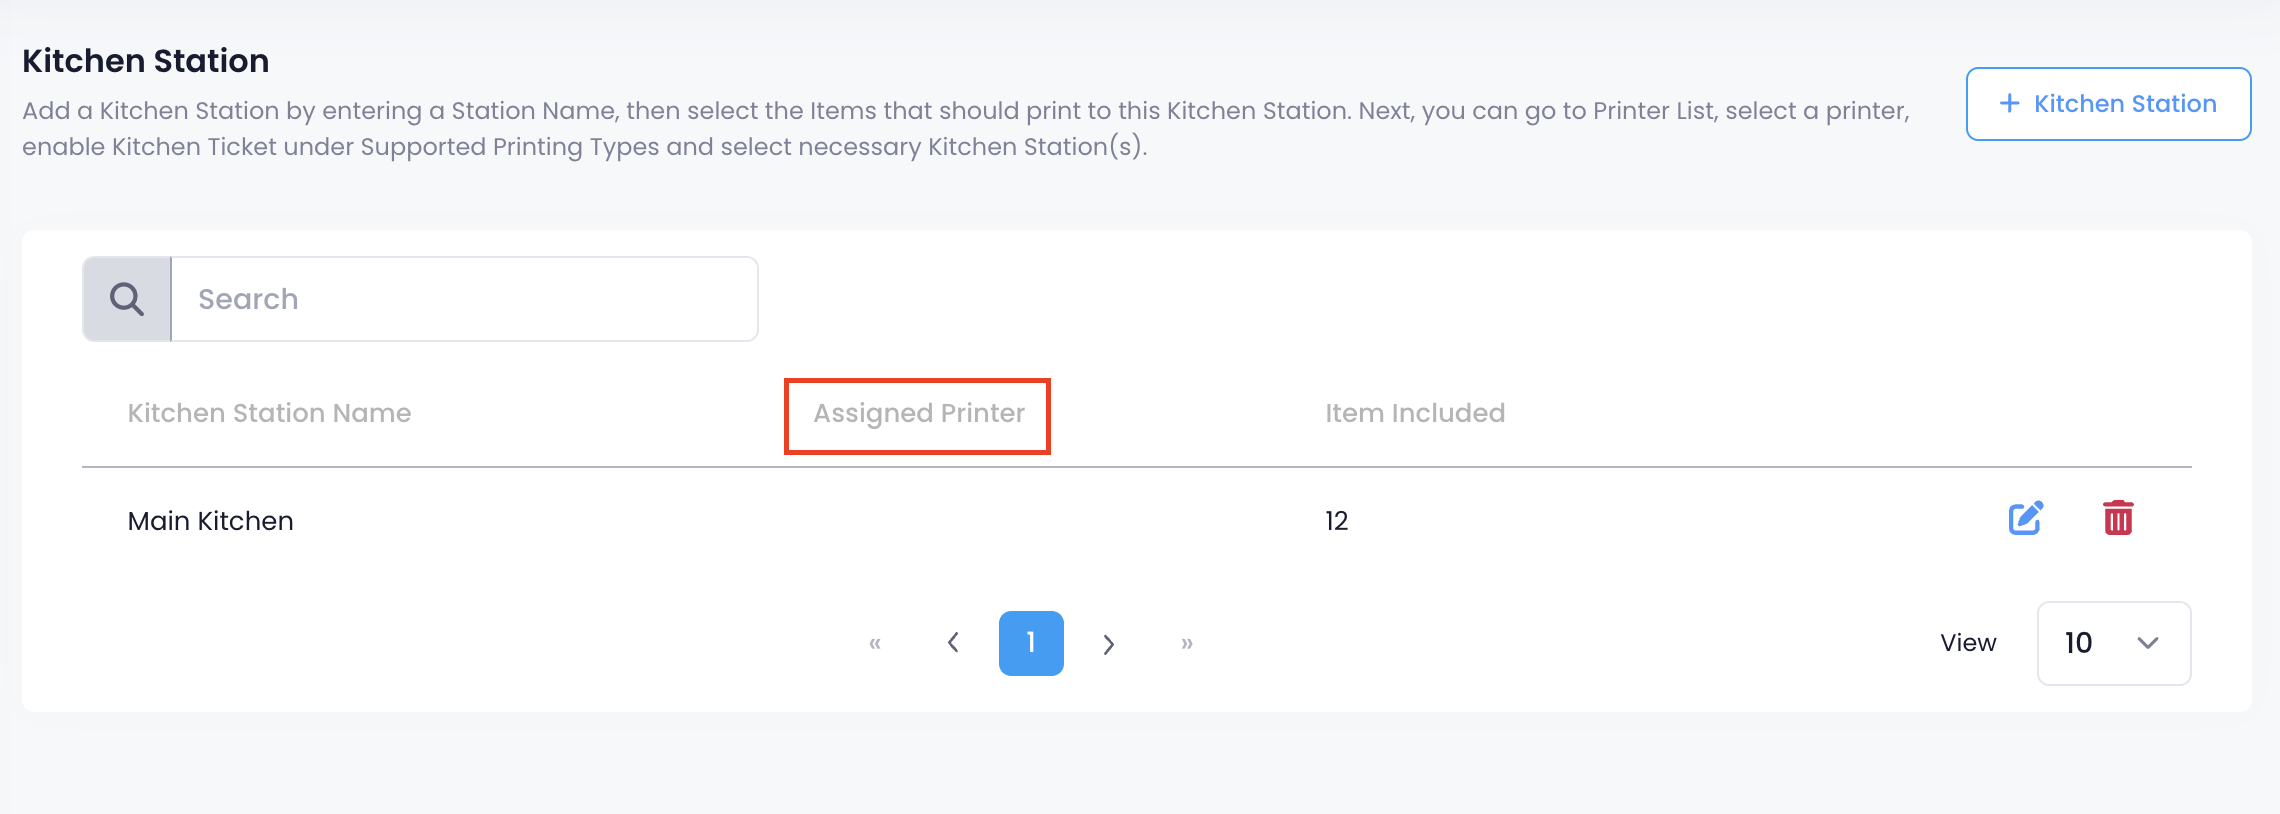
Edit a kitchen station
To modify a kitchen station, follow the steps below:
Eats365 POS
- Log in to the Eats365 POS.
- At the top left, tap Settings .
- Under "General," tap Menu Setup, then select Kitchen Station.
- Tap the kitchen station that you want to edit.
- Update the station name to your preferred kitchen station name.
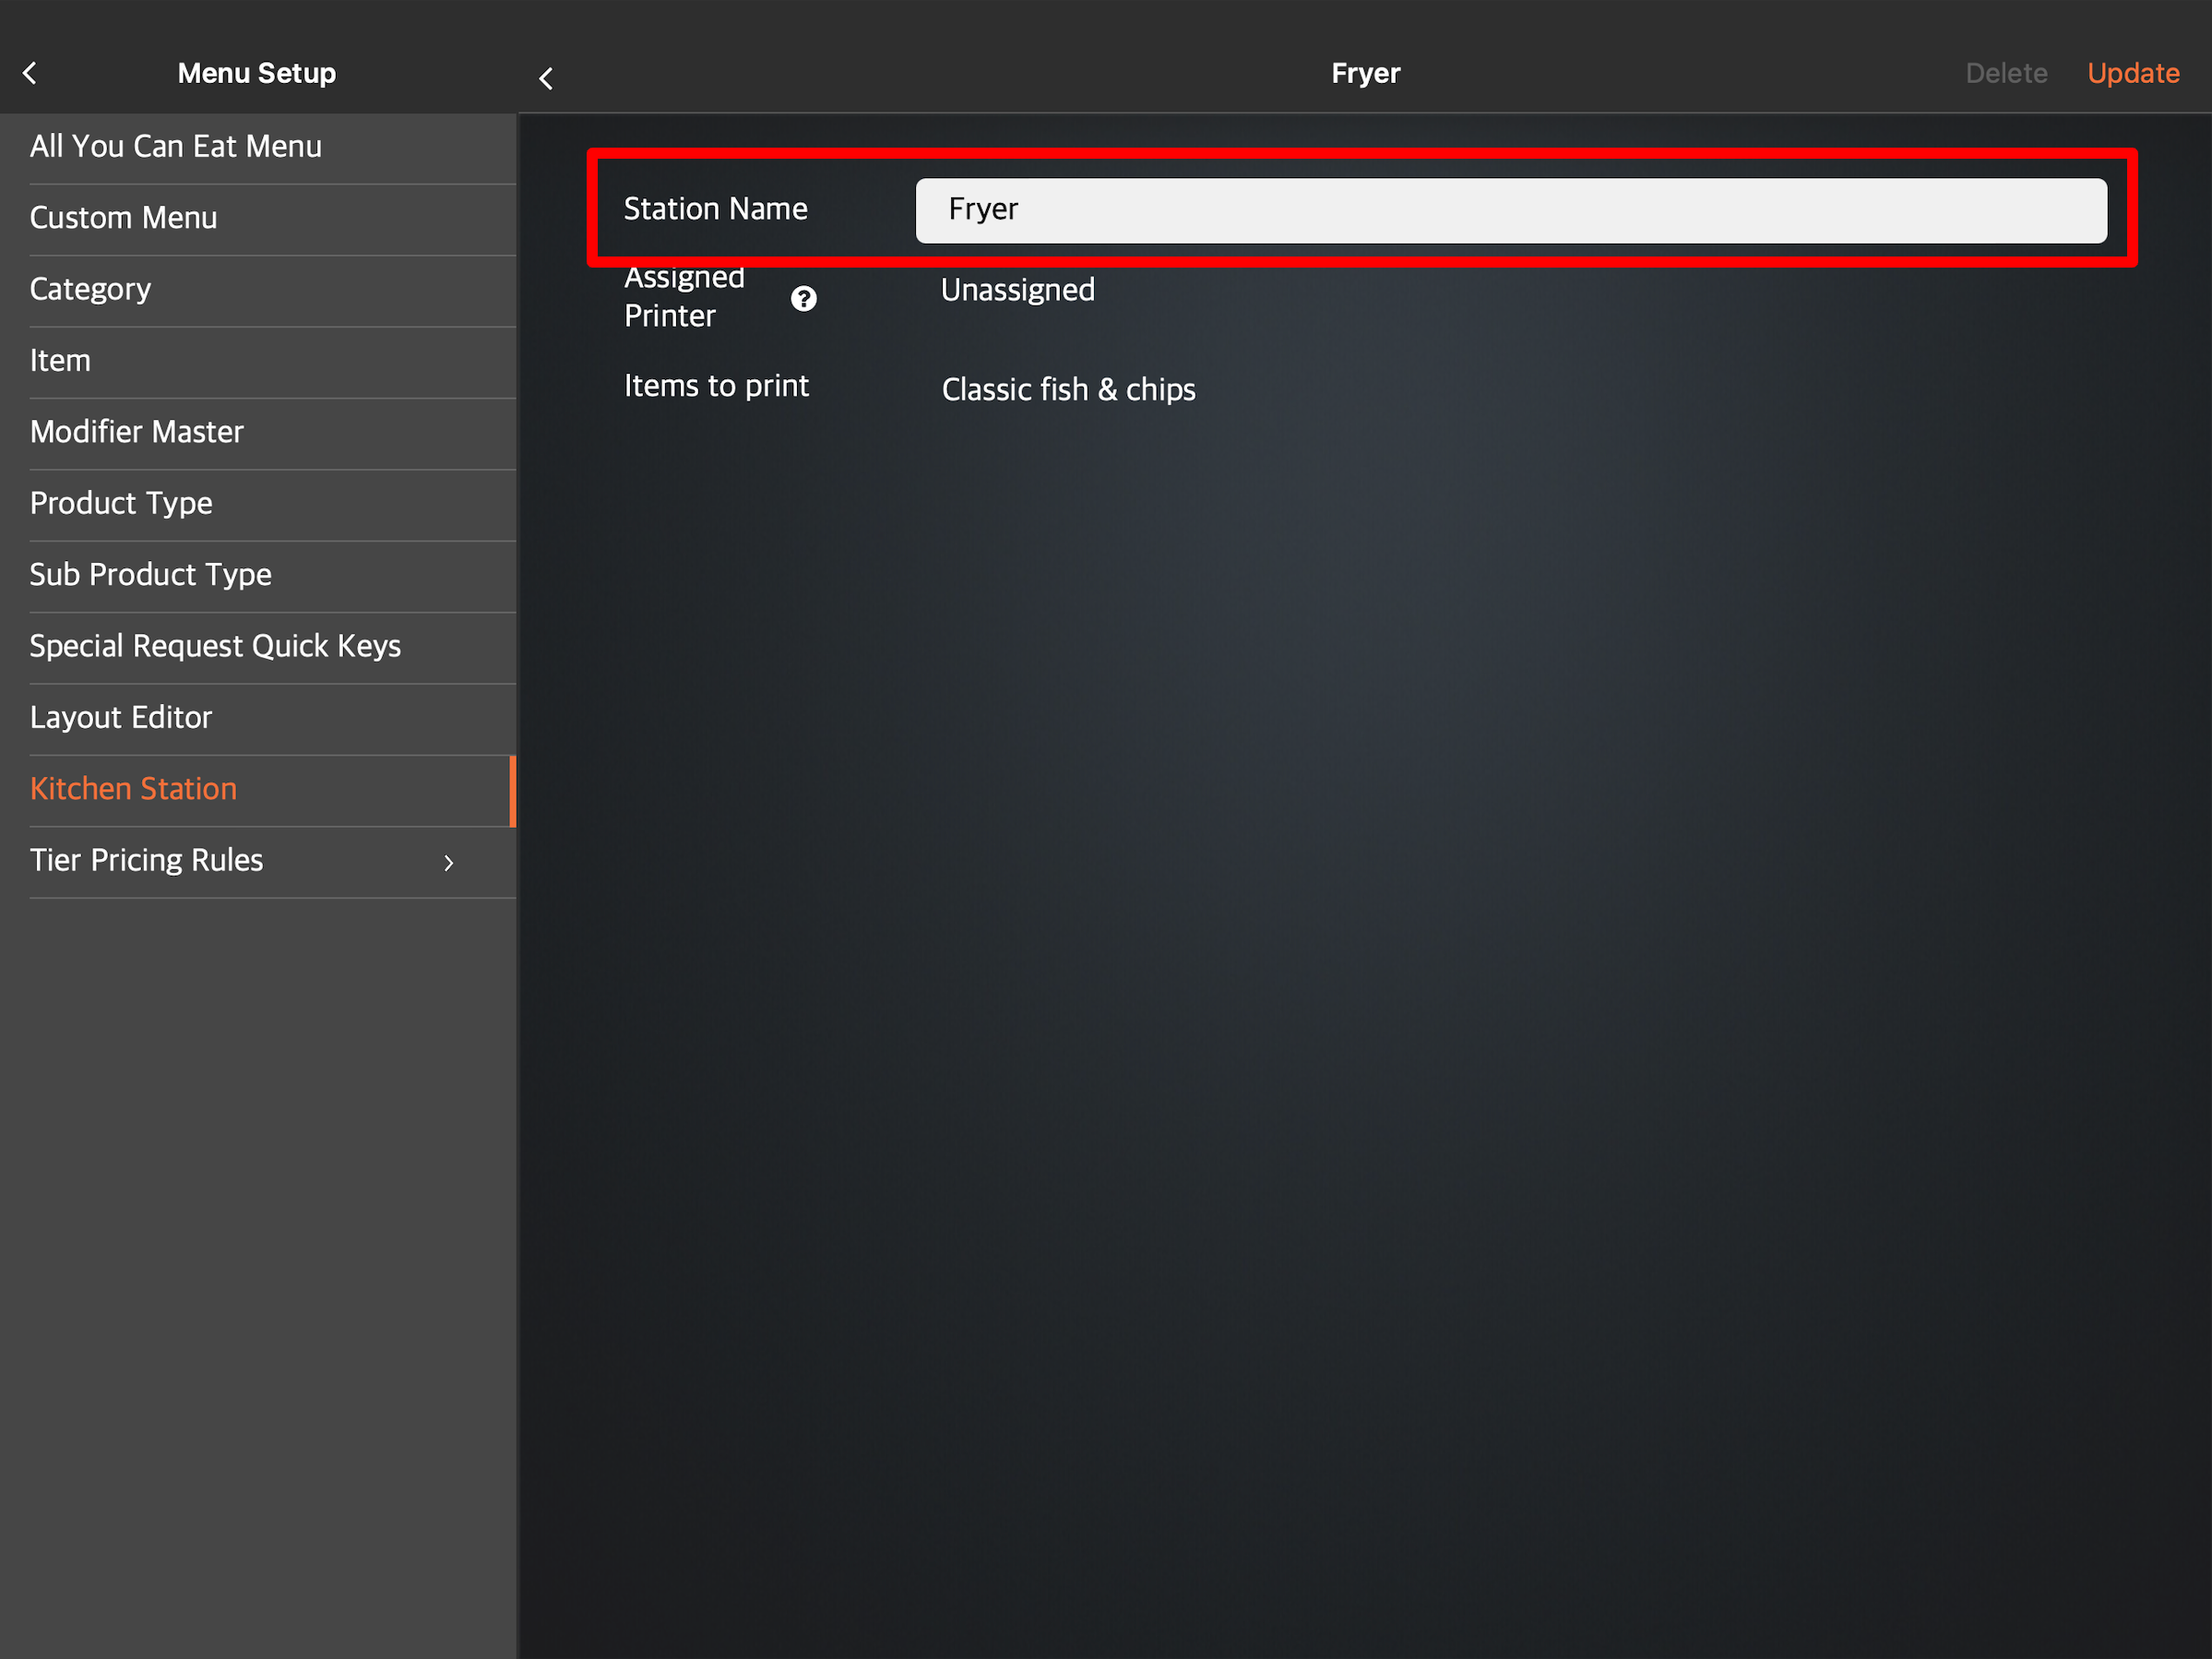
- Tap Update to confirm.
Merchant Portal (Classic Theme)
- Log in to the Merchant Portal.
- On the left panel, click on Menu Setup. Then, select Kitchen Station.
- Next to the kitchen station that you want to edit, click on Edit
 .
.
- Update the "Station Name" and the "Items To Print."
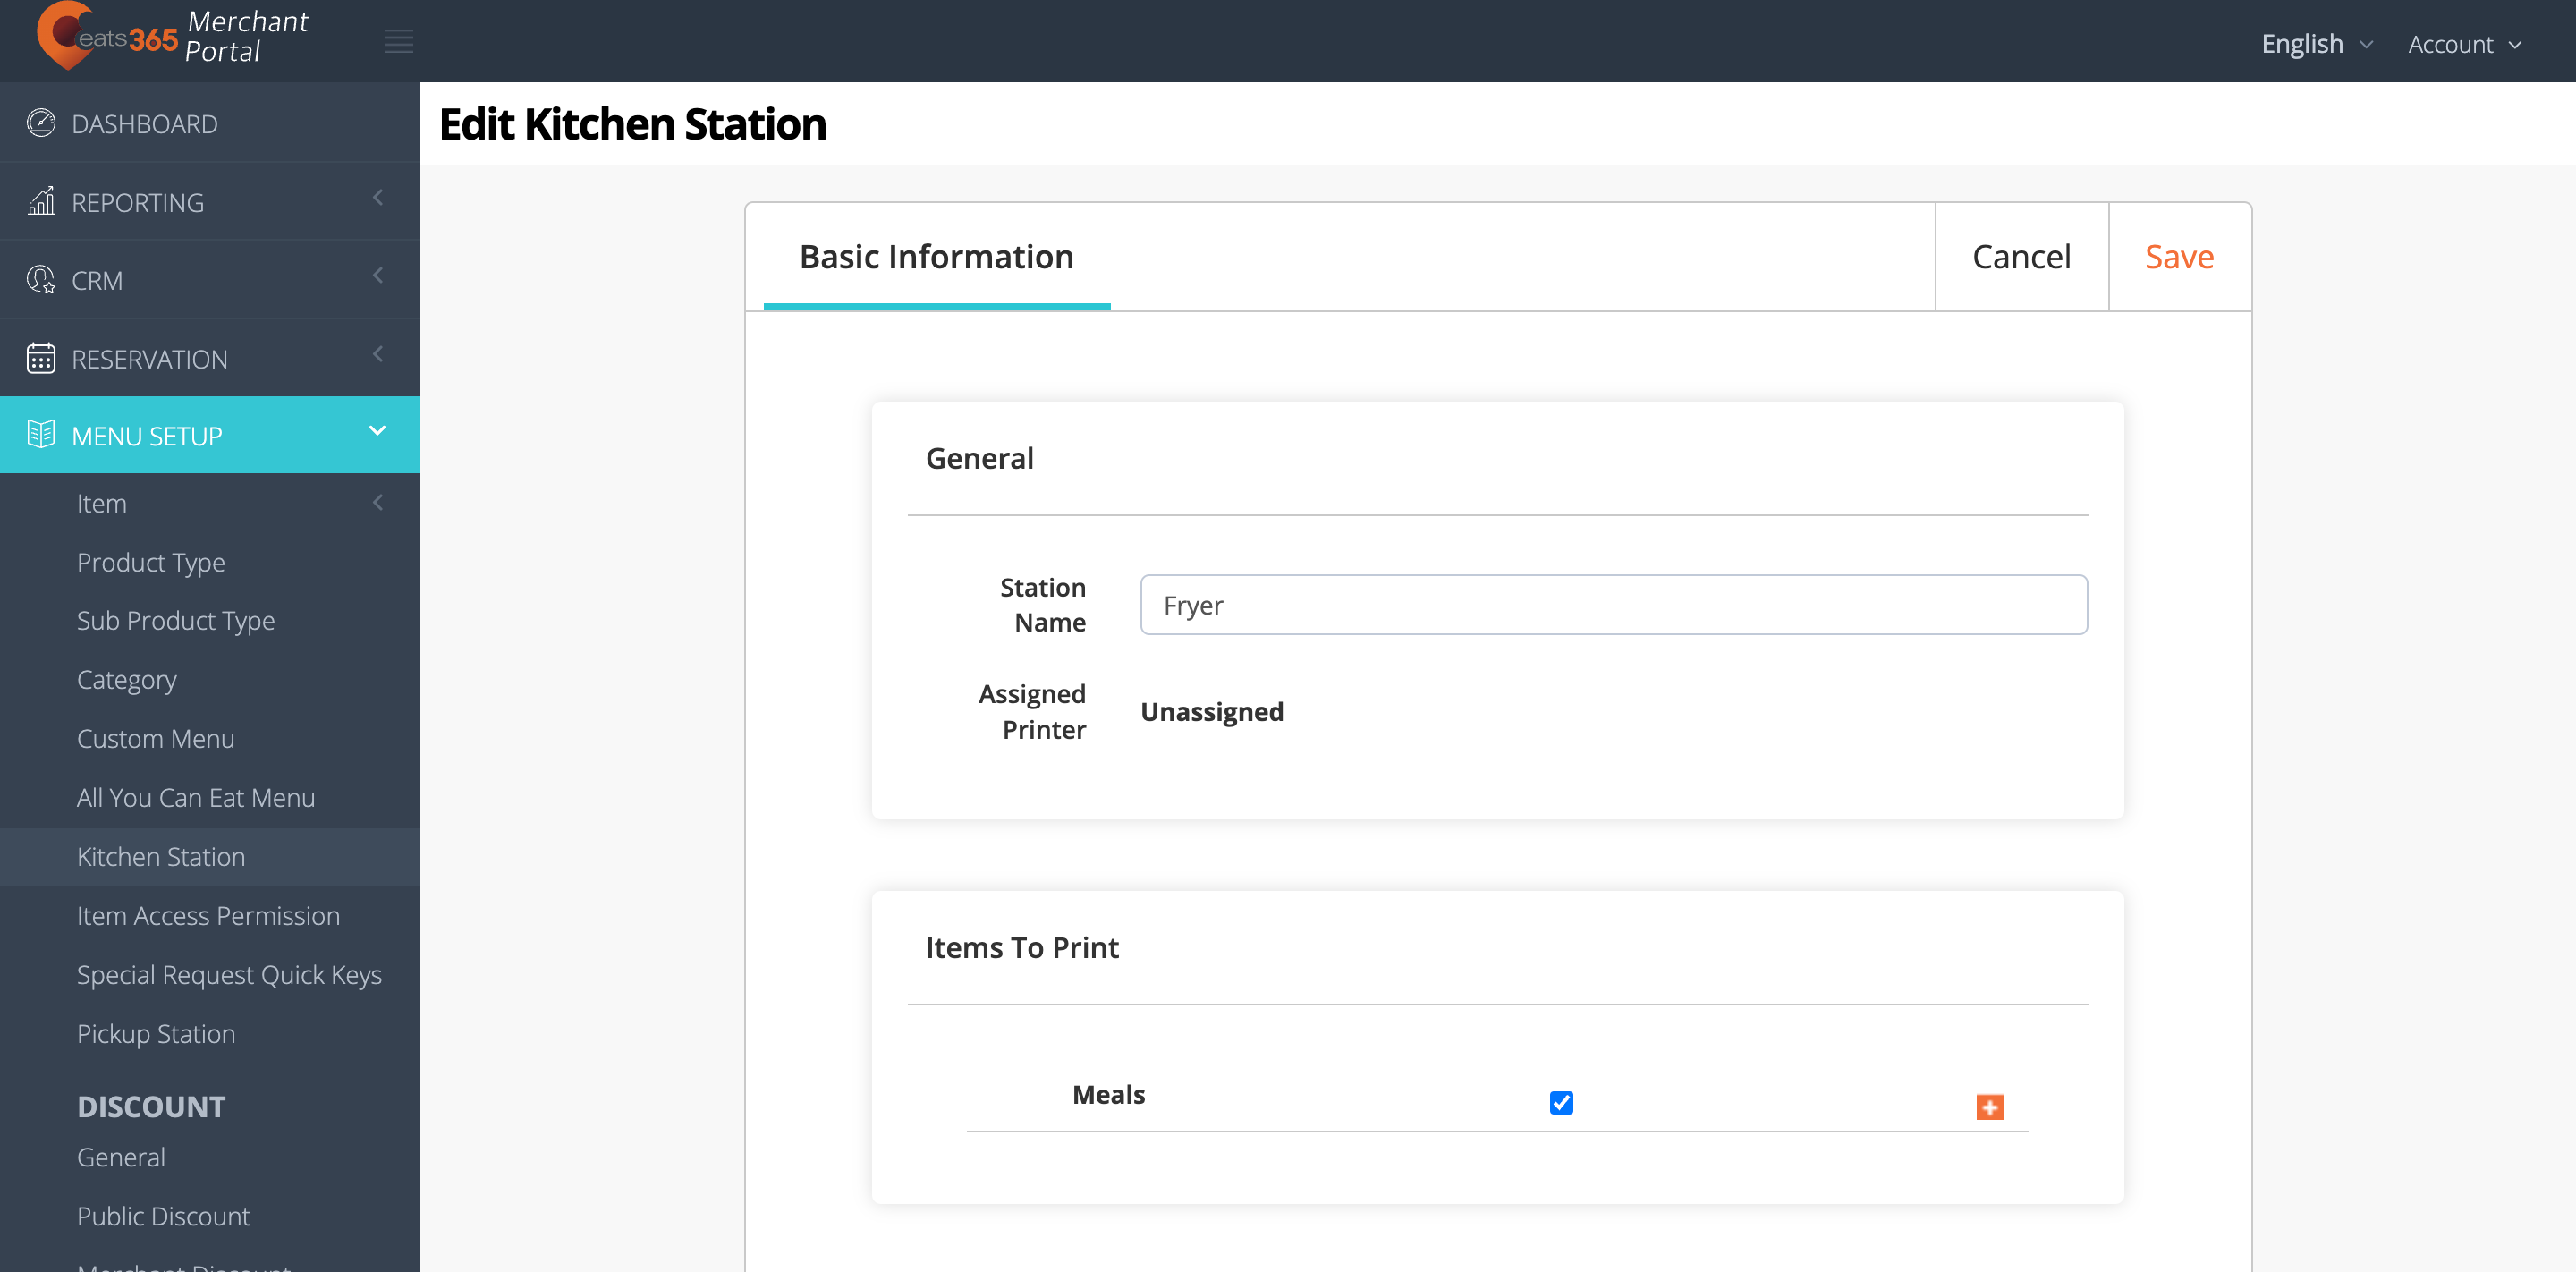
- Click on Save to confirm.
Merchant Portal 2.0
- Log in to the Merchant Portal.
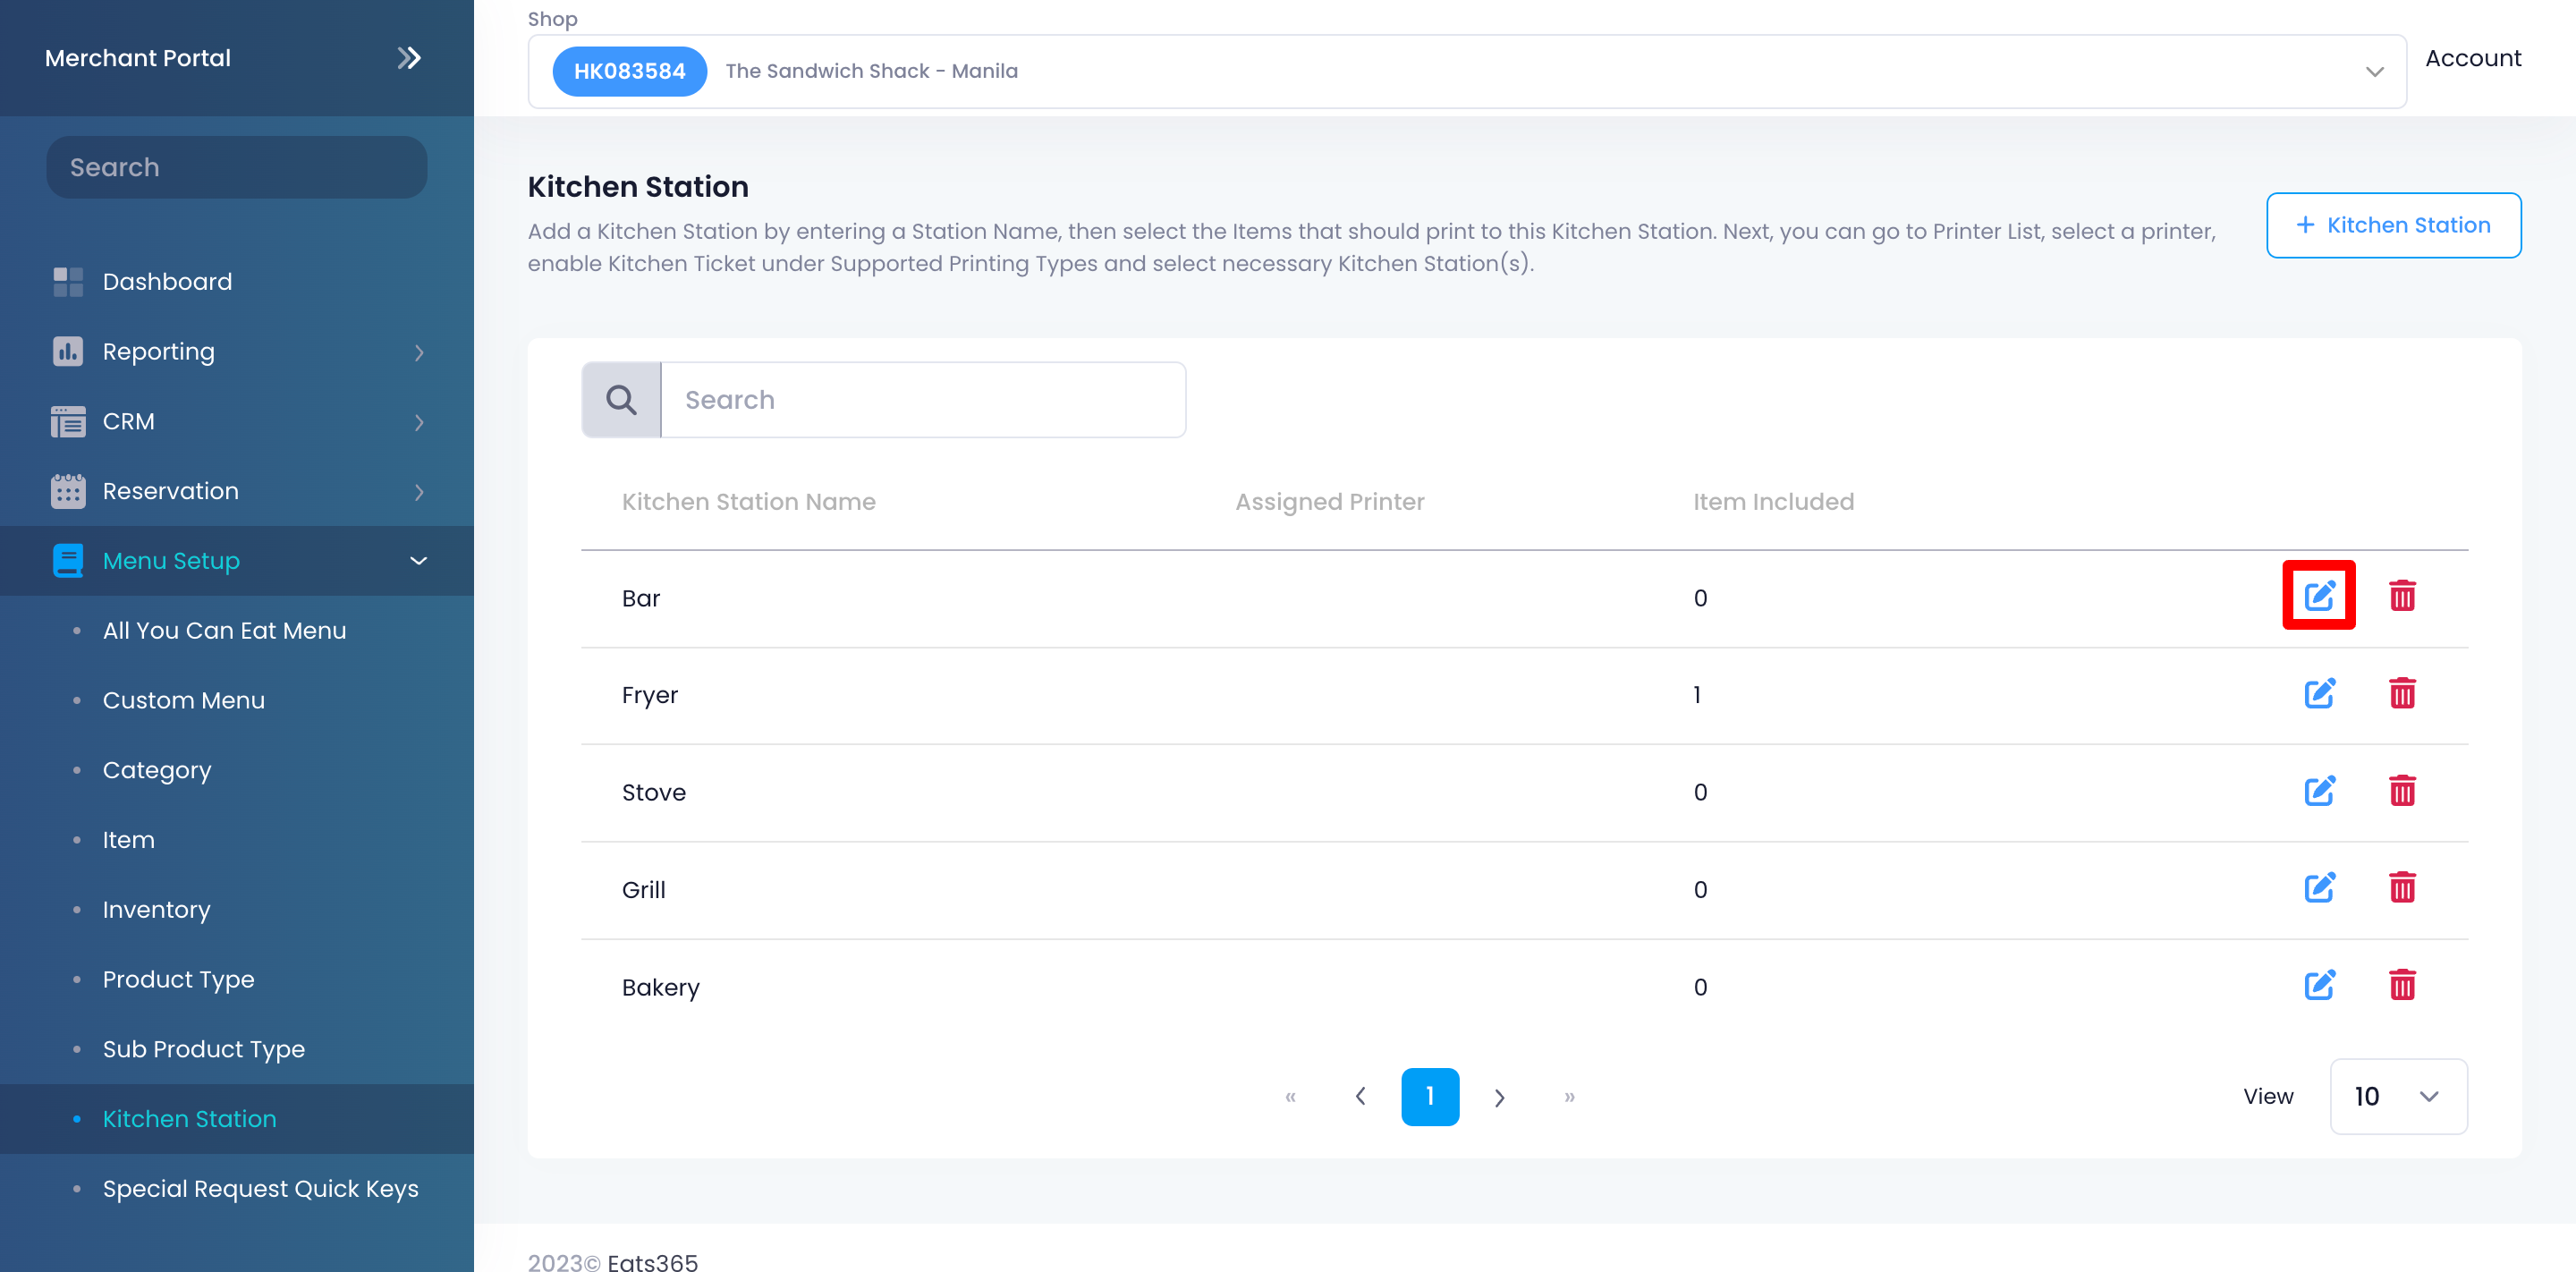
- On the left panel, click on Menu Setup. Then, select Kitchen Station.
- Next to the kitchen station that you want to edit, click on Edit
 .
.
- Update the "Station Name" and the "Items To Print."
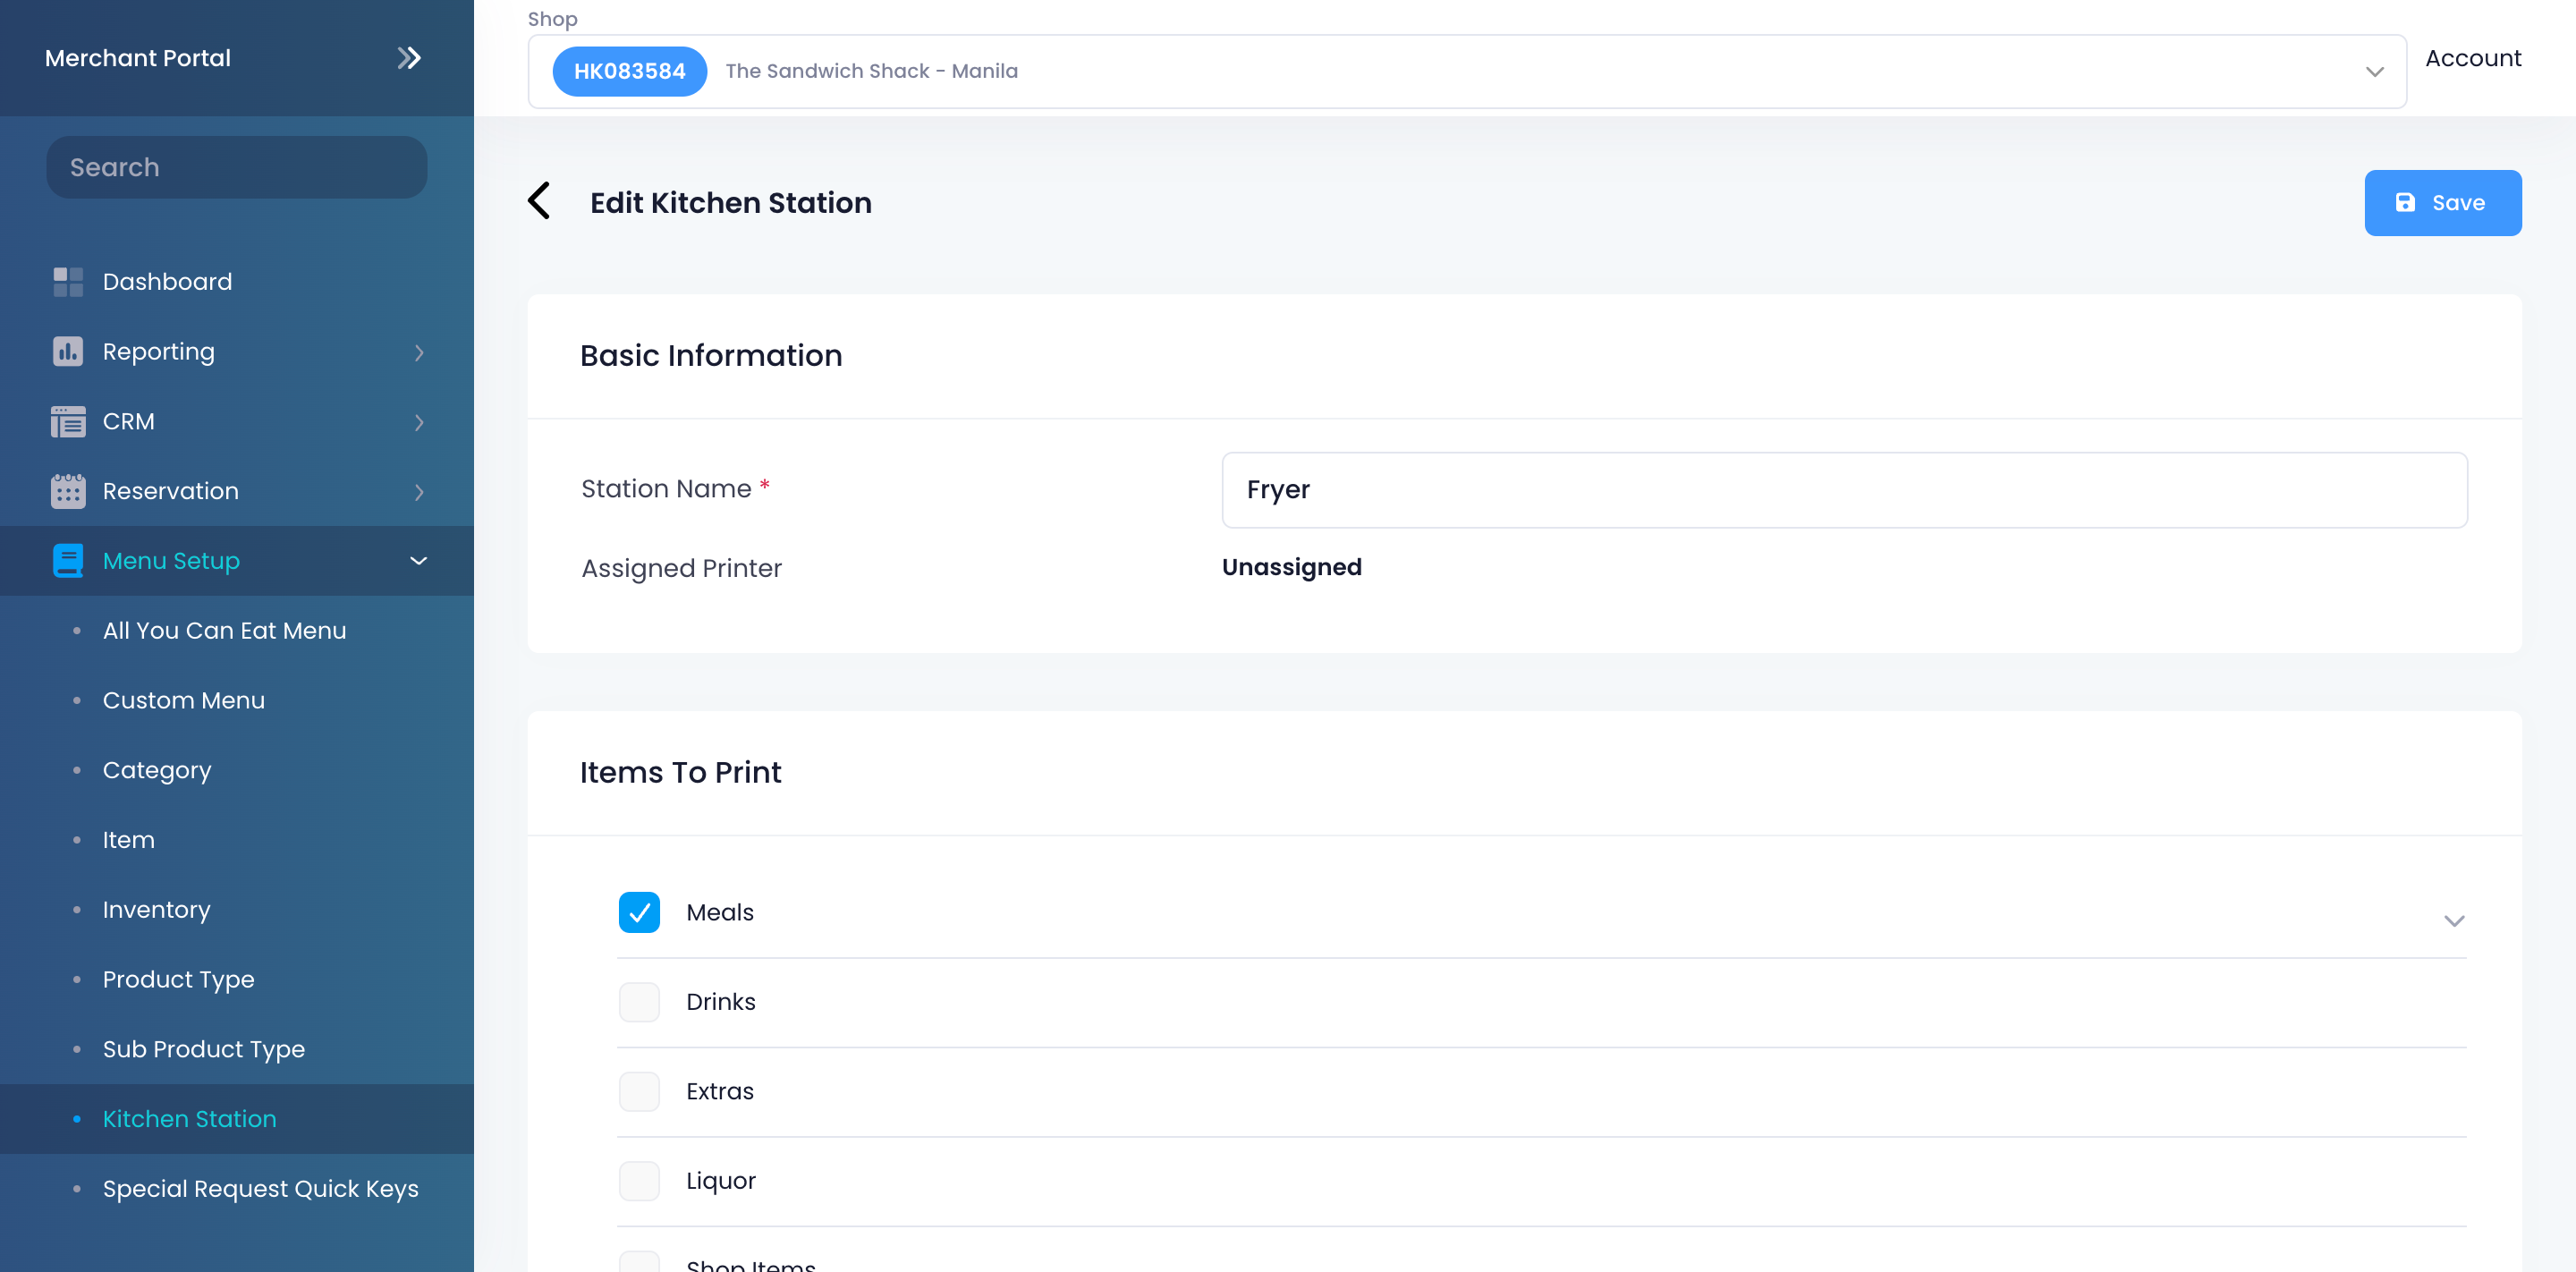
- Click on Save to confirm.
Delete a kitchen station
To remove a kitchen station, follow the steps below:
Eats365 POS
- Log in to the Eats365 POS.
- At the top left, tap Settings .
- Under "General," tap Menu Setup, then select Kitchen Station.
- Tap the kitchen station that you want to delete.
- At the top right, tap Delete. A prompt appears to confirm if you want to delete the kitchen station.
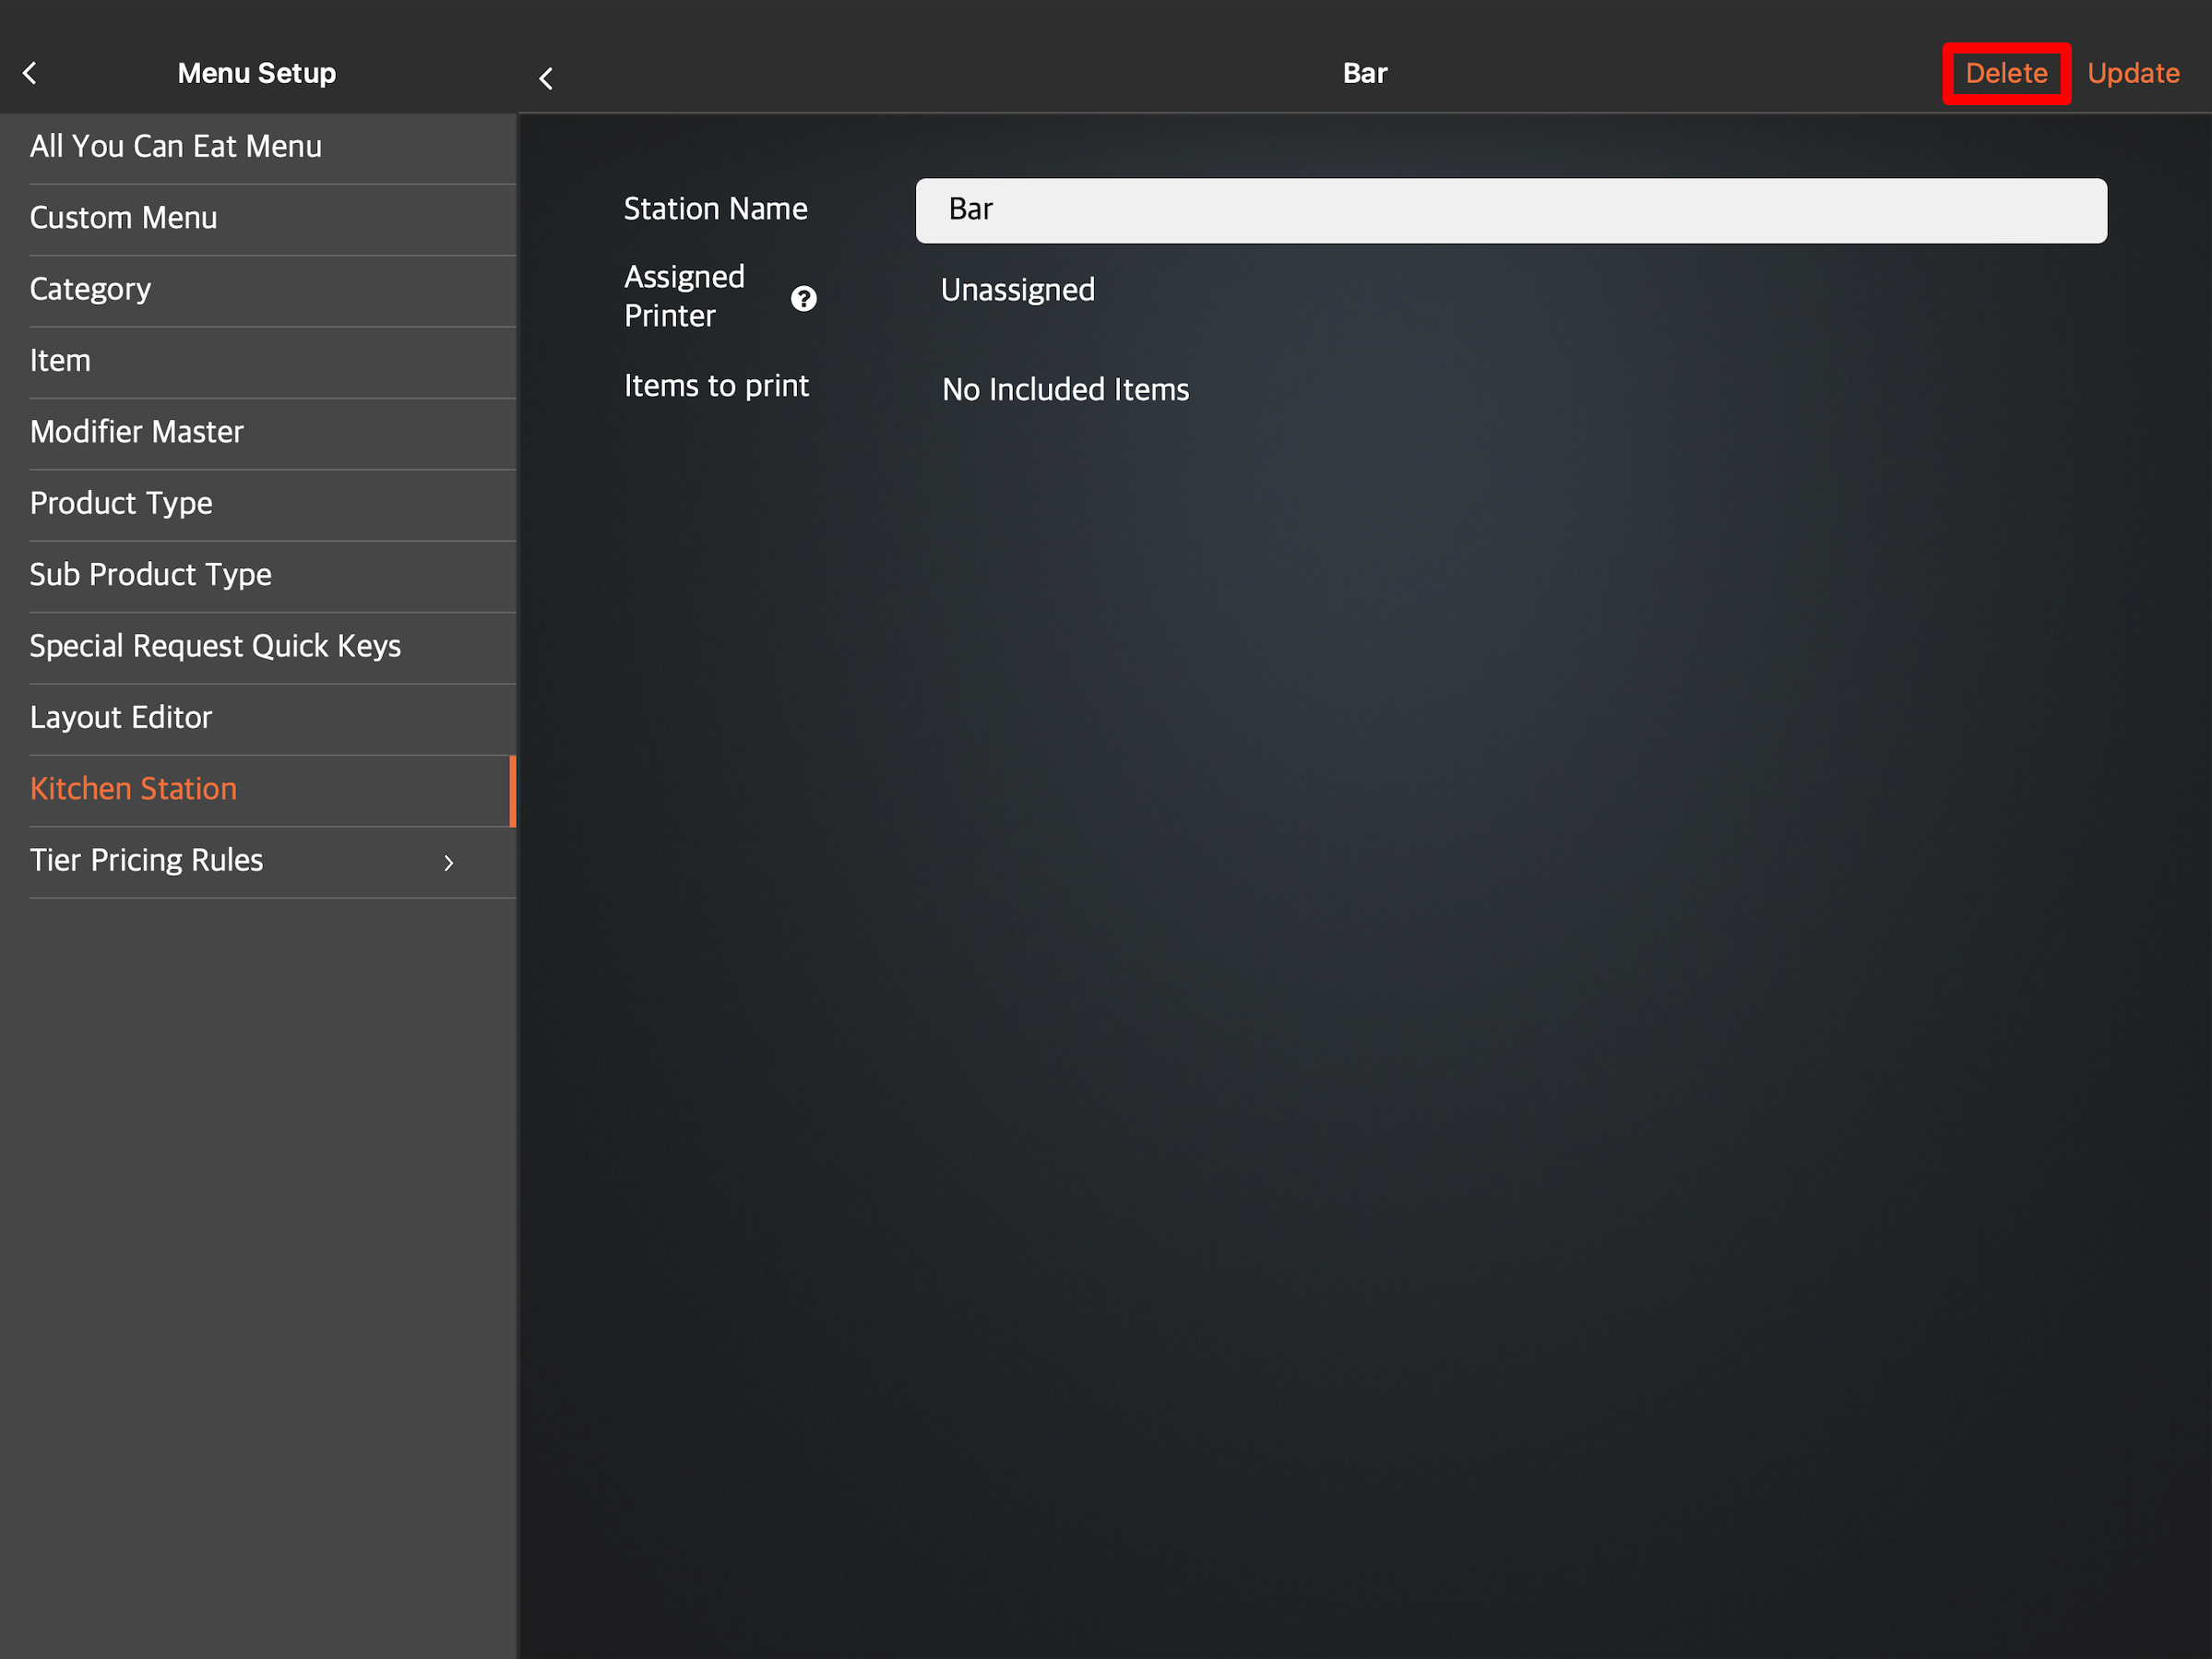
- Tap Delete to confirm.
Merchant Portal (Classic Theme)
- Log in to the Merchant Portal.
- On the left panel, click on Menu Setup. Then, select Kitchen Station.
- Next to the kitchen station that you want to delete, click on Delete
 . A prompt appears to confirm if you want to delete the kitchen station.
Note: If the kitchen station is still assigned to an item or a printer, the delete button won't appear.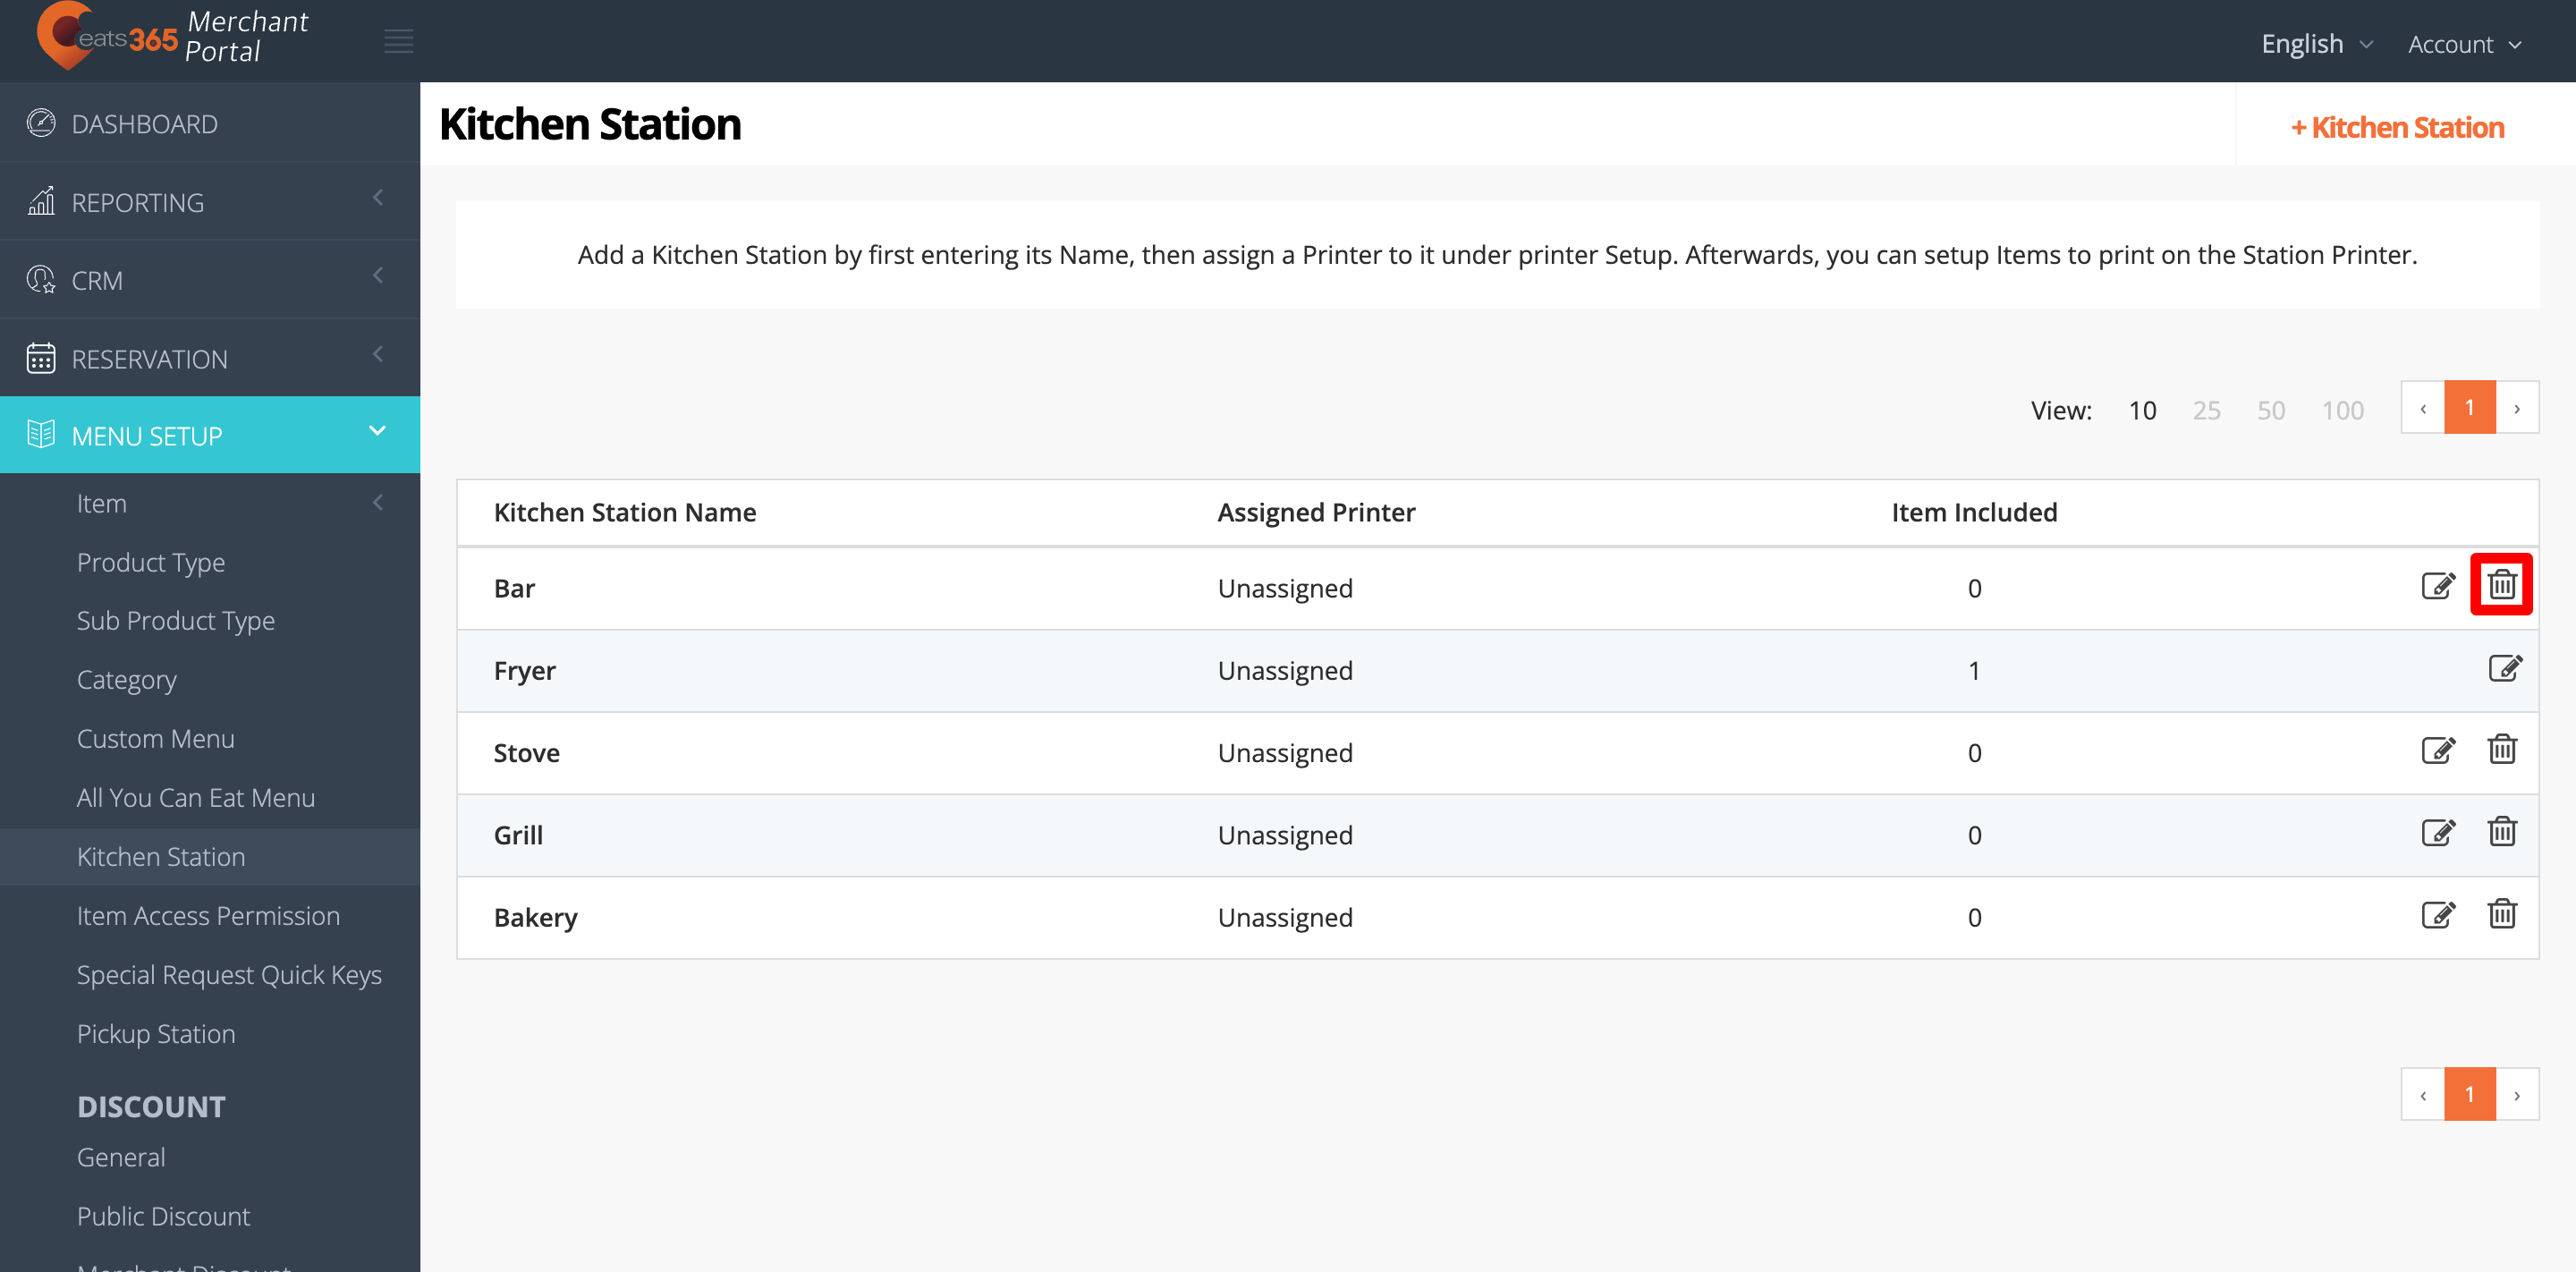
- Click on Confirm to delete.
Merchant Portal 2.0
- Log in to the Merchant Portal.
- On the left panel, click on Menu Setup. Then, select Kitchen Station.
- Next to the kitchen station that you want to delete, click on Delete
 . A prompt appears to confirm if you want to delete the kitchen station.
Note: If the kitchen station is still assigned to an item or a printer, the delete button won't appear.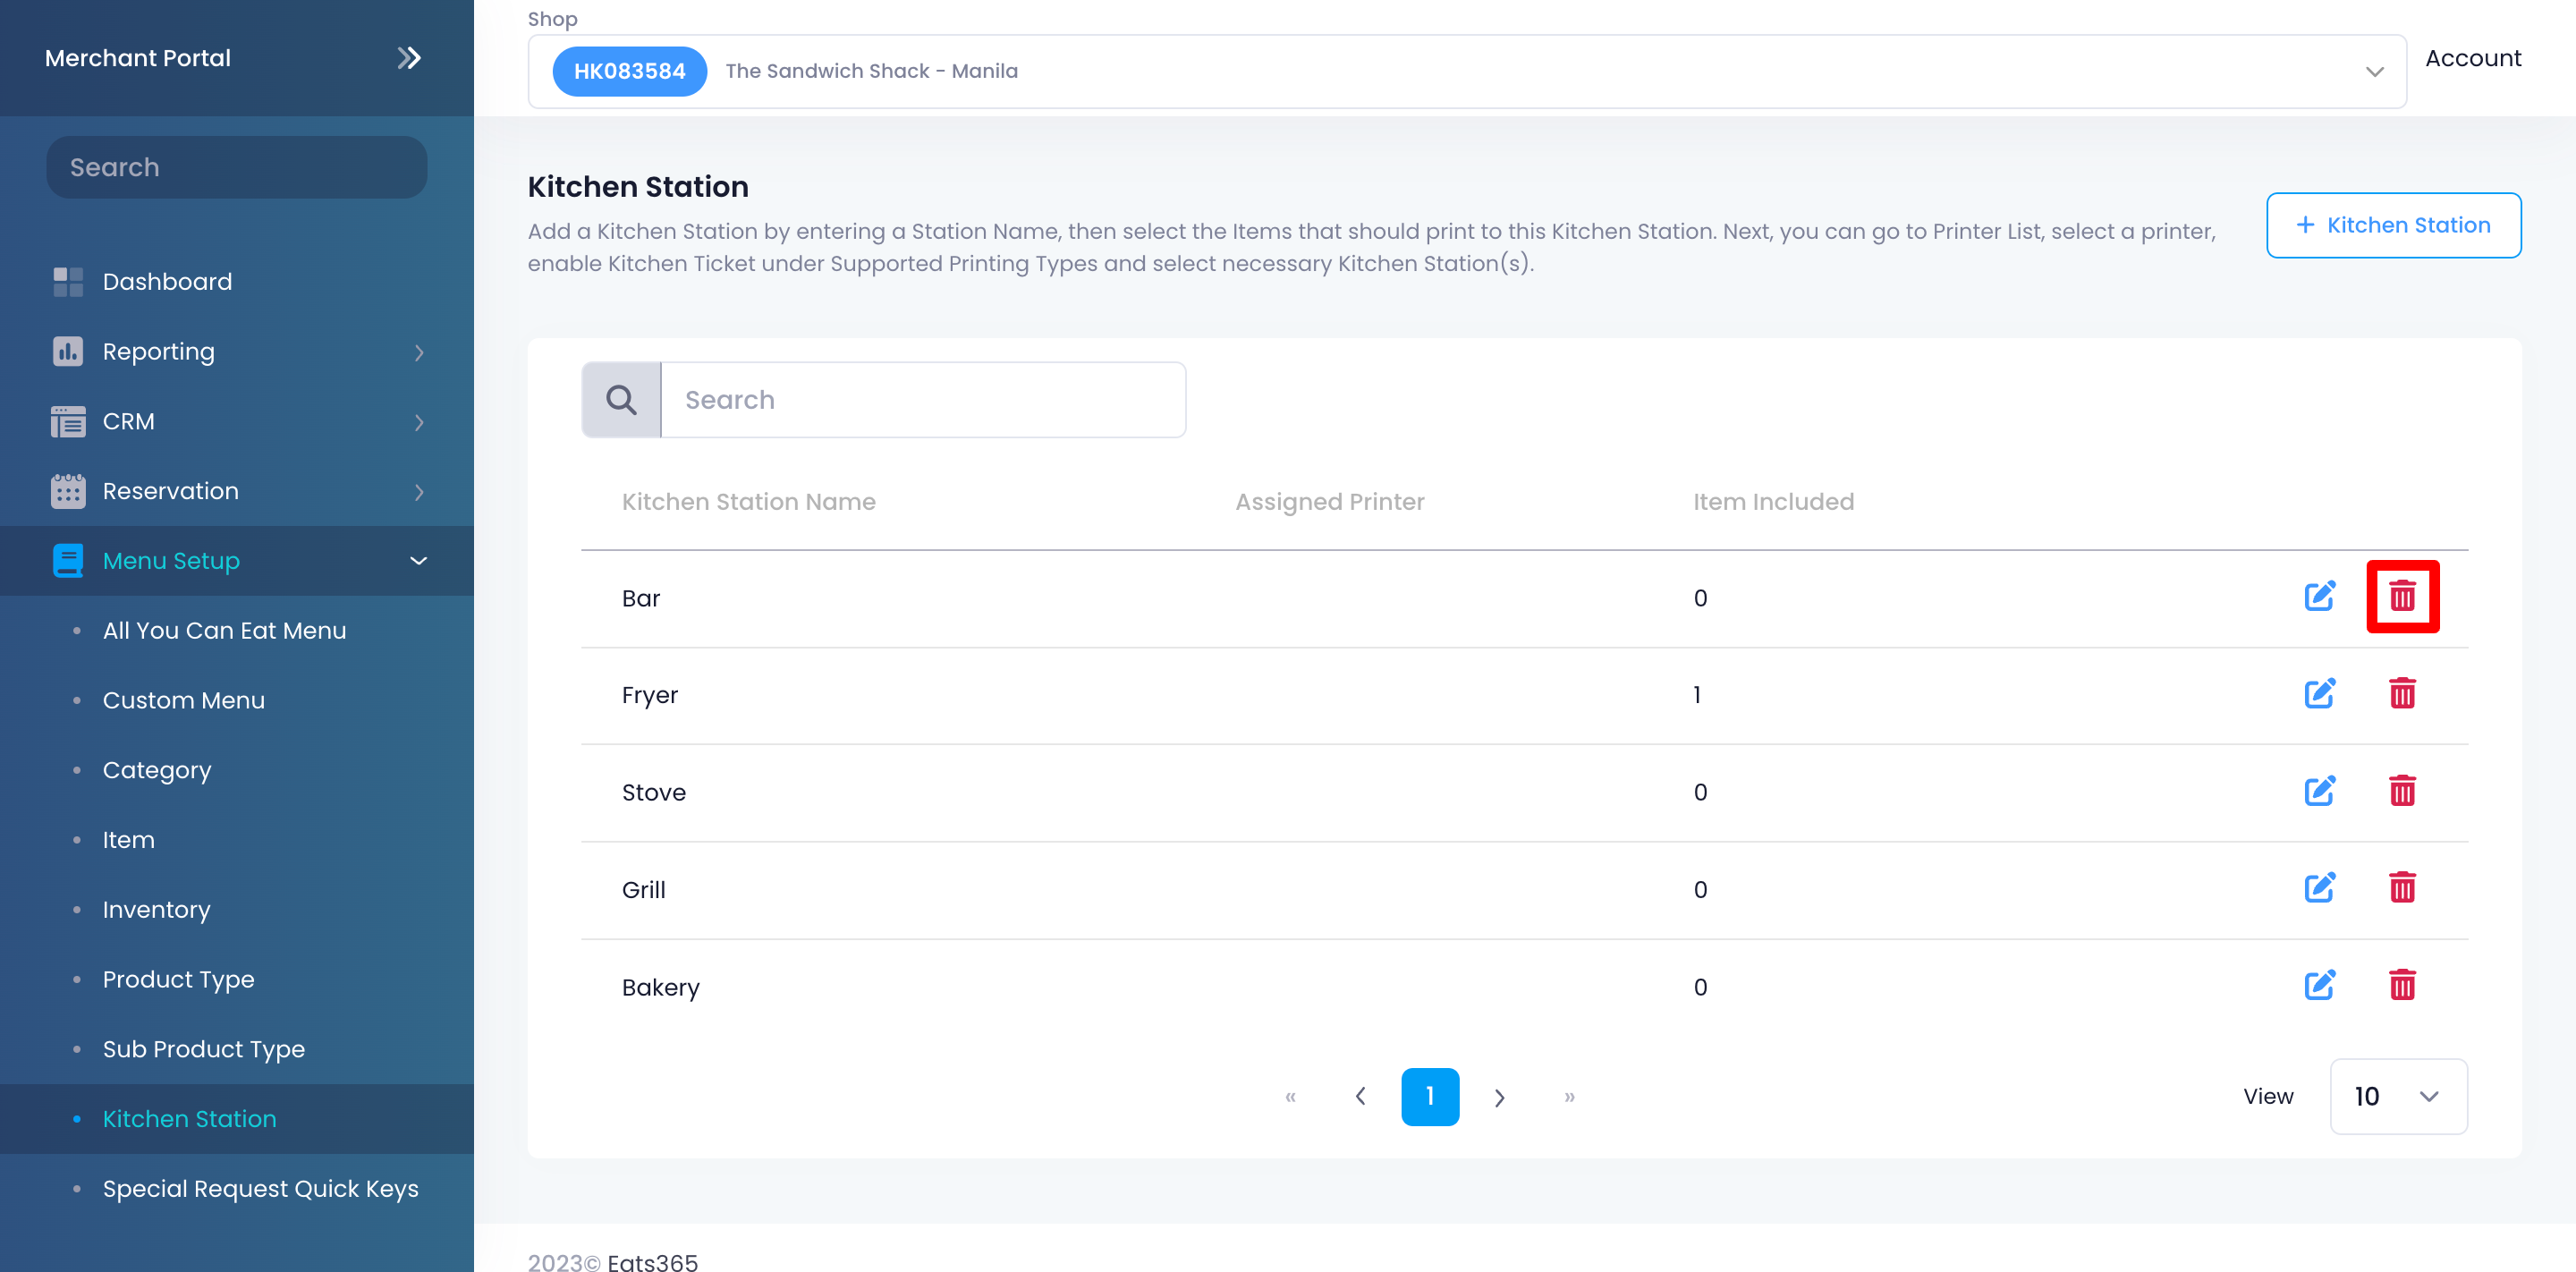
- Click on Confirm to delete.