All

Contact Us

If you still have questions or prefer to get help directly from an agent, please submit a request.
We’ll get back to you as soon as possible.

Please fill out the contact form below and we will reply as soon as possible.

    Login
English (US)
English (US)
Mandarin
Cantonese
  • Home
  • Modules

mPOS

All Product

Contact Us

If you still have questions or prefer to get help directly from an agent, please submit a request.
We’ll get back to you as soon as possible.

Please fill out the contact form below and we will reply as soon as possible.

    • mPOS
        • Set up and install mPOS
        • Configure mPOS settings
        • Manage orders in the mPOS app
        • Manage tables in the mPOS app
    • PhotoMenu
        • Set up and install PhotoMenu
        • Configure PhotoMenu settings
        • Place orders on the PhotoMenu
        • Set up PhotoMenu as a mobile or stationary eMenu
        • Use Service Call on PhotoMenu
    • Ticket Kiosk
        • Set up and install Queue Ticket Kiosk
        • Issue queuing tickets from the Queue Ticket Kiosk
        • Configure Queue Ticket Kiosk settings
    • eSignage
        • Set up and install eSignage
        • Configure eSignage settings
    • Kitchen Display System
        • Set up and install Kitchen Display System
        • Configure Kitchen Display System settings
        • Manage orders on the Kitchen Display System
    • Customer Facing Display
        • Set up and install Customer Facing Display
        • Configure Customer Facing Display settings
    • Expedite Display
        • Set up and install Expedite Display
        • Configure Expedite Display settings
        • Perform basic expedite operations
    • Eats365 Biz and Biz Lite
        • Set up and install Eats365 Biz and Eats365 Biz Lite
        • Configure Eats365 Biz settings
        • Manage online orders on the Eats365 Biz Lite
        • Reset Eats365 Biz
        • Compare Eats365 Biz and Eats365 Biz Lite
        • Configure Eats365 Biz Lite settings
        • Place and manage orders on the Eats365 Biz
    • Self Order Kiosk
        • Set up and install Self Order Kiosk
        • Place an order on Self Order Kiosk
        • Configure Self Order Kiosk (iOS) settings
        • Set Kivo as the Self Order Kiosk default screen
        • Configure Self Order Kiosk (Android) settings
        • Process a payment return on the Self Order Kiosk
    • Pay Station
        • Set up and install Pay Station
        • Pay using Pay Station
        • Configure Pay Station settings
    • Dynamic Digital Menu
        • Manage the menu on the Dynamic Digital Menu
    • Branded Online Store
        • Manage Branded Online Store preferences
        • Set up SMS Notification
        • Book a reservation using restaurant website
        • Change password on the branded online store
        • Place orders on the branded online store
        • Delete an account on the branded online store
        • Log in and log out of the branded online store
        • Sign up on the branded online store
        • Manage orders on the branded online store
        • Set up a Delivery Address Book on the branded online store
        • Secure member credit payment on the branded online store
        • Pay using member credits on the branded online store
        • Purchase member credit using the branded online store​
        • Join a restaurant's loyalty program

Table of Contents

Manage tables in the mPOS app

Learn how to transfer, split, and clear tables in the mPOS app.

The mPOS module can be used in conjunction with the Eats365 POS to efficiently manage tables in your restaurant. With the mPOS, you can manage tables from a mobile device, eliminating the need to perform these actions solely on a stationary POS terminal, thereby saving time and increasing operational efficiency.

In this article, you’ll learn how to  transfer orders to another table, split tables for different groups, and clear tables in the mPOS app.

Transfer order to another table

To transfer a customer to a different table, follow the steps below:

  1. Open the mPOS app.
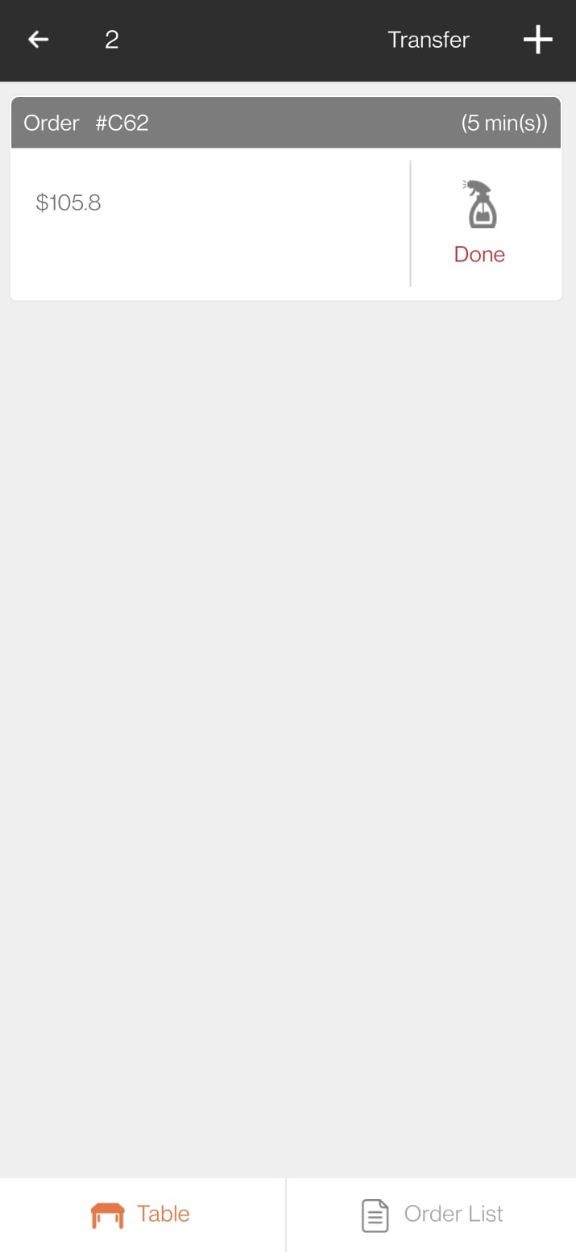
  2. Tap a table with an existing order, then at the top right, tap Transfer. 
  3. Select an existing order, then choose a table that can accommodate the total number of people in the party.
    Note: Selecting an already occupied table creates a split table automatically.
  4. Tap Transfer to confirm. A prompt appears stating that the request has been submitted. The order is transferred to the selected table shortly afterward.

Split a Table

To split a table, follow the steps below:

  1. Open the mPOS app.
  2. Tap a table with an existing order, then at the top right, tap Add +.
  3. Enter the party size to be seated, then tap Confirm.
  4. Proceed in taking the customer’s orders, then tap Confirm Order.

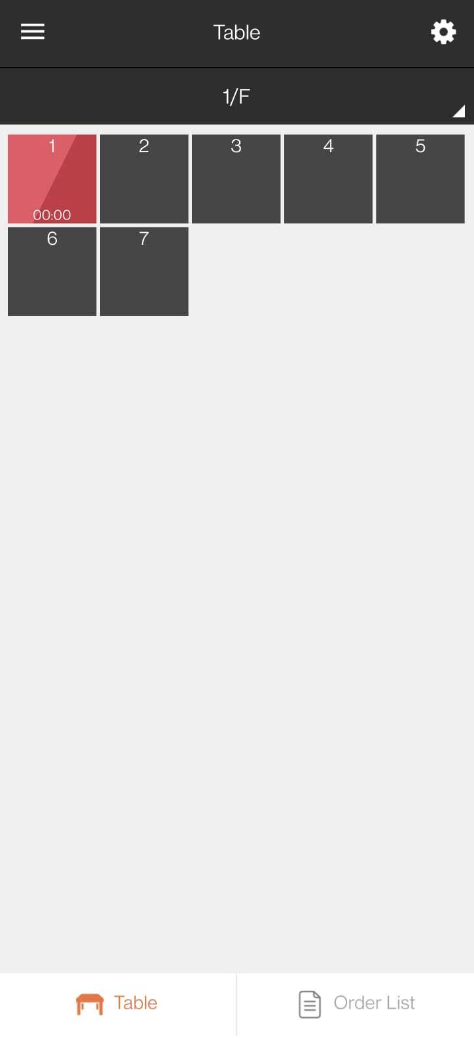
The table automatically creates a split and is represented by having a two-toned shade. Tap the table to display all active orders.

Clear a table

Once a table’s bill has been settled, the table’s status will turn green. This indicates that the table can be cleared. To clear a table, follow the steps below:

  1. Open the mPOS app.
  2. On the table map screen, tap the table you’d like to mark as clear. 
    Note: Tables that are ready for cleanup are indicated by the color green.
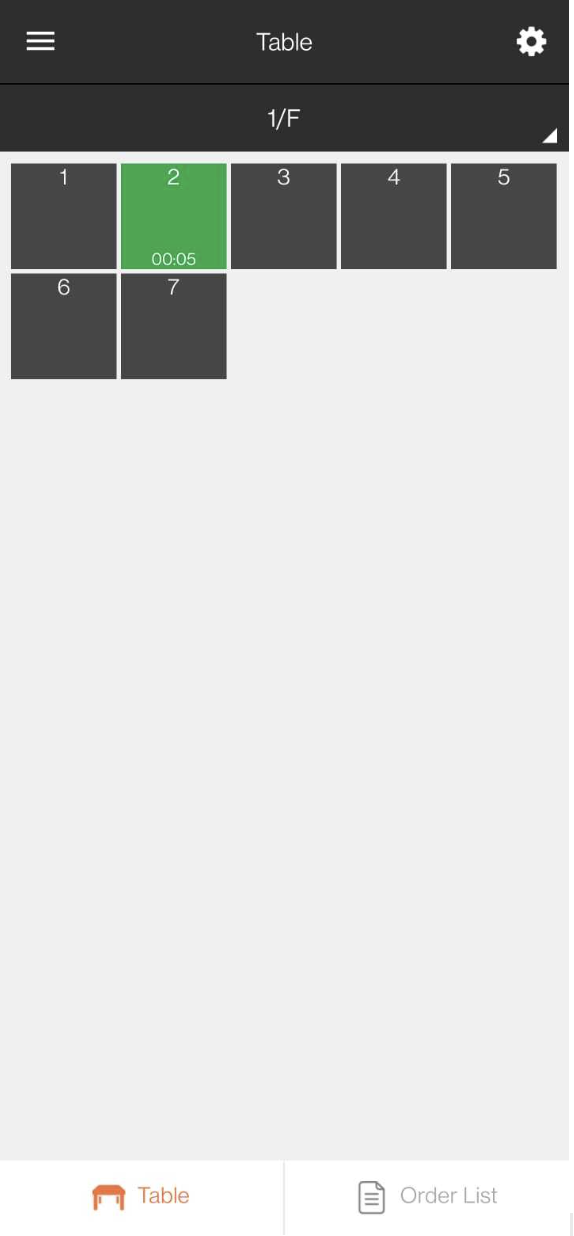
  3. To clear the table, tap Done.
mpos application mpos table management table management manage tables mpos

Was this article helpful?

Yes
No
Give feedback about this article

Related Articles

  • Configure mPOS settings
  • Manage orders in the mPOS app
  • Set up and install mPOS
            • Products
              • POS
              • mPOS
              • Eats365 Biz
              • Eats365 Marketplace
              • Branded Online Store
              • Kitchen Display System
              • Expedite Display
              • Scan-to-Order (BYOD)
              • Self-Service Kiosk
              • PhotoMenu
              • Queue Kiosk
              • Dynamic Digital Menu
              • Queue Display
              • Pickup Display
              • Customer Facing Display
            • Solutions
              • Online Ordering
              • Contactless Dining
              • Front of House
              • Guest Retention
              • Back of House
              • Back Office (Store End)
              • Multi-brand/Location Management (Enterprise)
              • Paperless Operation Experience
              • Payment
            • Restaurant Types
              • Quick Service Restaurant
              • Full Service Restaurant
              • Bars
              • Food Court
              • Cloud Kitchen
              • Food Retail
              • Self-service Restaurant
              • Enterprise
              • All-You-Can Eat (Buffet)
            • Resources
              • Eats365 Knowledge Base
              • Blog
              • Supported Hardware
            • Company
              • About Us
              • Success Stories
              • Referrals
            • Get In Touch
            • Contact Us
              • Eats365, Inc.
              • Sales info@eats365.com
              • Support support@eats365.com
        • Contact Us
          • Eats365, Inc.
          • info@eats365.com
          • www.eats365pos.com
        • Get In Touch
          • Apple Mobility Partner
            twitter facebook eats365 linkedin
        • eats365
          © 2023 Eats365 Incorporated. All rights reserved.

Knowledge Base Software powered by Helpjuice

Expand