 Eats365 Products
 Merchant Guide
 Modules
 Membership
 Integrations
 Hardware
 Staff Operations
 Roles & Permissions
 Payments
 Reports
 What’s New
 Release Notes
 Troubleshooting
 Simulators
 Glossary
 Troubleshooter
 System Status
Scan to Order
Table of Contents
Configure Scan to Order settings (Full Service)
Learn how to enable Scan to Order for Full Service restaurants and configure its settings on the Merchant Portal.
The Scan to Order feature allows customers to view your restaurant’s menu items and place dine-in orders using their own mobile devices, such as phones or tablets. This feature is especially useful if your restaurant offers all-you-can-eat services to customers or promotes self-ordering.
In this article, you’ll learn how to enable Scan to Order for dine-in orders and configure its settings to your preference.
Set up Scan to Order
Merchant Portal (Classic Theme)
- Log in to the Merchant Portal.
- On the left panel, click on Restaurant Settings. Then, click on Dine-In.
- Click on Scan to Order.
- Turn on Allow to Place Dine-in Order
 , then Enable Scan to Order .
 - Next to "Dine-In Website," select the branded online store URL that the QR code would link to.
- Configure Scan to Order settings.
- At the top right, click on Save to confirm.
You can configure the following Scan to Order settings:
Scan to Order
Enable Item Quantity Limit
Sets the maximum number of items that can be ordered in one transaction.
Enable Cut Off Time
Sets a cut-off time for when orders can be placed. For example, if the end of the dining time is at 10:00 PM and the cut-off time is set at 30 minutes, customers can only place orders until 9:30 PM. The remaining order time is calculated based on the set Turn Time and the Cut-Off Time.
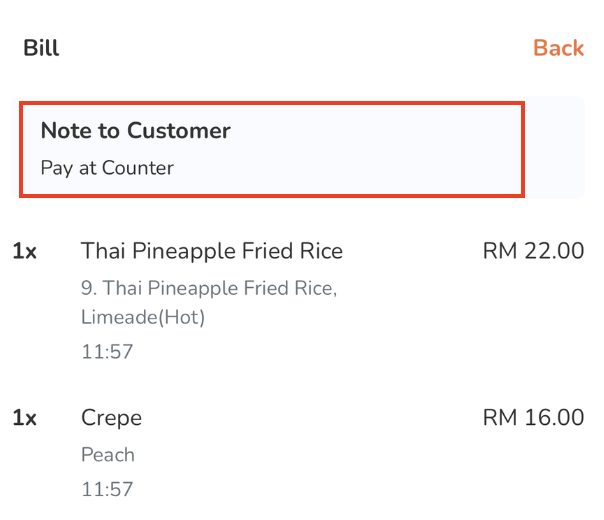
Note to Customer in Bill Page
Add custom text that will appear on the customer’s Bill Page.
Order Creation is required when ordering with Table QR Code
By default, Static QR Codes that are fixed on tables can be scanned by any person in the restaurant. To prevent QR Codes from being used by non-patrons, you can enable this setting to temporarily disable the Static QR Code. To re-enable the QR Code, a restaurant staff member must seat a customer first using the POS. Once a customer is seated at the table, the QR Code becomes available to scan.
Displaying Meal Time Count Down
When enabled, customers can view the remaining time for dining in the restaurant.
Enable Alerting Liquor Item
When enabled, a prompt appears on the branded online store to confirm that the customer is of legal age when a liquor item is placed on order.
Enable Menu Preview
When enabled, customers can preview the menu and start choosing menu items while waiting to be seated. Once the customer is seated, they can scan the seat ticket to quickly place the order.
Enable Order Verification Code
To provide a verification code for ordering, turn on Enable Order Verification Code. A 6-digit verification code will be printed on the seat ticket under the QR Code. The order verification code is an alternative way of placing orders besides scanning QR Codes.
Enable Dynamic QRCode
When enabled, the POS can generate a Dynamic QR Code. A Dynamic QR Code is a scannable QR Code that changes every time a ticket is printed.
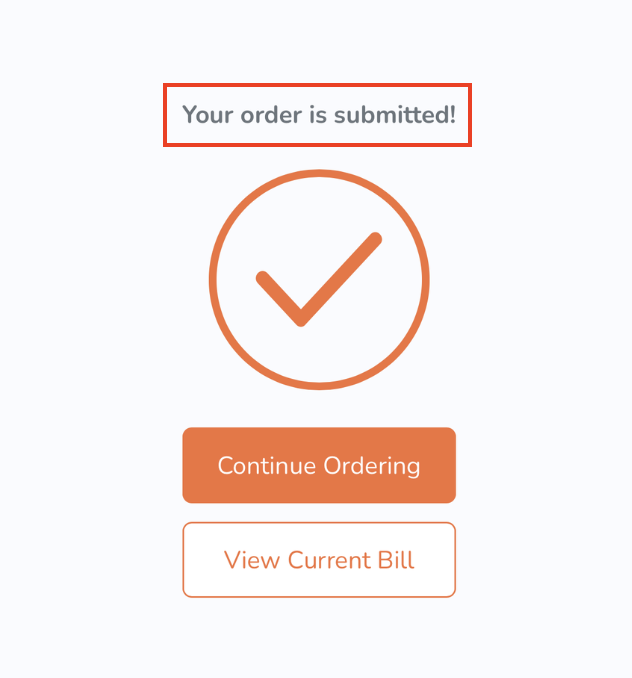
Custom Order Placed Message
Enter the message that will appear after the customer places their order.
Require Payment for Scan to Order
When enabled, Scan to Order will always require a payment before an order is processed. Enabling this setting overrides the “Require Payment when Placing Order” Dine-in Workflow setting.
DeletePay Later Setting
Hide Subtotal in Cart
When enabled, the subtotal won’t be displayed in the customer’s cart.
Auto Accept Order
When enabled, orders will automatically be accepted without staff confirmation.
DeletePay First Setting
Auto Accept Paid Order
When enabled, orders will automatically be accepted as long as the order is paid.
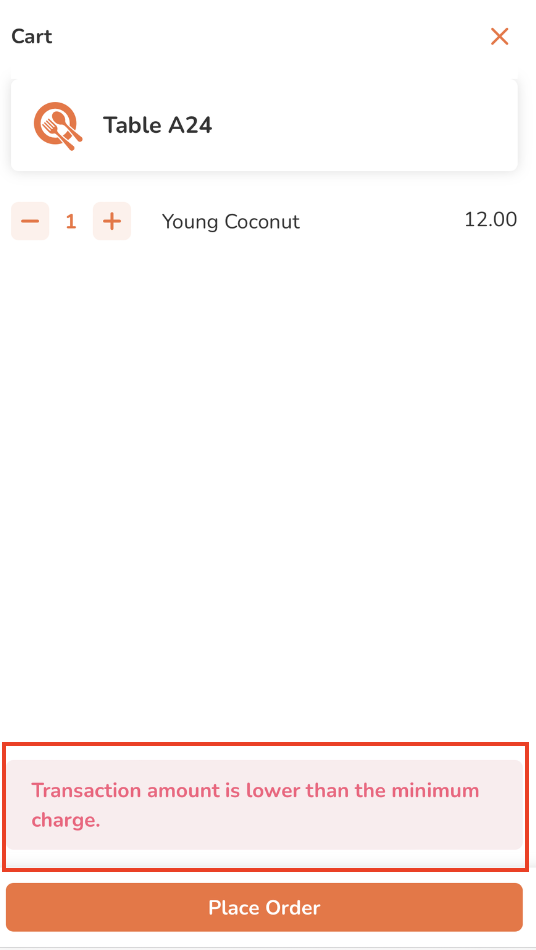
Minimum Charge
Set the value for the minimum charge needed to place the order. If the order amount is less than the set minimum charge, an alert appears and the customer won’t be able to proceed with the order.
Merchant Portal 2.0
- Log in to the Merchant Portal.
- On the left panel, click on Restaurant Settings. Then, click on Dine-In.
- Click on Scan to Order.
- Turn on Allow to Place Dine-in Order
 , then Enable Scan to Order.
 - Next to "Branded Online Store Website," select the branded online store URL that the QR code would link to.
- Configure Scan to Order settings.
- At the top right, click on Save to confirm.
You can configure the following Scan to Order settings:
Scan to Order
Enable Item Quantity Limit
Sets a maximum number of items that can be ordered in one transaction.
Enable Cut Off Time
Sets a cut-off time for when orders can be placed. For example, if the end of the dining time is at 10:00 PM and the cut-off time is set at 30 minutes, customers can only place orders until 9:30 PM. The remaining order time is calculated based on the set Turn Time and the Cut-Off Time.
Note to Customer in Bill Page
Add custom text that will appear on the customer’s Bill Page.
Order Creation is required when ordering with Table QR Code
By default, Static QR Codes that are fixed on tables can be scanned by any person in the restaurant. To prevent QR Codes from being used by non-patrons, you can enable this setting to temporarily disable the Static QR Code. To re-enable the QR Code, a restaurant staff member must seat a customer first using the POS. Once a customer is seated at the table, the QR Code becomes available to scan.
Displaying Meal Time Count Down
When enabled, customers can view the remaining time for dining in the restaurant.
Enable Dynamic QRCode
When enabled, the POS can generate a Dynamic QR Code. A Dynamic QR Code is a scannable QR Code that changes every time a ticket is printed.
Custom Order Placed Message
Enter the message that will appear after the customer places their order, per language.
Order Payment
Require Payment for Scan to Order
When enabled, Scan to Order will always require a payment before an order is processed. Enabling this setting overrides the “Require Payment when Placing Order” Dine-in Workflow setting.
Enable Self Checkout
When enabled, customers can self checkout and pay for their orders using their own devices. For more information abou the Self Checkout feature, refer to Set up Self Checkout for Dine-in Orders.
Auto Authorize Self Checkout
When enabled, customers can automatically proceed with the payment process without a staff member manually accepting the checkout request.
DeleteOrder First While Waiting
Enable Menu Preview
When enabled, customers can preview the menu and start choosing menu items while waiting to be seated. Once the customer is seated, they can scan the seat ticket to quickly place the order.
Enable Order Verification Code
To provide a verification code for ordering, turn on Enable Order Verification Code. A 6-digit verification code will be printed on the seat ticket under the QR Code. The order verification code is an alternative way of placing orders besides scanning QR Codes.
Prompt Alert when Place Order with Liquor Items
When enabled, a prompt appears on the branded online store to confirm that the customer is of legal age when a liquor item is placed on order.
DeletePay First Setting
Auto Accept Paid Order
When enabled, orders will automatically be accepted as long as the order is paid.
Minimum Charge
Set the value for the minimum charge needed to place the order. If the order amount is less than the set minimum charge, an alert appears, and the customer won’t be able to proceed with the order.
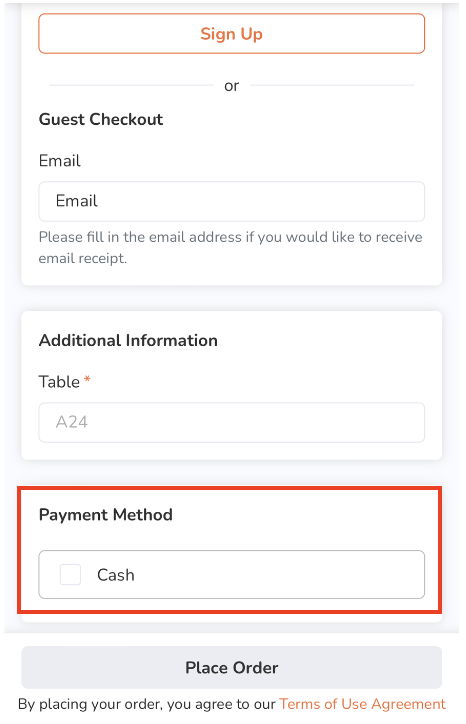
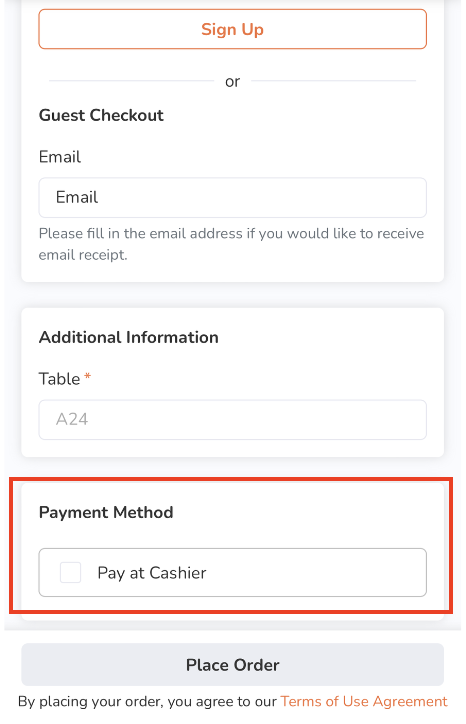
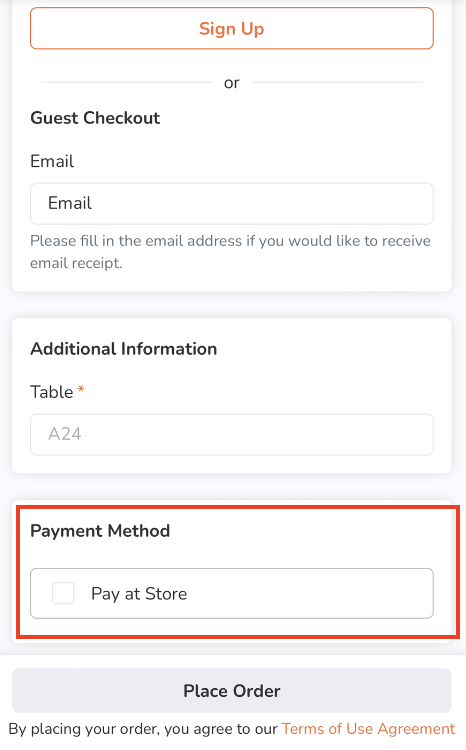
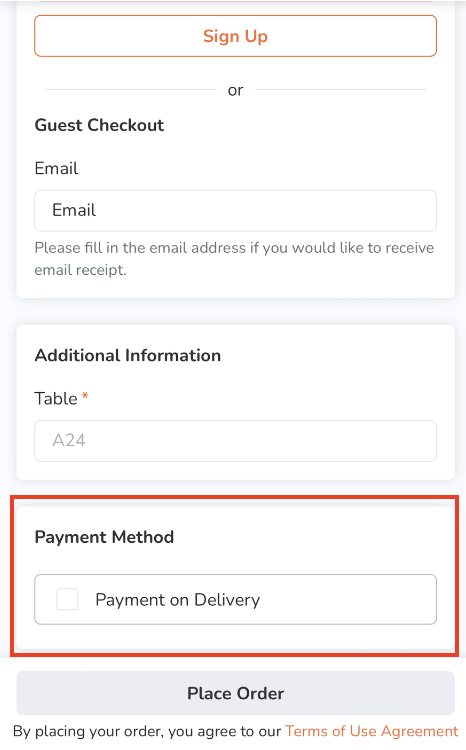
Enable Pay at Cashier
When enabled, customers can choose to pay at the restaurant instead of online. You can select the payment option wording that would appear on the restaurant’s website. You can choose from the following options:
-
Cash
-
Pay at Cashier
-
Pay at Store
-
Payment on Delivery
-
Custom
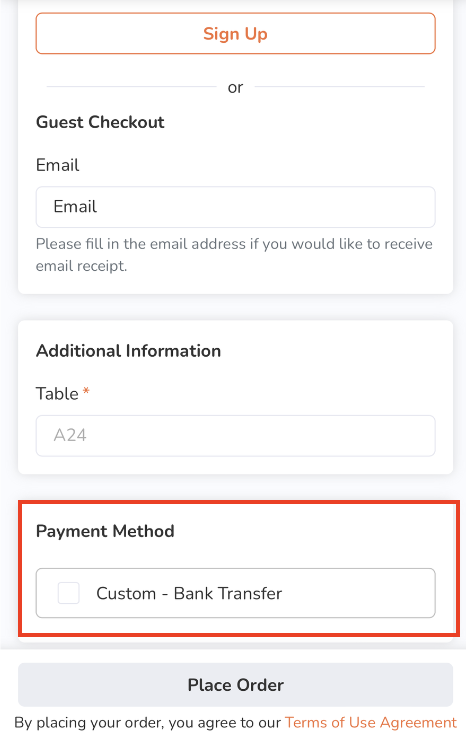
Note: The custom option allows you to create your preferred payment option wording. You can add a custom option in different languages. To add another language, select the language from the drop-down list. Then, click on +Add.
Pay Later Setting
Show Order OR Code in Bill Page
When enabled, staff can scan the payment QR code displayed on the website's bill page to easily locate the customer's order on the POS and process the payment for their order.

Hide Subtotal in Cart
When enabled, the subtotal will not show in the customer’s cart.
Auto Accept Order
When enabled, orders will automatically be accepted without staff confirmation.
Shared Table Order Badge
Choose how the table order badge appears for shared table orders on the Branded Online Store. You can choose from the following options:
-
Show Name of Member who Started this Order

-
Shown as “Shared Table Order”

-
Hide Entirely

Suggested Tip
Enable Suggested Tip
Enable this setting to display tip options on the Branded Online Store.
Delete