 Eats365 Products
 Merchant Guide
 Modules
 Membership
 Integrations
 Hardware
 Staff Operations
 Roles & Permissions
 Payments
 Reports
 What’s New
 Release Notes
 Troubleshooting
 Simulators
 Glossary
 Troubleshooter
 System Status
Eats365 Biz and Biz Lite
Table of Contents
Place orders on the Eats365 Biz
Learn how to use the Eats365 Biz to place immediate and scheduled orders.
Place customer orders conveniently with Eats365 Biz, based on the configured payment model (Pay First or Pay Later).
In this article, you’ll learn about placing orders using the Eats365 Biz. For information on accepting, rejecting, and handling orders from online and third-party sources, refer to Manage orders on the Eats365 Biz.
Place a dine-in order on the Eats365 Biz
To process a dine-in order on the Eats365 Biz, follow the steps below:
Place an order and pay now (Pay First)
- Open the Eats365 Biz.
- At the top left, tap Menu

 Place Order.
- Select Dine-in as the service type.

- If you're creating a scheduled order, next to "Scheduled Time," click on Edit
 , then select the date and time when the order is needed.
- Select the category or tap Category List
 to open the list of available categories and select the category you’d like to show.
- Select the items that you want to add to the customer's order.
- To check the order details before proceeding, tap Order Summary. You can also tap Expand
 to open the cart and view all added items.
- Once all items have been added, at the bottom right, tap Confirm.

- Select the payment method that you want to use to pay for the order.

- Tap Pay.
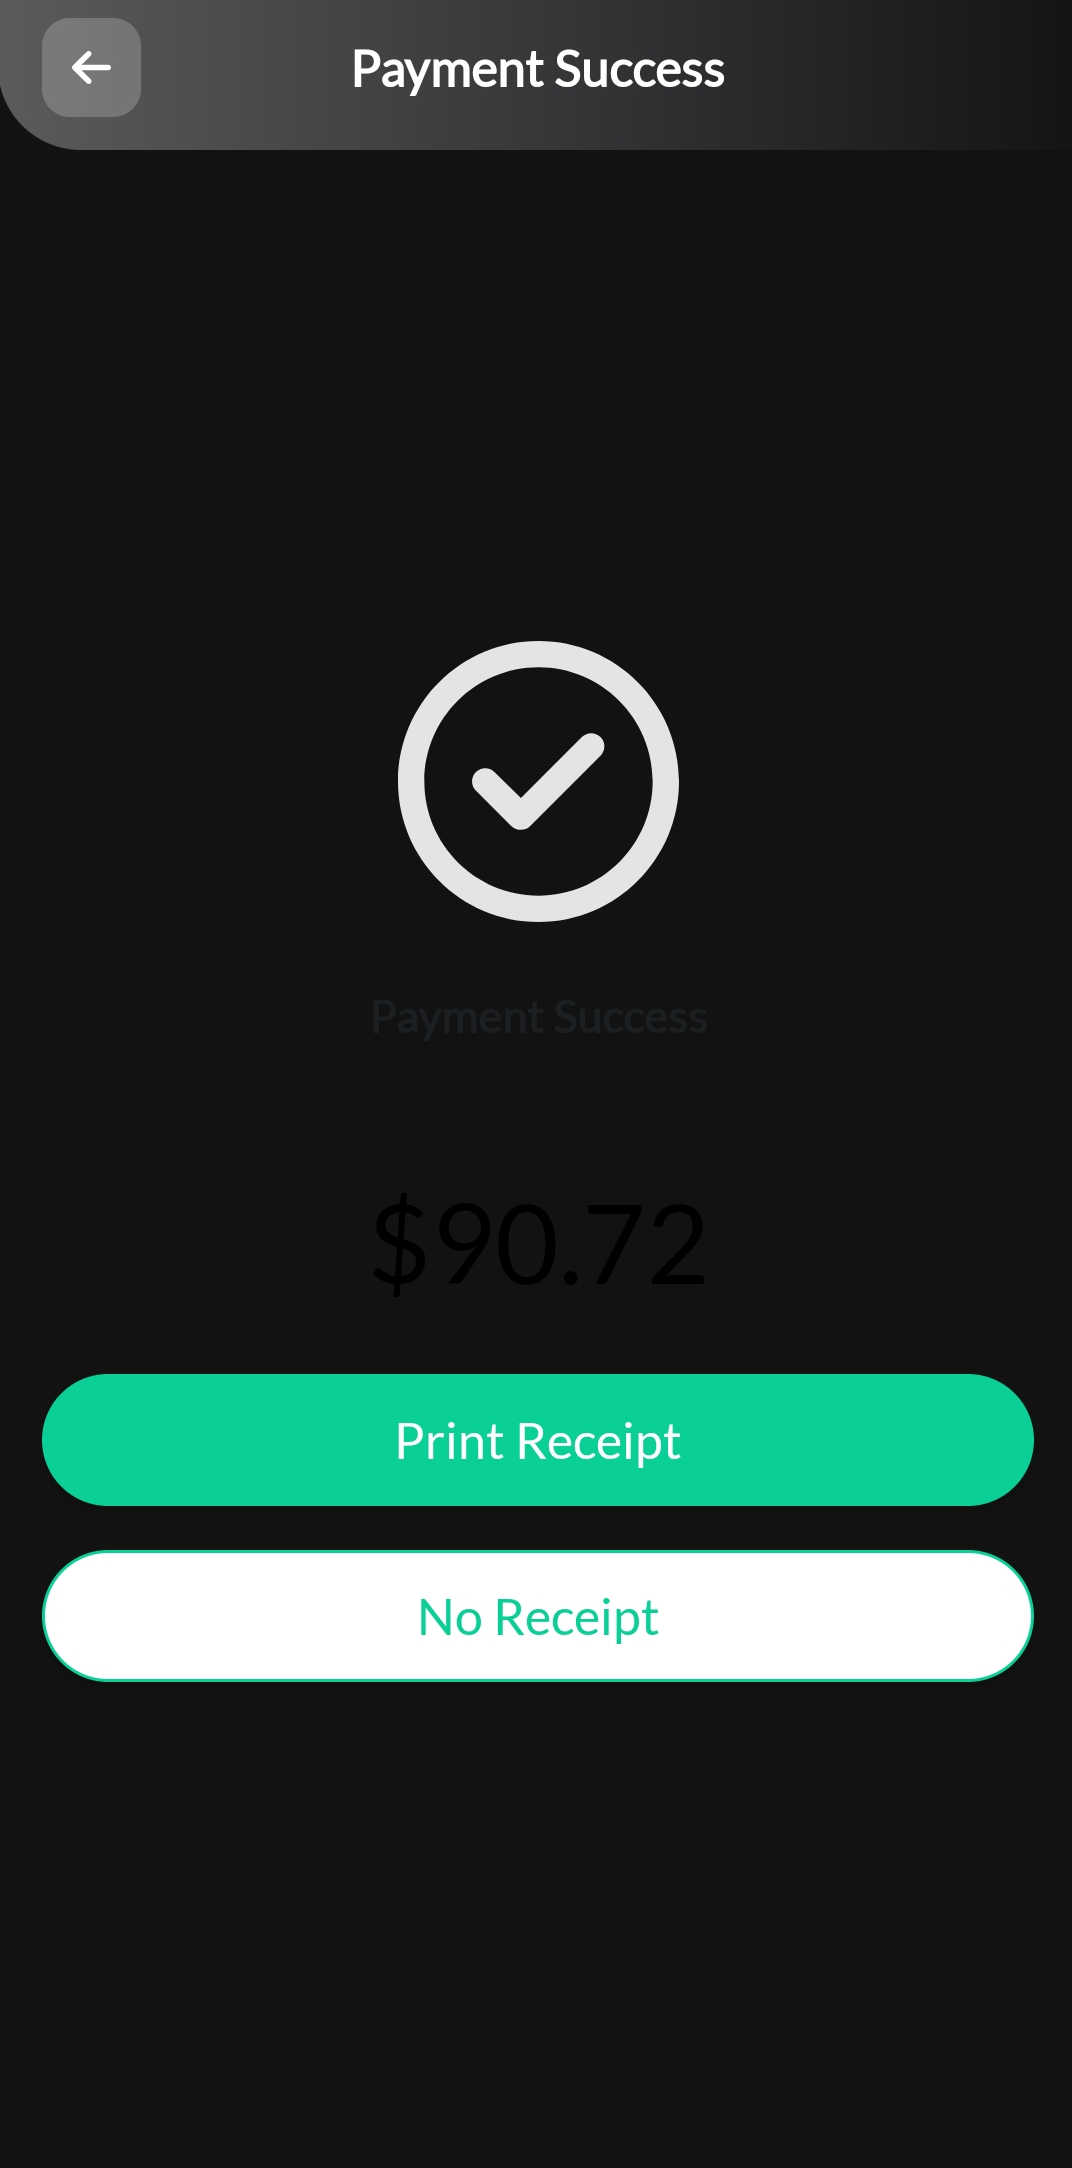
- Tap Print Receipt to issue a receipt. Tap No Receipt to skip printing a receipt.
To view the order, at the top left, tap Menu Orders. Orders should appear under the “Processing” tab.
Place an order and pay later (Pay Later)
- Open the Eats365 Biz.
- At the top left, tap Menu Place Order.
- Select Dine-in as the service type.
- If you're creating a scheduled order, next to "Scheduled Time," click on Edit , then select the date and time when the order is needed.
- Select the category or tap Category List to open the list of available categories and select the category you’d like to show.
- Select the items that you want to add to the customer's order.
- To check the order details before proceeding, tap Order Summary. You can also tap Expand to open the cart and view all added items.
- Once all items have been added, at the bottom right, tap Confirm.
- Choose if you want to pay now or pay later.

- Tap Send Order to send the order to the kitchen for preparation without paying first.
- Tap Send Order Now and Pay if the customer is ready to process the payment.
- If you choose “Send Order Now and Pay,” select the payment method that you want to use to pay for the order. Then, tap Pay.
Note: You can still change the payment details as long as you haven't confirmed payment. At the top left, tap Back , then select from the following actions:
- Change Payment Method - Use a different payment method for the order.
- Cancel Payment - Cancel the entire order.
- Send Order Only - Send the order to the kitchen without paying first.
- Tap Print Receipt to issue a receipt. Tap No Receipt to skip printing a receipt.
To view the order, at the top left, tap Menu Orders. Orders should appear under the “Processing” tab.
Place a takeout order on the Eats365 Biz
To process a takeout order on the Eats365 Biz, follow the steps below:
Place an order and pay now (Pay First)
- Open the Eats365 Biz.
- At the top left, tap Menu Place Order.
- Select Takeout as the service type.

- If you're creating a scheduled order, next to "Scheduled Time," click on Edit , then select the date and time when the order is needed.

- Next to “Takeout Mode,” tap Edit . Then choose Pickup or Delivery.

- Enter the customer’s information for the order.
-
Pickup: Enter the First Name, Last Name, and phone number of the customer.

-
Delivery: Enter the customer’s phone number. Then, tap + New Address or select an existing address associated with the customer’s number.

-
Pickup: Enter the First Name, Last Name, and phone number of the customer.
- At the bottom right, tap Save.
- Select the category or tap Category List to open the list of available categories and select the category you’d like to show. Then, select the items that you want to add to the customer's order.

- To check the order details before proceeding, tap Order Summary. You can also tap Expand to open the cart and view all added items.

- Once all items have been added, at the bottom right, tap Confirm.

- Select the payment method that you want to use to pay for the order.
- Tap Pay.
- Tap Print Receipt to issue a receipt. Tap No Receipt to skip printing a receipt.
To view the order, at the top left, tap Menu Orders. Orders should appear under the “Processing” tab.
Place an order and pay later (Pay Later)
- Open the Eats365 Biz.
- At the top left, tap Menu Place Order.
- Select Takeout as the service type.
- If you're creating a scheduled order, next to "Scheduled Time," click on Edit , then select the date and time when the order is needed.
- Next to “Takeout Mode,” tap Edit . Then choose Pickup or Delivery.
- Enter the customer’s information for the order.
-
Pickup: Enter the First Name, Last Name, and phone number of the customer.
-
Delivery: Enter the customer’s phone number. Then, tap + New Address or select an existing address associated with the customer’s number.
-
Pickup: Enter the First Name, Last Name, and phone number of the customer.
- At the bottom right, tap Save.
- Select the category or tap Category List to open the list of available categories and select the category you’d like to show.
- Select the items that you want to add to the customer's order.
- To check the order details before proceeding, tap Order Summary. You can also tap Expand to open the cart and view all added items.
- Once all items have been added, at the bottom right, tap Confirm.
- Choose if you want to pay now or pay later.
- Tap Send Order to send the order to the kitchen for preparation without paying first.
- Tap Send Order Now and Pay if the customer is ready to process the payment.
- If you choose “Send Order Now and Pay,” select the payment method that you want to use to pay for the order. Then, tap Pay.
Note: You can still change the payment details as long as you haven't confirmed payment. At the top left, tap Back, then select from the following actions:- Change Payment Method - Use a different payment method for the order.
- Cancel Payment - Cancel the entire order.
- Send Order Only - Send the order to the kitchen without paying first.
- Tap Print Receipt to issue a receipt. Tap No Receipt to skip printing a receipt.
To view the order, at the top left, tap Menu Orders. Orders should appear under the “Processing” tab.