 Eats365 Products
 Merchant Guide
 Modules
 Membership
 Integrations
 Hardware
 Staff Operations
 Roles & Permissions
 Payments
 Reports
 What’s New
 Release Notes
 Troubleshooting
 Simulators
 Glossary
 Troubleshooter
 System Status
eSignage
Table of Contents
Configure eSignage settings
Learn how to customize settings for the eSignage.
Changing the settings on the eSignage allows you to customize the app’s layout and behavior based on your preferences. You can adjust the arrangement of information on-screen to emphasize what matters most – whether that's promoting daily specials or providing clear order pickup instructions. Additionally, you can control the frequency of updates, display themes, and even how the information is presented to align it with your brand's style and optimize efficiency within your specific environment.
In this article, you’ll learn how to configure the eSignage to your preferred settings.
Change individual eSignage settings
To change specific settings on an eSignage, follow the steps below:
Eats365 POS
- Log in to the Eats365 POS.
- At the top right, tap Settings
 .
. - Under "General," tap Device Pairing. Then, tap e-Signage.
- Choose a setting, then change the options according to your preferences.
- At the top right, tap Save.
You can change the following options on the eSignage:
Mode of Operation
Select the type of information that would appear on the eSignage.
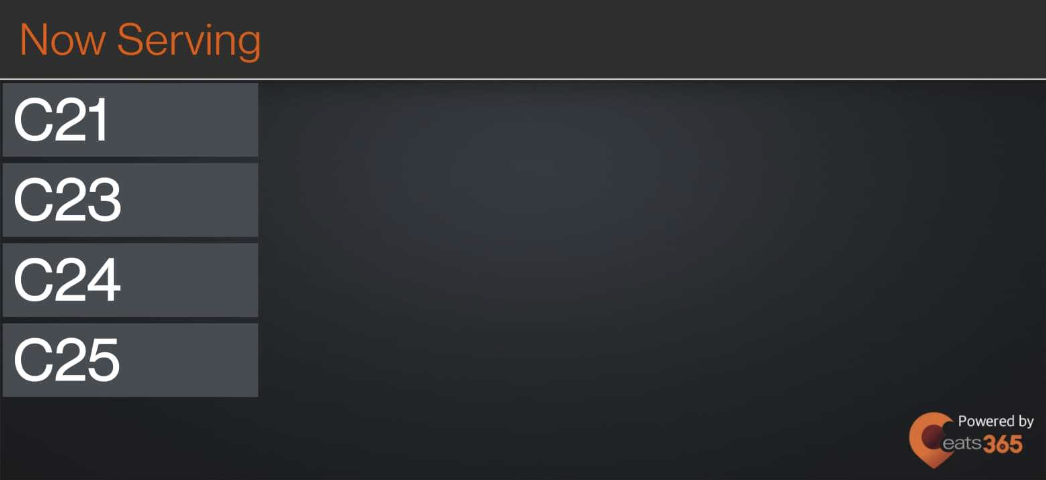
- Queue Kiosk - Displays queue information.
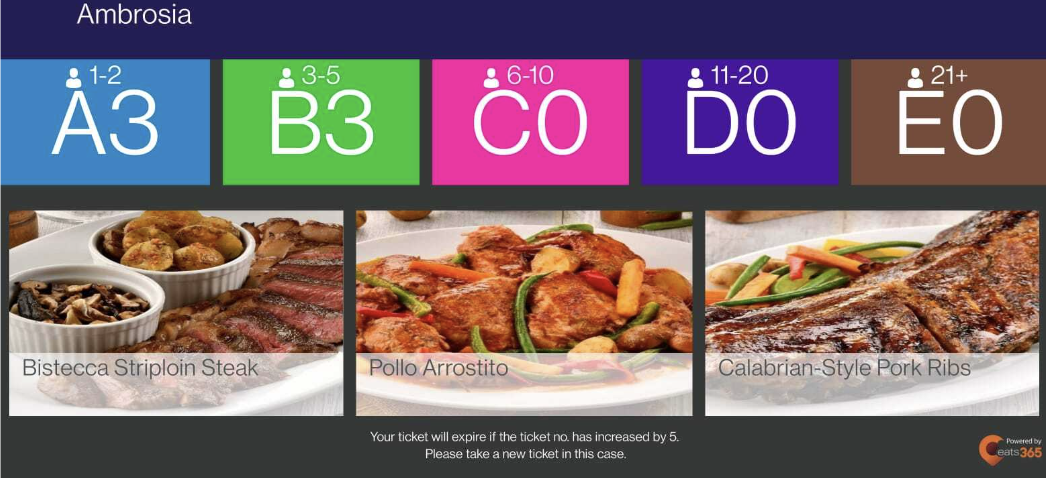
- Pickup Display - Displays orders that are ready for pickup.
Display Vertically
When enabled, the eSignage will display content vertically.
Language
Choose the eSignage’s default display language.
DeleteMerchant Portal (Classic Theme)
- Log in to the Merchant Portal.
- On the left panel, click on Advanced Settings.
- Under "Modules," click on eSignage. Then, select License.
- Choose a setting, then change the options according to your preferences.
- At the top right, click on Save.
You can change the following options on the eSignage:
Mode of Operation
Select the type of information that would appear on the eSignage.
- Queue Kiosk - Displays queue information.
- Pickup Display - Displays orders that are ready for pickup.
- Digital Board System - Displays custom upload content on media promotion. For more information on how to create media promotion, refer to Set up and manage Media Group.
Note: The Digital Board mode isn't supported on the Android eSignage.
Language
Select the languages that you want to appear on the eSignage.
DeleteMerchant Portal 2.0
- Log in to the Merchant Portal.
- On the left panel, click on Modules.
- Click on eSignage. Then, select License.
- Choose a setting, then change the options according to your preferences.
- At the top right, click on Save.
You can change the following options on the eSignage
Mode of Operation
Select the type of information that would appear on the eSignage.
- Queue Kiosk - Displays queue information
- Pickup Display - Displays orders that are ready for pickup
- Digital Board System - Displays custom upload content on media promotion. For more information on how to create media promotion, refer to Set up and manage Media Group.
Note: The Digital Board mode isn't supported on the Android eSignage.
Language
Choose the eSignage’s default display language.
DeleteChange shared eSignage settings
Shared Settings control the behavior of all paired eSignage devices. Any changes you make within Shared Settings will automatically apply across all paired eSignage devices.
To change the eSignage shared settings, follow the steps below:
Merchant Portal (Classic Theme)
- Log in to the Merchant Portal.
- On the left panel, click on Advanced Settings.
- Click on eSignage. Then, select Shared Settings.
- Under "Message to Customers," enter a custom message inside the text box.
Note: The custom message will be displayed on the eSignage. - At the top right, click on Save to confirm.
Merchant Portal 2.0
- Log in to the Merchant Portal.
- On the left panel, click on Modules.
- Select eSignage. Then, click on Shared Settings.
- Under "Message to Customers," enter a custom message inside the text box.
Note: The custom message will be displayed on the eSignage. - At the top right, click on Save to confirm.
Configure eSignage to show custom content
To show custom content on the eSignage, follow the steps below:
Merchant Portal (Classic Theme)
- Log in to the Merchant Portal.
- On the left panel, click on Restaurant Settings. Then, select Media Promotion.
- Create a media promotion and upload the images, videos, or text that you want to appear on the eSignage.
Note: For information on how to create a media promotion, refer to Set up and manage Media Group. - On the left panel, click on Advanced Settings.
- Under Modules, select eSignage.
- On the left panel, click on License.
- Next to the eSignage that you want to use to show custom images, click on Edit.
- Click on the Media tab.
- Select the media that you would like to show on the eSignage.
- At the top right, tap Save to confirm.
Merchant Portal 2.0
- Log in to the Merchant Portal.
- On the left panel, click on Restaurant Settings. Then, select Media Promotion.
- Create a media promotion and upload the images, videos, or text that you want to appear on the eSignage.
Note: For information on how to create a media promotion, refer to Set up and manage Media Group. - On the left panel, click on Modules. Then, select eSignage.
- Click on License. Then, next to the eSignage that you want to use to show custom images, click on Edit
 .
.
- Click on the Media tab.

- Enable
 the media that you would like to show on the eSignage.
- At the top right, tap Save to confirm.